-
How to cut, prune & trim hedges: the ultimate beginner guide
 Lee Burkhill: Award Winning Designer & BBC 1's Garden Rescue Presenters Official Blog
Whether you have just planted a hedge or inherited one in your garden, this guide will show you how to efficiently cut a hedge.
Ignore those fears that cutting a hedge is a full weekend of drama. It really doesn't have to be with the correct technique and tools. Hedges provide our gardens with a soft natural boundary that helps provide privacy and greenery to the garden, so they are worth looking after.
This guide will provide you with all the tips, tricks and hacks to keep your garden hedges looking fantastic all year. Let me show you how to cut hedges the proper way!
This page contains affiliate links for products I use and love. If you take action (i.e. subscribe, make a purchase) after clicking a link, I may earn some gardening commission which helps me keep the Garden Ninja Blog free for all.
The first thing to address is that you have the correct tools to trim and clip your hedge. Even before you establish whether your hedge is formal or informal, evergreen or deciduous, large or small; the correct tools for the job are essential.
Make sure any electric or petrol-powered tools are in good working order and have been serviced.
The below tools are useful when cutting hedges:
For most hedges, an electric trimmer is going to be preferable if you're poor on time or technique. You have a variety of options when it comes to powered hedge clippers whether they be petrol powered or electric. For most residential gardeners, an electric set of trimmers are the best option. Leave the diesel fumes and industrial hedge trimmers to the professionals who cut hedges day in and day out.
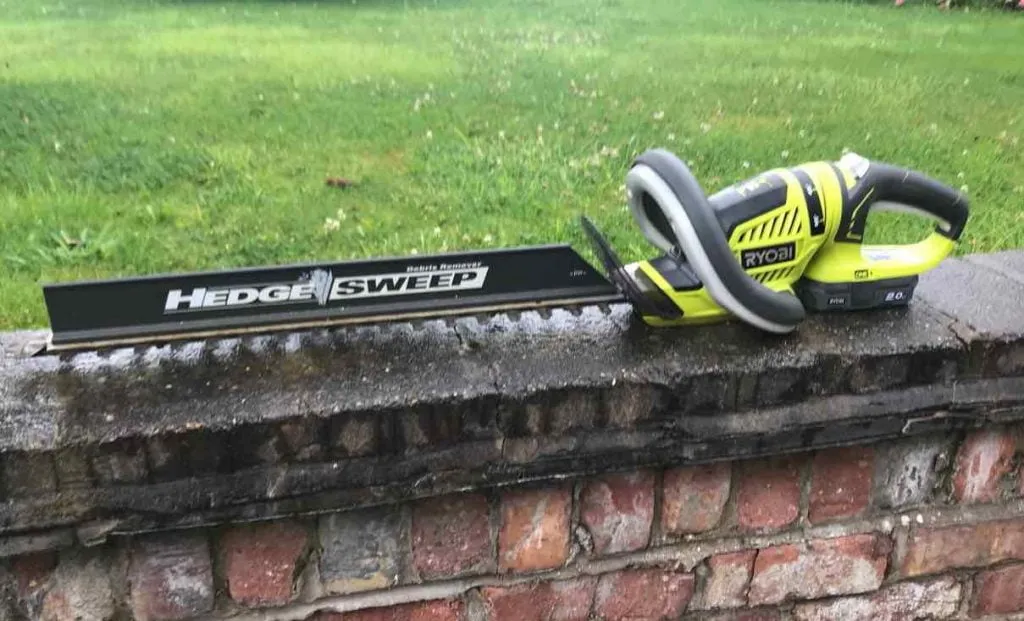
I always opt for a cordless set of hedge trimmers, like my Ryobi set, as you don't have to worry about cutting through the chord or getting tangled. Battery-powered cordless hedge trimmers are my preferred tool for beginners. They are easy to use and move with.
You can focus your efforts on trimming your hedges effectively instead. Depending on the size of your hedge I have multiple batteries charged so I can swap them out and carry on cutting. Waiting 80 mins between charges can turn a couple of hours of hedge clipping into a full-day affair!
I must admit there's something really satisfying about clipping hedges with handheld quality shears. The noise, cleanness of the cut and general action really satisfies my inner gardening zen. However, these will take longer to use, and I wouldn't start with hand shears if you're new to hedge clipping.
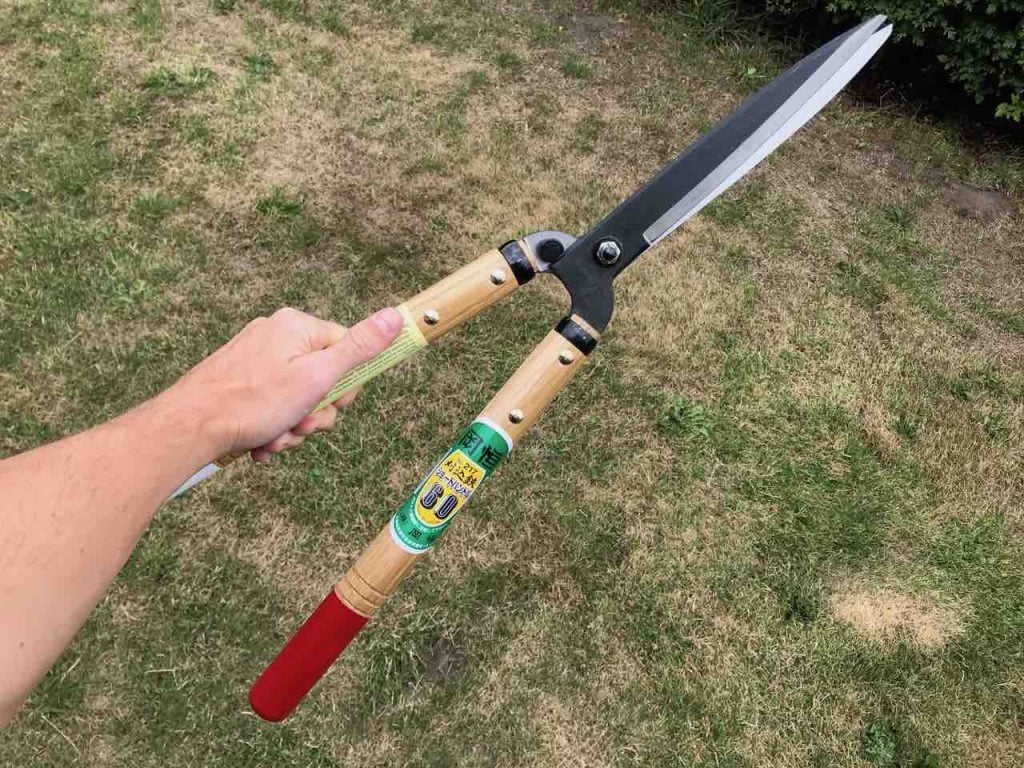
It's a definite skill and should be kept for either very large-leaved evergreen shrubs (as it prevents crispy dried snagged leaves which clippers can cause), topiary or experienced gardeners. That's not to say you shouldn't give them a go, but it may be pretty frustrating for a new gardener as there is a knack to them.
The benefit of handheld topiary shears is the finish. They're razor-sharp if well-maintained and give a cut like no other for a tightly clipped box or topiary. They also make a lovely swoosh noise too and can become quite relaxing to use when skilled!
Clipping or trimming a hedge with electric or petrol powered trimmers is relatively straightforward. The first cut may be the deepest as they say, but once you start you'll be trimming with ease in no time! Cutting your hedges regularly it helps encourage bushy dense growth, ideal for a garden boundary.
Thick, lush hedges offer privacy in your garden and can also help deter unwanted visitors, if you catch my drift!
You can either prune your hedges with:
This depends on the type of hedge and finishes you want. Let's take a look at both hedge-cutting methods.
When cutting hedges with electric equipment always make sure you have gloves, goggles and protective footwear. You'll also want to ensure your tools are clean, fully charged if battery-powered and in good working order.

Most hedges benefit from a light trim to keep them neat twice or three times a year.
When cutting any hedge aim to trim off between 1-4 inches of fresh green growth for regularly maintained hedges.
If your hedge needs more than this taking off, consider a hard prune using loppers to remove thick woody growth. You can read more on that here.
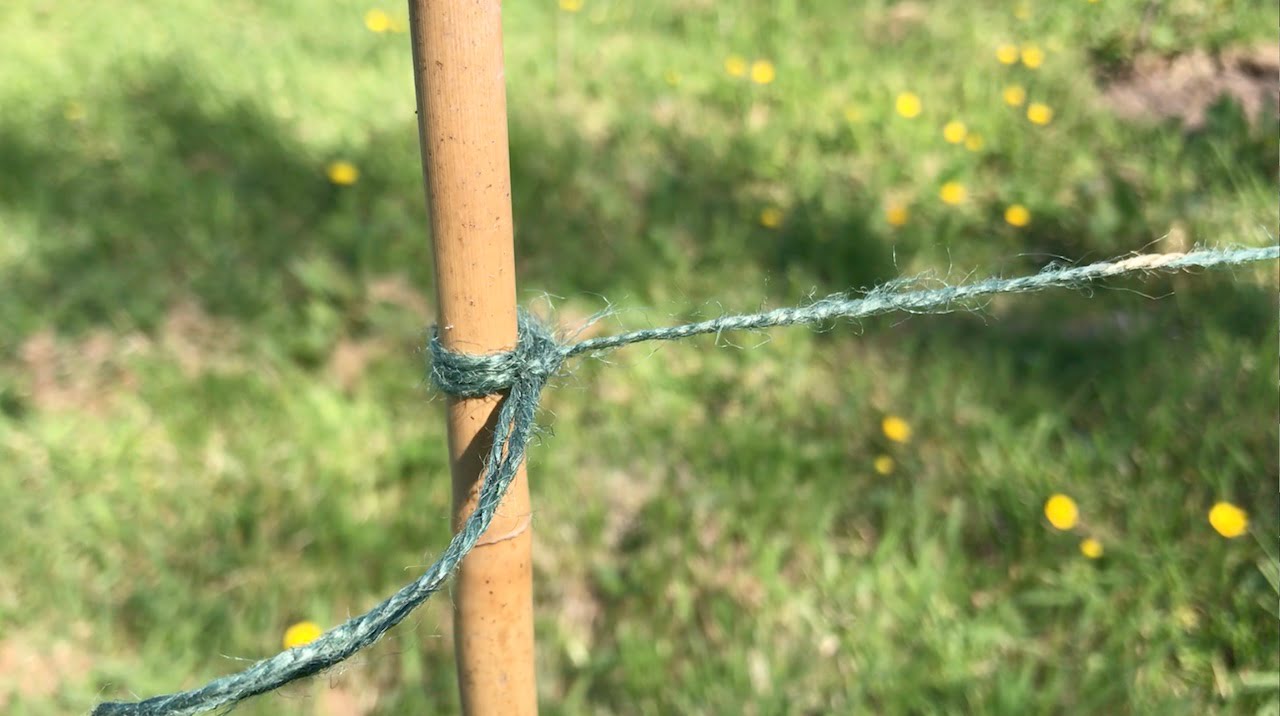
Using canes and a line of string tied horizontally between them can help create a neat, clean top for your hedge. This is particularly useful for very long or formal hedges.
Start cutting your hedge with a wand-like action from bottom to top. The reason for this is you will get a better cut due to more visible control, and it's far safer than a top to bottom approach which could lead to injury if you slip. Use a sweeping action from bottom to top

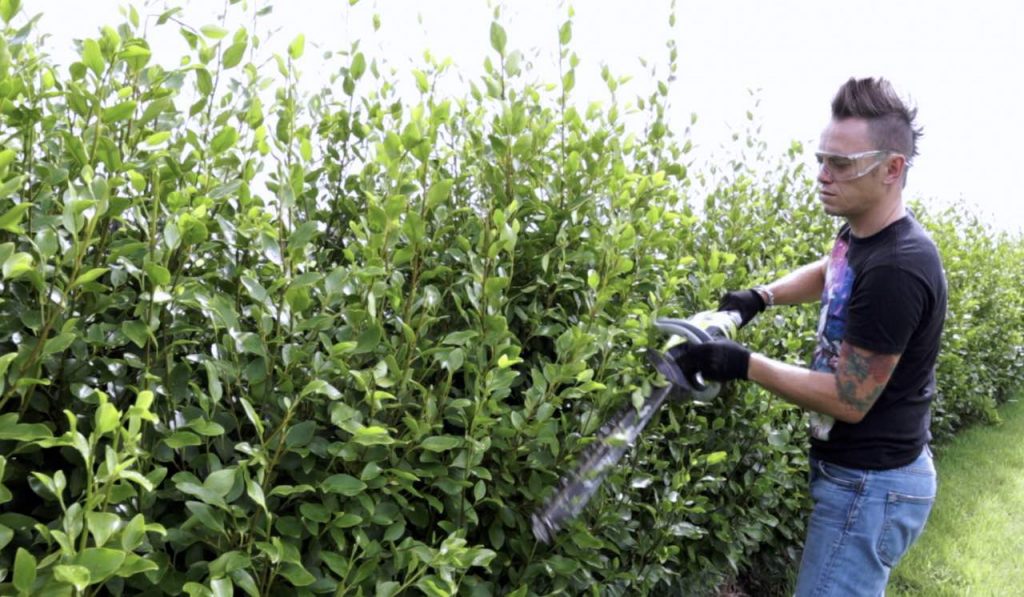
Take your time, as it's better to take off smaller sections of a hedge than go too deep and end up snagging your way through thicker internal branches.
Did you know that you can take my course and learn how to become a Garden Ninja yourself? Click here for details
Keep your hedge trimmers horizontal rather than pointing into the hedge for an even cut. Hedge clippers are only meant for softer leafy growth, not woody material. If you need to fully renovate a thick woody hedge see my guide below.
Ensure you're not stagging your clippers. If you find your hedge clippers snagging then they either need sharpening, or the material you're trying to cut is too thick. If too thick, try using loppers to cut back the woodier material first.
It's a good idea to keep standing back to check your levels. After all, you can always cut more off but can't put it back!
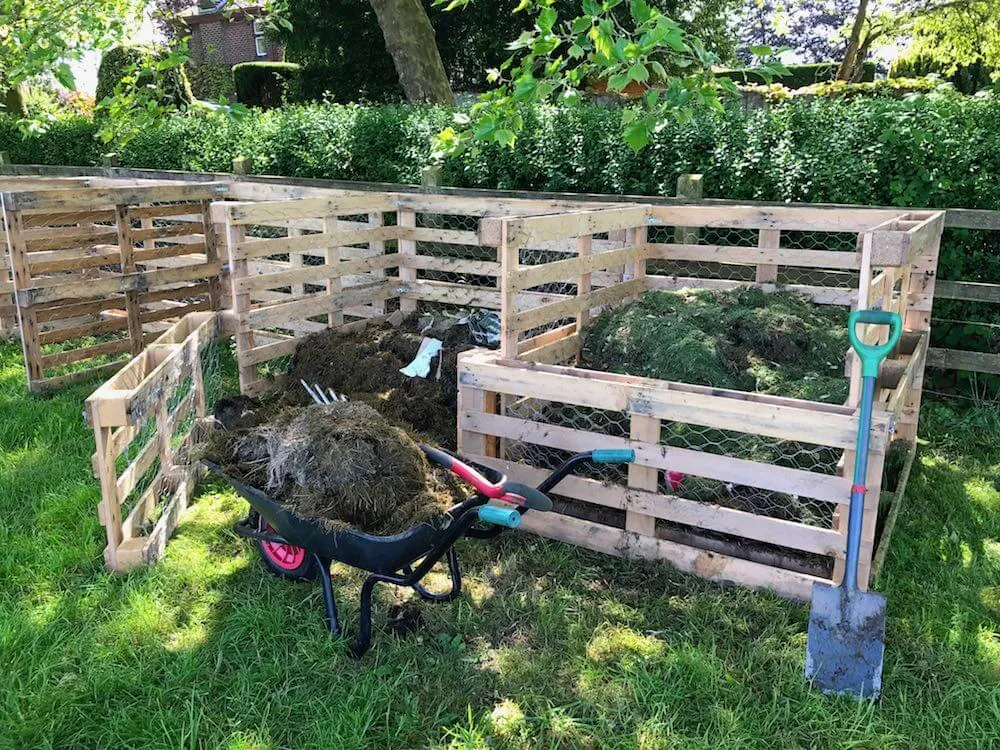
Nearly all clippings can be recycled on your compost heap. To speed up the breakdown of evergreen clippings use a garden shredder to cut them into smaller pieces. Be careful with sharp or thorny hedges like Berberis or Hawthorn, as these thorns can make your compost incredibly uncomfortable to handle.
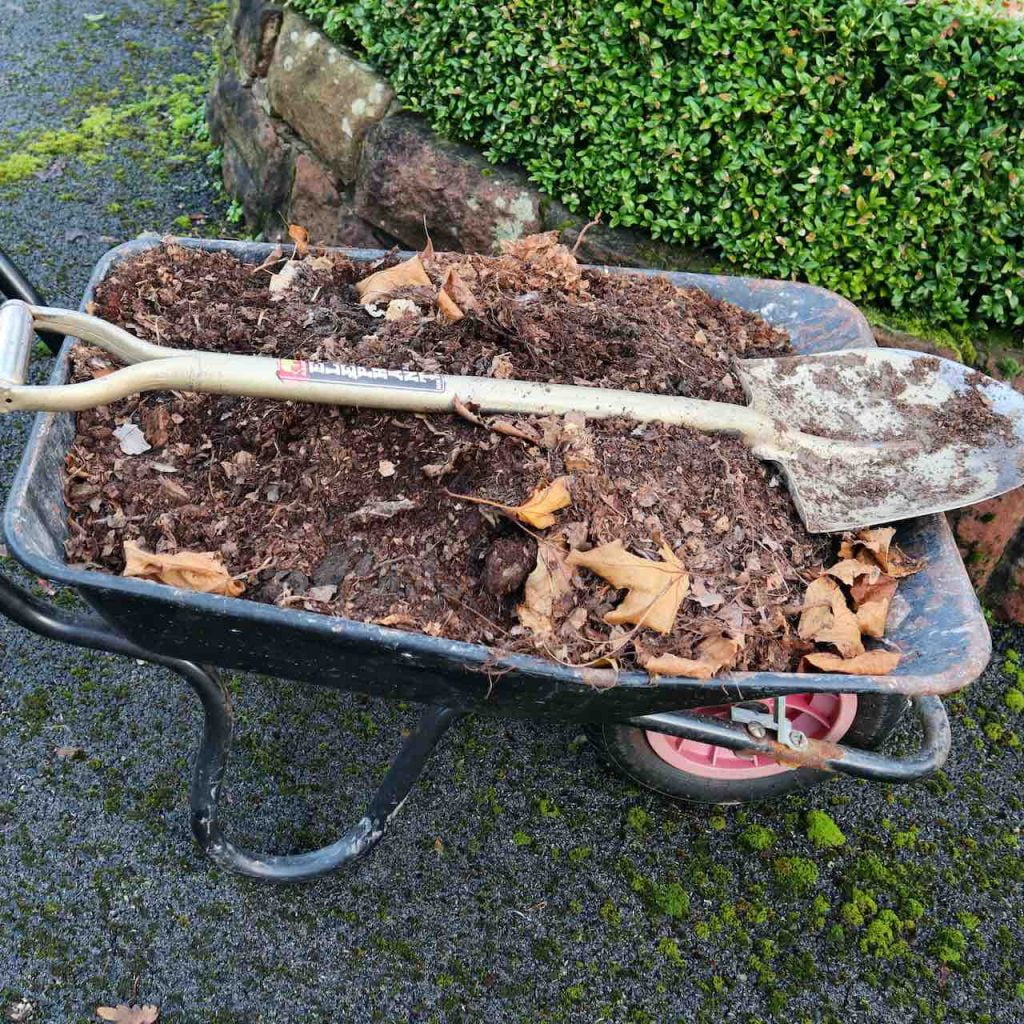
Mulching is a good idea, especially for young or new hedges. It's a way of helping keep moisture in and adding a slow-release feed after cutting. A good peat-free organic compost or leaf mould mulch at the hedge's base can help establish new hedges.
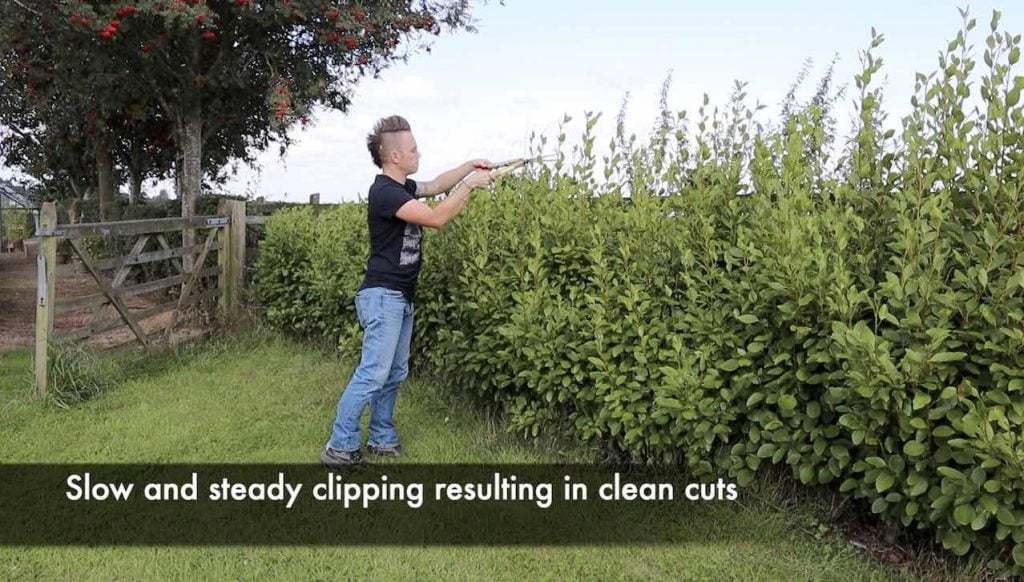
It is really the same action with hand shears as it is for electric hedge trimmers, although there is more skill involved with hand sheers. This is because you're not just moving them in a wand fashion but also opening and closing the shears to allow them to cut.
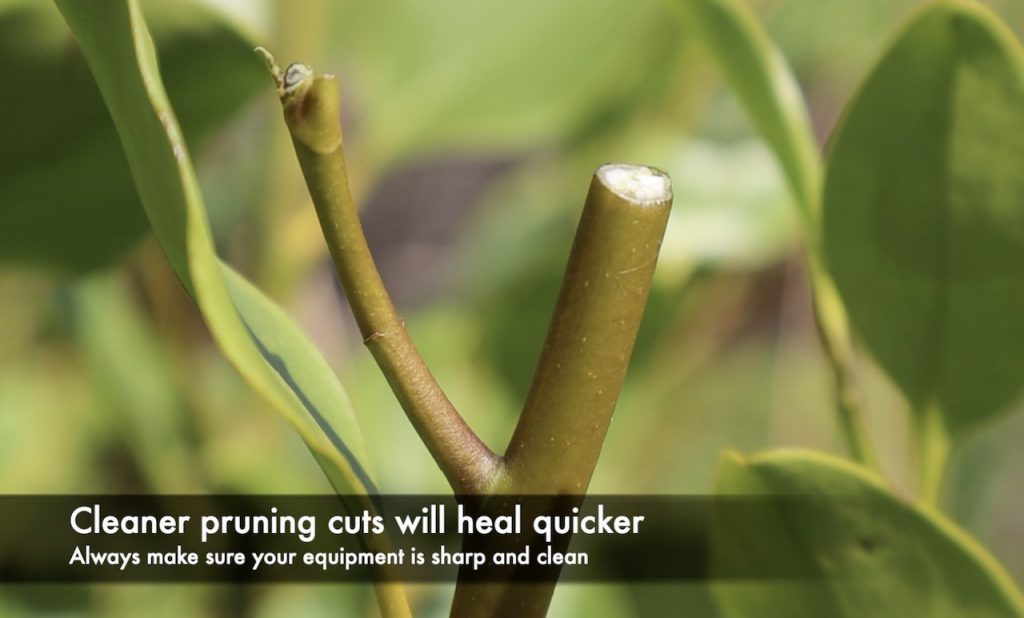
You'll also need to clean and sharpen hand shears a lot more frequently to give them the sharp edge they require. The end result is well worth it when your hedges are crisp and clean though! The cleaner cuts heal quicker and will stop hedges from going brown and crispy after a trim like you sometimes see with the rougher hedge trimmer cuts.
My advice with hand sheers is to take a little and often off the hedges when trimming them until you are comfortable. Hold the sheers vertically when clipping and trimming the side of a hedge. Again trim from the bottom to the top
When cutting Box or other formal hedges cleaning your sheers in between hedges is vital. This is because of plant health and pests like Box Blight or fungal infections. Hand sheers are easy to clean by dipping in a bucket with a mix of 1 part bleach to 10 parts water.
Rotating the shears to be horizontal will help you cut the top of a hedge. It's far easier than the awkward lean if you hold them horizontally.
Like the electric method, make sure you compost your clippings and mulch any newly planted hedges.
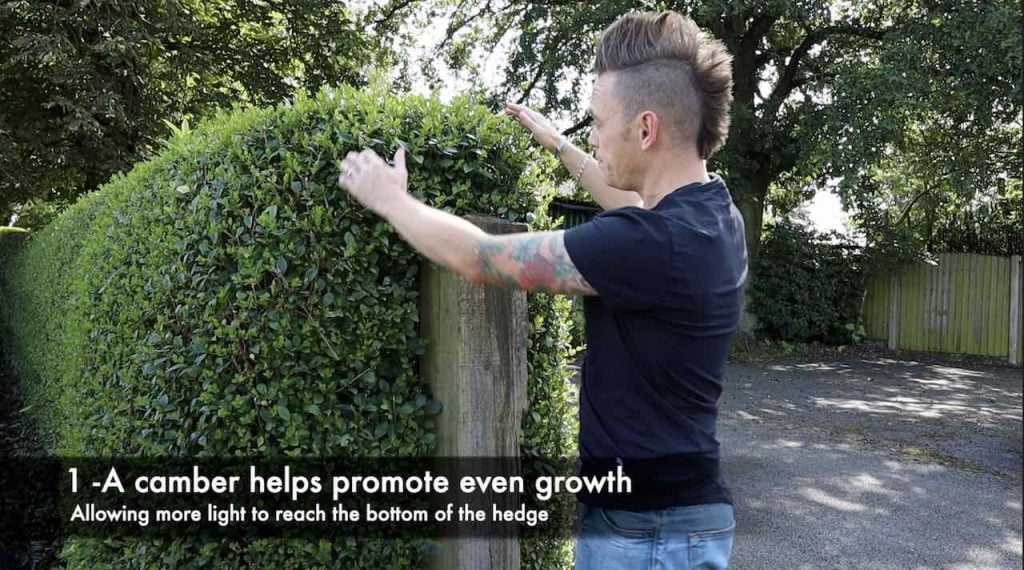
The shape of your hedge is critical to the health of your hedgerow. Whilst you may see a perfectly clipped square topiary hedge in formal gardens. However, in reality, most gardens don't have the open space to accommodate such a clean square finish with the necessary sunlight levels for a healthy hedge of this kind.
You need to camber your hedge shape, so it's slightly narrower at the top than at the bottom, especially on larger hedges.

If you don't give your hedge a 'batter' then the bottom of the hedge will end up receiving less light and then struggle. You will end up with lots of lush growth on top of your hedge and a weak hedge at the bottom. It also has a secondary benefit that a square-topped hedge will potentially suffer far more from snowfall than one with a camber or batter.
If snow sits and builds upon the top of your hedge, the chances are the weight will crush and break off the edges of branches.
A batter or camber helps the snow slide off quickly before it builds up.
With hedges, you're either going to be clipping an evergreen variety (such as Box, Privet or Cherry Laurel) that keeps its colour all year round or a deciduous hedge (such as Hawthorn or Beech) that loses its leaves in the winter. Understanding which type of hedge you have is key to knowing when to cut them.
The best time to trim or cut your hedges depends on whether they are evergreen or deciduous, the speed at which they grow and the 'neatness' you want from them. I cut my evergreen and deciduous hedges twice a year early spring and later summer.
Evergreen hedges keep their leaves all year round.
Deciduous hedges drop or partially drop their leaves in the winter.

Some larger leaved evergreen I tend to only cut once in mid-August, especially if they are younger hedges. If you cut twice a year, you're guaranteed to have a nice neat hedgerow in your garden.
March or August is the best time to cut your garden hedges in the UK
As a general rule of thumb, you need to make sure you're not cutting hedges when birds may be nesting in them. In the UK, this can be any time between February and August, which may sound highly inconvenient for the time-poor gardener.
What I would say is that this time frame depends on whereabouts you live, the frequency of birds and whether your area is hedgerow dense ie there's more chance for birds to nest elsewhere. They usually avoid noisy residential areas if there's a quieter hedgerow nearby.
I always pull back parts of the hedge before I clip - usually in early March and then in August - to check for nests. I also know roughly every year where for example, the blackbird's nest and other species so I time my trimmings around that. If I find one that's being used as a birds nest, I leave that hedge section.
You really don't want to be clipping in April or May when birds are likely to be nesting there. Sometimes you may have no choice, especially if removing a hedge for landscaping, but it's best to check and try and be as considerate to our flying friends as possible. Bird boxes and other nesting options can help birds choose different locations.
This depends on the type of hedge you have, whether it's super formal, informal, slow or fast-growing.
As a minimum, I would cut all hedges at least twice a year.
For more formal hedges, this may be up to 5 or 6 times a year.
There's a lot of advice online and in textbooks that using a tarpaulin is necessary to catch hedge clippings. Now, this is subjective, but in all my experience, I never use a tarp. I opt for a brush and dustpan or a lawnmower to collect my trimmings. The only situation where a tarpaulin would be useful is clipping a formal parterre or knot garden into gravel.
In this case, a mat or tarp can be a real time-saver when it comes to collecting your trimmings. Otherwise, I find a tarp more fuss than it's worth, to be honest!

Except for Hawthorn and Pyracanthus hedges which have vicious sharp thorns, nearly all other hedgerow material can be composted. I don't compost the thorny stuff as I quite like not having my hands spiked when I'm moving compost.
If you're composting evergreen leaves or larger hedge leaves then I'd recommend mowing over them on the lawn to help cut them up further. Then add them to your compost bin where they will break down considerably faster.
Another point to note is the mix of brown (carbon) material to green (nitrogen) material in your compost bin. Hedge clippings are surprisingly high in brown carbon materials, so I always add some grass clippings to even out the balance and speed up breakdown.

You may have moved house and found yourself with a very old or out-of-control hedge. The immediate thought was that maybe let's get rid of it and start again. However, you can renovate an old hedge relatively quickly if you have some patience. It is also a lot cheaper and requires much less effort than removing hedging and starting again.
It may sound brutal, but you need to cut the hedge down to around 2ft to kick start new growth at the base and the new 'top' of the hedge. This is by far the best way to revive an old hedge.
Using a chainsaw cut through the existing hedge in sections until you're at the 2ft mark. Then it is simply a case of waiting to see the new growth emerging and trimming twice a year as if it's a new hedge altogether.
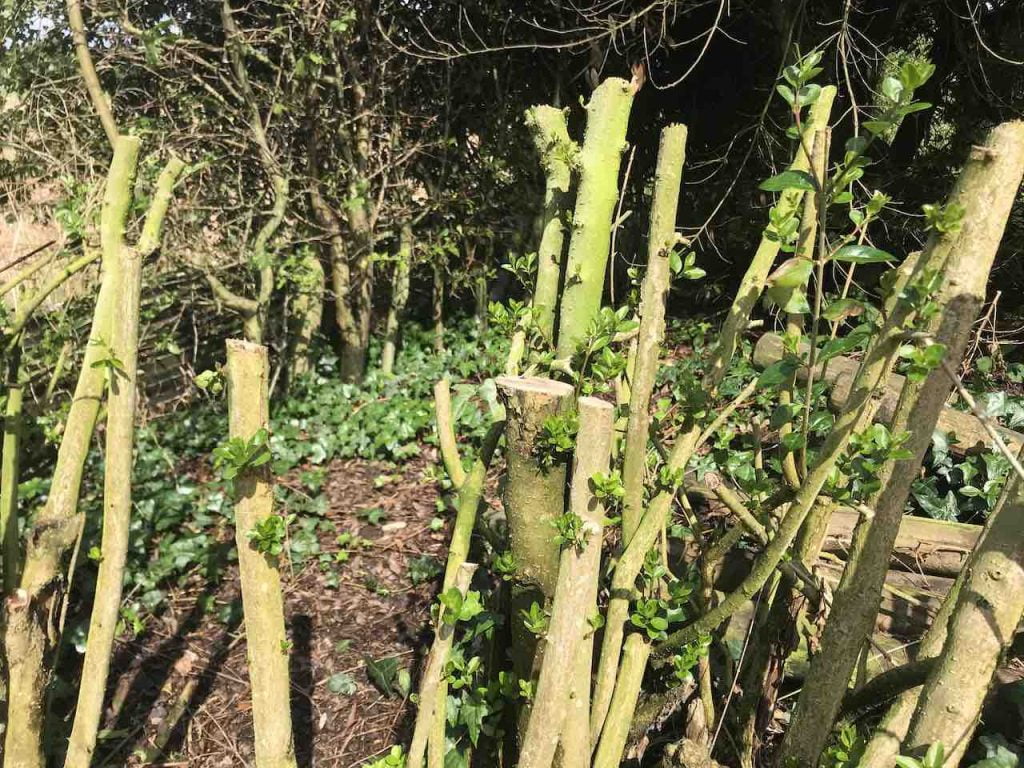
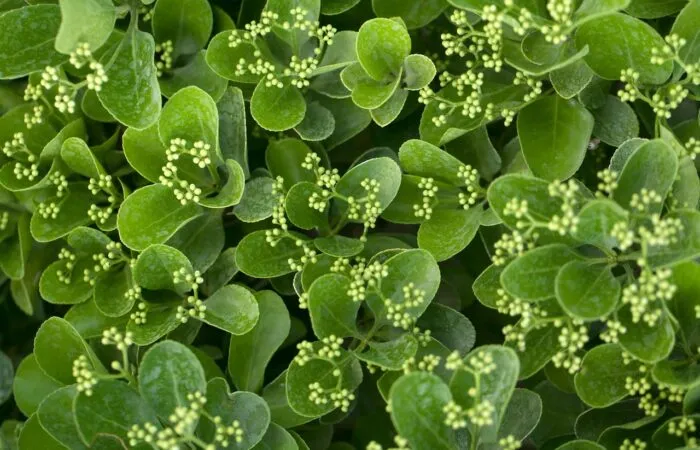
You can see the new growth after three weeks here on this renovated Privet and Hawthorn hedge. Trust me when I say I've done this on some really awful hedges, and they have all come back with a bit of patience and TLC.
It goes without saying that looking after your tools and keeping them sharp is essential. It's really a false time-saving to just put your tools back once you're done. If I can give you one top tip, it is to oil them both before and after you use them, at the very least.
Oiling your garden tools will prevent rust and keep them lubricated and in good working order. I use Japanese Camelia oil (you hardly need any).
Hand shears will need sharpening after each use to keep them razor-sharp. Electric trimmers don't need as much sharpening, but a good clean and oil will help keep them functioning for many years!
Once established, hedges are generally low-maintenance parts of garden design. Most hedges stay healthy with very little intervention from gardeners. However, there are always a few exceptions to the rule. So, if your hedge suddenly drops leaves, turns brown or yellow, or even starts to wilt, it may be one of the pests, diseases, or illnesses below.
Here's a more detailed overview of common diseases and pests affecting hedges, along with their treatments:
Hedge trimming really doesn't need to be a huge effort if you keep on top of your trimming and plan in advance. With the right tools and approach, hedge cutting can be a breeze, especially if there are cold beers and BBQ at the end of it. So why not turn it into a fun event and be the envy of your neighbours with your gorgeously fuss-free hedging?
If you're thinking of planting a hedge, I'd highly recommend watching my popular YouTube garden guide below, which will show you the basics of creating the perfect hedge.
Regular hedge cutting is essential for maintaining the health, shape, and aesthetics of hedges. Trimming hedges encourage dense growth, promotez flowering in some hedges, and prevents them from becoming overgrown and unsightly. Additionally, cutting hedges helps to maintain their desired height and width, ensuring they do not encroach on pathways or neighbouring properties.
Pruning also stimulates new growth, resulting in a denser and more vibrant hedge overall. Moreover, regular trimming reduces the risk of disease and pest infestations by improving air circulation and sunlight penetration throughout the hedge.
Why not check out the other guides and vlogs on my YouTube channel? You can also check out my Tweet, Facebook or Instagram for more garden guides and tips.


You must be logged in to post a comment.


JOIN THE NINJAS

Be the first in line for new Guides, Discount codes and Offers

 To my YouTube channel
Hi Lee, thank you very much for your useful posts! We have just planted a hedge, it’s about 1.20m high, and we’re wondering if we needed to prune it straight away (November) for formative pruning so it becomes nice and thick, of if it’s best to wait for Spring and let us settle. We are following your advice and watering it regularly, even now. Thanks!
Hi Caroline, Congrats on planting a hedge and doing your bit for wildlife! I’d wait until early spring and then take off 30cm from that hedge to help it bush. All the best and happy gardening! Lee
Thank you very much!
Excellent guide on all things hedgey, Lee!
One hedge maintenance tip I would like to add to your guide – and it’s probably the detail I see most neglected by domestic gardeners and professionals alike – is: take care of the base of the hedge: remove weeds, ivy, and especially rogue seedlings and saplings. I so often see hedges trimmed really well, with a good shape and nice lines, but there are loads of rogue saplings growing up through the hedge, or ivy running riot along the lower stems, eventually taking up the space of the hedge plants and leaving a gappy, messy finish.
For me, an essential part of “hedge trimming” is not actually trimming at all, but getting down to the base of the hedge and digging out any saplings and weeding out any weeds. The less competition the hedges roots have, the healthier the hedge will be!