For the garden you’ve already got, not the one you’re starting from scratch. Seven checklists and video lessons from BBC Garden Rescue’s Lee Burkhill, designed to help you decide what’s worth keeping before you spend a penny.
69


Quick Answer
Cut hedges with sharp, clean tools working from the bottom upwards in a sweeping motion, keeping the sides slightly narrower at the top so light reaches the base. Most hedges need trimming twice a year, in spring and late summer, and UK law protects nesting birds, so always check the hedge for nests before cutting between March and August.
Whether you have just planted a hedge or inherited one in your garden, this guide will show you how to efficiently cut a hedge. It may sound surprising, but there are a few key things you need to know about cutting hedges. It is not simply a case of grabbing some hedge clippers and hacking away, or putting off the trim and hoping the hedge still looks neat regardless.
Ignore those fears that cutting a hedge is a full weekend of drama. It really doesn’t have to be with the correct technique and tools. Hedges provide our gardens with a soft natural boundary that helps provide privacy and greenery to the garden, so they are worth looking after. I’ve lost count of the number of client gardens where a badly shaped or hard-pruned hedge was the single biggest thing holding the whole design back, so this is one of my favourite jobs to teach people properly.
This guide will provide you with all the tips, tricks and hacks to keep your garden hedges looking fantastic all year. Let me show you how to cut hedges the proper way.
Jump To
This page contains affiliate links for products I use and love. If you take action (i.e. subscribe, make a purchase) after clicking a link, I may earn some gardening commission which helps me keep the Garden Ninja Blog free for all.
The first thing to address is that you have the correct tools to trim and clip your hedge. Even before you establish whether your hedge is formal or informal, evergreen or deciduous, large or small, the correct tools for the job are essential.
Make sure any electric or petrol-powered tools are in good working order and have been serviced. The tools below are useful when cutting hedges. Before any of this, make sure you’ve checked for nesting birds, it’s a legal requirement, not just good practice.
For most hedges, an electric trimmer is going to be preferable if you’re poor on time or technique. You have a variety of options when it comes to powered hedge clippers, whether they be petrol-powered or electric. For most residential gardeners, an electric set of trimmers are the best option. Leave the diesel fumes and industrial hedge trimmers to the professionals who cut hedges day in and day out.
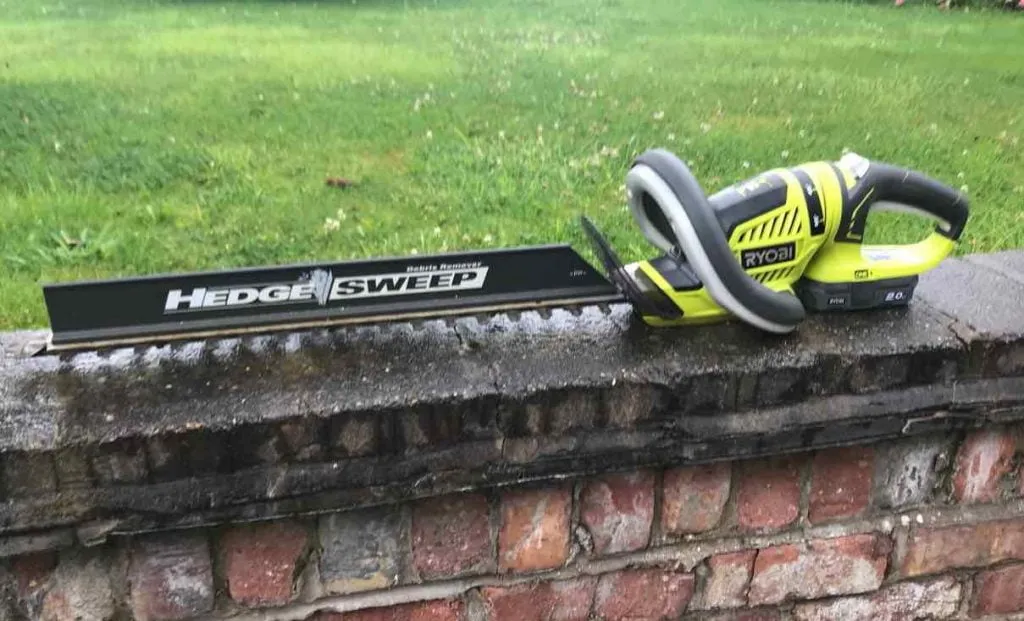
I always opt for a cordless set of hedge trimmers, like my Ryobi set, as you don’t have to worry about cutting through the cord or getting tangled. Battery-powered cordless hedge trimmers are my preferred tool for beginners. They are easy to use and move with. If you want the full rundown of every model I’ve tested and rate, I’ve put together a dedicated best cordless hedge trimmers guide that’s worth a read before you buy.
You can focus your efforts on trimming your hedges effectively instead. Depending on the size of your hedge, I have multiple batteries charged so I can swap them out and carry on cutting. Waiting 80 minutes between charges can turn a couple of hours of hedge clipping into a full-day affair.
I must admit there’s something really satisfying about clipping hedges with handheld quality shears. The noise, cleanness of the cut and general action really satisfy my inner gardening zen. However, these will take longer to use, and I wouldn’t start with hand shears if you’re new to hedge clipping.
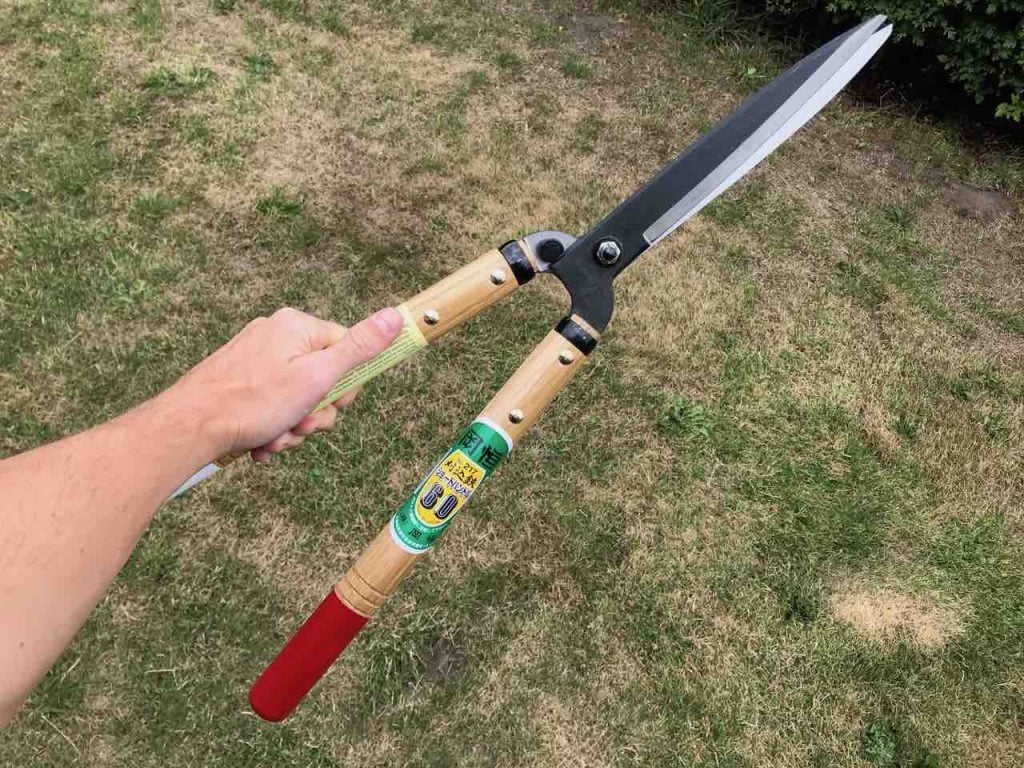
🛒 Buy Niwaki garden shears from Amazon UK
It’s a definite skill and should be kept for either very large leaved evergreen shrubs, as it prevents crispy dried snagged leaves which clippers can cause, topiary or experienced gardeners. That’s not to say you shouldn’t give them a go, but it may be pretty frustrating for a new gardener as there is a knack to them.
The benefit of handheld topiary shears is the finish. They’re razor sharp if well maintained and give a cut like no other for a tightly clipped box or topiary. They also make a lovely swoosh noise too and can become quite relaxing to use when skilled.
Neither shears nor a hedge trimmer are designed to cut proper woody stems, and forcing either through one will blunt the blades and leave a torn, ragged cut that heals slowly. Once a stem is thicker than loppers can comfortably manage, a pruning saw with a curved blade is the tool to reach for. Use long, slow strokes and let the saw do the work rather than forcing it, and it will get through even the thickest overgrown stems cleanly. It sits between loppers and a chainsaw in my kit, and for the average overgrown domestic hedge it is usually all you need without going anywhere near power tools.
The shape of your hedge is critical to the health of your hedgerow. Whilst you may see a perfectly clipped square topiary hedge in formal gardens, in reality, most gardens don’t have the open space to accommodate such a clean square finish with the necessary sunlight levels for a healthy hedge of this kind.
You need to camber your hedge shape, so it’s slightly narrower at the top than at the bottom, especially on larger hedges. The RHS calls this a batter, and some gardeners prefer a chamfer instead, where the top section of a vertical side is cut at a 45 degree angle to meet the horizontal top. Either works, the important thing is that the base stays wider than the top.
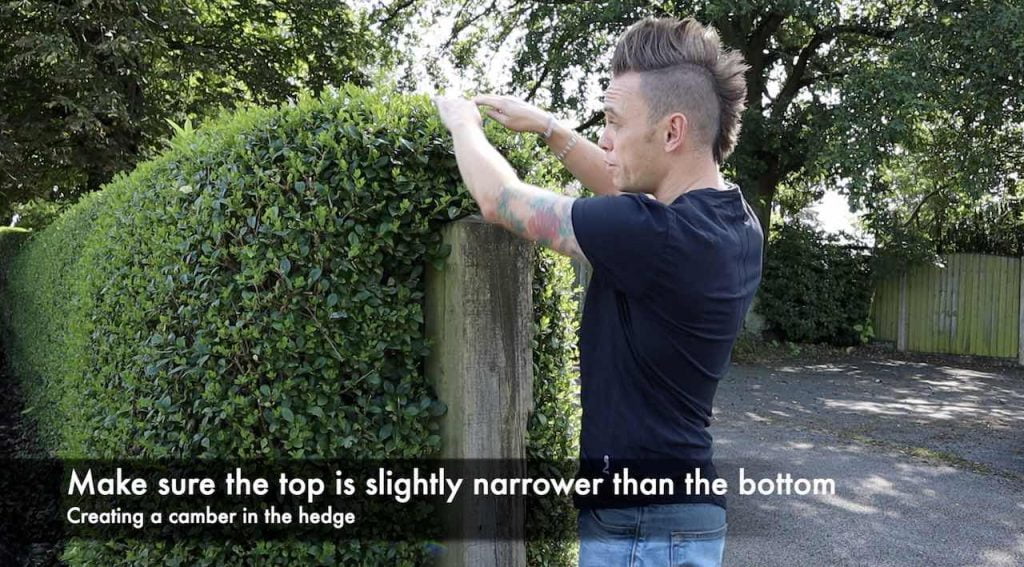
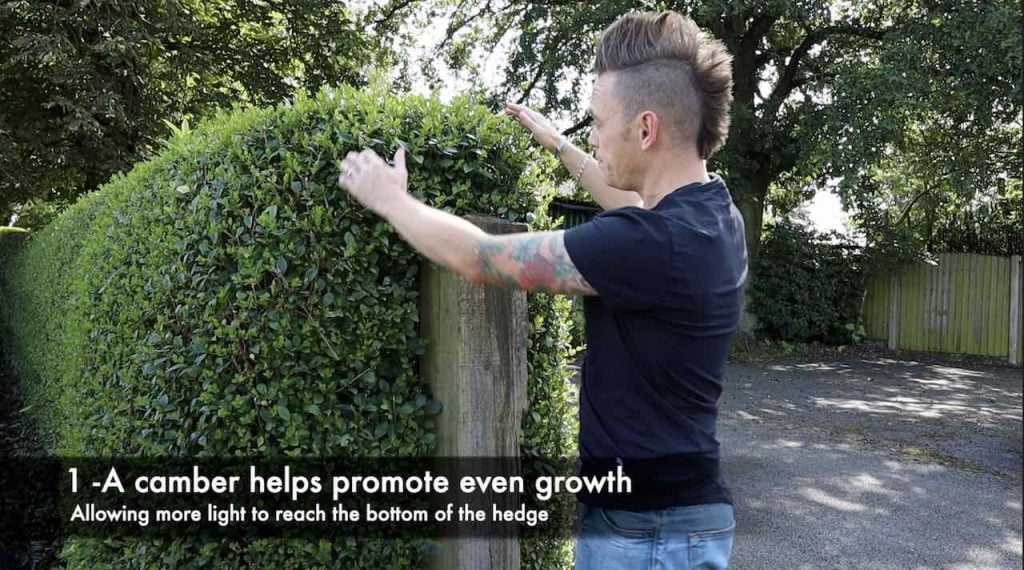
If you don’t give your hedge a batter then the bottom of the hedge will end up receiving less light and then struggle. You will end up with lots of lush growth on top of your hedge and a weak hedge at the bottom. It also has a secondary benefit that a square topped hedge will potentially suffer far more from snowfall than one with a camber or batter.
If snow sits and builds upon the top of your hedge, the chances are the weight will crush and break off the edges of branches.
A batter or camber helps the snow slide off quickly before it builds up.
With hedges, you’re either going to be clipping an evergreen variety, such as Box, Privet or Cherry Laurel, that keeps its colour all year round, or a deciduous hedge, such as Hawthorn or Beech, that loses its leaves in the winter. Understanding which type of hedge you have is key to knowing when to cut them.
Clipping or trimming a hedge with electric or petrol powered trimmers is relatively straightforward. The first cut may be the deepest, as they say, but once you start, you’ll be trimming with ease in no time. Cutting your hedges regularly helps encourage bushy, dense growth, ideal for a garden boundary.
Thick, lush hedges offer privacy in your garden and can also help deter unwanted visitors, if you catch my drift.
You can either prune your hedges with:
This depends on the type of hedge and finishes you want. Let’s take a look at both hedge cutting methods.
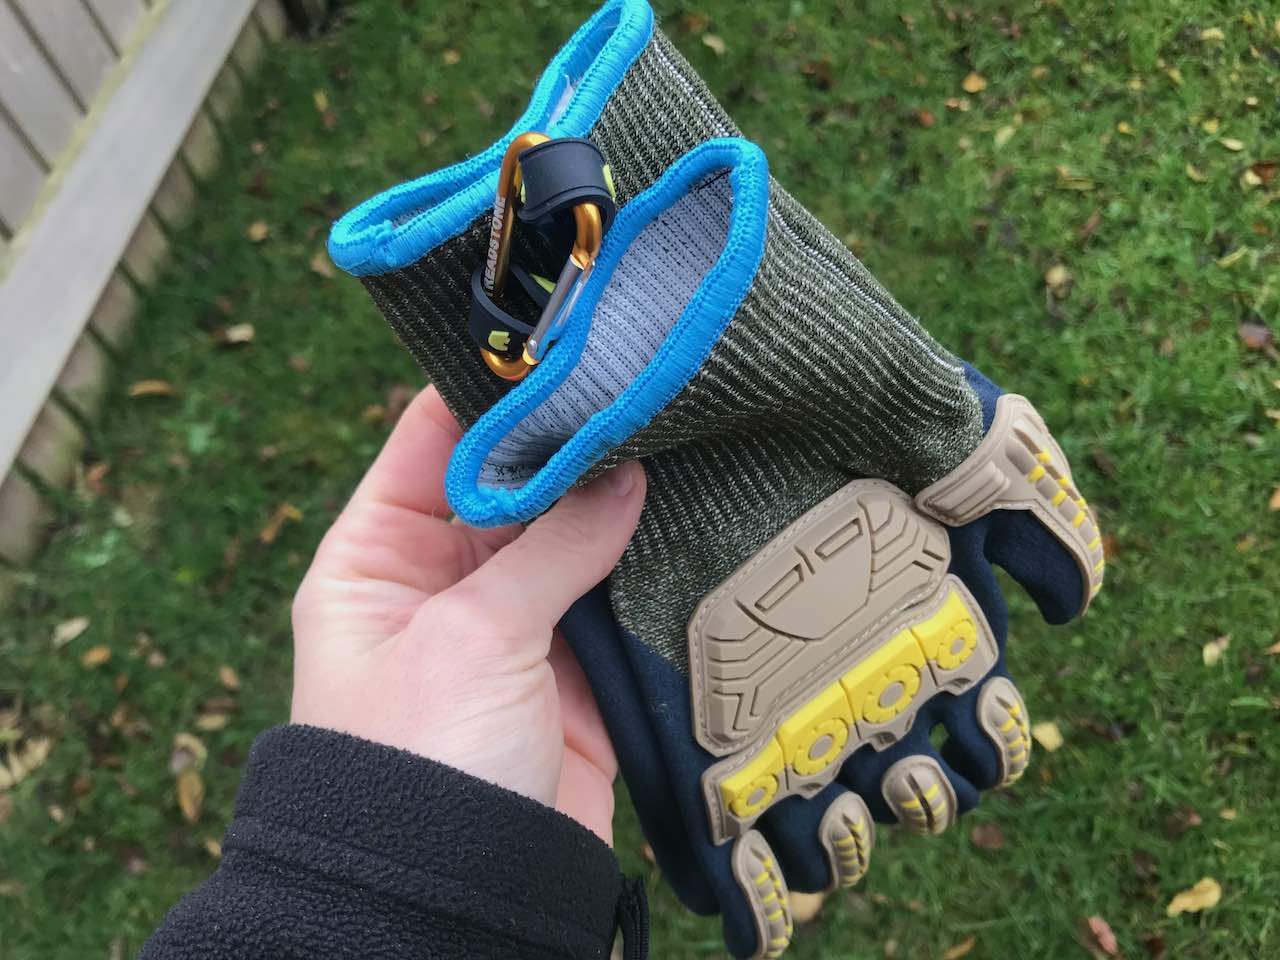
When cutting hedges with electric equipment, always make sure you have gloves, goggles and protective footwear. You’ll also want to ensure your tools are clean, fully charged if battery powered and in good working order. If you’re using a corded electric trimmer rather than a cordless one, always plug it into a residual current device, an RCD, which cuts the power instantly if the cable is accidentally sliced through. It’s a cheap plug-in adapter and honestly one of the most important bits of safety kit you can own for this job.
Most hedges benefit from a light trim to keep them neat twice or three times a year.
When cutting any hedge, aim to trim off between 1 and 4 inches of fresh green growth for regularly maintained hedges.
If your hedge needs more than this taken off, consider a hard prune using loppers to remove thick woody growth. You can read more on that here.
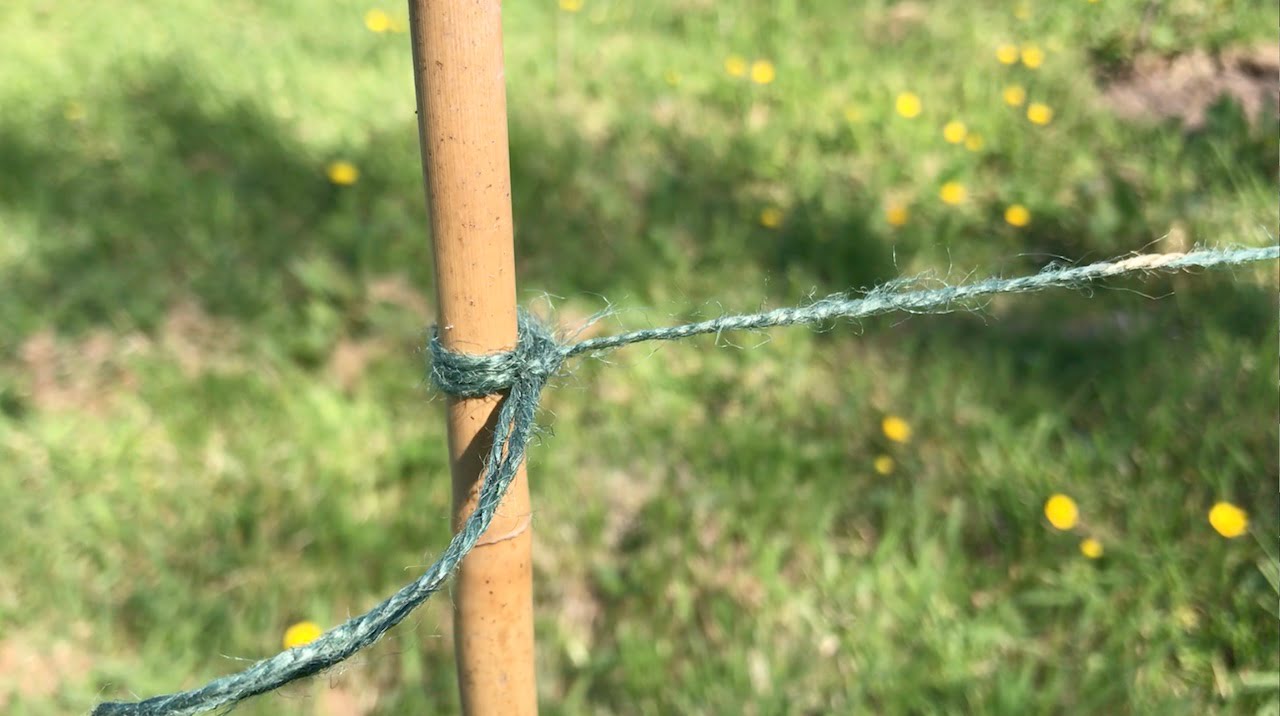
Using canes and a line of string tied horizontally between them can help create a neat, clean top for your hedge. This is particularly useful for very long or formal hedges.
Start cutting your hedge with a wand-like action from bottom to top. The reason for this is you will get a better cut due to more visible control, and it’s far safer than a top-to-bottom approach, which could lead to injury if you slip. Use a sweeping action from bottom to top. Do the sides first, then move on to the top last, since the top is where a wobbly, uneven line shows up most obviously from a distance.
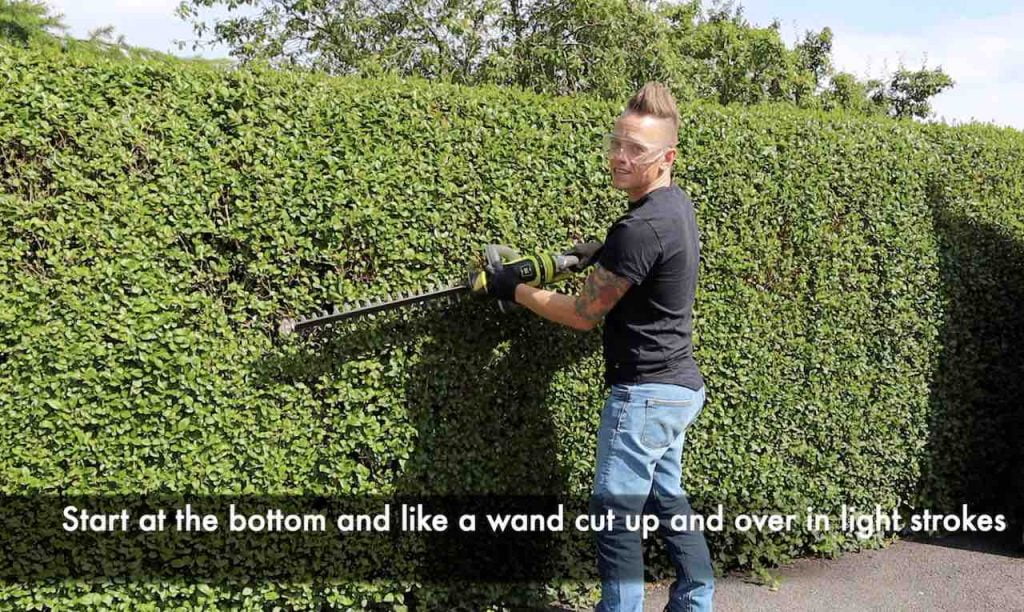
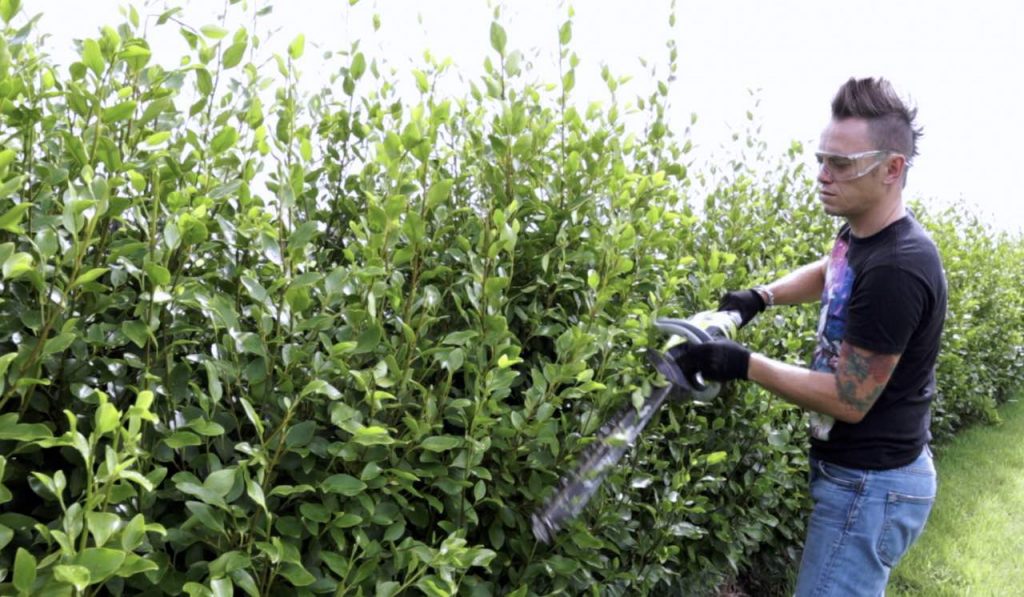
Take your time, as it’s better to take off smaller sections of a hedge than go too deep and end up snagging your way through thicker internal branches.
Keep your hedge trimmers horizontal rather than pointing into the hedge for an even cut. Hedge clippers are only meant for softer leafy growth, not woody material. If you need to fully renovate a thick woody hedge see my guide below.
If you find your hedge clippers snagging as you cut, they either need sharpening or the material you are trying to cut is too thick for them. If it is too thick, use loppers to cut back the woodier material first.
It’s a good idea to keep standing back to check your levels. After all, you can always cut more off but can’t put it back.
Nearly all clippings can be recycled on your compost heap. To speed up the breakdown of evergreen clippings use a garden shredder to cut them into smaller pieces. Be careful with sharp or thorny hedges like Berberis or Hawthorn, as these thorns can make your compost incredibly uncomfortable to handle.
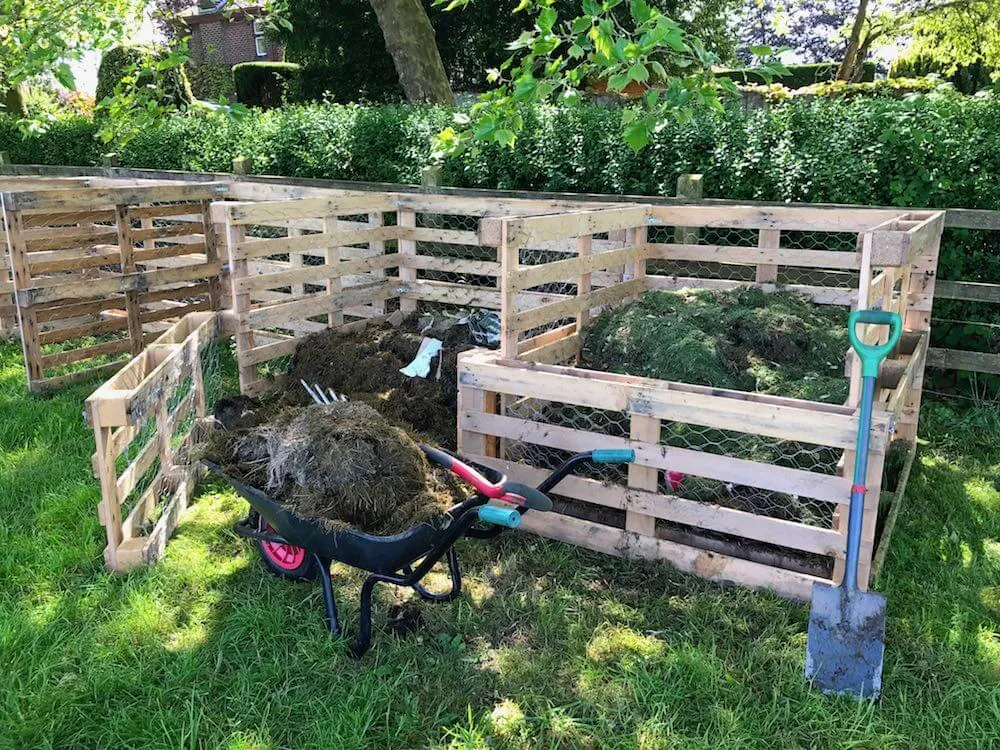
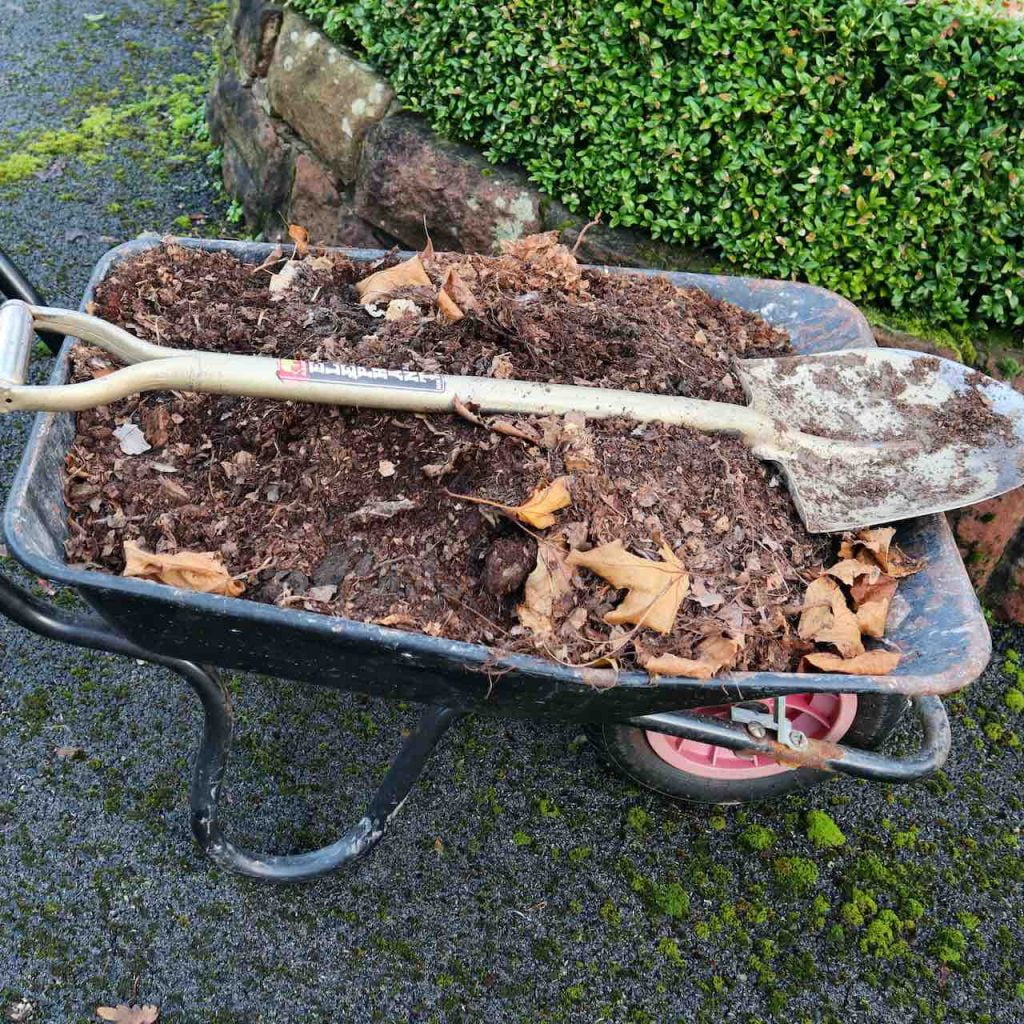
Mulching is a good idea, especially for young or new hedges. It’s a way of helping keep moisture in and adding a slow release feed after cutting. A good peat free organic compost or leaf mould mulch at the hedge’s base can help establish new hedges. I also feed the base of a hedge with compost or a slow release fertiliser before a big trim at the start of the growing season, not just after, since a well fed hedge recovers and bushes out faster once you have taken growth off it.
It is really the same action with hand shears as it is for electric hedge trimmers, although there is more skill involved with hand shears. This is because you’re not just moving them in a wand fashion but also opening and closing the shears to allow them to cut.
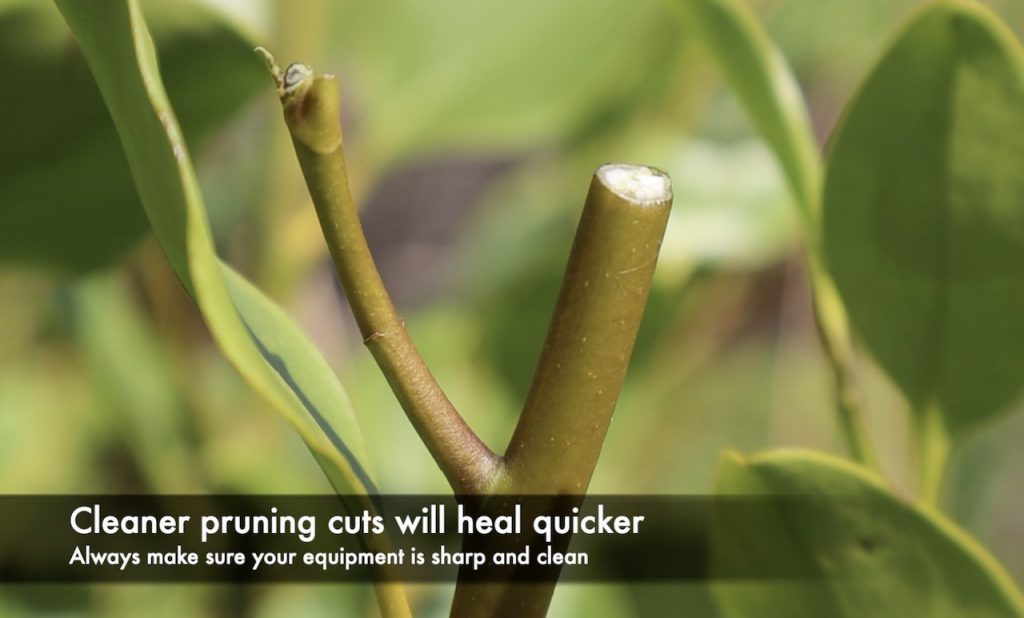
You’ll also need to clean and sharpen hand shears a lot more frequently to give them the sharp edge they require. The end result is well worth it when your hedges are crisp and clean though. The cleaner cuts heal quicker and will stop hedges from going brown and crispy after a trim like you sometimes see with the rougher hedge trimmer cuts.
My advice with hand shears is to take a little and often off the hedges when trimming them until you are comfortable. Hold the shears vertically when clipping and trimming the side of a hedge. Again trim from the bottom to the top.
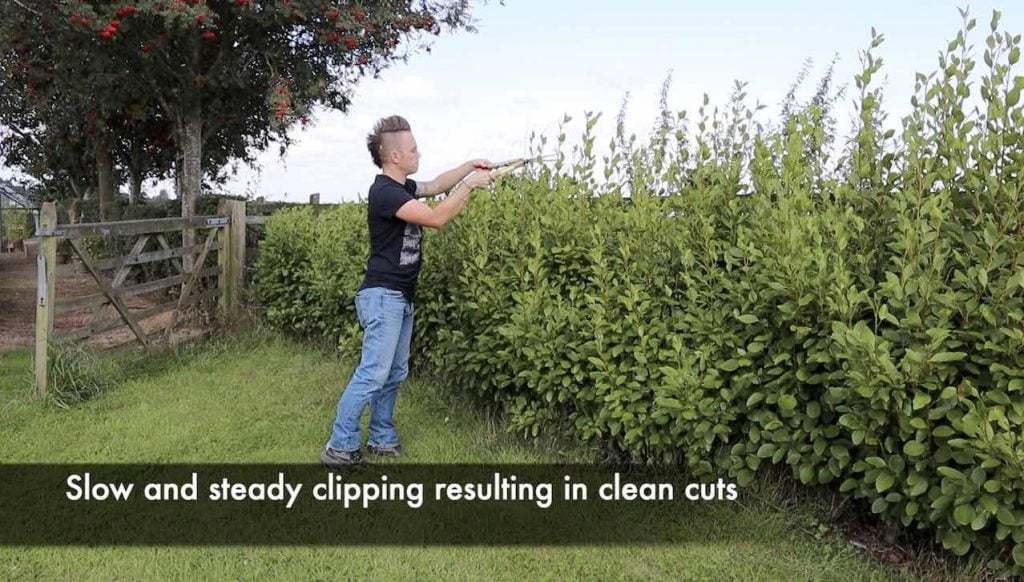
When cutting Box or other formal hedges cleaning your shears in between hedges is vital. This is because of plant health and pests like Box Blight or fungal infections. Hand shears are easy to clean by dipping in a bucket with a mix of 1 part bleach to 10 parts water.
Rotating the shears to be horizontal will help you cut the top of a hedge. It’s far easier than the awkward lean if you hold them horizontally.
Like the electric method, make sure you compost your clippings and mulch any newly planted hedges.
This is a question I get asked constantly by clients, and it’s worth taking seriously, since there are genuine legal considerations wrapped up in something that feels like an entirely routine bit of garden maintenance.
Under the Wildlife and Countryside Act 1981, it’s a criminal offence to intentionally damage or destroy the nest of any wild bird while it’s in use or being built. This is the law behind the advice you’ll see everywhere about not cutting hedges between March and August, the UK’s main bird nesting season. It isn’t a blanket ban on domestic hedge cutting during this window, but it does mean you have a legal duty to check thoroughly for active nests before you start. Fines for disturbing a nest can run into the thousands of pounds, so this isn’t advice worth skipping.
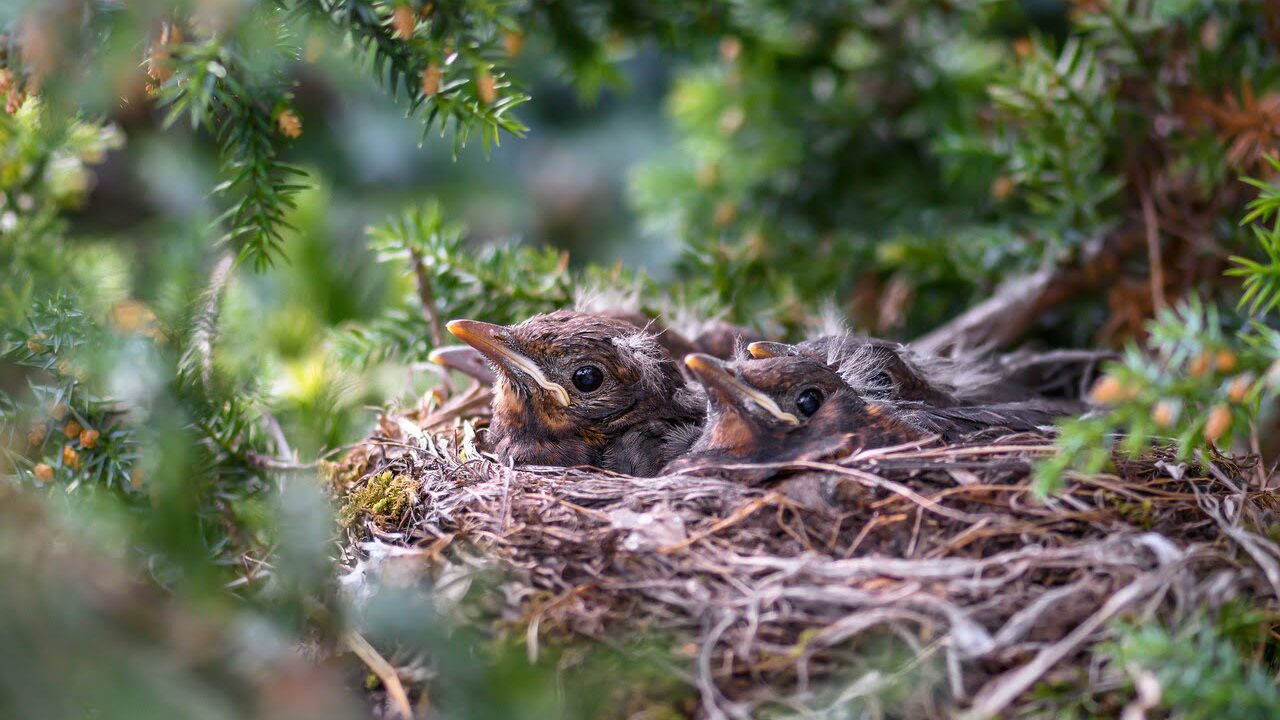
My own approach, which I’ve used for years on client gardens and my own hedges, is to gently pull back sections of the hedge before clipping to look and listen for nests, rather than assuming it’s clear just because you can’t see one from the outside.
If your hedge sits on a boundary between two properties, there’s a separate piece of legislation to be aware of. Under Part 8 of the Anti Social Behaviour Act 2003, a neighbour who feels a hedge is blocking light or access can complain to the local council, who have the power to order the hedge reduced, generally to around two metres, if they agree it’s unreasonable. This applies specifically to evergreen or semi evergreen boundary hedges, most commonly Leylandii disputes, and it’s a route of last resort after direct discussion with a neighbour has failed. I’ve mediated more than one client’s hedge dispute over the years, and in every case, sorting it out before a formal complaint reaches the council saves everyone a huge amount of stress.
If you have a larger rural garden bordering agricultural land, be aware that hedgerow management rules under Defra prohibit cutting or trimming hedgerows on or next to agricultural land between 1 March and 31 August, with only limited exemptions. This is separate from the Wildlife and Countryside Act and specifically protects hedgerows as wildlife corridors, so it’s worth checking if your boundary hedge could fall under this if your garden backs onto farmland.
The safest and simplest approach for most domestic gardeners is the one I already recommend below, cut in early spring before nesting really gets going, and again in late summer once fledglings have left, checking carefully both times.
The best time to trim or cut your hedges depends on whether they are evergreen or deciduous, the speed at which they grow and the neatness you want from them. I cut my evergreen and deciduous hedges twice a year, early spring and later summer.
Evergreen hedges keep their leaves all year round.
Deciduous hedges drop or partially drop their leaves in the winter.

Some larger-leaved evergreen I tend to only cut once in mid-August, especially if they are younger hedges. If you cut twice a year, you’re guaranteed to have a nice neat hedgerow in your garden.
March or August is the best time to cut your garden hedges in the UK
As a general rule of thumb, you need to make sure you’re not cutting hedges when birds may be nesting in them. In the UK, this can be any time between February and August, which may sound highly inconvenient for the time-poor gardener.
What I would say is that this time frame depends on where you live, the frequency of birds, and whether your area is hedgerow dense; in other words, there’s more chance for birds to nest elsewhere. They usually avoid noisy residential areas if there’s a quieter hedgerow nearby.
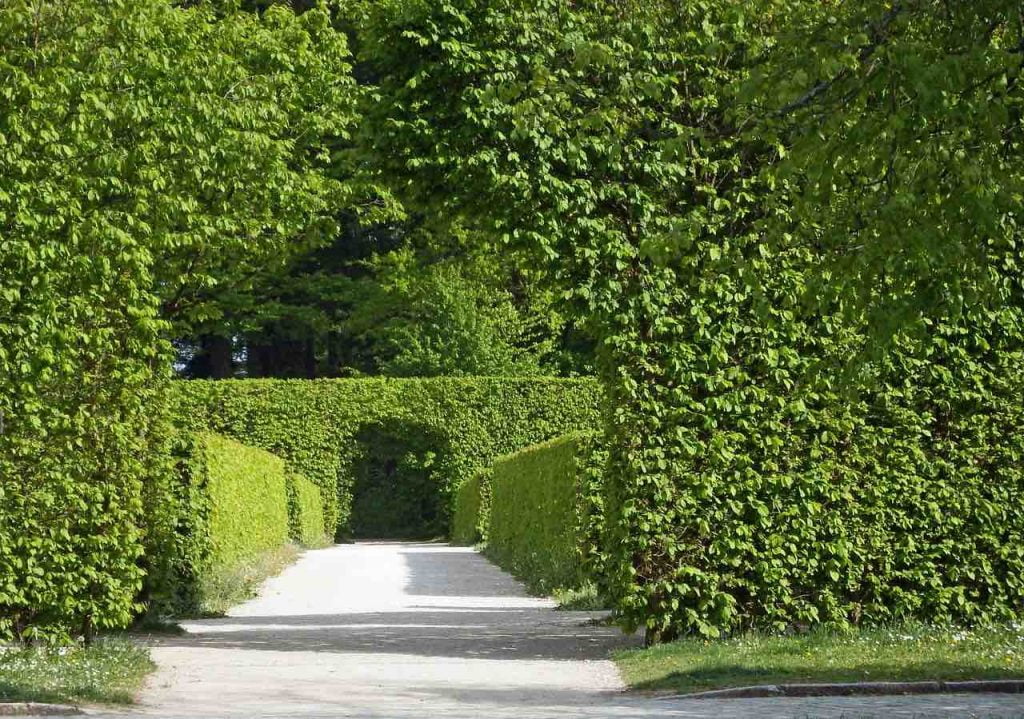
I always pull back parts of the hedge before I clip, usually in early March and then in August, to check for nests. I also know roughly every year where, for example, the blackbird’s nest and other species so I time my trimmings around that. If I find one that’s being used as a bird’s nest, I leave that hedge section.
You really don’t want to be clipping in April or May when birds are likely to be nesting there. Sometimes you may have no choice, especially if removing a hedge for landscaping, but it’s best to check and try and be as considerate to our flying friends as possible. Bird boxes and other nesting options can help birds choose different locations.
Not every hedge grows at the same rate, and matching your cutting frequency to the species saves you effort and gives a better result. Here’s how I schedule the hedges I look after.
| Hedge Type | Growth Rate | Cuts Per Year | Best Timing |
| Leylandii, Privet, Cherry Laurel | Fast | 2 to 3 | Late spring, midsummer, early autumn |
| Beech, Hornbeam | Medium | 1 to 2 | Late summer, August is ideal |
| Box | Slow to medium | 2 | Late spring and again in early autumn to manage box blight risk |
| Yew | Slow | 1 | Late August or September |
| Holly, Hawthorn | Slow | 1 | Late summer, after any flowering has finished |
Box is worth flagging specifically here, since good airflow around the plant in the damper months really helps guard against box blight, so I always time that second cut to open the plant back up before autumn sets in. If box blight has already taken hold on your hedge, my dedicated box hedge pruning guide covers the timing and technique for managing it in far more depth than I can here.
This depends on the type of hedge you have, whether it’s super formal, informal, slow or fast growing, and if it falls into that fast growing category I would point you towards my fast growing hedges guide for the full detail on which plants fall into that category and how to keep them under control.
As a minimum, I would cut all hedges at least twice a year.
For more formal hedges, this may be up to 5 or 6 times a year.
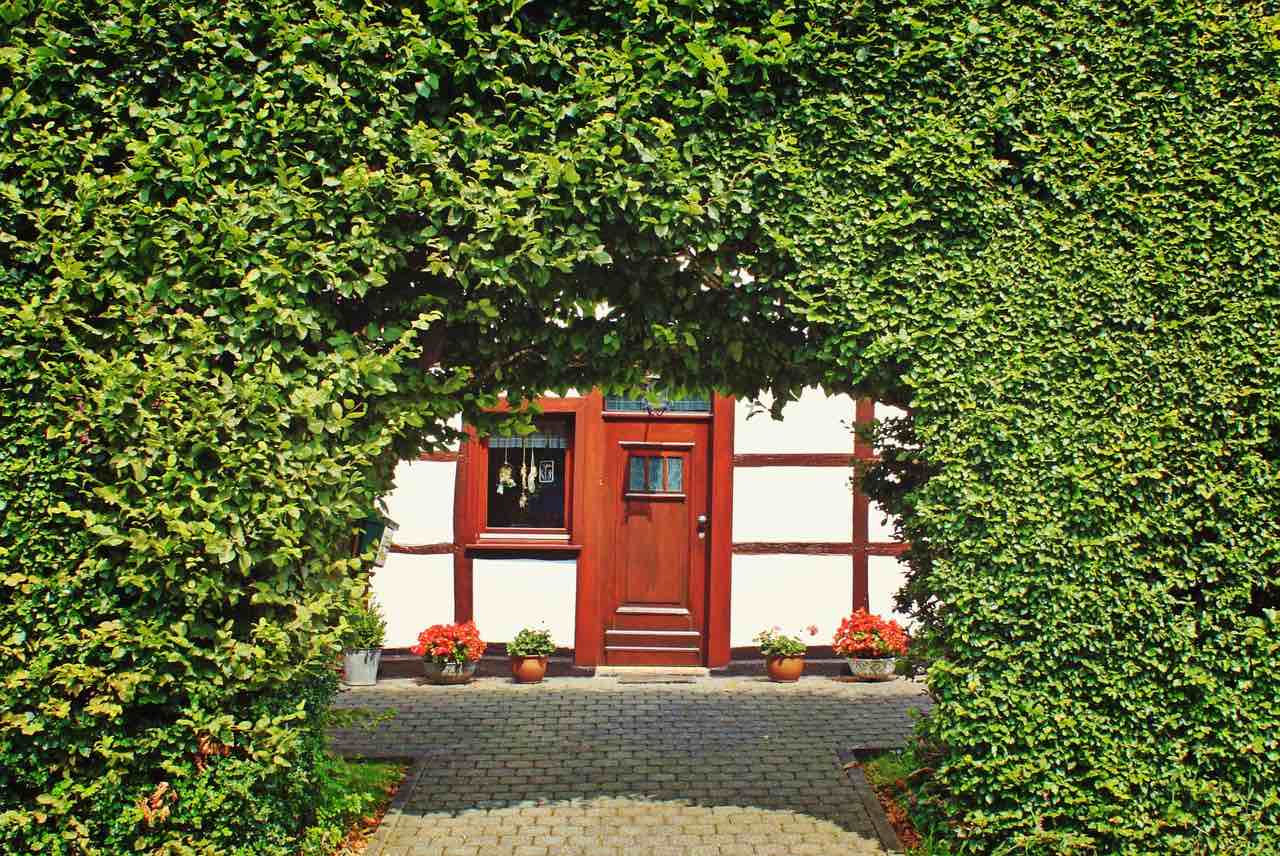
I get asked this a lot, usually by a client stood next to a hedge they are nervous about cutting back hard: why does trimming a hedge make it bushier rather than just smaller? The answer sits in a bit of plant biology I think is worth understanding properly, rather than just following the rule blindly, because it explains almost every piece of timing and technique advice in this guide.
Every leading shoot at the top of a hedge produces a hormone called auxin, and auxin’s job is to suppress the buds lower down the stem from growing. This is called apical dominance, and its whole purpose in nature is to help a plant grow tall and reach light before its neighbours, at the expense of bushing out sideways. The moment you cut off that leading shoot, you remove the source of the auxin, and the suppressed lateral buds below the cut are freed up to start growing. That is the entire mechanism behind a thicker hedge: you are not making the plant grow more, you are redirecting where it grows.
This is also why timing matters as much as technique. Cut too early in spring and you stimulate a flush of soft new growth that a late frost will happily blacken and kill. Cut too late in autumn and the plant wastes energy pushing out shoots that have no time to harden before winter arrives, leaving them vulnerable to cold damage. Every one of the timing windows I have given you through this guide is really just working around that biology, giving each species enough of the growing season to redirect its energy into new lateral growth and harden it off before the weather turns against it.
💡 Top Tip
Always check the five day forecast before a late season trim. If frost is forecast shortly after you cut, it can blacken the fresh wounds and the soft new growth the cut has just triggered, leaving unsightly brown patches that take a full season to grow out. A dry day with no frost in the immediate forecast is worth waiting for.
A hedge does more work in a garden than most people give it credit for. Beyond the privacy and structure, a well established boundary hedge properly helps capture airborne pollution and dampen traffic noise, which matters more than you might think if your garden backs onto a road. That filtering effect comes from density and leaf surface area, which is another reason I would always rather see a hedge trimmed properly than left to get leggy and thin at the base.
If wildlife matters to you as much as tidiness, and it does to a lot of my clients, a mixed native hedge of hawthorn, hazel or blackthorn can be trimmed less frequently and on a rotational basis, cutting different sections of a longer run in alternate years rather than the whole thing every season. This lets some sections flower and berry properly each year, which matters enormously for pollinators in spring and birds in winter, while still keeping the overall hedge from getting completely out of hand. It is a compromise I use often on rural boundary hedges where the wildlife value is as important to the client as the screening.
There’s a lot of advice online and in textbooks that using a tarpaulin is necessary to catch hedge clippings. Now, this is subjective, but in all my experience, I never use a tarp. I opt for a brush and dustpan or a lawnmower to collect my trimmings. The only situation where a tarpaulin would be useful is clipping a formal parterre or knot garden into gravel.
In this case, a mat or tarp can be a real time saver when it comes to collecting your trimmings. Otherwise, I find a tarp more fuss than it’s worth, to be honest.

Except for Hawthorn and Pyracanthus hedges which have vicious sharp thorns, nearly all other hedgerow material can be composted. I don’t compost the thorny stuff as I quite like not having my hands spiked when I’m moving compost.
If you’re composting evergreen leaves or larger hedge leaves then I’d recommend mowing over them on the lawn to help cut them up further. Then add them to your compost bin where they will break down considerably faster.
Another point to note is the mix of brown, carbon material to green, nitrogen material in your compost bin. Hedge clippings are surprisingly high in brown carbon materials, so I always add some grass clippings to even out the balance and speed up breakdown.
You may have moved house and found yourself with a very old or out-of-control hedge. The immediate thought was that maybe let’s get rid of it and start again. However, you can renovate an old hedge relatively quickly with some patience. It is also a lot cheaper and requires much less effort than removing hedging and starting again.
It may sound brutal, but for most deciduous hedges you need to cut the hedge down to around 2ft to kick-start new growth at the base and the new top of the hedge. This is by far the best way to revive an old deciduous hedge.
Using a chainsaw, cut through the existing hedge in sections until you’re at the 2ft mark. Then it is simply a case of waiting to see the new growth emerging and trimming twice a year as if it’s a new hedge altogether.
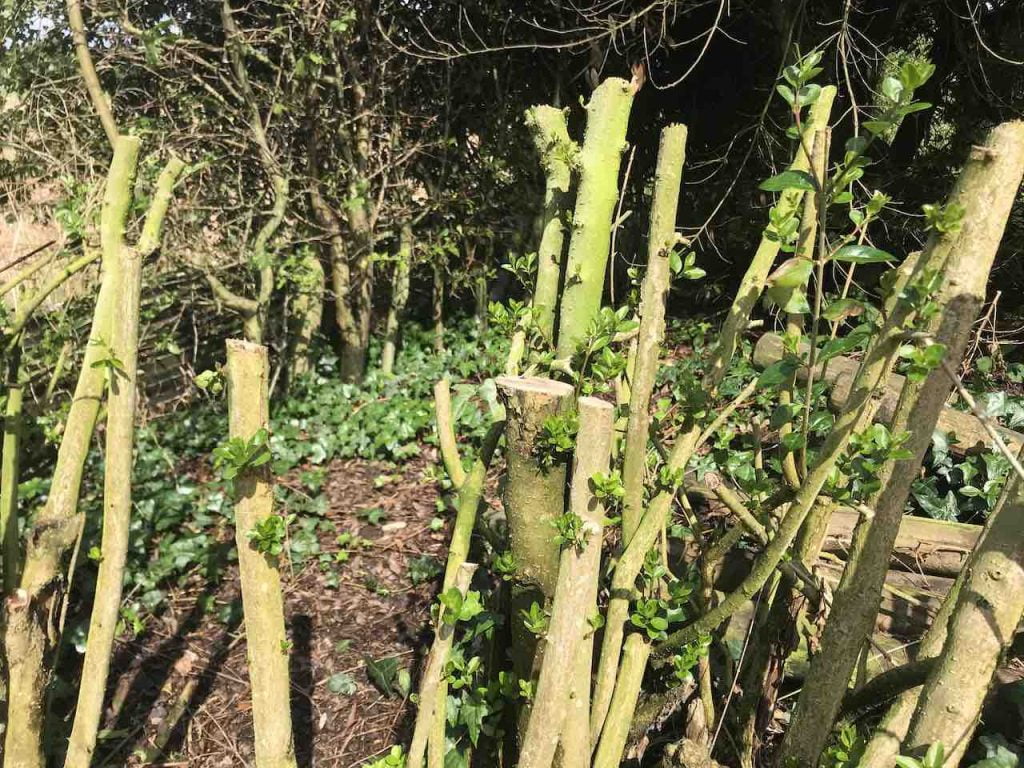
You can see the new growth after three weeks here on this renovated Privet and Hawthorn hedge. Trust me when I say I’ve done this on some really awful hedges, and they have all come back with a bit of patience and TLC.
This is honestly the single most important warning I can give you in this entire guide, and it’s one I see get gardeners into trouble constantly. The hard renovation approach above works brilliantly for deciduous hedges like Privet, Hawthorn and Beech, because they regenerate readily from old, bare wood. Conifers, and Leylandii above all, simply don’t. If you cut a conifer hedge back beyond its green growth into the brown, woody interior, that section will not resprout. Ever. You’re left with a permanent bare, brown patch that no amount of feeding, patience or hope will fix.
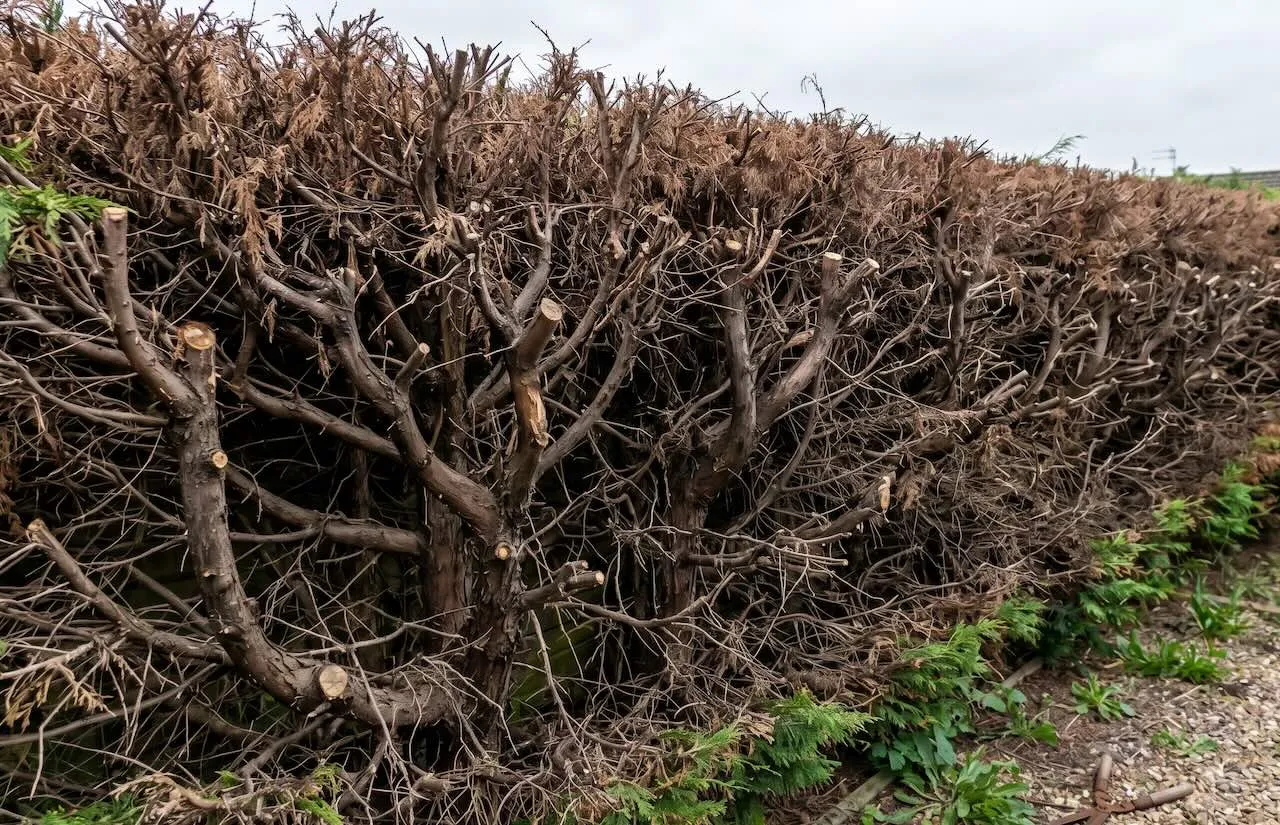
I was called out to a client’s garden a few years back where a well-meaning relative had taken a chainsaw to an overgrown Leylandii boundary hedge over a weekend, using exactly the renovation approach I’ve described above for deciduous hedges. The result was a 15-metre run of brown, dead-looking hedge with nothing but bare wood where the green growth used to be. There was honestly nothing to be done except take the whole thing out and start again, which cost considerably more than a few years of proper twice-yearly maintenance would ever have done.
Yew is the one significant exception to this rule. Unlike other conifers, yew will resprout from old wood even when cut back hard, which is exactly why it’s the classic choice for renovating overgrown formal hedging and topiary. If you’re not entirely certain what species your conifer hedge is, always keep any hard cuts within the green growth and never expose bare brown wood, just to be safe.
It goes without saying that looking after your tools and keeping them sharp is essential. It’s really a false time saving to just put your tools back once you’re done. If I can give you one top tip, it is to oil them both before and after you use them, at the very least.
Oiling your garden tools will prevent rust and keep them lubricated and in good working order. I use Japanese Camellia oil, you hardly need any.
🛒 Buy Niwaki camellia tool oil from Amazon UK
Hand shears will need sharpening after each use to keep them razor sharp, and if you also reach for secateurs on the thicker growth this job throws up, my secateurs buying guide covers which pairs are worth the money. Electric trimmers don’t need as much sharpening, but a good clean and oil will help keep them functioning for many years.
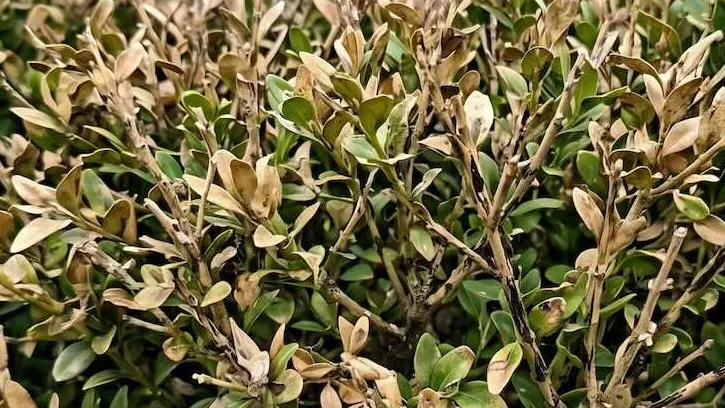
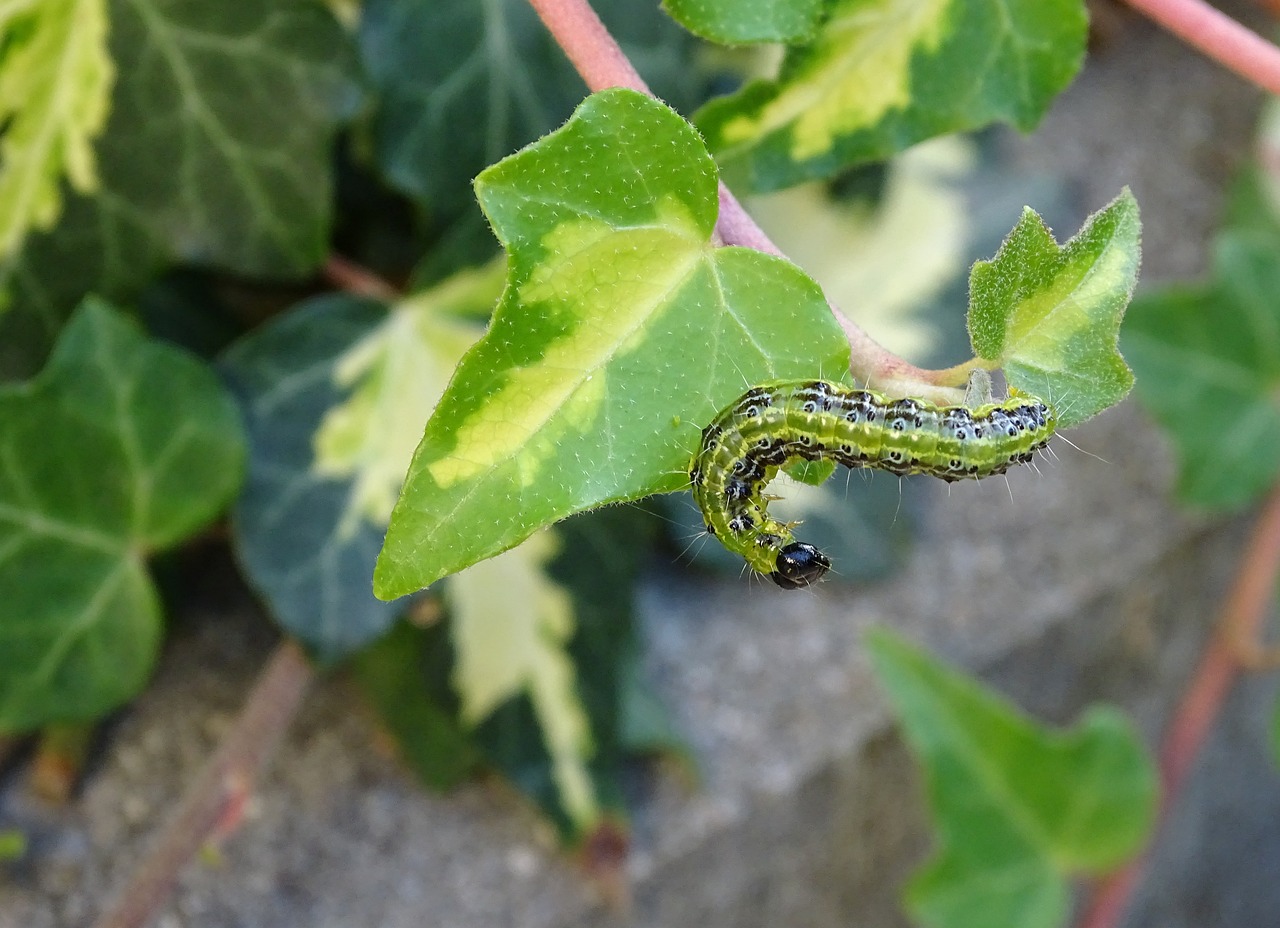
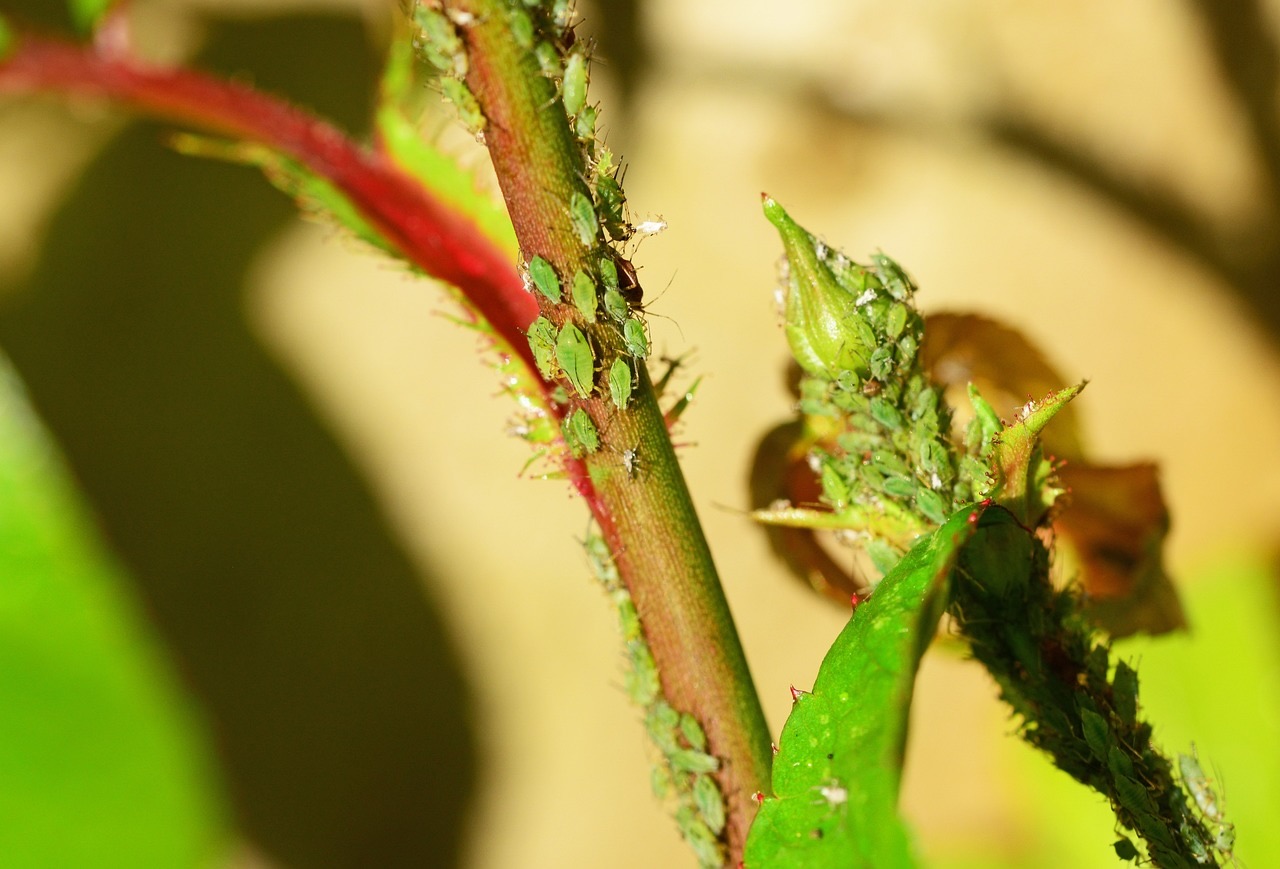
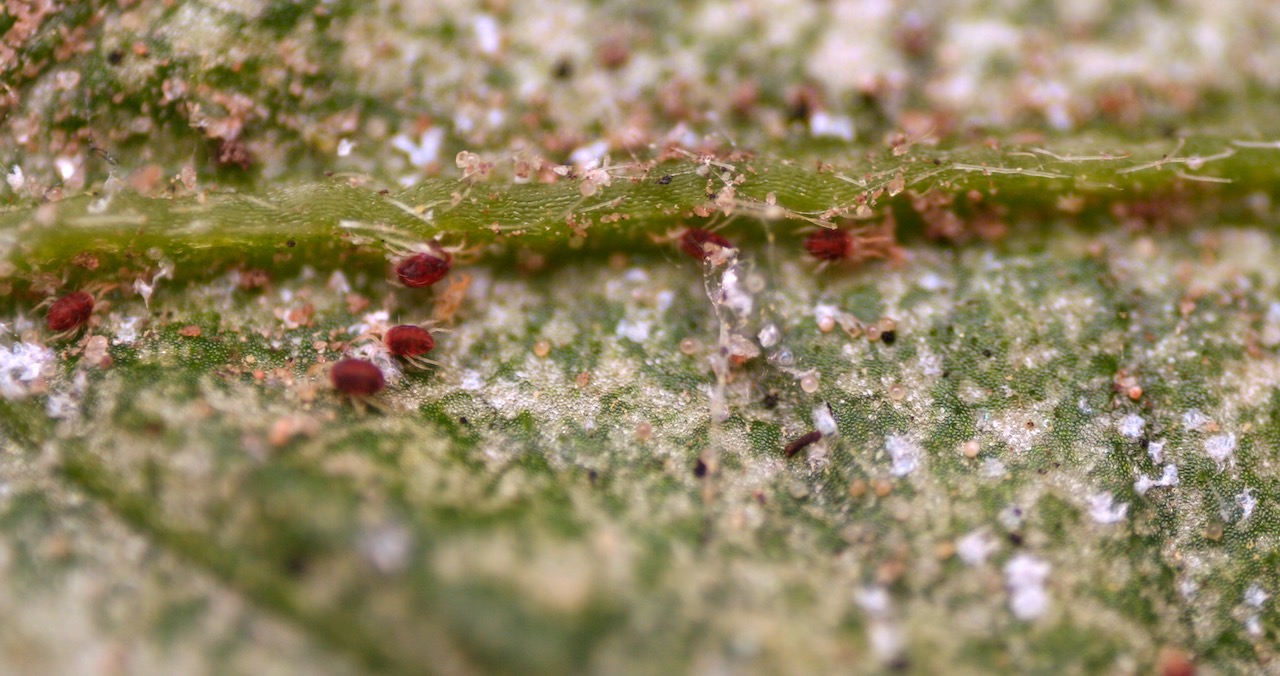
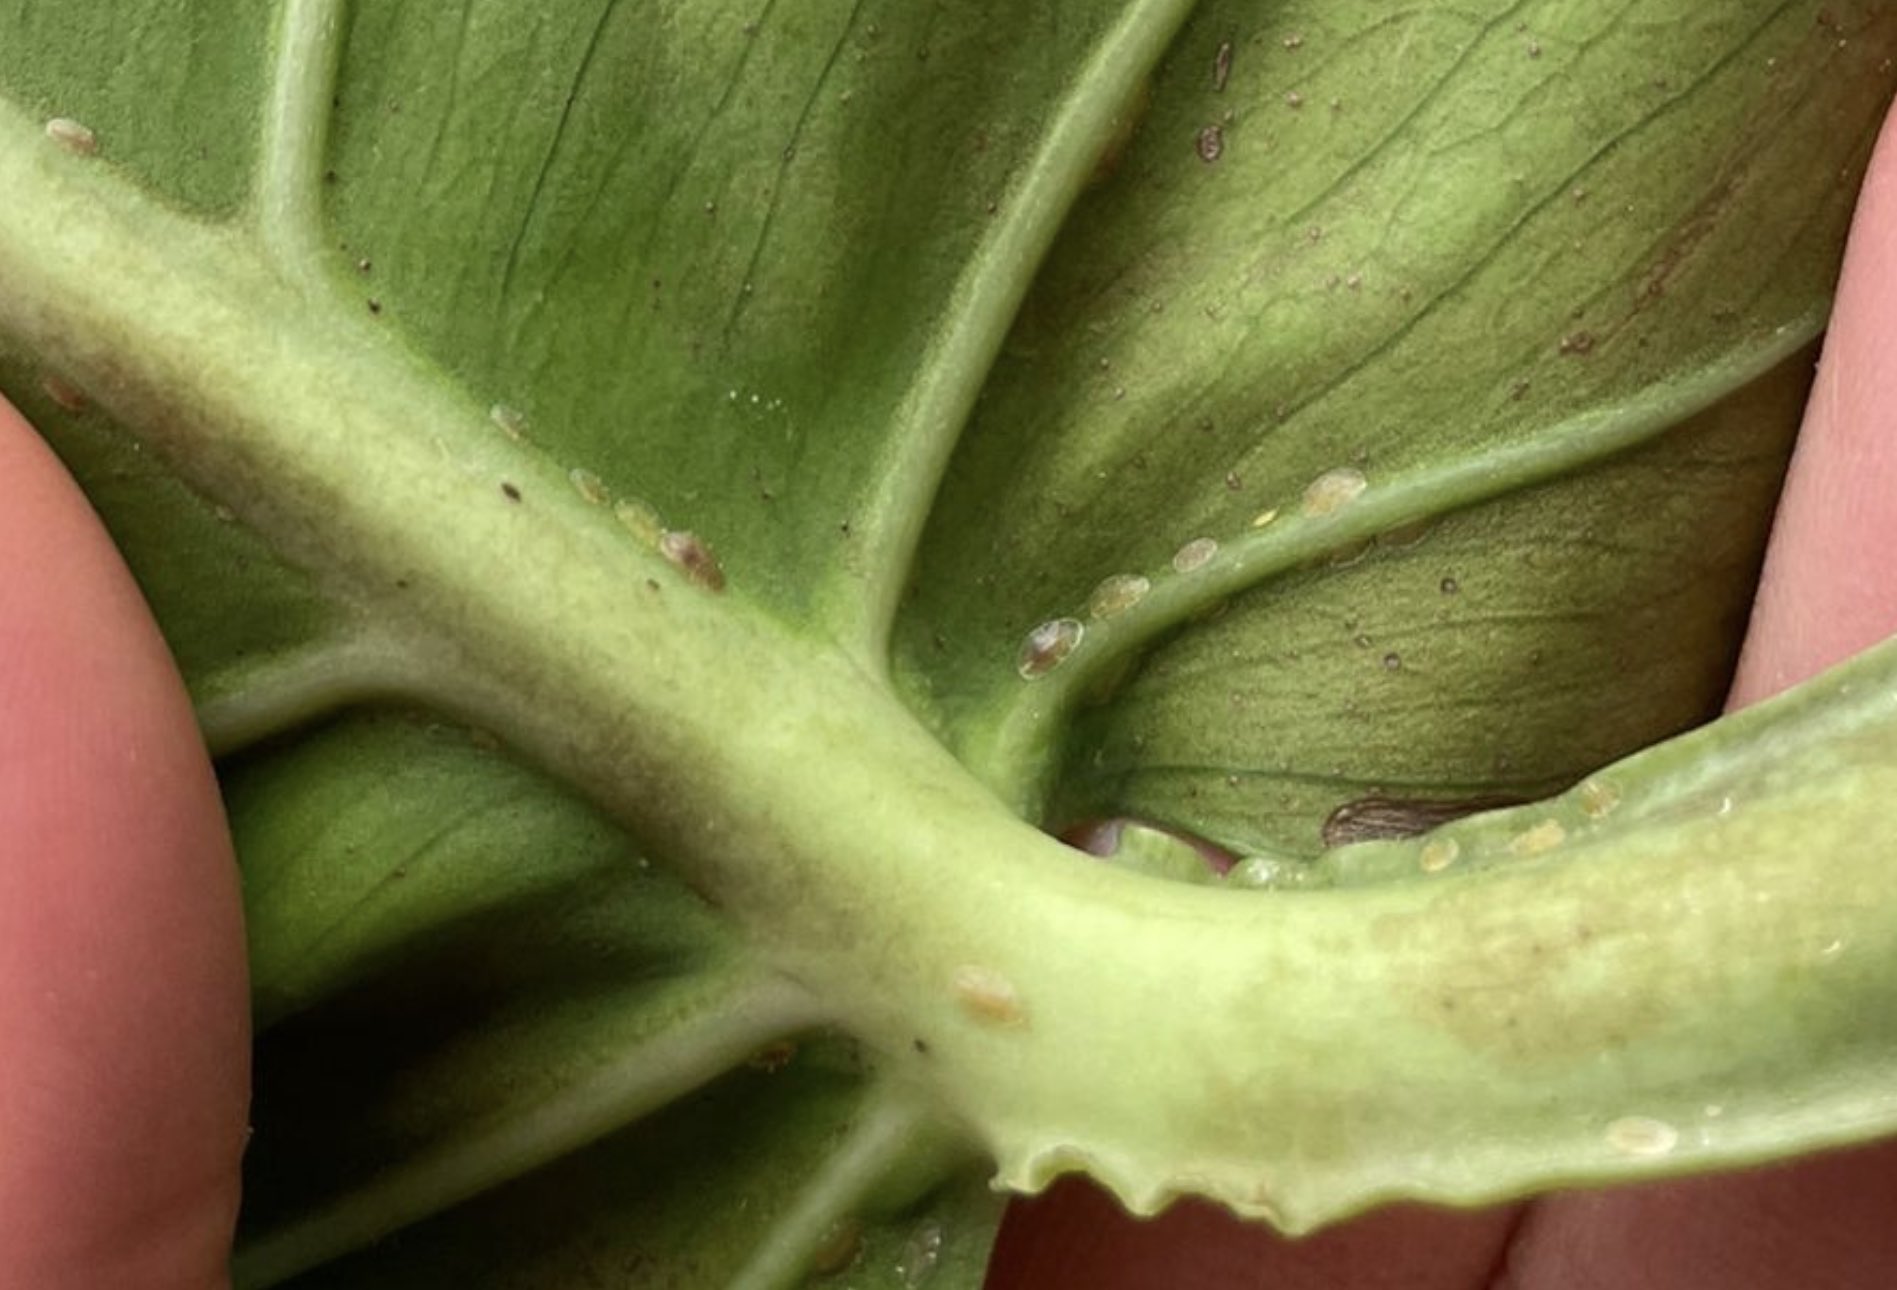
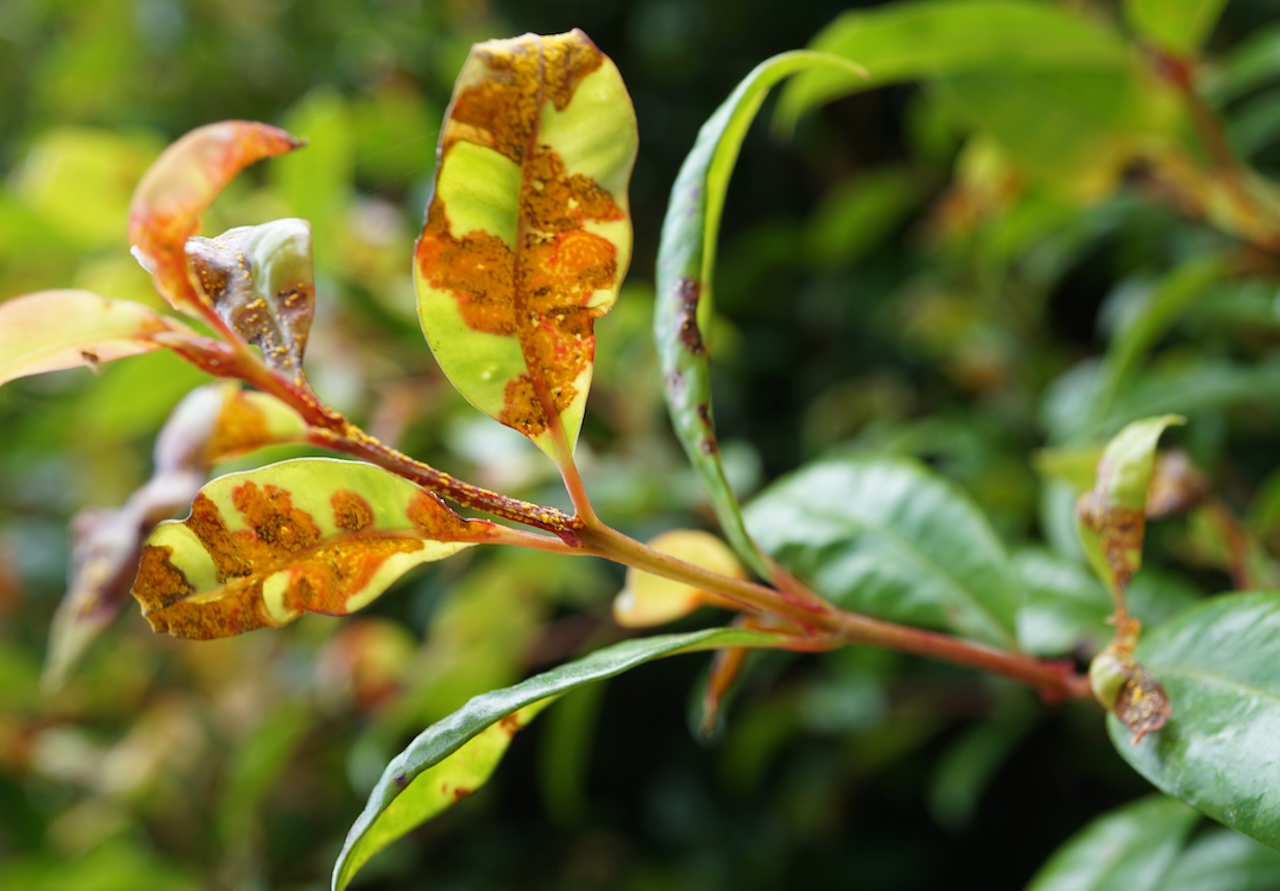
Once established, hedges are generally low-maintenance parts of garden design. Most hedges stay healthy with very little intervention from gardeners. However, there are always a few exceptions to the rule. So, if your hedge suddenly drops leaves, turns brown or yellow, or even starts to wilt, it may be one of the pests, diseases, or illnesses below.
Here’s a more detailed overview of common diseases and pests affecting hedges, along with their treatments.

Yes. Under the Wildlife and Countryside Act 1981, intentionally damaging or destroying an active bird’s nest is a criminal offence, whatever time of year it happens. Always check a hedge thoroughly before cutting between March and August, when most UK birds are nesting.
There’s no automatic legal height limit for a hedge on your own property. However, if a boundary hedge is blocking a neighbour’s light and informal discussion doesn’t resolve it, they can complain to the local council under the Anti Social Behaviour Act 2003, which can order it reduced, typically to around two metres.
No. Leylandii and most other conifers will not resprout from bare, brown wood, so cutting back beyond the green growth leaves a permanent dead patch. Keep any renovation work within the green growth only. Yew is the main exception and will happily regenerate from a hard prune.
Most hedges need cutting at least twice a year, in spring and late summer. Fast growing species like Leylandii and Privet may need three cuts, while slow growers like Yew and Holly are often fine with just one late summer trim.
Electric or cordless trimmers are faster and easier for beginners and for large or fast growing hedges. Hand shears give a cleaner, more precise finish and are better suited to large leaved evergreens like Cherry Laurel, where trimmer blades can cause unsightly torn leaves.
Yes, almost all hedge clippings can go on the compost heap, though thorny material like Hawthorn is worth leaving out. Shredding or mowing over leafier evergreen clippings first speeds up how quickly they break down, and adding some grass clippings balances the high carbon content of woody trimmings.
Removing the leading shoot of a stem removes the source of a hormone called auxin, which otherwise suppresses the lower buds on that stem. With the auxin gone, those lower buds are free to grow, which is why a hedge bushes out from below every cut rather than simply getting shorter.
More Hedge Guides

Join over 100,000 gardeners on YouTube
Free gardening videos from the Garden Ninja, with 8 million views and counting.
Subscribe on YouTube, it’s freeLee Burkhill, The Garden Ninja, offers engaging online garden design courses that teach you how to craft your ideal outdoor space from scratch. Through interactive video lessons and quizzes, you’ll gain valuable insights into garden layout, plant selection, and eco-friendly practices, all skills that can elevate your composting methods too. Whether new to gardening or experienced, these courses are designed for all skill levels.
By enrolling, you’ll not only master composting but also discover how to transform your entire garden into a sustainable sanctuary that reflects your personality. With Lee’s expertise in sustainable gardening, you’ll learn how to maximise the benefits of compost, enriching your soil naturally.
For the garden you’ve already got, not the one you’re starting from scratch. Seven checklists and video lessons from BBC Garden Rescue’s Lee Burkhill, designed to help you decide what’s worth keeping before you spend a penny.
Garden Design Examples for Small Gardens: 30 Design Templates & Planting Plans: In this online gardening course, I’ll walk you through 30 fantastic garden designs, explaining the logic behind the layout and plant choices, plus take-home tips for applying them in your own garden.
Learn how to transform and design your garden with Lee Burkhill’s crash course in garden design. In over 5 hours, Lee will teach you how to design your dream garden. Featuring practical design examples, planting ideas and video guides. Learn how to design your garden in one weekend!
Garden Design for Beginners Online Course: Want to become a garden designer or design your own garden? This beginner course is for you. Join me, Lee Burkhill, an award-winning garden designer, as I train you in the art of beautiful garden design. Enjoy 20 hours of online study and video lessons, along with quizzes and a completion certificate.
Hedge trimming really doesn’t need to be a huge effort if you keep on top of your trimming and plan in advance. With the right tools, the right timing and a proper understanding of why a hedge responds the way it does, hedge cutting can be a properly satisfying job rather than a dreaded one, especially if there are cold beers and a barbecue waiting at the end of it. So why not turn it into a proper event and be the envy of your neighbours with your fuss-free hedging?
If you’re thinking of planting a hedge, I’d highly recommend watching my popular YouTube garden guide below, which will show you the basics of creating the perfect hedge.
Regular hedge cutting is essential for maintaining the health, shape, and appearance of hedges. Trimming hedges encourages dense growth, promotes flowering in some hedges, and prevents them from becoming overgrown and unsightly. Additionally, cutting hedges helps to maintain their desired height and width, ensuring they do not encroach on pathways or neighbouring properties.
Pruning also stimulates new growth, resulting in a denser and more vibrant hedge overall. Moreover, regular trimming reduces the risk of disease and pest infestations by improving air circulation and sunlight penetration throughout the hedge.
Why not check out the other guides and vlogs on my YouTube channel? You can also check out my Tweet, Facebook or Instagram for more garden guides and tips.
Happy hedge cutting, Ninjas.

Lee Burkhill, known as the Garden Ninja, is an award-winning garden designer and horticulturist with over 30 years of gardening experience and 15 years as a professional garden designer. A qualified RHS (Royal Horticultural Society) professional, Lee specialises in sustainable garden design and practical horticultural advice. He designs and presents on BBC1’s Garden Rescue and in leading gardening publications. Lee combines three decades of hands-on gardening knowledge with professional design qualifications to help gardeners create beautiful, functional outdoor spaces.
View all posts by Lee Burkhill




You must be logged in to post a comment.




JOIN THE NINJAS

Be the first in line for new Guides, Discount codes and Offers




Hi Lee, thank you very much for your useful posts! We have just planted a hedge, it’s about 1.20m high, and we’re wondering if we needed to prune it straight away (November) for formative pruning so it becomes nice and thick, of if it’s best to wait for Spring and let us settle. We are following your advice and watering it regularly, even now. Thanks!
Hi Caroline, Congrats on planting a hedge and doing your bit for wildlife! I’d wait until early spring and then take off 30cm from that hedge to help it bush. All the best and happy gardening! Lee
Thank you very much!
Excellent guide on all things hedgey, Lee!
One hedge maintenance tip I would like to add to your guide – and it’s probably the detail I see most neglected by domestic gardeners and professionals alike – is: take care of the base of the hedge: remove weeds, ivy, and especially rogue seedlings and saplings. I so often see hedges trimmed really well, with a good shape and nice lines, but there are loads of rogue saplings growing up through the hedge, or ivy running riot along the lower stems, eventually taking up the space of the hedge plants and leaving a gappy, messy finish.
For me, an essential part of “hedge trimming” is not actually trimming at all, but getting down to the base of the hedge and digging out any saplings and weeding out any weeds. The less competition the hedges roots have, the healthier the hedge will be!