-
Gabion Building Guide – The Exploding Atom Garden Diary Episode 7
 Lee Burkhill: Award Winning Designer & BBC 1's Garden Rescue Presenters Official Blog
Gabions provide a really quick and relatively low-cost way of building retaining walls and boundaries. In fact, even if you don't know what a gabion is you've probably seen hundreds at the side of motorways and in the countryside. In this guide, I'm going to be showing you how I'm using these brutal structures to create a set of ornamental structures in the Exploding Atom Garden.
The Exploding Atom Garden is based on a concept of the layers of an atom firing out from a red-hot core. To symbolise these layers, I’ve decided to use Gabions to represent the shards of this Garden Explosion. Given this garden uses very soft landscaping techniques for the borders and grass pathways, I felt it needed something with more bite to get the drama level up a bit, so it’s time for the Gabion building to commence!
Hard landscaping can be a really effective way of grounding a garden and adding interest. Given the constraints of this garden being in such a rural area, I didn’t want to start adding meters of hard paths, flags or pavers. It simply wouldn’t work. The garden did need some structure, other than the planting. Without this structure, it would feel too soft and gentle. That’s not the feel for the Exploding Atom Garden. So I chose the brutal design element of gabions filled with jagged and hard materials for this function.
What are Gabions?
Gabions are metal cages that are more commonly used for retaining walls. The cages can be filled with stone which gives them rigidity and strength to hold back banks of soil. You will have probably seen them on motorway verges or used in terraces. They are a relatively cost-effective way to create walls and barriers in landscaping.

Did you know that you can take my course and learn how to become a Garden Ninja yourself? Click here for details
How to build a gabion
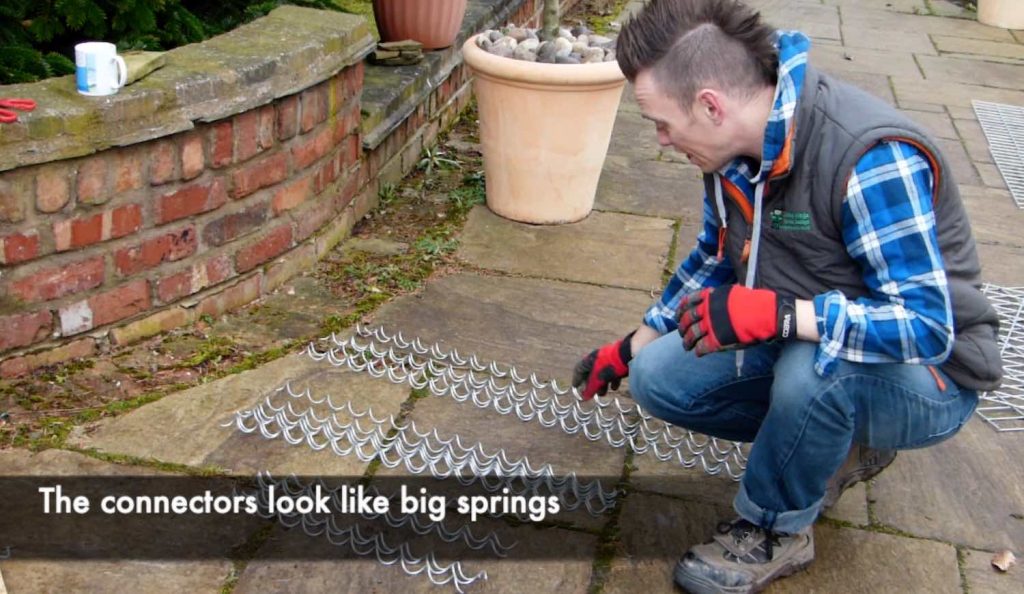
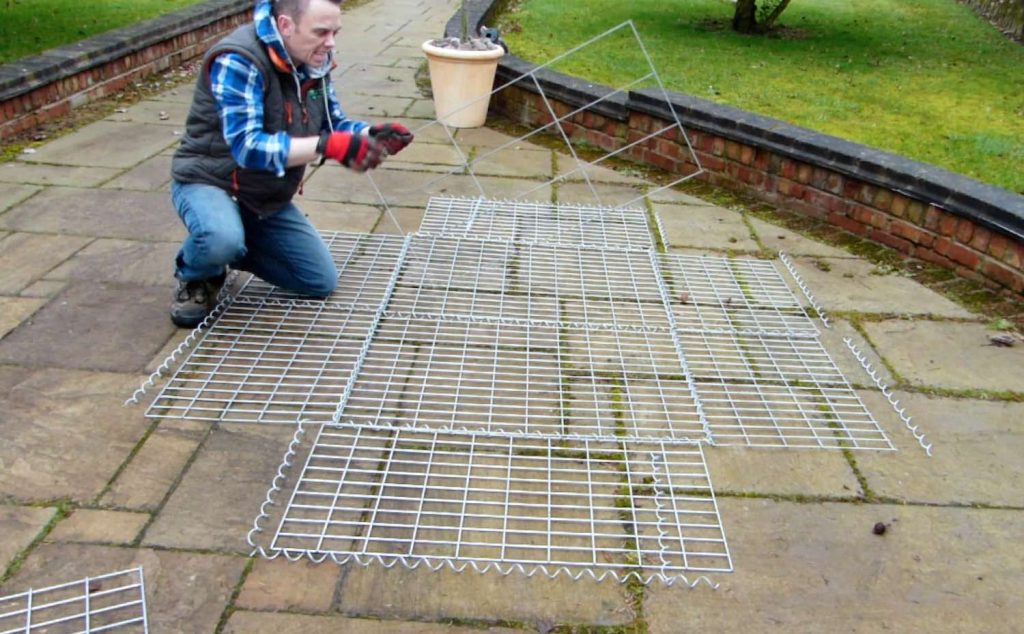
Gabions can be built to nearly any size, provided they are rectangular or square. I did consider trying to make curved gabions, but it proved too troublesome and awkward. Their beauty is in the clean lines. Gabions come flat-packed as sections of metal grids, which you then have to connect together. The easiest way of doing this is with spiral connectors that bind each side to the next panel, making gabion building really quick and simple.
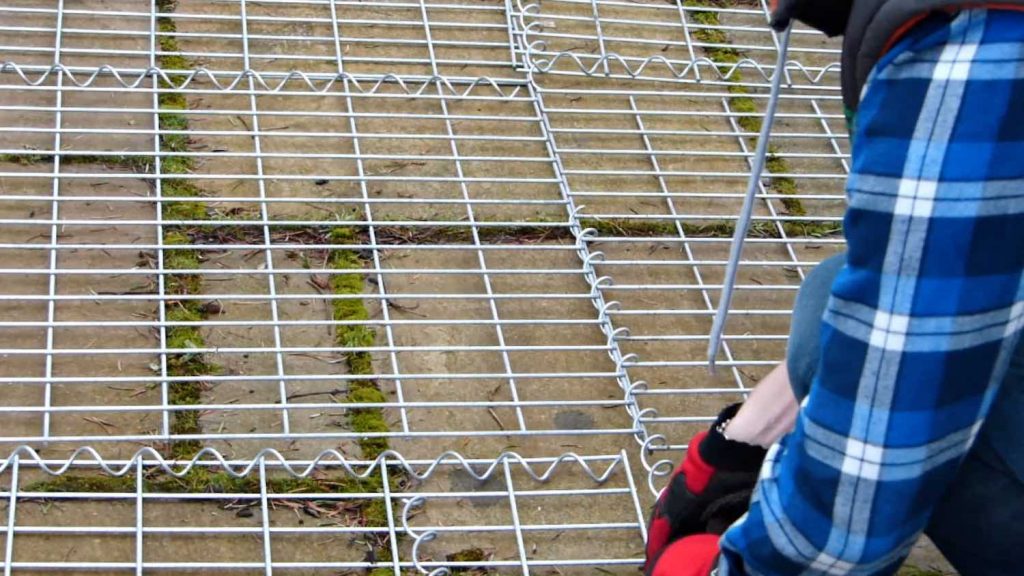
The first step before using the connectors is to lay out all of the panels. Work out which ones are the tops, bottoms, and sides. Once you’ve done this, it may feel like you have two extra pieces. These will be the top or side panels. In the example below, there are two missing pieces that, when the sides come up, will create the final side. Once you’ve built one, it does get easier!

The spring connectors are really easy to fit, you simply twist them in between the two edges of each face. This then binds them together whilst allowing some play for adjustments as you fill them. They will feel loose and free until filled.
A brace is used in all gabions to stop the contents from causing bulging in the basket. In larger baskets, the brace takes the form of a rod on each side and a central partitional brace. It looks like a regular panel, but the gaps between the mesh are far bigger to allow the contents to pass through. You need to attach this before you fill the gabion using one of the existing connectors. The rod braces look like double-ended hooks. You stretch these to connect each side in the very middle of the basket.
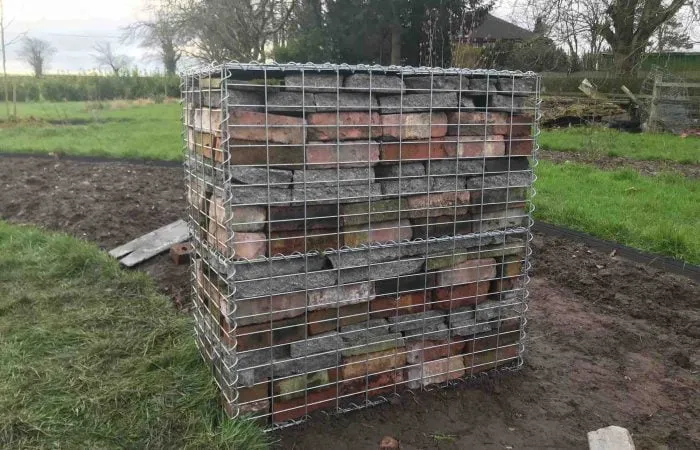
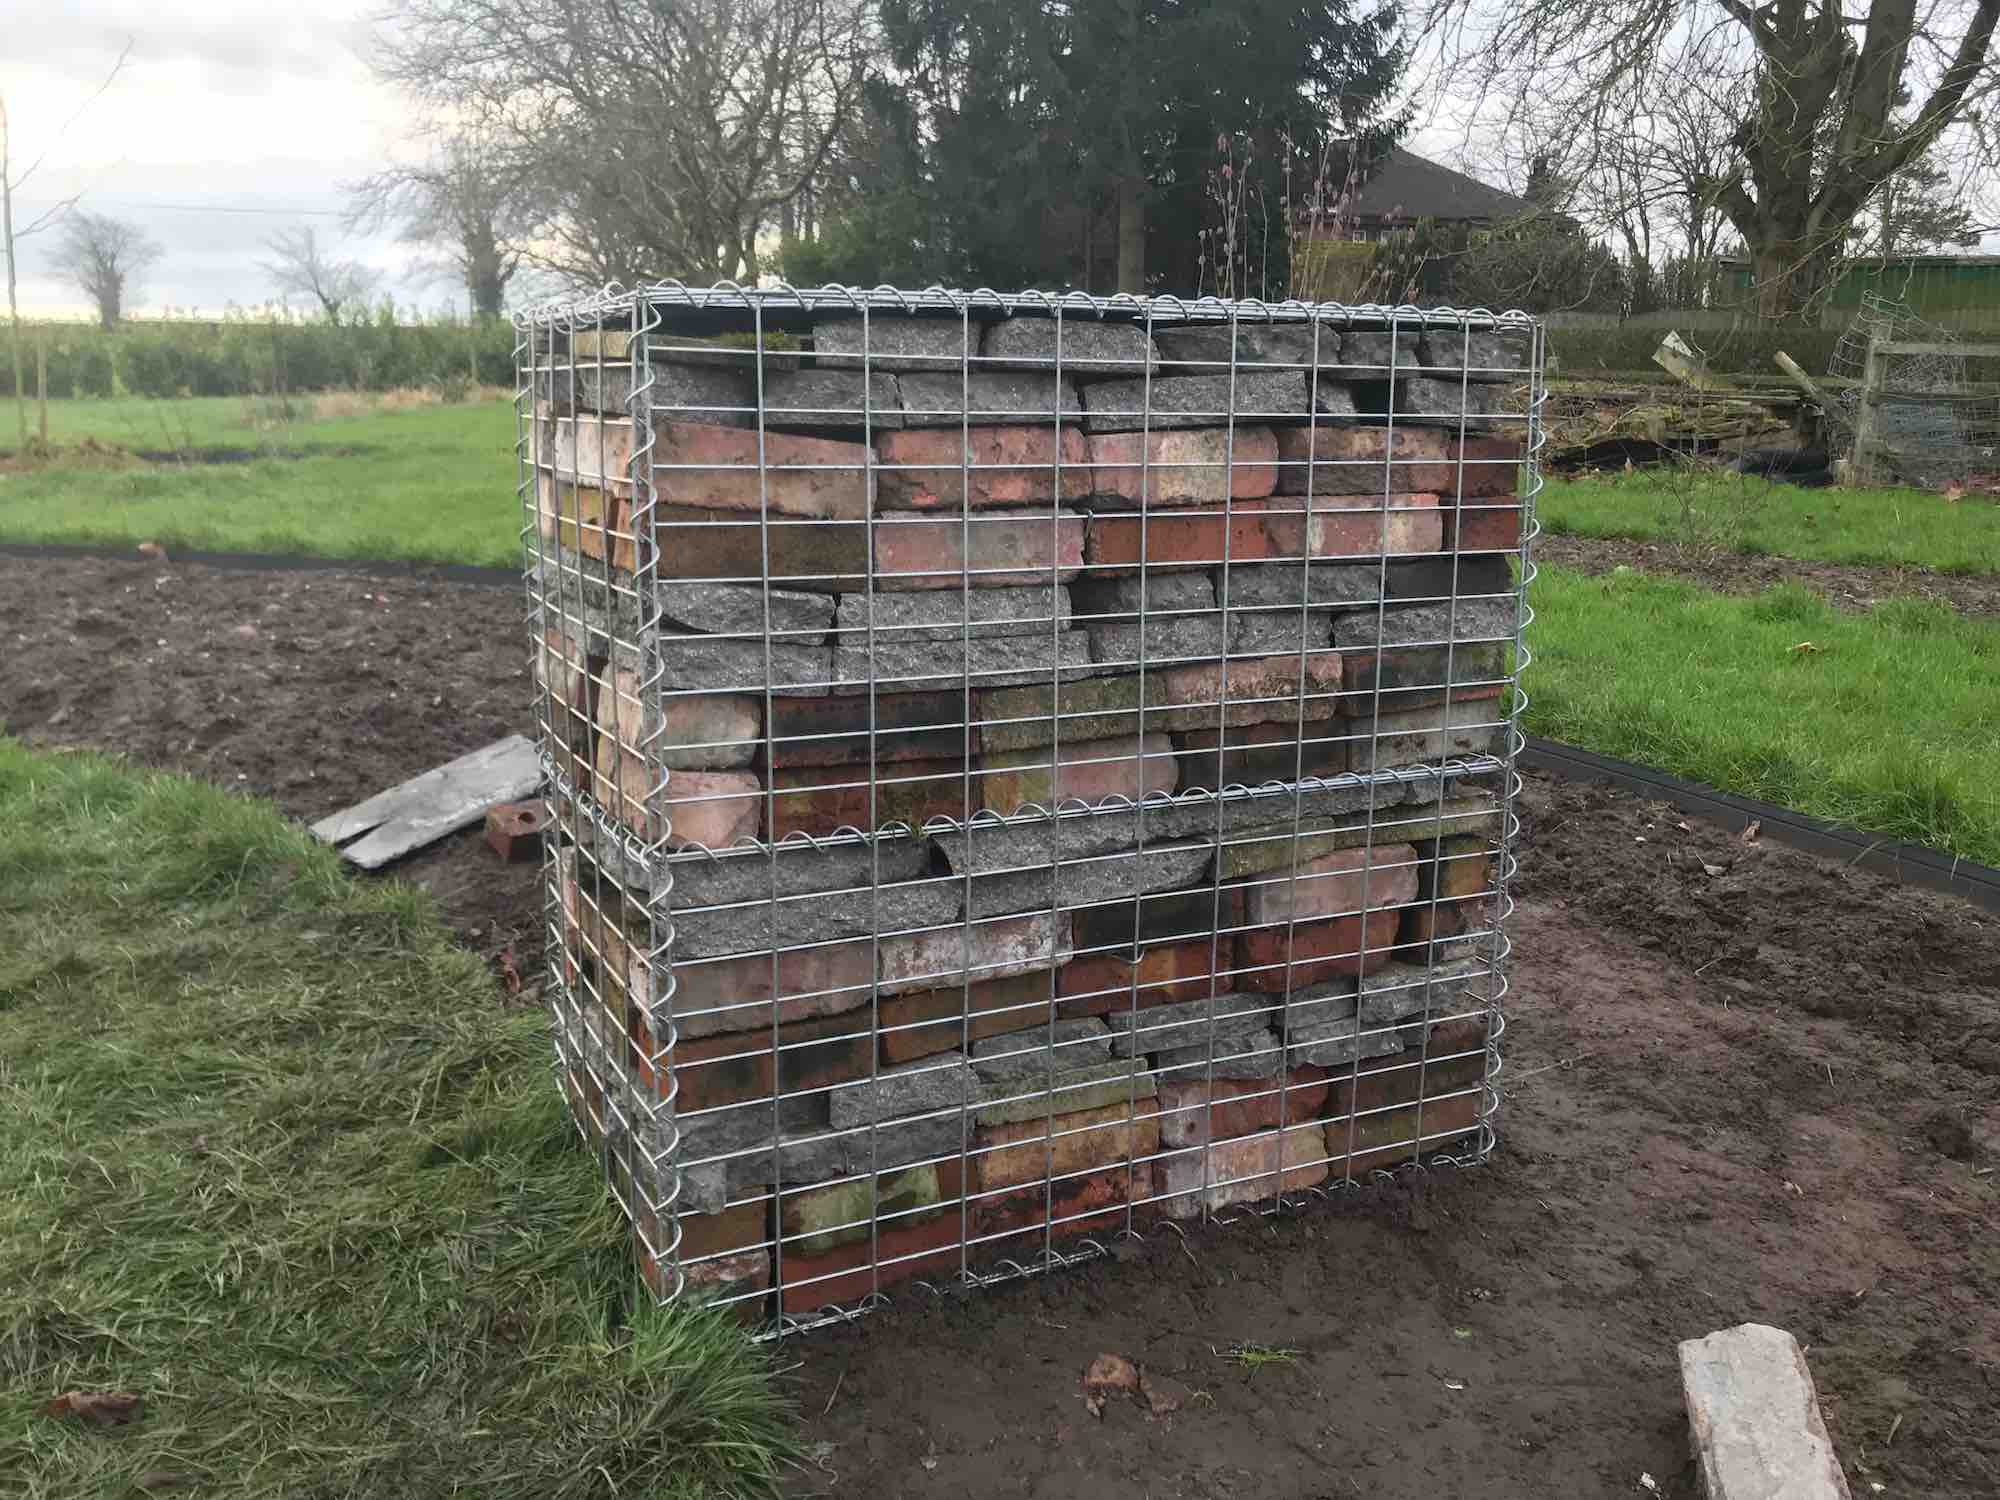
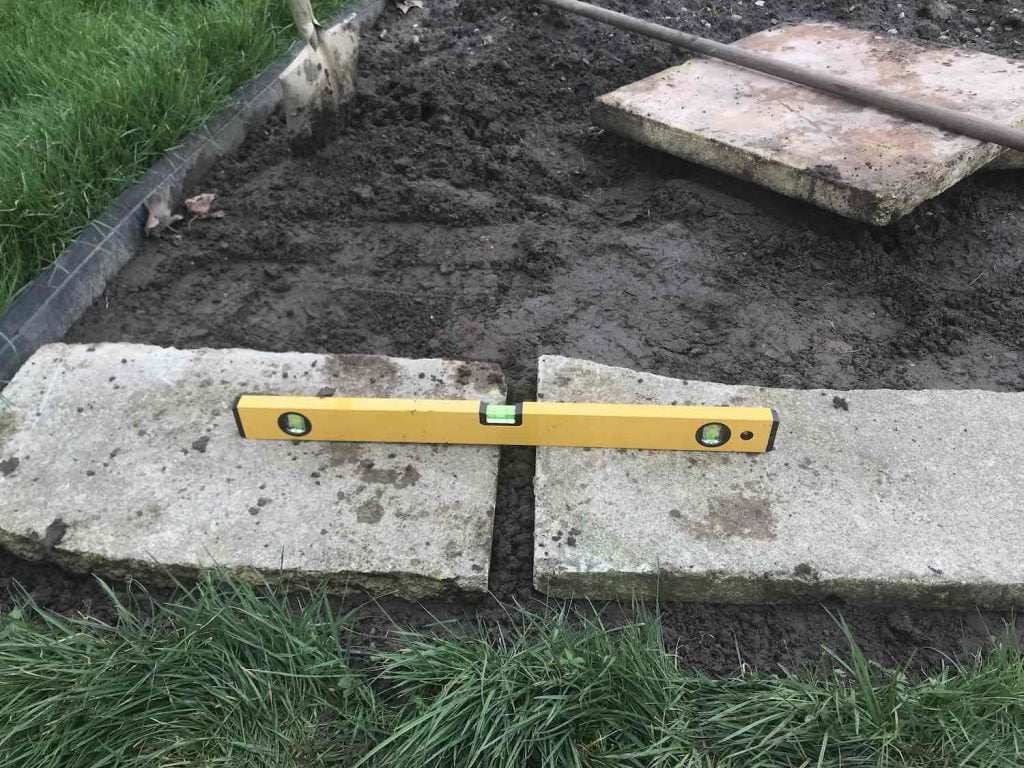
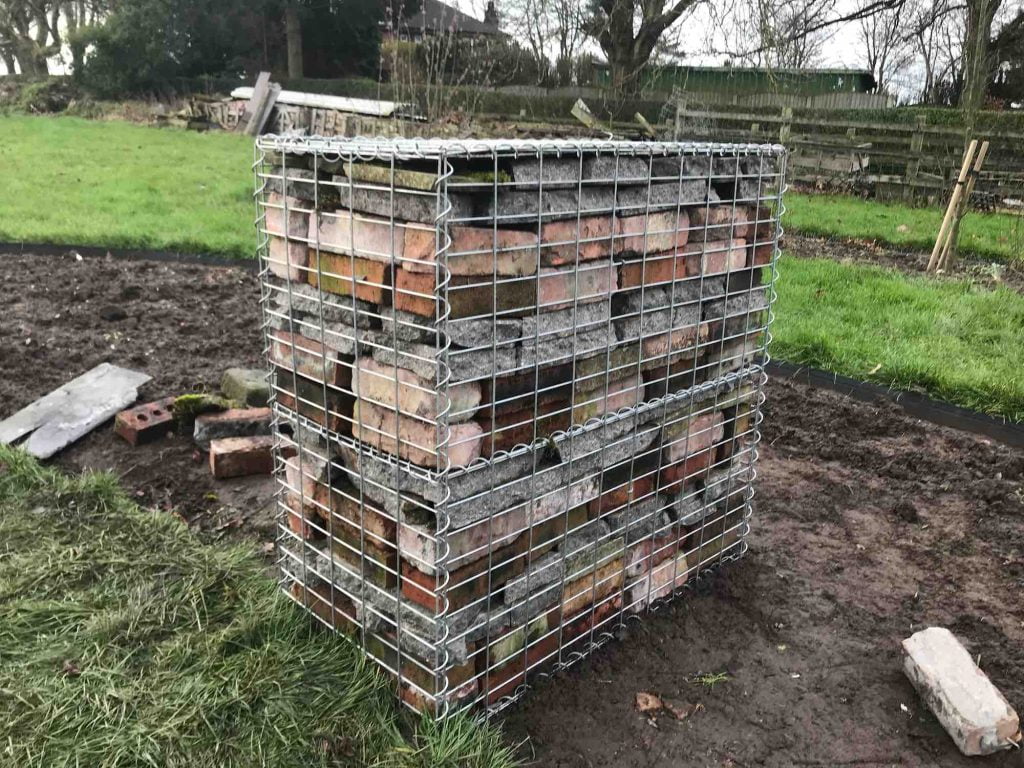
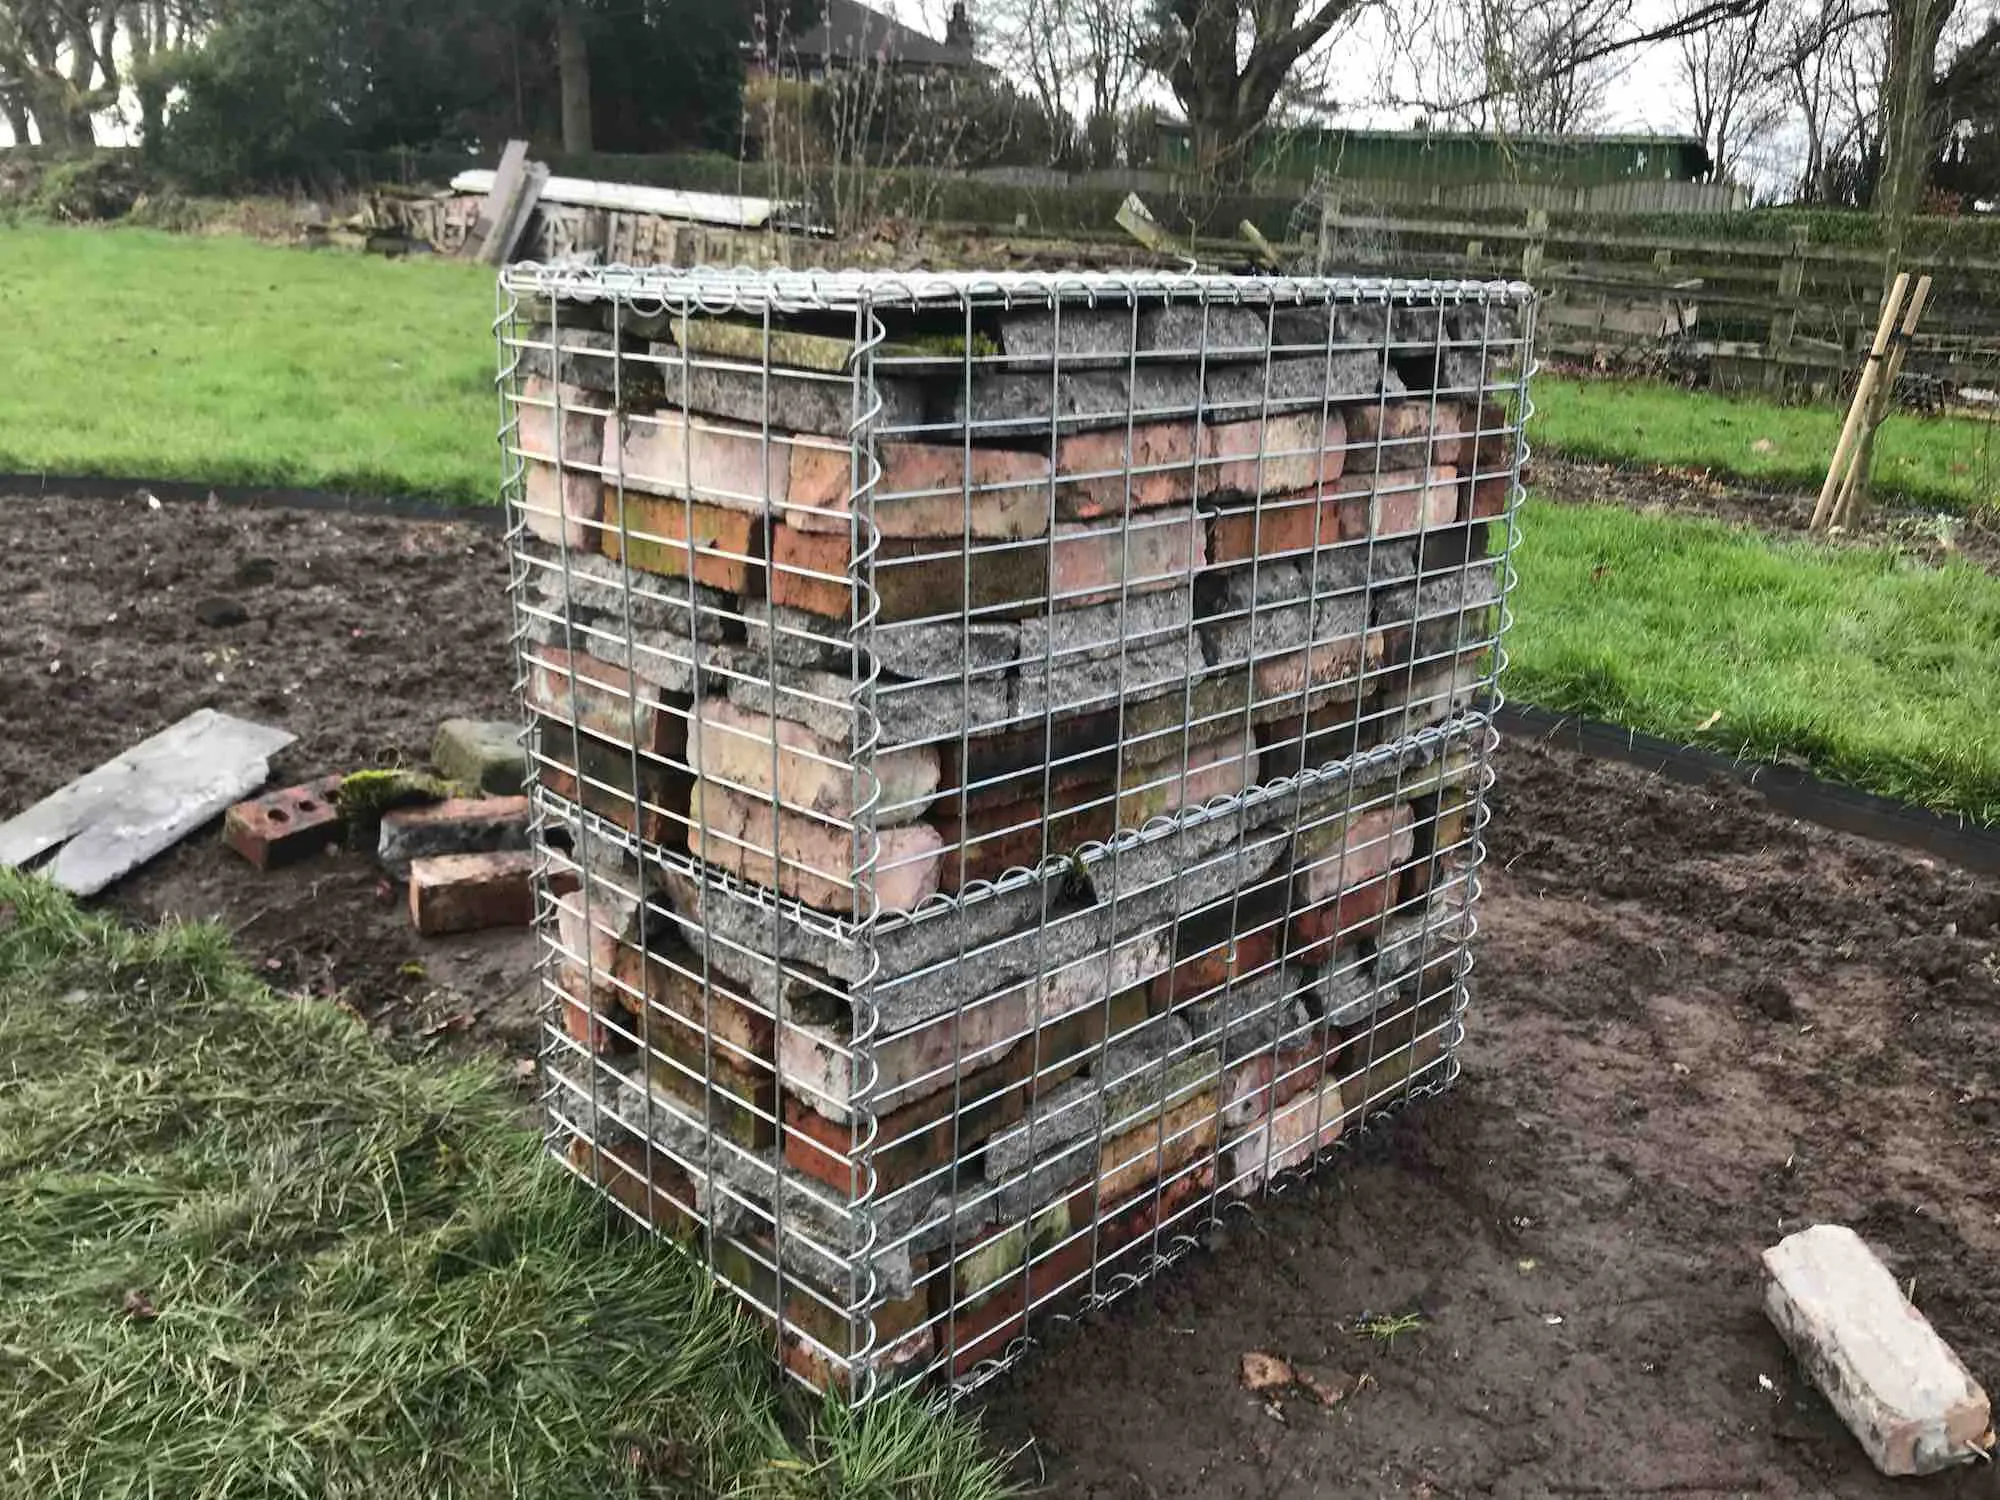
You need to make sure that your gabions are going on a solid foundation so they don’t move or warp over time. If they’re going on existing laid flags, then this is no problem. However, if like me, you’re placing them directly n the earth you will need some form of basic foundation. I’ve used broken flags to keep the gabion level, again recycling materials. Using a spirit level make sure that the gabion sits level on top of this foundation. During the filling of the gabion, it’s wise to keep taking level measurements and then adjust the fillings/cage accordingly. If you wait until it is completely full, it will be a nightmare to make any adjustments without part-emptying it!
What can you fill gabions with?
You can fill a gabion with any material whether this
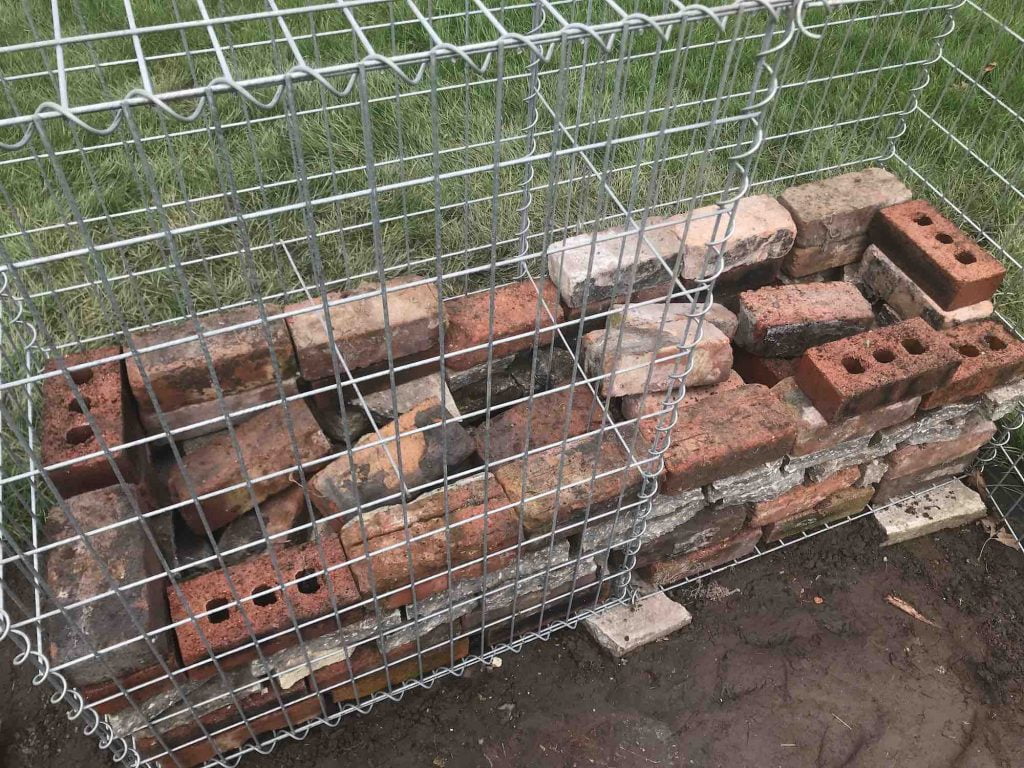
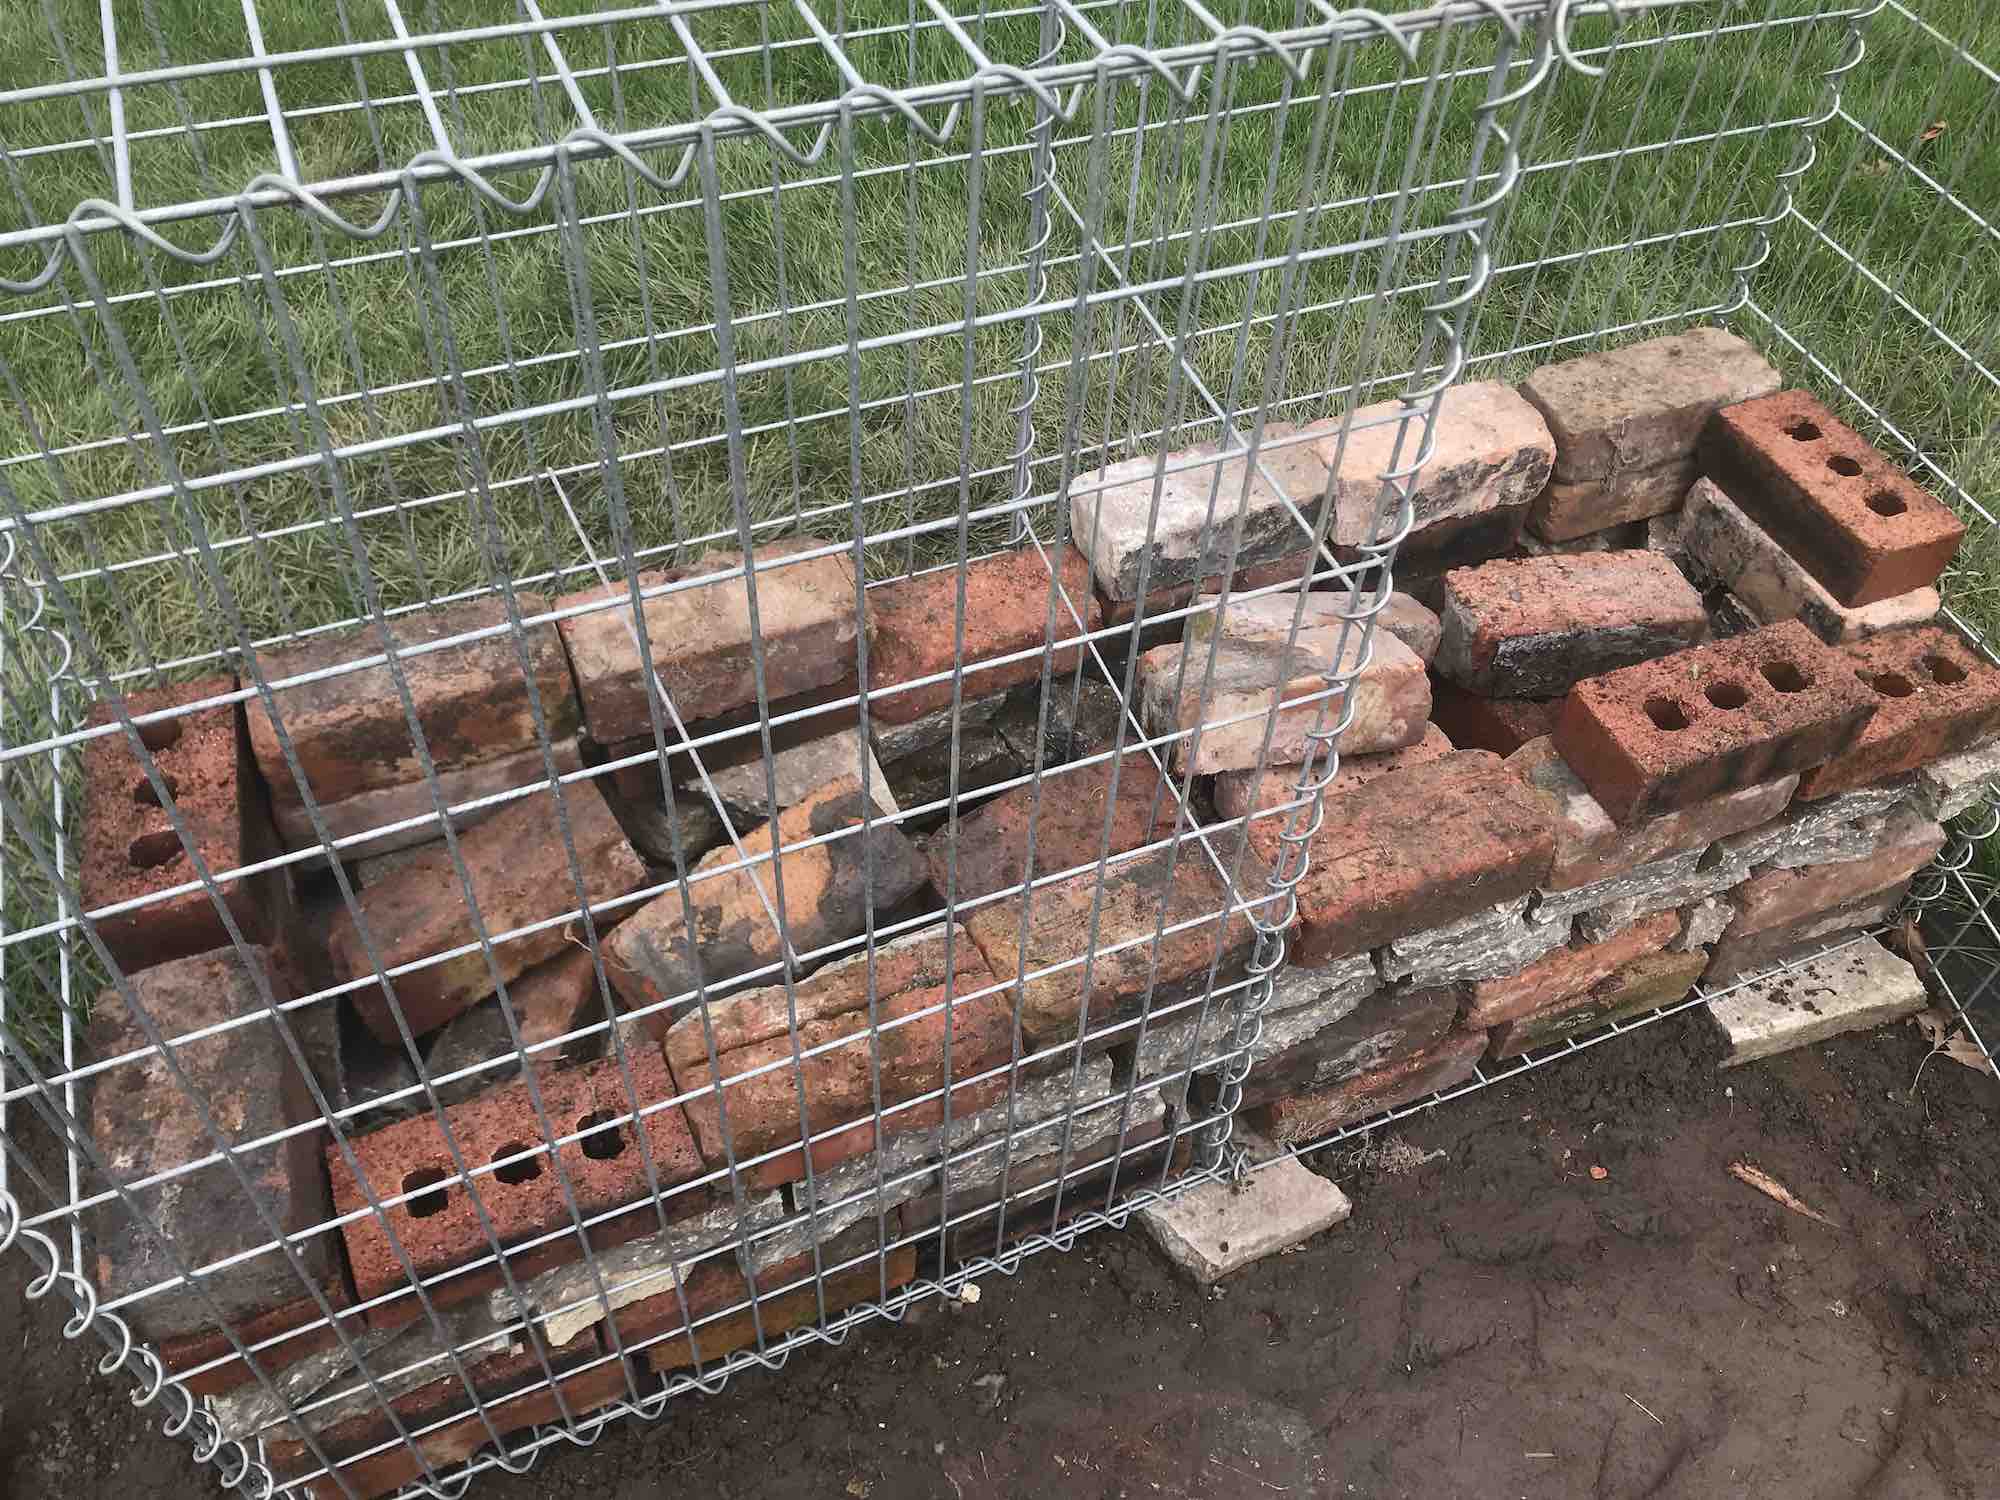
A top tip if you’re just using gabions as a decorative effect like I am there is a way to save money. To keep the cost of filling gabions down is to use debris such as old plastic crates or other waste materials to fill the centres. Leaving the more expensive or costly items as the outer face of your gabions. In my example, I’m using broken flags and old damaged bricks to fill the void in the middle. I always aim to recycle and reuse as many materials as I can in the garden to reduce my carbon footprint. I’m also growing all of my own plants for the
If you’re using gabions for a retaining wall the chances are you will need gabion stone. This is so the gabion is equally filled as it needs to be consistently stable given the high-stress levels it will be under. My method here is for purely decorative gabions only.
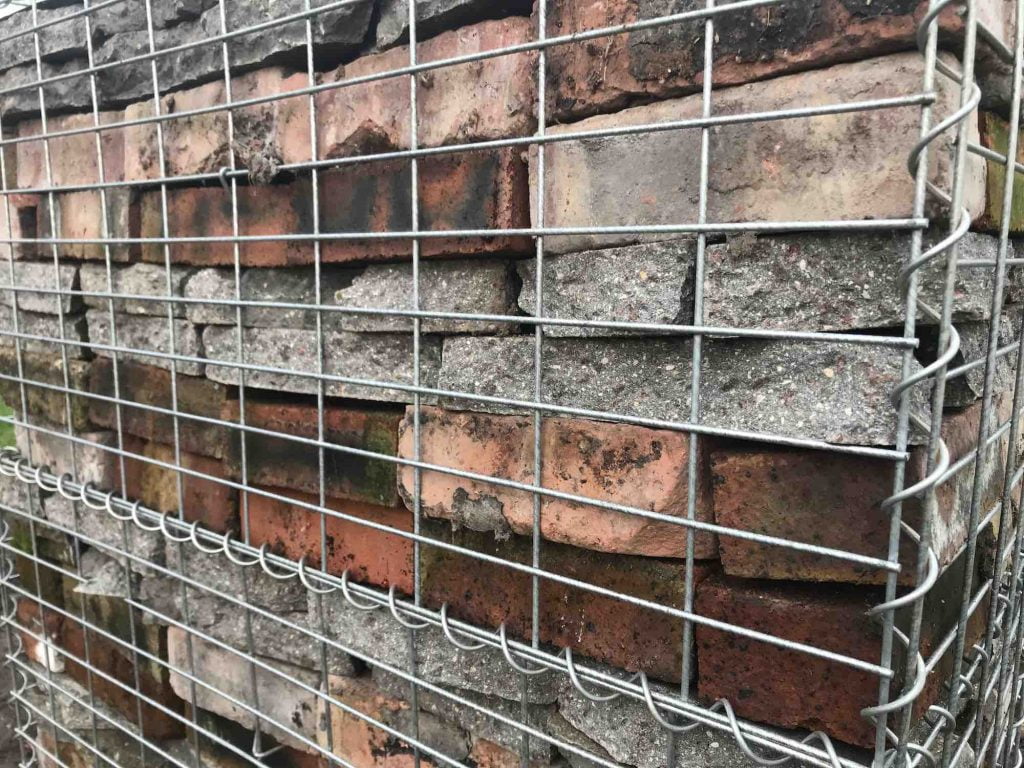
Gabions as bug hotels
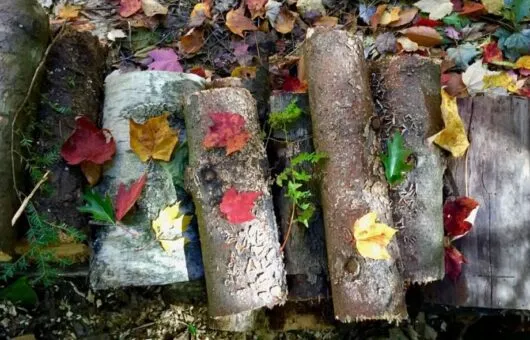
The great thing about using gabions in the garden is that they provide all sorts of nooks and crannies for wildlife and insects to take refuge. Even more so if you put some old logs in the centre that will decompose slowly over time. Wildlife is incredibly important in our gardens but as we seek to make the most out of our small garden spaces, those piles of logs, debris and wildlife hiding places can be all too often converted into patios or more garden borders.
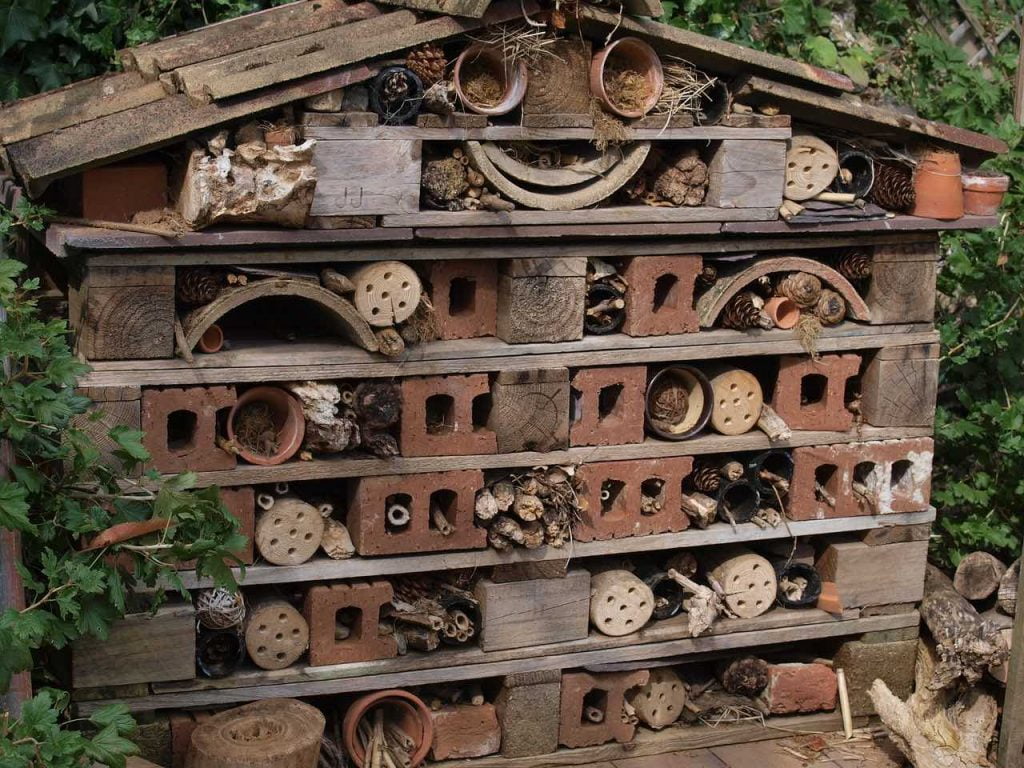
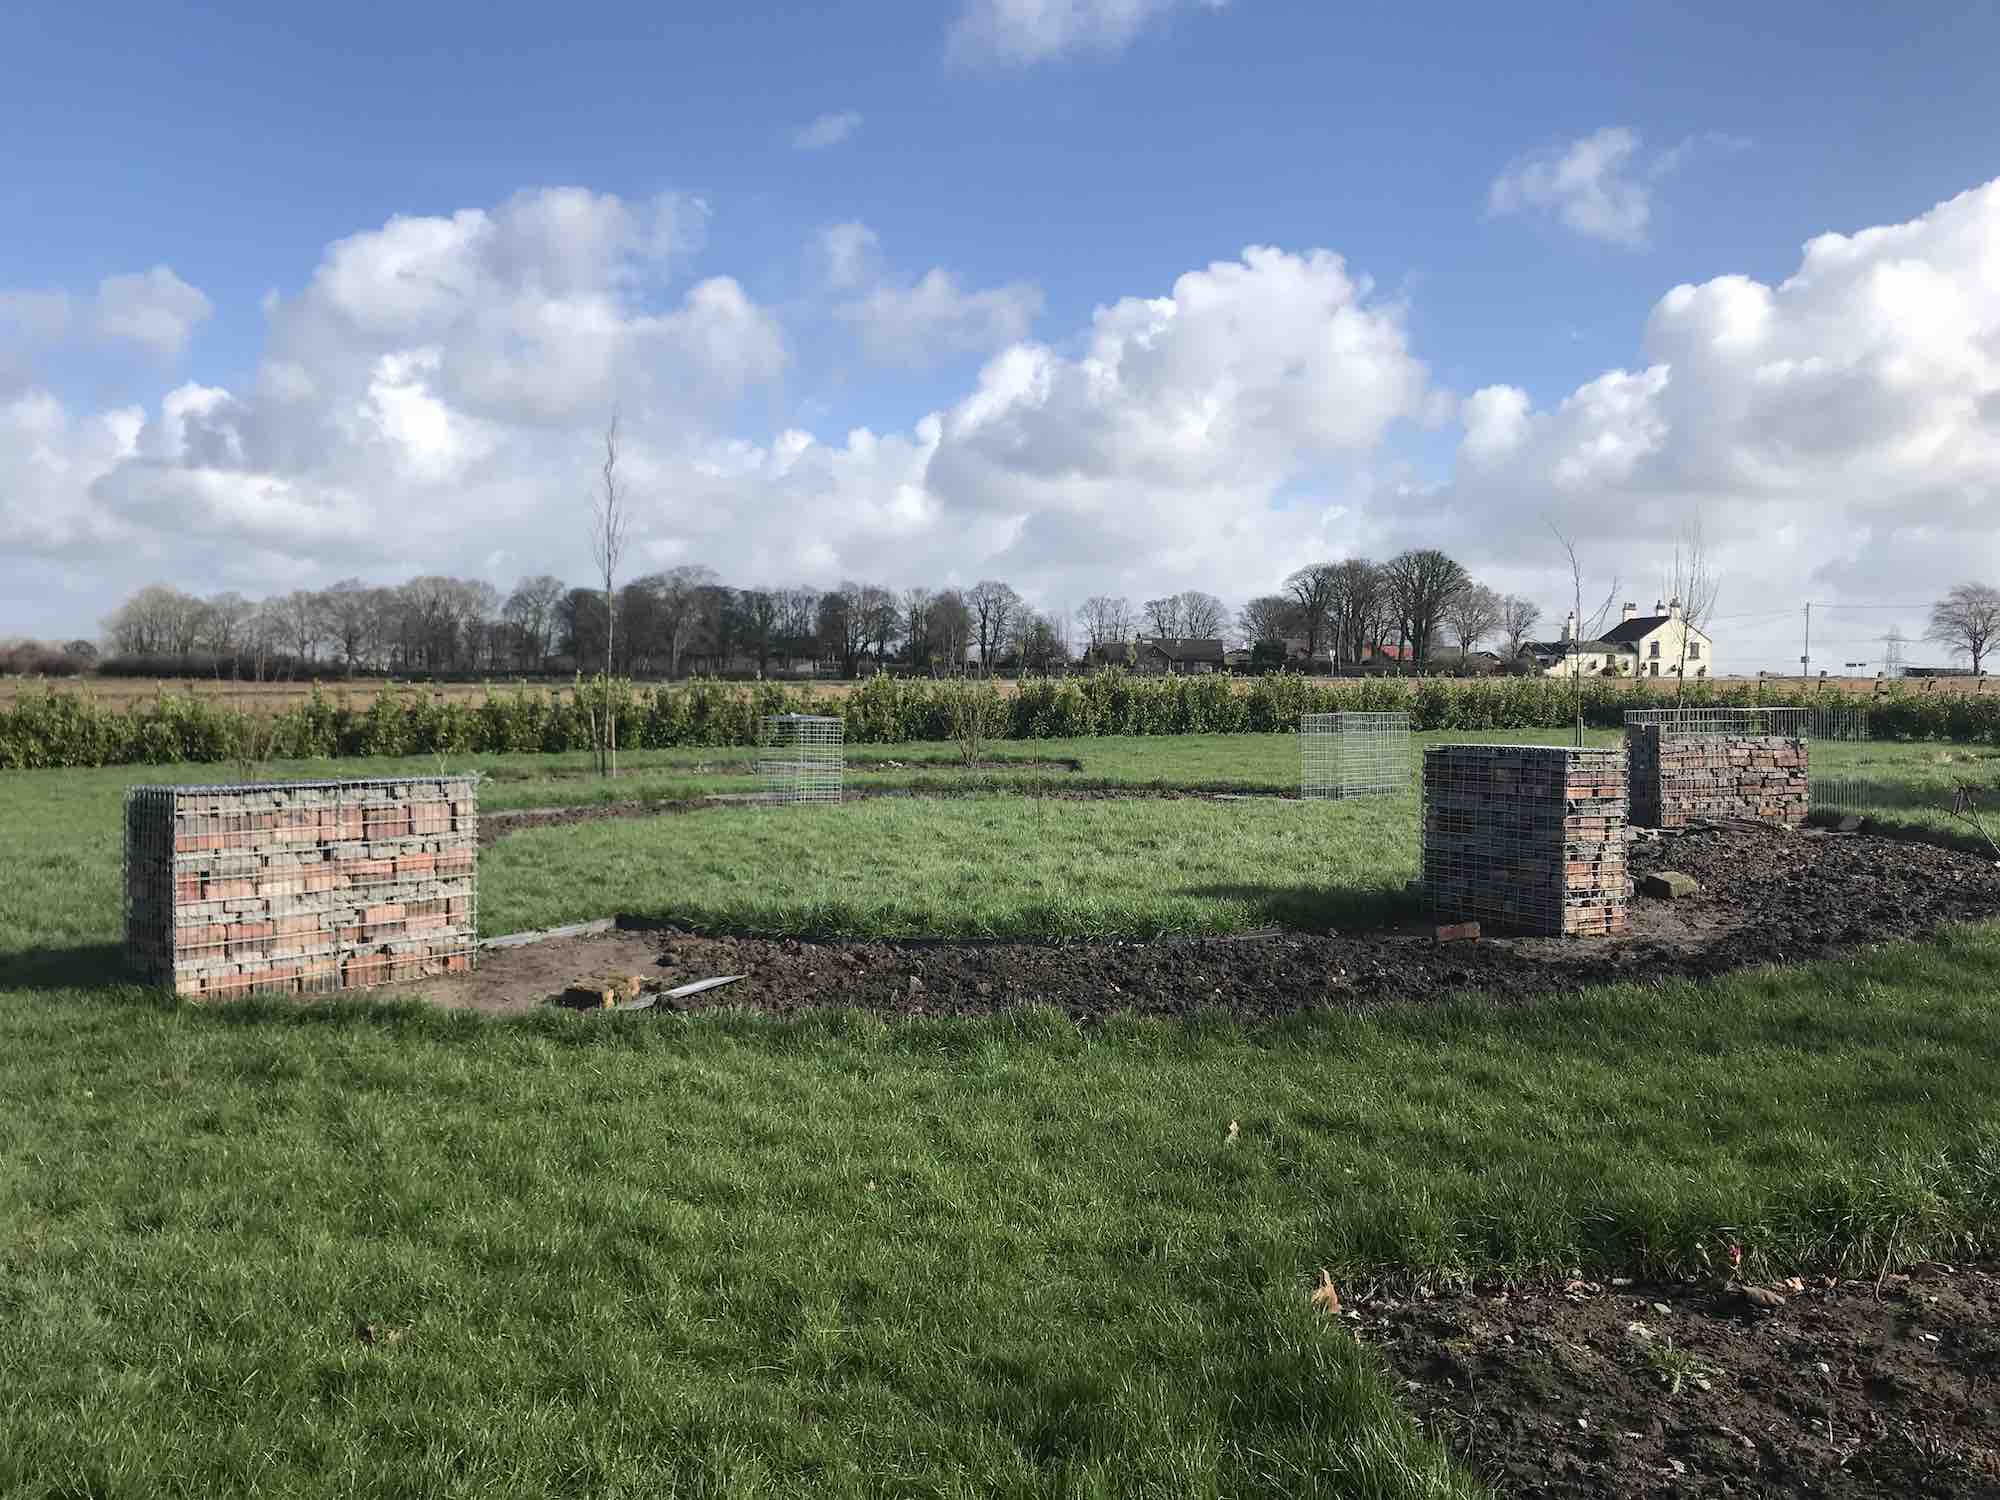
In the #explodingatomgarden these gabions will act as huge hotels, think Las Vegas-style, for all the insects and creepy crawlies. They can feed on the nectar-rich planting schemes and then take up residence in one of the 6 gabion tower blocks.
What’s next in the Exploding Atom Garden?
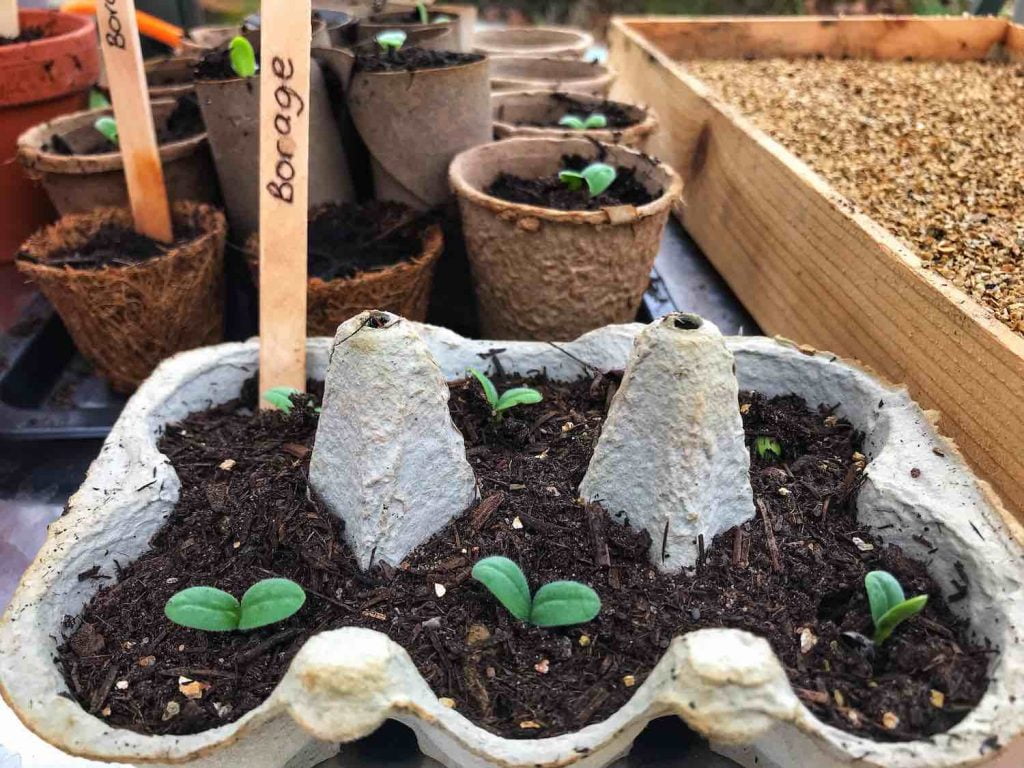
So now my gabion shards have been installed in the inner core the next guide will be on finally planting up the ‘Red Hot Core’ of the garden. As the name suggests this will be showcasing a Hot Border design with reds, yellows and oranges. A real firecracker of sunshine using herbaceous perennials to give that exploding feel to the garden. If you’re interested in seeing what I’m growing for this border then check out my Gardening without Plastic seed sowing series here.
Why not subscribe to my Youtube channel for more garden design hints and tips? In the meantime check back soon for more updates or follow me on social media where I’m happy to help with your garden drama. You can also check out my Twitter, Facebook or Instagram for more garden guides and tips.
Happy Gardening!


Lee Burkhill
Lee Burkhill, known as the Garden Ninja, is an award-winning garden designer and horticulturist with over 30 years of gardening experience and 15 years as a professional garden designer. A qualified RHS (Royal Horticultural Society) professional, Lee specialises in sustainable garden design and practical horticultural advice. He designs and presents on BBC1’s Garden Rescue and in leading gardening publications. Lee combines three decades of hands-on gardening knowledge with professional design qualifications to help gardeners create beautiful, functional outdoor spaces.
View all posts by Lee Burkhill


Other posts
-

Start here: to begin your gardening journey! Read more
-

Winter Plant Pruning Guide: Everything You Need to Know to Cut Back in Winter Read more
-
How to make leaf mould: recycling garden leaves Read more
-
What Plants to Grow and Sow in September: Your UK Gardening Guide Read more
-
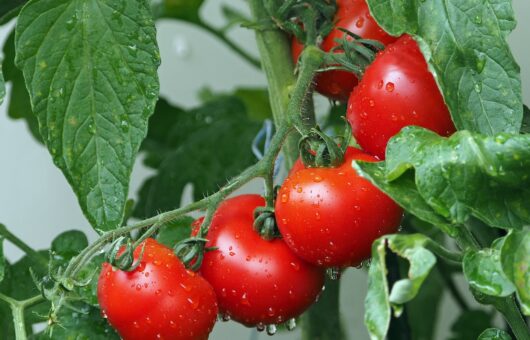
How to grow tomatoes: Ultimate seed & plug plant guide Read more
-
Things to Grow in November: Your Complete UK Gardening Guide Read more


