-

No Dig Gardening Guide for Beginners: Charles Dowding & Garden Ninja
 Lee Burkhill: Award Winning Designer & BBC 1's Garden Rescue Presenters Official Blog
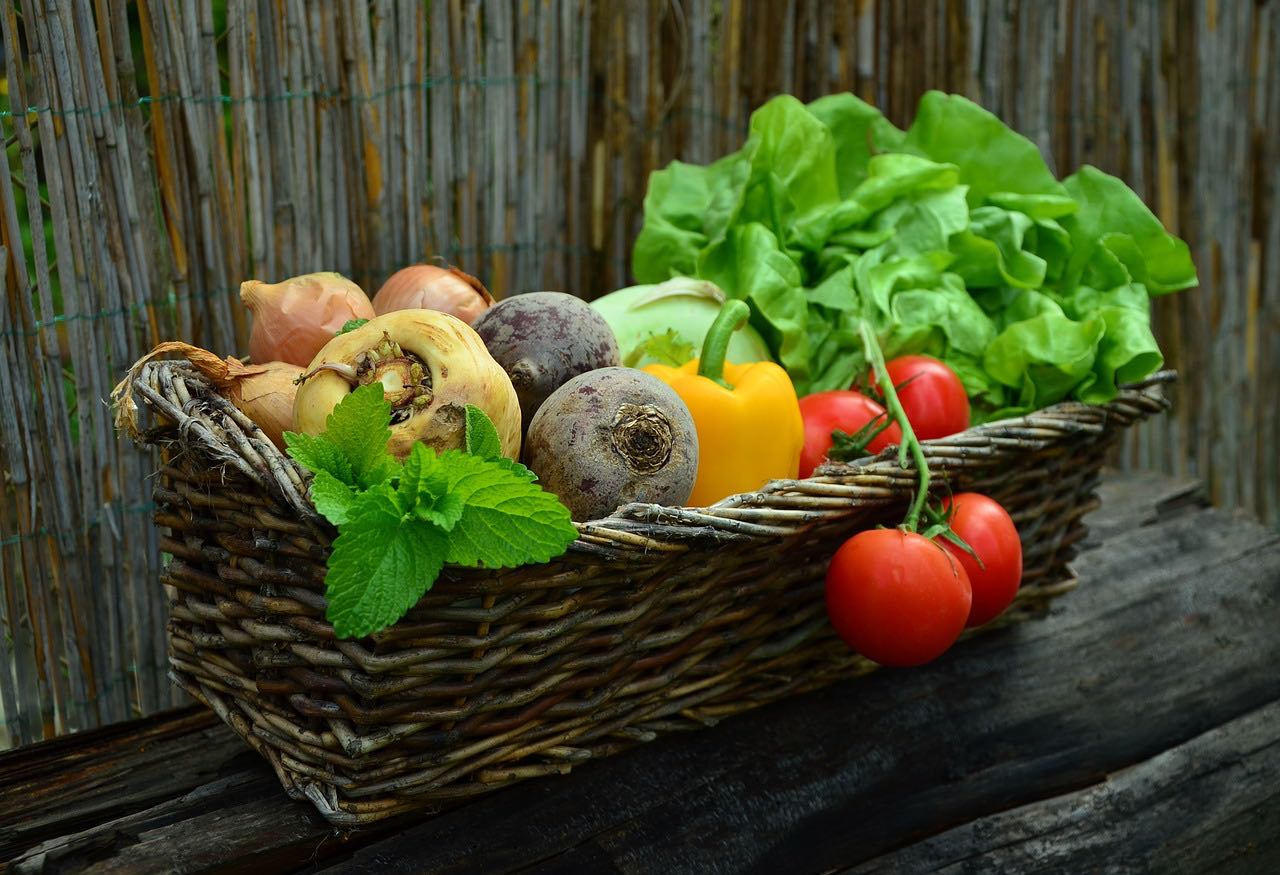
If I said you could grow vegetables easily without having the backbreaking task of digging over your beds each year, would you believe me? You may have heard of the 'No dig' gardening method and think its too good to be true. I caught up with Charles Dowding on one of his 'No dig' masterclasses to find out why it provides bumper crops, is better for the environment and will save you from backache!
The grow your own movement has really taken off over the past decade here in the UK, along with No Dig gardening. You only have to look online to see Instagrammers and social media full of grow-your-own tips. After all, who doesn’t want to be able to grow the food that they put on their table? It certainly opens up a huge variety of different organic vegetables to choose from and can be a fraction of the cost of buying them from the supermarket.
‘No Dig’ gardening enables you to quickly establish a vegetable bed without hours of digging and soil improvement. Many people have turned towards growing their own fruit and vegetables for a variety of reasons since lockdown:
- You can grow a wider variety of produce.
- You know exactly where your food is coming from.
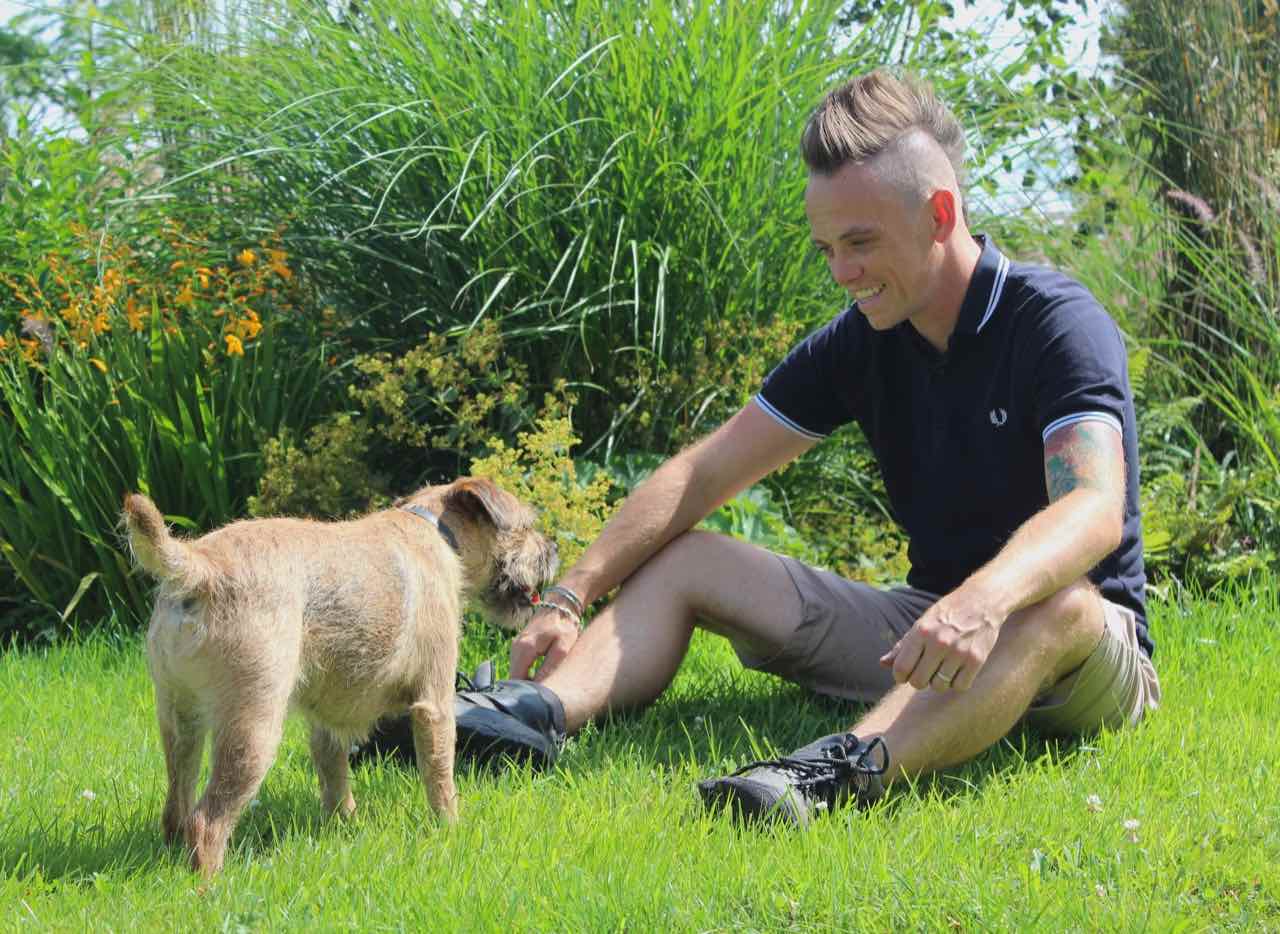
- The very act of gardening brings a heap of mental health benefits.
Even if you are a beginner gardener or short on time, the ‘No dig’ method is an easy way to take your first tentative steps to productive gardening. Mainly because ‘No dig’ gardening reduces effort and the time needed to prepare soil before you start to plant. Part of this movement is down to the expertise of ‘No Dig’ Charles Dowding.

Left to Right: Charles Dowding, Sofie Paton-Smith, Stephanie Hafferty & Garden Ninja at Marbury Halls ‘No Dig’ Workshop. I spent some time with Charles and his partner in ‘No Dig’ crime, Stephanie Hafferty (who turns her ‘No Dig’ vegetables into delicious dishes), on his ‘No Dig’ course at Marbury Hall.
I advocate that ‘No dig’ gardening is perfect for the beginner new to growing vegetables. There’s no need to create ‘the perfect tilth’ (a fancy word for nice soil texture) or break your back by slicing through hard weed-infested soil. In fact, ‘No dig’ frees up time for the new gardener to enjoy one of the main benefits of gardening, ‘learning to grow’.
So, first things first, let me explain how ‘No dig’ gardening works and why it is perfect for the beginner gardener.
What is ‘No dig’ gardening?
Put simply, ‘No dig’ is exactly as it sounds. It’s a means of gardening without digging over the plot repeatedly each year. It’s based on the principles of minimising disturbance to the soil, leaving it in a far less disruptive state.
Over decades, the advice to dig over your soil to ‘cultivate’ and improve it has been used across allotments and gardens countrywide under the somewhat false impression that this promotes healthy soil and the removal of weeds. This cultivation involves constant digging and turning the soil over, adding plant feed and other ‘soil improvers’ fiddling, and changing the soil structure yearly.
In fact, the opposite is true based on Charles Dowding’s detailed practical research and results. Charles has spent 30 years of experimentation with ‘No dig’ and dig gardening with startling results on his vegetable patches. His work has revealed that this intensive ‘dig’ cultivation is actually harmful to the soil, promotes weed growth and leads to a reduction in crop production. Not only that, it requires a huge amount of manual labour, leading to less time harvesting your bountiful crops!
With a ‘No dig’ garden, you’re only disturbing the soil to plant your seedlings and undertaking some light hoeing. Followed by a compost mulch once a year and you’re good to grow.

No more forking, double digging or pulling your back. For the beginner gardener, I often hear complaints that gardening is ‘too much effort’ or ‘they don’t have the time. If you’re not huffing and puffing fighting your soil, then you’re saving both effort and time! Want to grow your own and save time? Then ‘No dig’ is for you!
Did you know that you can take my course and learn how to become a Garden Ninja yourself? Click here for details
How does ‘No dig’ gardening work?
The ‘No dig’ methodology relies on careful preparation of your growing area first with the removal/smothering of weeds (more of that below). Followed by a thick mulch of cardboard, then compost. Once you have prepared your site in the first year, you’re good to grow!
The principle of ‘No dig’ is that each year, you’re topping up your raised beds with additional compost, light weeding and plenty of harvesting. You never need to dig again. You simply mulch each year once you have harvested your vegetables.
Starting a ‘No dig’ garden can be broken down into 3 main steps
- Preparing the site – mulch and weed smothering
- Enriching the soil with a thick compost mulch (no digging in)
- Each year, topping up this compost (again as a mulch)
Charles makes a key point that you’re not feeding the vegetables directly but feeding and improving the soil. This is a complete 360 from most gardening guides on providing nutrients for plants through liquid feeds and fertiliser.
Charles is a firm believer that simply adding organic matter in the form of compost is all you need. This then allows the nutrients to be released from the soil without adding extra potions and cocktails. Again, saving time and money.
The great thing for beginner gardeners is that you only need a few key ingredients, most of which you may already have.
- Cardboard (any will do – obviously no plastic, and try and remove staples to save your hands)
- Compost – whether homemade, bought in or well-rotted manure collected from a local farm
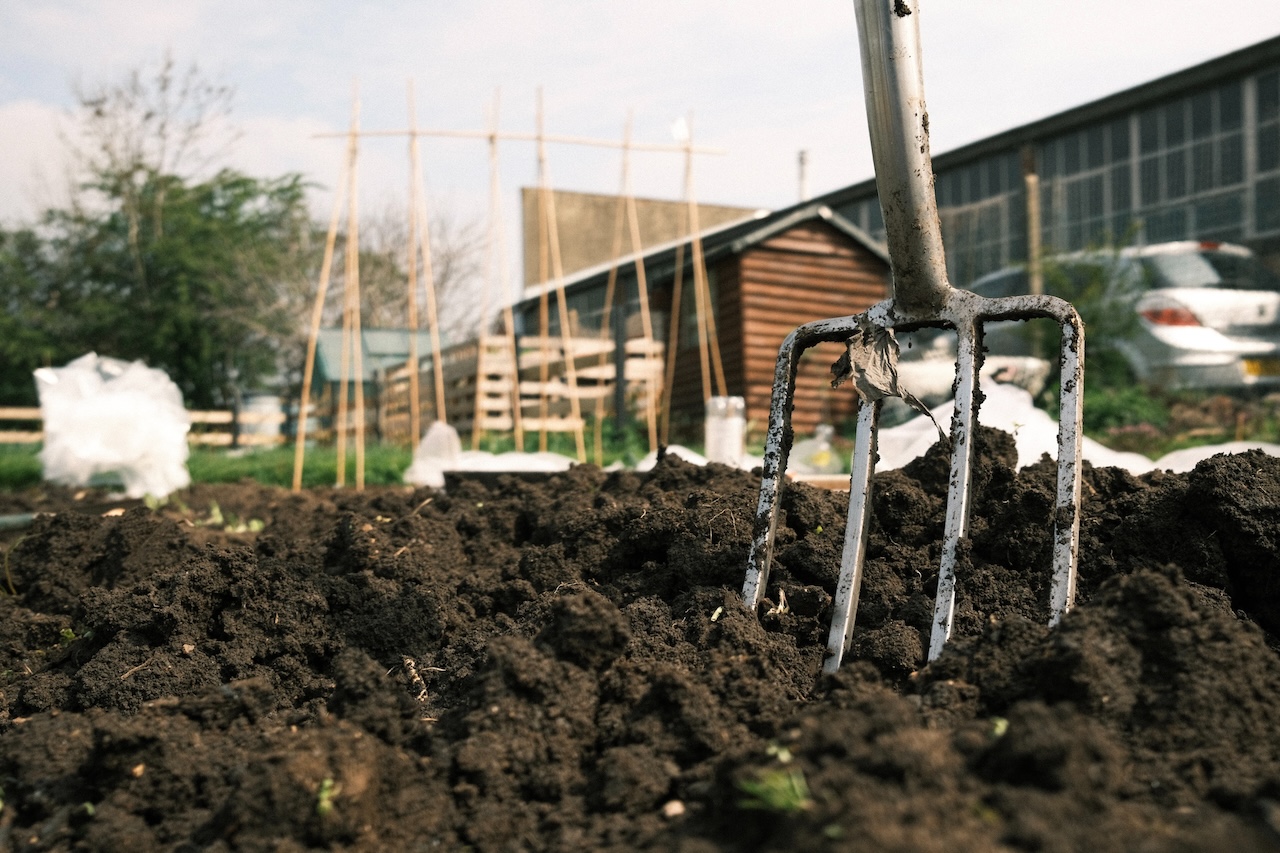
- A fork or spade – no, not to dig, but to move the compost onto your new beds!
How to start a no-dig garden
Preparing the site is key to a ‘No dig’ garden. If you fail to prepare, prepare to fail. Charles explains that the basis for starting your garden is to use cardboard to smother any existing weeds or grass and then dress the soil so it is ready to plant.
There are a few key steps to starting your ‘No dig’ vegetable or herbaceous plots. I’ve broken them down into 6 key steps below for beginner gardeners. These steps will allow planting in year one. It is far faster than the ‘dig method’.
Step 1: Cut out any Bramble crowns if present
The first step is to remove any pervasive weeds such as brambles, big docks or thistles if possible. Then leave all other weeds in situ and ignore them. The next no-dig steps will sort these out without needing to break your back wedding!
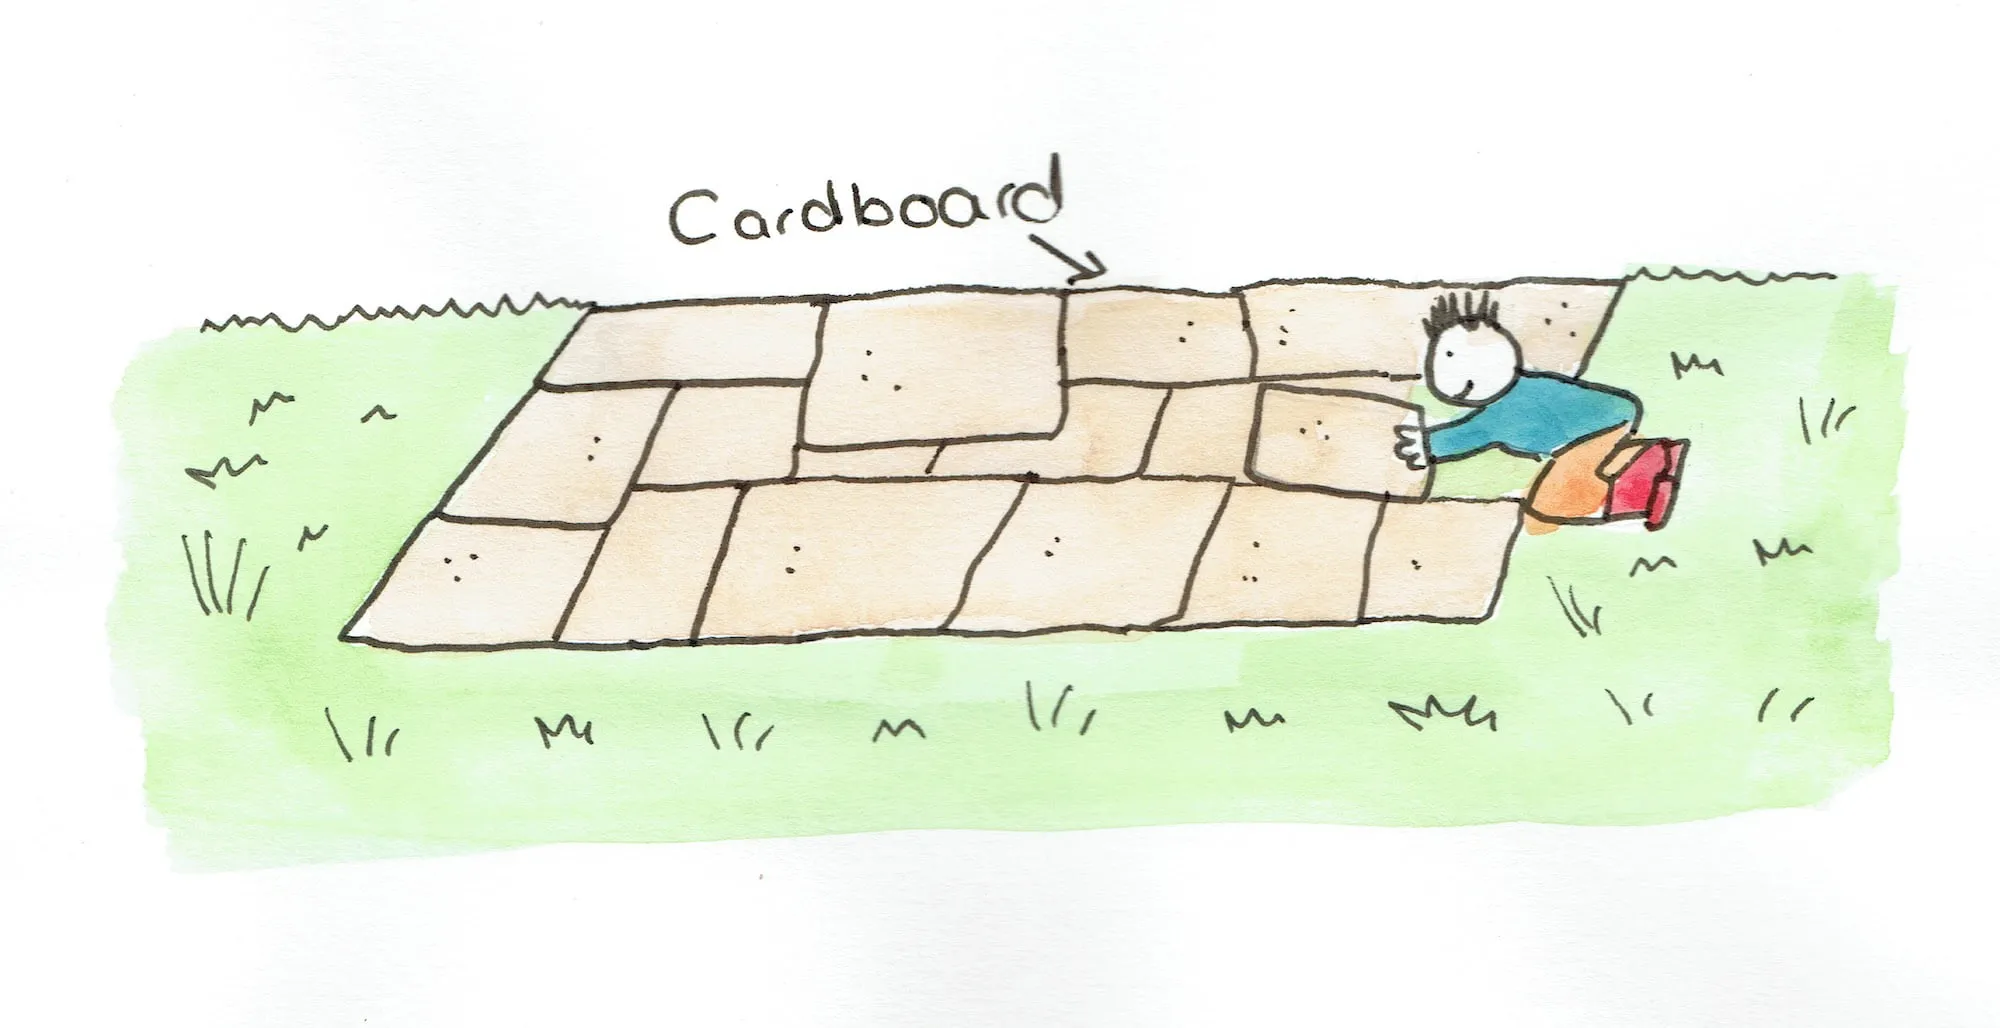
Step 2: Prepare the site by layering thick cardboard
The next strep is to start to layer cardboard over the site that is to become your vegetable beds and any pathways between the beds. This is the ‘smother layer’ that will ultimate block out the light and kill off any weeds that were once there.
Step 3: Weigh the cardboard down with stones or bricks
Using bricks, logs or even heavy stones, weigh the cardboard while preparing the ground. These weights first stop the cardboard from blowing off but also help to anchor the cardboard temporarily. This removes light from getting into the soil, which stops weeds from growing and helps smother them.
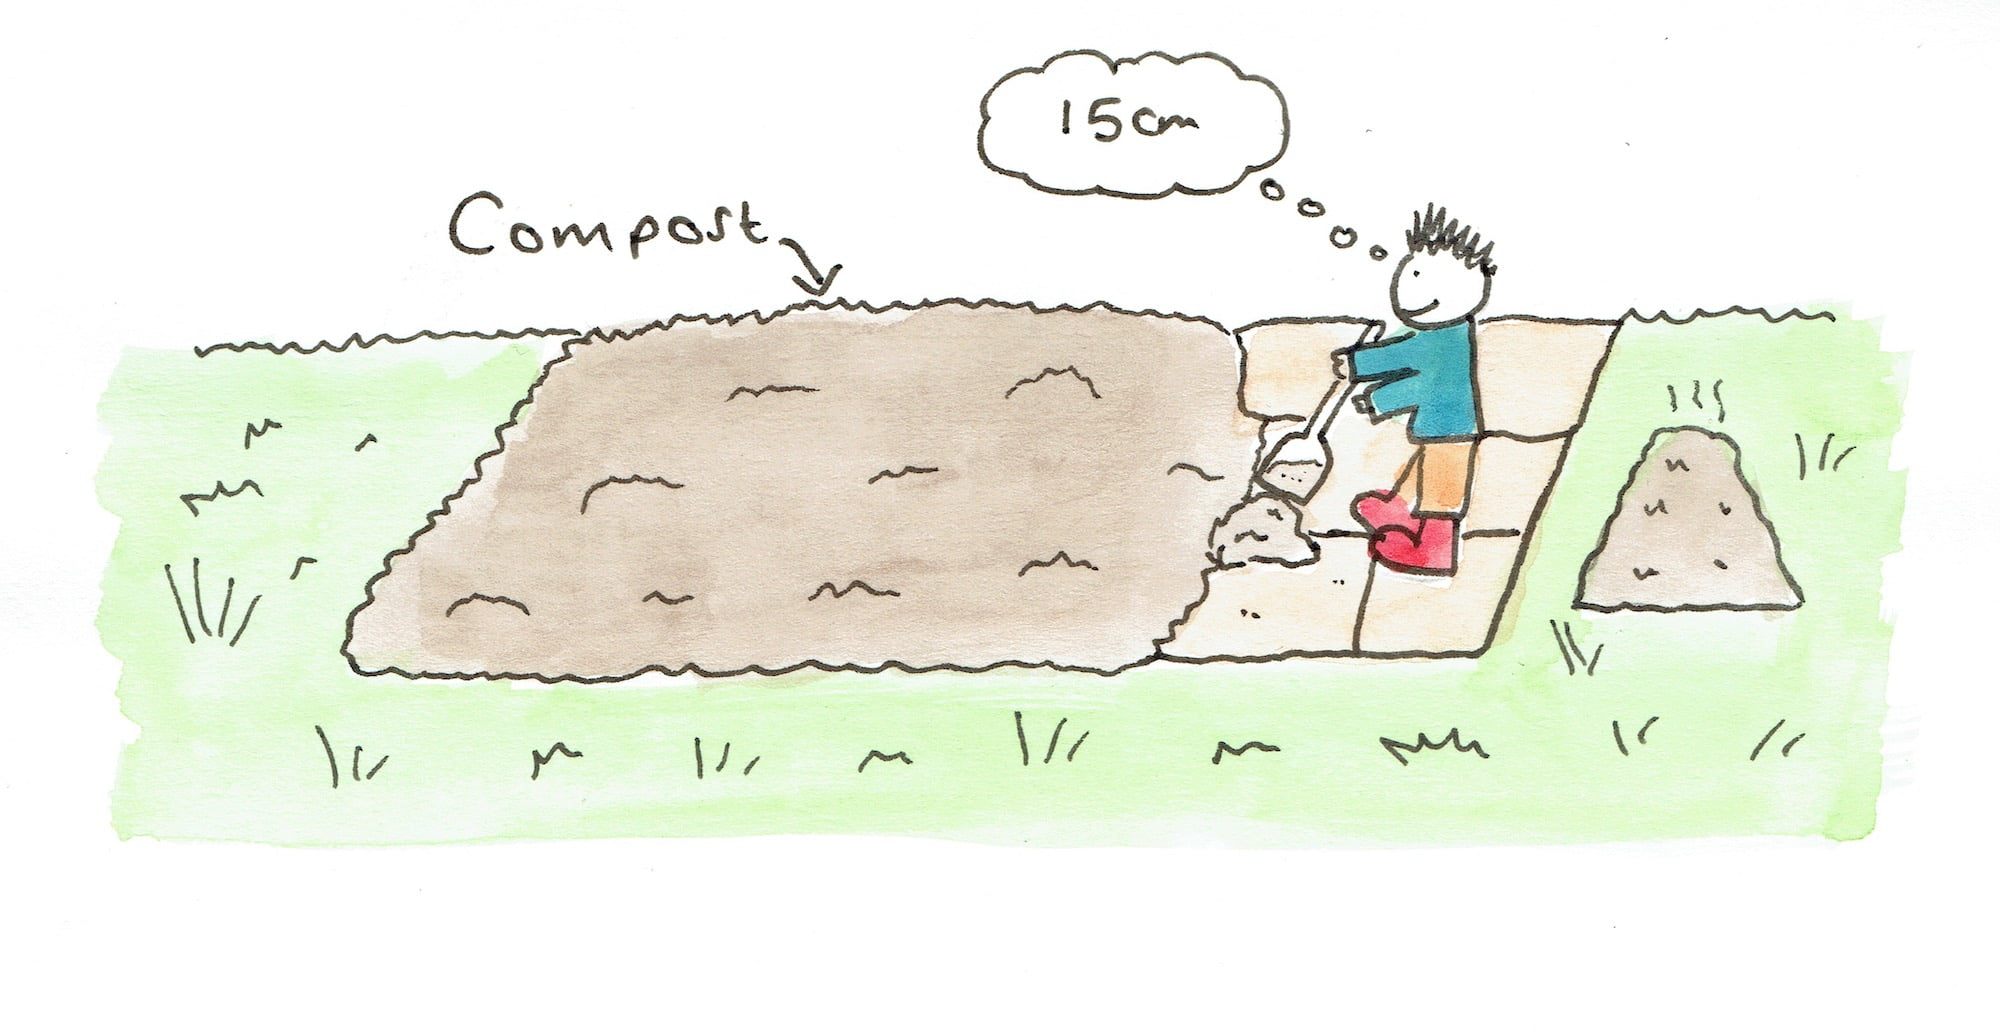
Step 4: Add a thick layer of compost
Once the cardboard and weights are in place, add a 6″ thick layer of compost to this cardboarded area. The ideal compost is either homegrown or peat-free compost. The better quality the compost, the better your good gardening endeavours will be as this compost feeds your vegetables, especially during the first year or two as the soil underneath gets broken up by eatht worms and bacteria. In the first year, you rely on the compost as the growing medium and food for your plants and vegetables.
Step 5: Leave the cardboard in place until it has fully been broken down.
Any weeds are smothered by this point, and you’re left with your clean beds ready to plant into the compost. But you need to leave the compost and weights in place for the first year, ideally. This is to enable the ‘no dig vegetable bed’ to be established. Ensure that you keep the edges topped with compost and weed-free. Sometimes, a clean edge such as ever edge can help keep the no bed tidy and easy to mow around if at ground level or lawn level.
Step 6: Yearly top-up of compost
Top up your compost each year to enrich the soil for the following year’s planting. Again, add another 4-6 inches of compost. This is because the compost gets ‘used up’ each year by the hungry vegetables, so it needs replenishing. The most considerable criticism of no-dig gardening is that it is resource intensive, with the amount of compost you need to use each year. It can quickly become expensive if you don’t make your own compost.
Removing perennial weeds in a No Dig Garden
The great news with ‘No Dig’ is that there is no need to remove weeds before laying your cardboard and mulch down. This is the main issue that puts off new gardeners. Weeding. No one enjoys it. It’s time-consuming and can feel relentless. Many new gardeners explain that they initially find it hard to tell a weed from a ‘real plant’.
Have a look below for some of the contenders you want to get rid of. However, ‘No dig’ minimises the occurrence of weeds, and those that do appear can be easily hoed off from the loose topsoil structure. As the soil is free and relatively soft, you don’t have to dig down to get them out.
The only exception would be brambles, and Charles recommends cutting out the woody crown first before laying the cardboard and mulch.
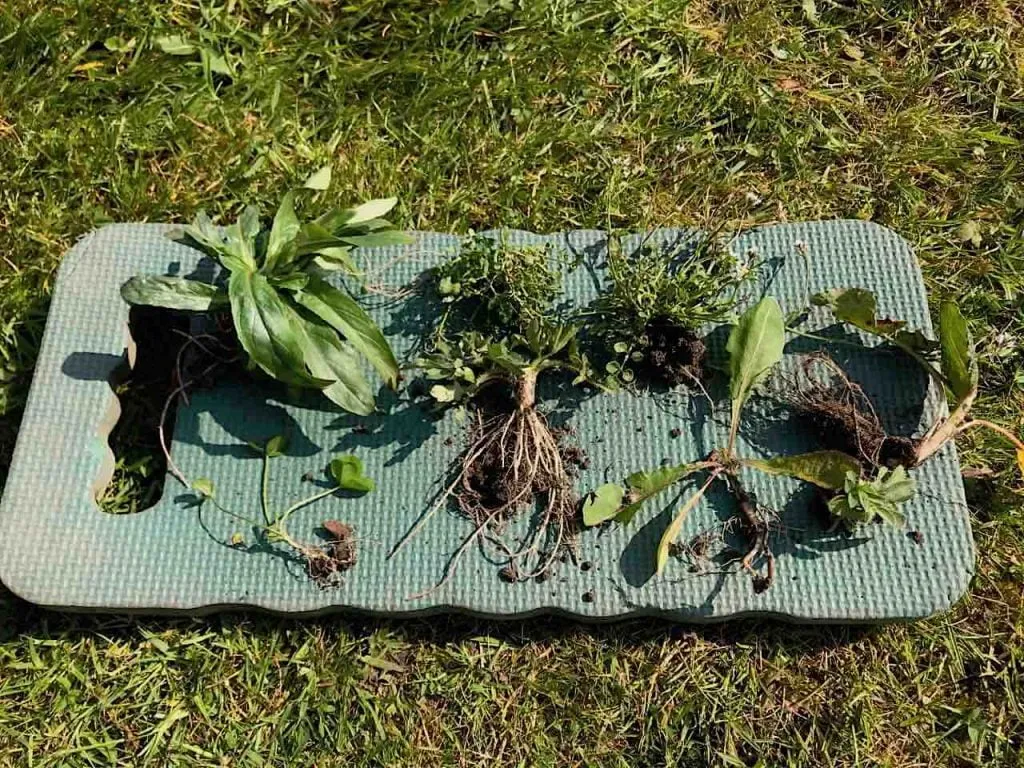
The usual offenders of perennial and annual weeds. Notice their different root types and leaves.
Most perennial weeds will be weakened and then killed off with the cardboard and mulch. However, there are always those exceptions, such as Ground Elder, Bindweed and Mares Tail. All of which will require some continued observation and intervention.
I use a Hori Hori for light weeding, whereas Charles recommends an oscillating hoe to scrape them off lightly once they rear their heads through your compost layer. Given that the new top compost layer is loose, these weeds are far easier to remove when they do appear. So, while you’re cursing these weeds, remember it will be far easier than bending over and manually digging each one out!
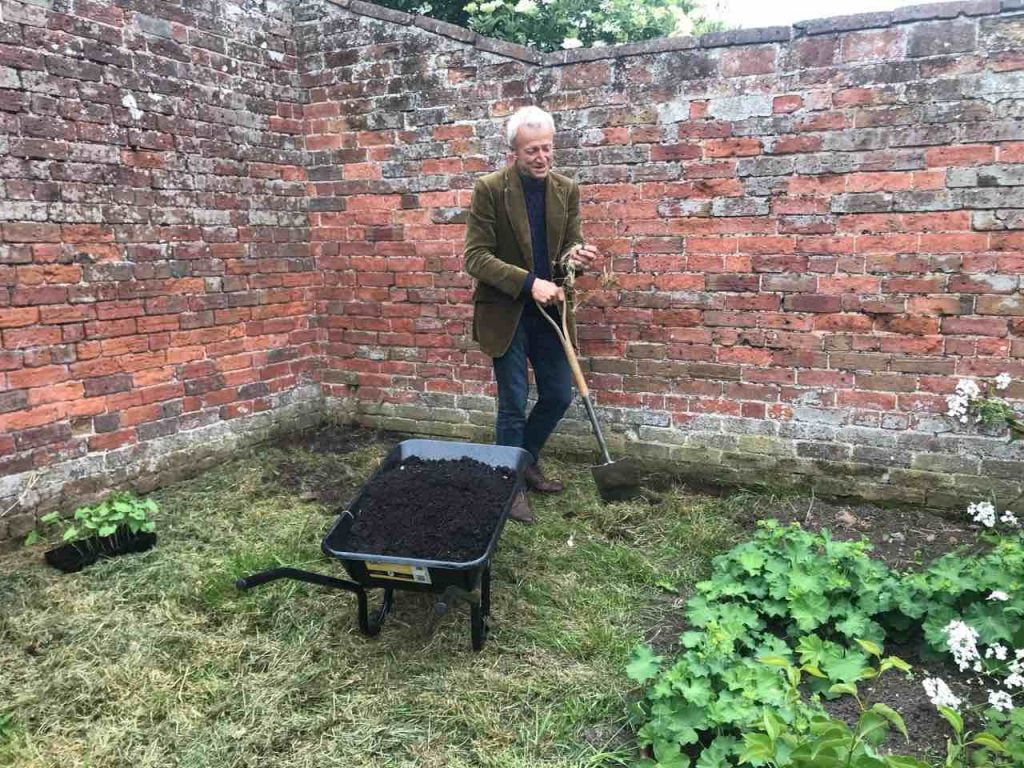
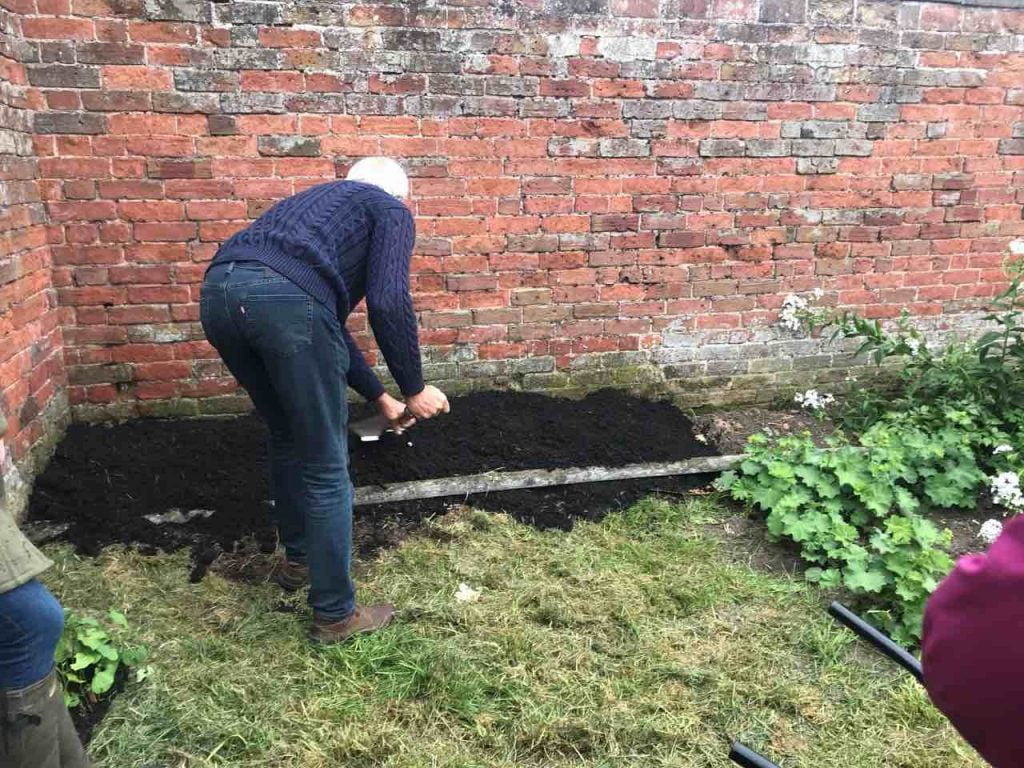
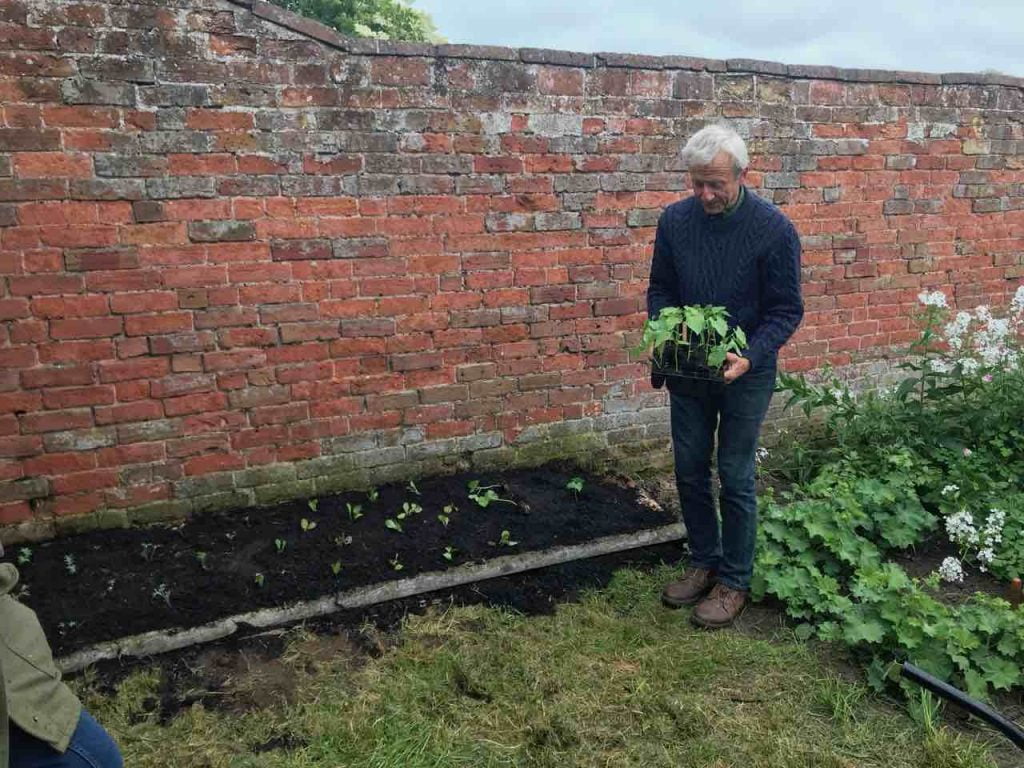
Charles above is rarely seen holding a spade, showing the need to level the site if there are any large lumps or bumps. Here, he is removing a lump from the back wall that leans in towards the wheelbarrow – if left, the compost and moisture will follow this fall line and cause a potential dry spot.
Layering Cardboard for ‘No Dig’
The cardboard helps prepare your ‘No Dig’ beds by smothering weeds and preventing light, which stops weeds from germinating. This is a vital step for all ‘No Dig’ gardens as this starts off the process of killing off weeds and improving the soil structure by not digging them up!
The cardboard and compost dual-layer excludes light and acts as a barrier for weeds. Meaning they either die back or get prevented from growing in the first place. What’s really great about this is that it’s completely organic using cardboard, which is recycled by the soil. The key here is to exclude light, which kills off the weeds.
There is no need for chemicals, toxic concoctions or back-breaking digging to get them out. The cardboard and mulch do all of this for you.
In his books, Charles states you can use a plastic membrane for this first phase to kill off the weeds, but it must be removed. You may have read my fight against plastic in the garden, so I would never recommend using this weed membrane as a permanent solution. It doesn’t biodegrade and tends to break into tiny microplastics that can enter the food chain.
I prefer cardboard as it is easier and is recyclable. This needs to be overlapped by 2-3″ so weeds don’t pop back through. I love this part as many of us in the UK have cardboard recycling bins, meaning we can reuse this ourselves or even, with permission, utilise neighbours’ waste cardboard.
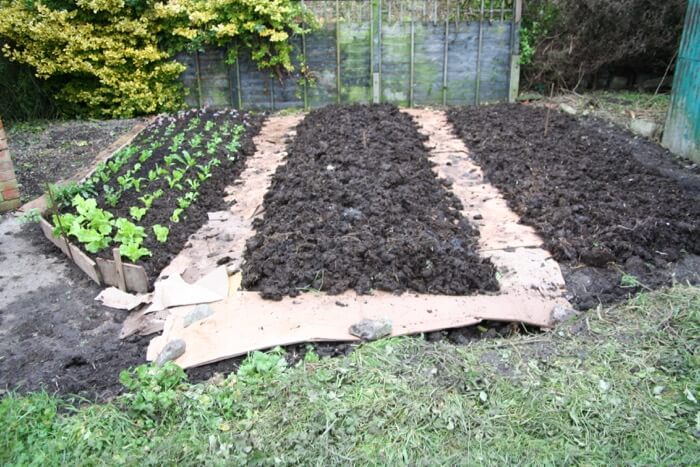
See how the cardboard in this small space is overlapped and forms the base for the ‘No dig’ patch? On the left, you can see rows of Lettuce already planted out.
Adding compost to No Dig beds
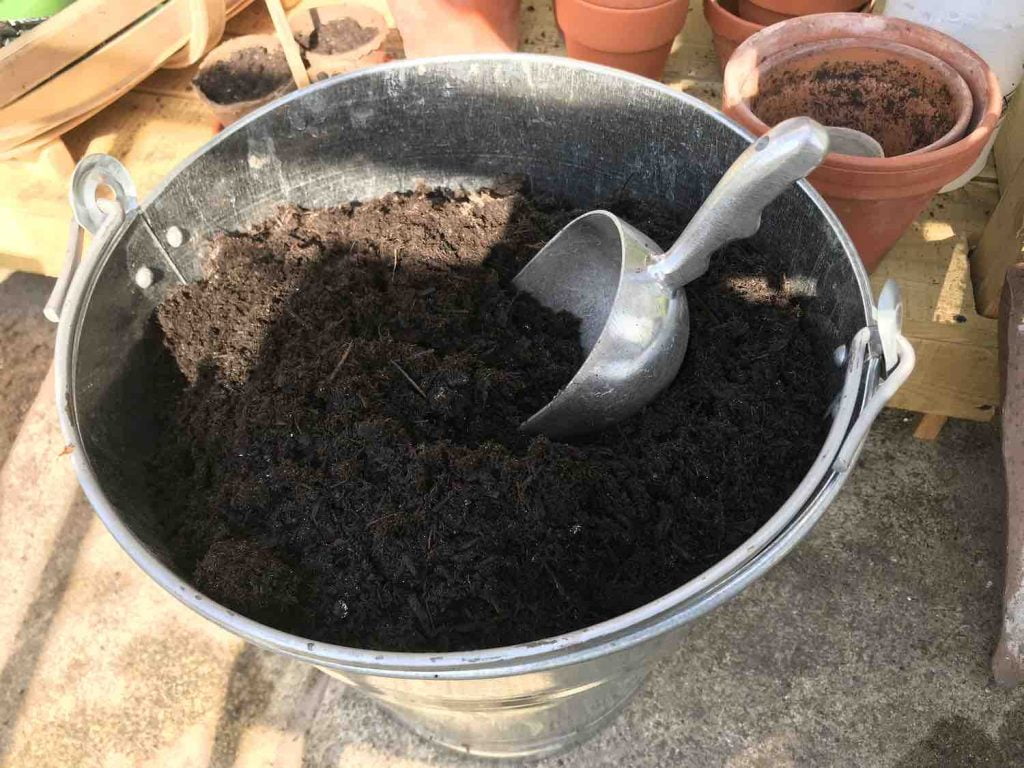
Charles recommends a 10mm or less sieved compost as an ideal, though homemade green waste compost or even well-rotted manure will suffice. A top tip is to use your lumpier compost on the bottom and finer compost nearer the top.
The aim here is to ‘top dress‘ the soil so that worms and other organisms can break the compost down into the soil beneath. This also means you can plant directly into the top layer of compost even if you have poor or impacted soil. Meaning no need to soil test, dig in organic matter or any of that. You can start planting straight away in these beds.
The key is adding a ‘thick’ layer. It needs to be 3-6″ initially and then a further 2″ each year. A light sprinkling will have little to no effect, so you need to go big with this one. It may be best to order a few tonnes of compost to get yourself started, even with a smaller bed. You’ll be surprised at how quickly it is incorporated into the soil, meaning your ‘No dig’ bed is working.
Compost is going to become your best friend as it propels your ‘No dig’ garden to bumper harvests and minimal weeding
Careful attention needs to be paid to the edges of your beds. This is the weak point where perennial weeds can take hold again. You may even find yourself more heavily mulching these compared to the rest of the site.
How to plant in a ‘No dig’ bed
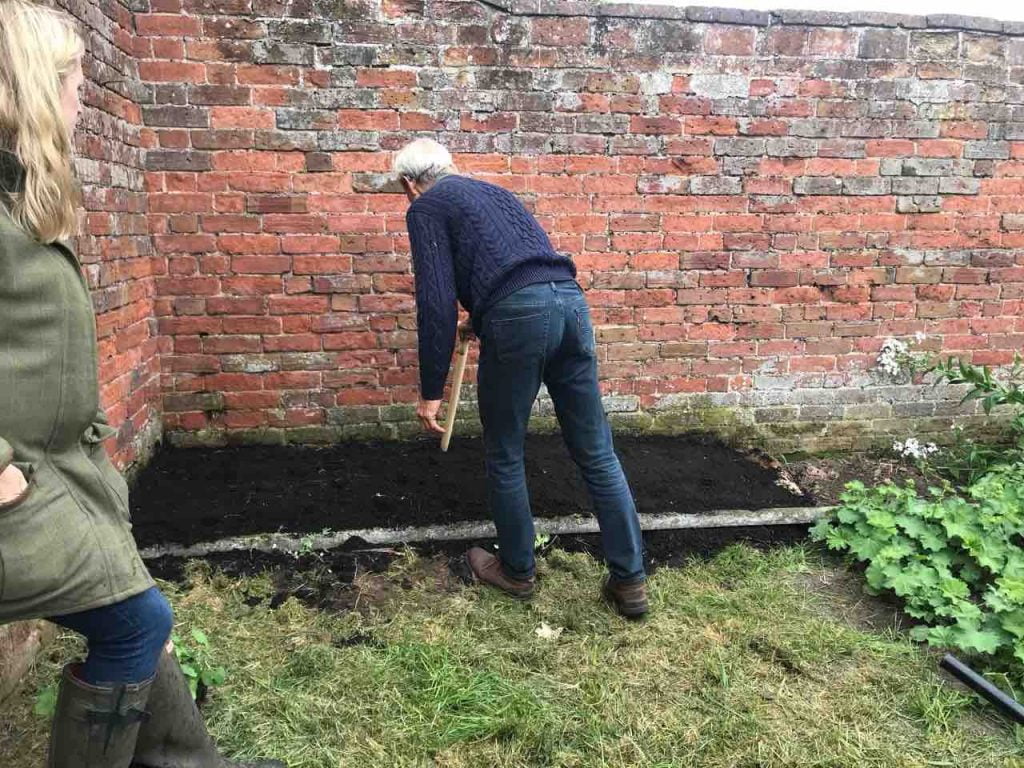
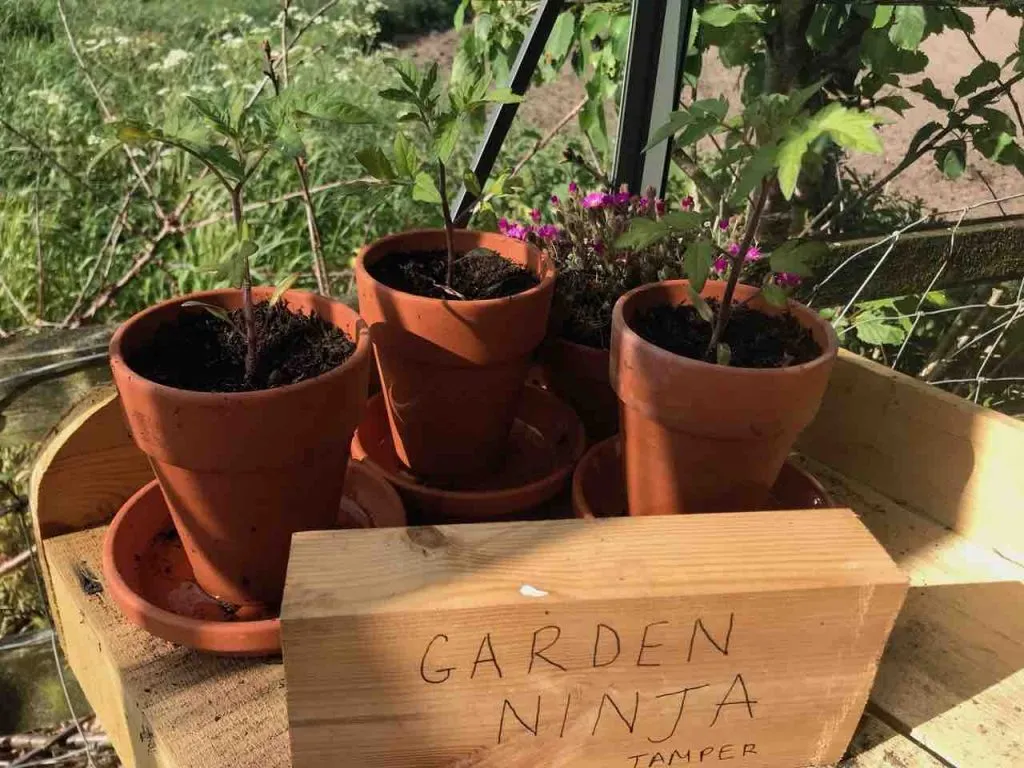
Planting couldn’t be simpler either. Charles uses a long-handled dibber; think of a brush handle without the brush—no more awkward bending or kneeling pads.
He recommends growing your seedlings in modules, saving time to prick out. He only makes enough of excavation for the plant to fit in snuggly. Again, minimising disturbance. He also buries his seedlings deeply, covering some of the stems.
Housekeeping is another strong message in ‘No Dig’. By keeping a clean and tidy plot, i.e. removing damaged leaves and regular light hoeing, you’re reducing the chances of pests taking a bite of your crop. Charles recommends cropping your beds multiple times a year, leaving less space for weeds to grow and maximising your harvest returns.
Why ‘No dig’ is great for beginner gardeners
If you’re not already convinced by Charles’ ‘No Dig’ method, which I’m sure you will be, then here are some other beginner gardener benefits to the ‘No Dig’ approach to growing vegetables.
1. You’re not constantly fighting weeds to start
You don’t need to suffer the defeat of digging over a plot all weekend to find it covered in weeds the next weekend. This is because you’re simply covering over the weeds with cardboard to smother them out.
2. No dig is fast to establish
There’s a huge time-saving, meaning more time for beginners to enjoy and learn from the growing process rather than weeding/struggling. It can be a real-time saver and provide new gardeners with confidence early on.
3. No dig is excellent for small gardens or urban gardening
You can start small; even a 1m x 2m wide bed can be made ‘No dig’ in less than a day! No dig works with any sized garden, big or small.
4. No dig is easy for beginner growers
The skill level to start a ‘No dig’ garden is low. Layering cardboard and spreading our compost is all it takes. Meaning more time learning about growing from seed and choosing your crops.
5. You can stop using plant feeds & shop bought fertilisers
No need to apply fertiliser or other complicated plant care rules. So, you can reduce man-made synthetic fertilizers and start growing organic crops in year one.
6. Beginner gardeners have a higher chance of success growing
There is less chance of failure of harvesting due to improved growing conditions such as nutrient-rich compost, which is also free draining. It avoids you needing to have perfect soil to start with.
You can walk on your soil without compacting it. The compost is far more forgiving, and the lack of digging means it has a more robust structure.
The’ No dig’ method is straightforward for new gardeners who want to grow quickly, especially when applied to an allotment environment if you’ve taken over a new plot and need to get it under control ASAP as you’re not spending hours weeding and digging.
Drawbacks of No Dig Gardening
While no-dig gardening has numerous benefits, there are also some drawbacks to consider. It’s not all easy gardening and rainbows, unfortunately. Let’s take a look at the downsides of ‘No Dig’ gardening so you’re fully informed.
i) Initial Set-Up Time
Converting a traditional garden bed into a no-dig system requires initial effort and time. Building up layers of organic matter and mulch may take some time, especially if you’re starting from scratch. You also need to find a lot of cardboard to start a no-dig allotment or garden.
ii) Cost of Materials
Implementing a no-dig system often involves purchasing organic matter, cardboard, compost, mulch, and other materials to create the layers. While these costs may be offset by reduced labour and maintenance over time, they can still be a consideration, especially for large garden areas. The main cost is yearly tonnes of compost needed for this growing method.
iii) Limited Rooting Depth
No-dig gardening relies on layering organic matter on top of the soil rather than tilling it in. While this promotes soil health and microbial activity, it may limit the depth to which plant roots can penetrate. Some deep-rooted vegetables or plants may not thrive as well in a no-dig system.
iv) Potential for Weed Seeds
While no-dig systems aim to suppress weeds by smothering them with layers of mulch and organic matter, there is still a chance that weed seeds present in the materials used may germinate and grow. Regular maintenance, such as mulch replenishment and hand-weeding, may be necessary to manage weed growth. It also doesn’t stop surface weeds from appearing, so it’s not weed-free as many claim.
v) Dependence on Outside Inputs
No-dig gardening often requires the addition of external organic matter, compost, and mulch to maintain soil fertility and structure. Depending on the availability of these materials, gardeners may need to source them from outside their garden, leading to a dependence on external inputs.
vii) Slow Soil Improvement
While no-dig gardening can improve soil health and structure over time, the process may be slower compared to traditional methods like tilling. It may take several seasons for the soil to fully benefit from the no-dig approach, especially in areas with poor soil quality initially.
By considering these drawbacks, gardeners can make informed decisions about whether a no-dig approach is suitable for their gardening needs and circumstances. Looking for more grow your own tips? Then why not follow my Plastic-Free gardening tips for sowing seeds?
Summary of No Dig Gardening
No dig can save gardeners an awful lot of wasted time as you simply don’t need to dig over your veg and flower beds each year. By adding a rich compost mulch each year, you can completely remove the need to undertake lots of back-breaking ground cultivation.
Charles has demonstrated how even a tiny space can become a productive area in the garden. His website is jam-packed, full of hints, tips and a lively forum. So why not check it out?
Charles also runs ‘No dig’ courses, which, if you get the chance, are a wonderful way to be taught the theory and then experience the practice of ‘No dig. His popular YouTube channel can be found here, and if you want to complement that with some Garden design tips, you can also follow me here!
Happy Gardening!


Lee Burkhill
Lee Burkhill, known as the Garden Ninja, is an award-winning garden designer and horticulturist with over 30 years of gardening experience and 15 years as a professional garden designer. A qualified RHS (Royal Horticultural Society) professional, Lee specialises in sustainable garden design and practical horticultural advice. He designs and presents on BBC1’s Garden Rescue and in leading gardening publications. Lee combines three decades of hands-on gardening knowledge with professional design qualifications to help gardeners create beautiful, functional outdoor spaces.
View all posts by Lee Burkhill


Categories
One thought on “No Dig Gardening Guide for Beginners: Charles Dowding & Garden Ninja”
Leave a Reply
You must be logged in to post a comment.
Other posts
-

Start here: to begin your gardening journey! Read more
-
Sensory Story Garden Wythenshawe Read more
-

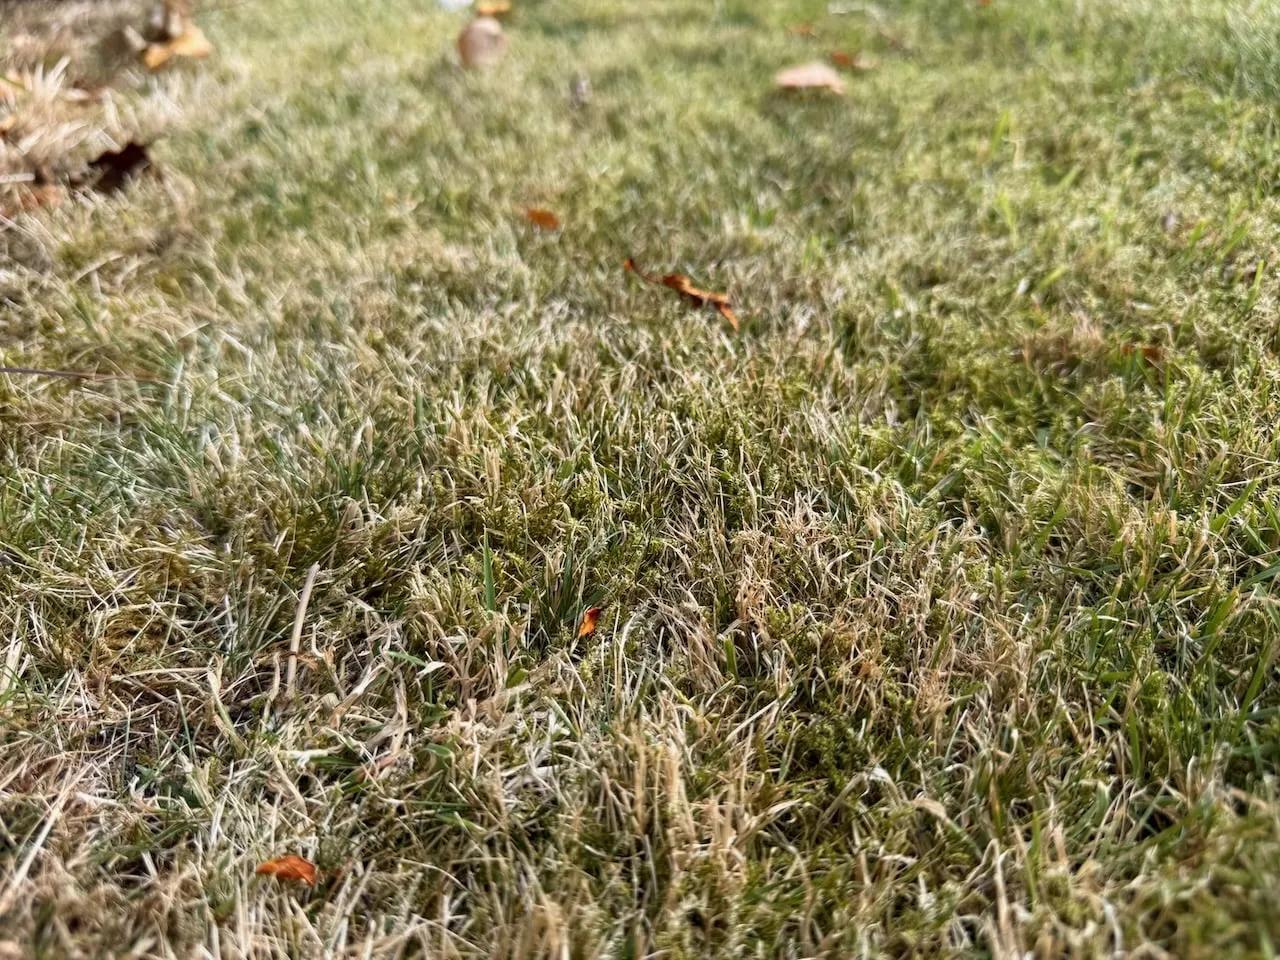
Why Is My Lawn Yellow or Patchy? The UK Gardener’s Complete Diagnosis Guide Read more
-
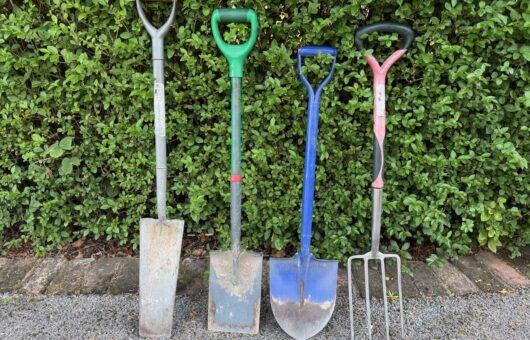
The Best Garden Spades and Forks to Buy: 2025 Complete Tool Guide Read more
-
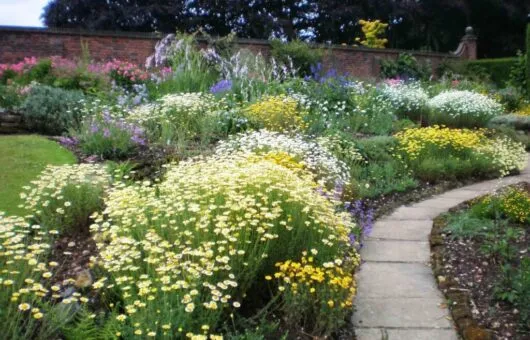
What is an Informal garden? Read more
-
Living & Real Christmas Tree Guide: Making it last & how to recycle trees Read more


What if I have an already established group of raised beds?