Lee Burkhill: Award Winning Designer & BBC 1's Garden Rescue Presenters Official Blog
Beginner level
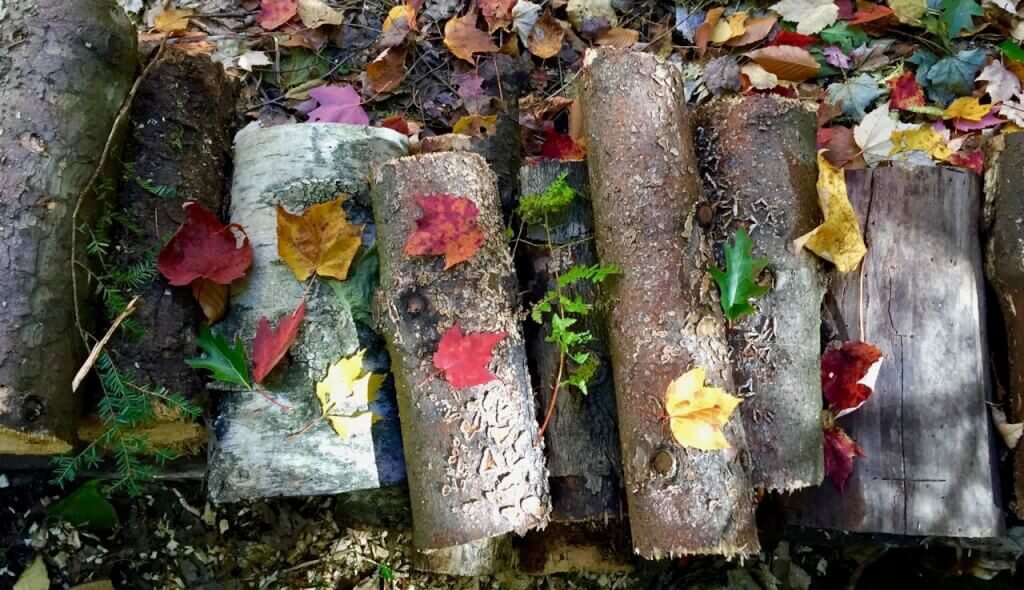
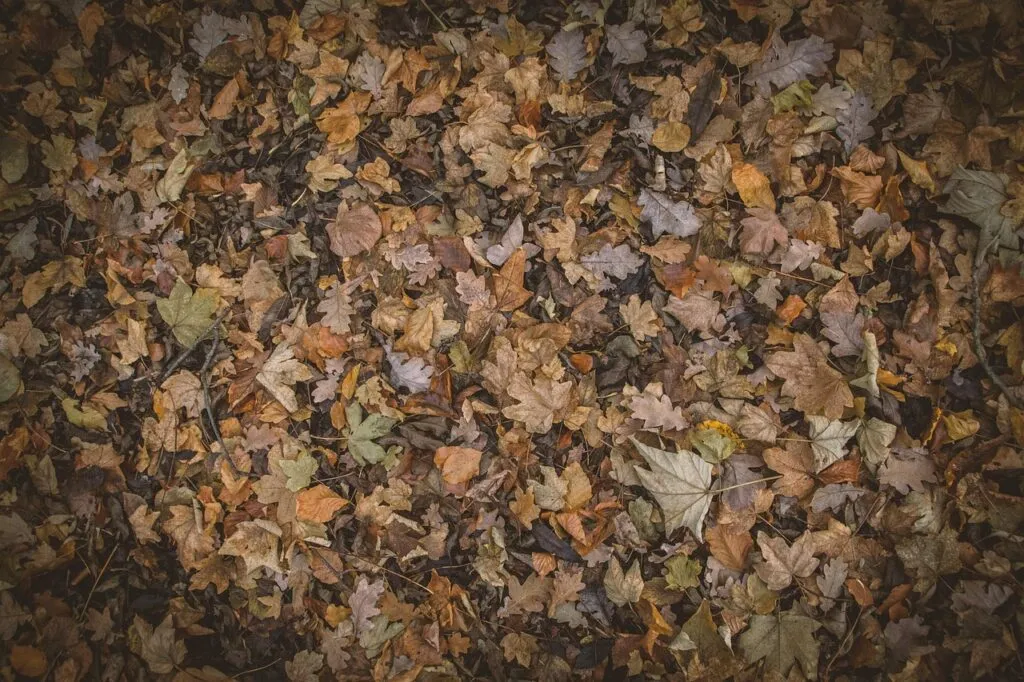
Cleaning up fallen leaves is the burden of many a gardener. Just as you have finished, the leaves start to fall again! It can feel like trying to hold back the tide. Did you know you can make incredible leaf mould compost from fallen leaves to enrich your garden? This how-to guide will show you a super easy way to make your own free leaf mould compost!
I don’t know of any gardener who likes cleaning up leaves, but in the autumn months, it is something that most gardeners need to tolerate. Our deciduous trees drop their leaves each autumn, providing a golden opportunity to create a soil improver by making leaf mould. Leaf mould compost is an excellent way to rid yourself of wet, slimy leaves and enrich your garden with nutrient-rich leaf mould compost.
Learning how to make leaf mould is easy, and it costs virtually nothing. Whether you decide to go all in with a full leaf mould composting bin or use bin bags for 12 months, you have a perfect compost to mulch your gardens with. Don’t be fooled by TikTokers and Instagrammers pretending it’s a new thing; making leaf mould from fallen leaves has existed since the dawn of time.
This guide will show you how to make perfect leaf mould without shredders or faffing about with leaf vacuums and the like.
What is leaf mould?
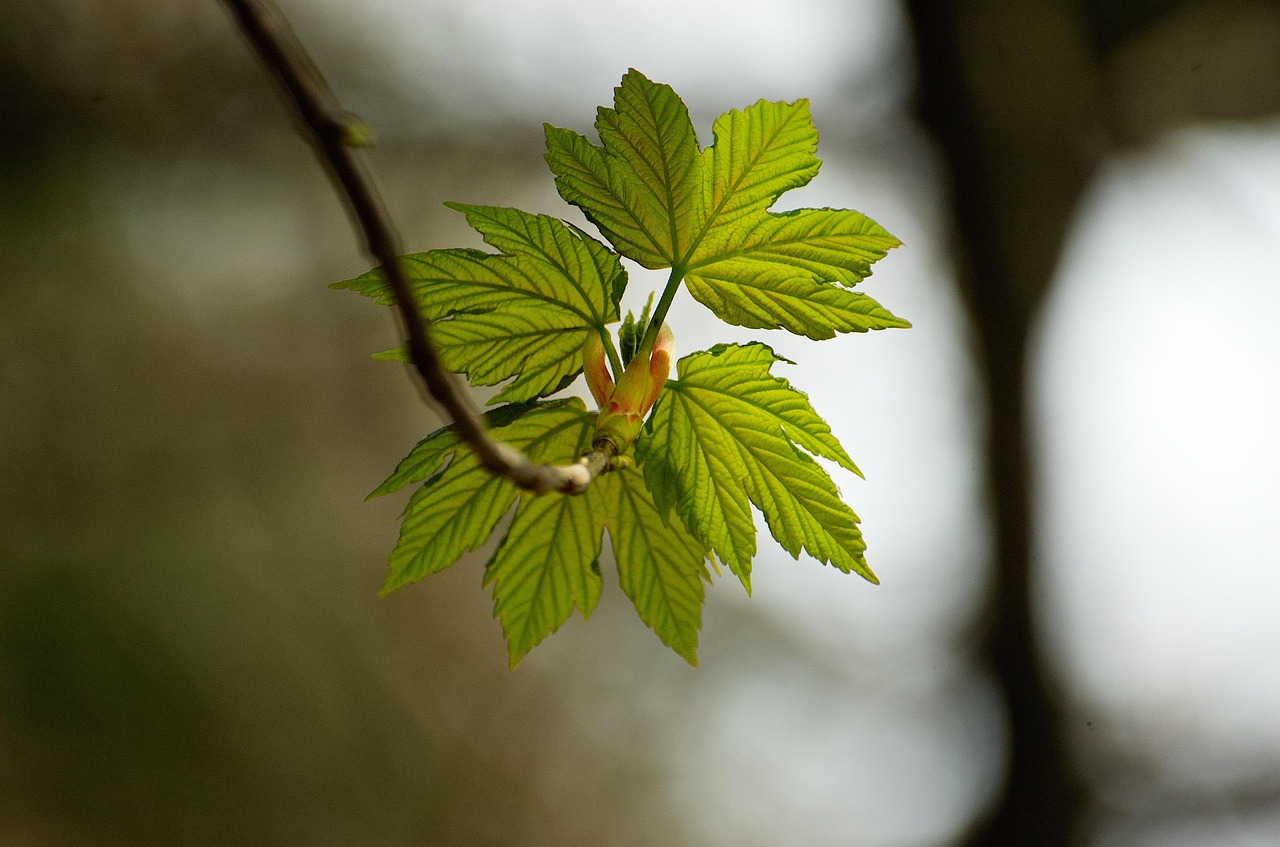
Leaf mould is decomposed deciduous leaves broken down by fungi over 12-18 months. Unlike compost, it’s created through fungal action rather than bacterial breakdown, producing a light, crumbly soil conditioner perfect for mulching and improving soil structure.
How to make leaf mould
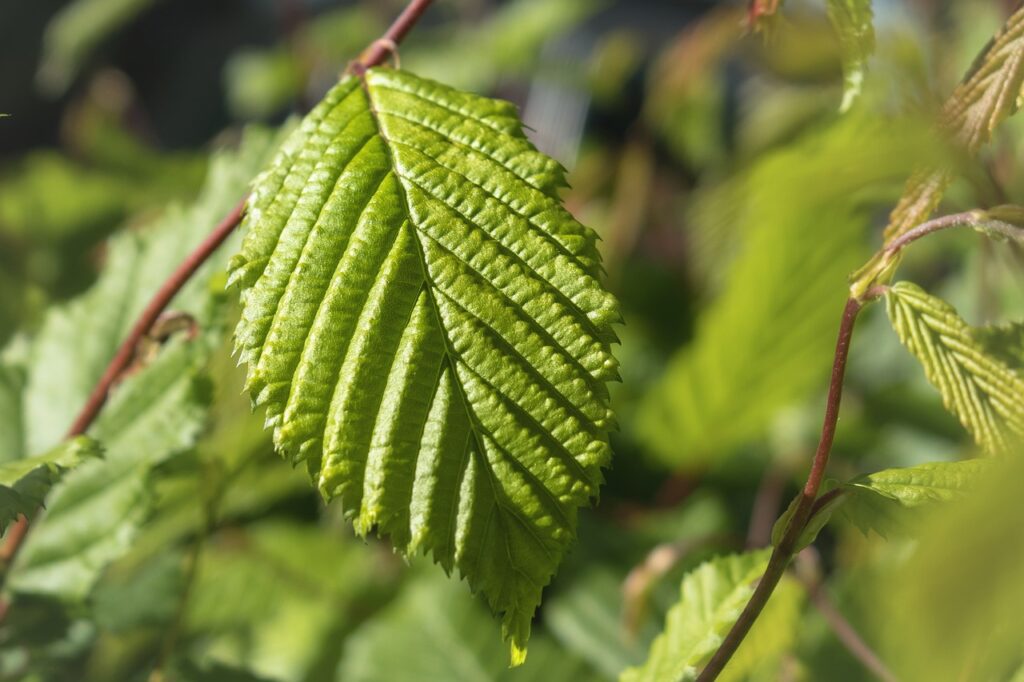
Leaf mould is super easy to make. All it requires is patience, some time to collect the leaves, and a place to store them as they break down into beautiful compost. You don’t need to add anything special or start fiddling around with garden shredders or mowers, and you can use any leaves (though deciduous leaves that fall off the tree each year are faster to break down than evergreen leaves that usually stay put).
Leaf mould has become a big trend on social media, with ‘influencers’ showing you how they collect leaves with giant vacuums and then shred or wet them, along with adding all sorts of other chemicals. The truth is, you don’t need to do any of that, Ninjas. Trust me when I say that Mother Nature knows best!
Let me explain how to make leaf mould without any drama or need for a viral video.
Store in some form of breathable container, compost bin or bag
Keep moist
Leave until the leaves have naturally broken down to reveal a dark brown light compost. Usually 12-18 months
Use around your garden as a mulch, top dress or seed compost
Leaf Mould vs Compost: What’s the Difference?
This is probably one of the most common questions I get asked by fellow gardeners, and honestly, I can see why there’s confusion! Both look brown and crumbly when finished, but they’re as different as a slow-cooked casserole and a quick stir-fry. Let me explain why understanding this difference will make you a better gardener.
Leaf mould and compost are broken down by completely different processes, and this is where it gets fascinating.
Compost is created by bacteria that love heat, oxygen, and a good mix of green and brown materials. These little workhorses get so excited they heat up your compost pile to around 60°C, which is why you need to turn compost regularly to keep the air flowing.
Leaf mould, on the other hand, is the work of fungi. These patient decomposers prefer cool, moist conditions and work slowly over 12 to 24 months. No heat, no turning, no fuss. It’s nature’s own slow-release system, just like what happens on a woodland floor.
pH Levels and Your Plants
Most leaf mould has a pH between 6.0 and 7.0, making it nearly neutral and suitable for almost all garden plants. This is perfect because it won’t upset the pH balance of your soil like some other amendments might. The exception is pine needle leaf mould, which is acidic with a pH around 4.5 to 5.5, making it perfect for acid-loving plants like rhododendrons and blueberries.
Why This Matters for Your Garden
The different breakdown processes create completely different end products. Compost is like a hearty meal for your plants, packed with nutrients including nitrogen, phosphorus, and potassium. It feeds your soil and your plants directly. Leaf mould is more like a personal trainer for your soil structure with its slow and steady improvements. It doesn’t provide many nutrients, but it transforms how your soil behaves, improving drainage in clay soils and helping sandy soils retain moisture.
Think of compost as plant food and leaf mould as soil medicine. Your garden needs both, but for different reasons.
Methods for Making Leaf Mould
There are two main ways to make leaf mould:
The slower way (large compost bins) when you have huge amounts of leaves, i.e. many large trees
The quicker way (Plastic bags) for smaller gardens, where you may only have one or two tree leaves to deal with.
Here at Garden Ninja HQ, I use both methods. The large compost bins are in my main garden, and then plastic bags are in the smaller borders, which I then tuck away behind the shed each year. Let’s take a look at both ways of making leaf mould to see which way is best for your garden.
When is the best time of year to make leaf mould?
The best time to make Leaf mould is in Autumn, usually in October in the UK.
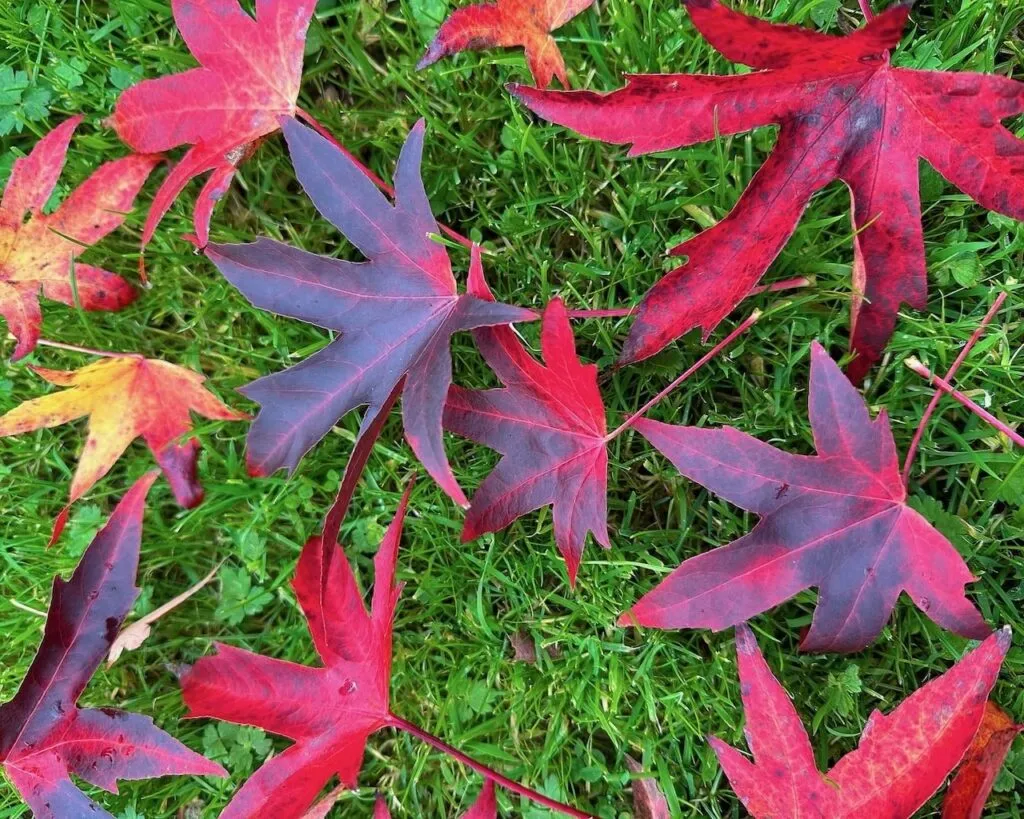
The best time to make leaf mould is when the leaves of trees are actively falling. There is no magical way to know when the leaves are ready other than the fact they have fallen to the ground. You can usually guess as they will be either yellow, brown, red or orange at this point, as explained in my guide here on why leaves change colour in autumn.By gathering them up and composting them together, you ultimately end up with a super light compost for plants.
There’s no time limit on when you can make leaf mould, but gathering the leaves up as soon as they have fallen is best. This is mainly so you don’t slip on them, and leaf falls on lawns don’t cause the turf to go yellow with a lack of sunlight in the winter.
1. Making Leaf Mould in Compost Bins
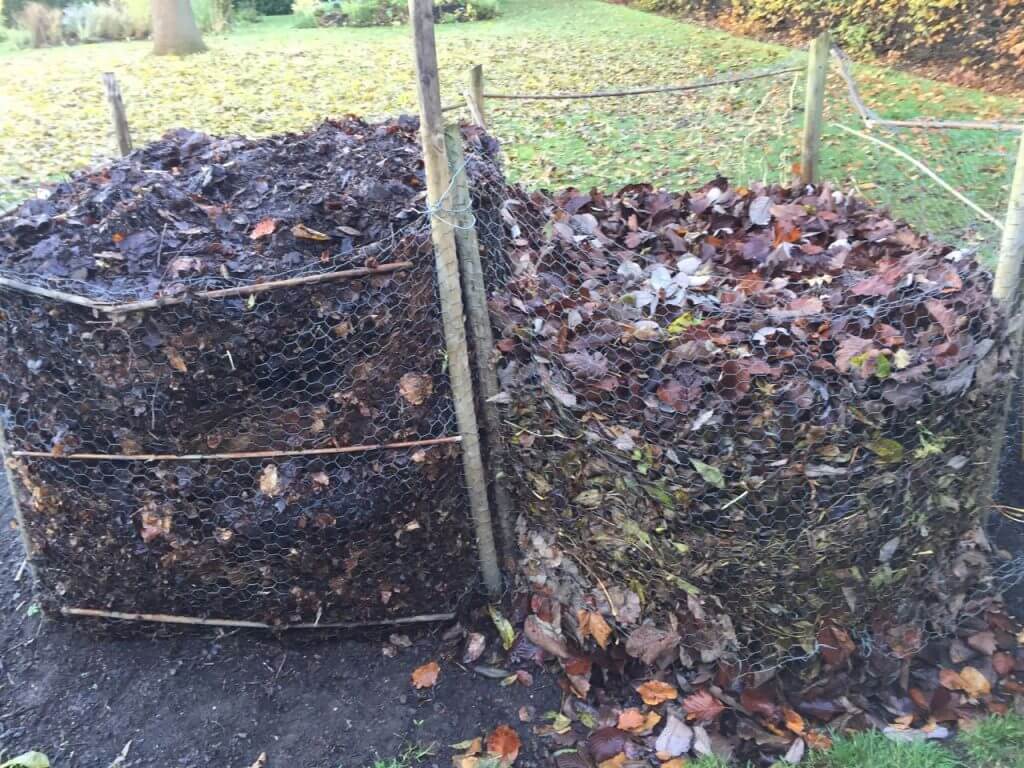
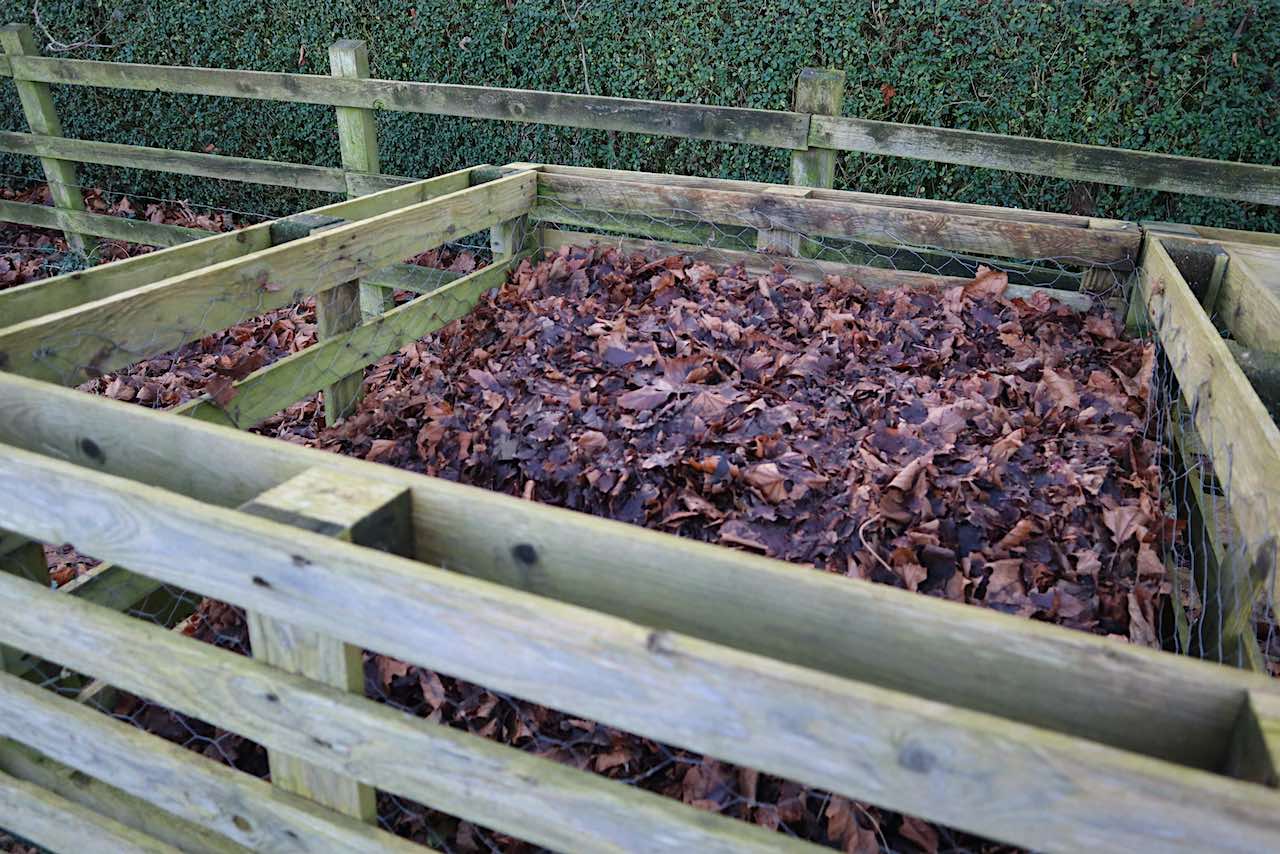
The traditional way of making leaf mould involves creating composting bins of at least 1m x 1m in diameter. You can use four wooden stakes and then staple chicken wire against them to make the easiest leaf mould bin. Alternatively, you can follow my pallet compost bin guide here to make really sturdy, well-constructed leaf mould bins.
These bins are then lined with chicken wire to allow airflow and help the leaves break down. Below is an example of two leaf mould bins.
The disadvantage is that it requires a large amount of space, and if you don’t use mesh around every side of the bin, a sudden gust of wind can blow most of your leaves away, forcing you to start over and clean them up again.
This method is best when trying to dispose of large amounts of leaves. To avoid the issue of the wind disturbing them, a plastic sheet on top with a brick usually does the trick. The above bins are quite crudely constructed. I prefer to use pallets for compost bins, which are sturdier and have greater longevity.
Making more stable bins means they last longer, and you can easily contain your leaf collection until it rots down. The above compost bin is made from pallets, making it super easy and secure. My compost bin guide below shows you a quick method of making large bins for leaf mould.
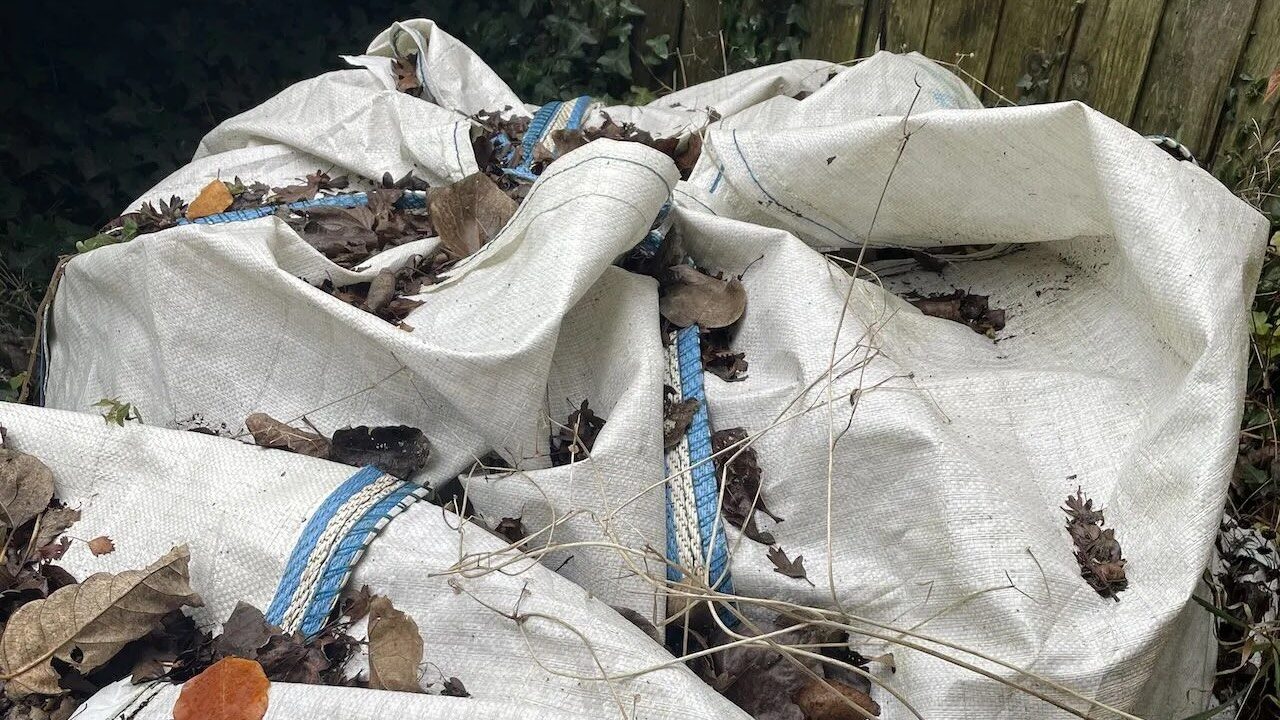
2. How to make leaf mould quickly in bin bags
There is a far easier way, which involves using bin liners or bags to make leaf mould, especially if you are new to leaf mould. This takes about half the time of the traditional method and guarantees you amazing leaf mould compost in about 12 months.
It’s also great for those with space restrictions and those who can’t build permanent compost bins. It allows you to make leaf mould and experience its benefits before committing to building custom permanent leaf mould compost bins. If you live in a small garden or urban space, then making leaf mould in bags is the way to go, as you can hide them behind sheds, at the back of flower beds or under trees!
Equipment to make leaf mould
Bin liners or spent builders’ tonne bags
Recently fallen leaves
Garden Shredder (if you’re in a rush for the good stuff!)
Scissors
Somewhere out of direct sunlight to store the bags of leaves.
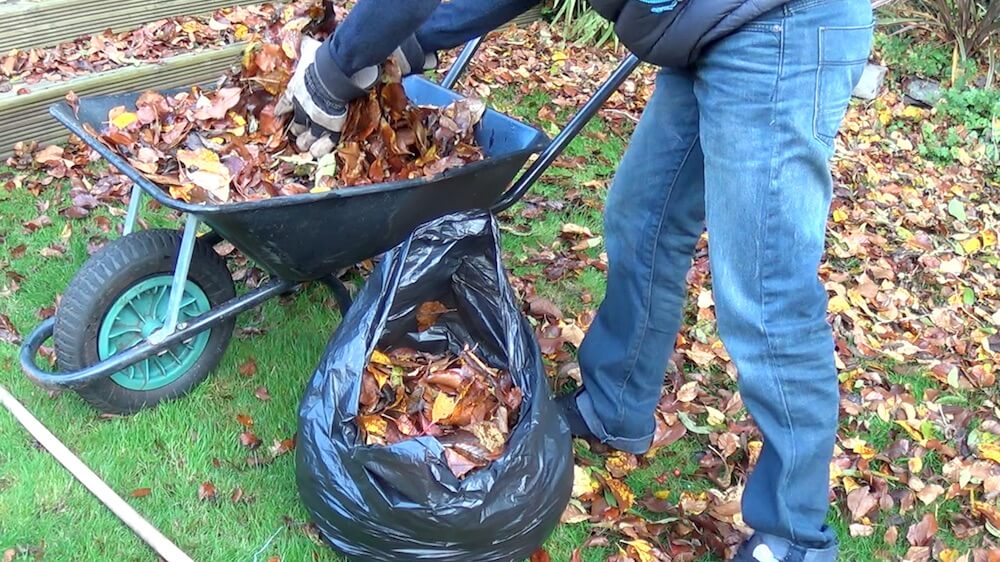
Step 1: Collect your leaves
Fill a bin liner 2/3 full of leaves. I recommend deciduous leaves, as these break down really quickly. Evergreen or waxy leaves can take a long time to decompose and may need shredding. To speed up the process, a shredder will help cut the leaves into smaller particles, expediting the process significantly!
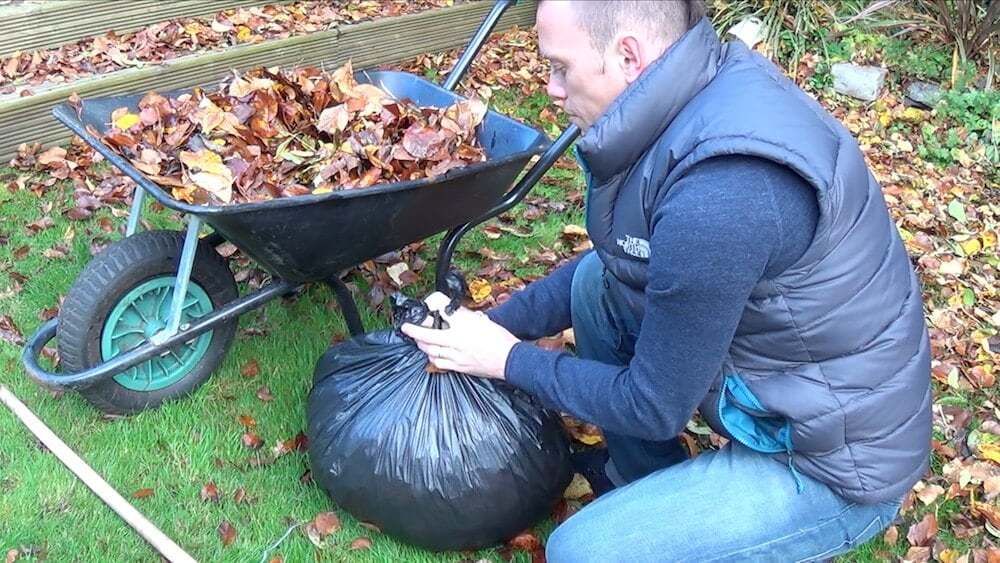
Step 2: Fill your bag and tie it up
Compress the leaves tightly, then tie the bin liner up with a double knot. I recommend filling only 2/3 of the way, so you have enough liner left to tie. If they have drawstrings, you can fill your bin liner up with leaves!
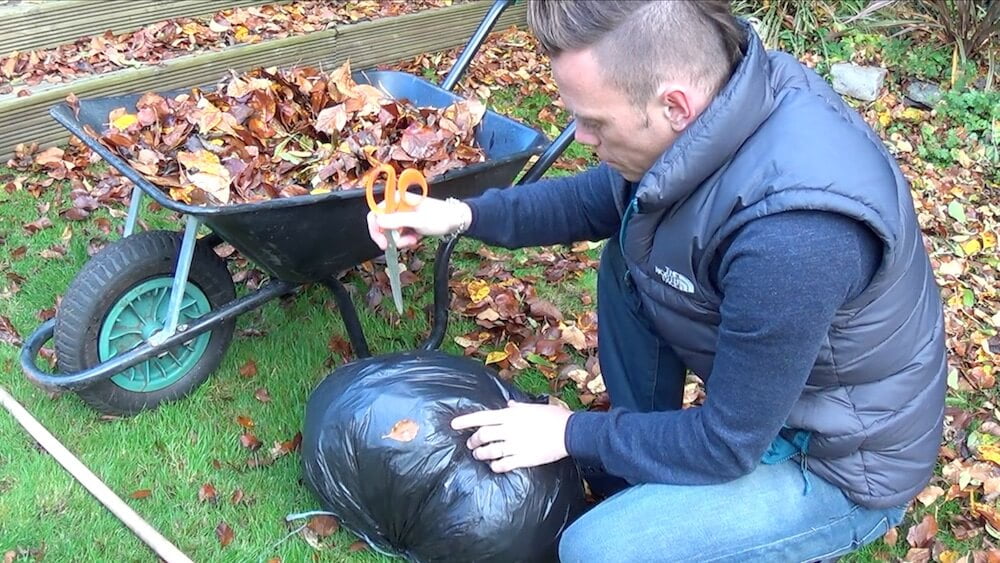
Step 3: Add drainage if need be
Using the scissors, puncture some air holes around the bag’s side and bottom. This allows any excess moisture to escape and prevents the leaves from simply rotting into a foul, soupy mess. If empty builders’ bags are used, these are already porous, so you don’t need these holes added.
Step 4: Store the bag out of sunlight
Store the bag(s) in a location out of direct sunlight. Ideal places are behind sheds or slightly shady spaces. Don’t rest them against buildings as moisture build-up could cause dampness. You can even store them one on top of each other as long as there is drainage, and they can help you make maximum amounts of leaf mould!
Step 5: Leave the leaves to rot down
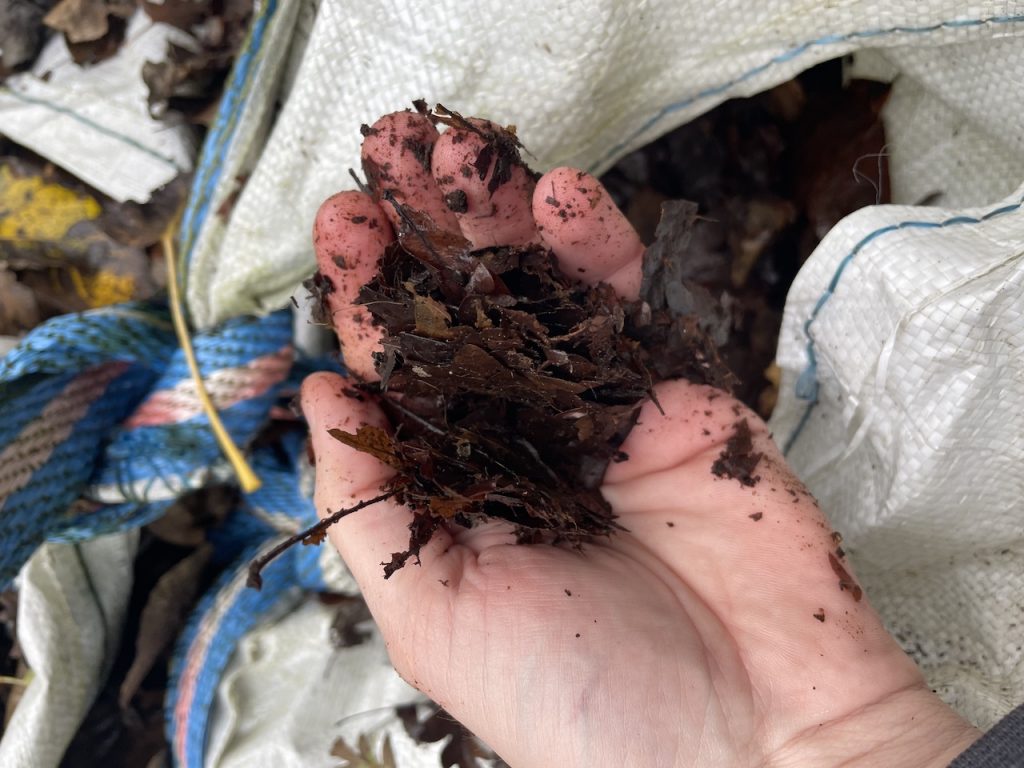
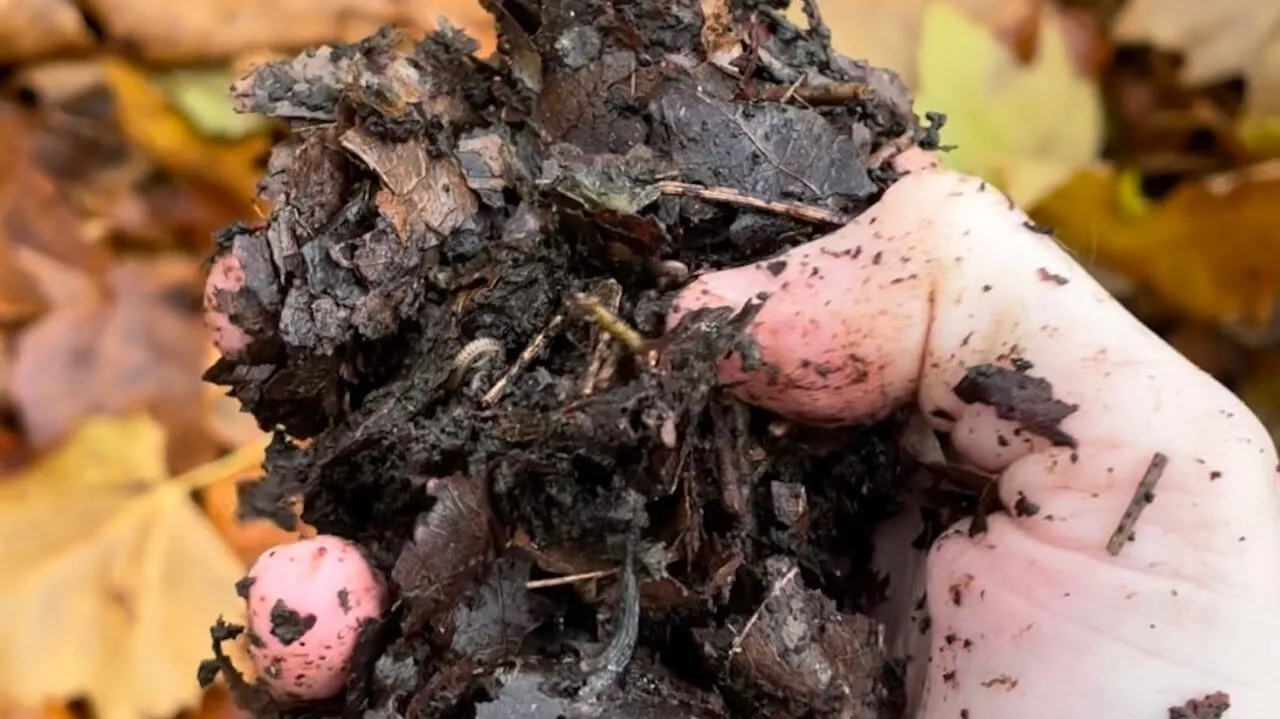
Forget about the bags for around 12 months. Go have a brew and enjoy life. Check on them the following spring to see if they are ready. You will know when the leaf mould is good to be used as it will be brown and crumbly, a bit like compost, not wet and sticky like
This leaf mould needs more time. Pop it back in and return to recheck it in 3 months.
Step 6: Check if the leaf mould is ready, and then use
After 12 months, check the bag. The leaf mould is ready if the contents are a dark brown, rich colour. If still a bit slimy or wet, leave it for an additional month and recheck. Once it is a lovely loose crumb, you should start using your excellent leaf mould around the garden!
Reusing builders’ sacks for leaf mould
If you’ve recently had hard landscaping done or ordered any materials from a builder’s yard, you will likely have a couple of these huge plastic woven sacks lying around. Rather than sending them to landfills, why not reuse them to make amazing leaf mould?
Simply stuff them full of leaves, use the corner loops to tie them up and then leave somewhere out of the way for 12-18 months whilst they break down. They don’t need draining holes as they already let water and air pass through them. It’s a great way to start gardening without plastic. You can read my other gardening without plastic tips here.
What does leaf mould look like?
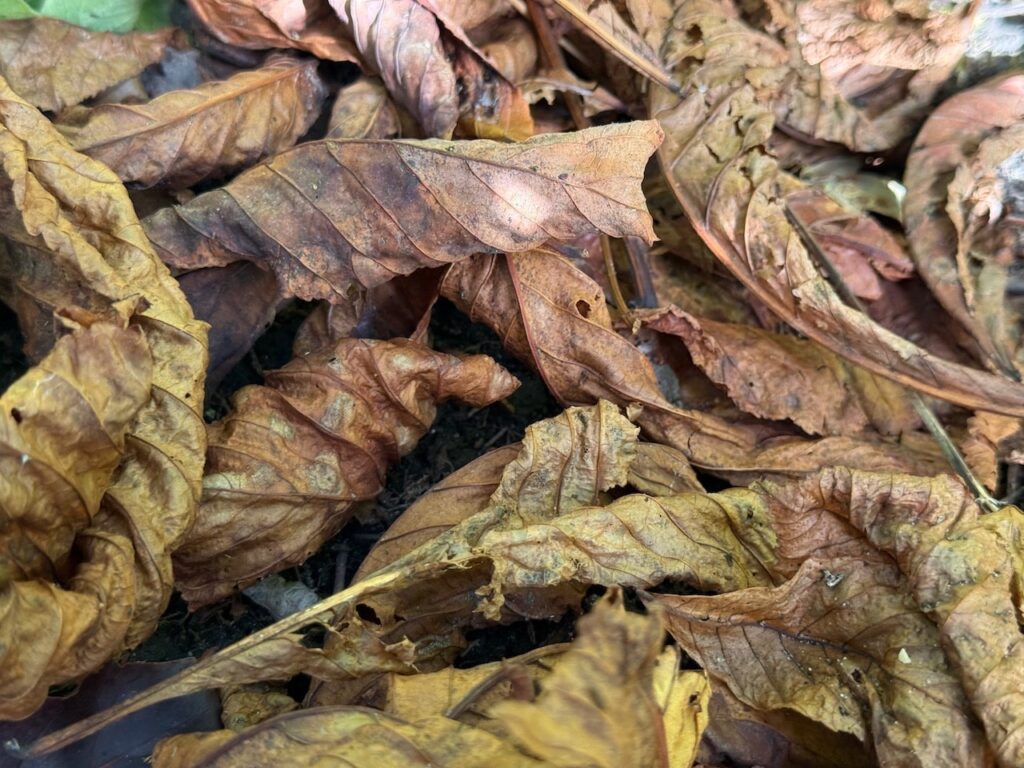
When leaf mould is ready for use, it should be a dark, rich brown colour, slightly moist, and crumbly. This is when it is at its prime. If it is dry and dusty, it may have already lost most of its good stuff. If it still looks like wet leaves, then it needs longer!
Can I use evergreen leaves for leaf mould?
The quick answer is yes, you can. However, evergreen leaves for leaf mould will take a lot longer to break down. On average they take 2-3 years to create good leaf mould.
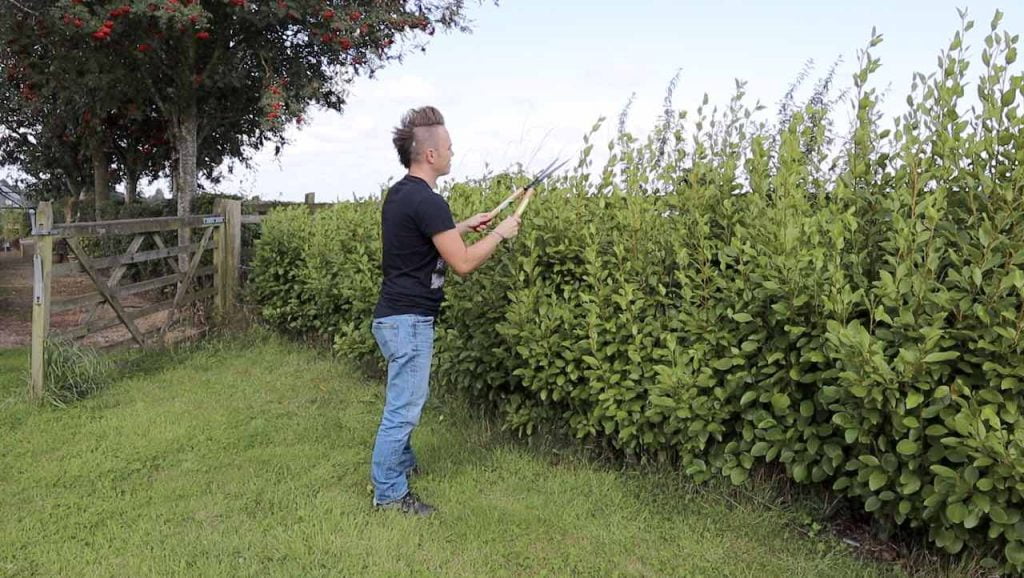
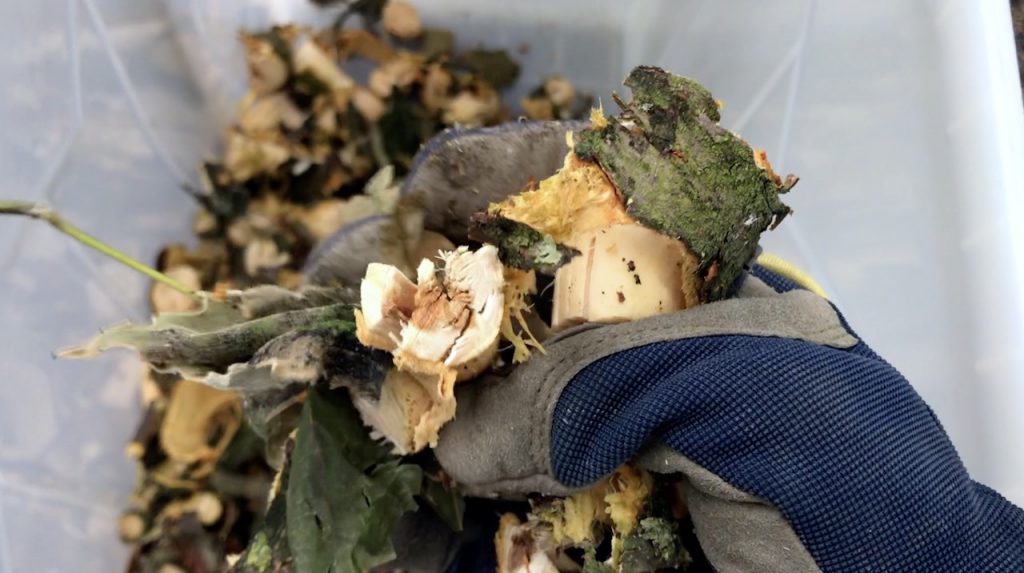
If you’re using evergreen leaves from hedge clippings or shrub prunings, it’s best to shred them before making leaf mould. I mix them with deciduous leaves to help speed the process up, along with chopping up any glossy evergreen leaves.
Another caution is to avoid any thorny leaves, particularly Holly or Pyracantha, where the barbs or spines stay there for years. It can be a sharp surprise when grabbing a handful of leaf mould!
Hedge clippings like the Griselinia evergreen hedge above can make great leaf mould if you allow them to rot down over two years in a leaf mould bin and have the time to let such evergreen leaves decompose. Alternatively, add most hedge clippings to a regular compost bin for faster results.
Do I need to turn leaf mould like compost?
This is hands down one of the most frequent questions I get asked, and I completely understand why there’s confusion. After all, we’re told constantly that compost needs turning, so surely leaf mould must be the same, right? Well, let me put your mind at ease: absolutely not!
However, you do not need to turn leaf mould and should leave it well alone, unlike compost heaps. Leaf mould is nature’s ultimate low-maintenance project. Unlike compost, which requires regular turning to keep it aerated and working efficiently, leaf mould thrives on being left completely alone. In fact, turning it can actually slow down the process rather than speed it up.
Leaf mould is created by fungi, not bacteria. These fungi prefer cool, moist, undisturbed conditions that mimic the natural conditions found on a woodland floor. When you turn leaf mould, you’re disrupting these fungal networks that are quietly doing their work. It’s a bit like constantly rearranging someone’s workshop just as they’re getting organised!
Fungi work very differently from the bacteria that break down compost. Bacteria need oxygen, heat, and regular mixing to work efficiently. That’s why we turn compost piles every few weeks. Fungi, on the other hand, create their own network of fine threads called hyphae that spread throughout the leaf pile. These networks are delicate and take time to establish. Every time you turn the pile, you’re essentially starting from scratch.
What can you use leaf mould for?
Leaf mould has many uses in the organic garden, or for growing your own plants or vegetables. It’s not just for growing seedlings or scattering on your lawn. This slow-burning plant food and soil improver has many uses. Let’s take a look at the many uses of leaf mould.
i) Mulching
Leaf mould is a gardener’s secret weapon, offering a natural, cost-effective way to improve soil health while protecting plants from harsh conditions. This organic material is particularly valuable as a mulch, created by simply composting fallen leaves. When applied to your garden beds, it forms a protective layer that helps regulate soil temperature and retain moisture, reducing water stress during the high temperatures of summer. This means your plants stay hydrated for longer, even in dry spells.
ii) Growing Plants from Seed
One of the standout qualities of leaf mould is its incredibly fine crumbly texture. This makes it perfect for use with seedlings and young plants. Its light, airy structure allows roots to establish easily, while its free-draining properties prevent waterlogging—making it ideal for propagation and nurturing delicate plants.
iii) Improving Compacted Soil
For gardeners battling compacted soil, leaf mould is a game-changer. When worked into heavy or dense soils, it improves aeration and drainage, creating an environment where plant roots can thrive. Over time, the organic matter breaks down further, enriching the soil with nutrients and encouraging beneficial microbial activity.
iV) Top Dressing Lawns with Leaf Mould
Leaf mould also has a lesser-known use: as a top dressing for lawns. Applying a thin layer in autumn or spring acts as a natural, slow-release fertilizer, gradually feeding the grass and improving soil structure beneath. It’s an easy, eco-friendly way to keep your lawn lush and healthy without relying on synthetic products.
Whether mulching, propagating, improving soil texture, or enhancing your lawn, leaf mould is a versatile and sustainable resource that every gardener should incorporate into their routine. Best of all, it’s free and easy to make—just collect fallen leaves, pile them up, and let nature do the rest!
Do I need a shredder to make leaf mould?
The quick answer is no, you don’t need a shredder to make amazing leaf mould. However, plenty of online shorts, reels, and TikToks argue that you do. This is probably because it makes for a more interesting video than someone filling a compost bin full of leaves. Shredding can speed up the leaf mould process, but in my expert opinion, it causes more environmental issues than the time it may or may not save.
Should I use a shredder for leaf mould?
Using a shredder for creating leaf mould has advantages and disadvantages, depending on your gardening needs and resources. Here’s a detailed breakdown of the pros and cons to help you decide if investing in or using a shredder is right for you:
Pros of Shredding Leaves
Faster Decomposition: Shredding leaves significantly speeds up the decomposition process. Smaller leaf pieces have a greater surface area, which allows microorganisms to break them down more efficiently. This means you can create usable leaf mould in months rather than years.
Space-Saving: Shredded leaves take up far less space than whole leaves, which is especially useful if you have limited composting or storage space. A smaller pile is also easier to manage and turn.
Improved Texture: Shredded leaves produce a finer-textured leaf mould, ideal for applications like seed-starting mixes or light top-dressing. The even texture also makes it easier to work the material into the soil.
Easier Handling: Smaller, shredded leaves are less prone to matting, which can create a barrier that blocks water and air. Shredding helps maintain a well-aerated pile, preventing issues like anaerobic conditions and unpleasant odours.
Versatility: Shredded leaves can be used immediately as mulch, providing weed suppression and moisture retention while they break down into leaf mould. The finer texture also makes them suitable for mixing directly into garden beds.
Drawbacks of Shredding Leaves
Cost of Equipment: Shredders can be an expensive investment, especially for casual gardeners or those with smaller gardens. Even renting a shredder can add up over time.
Energy Use: Electric or gas-powered shredders consume energy, which may not align with eco-friendly gardening principles. Hand-held or manual shredders are available but can be labour-intensive.
Noise and Pollution: Shredders can be noisy and disruptive, especially in residential areas. Gas-powered models can also produce fumes, making them less environmentally friendly.
Time and Effort: While shredding accelerates decomposition, the process of collecting, shredding, and managing large volumes of leaves can be time-consuming. This may outweigh the convenience of simply letting leaves break down naturally.
Potential Wear and Tear: Some types of leaves, such as wet or thick waxy ones, may clog or dull shredder blades over time, requiring maintenance or replacement.
Risk of Over-Shredding: Excessively fine shredding can sometimes lead to overly compacted piles if not properly aerated. This can reduce oxygen flow and slow decomposition, counteracting the benefits.
I never bother to shred leaves for leaf mould. In my experience, it doesn’t save time and just pumps out loads of fumes, carbon, and pollution to the environment. This is counterproductive to trying to be an ethical and wildlife-conscious gardener!
Is it legal to take fallen leaves from other people’s gardens?
In the UK, taking fallen leaves from someone else’s property without permission can technically be considered trespassing or theft, depending on the circumstances. Here’s a breakdown of what you should know:
Private Property
If the fallen leaves are on private property, they legally belong to the property owner. Removing them without explicit permission could be considered theft under the Theft Act 1968. Even if the leaves are seen as a nuisance or are unused by the property owner, they are still technically theirs.
Public Property
Leaves on public land, such as pavements, parks, or verges, are typically the responsibility of the local council or land management authority. While councils rarely prosecute small-scale leaf collection (e.g., for personal composting), it is always best to check local rules or seek permission, as technically, the leaves belong to the authority managing the area.
From Your Neighbour’s Tree
If a neighbour’s tree drops leaves onto your property, it becomes your responsibility to clear those leaves up, even though the tree belongs to your neighbour. However, this does not mean you are entitled to take leaves that fall on their side of the boundary.
Practical Advice
Ask Permission: If you want to collect leaves from private property, ask the owner. Most people won’t mind if it’s for gardening purposes.
Check Local Council Guidelines: For leaves on public property, check with your local council for any restrictions or rules on leaf collection.
Use Leaves on Your Property: To avoid potential disputes, focus on collecting and composting leaves from your garden or property.
Your Leaf Mould Calendar: A Year in the Life
Here’s my tried and tested timeline for making perfect leaf mould. I’ve been following this schedule for years, and it never fails to deliver results. So if you’re new to making leaf mould, these are the expected durations for leaves to break down and what to expect each month!
October to November: Collection Time
This is when the magic begins! Deciduous trees are shedding their leaves like there’s no tomorrow. I spend weekends collecting leaves, usually with a cup of tea nearby, because let’s be honest, it’s quite therapeutic. Fill your bags or bins while the leaves are slightly damp from autumn showers. If they’re bone dry, give them a spray with the hosepipe.
December to February: The Waiting Game
Your leaf mould is now tucked up for winter. Check your bags or bins once a month, just to make sure they haven’t blown away or dried out completely. If we have a particularly dry winter (rare in Britain, I know!), give them a splash of water. Otherwise, leave them be.
March to May: Spring Check Up
By now, you should start seeing some changes. The leaves will be settling down and starting to look less like individual leaves. Give your bags a gentle prod to check they’re still moist. If you’ve made bins, you might notice the pile has shrunk by about a third.
June to August: Patience, Young Grasshopper
This is the hardest part because not much seems to be happening. But trust me, the fungi are working away quietly. Don’t be tempted to peek too often. I check mine once in June and once in August. The pile should be shrinking noticeably by now.
September to October: First Harvest Check
After 12 months, you can start testing your leaf mould. It should be dark brown and crumbly, smelling like a woodland walk. If it’s still recognisably leafy or smells sour, give it another 3 to 6 months. Good things come to those who wait!
November to December: Second Year Success
By 18 to 24 months, even the toughest leaves should have broken down into beautiful, crumbly leaf mould. This is when I do my main harvest and start the process all over again with fresh autumn leaves.
Troubleshooting Your Leaf Mould: When Things Go Wrong
Even the simplest gardening projects can throw up surprises, and leaf mould making is no exception. Although anyone can make it, you may find your leaf stores are struck with a few common problems. Here are the most common issues I encounter, along with their solutions.
Problem: My Leaf Mould is Slimy and Smells Awful
This is usually down to too much moisture and not enough air circulation. It’s basically leaf soup, and nobody wants that! The solution is drainage and airflow. If you’re using bags, poke more holes in them and add some dry material like shredded paper or cardboard. For bins, ensure you’ve got chicken wire on all sides, not just three.
I once had a bin that turned into a disgusting, slimy mess because I’d positioned it in a hollow where water collected. Learn from my mistake and choose your location wisely!
Problem: The Leaves are Bone Dry and Nothing’s Happening
Fungi need moisture to work, so if your leaves are as dry as cornflakes, they’re going nowhere fast. The fix is simple: water them! But don’t flood them. Think damp sponge, not swimming pool. I use a watering can with a rose attachment to give them a good soaking, then check them monthly.
Problem: It’s Been Two Years and I Still Have Recognisable Leaves
Some leaves are just stubborn. Thick, waxy leaves like sycamore and horse chestnut take their sweet time. You have two options: wait longer (patience is a virtue in gardening), or speed things up by chopping the remaining leaves with a spade before mixing them back in.
Problem: My Leaf Mould Has Weeds Growing in It
This usually happens when birds have deposited seeds on your pile, or you’ve accidentally included some weedy leaves. Don’t panic! Simply remove the weeds and use the leaf mould away from formal areas where a stray weed might annoy you.
Problem: The Pile Has Shrunk to Almost Nothing
This is actually normal! Leaf mould shrinks dramatically as it decomposes. You’ll typically end up with about a quarter to a third of your original volume. This is why I always make more than I think I need.
Which leaves are best for leaf mould?
After years of experimenting with different leaves, I’ve created this handy guide to help you choose the right leaves for your needs. Your garden will no doubt have a few different trees, and it’s absolutely fine to mix leaves together. In fact, it’s advisable that you do, but if you want to know how quickly different species of trees’ leaves break down, then below is my guide to tree species you may have and what to expect when composting their leaves.
6 to 12 months Leaves
Oak leaves: The gold standard of leaf mould. They break down beautifully to create a rich, crumbly texture that’s perfect for everything from mulching to seed compost. The tannins in oak leaves also have natural antifungal properties.
Beech leaves: My personal favourite for making potting compost. They create a lovely fine texture and have excellent water retention properties. Beech leaf mould has that classic woodland smell that tells you it’s working perfectly.
Hornbeam leaves: Less common in gardens but absolutely brilliant if you can get hold of them. They break down quickly and create a wonderfully structured leaf mould that’s perfect for heavy clay soils.
12 to 18 months Leaves
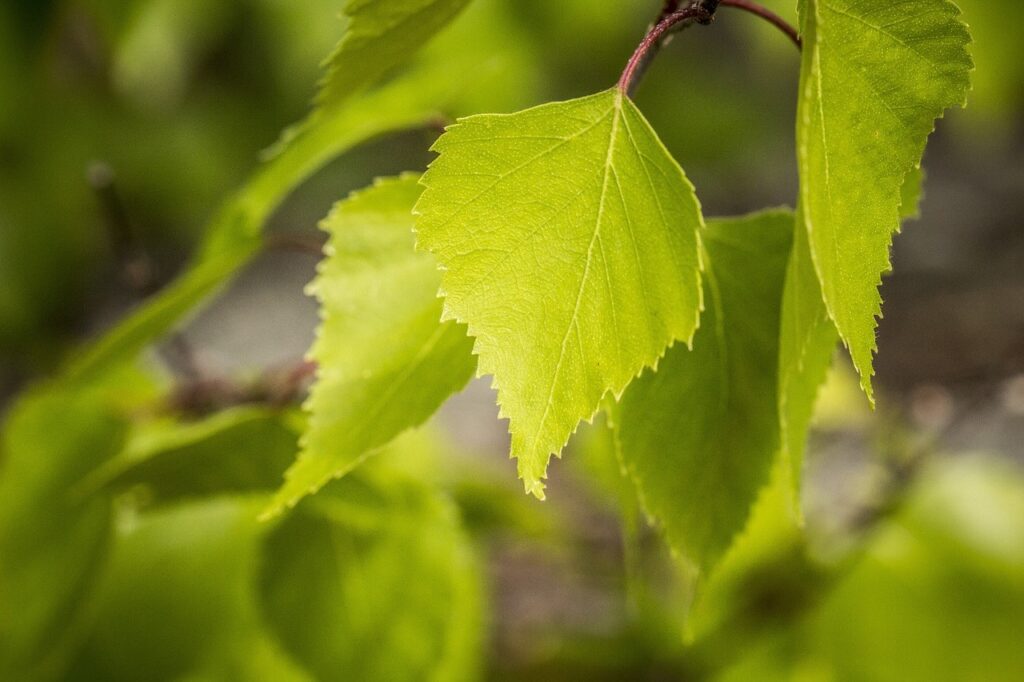
Birch leaves: These thin leaves break down relatively quickly and create a light, airy leaf mould that’s excellent for seed sowing. The downside is that birch trees don’t drop huge quantities, so you might need to supplement from elsewhere.
Cherry leaves: Fruit tree leaves make decent leaf mould, though they can take a bit longer than oak or beech. Make sure they’re disease free before adding them to your pile.
Apple and pear leaves: Similar to cherry, these create good quality leaf mould but watch out for any signs of disease like scab or canker.
18 to 24 months Leaves
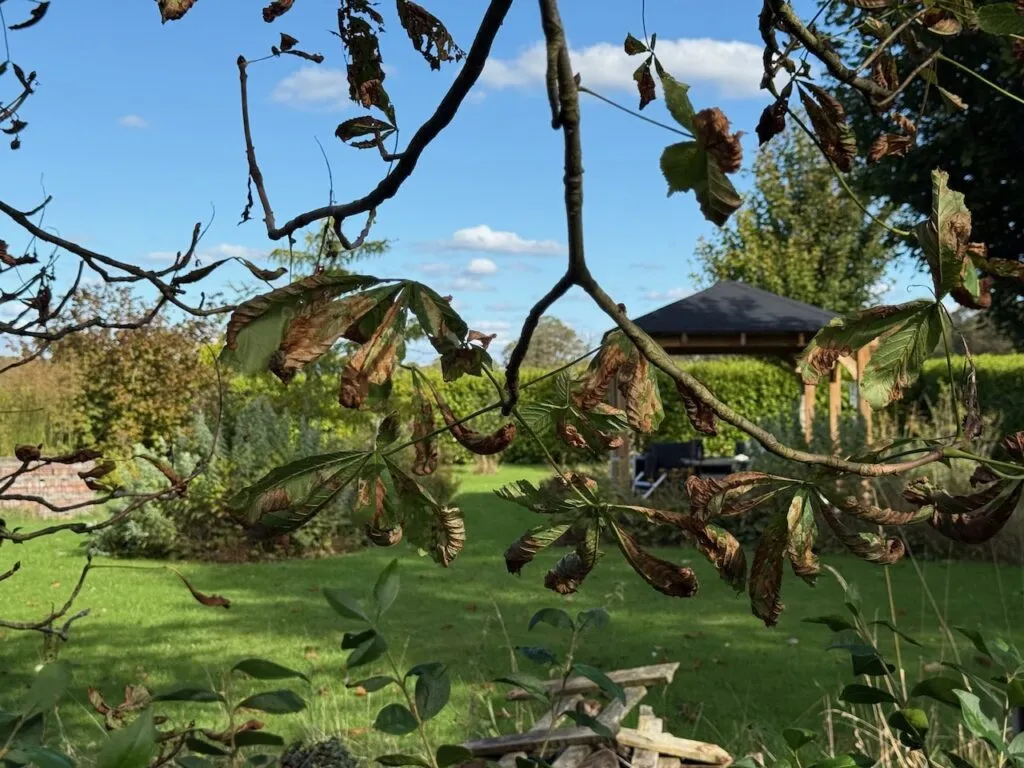
Sycamore leaves: These thick, tough leaves are everywhere in Britain, but they’re not in a hurry to break down. I usually shred them first or mix them with faster-decomposing leaves. The end result is excellent, just requires patience.
Horse chestnut leaves: Beautiful trees, stubborn leaves! These thick, leathery leaves take their time but create excellent leaf mould eventually. Shredding definitely helps speed things up.
Sweet chestnut leaves: Similar to horse chestnut, these need time and preferably shredding. The bonus is they create slightly acidic leaf mould, which is great for ericaceous plants.
Don’t Bother Making Leaf Mould From These
Pine needles: Technically not leaves, but worth mentioning! Pine needles take 2 to 3 years to break down and create acidic leaf mould that’s perfect for rhododendrons, azaleas, and blueberries. Keep them separate from other leaves.
Holly leaves: Don’t even bother. These thick, waxy leaves with their spiky edges take forever to break down and will give you nasty surprises when handling your leaf mould later.
Why not Learn How to Design Your Own Garden?
Why not consider expanding your plant and garden design knowledge with one of my online gardening courses? My Garden Design for Beginners Course is here to help you transform your garden from average to amazing with an affordable online course, no matter how little your experience with plants.
This course offers step-by-step guidance from me, Lee Burkhill, award-winning garden designer and presenter on BBC1’s Garden Rescue. In this course, you’ll go from a garden design novice to a confident designer equipped to tackle any green space.
Planting Techniques – Select and arrange plants like a pro.
Design Styles & Layout Options – Explore different styles to suit every garden.
Course Features:
20 Hours of Study Time
Flexible Online Learning
Engaging Video Lessons & Quizzes
Real-World Case Studies
Certification upon Completion
Taught by Award-Winning Designer Lee Burkhill
Enrol now for just £199 and start your journey toward garden design mastery!
29
Garden Design Examples for Small Gardens: 30 Design Templates & Planting Plans
Garden Design Examples for Small Gardens: 30 Design Templates & Planting Plans: In this online gardening course, I’ll walk you through 30 fantastic garden designs, explaining the logic behind the layout, the plant choices, and take-home tips for applying them in your own garden.
Weekend Garden Makeover: A Crash Course in Design for Beginners
Learn how to transform and design your own garden with Lee Burkhills crash course in garden design. Over 5 hours Lee will teach you how to design your own dream garden. Featuring practical design examples, planting ideas and video guides. Learn how to design your garden in one weekend!
Garden Design for Beginners: Create Your Dream Garden in Just 4 Weeks
Garden Design for Beginners Online Course: If you want to make the career jump to becoming a garden designer or to learn how to design your own garden, this is the beginner course for you. Join me, Lee Burkhill, an award-winning garden designer, as I train you in the art of beautiful garden design.
Making your own leaf mould is highly beneficial for gardeners and helps close the loop by recycling in the garden. Firstly, it provides a sustainable and environmentally friendly way to recycle organic waste, reducing the need for chemical fertilizers and landfill contributions. Secondly, leaf mould enhances soil structure by improving its texture, water retention, and aeration, creating an optimal environment for plant growth.
Additionally, it adds valuable organic matter to the soil, enriching it with essential nutrients and beneficial microorganisms. Moreover, leaf mould helps suppress weeds, regulate soil temperature, and prevent erosion, contributing to overall garden health and resilience. Furthermore, producing leaf mould is cost-effective and easy, requiring minimal effort and resources. Making your own leaf mould is a valuable practice promoting soil health, sustainability, and garden vitality.
Lee Burkhill, known as the Garden Ninja, is an award-winning garden designer and horticulturist with over 30 years of gardening experience and 15 years as a professional garden designer. A qualified RHS (Royal Horticultural Society) professional, Lee specialises in sustainable garden design and practical horticultural advice. He designs and presents on BBC1’s Garden Rescue and in leading gardening publications. Lee combines three decades of hands-on gardening knowledge with professional design qualifications to help gardeners create beautiful, functional outdoor spaces.