How to take softwood cuttings to propagate plants: the easy way
Lee Burkhill: Award Winning Designer & BBC 1's Garden Rescue Presenters Official Blog
Intermediate level
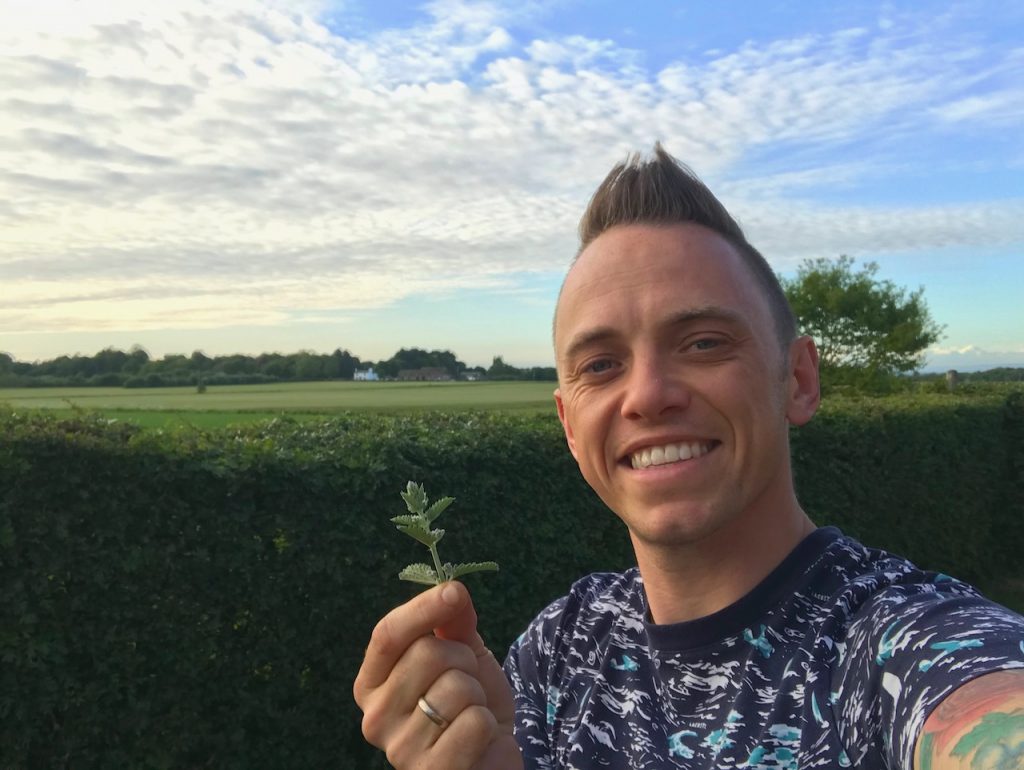
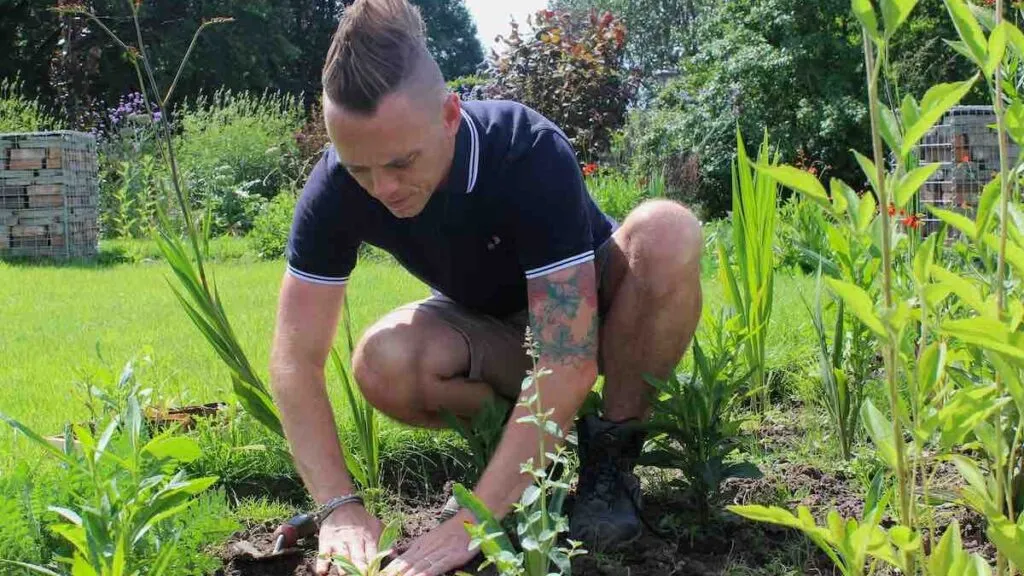
There's something really rewarding about propagating your own plants from cuttings. Not only does it allow you to bulk up your garden flower beds but it means you really get to know your plants and shrubs. Making you an even better gardener! This guide is going to show you how you can take cuttings from plants relatively easily and help reduce your carbon footprint along the way! Let's get cutting!
Let’s talk softwood cuttings, the easiest way to propagate plants for free! Learn exactly when and how to take softwood cuttings from your favourite shrubs, perennials, and climbers. This step-by-step guide covers timing, technique, rooting methods, and aftercare to transform garden trimmings into thriving new plants. Perfect for budget-conscious UK gardeners wanting instant results.
This page contains affiliate links for products I use and love. If you take action (i.e. subscribe, make a purchase) after clicking a link, I may earn some gardening commission, which helps me keep the Garden Ninja Blog free for all.
When to take softwood cuttings?
In the UK, the best time to take softwood cuttings is in mid-spring, just before shrubs start to send out flowers. Usually, mid to late April is the ideal time, as you’re looking for flexible new green growth. Not to be confused with woodier material from last year.
Think of it like the plants just woke up and started to grow, but it is not in full swing just yet. It’s a perfect time to avoid stressing the plant or the cutting too much. You don’t want to take cuttings from stems with flowers on, as these will take a lot of energy from the plant, making it harder for them to root.
Always take cuttings either first thing in the day or early evening.
How to Tell if Your Cutting is Ready: The Snap Test
Here’s the thing that catches out most beginners: knowing exactly when that stem has hit the sweet spot between too green and too woody. I’ve watched countless gardeners take cuttings that were either too soft and rotted or too hard and never rooted. The snap test solves this problem in about three seconds.
Take the stem you’re considering between your thumb and forefinger, about halfway down where you’d make your cut. Gently bend it. What happens next tells you everything you need to know.
If it snaps cleanly with a crisp sound, you’ve hit gold. That’s perfect softwood material, flexible enough to contain active growth hormones yet mature enough to withstand the stress of being severed from the parent plant. The break should be clean, almost like snapping a fresh green bean.
If the stem just bends rather than snaps, it’s too green and immature. These cuttings will struggle because they’re mostly water with very little structure. They’ll wilt before they can establish roots. Wait another week or two and test again.
If the stem won’t bend at all, or feels rigid and woody, you’ve missed the softwood window. These stems have already started forming bark, and the hormone levels have dropped. You’ll need to wait until late summer for semi-ripe cuttings instead, or come back next spring for another go at softwood.
I use this test on every single cutting I take, even after thirty-five years of propagating plants professionally. It takes the guesswork out completely and dramatically improves your success rate. Within a few attempts, your fingers will recognise that perfect snap without even thinking about it.
What plants can I take softwood cuttings from?
This is one of the most commonly asked questions. You can take softwood cuttings from tender perennials, herbaceous perennials and most deciduous shrubs (those that lose their leaves in the winter). It’s a good way to propagate plants that are tricky to root through division or seeds.
The Complete Softwood Cuttings Plant List: Beginner to Advanced
Not all softwood cuttings are created equal. Some plants root so easily you could practically stick them in a glass of water and forget about them. Others demand patience, perfect conditions, and even then might fail just to keep you humble. Here’s my honest assessment after decades of propagating everything from the bombproof to the bloody-minded.
Slow to root, prone to rotting if conditions aren’t spot on
May–June
Beginner Plants (80–95% Success Rate)
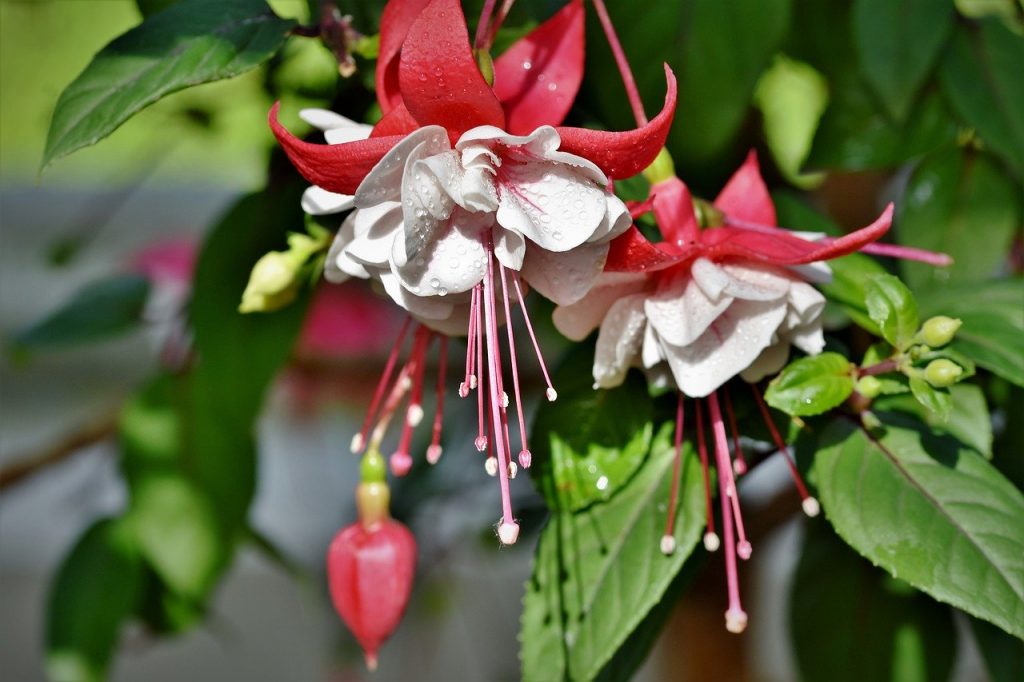
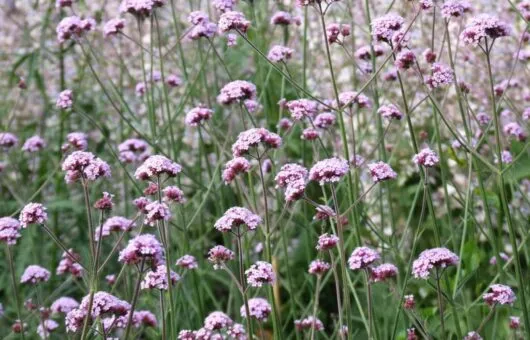
Start here if you’re new to taking cuttings. These plants want to root, and they’ll forgive most mistakes. Pelargoniums and Fuchsias are my top recommendation for anyone just starting out, followed closely by Lavender, Buddleia, Forsythia, Verbena, and Osteospermum.
Intermediate Plants (60–75% Success Rate)
Once you’ve mastered the basics, these plants offer a bit more challenge but still root reasonably well:
Hydrangea – Takes longer (6–8 weeks) but very rewarding. Needs consistent humidity.
Penstemon – Reliable but sensitive to overwatering in the rooting stage.
Salvia – Most varieties root well but they’re particular about compost being too wet.
Rosemary – Slower than other herbs but worth the patience for culinary use.
Physocarpus – Decent success rate, just needs warmth and time.
Anthemis – Roots well but the cuttings can look tatty before they establish.
Lavatera – Good results if you take them at exactly the right stage.
Aubrieta – Reasonable success, better in slightly cooler conditions.
Advanced Plants (40–60% Success Rate)
These require perfect timing, optimal conditions, and sometimes just pure luck. Don’t be discouraged by failures here:
Philadelphus – Absolutely stunning when it works, but maddeningly inconsistent.
Ceanothus – Demands hormone rooting powder and perfect drainage.
Viburnum – Slow to root and prone to rotting if conditions aren’t spot on.
Roses – Technically possible from softwood, but honestly better from hardwood in winter.
Clematis – Can be done, but needs careful attention to node positioning.
Weigela – Possible but temperamental about water levels.
My advice? Start with five Pelargoniums or Fuchsias to build your confidence. Get those rooting successfully, understand the process, then gradually work your way up to the trickier customers. There’s no medal for starting with the hardest plants first, and you’ll enjoy the process far more if you’re seeing regular success.
If in doubt, give it a go, as long as the cutting is fresh green growth, what do you have to lose?
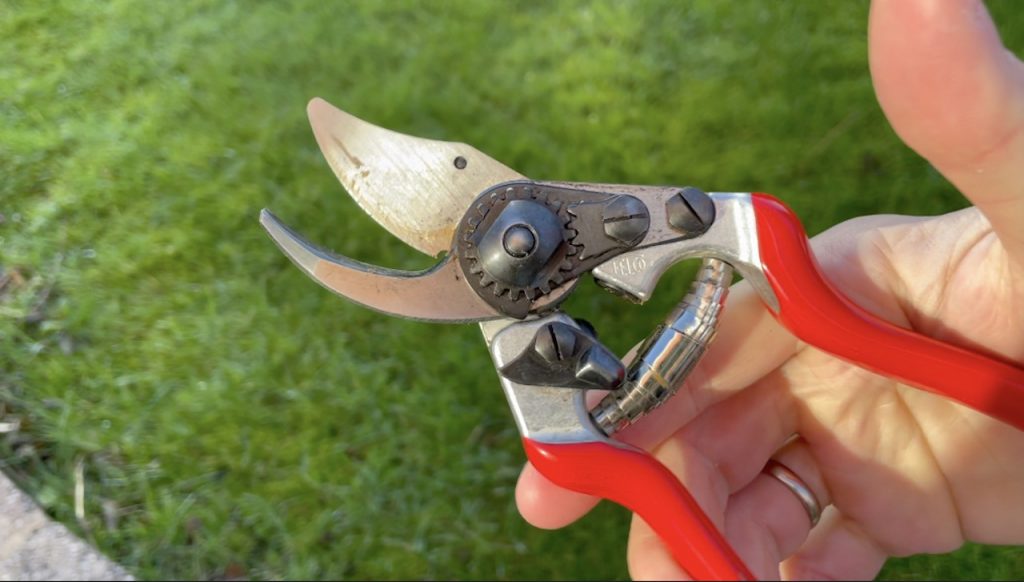
Tools for Taking Cuttings
You don’t need a lot of kit to take softwood cuttings successfully, but having the right tools makes the job noticeably easier and your results noticeably better. Here’s everything I use, from the items I’d call essential to the ones that simply make life more comfortable.
Not essential but transforms your success rate in April and May when nighttime temperatures still drop. Maintains that critical 18–24°C root-zone warmth.
Make a hole in the compost before inserting your cutting. Never push the cutting directly in as this removes the rooting hormone and damages the cut end.
If you’re taking cuttings regularly, a heated propagator is one of the best investments you can make. I’ve used one for years and it genuinely doubles the success rate of April and May cuttings by maintaining consistent soil temperature overnight. At around £30–£50, it pays for itself in a single season of saved plants.
Taking cuttings couldn’t be easier, but you do need to work at a pace because as soon as you make your cuts, you’re then on the clock as the cuttings will be losing water fast. The aim is to get them potted or into the water as quickly as possible.
1. Take your cuttings either early morning or early evening.
Never take cuttings in the midday sun if you can help it. At that point in the day, plants are already under heat stress and actively losing moisture through their leaves, so the cutting starts its life at a disadvantage before it’s even left the parent plant. Early morning is ideal because the stems are fully turgid after a night of recovery, giving you the most robust cutting material.
Early evening works well too, once the worst of the day’s heat has passed. If you can choose your day as well as your time, an overcast morning in mild conditions is about as good as it gets. I’ve taken thousands of cuttings over the years, and the ones that struggle most are nearly always the ones taken in a rush at noon on a hot afternoon.
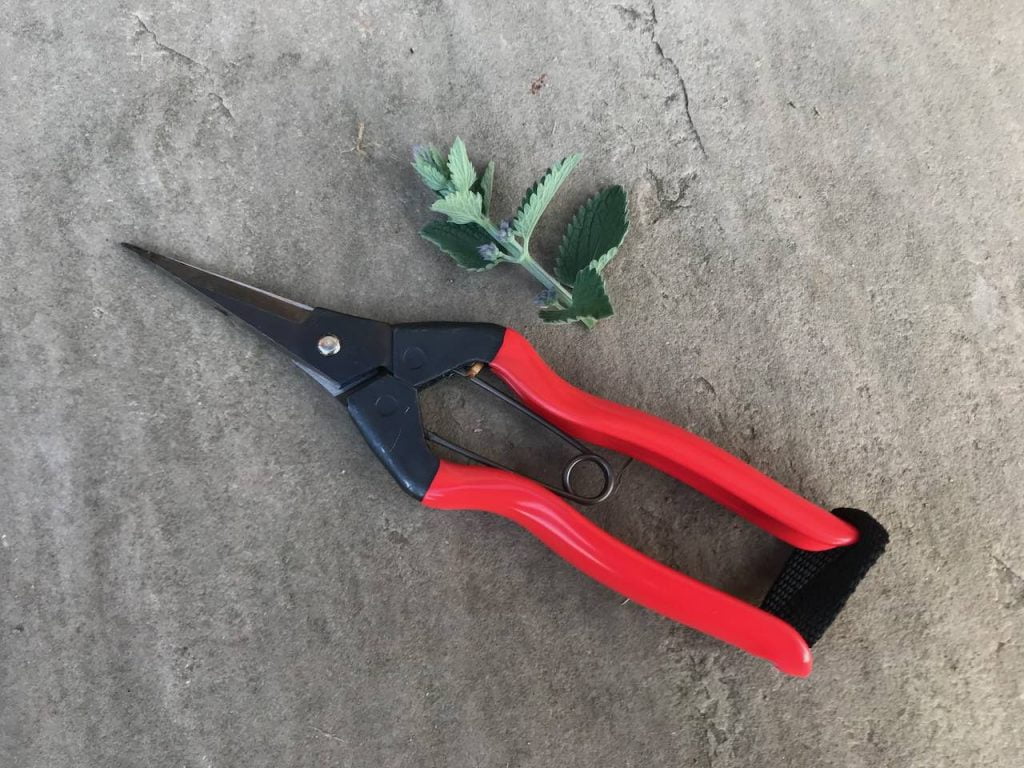
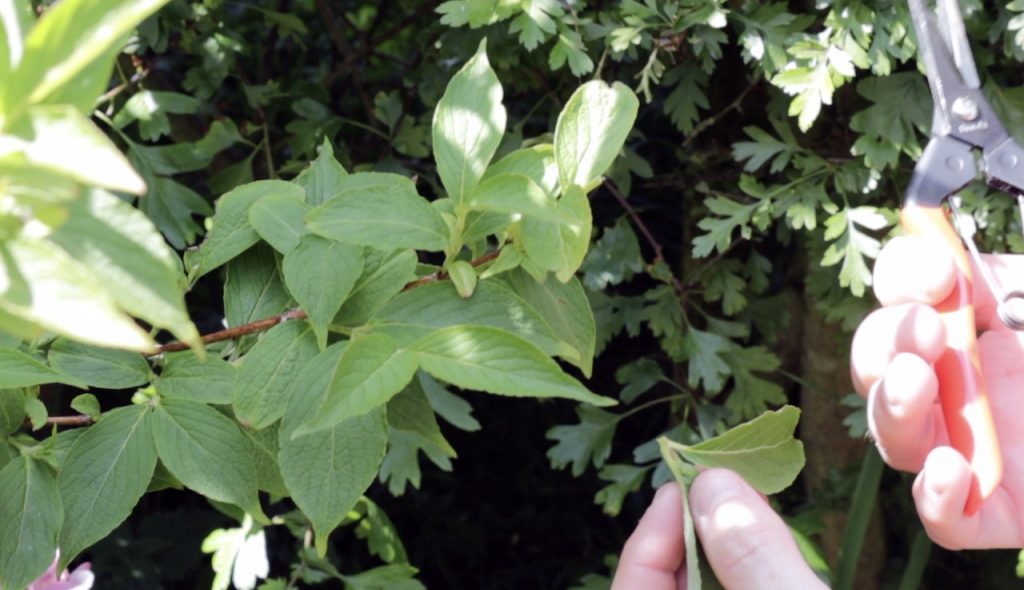
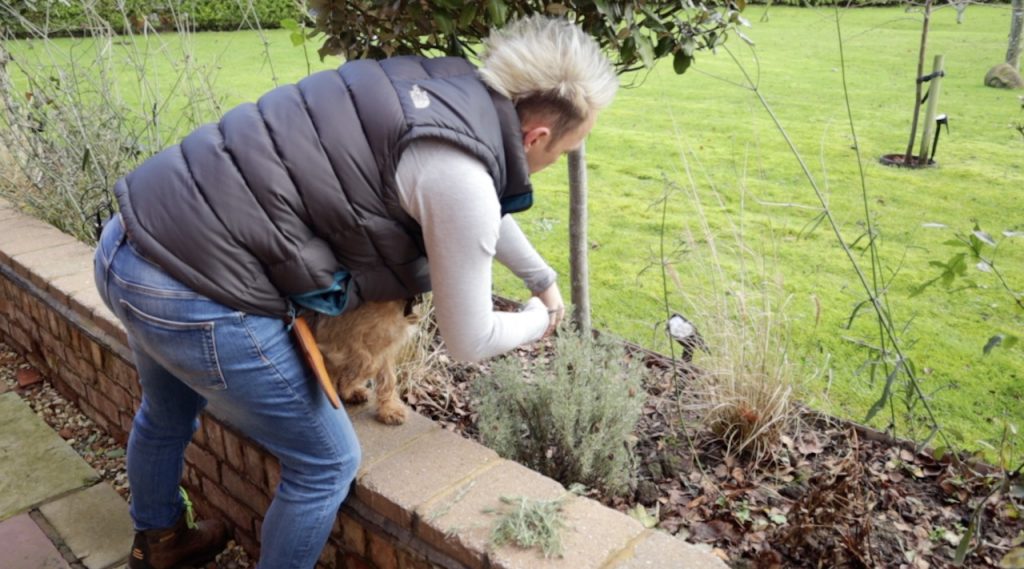
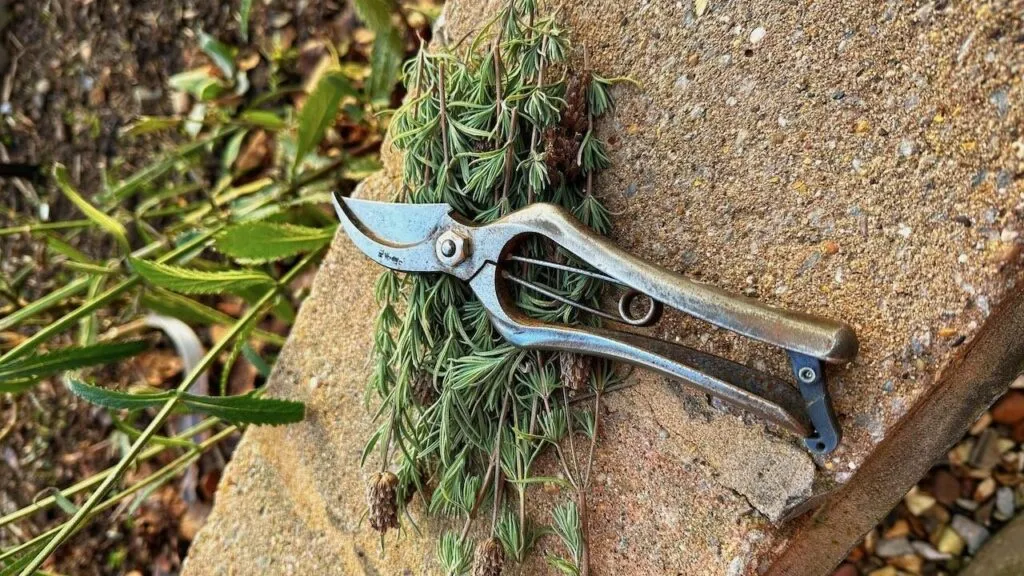
2. Cut off 2–4 inches per cutting
You want to take 2–4 inches (5–10 cm) of fresh green growth from the very tip of the plant or shrub. It should be flexible, bright green, and definitely not woody at the base. Use a sharp pair of secateurs, snips or scissors, and make sure the blade is clean. A single cutting from each stem tip is usually enough, but if the plant is large and healthy, you can take several from different branches without causing it any harm.
The key thing is that you’re always cutting from the current season’s growth, not older wood from the year before. Older material is harder, slower to root, and likely to fail. If you’re unsure, run the snap test first and only take the cutting if it passes.
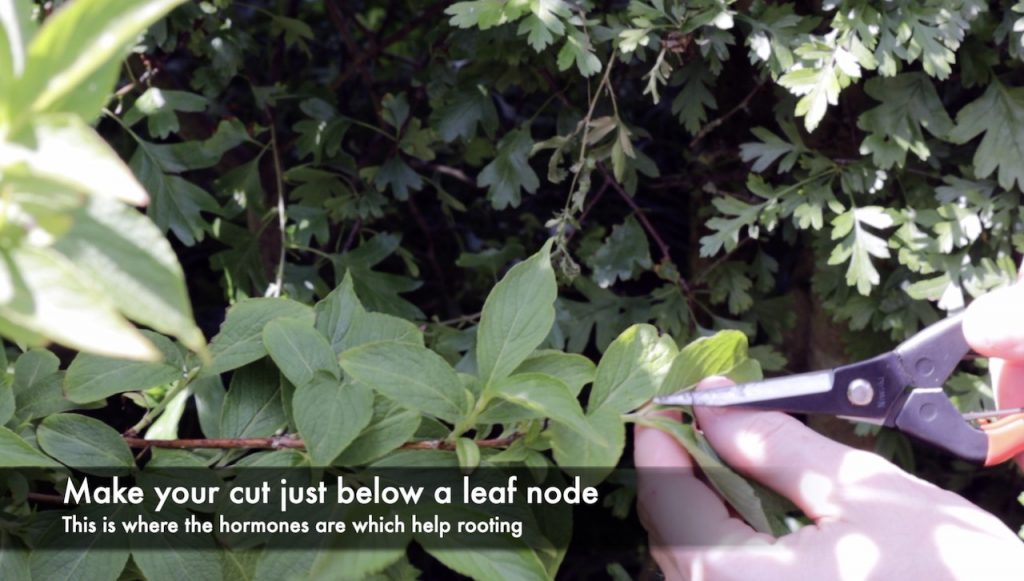
3. Make a cut just below a set of leaves/leaf node.
This is the single most important cut you’ll make, so take your time with it. The leaf node is the point on the stem where a leaf or pair of leaves is attached, and it’s where the plant’s natural rooting hormones are most concentrated. Make your final trim just below this point, ideally no more than a few millimetres below the node, using a clean, sharp knife rather than secateurs for the most precise cut.
A ragged or crushed cut at the base will invite rot before the roots have a chance to form. If your cutting has several nodes along its length, cutting below the lowest one gives you the most rooting hormone-rich tissue right at the base where you need it. This is the part of the technique I see people rush, and it makes a real difference to the outcome.
4. Take 5 or 6 cuttings minimum
Taking a minimum of five cuttings from each plant is not pessimism, it’s just sensible horticulture. Even under ideal conditions, not every cutting will root, and if you’ve only taken one or two, you’re setting yourself up for disappointment if things don’t go to plan. With five or six cuttings, losing a couple to rot or wilting is just part of the process, not a disaster.
Propagation always involves some natural attrition, even for professionals. Some of my clients are surprised when I take ten or twelve cuttings from a single shrub, but when eight of them root successfully, they end up with a whole tray of new plants, and the strategy makes itself clear. Taking more cuttings doesn’t harm the parent plant, provided you’re not stripping it bare, and it dramatically improves your overall chances of success.
5. Pop your cuttings in a wet plastic bag
The moment a cutting is separated from its parent plant, the clock starts ticking. The stem has been cut off from its water supply, but the leaves don’t know that yet and will carry on losing moisture through transpiration as normal. Popping the cuttings straight into a damp plastic bag creates a humid microenvironment that dramatically slows this water loss while you prepare them properly.
Give the inside of the bag a quick spritz of water if you have a spray bottle handy, seal it loosely, and keep it out of direct sun while you work. If you’re taking cuttings across a whole garden session rather than just from one plant, this step is especially important because the first cuttings you take could sit for 20 minutes or more before you’re ready to prepare them. Don’t rush the bag step, thinking it doesn’t matter. It absolutely does.
Preparing your plant cuttings
Before we go plonking the cuttings into compost or a jar of water, we need to clean them up and prepare them for success.
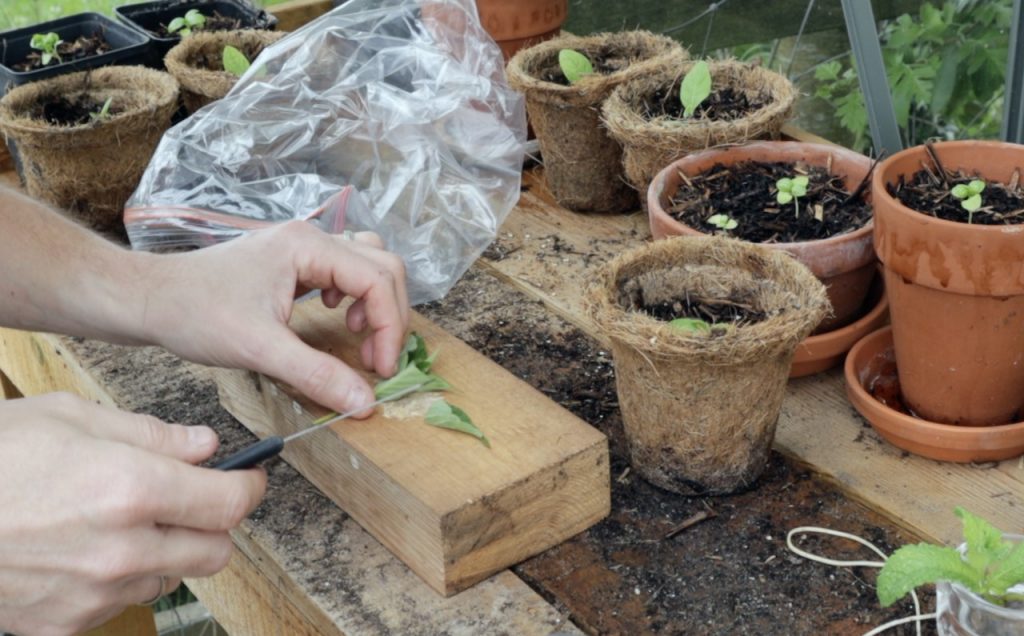
1. Take your sharp knife and remove all but 2–4 of the leaves.
Leaves are the biggest liability for the cutting at this stage. Each leaf is essentially a small pump, drawing moisture out of the stem and releasing it into the air through tiny pores called stomata. Since your cutting has no roots yet to replenish that moisture, every leaf left on the stem is working against you. Strip off everything below the point where the cutting will sit in compost or water, leaving only two to four leaves at the very top.
These remaining leaves are important because the cutting still needs to photosynthesise and generate the energy that drives root development, but beyond that, they’re doing more harm than good. If there are any flower buds on the cutting, remove those too. Flowers require a large amount of energy to develop,and that energy needs to go into roots, not seeds. I know it feels brutal to pull off healthy growth, but it genuinely boosts your success rate.
2. Then reduce the size of the leaves by half, cutting them down.
Once you’ve reduced the number of leaves, go one step further and cut those remaining leaves in half across their width using scissors or a sharp knife. This might feel excessive, but the logic is exactly the same as before. Halving the leaf surface area halves the rate at which the cutting loses water, which buys valuable time for roots to develop before the cutting runs into trouble.
The cutting can still photosynthesise perfectly well from half a leaf, so you’re not removing its ability to function, just reducing its demand on a water supply that doesn’t yet exist. For plants with particularly large leaves, like Hydrangea, this step is especially important. I’ve seen cuttings wilt and fail within 48 hours simply because the leaves were left intact and full-sized. A few snips at the preparation stage is a small effort for a big improvement in results.
Potting on cuttings
Now I have two methods for potting on cuttings. One is my lazy way, and the other is slightly more old-fashioned. Either works perfectly well, so pick your route. If you’re a beginner gardener, the jam jar method is exciting as you get to see your plant’s roots.
You’ll need some decent propagation compost and a pot with drainage. You can use a clean yoghurt pot or a recycled plastic pot.
Speedy Cuttings Method
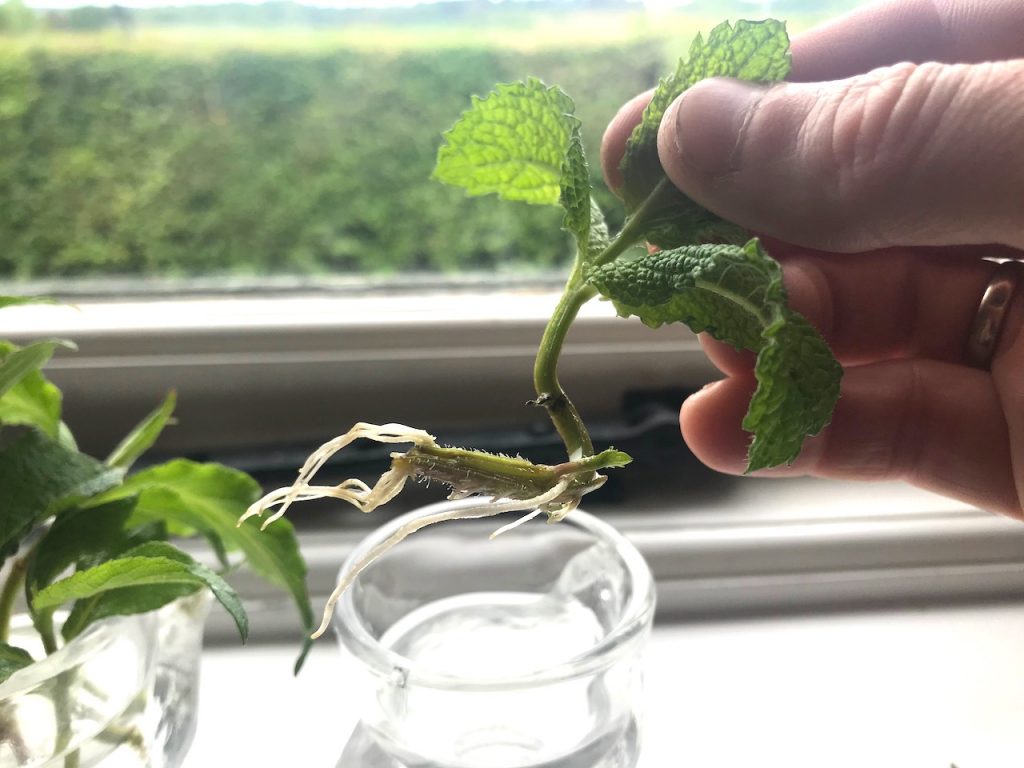
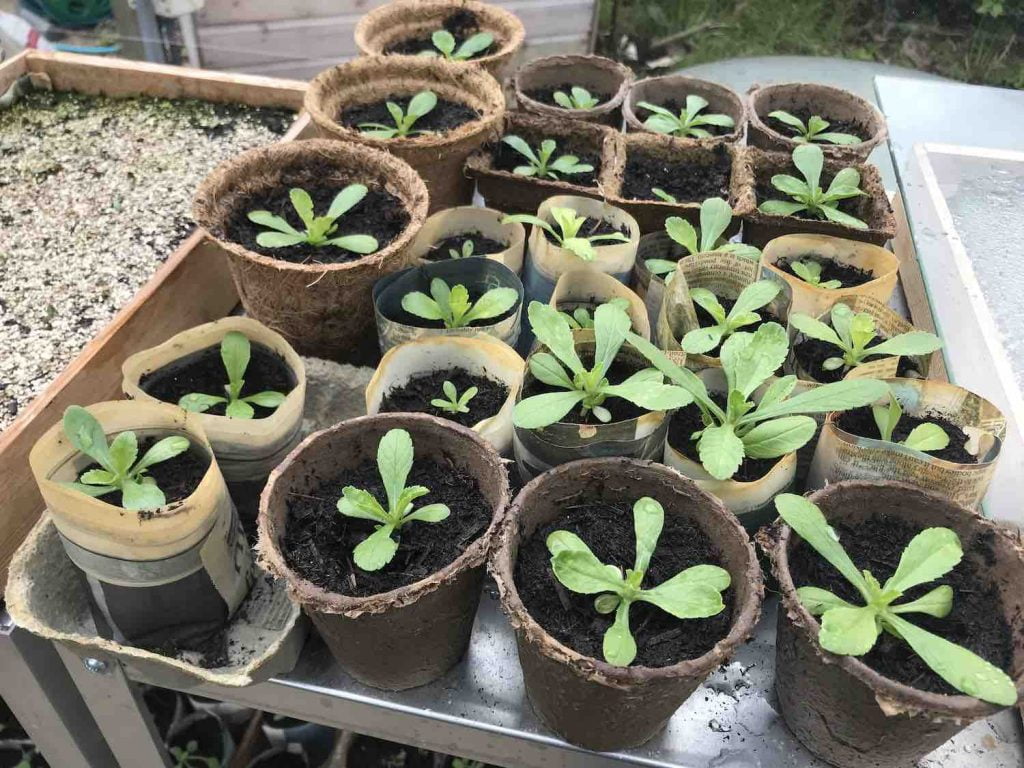
I simply plop my prepared cuttings into a jam jar or egg cup. Then I place them on a windowsill for a few weeks. Different plants and shrubs will root at different rates. I love this method as you get to see the roots emerge, and you know which cuttings will be successful.
This method is also great for limited spaces, such as window ledges or balcony planting, where space is at a premium. It’s also great to encourage children to go to the garden as they race each other for root emergence!
Once they have rooted, follow the guidance below.
Pot & Bag Cutting Method
You can pot cuttings directly once they have been prepared, or use this method after the jam jar approach.
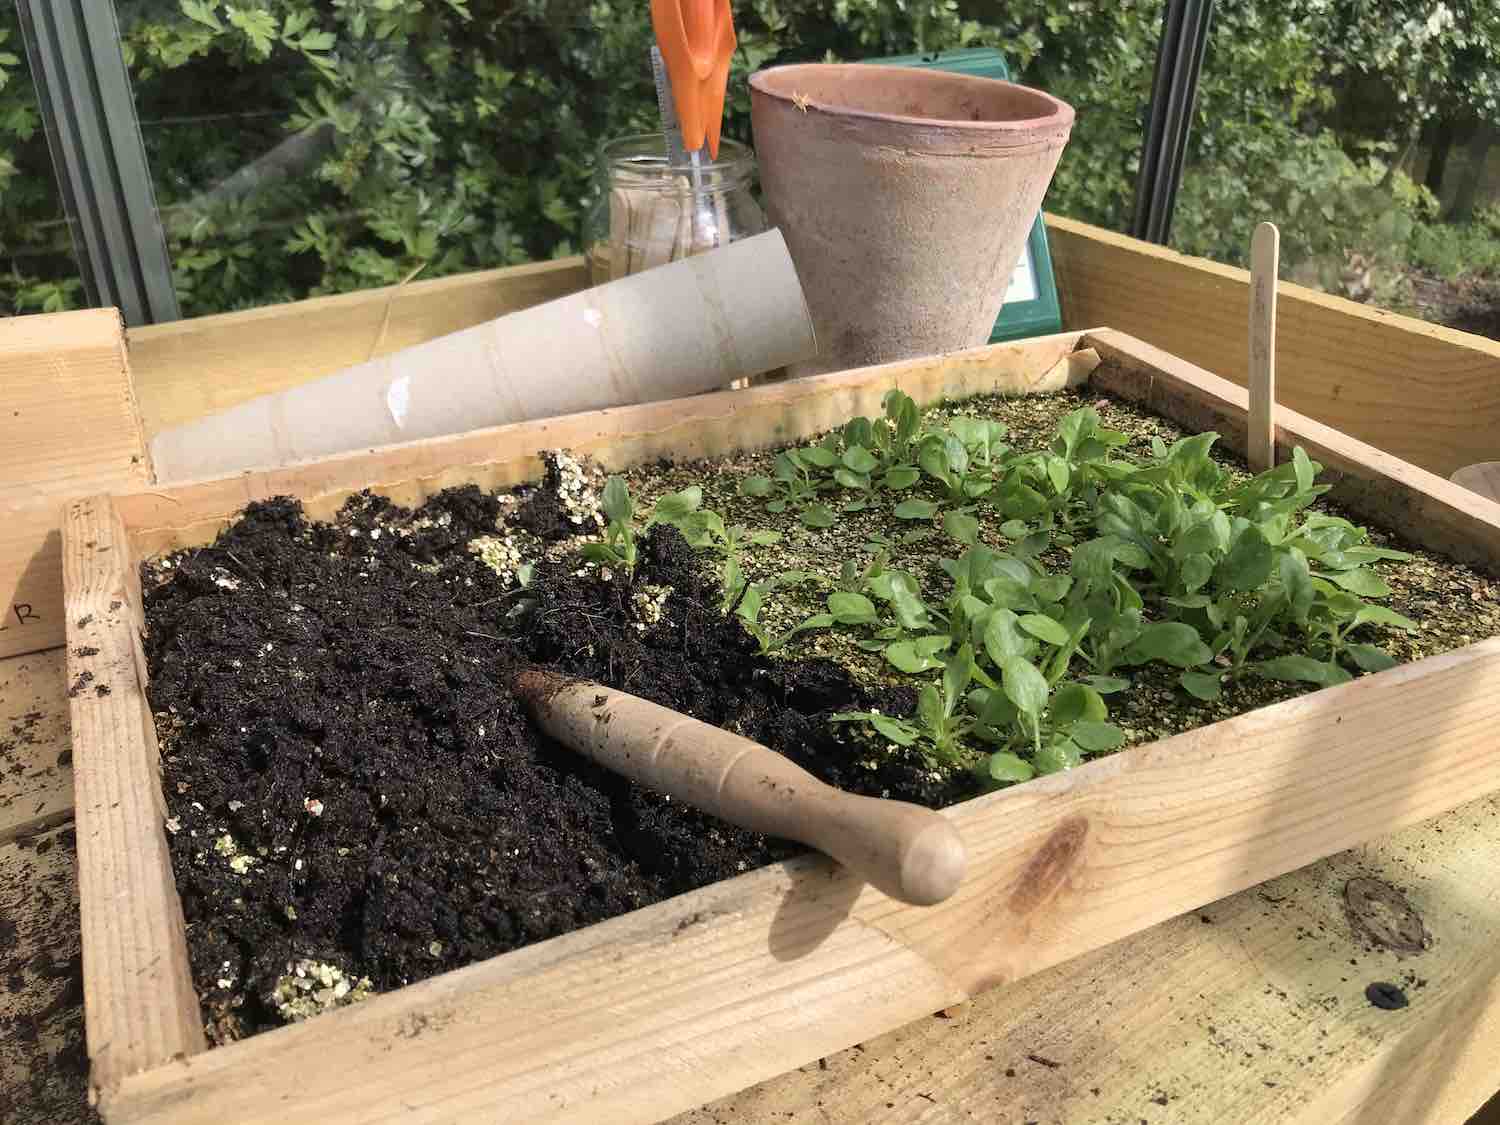
1. Fill a pot with compost and water well
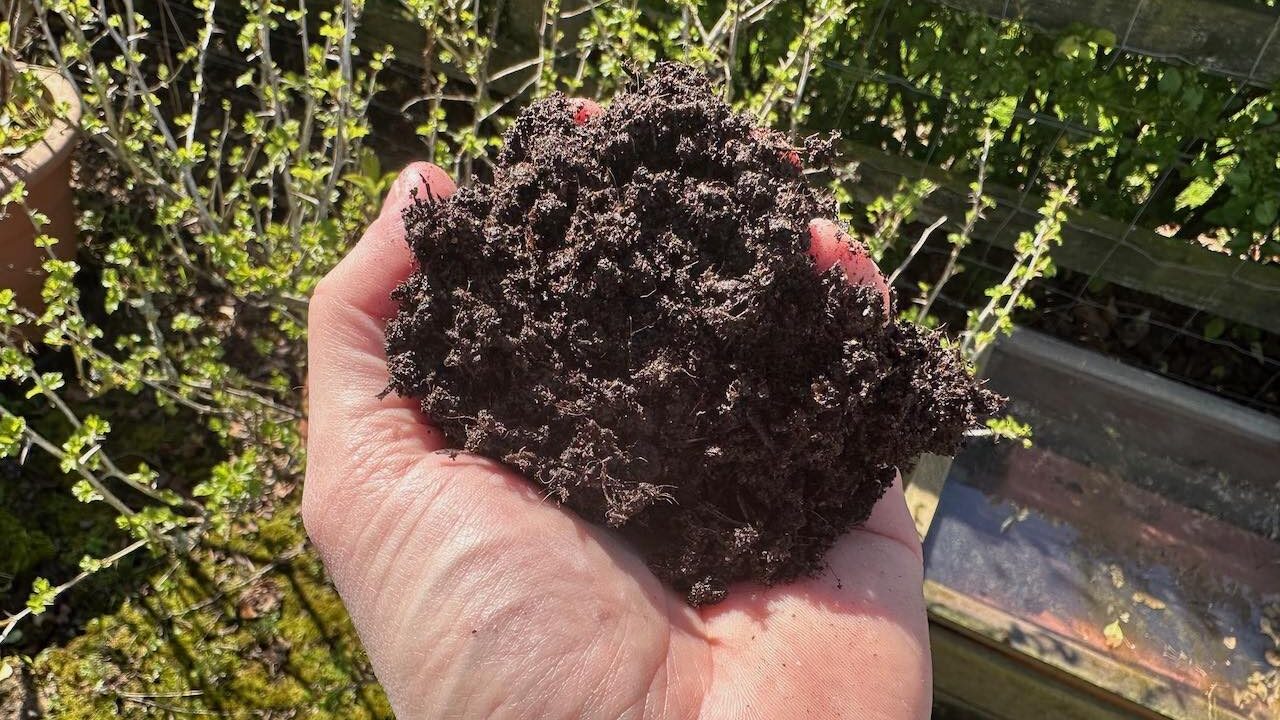
Choose a pot with drainage holes and fill it with a dedicated peat-free propagation compost rather than standard multipurpose. Propagation compost is lower in nutrients and has a more open, free-draining texture, which is exactly what you need at this stage. Rich compost can burn tender new roots as they form, and compacted or poorly drained compost creates wet, airless conditions where rot takes hold.
Fill the pot to about a centimetre from the top, then water it well and allow the excess to drain before adding your cuttings. You want the compost moist throughout but not waterlogged. Squeezing a handful should produce barely a drop of water, not a stream. Getting this moisture level right before you insert the cuttings is much easier than trying to adjust it afterwards.
2. Make a hole with a dibber or pencil and insert the cutting.
Always make a hole with a dibber or pencil before inserting the cutting, and never push the cutting directly into the compost without one. This matters more than it sounds. If you push an unprotected cutting into compost, the friction strips off the rooting hormone you’ve just carefully applied, damages the soft tissue at the cut end, and compacts the compost around the base of the stem where you need the most airflow. A dibber creates a clean hole for the cutting to sit in, without any of that damage.
For smaller or more delicate cuttings, a pencil works perfectly well. Make the hole at a slight angle if you’re inserting multiple cuttings around the edge of a larger pot, which helps space them correctly and keeps the foliage from overlapping.
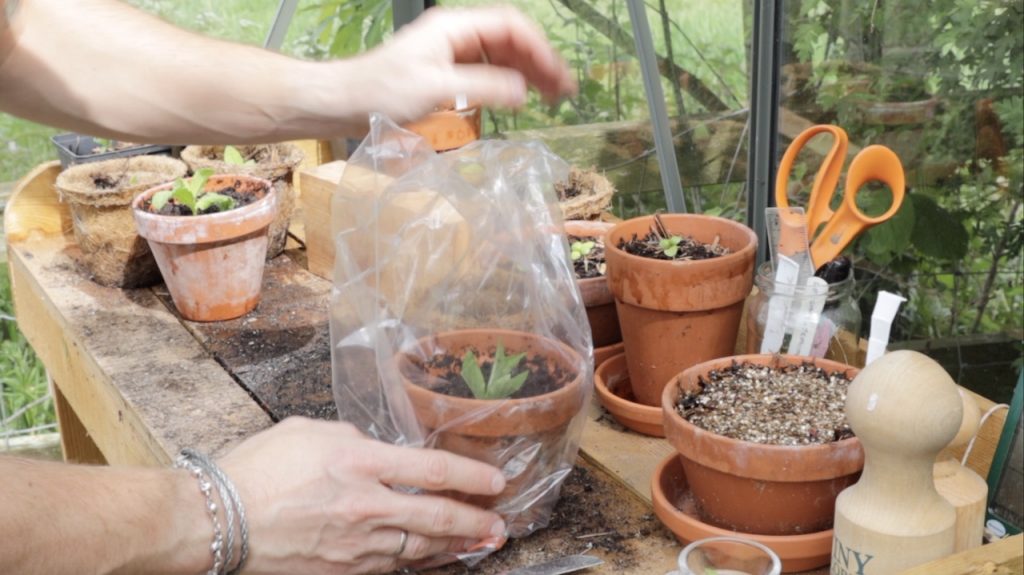
If you’re using rooting hormone, dip the cut end of the cutting into the powder just before inserting it, tapping off any excess so you have a light coating rather than a thick clump. Too much is as counterproductive as too little. Lower the cutting gently into the dibber hole until the lowest remaining leaves are just above the compost surface, then carefully firm the compost around the base with your fingers, making sure there are no air pockets sitting directly against the stem. Air pockets allow the base of the cutting to dry out and are a common cause of failure that goes unnoticed until it’s too late. Once it’s inserted, give the pot a gentle tap on the bench to settle the compost, then water it in lightly with a fine-rose watering can. Place a clear plastic bag over the top, using a couple of short canes or pencils to keep the bag from touching the leaves.
4. Make sure you remove the plastic bag a couple of times a week
The bag creates the humid microclimate your cuttings need, but sealed humidity without any air movement is also the perfect environment for mildew, mould, and fungal problems to develop. Removing the bag for 10 to 15 minutes twice a week introduces fresh air, allows excess moisture to escape, and lets you check how the cuttings are doing at the same time. While the bag is off, have a look at the base of each cutting.
If any are turning black or mushy, remove them straight away before the problem spreads to the healthy ones. If everything looks firm and the remaining leaves are holding their colour, put the bag back on and leave them to get on with it. Resist the urge to check the roots by pulling the cuttings up too often, as even slight disturbance at the base can break any early root development that’s just getting started.
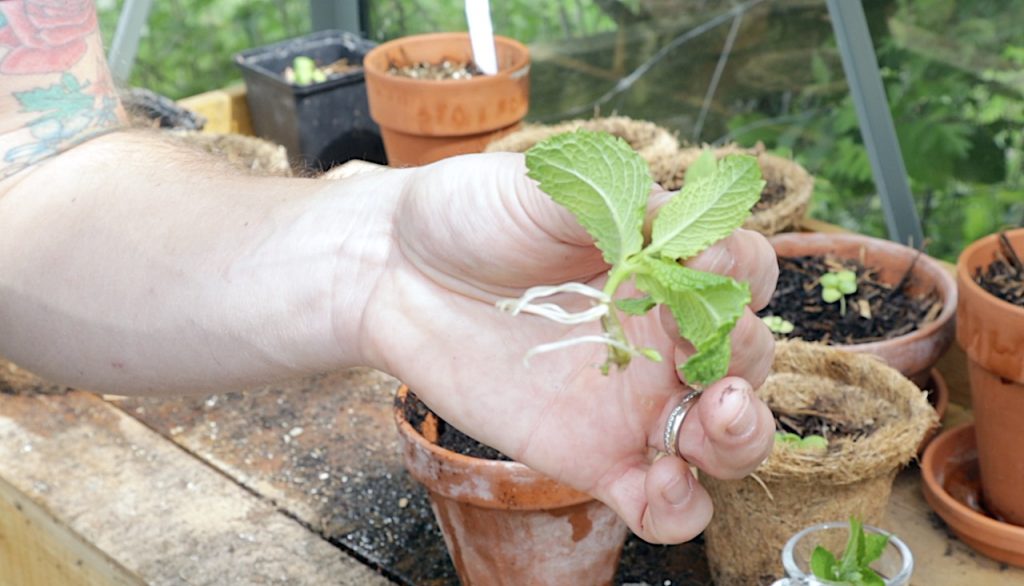
5. The cutting may take 4–8 weeks to root
Most softwood cuttings will show signs of rooting within four to eight weeks, though some shrubs like Hydrangea can take ten weeks or more, so patience is genuinely part of the process. The most reliable sign that rooting has happened is new leaf growth from the tip of the cutting, which means the plant has established enough roots to start pushing energy upwards again.
You can also test by giving the cutting a very gentle tug. If it resists and stays firmly in place, roots have formed. If it pulls away cleanly with no resistance, it hasn’t rooted and may not do so. Once you’re confident that rooting has happened, leave the cutting in place for another week or two before you start potting on. You want a decent root system, not just the first tentative signs of one.
6. Ensure you then harden off the plant
Hardening off is the process of gradually acclimatising your rooted cutting to outdoor conditions before it faces them full-time, and skipping this step is one of the most common reasons newly propagated plants fail after all that careful work. Start by moving the cutting to a cold frame, an unheated greenhouse, or a sheltered spot against a south-facing wall, leaving it there for a couple of weeks before gradually increasing its exposure to wind and lower temperatures. If you don’t have a cold frame, placing the pot outside during the day and bringing it in overnight for a week or two achieves a similar result. For shrubs especially, I strongly recommend not planting them out into the garden at all in their first year. Pot them on into progressively larger containers instead, and wait until the following spring when they have a full season of established growth behind them and the soil is warming up again. The wait is worth it.
This is where patience really pays off. Just because your cutting has rooted doesn’t mean it’s ready for the harsh realities of garden life. Those roots might look impressive in the pot, but they’re still quite soft, and the plant hasn’t toughened up yet.
For perennials, I generally wait until the cutting has been potted on for at least a month and is showing good growth before considering garden planting. For shrubs, I wait an entire year, growing them on in increasingly larger pots and letting them spend their first winter in a protected spot like a cold frame or against a sheltered house wall.
The absolute earliest you should consider planting out is late summer for very vigorous perennials that were rooted by early June. More typically, cuttings taken in spring will spend their first summer and winter in pots, with planting out happening the following spring. This gives them a full year to establish a proper root system before facing winter in the ground.
When you do plant out, treat your new plants like the precious babies they are. Water them regularly through their first season, mulch around them to conserve moisture, and provide some shade if the weather turns scorching. Within a couple of years, they’ll be just as tough as plants you bought from the garden centre. But in that first season, they need a bit of mollycoddling.
Getting the Temperature Right for Rooting Success
Temperature is the secret ingredient that separates successful propagators from those who are frustrated. I learned this the hard way back in my early gardening days, when I took perfect cuttings in April, followed all the steps religiously, and watched them sit there, refusing to root, for months. Turns out they were just too cold.
Softwood cuttings need consistent warmth to root successfully, ideally between 18–24°C (64–75°F). Below this range, the rooting process either slows to a crawl or stops altogether. Above it and you risk cooking your cuttings or encouraging fungal problems.
This creates a particular challenge for UK gardeners taking cuttings in April or early May. Your days might be lovely and warm, but those nighttime temperatures can still plummet to single digits. I’ve had clients tell me their cuttings were fine, only to discover they’d left them outside in a cold snap that basically sent them into hibernation. A heated propagator solves this overnight temperature problem completely.
Common Softwood Cutting Questions Answered
What is a softwood cutting?
A softwood cutting is a section of new spring or early summer growth taken from a plant before it’s had chance to mature and turn woody. The stem should be flexible, green, and at that perfect stage between brand new shoots and established wood. Think of it as teenage plant material, neither fully mature nor still a baby. These cuttings root faster than any other type because they’re packed with growth hormones and actively trying to expand.
When is the best time to take softwood cuttings in the UK?
Mid-April through late June is your golden window for softwood cuttings in the UK. The exact timing varies slightly by plant, but generally, you want that period after spring growth has started but before the plant puts all its energy into flowering.
Early morning or early evening are the best times of day because the plant material is fully hydrated and not stressed by midday sun. Avoid taking cuttings on scorching hot days or during drought conditions when plants are already struggling.
How long do softwood cuttings take to root?
Most softwood cuttings develop roots within 3–6 weeks if conditions are right. Easy plants like Fuchsia and Pelargonium might show roots in as little as two weeks, whilst trickier customers like Hydrangea can take 8–10 weeks. Temperature plays a massive role here.
Cuttings kept at a consistent 18–20°C root significantly faster than those experiencing temperature fluctuations. You’ll know they’ve rooted when you see new leaf growth or can gently tug the cutting and feel resistance.
Can I take softwood cuttings in summer?
Yes, but your window is narrowing. Early summer (June) is still excellent for softwood cuttings. By mid to late July, many plants have moved into the semi-ripe stage, where the base of the stem is starting to harden. This doesn’t mean you can’t take cuttings, but you’d technically be taking semi-ripe rather than softwood cuttings.
Some tender perennials like Pelargoniums and Osteospermums stay soft enough for cuttings well into August. Use the snap test to determine what stage your plant is at rather than rigidly following calendar dates.
Do I need rooting hormone for softwood cuttings?
Strictly speaking, no, you don’t need rooting hormone. Many plants will root perfectly well without it. However, rooting hormone significantly increases your success rate, speeds up root development, and gives you better root systems on the cuttings that do take.
I use it religiously on everything except the absolute easiest plants like Pelargoniums. A small tub costs about five quid and lasts for years. If you’re not using rooting hormone, at least dip your cuttings in water before potting to help the compost stick to the cut surface.
Absolutely, and it’s brilliant for beginners because you can watch the magic happen.
The jam jar method works particularly well for Pelargoniums, Coleus, Verbena, Fuchsia, and most tender perennials. Simply pop your prepared cuttings in a jam jar or glass with a few centimetres of water, place on a bright windowsill out of direct sun, and watch roots develop over 2–4 weeks.
Change the water every few days to keep it fresh. Once roots are about an inch long, pot them up into compost. The only downside is that water roots are quite soft, so cuttings can sulk for a week or two when transferred to compost.
Why are my softwood cuttings dying?
The three most common culprits are excessive water, insufficient humidity, and temperature shock. If your cuttings are turning black at the base, that’s rot from overwatering or poor drainage.
If they’re wilting despite moist compost, they’re losing water faster than they can absorb it, which means either not enough humidity (put that bag back on) or they were exposed to direct sunlight. If they’re sitting there doing nothing for weeks, they’re probably too cold. Cuttings require a consistent temperature of 18–24°C to root. Stick your finger in the compost; if it’s cold, the plants won’t root until it warms up. A heated propagator is the most reliable fix for this in the UK climate.
Transform Your Garden Knowledge with Garden Ninja’s Expert Resources
Ready to elevate your gardening beyond basic tasks? My comprehensive online courses provide the expertise to transform you from enthusiastic beginner to confident garden creator.
With courses starting from just £29, you gain access to award-winning design knowledge.
29
Garden Design Examples for Small Gardens: 30 Design Templates & Planting Plans
Garden Design Examples for Small Gardens: 30 Design Templates & Planting Plans: In this online gardening course, I’ll walk you through 30 fantastic garden designs, explaining the logic behind the layout, the plant choices, and take-home tips for applying them in your own garden.
Weekend Garden Makeover: A Crash Course in Design for Beginners
Learn how to transform and design your own garden with Lee Burkhills crash course in garden design. Over 5 hours Lee will teach you how to design your own dream garden. Featuring practical design examples, planting ideas and video guides. Learn how to design your garden in one weekend!
Garden Design for Beginners: Create Your Dream Garden in Just 4 Weeks
Garden Design for Beginners Online Course: If you want to make the career jump to becoming a garden designer or to learn how to design your own garden, this is the beginner course for you. Join me, Lee Burkhill, an award-winning garden designer, as I train you in the art of beautiful garden design.
That’s really all there is to softwood cuttings. It’s a fantastic way to bulk up your garden and help reduce your carbon footprint. Not only are you getting ‘true to type’ plants, but you’re not spending a fortune in the garden centre!
Your subscription could not be saved. Please try again.
Your subscription has been successful.
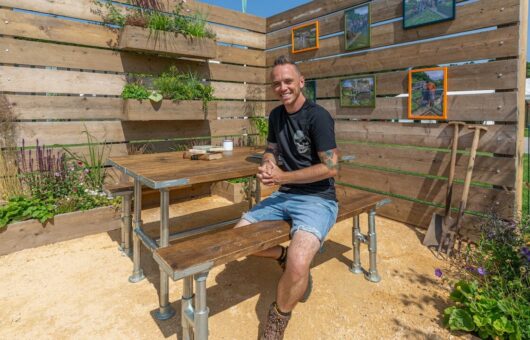
Lee Burkhill
Lee Burkhill, known as the Garden Ninja, is an award-winning garden designer and horticulturist with over 30 years of gardening experience and 15 years as a professional garden designer. A qualified RHS (Royal Horticultural Society) professional, Lee specialises in sustainable garden design and practical horticultural advice. He designs and presents on BBC1’s Garden Rescue and in leading gardening publications. Lee combines three decades of hands-on gardening knowledge with professional design qualifications to help gardeners create beautiful, functional outdoor spaces.


Hello, I really enjoyed reading your article about taking softwood cuttings to propagate plants, I found it very helpful. Thank you, Richard