For the garden you’ve already got, not the one you’re starting from scratch. Seven checklists and video lessons from BBC Garden Rescue’s Lee Burkhill, built to help you work out what’s worth keeping before you spend a penny.
69


Quick Answer
To start a garden from scratch, clear the ground of turf, weeds and debris, then assess your soil type and aspect before you buy a single plant. Plan your layout on paper, choose plants suited to your actual conditions rather than ones you simply like the look of, and build your tool collection gradually with a few good quality pieces rather than a shed full of cheap ones.
Gardening is a fabulous skill set that has a plethora of immeasurable benefits for both gardeners like you and Mother Nature. It offers nothing but positivity as you learn to grow, live with the seasons and improve your wellbeing. No one will tell you off even if you make a mistake gardening. The garden is a patient mentor. Learning how to start a garden will free up your mind, improve your mental health, teach life skills, and connect you deeply with nature.
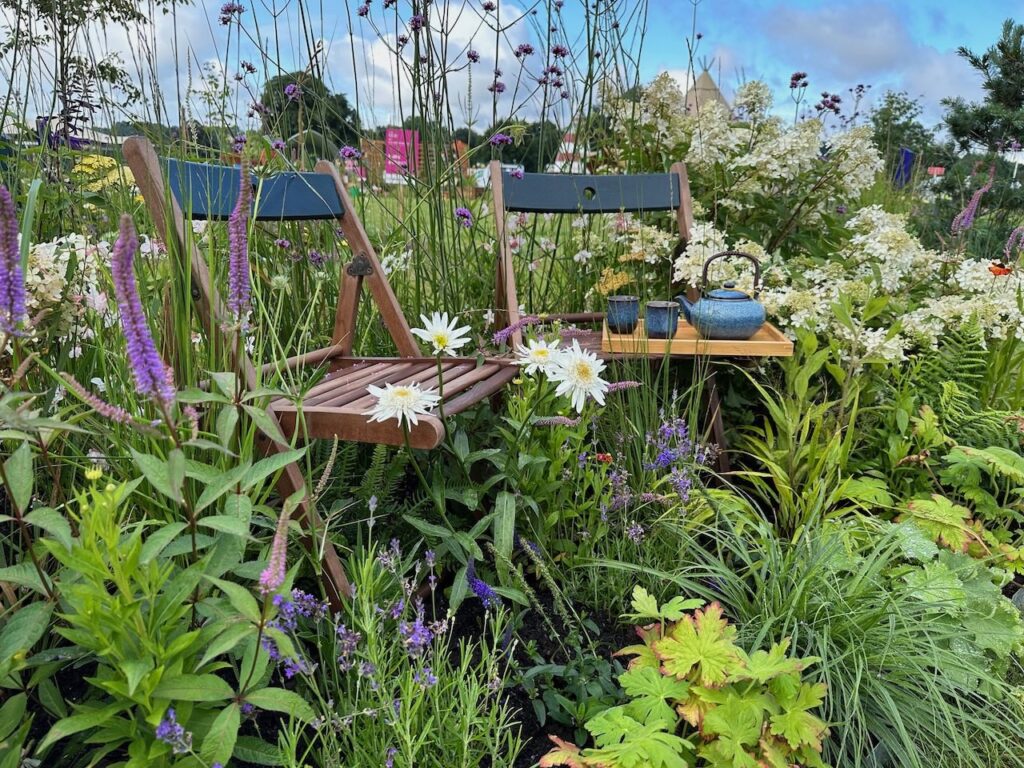
Whether watching wildlife take up home in your garden or simply the joy of watching plants germinate from seeds, gardening is a hobby, skill and profession that offers unrivalled enrichment. However, this vast skill set can be off putting for beginners, especially when you are not sure where to start.
Whether you are aiming for a colourful flower garden, a bountiful vegetable patch, or a tranquil herb sanctuary, the art of gardening begins with understanding the basics. Having designed hundreds of client gardens and started plenty of my own from bare soil and old turf, I know exactly where beginners tend to get stuck, and it is rarely the plants themselves. It is nearly always a missing step earlier in the process.
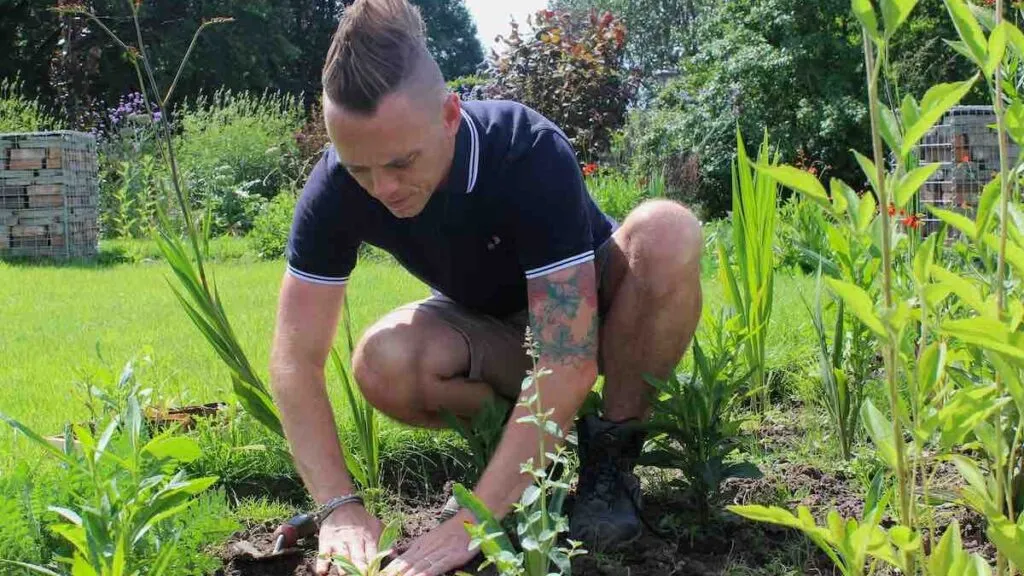
This comprehensive gardening guide will delve into the essential steps to help you kickstart your gardening journey and cultivate a flourishing outdoor sanctuary, from clearing the ground and understanding your soil to choosing tools, budgeting sensibly, and avoiding the mistakes I see time and again among gardeners just starting out. Already have a garden with shrubs, borders or a lawn in it, rather than bare ground? This guide is built specifically for a blank canvas. If yours is more established or inherited, my guide to gardening for beginners with an existing garden is the better place to start.
Jump To
This page contains affiliate links for products I use and love. If you take action (i.e. subscribe, make a purchase) after clicking a link, I may earn some gardening commission which helps me keep the Garden Ninja Blog free for all.
The first place to start is your own garden, whether it is big or small, flagged or turfed, on a balcony, or a shared communal space. Understanding your garden space is vital. If you just jump straight in and buy plants, you are guessing, and the chances are things will go wrong, costing you time and money and knocking your confidence.
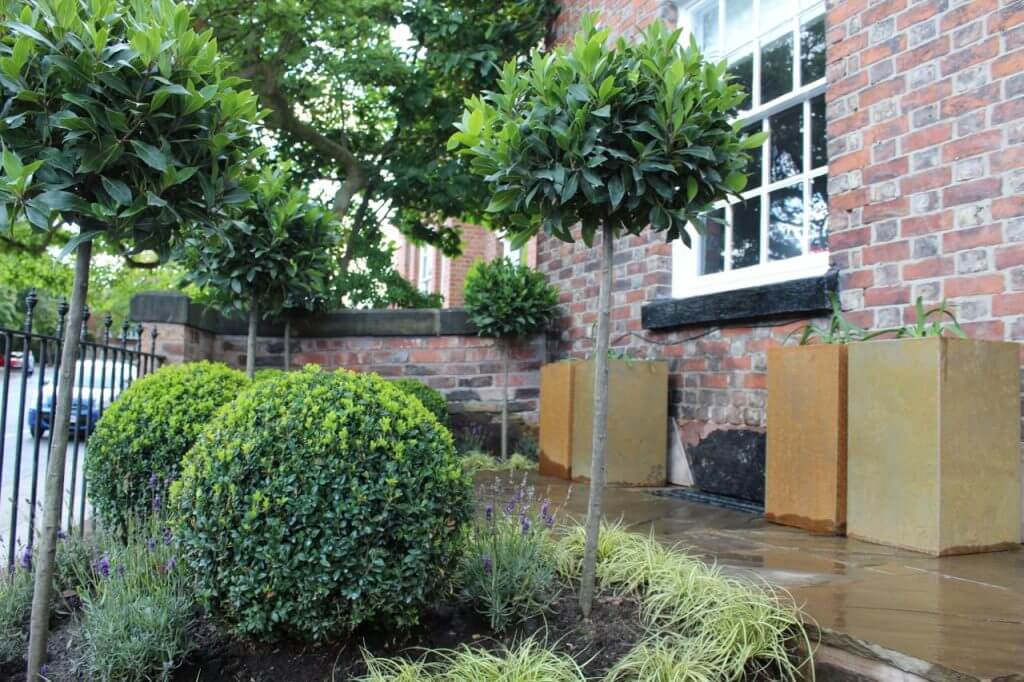
The best thing to do as a new gardener is to look at your garden, see what you are working with and make a note of the following:
Making notes of the above starts the ball rolling to understand what is possible and starts the journey of working out what plants will thrive in these conditions. Whilst you may want a certain group of plants in your garden, if the conditions do not favour them, then no matter how hard you try, these unsuitable plants will fail.
It is always best to work with the conditions of the garden you have got, not the dream you have seen on Instagram. I have watched many clients fall in love with a Mediterranean gravel garden while standing on heavy clay in deep shade, and no amount of enthusiasm changes what the site will actually support. Check out my guide to garden aspects if you are not sure how to read the sun and shade patterns in your own plot.
This is the step I see skipped more than any other, and it is the one that causes the most heartache further down the line. Before you plan a single bed or buy a single plant, you need a properly clear, weed free plot to work with. Planting into ground that still has couch grass, bindweed or old turf sitting under the surface means you are fighting those weeds for years afterwards, and it is far harder to remove a persistent weed from around an established plant than it is to clear bare ground properly at the start.
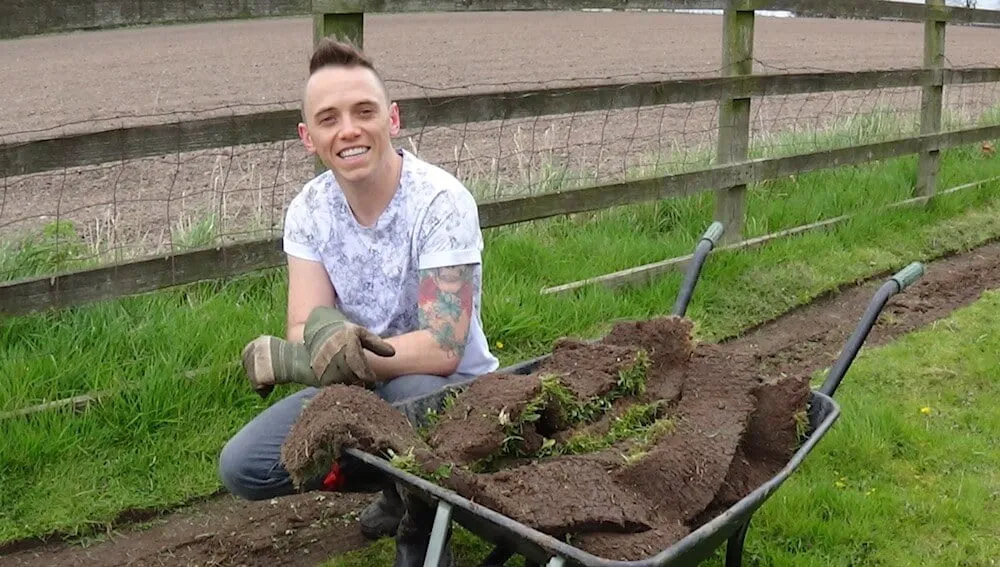
If you are clearing turf, the honest, chemical free approach is to slice it into manageable squares with a spade and lift it by hand, saving the healthy pieces to reuse elsewhere in the garden or stacking the rest upside down to rot down into loam over a year or so. For weeds, hand pulling perennial roots such as dandelion, dock and bindweed works, but you must get the whole root out or they will simply regrow from the piece left behind. Covering an area with cardboard and a mulch on top for a full season is my preferred low effort method for beginners, since it starves the weeds of light without you lifting a fork.
💡 Top Tip
Never dig or clear a waterlogged or frozen plot. Wait until the soil is workable, since digging wet clay in particular compacts it into something closer to concrete and undoes months of good work in one afternoon.
Any perennial weed material you clear should go into your council green waste bin or a hot compost system rather than a standard cool compost heap, because most home compost bins simply are not hot enough to kill off weed roots and seeds. Once the ground is properly cleared, that is when the fun of planning your layout can properly begin.
The next step is to grasp the fundamentals of what all plants need to grow. Understanding the very basics of how plants survive and then thrive is essential. It means you can start to interpret which plant will grow well in each part of your garden.
The right plant in the right place needs very little else. Some may need the occasional plant feed or some pruning, but little else if the right plants are chosen. They do not need watering nonstop or fussing over once established. Ensuring that you have access to the above conditions wherever you plan to grow plants means you are off to a good start. For example, you may need an outside tap or access to a water butt for growing.
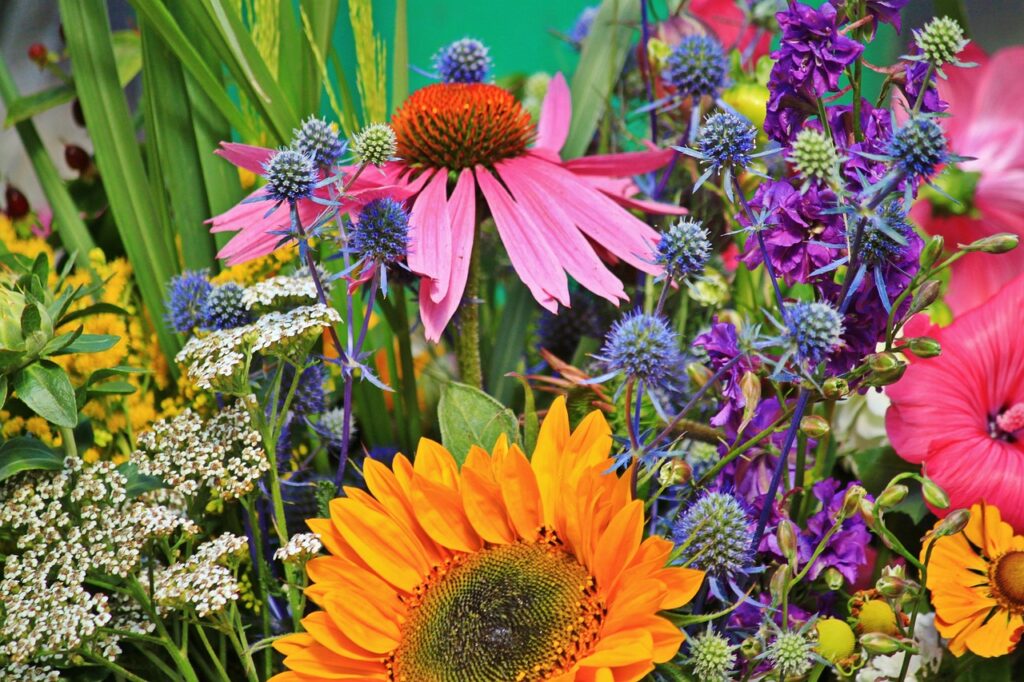
There are also two main seasonal classifications of plants: Evergreen plants keep their leaves and foliage all year round, while deciduous plants shed their leaves in the winter. There are two more broad types of plants worth knowing too, and I would advise you read my full guide to plant types here as well.
Perennials are plants that live for more than one year or come back each year, while annuals are plants that live for only one year, such as bedding plants and most vegetables.
If you know your garden is in full sun and dry with sandy soil, then it is best to choose plants, trees and shrubs that thrive in these conditions. By understanding whether they are evergreen, deciduous, perennial or annual, you know what to expect from them in winter and each year that follows.
Applying the basics above also allows you to narrow down the plant search to specimens that like your garden conditions.
I talk about soil type in nearly all my lectures and TV work as a garden designer, because soil is the fundamental building block of any successful garden. It takes mere minutes to determine your soil type, but you can save years of heartache by avoiding plants that do not thrive in it.
There are three main soil types, and you can usually tell which one you have by grabbing a handful and squishing it together.
Make a note of the soil type and its characteristics, whether that is crumbly, wet and fudgy, or thin and dusty. Then, when it comes to picking plants, you can work with the soil type rather than fight against it. If you want to go deeper on this, I have full guides to planting for clay soil, sandy soil, chalky soil and acidic soil on the blog, each covering the plants that will actually thrive rather than merely survive in those conditions.
Designing a well thought out garden layout sets the stage for a visually appealing and functional outdoor space. Carefully considering the layout and design of the garden allows you to get the very best out of your garden. Planning where things like patios, greenhouses, seating areas, and flower beds will go before you start digging can help you avoid costly gardening mistakes.
So many new gardeners have put a vegetable bed under a tree where it is in full shade, or chosen the sunniest spot in the garden for a shed rather than a patio. It is best to make these mistakes on paper, playing around with where things are going to live in your garden before checking they are actually in the right place.
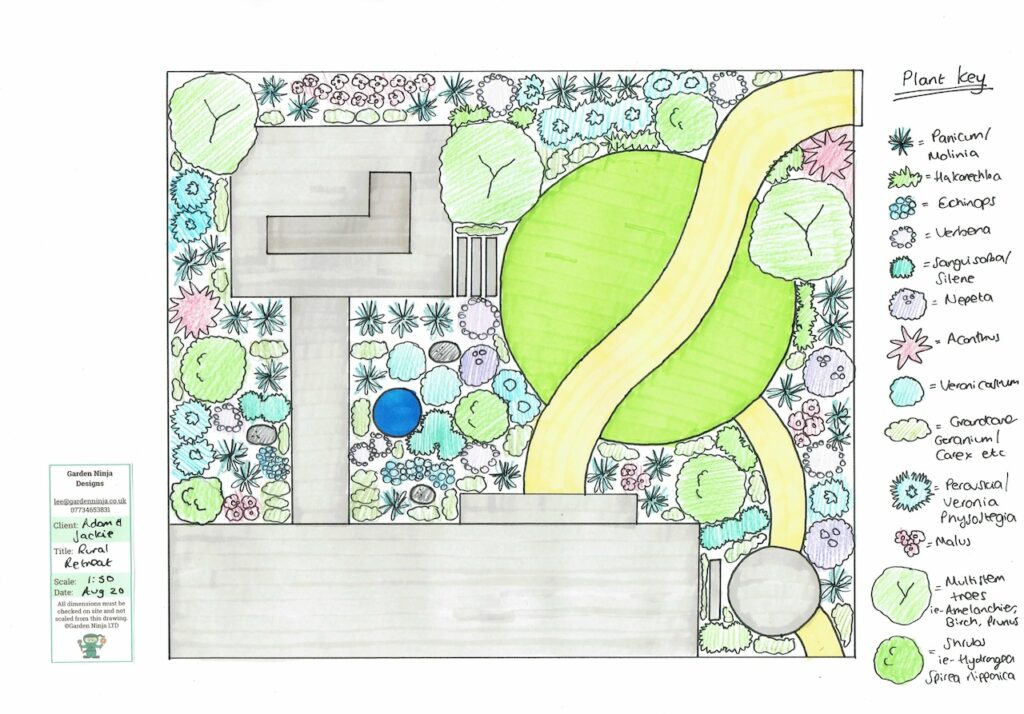
Sketch a rough plan of your garden area, considering factors like plant height, growth habits, and aesthetic appeal. Research which plants best suit this style based on the colours you like or the theme of the garden. Incorporate pathways or borders to define garden beds and facilitate access for maintenance tasks.
When it comes to garden styles or themes, there is a huge variety to choose from. It is always best to choose a theme and stick with it so your garden looks cohesive rather than pick and mix. You may be interested in viewing the following styles of garden design for inspiration:
Selecting the right plants for your garden is where the fun part starts. Think of it as a giant puzzle which you are going to solve by working out which plants will best survive and thrive in your garden. Then it is a case of applying the style and layout by choosing the colours, textures and heights of these plants. It is probably the most exciting part of gardening for all seasoned gardeners.
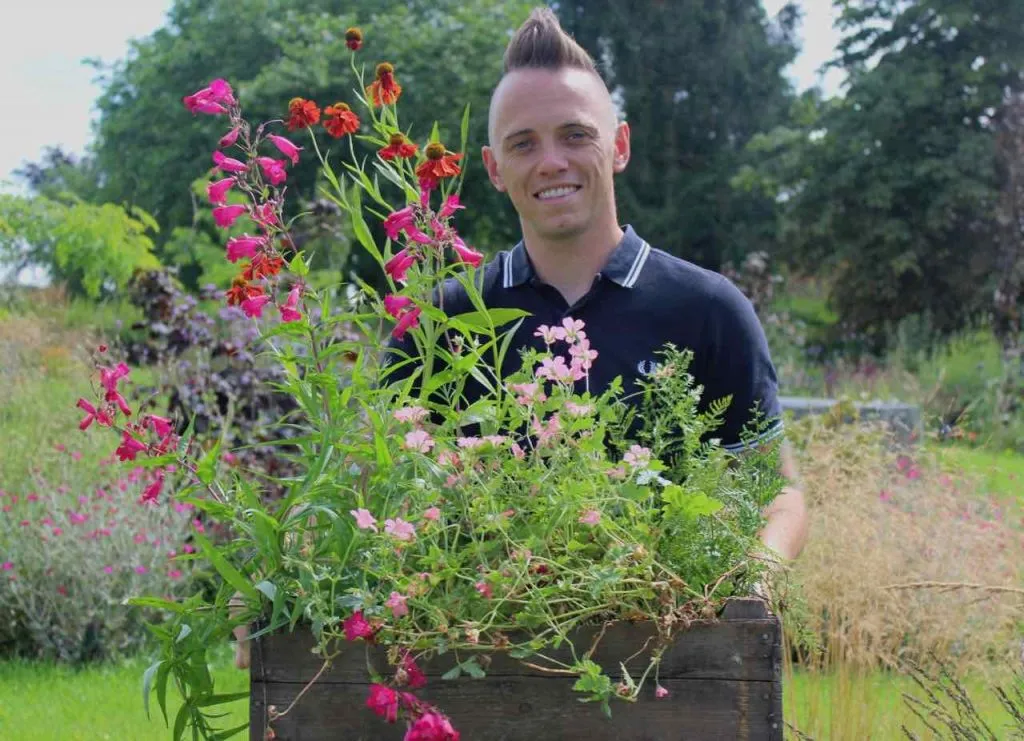
Research native and adaptive plant species that are well suited to your local environment. These will be tougher and can cope with more neglect and less care from the beginner gardener. If low maintenance is your priority, my guide to low maintenance, high impact garden design is worth reading alongside this one.
Choose a mix of evergreen, deciduous and perennial plants to ensure year round interest and diversity in your garden. Explore plant catalogues, visit nurseries, and seek advice from experienced gardeners to make informed decisions.
A good idea is to start a spreadsheet or list of all the plant species suitable for your garden. Make a note of how big they grow and the colour. That way, you create a master list of potential planting plans for your garden, and all your knowledge and research are safely contained within this one list.
We have discussed your garden’s conditions, the style and features, and the plant requirements, but we now need to discuss gardening tools, because how are you going to plant without the right tools and equipment? It is easy for a beginner to get swept away by buying endless tools without understanding what they are used for.
My advice as a garden design expert is to buy as few tools as you can at first and get the maximum use out of them. This will save you money and make you a far more resourceful gardener. It also stops you dithering over which size spade to use or which pair of secateurs to reach for when pruning that rose.
A trowel is perfect for planting, digging and transplanting seedlings. It is the Swiss Army knife of gardening, handy for a variety of tasks. Choose a solid metal hand trowel over the cheaper plastic ones. A metal trowel will last longer and let you do all sorts of planting and weeding for years to come.
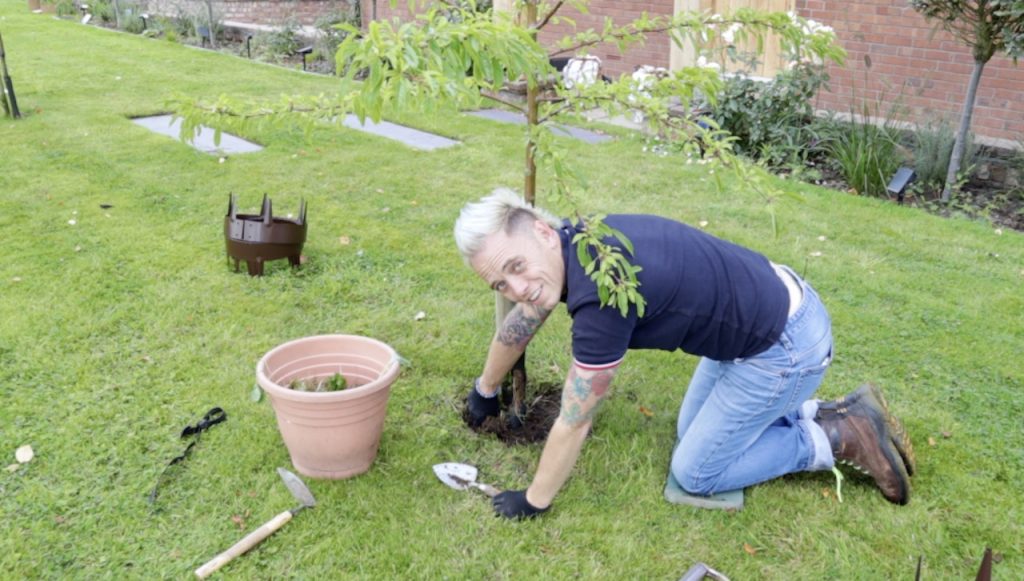
There are two shapes worth knowing. A narrow, pointed transplanting trowel is best for lifting seedlings and plug plants without damaging the roots, while a wider border trowel shifts more soil in one go and is my choice for general planting. Many trowels also carry depth markings along the blade, which is a properly useful feature when you are planting bulbs at a consistent depth across a bed. Whichever you choose, look for a full tang, where the blade and handle are forged from one piece of metal, since these are far less likely to snap under pressure than a trowel with a bolted on handle.
🛒 Browse stainless steel hand trowels on Amazon UK.
Sharp secateurs are essential for cutting back plants, deadheading flowers, and shaping shrubs. They are like your garden’s haircut scissors. Try to invest in good secateurs, as these will last you for decades compared to cheaper snips. Choose a pair that can be sharpened and that are bypass, not anvil secateurs.

Bypass secateurs cut with a scissor action, leaving a clean wound that heals quickly, while anvil secateurs crush the stem against a flat blade and tend to bruise soft or green growth. Keep a small cloth in your pocket to wipe sap from the blades as you work, since dried sap is what causes most secateurs to stick and drag rather than cut cleanly. If you are left handed, it is worth seeking out a left handed model, as forcing a right handed pair the wrong way round will blunt the blade far faster than normal use.
🛒 Browse Felco secateurs on Amazon UK.
Protect your hands from thorns, dirt and moisture while gardening with a decent pair of thick gardening gloves. Comfortable gloves make all the difference when you are getting your hands dirty. If you are going to be doing some serious gardening with pruning, pulling out thorny shrubs or weeding, then Gold Leaf gloves are my personal go to for hand protection and consistently the pair I recommend most.
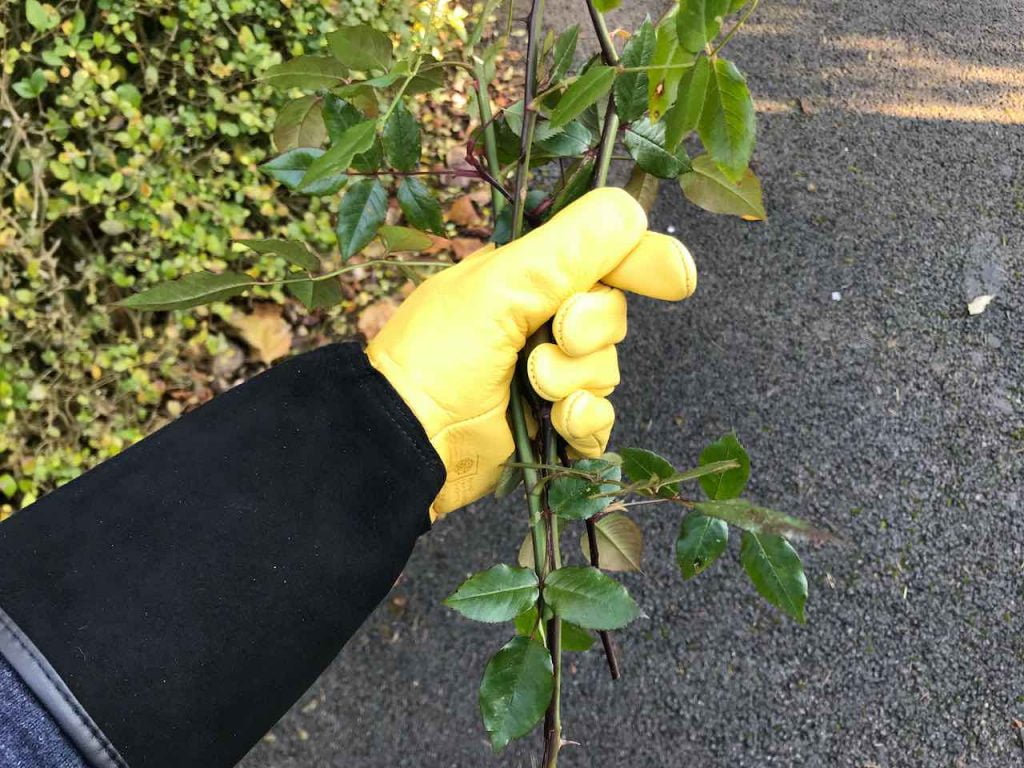
Get the sizing right, since a loose glove bunches up at the fingertips and makes fine work like pricking out seedlings almost impossible, while a tight glove tires your hand within minutes. For roses and other thorny shrubs, look for a longer gauntlet cuff that protects your forearm as well as your palm. In summer I switch to a lighter, more breathable pair for general weeding, and keep a heavier gauntlet pair for anything properly thorny, since one pair rarely does both jobs equally well.
🛒 Browse Gold Leaf gardening gloves on Amazon UK.
I have written a full gardening gloves guide comparing every pair I have tested over the years if you want the full detail before buying.
Keep your plants hydrated with a watering can or hose. It is your garden’s lifeline, ensuring your plants thrive and flourish. A simple ten litre watering can is sufficient for nearly all of your gardening needs. If you have a larger garden, then consider a heavy duty hose that can be rolled back up.
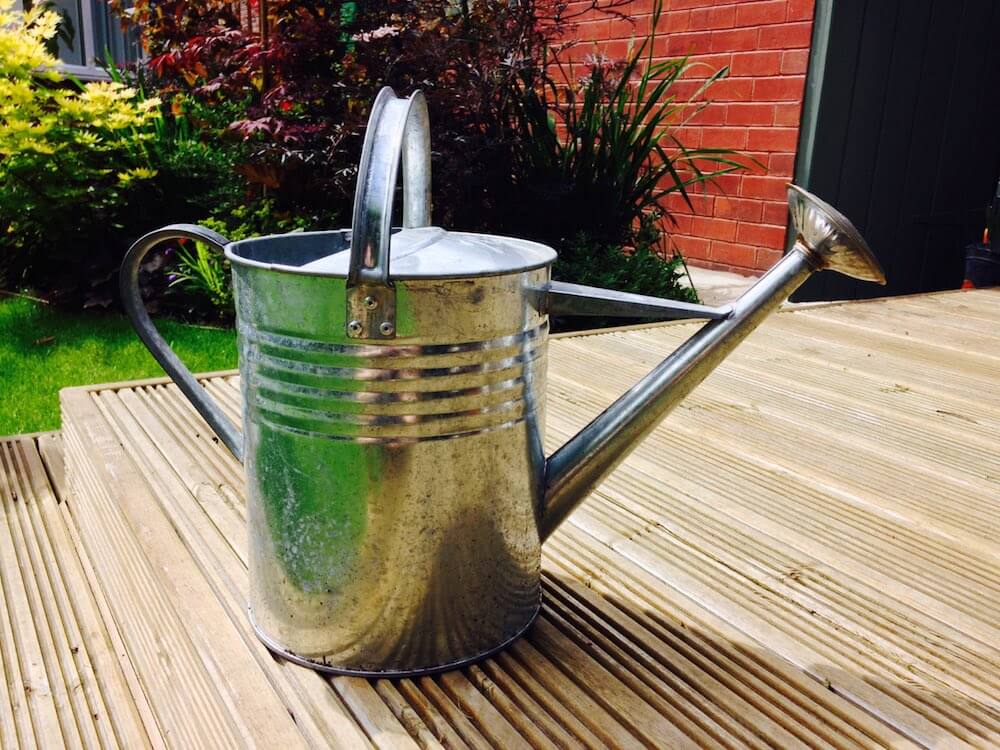
Look for a rose attachment with fine holes for watering seedlings and young plants gently, since a strong jet of water straight from a hose or an unattached can will knock over anything newly planted. A long spout is worth paying a little extra for too, as it lets you reach right into hanging baskets and pots at the back of a border without straining. Galvanised metal cans look wonderful and last for decades, but a good heavy duty plastic can is lighter to carry when full, which matters more than it sounds once you are watering containers on a warm evening after work.
🛒 Browse watering cans on Amazon UK.
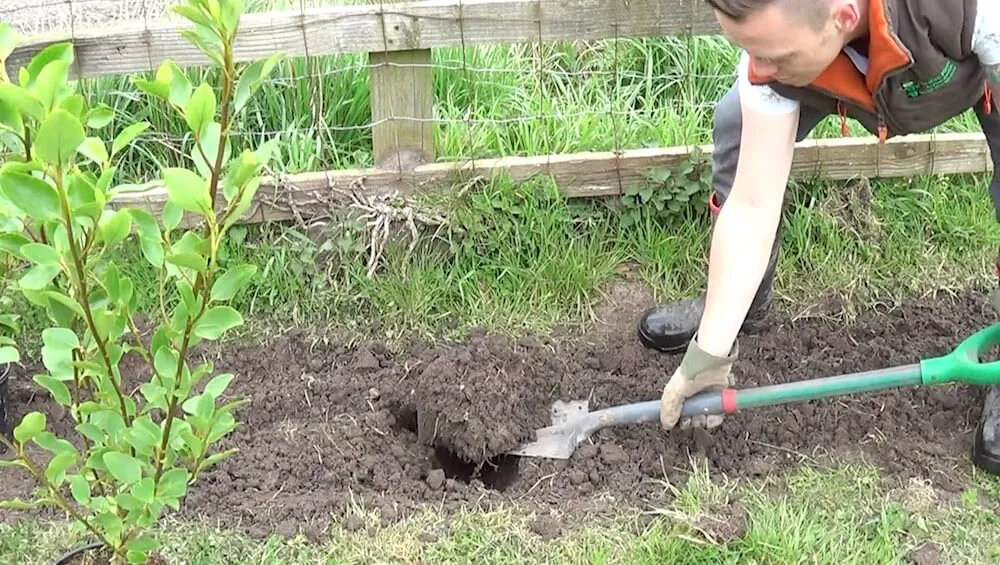
Use a garden spade to dig, level soil, turn compost, spread mulch, and tidy up your planting beds by removing weeds or spent plants. It is one of the most multifunctional of all the garden tools.
Stainless steel blades slide through soil more cleanly than carbon steel and do not rust, which matters if you are storing tools in a damp shed rather than a heated garage. Look for a spade with a wide, flat tread bar along the top edge of the blade, since this is where your boot takes the strain when digging heavier ground, and a narrow edge will leave your foot aching after an afternoon of turning a bed. A slightly rounded, pointed blade shifts soil more easily than a perfectly rectangular one, which is worth bearing in mind if your garden has any clay content at all.
🛒 Browse garden spades on Amazon UK.
A garden fork is the tool I reach for most once a bed is established, since it breaks up compacted soil and gets underneath perennial weed roots far more effectively than a spade on stony or clay ground. It is also the better choice for dividing herbaceous perennials or working compost and manure into an existing border without slicing through everything already growing there.
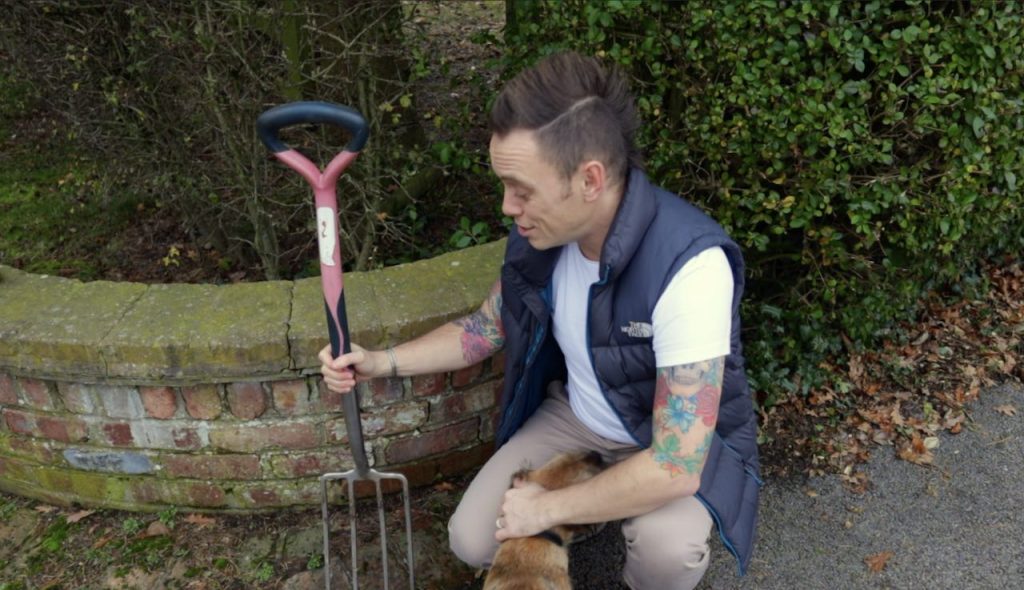
A full sized digging fork with four square tines is what you want for breaking up ground and lifting root crops, while a smaller border fork is easier to work between established plants without catching neighbouring roots or stems. Square tines resist bending far better than flat ones when you hit a stone or a stubborn root, so it is worth checking the tine profile before you buy rather than judging on price alone. This is the tool I always reach for when splitting an overgrown perennial, since pushing two forks back to back through the clump does far less damage than trying to cut it apart with a spade.
🛒 Browse garden forks on Amazon UK.
A rake earns its place once you reach the finishing stages of any new bed or lawn area, levelling the soil and breaking down clumps into a fine tilth, ready for seeding or planting. It is not a tool you need on day one, but it becomes essential the moment you are preparing ground for turf, grass seed or a border that needs a neat, level finish.
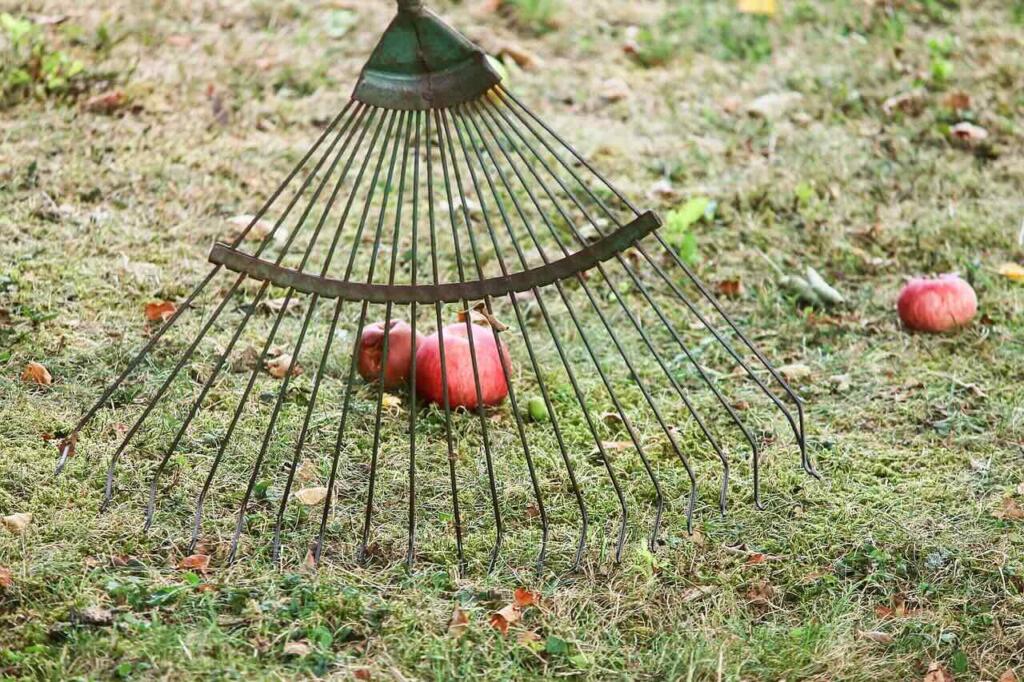
A rigid soil rake with fixed metal teeth is what you want for levelling and preparing seedbeds, while a spring tine leaf rake has flexible fanned tines that are far gentler for clearing leaves and moss off an established lawn without gouging the surface. That same spring tine action is also the traditional method of light lawn scarification, dragging out thatch and moss before a proper machine scarifier gets involved, so a decent rake earns its keep long after your new beds are finished. If lawn care is on your radar too, my guide to scarifying a lawn covers the full process in far more depth.
🛒 Browse garden rakes on Amazon UK.
For a full breakdown of every tool worth owning as you build up your collection, my garden spades and forks guide and complete garden tools roundup cover everything in far more depth.
💡 Top Tip
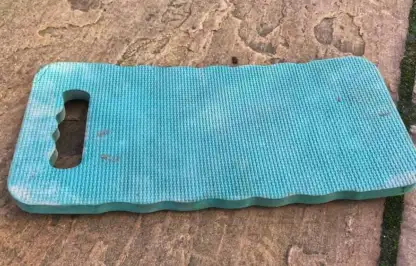
Do not overlook your knees and back. A garden kneeler and seat is one of the most underrated purchases a beginner can make, and a sturdy wheelbarrow will save you dozens of trips back and forth once you start moving soil, turf or compost around the garden in any quantity.
One question I get asked constantly, both on the forum and while filming Garden Rescue, is how much it actually costs to start a garden from nothing. The honest answer is that it depends entirely on how much you are prepared to do yourself versus buying in ready made solutions, but here is a realistic breakdown based on what I see clients and beginner gardeners actually spend.
The single biggest lever you have over cost is patience. Buying small plants and growing them on yourself, dividing perennials from friends and family, and improving your soil with homemade compost rather than bought in bags will bring the cost of a whole garden down dramatically compared with buying mature, instant impact plants from a garden centre. My guide to designing a garden on a budget goes into far more detail on stretching a limited pot of money as far as it will go, and buying healthy plants online covers how to avoid paying over the odds for stock that will not establish well.
Regular garden maintenance is essential for nurturing healthy plants and minimising pest and disease problems. If you are a time poor gardener, it is always best to choose plants and a garden layout that are low maintenance rather than resource intensive.
Especially as you start out as a new gardener, you should aim to create a manageable garden that fits the time budget you actually have each week. Then, as you develop into a full Garden Ninja yourself, you can develop your garden into a more complex and time demanding space.
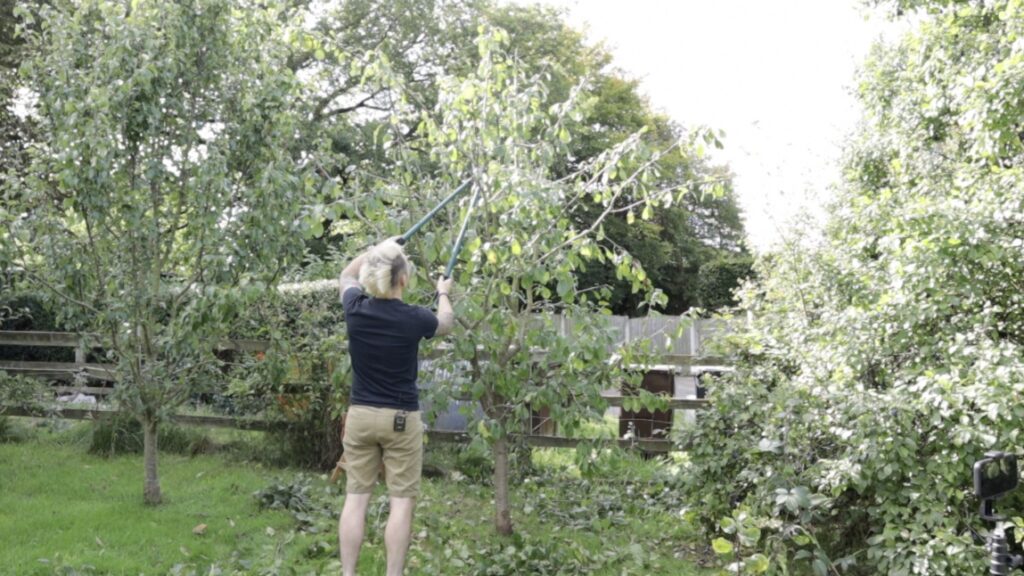
You may also want to consider a watering schedule based on plant needs, especially if you are growing resource intensive vegetables. Consider the weather conditions and soil moisture levels, and plan to arrange cover for any holidays when you will not be able to tend the garden.
Implement organic pest control methods like hand picking and companion planting, and encourage beneficial insects like ladybirds to manage pests naturally. Monitor plants for signs of stress, nutrient deficiencies or irregular growth, and address issues promptly rather than letting them build up over a season.
Having designed hundreds of gardens and mentored plenty of beginners along the way, I see the same handful of mistakes crop up again and again. Knowing them in advance will save you a good deal of frustration and money.
Planting before the ground is properly cleared. This is the single most common mistake, and I have covered why above. Skipping this step means fighting the same weeds for years to come.
Buying plants on impulse rather than to a plan. A trip to the garden centre in May, when everything is in full flower, tempts even experienced gardeners into buying plants that have no home once they get back to the garden. Stick to your plant list and resist the urge unless you already know exactly where a new purchase is going.
Ignoring the mature size of a plant. That tiny shrub in a two litre pot can easily reach two metres in height and spread within a few years. Always plant to the eventual size, not the size it arrives at, or you will be digging things up and moving them within a couple of seasons.
Overwatering or underwatering. New gardeners often assume more water is always better. Established plants in the ground need far less watering than people think, while new plants and anything in a pot need consistent attention until their roots are established.
Taking on too much garden at once. A whole plot dug over, planted and mulched in one weekend rarely survives the following summer, because there is no time left to maintain it properly. Phase your garden over a season or two instead.
Fighting the site rather than working with it. Shade, heavy clay and exposed wind are not problems to be solved with the wrong plants and sheer effort. There is a plant suited to almost every UK garden condition, and finding it will always outperform forcing something unsuitable to survive.
For new beginner gardeners, it is tempting to want the garden to look its best every day of the year. This mainly comes from how TV gardening shows and social media showcase gardening, presenting gardens in their prime, mid summer, when everything is blooming. It gives the illusion that your garden will be in flower every day of the year, so gardens shown on platforms like Pinterest, Instagram and YouTube should always be taken with a pinch of salt.
Content creators are showcasing the very best bits of their gardens, usually out of season and after many filters and tweaks for that reel or photograph. In reality, your garden will change according to the seasons, as shown below.
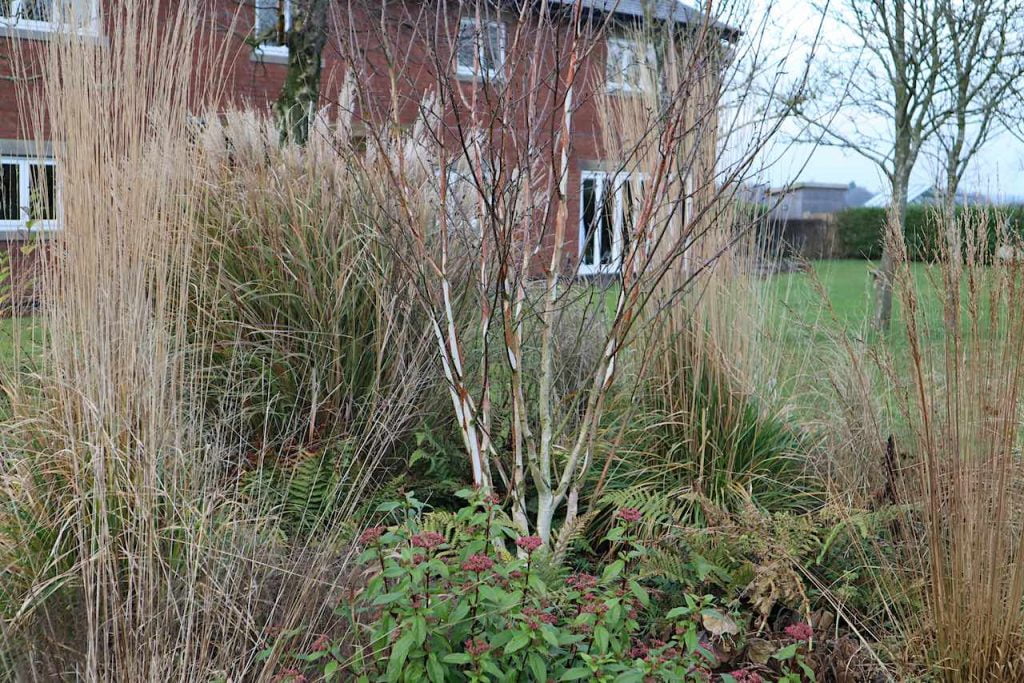
While great gardeners create interesting gardens in each season, it is impossible to maintain the look of summer year round. This is where growing with the seasons comes in. It is important that, as ethical and considerate gardeners, we work with and appreciate the seasons.
Any attempt to fool Mother Nature and force plants out of season will result in plenty of wasted effort, not to mention money. So, as gardeners, we always work with the seasons, choosing plants with different flowering periods or points of interest at different times of the year, and accepting that the garden will rest during late autumn and winter, while spring and summer bring the busiest time.
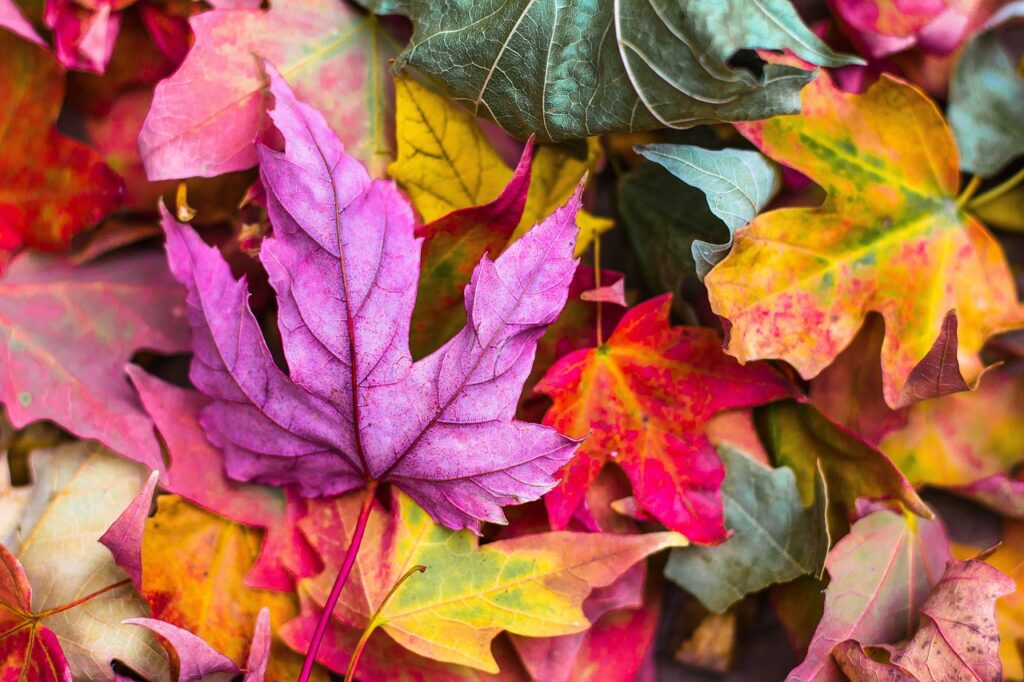
That is not to say autumn and winter need to be boring in the garden. These slower seasons bring beauties not seen in spring and summer, such as textured tree bark, winter flowering shrubs, early winter bulbs and the rich texture of herbaceous perennials left uncut. This is where the plant list we discussed earlier comes into play. Add details about when in the year each plant, tree or shrub flowers or has something of interest, since expert gardeners always include winter interest in their planting plans.
One of the best ways to improve your gardening skills as a beginner is to take a garden design or gardening course. You can take many weekend or distance courses from the RHS, local gardening groups, or horticultural colleges to help improve your skills, all of which will help take your gardening to the next level. But what if you do not have the time to attend an in person course or the funds to commit to gardening?
That is where online gardening courses come in. Online garden courses cost a fraction of the price, can be completed at home in your own time, and often provide far greater value for money when training as a gardener.
I offer a number of gardening and garden design courses to help take your skills to the next level so you can become a fully fledged Garden Ninja.
For the garden you’ve already got, not the one you’re starting from scratch. Seven checklists and video lessons from BBC Garden Rescue’s Lee Burkhill, built to help you work out what’s worth keeping before you spend a penny.
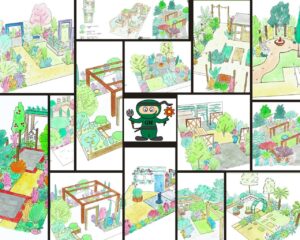
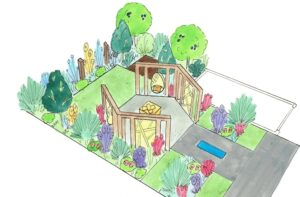
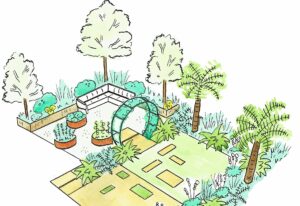
Garden Design Examples for Small Gardens: 30 Design Templates & Planting Plans: In this online gardening course, I’ll walk you through 30 fantastic garden designs, explaining the logic behind the layout, the plant choices, and take-home tips for applying them in your own garden.
Learn how to transform and design your own garden with Lee Burkhills crash course in garden design. Over 5 hours Lee will teach you how to design your own dream garden. Featuring practical design examples, planting ideas and video guides. Learn how to design your garden in one weekend!
Garden Design for Beginners Online Course: If you want to make the career jump to becoming a garden designer or to learn how to design your own garden, this is the beginner course for you. Join me, Lee Burkhill, an award-winning garden designer, as I train you in the art of beautiful garden design.
The last tip, my dear budding gardener, is to use the vast online resources available for gardening advice. There are near endless guides and video tutorials on how to garden, along with more specific niche topics you may need help with in your own garden.
As you develop your gardening skills and start to specialise in the areas that interest you, you will also become more specialist yourself. This is where the likes of YouTube and Google can be real assets. Simply search for the term you want to learn more about, such as what are espalier fruit trees, or how to graft a fruit tree, and you will be served up all sorts of gardening guides.
A few things to remember with online garden tutorials and advice is to check who is actually giving the advice.
Without sounding too cynical, there are plenty of wonderful gardening blogs and YouTubers out there, but even more inexperienced, factually incorrect and sometimes made up gardening influencers to watch out for. Always check their credentials and how long they have been practising horticulture, or feel free to head over to my gardening forum and ask me directly.
Most gardens take two to three full growing seasons before they start to feel properly established, with shrubs and perennials filling out and beginning to knit together. A garden can look reasonable within the first year, but true maturity, where plants have reached a good proportion of their eventual size, usually takes three to five years depending on what you have planted.
Autumn is generally the best time to clear ground and plant, since the soil is still warm from summer while rainfall increases, helping new roots establish before winter. Spring is the second best window, particularly for anyone starting later or wanting to sow seeds directly. Avoid planting into frozen, waterlogged or bone dry soil at any time of year.
A full laboratory test is not essential for most beginners, but I would always recommend a simple pH testing kit and the handful squeeze test described earlier in this guide. Knowing whether your soil is acidic or alkaline, and whether it is sandy, clay or silt, prevents you buying plants that were never going to thrive in your conditions.
Yes, and it is often the better way to learn. Growing from seed, taking divisions from friends and family, buying small plug plants rather than mature pots, and improving soil with homemade compost will all bring the cost down significantly compared with an instant, garden centre led approach.
Planting before the ground has been properly cleared of turf and perennial weeds. It is the mistake I see most often, and it is also the one that causes the most ongoing frustration, since removing an established weed from around a mature plant is far harder than clearing bare ground at the outset.
Not necessarily. Plenty of beginners successfully design and build their own garden using the steps in this guide, particularly for smaller plots. For larger or more complex projects, or if you simply want the process fast tracked with a professional eye on the design, a garden designer can save you from costly mistakes and get you to a finished result far sooner. My garden design services page has more detail if this is the route you are considering.

Join over 100,000 gardeners on YouTube
Free gardening videos from the Garden Ninja, with 8 million views and counting.
Subscribe on YouTube, it’s freeStarting a garden from scratch is a genuine adventure, and every professional garden you have ever admired started life as a blank, unpromising patch of ground exactly like yours. Take it one step at a time, clear the ground properly, work with your conditions rather than against them, and you will get there.
If you have questions or comments on gardening, why not let me know below? You can Tweet, Facebook or Instagram me. You can also follow me on YouTube where I have got plenty of garden guide vlogs.
Happy gardening.

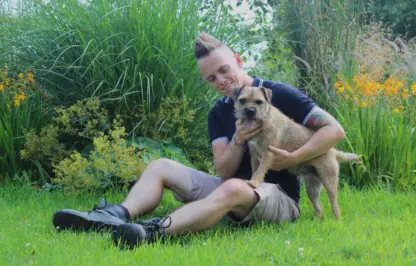
Lee Burkhill, known as the Garden Ninja, is an award winning garden designer and horticulturist with over 30 years of gardening experience and 15 years as a professional garden designer. A qualified RHS professional, Lee specialises in sustainable garden design and practical horticultural advice. He designs and presents on BBC1’s Garden Rescue and in leading gardening publications. Lee combines three decades of hands on gardening knowledge with professional design qualifications to help gardeners create beautiful, functional outdoor spaces.
View all posts by Lee Burkhill




JOIN THE NINJAS

Be the first in line for new Guides, Discount codes and Offers