For the garden you’ve already got, not the one you’re starting from scratch. Seven checklists and video lessons from BBC Garden Rescue’s Lee Burkhill, designed to help you decide what’s worth keeping before you spend a penny.
69


Quick Answer
To convert a lawn to a no dig bed, mow the grass short, lay overlapping sheets of plain cardboard directly on top, soak it thoroughly, then cover with 10 to 15cm of compost. Plant straight into the compost or wait 6 to 12 months for full decomposition. The grass underneath dies from lack of light and rots down into the soil, so there’s no need to strip the turf first.
Turning a section of lawn straight into a productive no dig bed is one of the quickest wins in gardening. No stripping turf, no hiring a rotavator, no skip for the waste. I wrote about the philosophy and origins of no dig gardening after spending time with Charles Dowding some years back, and this guide picks up from there with the exact steps, depths and timings for converting lawn specifically, since that’s the question I get asked most often on the forum.
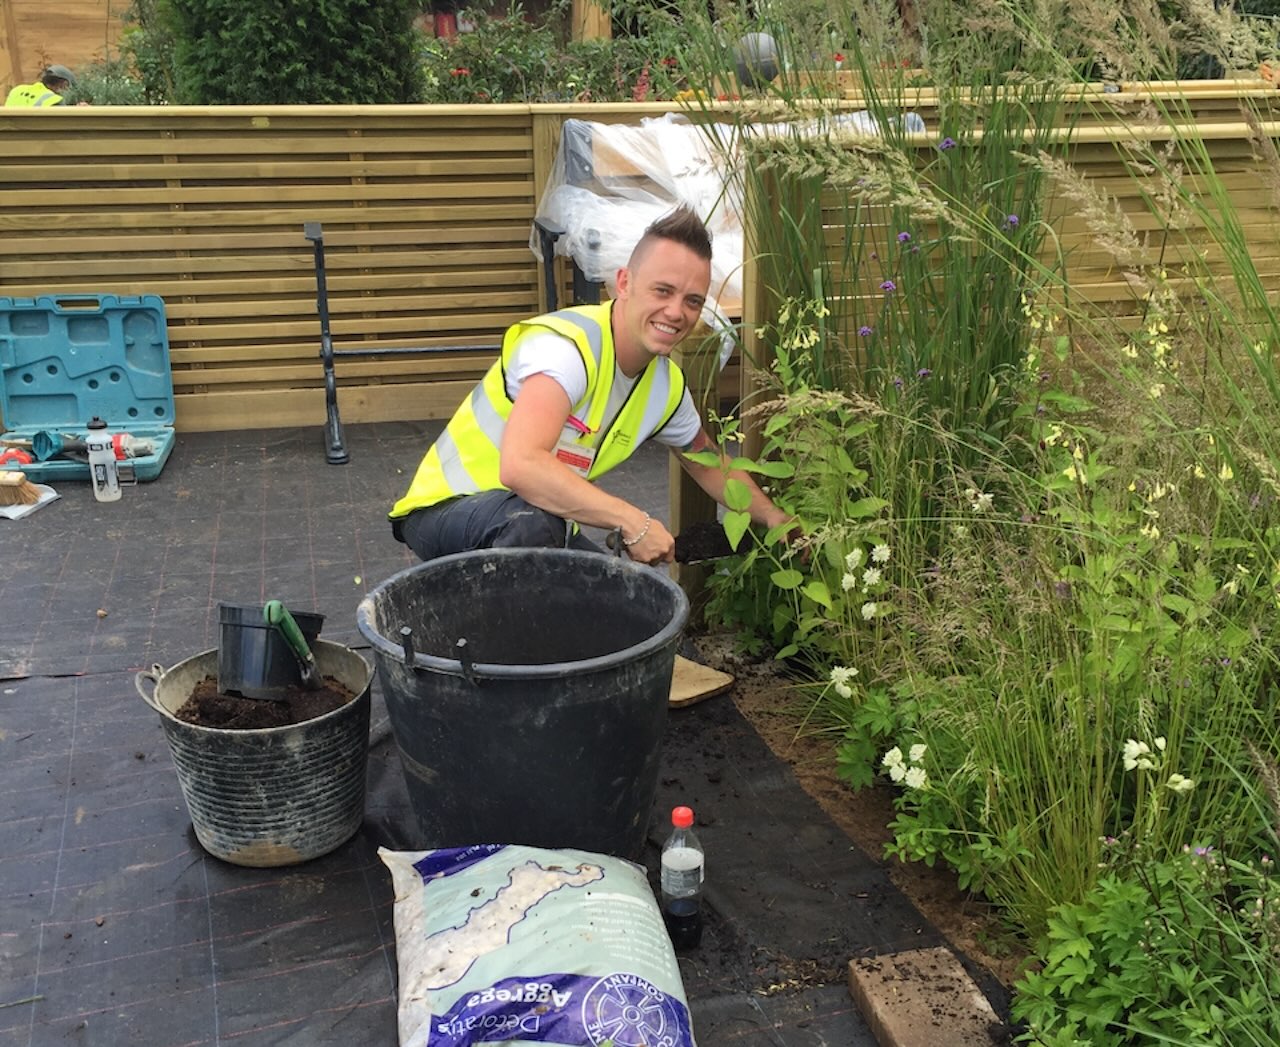
If you’re new to growing vegetables, lawn conversion is probably the easiest way to get started, since you’re not disturbing an existing bed or border, just choosing an edge of lawn you never use and turning it into something productive. The grass becomes valuable organic matter within a few months rather than waste, and a bed can be created in a weekend rather than a series of weekends.
This page contains affiliate links for products I use and love. If you take action (i.e., subscribe or make a purchase) after clicking a link, I may earn some gardening commission, which will help me keep the Garden Ninja Blog free for all.
This summary covers the essential steps so you can dive straight into creating your first no dig bed on top of an existing lawn. No dig makes garden set up ridiculously simple and cost-effective, so if you’re wondering where the catch is, there isn’t one, beyond working out where to lay the cardboard and compost.
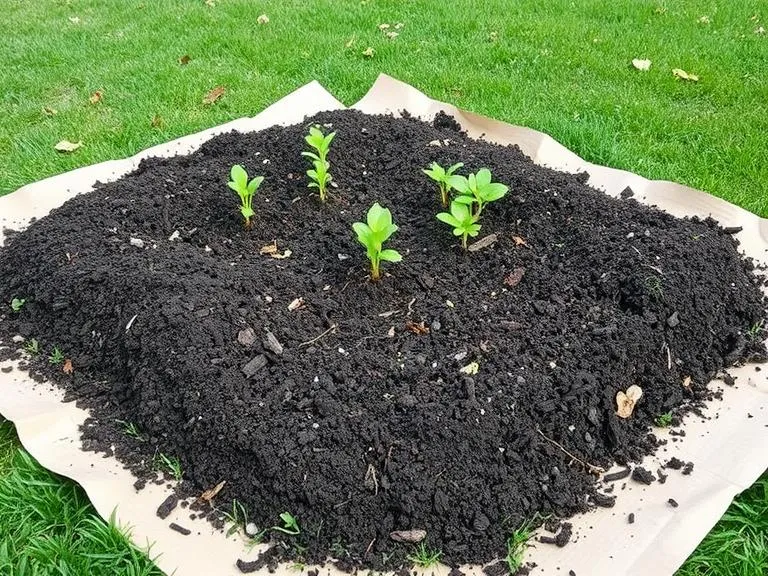
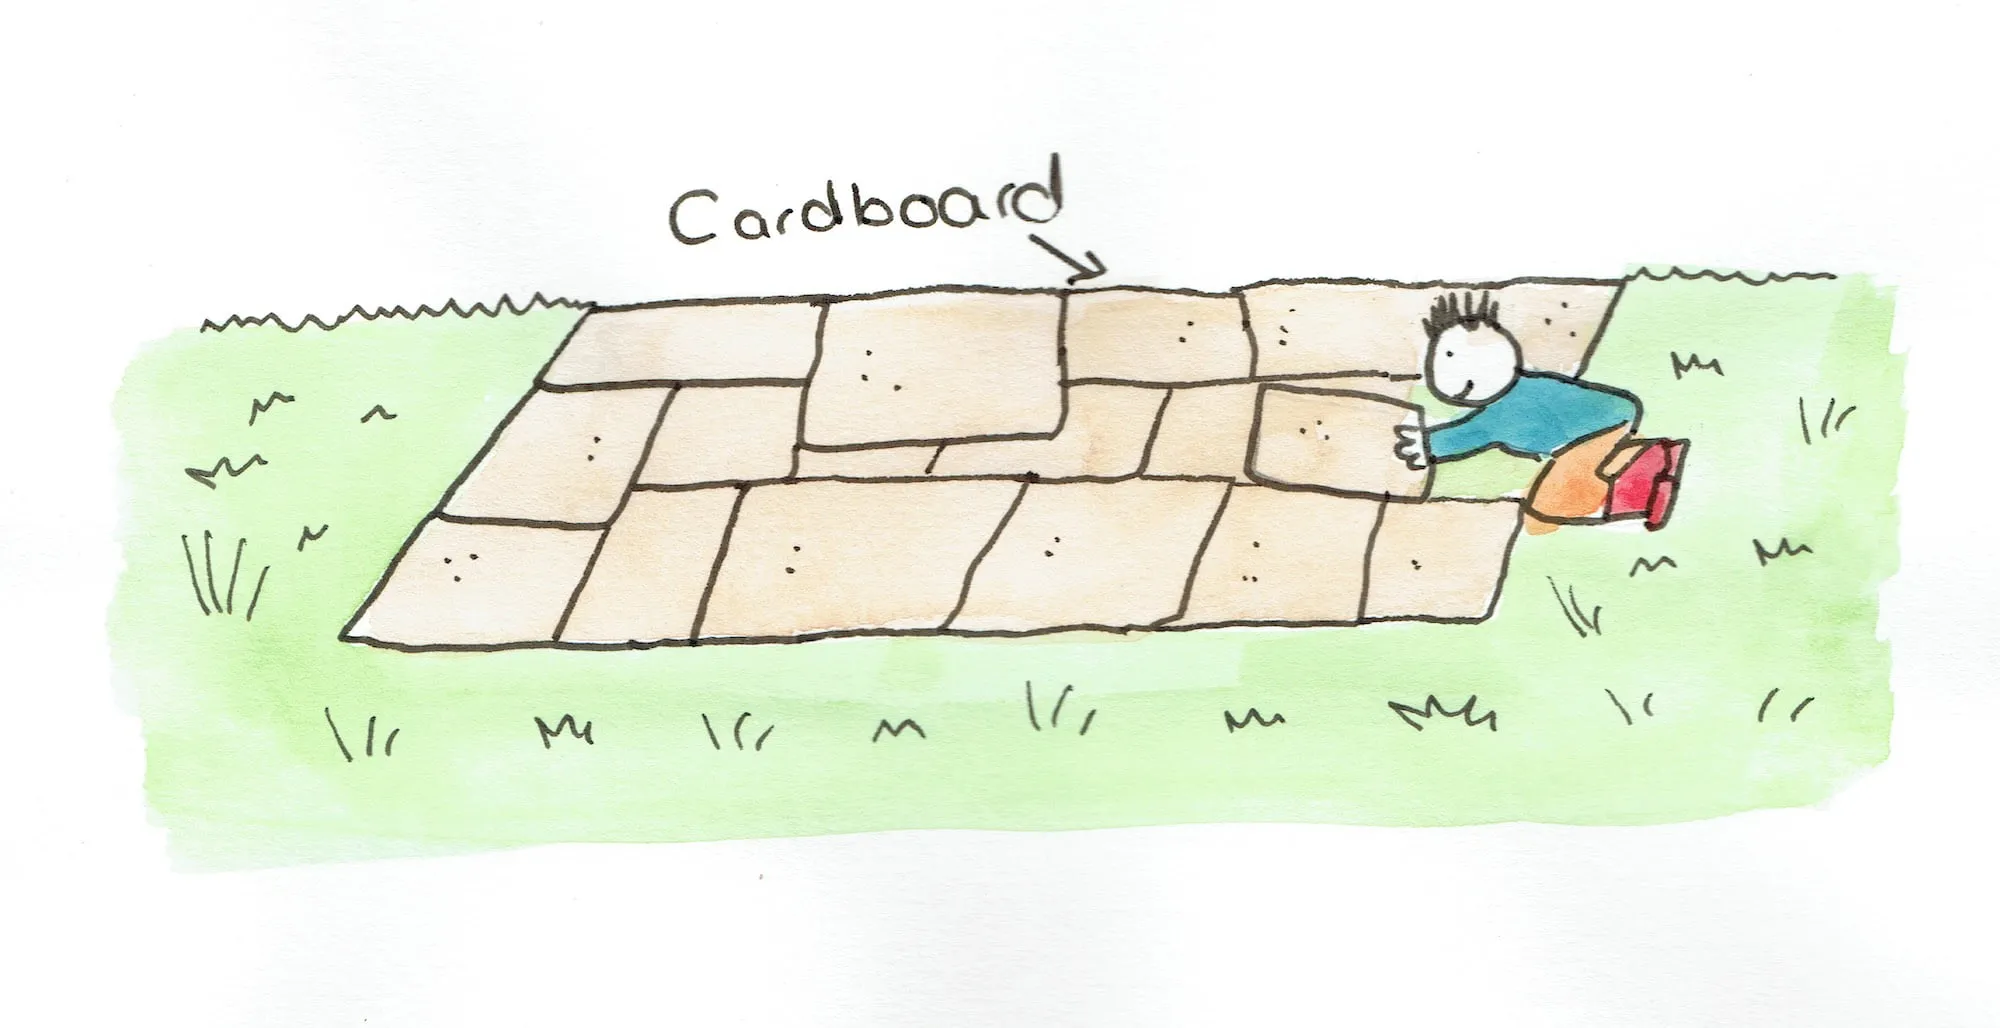
Source plain corrugated cardboard without glossy printing or plastic tape, double wall works best for grass. Mow your lawn short, removing clippings only if you’ve used herbicides on it in the last six months. Lay the cardboard directly on the grass with generous 15 to 20cm overlaps, no gaps at all. The cardboard suppresses the grass, blocks light, feeds soil organisms as it breaks down, and helps the layers above hold their structure while they settle.
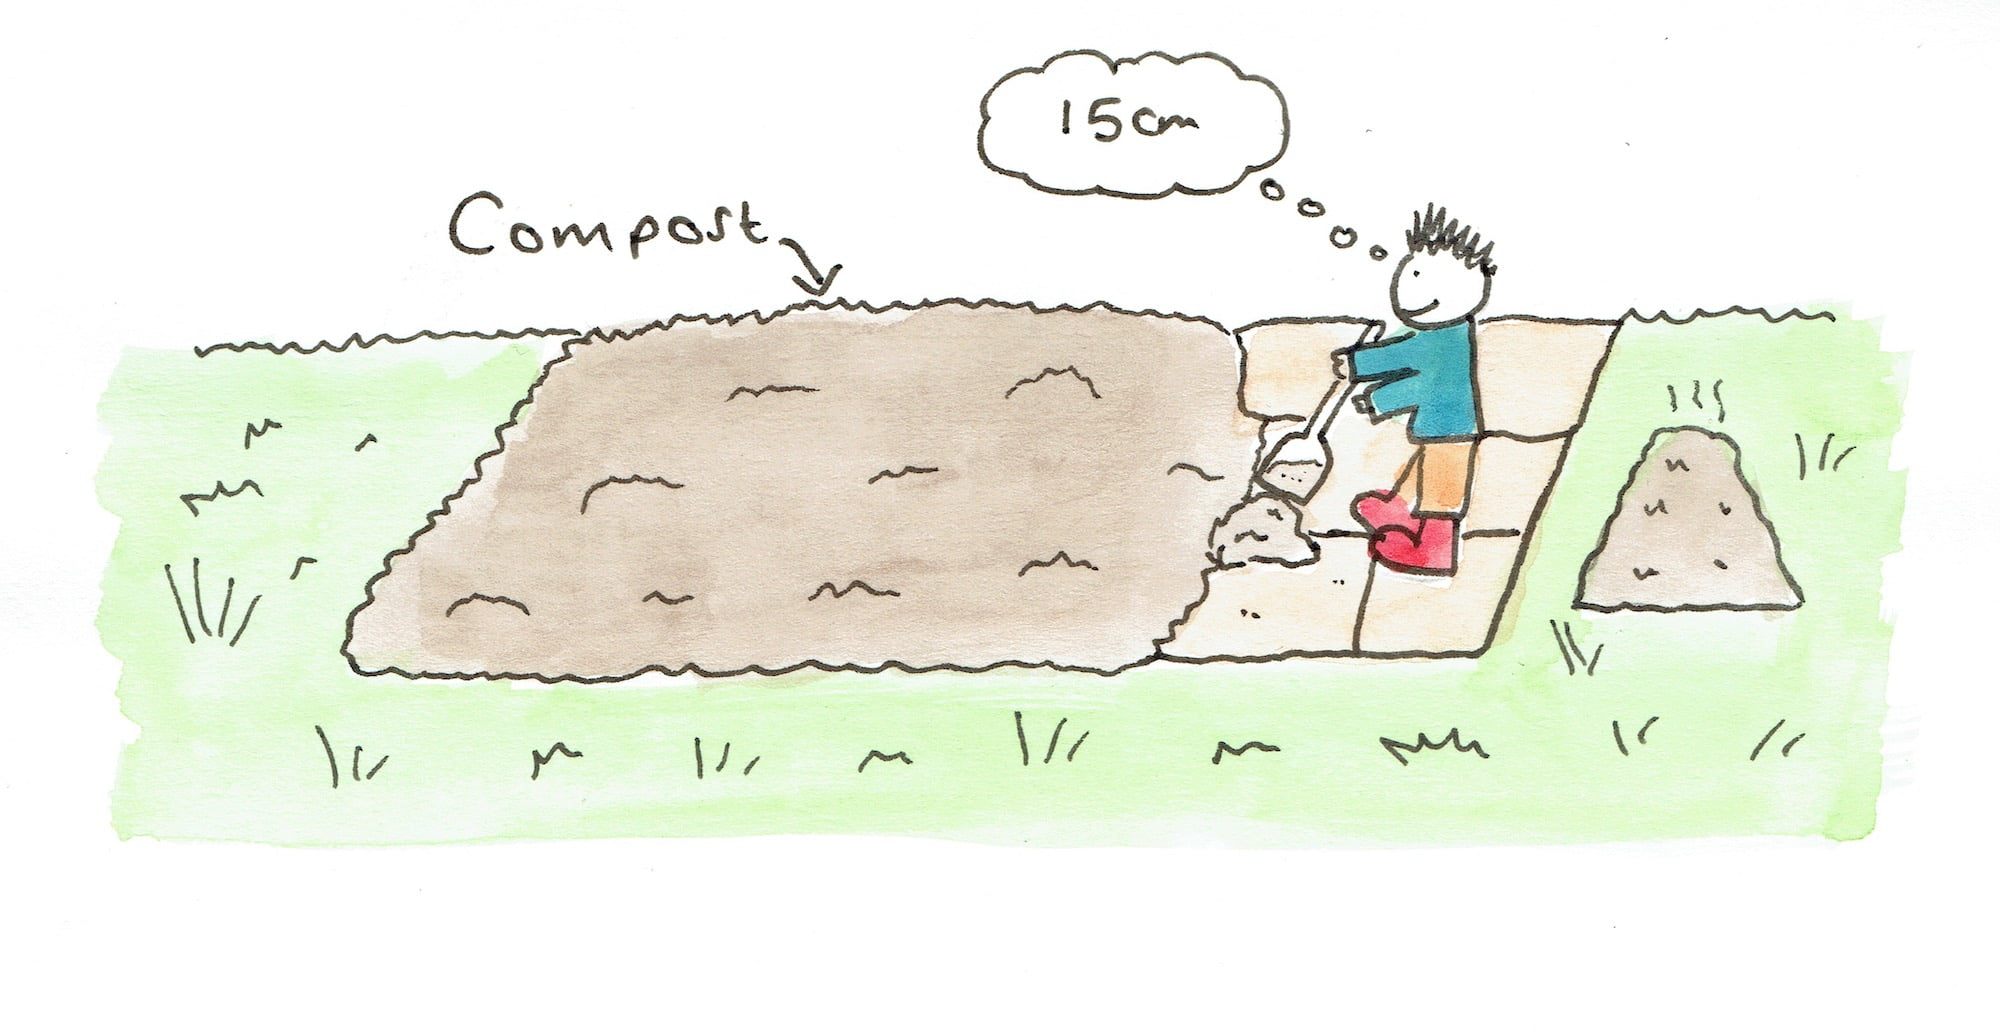
Thoroughly soak the cardboard and make sure each sheet correctly overlaps the one beneath it. I’ll often use two layers on vigorous grass, just to be sure. Then cover with 10 to 15cm of fresh peat free compost for immediate planting, or woodchip if you’re happy to wait 6 to 12 months. You’ll find the grass underneath disappears within 4 to 8 months, leaving a productive bed without any digging at all.
This method suits gardeners of any experience level, and it’s particularly good for anyone with mobility limitations or back problems, since there’s no turf lifting or digging involved at any stage. Working at surface level rather than bent over a spade makes a real difference if digging has ever put you off gardening before. A few of the tools below make the whole job easier, and each one is something I actually reach for myself.
| Tool or material | Why it helps |
|---|---|
| Peat free compost | Your main covering layer, order in bulk for a full lawn conversion. 🛒 Buy peat free compost from Amazon UK |
| Garden fork | Handy for breaking up any lumps and moving compost around, not for digging in. 🛒 Buy a garden fork from Amazon UK |
| Steel lawn edging | Keeps a clean line between the new bed and the remaining lawn so it’s easy to mow up to. 🛒 Buy steel lawn edging from Amazon UK |
| Garden kneeler | Worth having for the planting stage even though the conversion itself needs no kneeling. 🛒 Buy a garden kneeler from Amazon UK |
Autumn, September to November, is the best time to start a no dig lawn conversion, since the soil still has active organisms, the weather stays moist, and you get maximum decomposition before spring planting. Winter works for spring and summer crops but slows decomposition down. Spring suits beds destined for autumn and winter crops, prepared with a thick compost layer for immediate planting, though you’ll need to water more, since the grass underneath will draw moisture away from your plants as it dies back.
Converting an already dug plot offers faster results but faces more weed pressure, since years of cultivation have brought seeds to the surface. Clear the bed of any plants you want to save or replant first. Still use the cardboard method to suppress weeds and act as a barrier while the no dig system beds in.
Apply 8 to 10cm of peat free, high quality compost directly on top of the soaked cardboard. Initial weed germination will be heavy, so pull weeds regularly while they’re small, two or three times a week through spring and early summer. This depletes the seed bank over two to three seasons.

Staged conversion works brilliantly if the whole plot feels like too much at once. Convert one quarter to one third of it each year while keeping the rest productive. By year three, the results typically convince even the sceptics to speed up the remaining conversions.
Converting a flower bed to no dig is pretty straightforward. First, remove perennial and annual weeds along with any dead growth, such as herbaceous plants that have gone over. This is also a good time to add an edge to your border so it looks neat, the compost mulch doesn’t spill out, and it’s easy to mow up to. Fit cardboard between existing plants with the usual overlaps.
🛒 Steel edging is a great option for this from Amazon UK.
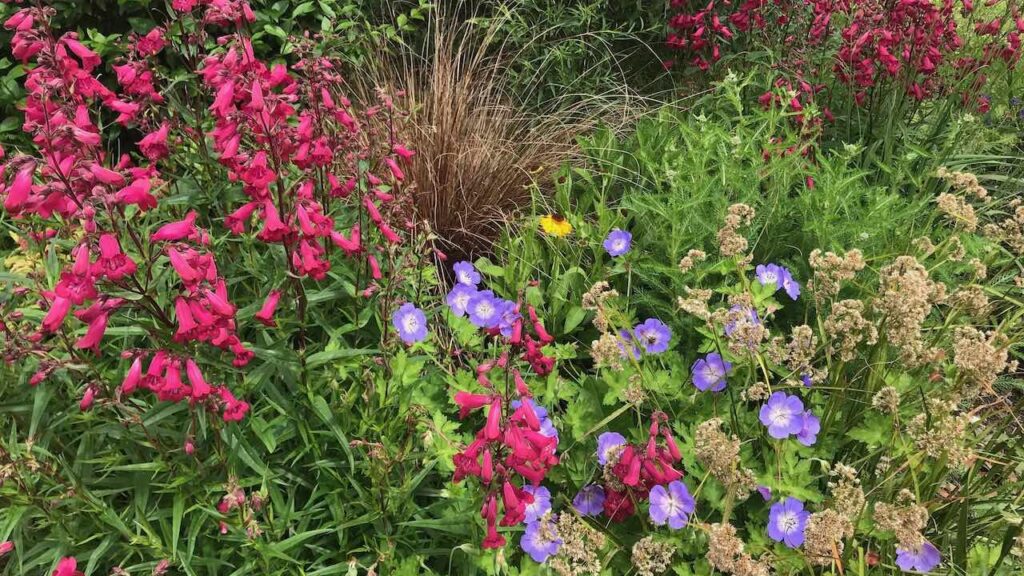
Cover with 3 to 5cm of compost or leaf mould, keeping 5 to 8cm clear of the crowns of perennials like penstemons, which can rot if covered too heavily. Keep compost 10 to 15cm clear of the woody stems of shrubs or trees for the same reason, then top dress annually with a heavier mulch.
Yes, no dig can work well on heavily compacted ground, but you’ll usually need to loosen it slightly first. Test compaction with a garden fork to see just how solid the soil is.
If the soil is rock solid, use a garden fork to create holes at 30 to 40cm spacing, opening up fissures without lifting or turning the soil. Immediately apply cardboard and a deep layer of leaf mould, well rotted manure or compost. Normal no dig management can follow within one to two seasons, roughly six months, once the compacted layer underneath has broken up.
It’s worth calculating roughly how much cardboard and compost you’ll need before you start. For a 10 to 15cm depth conversion, work on 100 to 150 litres per square metre, or 10 to 15 cubic metres for 100 square metres of bed. A home compost bin helps, but a typical productive system only produces 200 to 400 litres a year, enough to maintain 10 to 20 square metres of intensive growing. Larger conversions will need compost brought in from outside, so factor that into your budget.
| Material | Cost and application | Key notes |
|---|---|---|
| Finished compost | £50 to £80 per m³ delivered, £30 to £50 collected. Use 10 to 15cm for conversion, 3 to 5cm annually | Ready for immediate planting, but quality varies between suppliers |
| Well rotted horse manure | Free to £20 per m³. Use 10 to 15cm for conversion, 3 to 5cm annually | Must age 6 to 12 months. Watch for weed seeds, especially with straw bedding |
| Municipal green waste | £30 to £50 per m³ collected. Use 10 to 15cm for conversion | Economical for bulk, but quality varies between batches, inspect before buying |
| Leaf mould | Free if home made. Use 5 to 10cm | Excellent for ornamental borders, but takes 18 to 24 months to make |
| Woodchip | Free to £15 per m³. Use 8 to 10cm for paths, 15cm or more for suppression | Very economical for paths, age 12 to 18 months before using near plants |
| Straw or hay | £3 to £5 per bale. Use 10 to 15cm | Good for temporary mulch and winter protection, short term only |
If costs are a worry, use premium compost only where you’re planting immediately and lean on municipal green waste for bulk elsewhere. If you’re bringing in horse manure from a stables, make sure it’s been well rotted for at least six months, or it will scorch your plants and seedlings.
Cardboard is the foundation for effective weed suppression and is key to no dig, since it’s full of carbon and also feeds soil organisms as it decomposes. Use plain corrugated cardboard from packaging. Single wall works for most applications, but I’d double it up if that’s all you’ve got and the grass beneath is particularly vigorous.
Double wall cardboard is best for vigorous grass or where you need extended suppression against a lot of weeds. Avoid glossy surfaces, plastic tape (remove it), waxed coatings and heavily coloured printing. Common sense will tell you what’s going to be a pain to break down. Modern soy based inks pose no contamination concern, and the paper based tape on most parcels these days decomposes along with the cardboard. If in doubt, you can’t really over cardboard, but you can be too sparing with it, and the weeds will pop straight through.

Cover your new bed immediately with compost, don’t wait until next week, or either the wind will blow the cardboard away or it will start to dry out and break down before it’s done its job. Use 10 to 15cm of compost for planting areas or 8 to 10cm of woodchip for paths. Never leave cardboard exposed, as it dries out, decomposition stalls, and wind can turn it to confetti.
Yes. Every year you’ll need to top up with 5 to 10cm of fresh peat free compost, since plants and vegetables deplete the previous year’s supply and the volume of compost itself reduces as it breaks down into the soil. This is why having your own compost bin is worth setting up, unless you’re happy bringing in compost every year, which adds up in both cost and carbon footprint.
No dig methods control even persistent perennials more effectively than digging, which will come as good news to anyone who doesn’t fancy weeding every week. Every time you dig out bindweed or couch grass, you fragment the rhizomes and create several new plants in the process. No dig instead exhausts the weed’s energy reserves by cutting off photosynthesis, starving it rather than multiplying it the way hoeing or forking can.
| Weed | Treatment | Notes |
|---|---|---|
| Couch grass | Double thickness cardboard, 15 to 20cm covering | Responds within 6 to 9 months. Watch for breakthrough shoots |
| Bindweed | Double thickness cardboard, 15 to 20cm covering | Deep roots need 12 to 18 months. Keep coverage consistent, no gaps |
| Ground elder | Single to double thickness, 15 to 20cm covering | Shallow rhizomes exhaust faster, 6 to 12 months |
| Creeping buttercup | Single to double thickness, 15 to 20cm covering | Benefits from improved drainage, 6 to 12 months |
| Japanese knotweed | Triple thickness cardboard or heavy gauge fabric, 20 to 30cm covering | Consult your local authority biosecurity officer, legal implications around boundaries |
| Horsetail | Double thickness cardboard, 15 to 20cm covering | Very persistent, needs 12 to 18 months of vigilance |
| Dock | Double thickness cardboard, 15 to 20cm covering | Deep taproot, 9 to 12 months, watch for regrowth from fragments |
Annual weeds prove substantially easier in a no dig system, since the seed bank depletes rather than replenishes. In my experience, established no dig gardens see a noticeable drop in annual weed pressure after two to three seasons.
Once your first no dig beds are established, it’s worth thinking about crop rotation to manage pests, disease and soil fertility. A permanent bed structure actually makes rotation simpler, since whole beds rotate crop families annually rather than shifting individual rows around.
A traditional four year rotation looks like this: bed one grows brassicas, which benefit from firm soil and a touch of lime, bed two grows legumes to fix nitrogen and improve fertility, bed three grows alliums and roots in fine, moderately fertile soil, and bed four takes potatoes and cucurbits on freshly composted ground, since they’re heavy feeders. Each bed then advances to the next group the following year, with continuous composting keeping fertility up across all of them.
Smaller gardens can simplify to a three bed rotation, combining potatoes with roots or brassicas and keeping a separate legume section. Fast maturing catch crops like radishes and salads can slot into any gap between main crops. The one rule worth sticking to is avoiding the same plant family on the same ground in consecutive years. Perennial vegetables such as asparagus, artichokes and rhubarb sit outside rotation entirely, in permanent spots at the end of a bed or their own dedicated patch.
No dig isn’t problem free, and there are a few frequent issues gardeners run into when starting new beds this way. Any new bed in its first year or two throws up something to deal with, no matter how diligent you are, so here’s what to expect and how to fix it.
| Problem | Cause | Solution |
|---|---|---|
| Increased slug or snail activity | Moist mulch creating ideal habitat | Reduce mulch near vulnerable crops, use copper barriers, handpick regularly. Eases as predators establish |
| Waterlogging | Poor drainage or heavy soil beneath | Build the bed 20 to 30cm high, improve drainage, give the soil time to develop structure |
| Nutrient deficiencies | Inadequate compost quality or quantity | Increase compost rates, use well rotted manure, be generous with the initial layer |
| Perennial weed breakthrough | Gaps in the cardboard suppression layer | Repair gaps immediately, extend suppression period, stay vigilant in year one |
| Slow decomposition | Cold weather, dry conditions or thick materials | Keep it moist, choose the right season, use finer materials where possible |
| Annual weed pressure | Weed seed bank from previous cultivation | Regular removal while small, maintain surface mulch, patience over two to three seasons |
| Surface compaction | Foot traffic or not enough organic matter | Add more compost, create defined paths, keep foot traffic off the beds themselves |
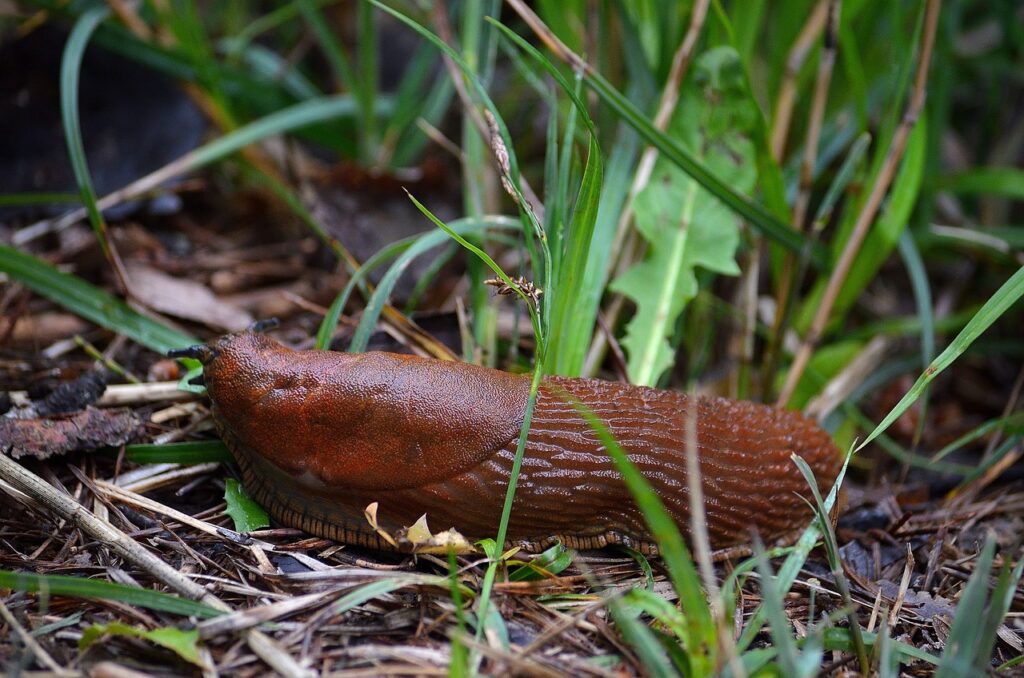
Slug problems commonly increase during the initial conversion, and it’s the complaint I hear most from gardeners in their first year. It settles down in year two and beyond as predators such as ground beetles and centipedes colonise the bed. In the meantime, encouraging birds with feeders and water sources helps keep numbers down.
Slugs and snails in no dig beds usually turn up because of the wet cardboard and damp conditions they enjoy, particularly in wooden raised beds where the edging stays damp longest. Choosing slug proof plants is a good way to reduce their impact on your hard work in the meantime.
Here are a few tried and tested beginner friendly vegetables to get you going in year one. If you’ve got three or more beds, keep crop rotation in mind to reduce soil pathogens building up from repeat plantings of the same plant family.
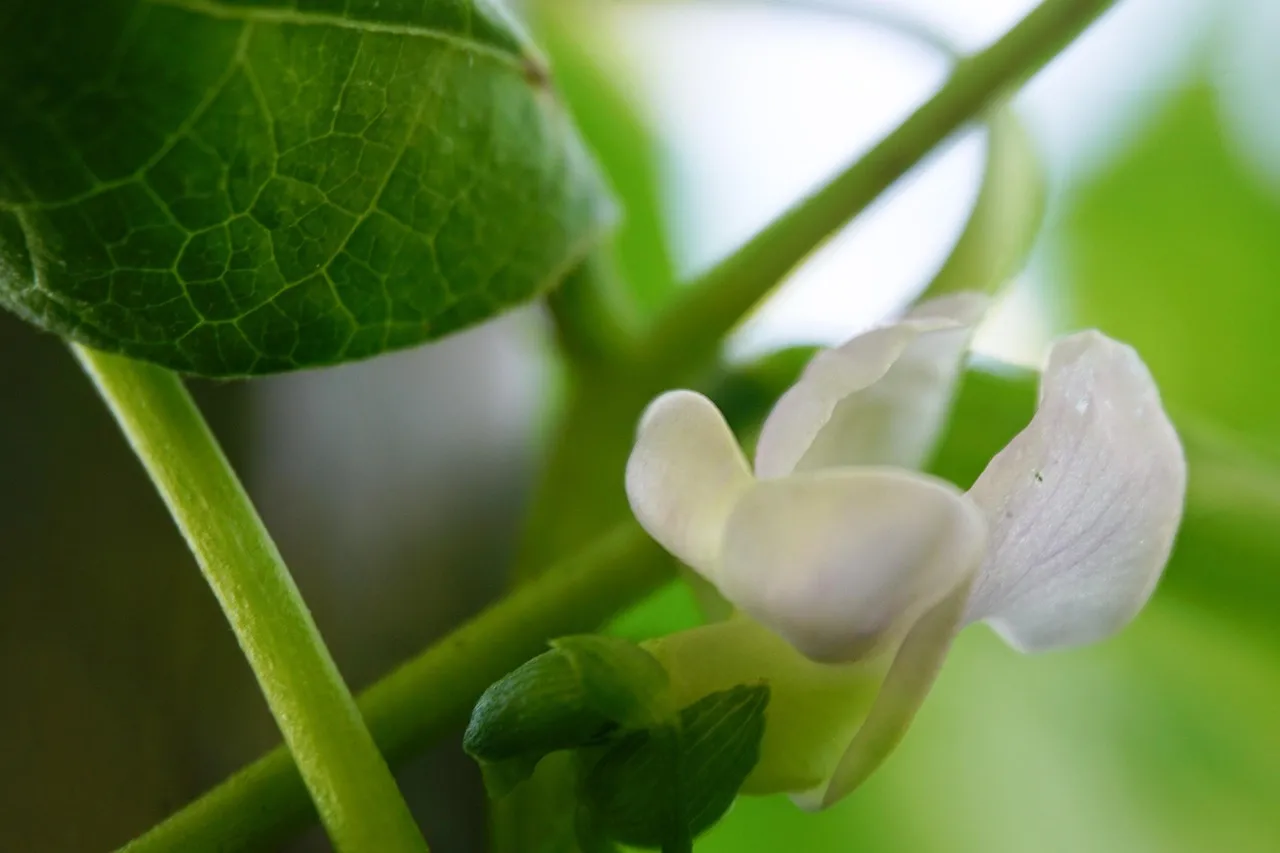
Nitrogen enriching legumes that crop prolifically in the warmth of a freshly mulched bed, with a long harvesting window.
🛒 Buy climbing French bean seeds from Amazon UK
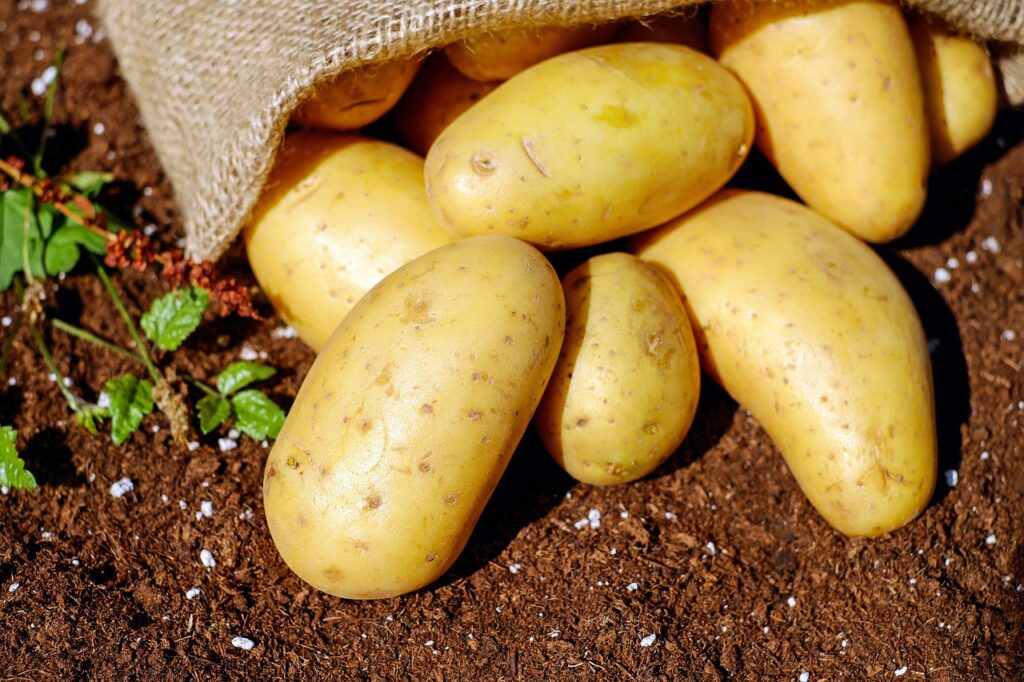
Vigorous growth breaks up newly converted ground beautifully, and tubers form easily in the fluffy compost without any earthing up needed.
🛒 Buy seed potatoes from Amazon UK
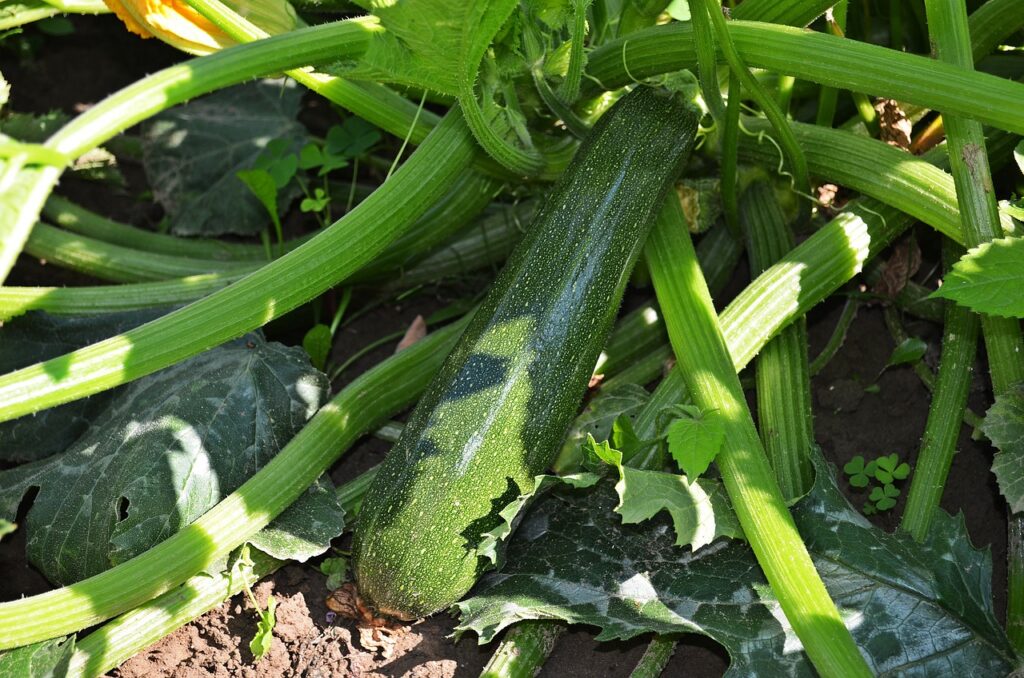
Absolutely thrive in the nutrient rich conditions, producing abundantly from the fertility of the decomposing layers below with minimal fuss.
🛒 Buy courgette seeds from Amazon UK
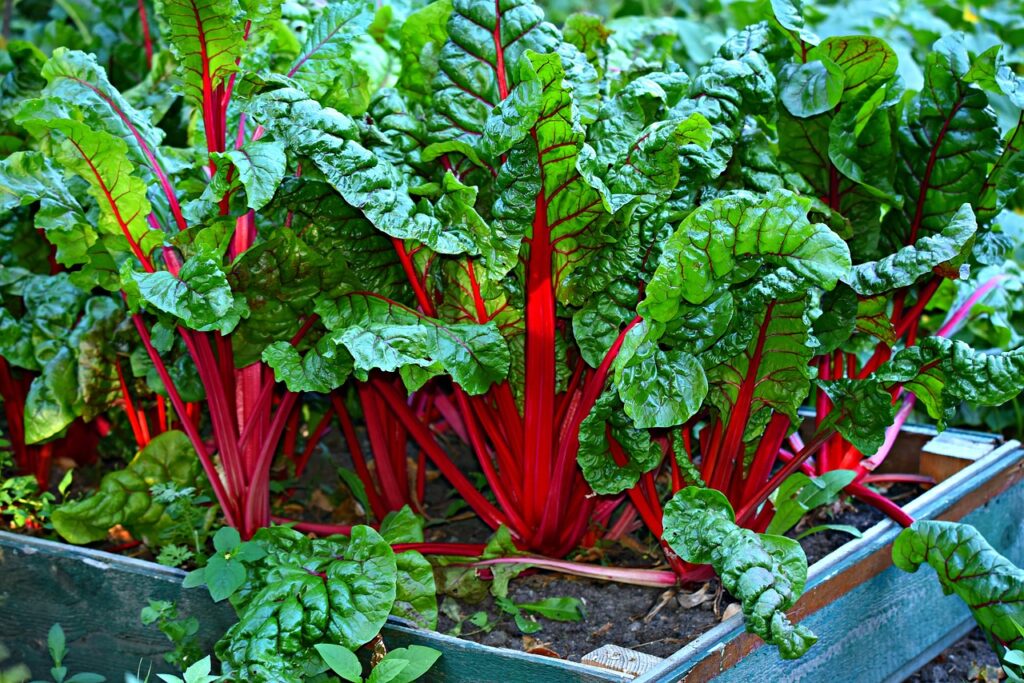
Shallow rooted salad leaves are perfect for a quick first harvest, succession sown through the season. Chard tolerates the settling soil in a new bed remarkably well, producing colourful stems for months, while kale appreciates the steady moisture and establishes strong roots in undisturbed compost.
🛒 Buy salad leaf, chard and kale seeds from Amazon UK
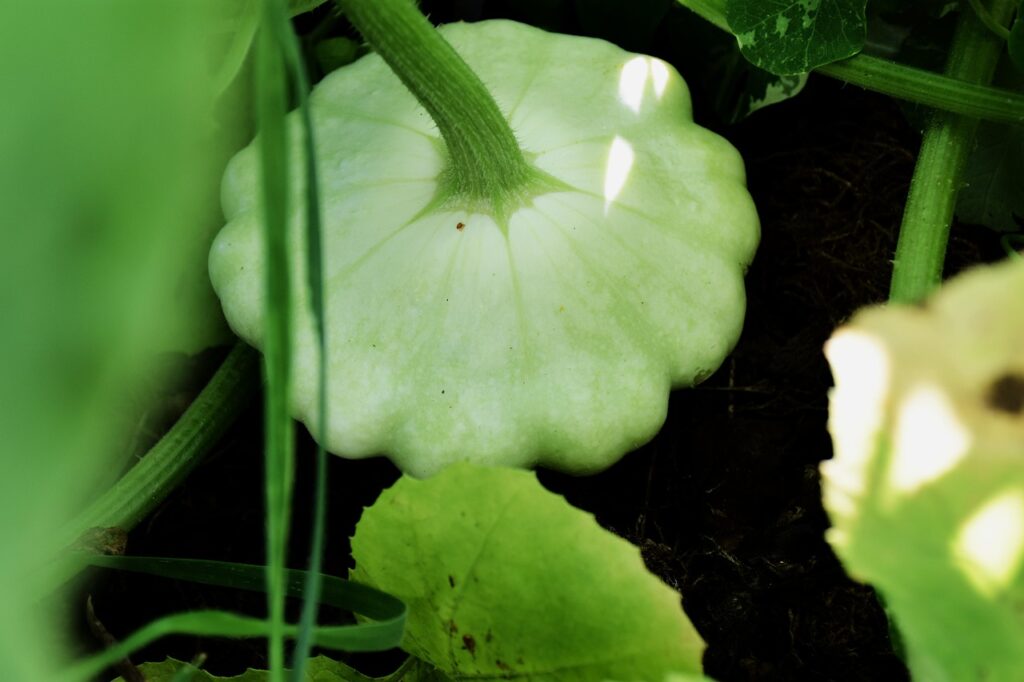
Runner beans and broad beans both fix nitrogen while making good use of vertical or early season space. Squash sprawls happily across a wide mulched bed and rewards the rich organic matter beneath it. Garlic cloves can be pushed straight through cardboard in autumn to emerge in spring having suppressed weeds beneath them all winter, and quick maturing radishes and beetroot both do well in the loose, stone free compost of a first year bed.
🛒 Buy runner bean, squash and garlic seeds from Amazon UK
Year two is when a no dig bed really proves itself. The dramatic transformation of year one gives way to steadier, more subtle improvements, better soil structure, fewer weeds, better yields and noticeably easier maintenance. This is when all the initial effort starts paying you back.
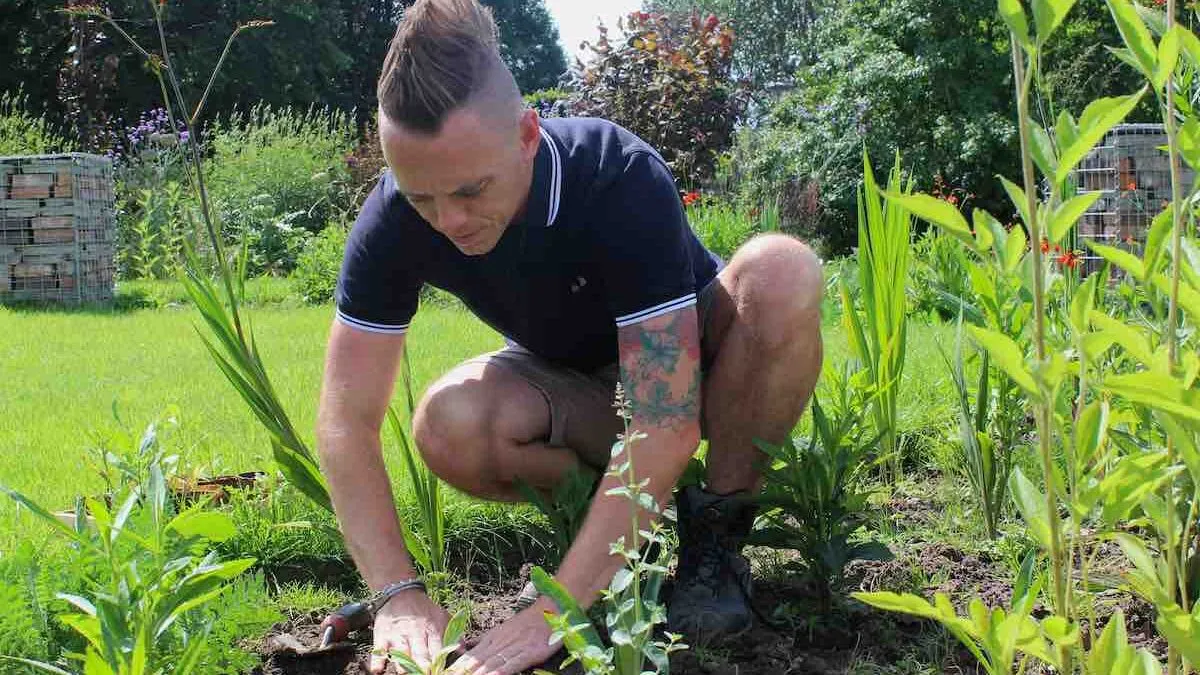
Your soil will be noticeably darker, more crumbly and far easier to work than in year one. Earthworm numbers typically double, with castings visible on the surface, and you’ll likely spot white mycelium threads when lifting mulch. That’s not a disease, it’s a sign of a thriving fungal network doing exactly what it should. The soil itself smells sweet and earthy rather than dead or sour, moisture retention improves so you’ll water less often, and beneficial insects like ground beetles and centipedes start colonising the bed and keeping slug numbers down naturally.
Weeding drops off noticeably too. Annual weed pressure typically falls by close to half compared to year one, since the seed bank brought up by any previous cultivation is depleting fast, and what does appear tends to pull out effortlessly from the loose compost. Most gardeners find a weekly session on a small bed drops from twenty minutes to closer to ten.
Yields usually improve too, most noticeably in root crops, which produce straighter roots and easier digging thanks to the improved structure. It isn’t perfection though. Beds still need regular attention, weeds decrease but don’t vanish, and slugs, aphids and caterpillars remain part of gardening life. Watering is still needed in dry spells, and individual beds can perform differently depending on how well year one’s suppression and compost layer went down. Persistent waterlogging or a perennial weed reappearing are the two things worth acting on rather than waiting out.
Want the full philosophy behind no dig?
This guide focuses purely on the lawn conversion technique. For the wider story of why no dig works, the benefits and drawbacks in full, and my afternoon spent with Charles Dowding himself, head over to my main guide: No Dig Gardening for Beginners: Charles Dowding and Garden Ninja. Charles’s own long running trials at Homeacres have shown no dig beds matching or modestly outperforming dug beds for most crops, particularly leafy greens, once a bed is properly established.
No, that’s the whole point of this method. Mow it short and leave it in place. The cardboard blocks light to the grass, it dies back and rots down into the soil, adding organic matter rather than becoming waste you have to cart away.
Most UK lawns are fully suppressed within 4 to 8 months, though this depends on the grass species, how thick your cardboard layer is, and how well you’ve excluded light around the edges and overlaps.
Yes. Lay your cardboard down first as normal, then build your raised bed frame on top and fill it with compost. The cardboard still does the job of suppressing the grass underneath while the raised sides give you extra depth from day one.
Occasional shoots can push through gaps or thin spots, which is why a generous 15 to 20cm overlap on every cardboard sheet matters. Patch any gap you spot early, and persistent grasses like couch grass may need a double layer to fully exhaust them.
Now you know how to turn a lawn into a productive no dig bed, why not take your skills further with some online design training? My Garden Design for Beginners Course takes you from a garden design novice to a confident designer equipped to tackle any green space, with step by step guidance from me, Lee Burkhill, award winning garden designer and presenter on BBC1’s Garden Rescue.
The course covers design principles, planting techniques and layout options across 20 hours of flexible online learning, with video lessons, quizzes, real world case studies and certification on completion. Enrol now for just £199 and start your journey toward garden design mastery.
For the garden you’ve already got, not the one you’re starting from scratch. Seven checklists and video lessons from BBC Garden Rescue’s Lee Burkhill, designed to help you decide what’s worth keeping before you spend a penny.
Garden Design Examples for Small Gardens: 30 Design Templates & Planting Plans: In this online gardening course, I’ll walk you through 30 fantastic garden designs, explaining the logic behind the layout and plant choices, plus take-home tips for applying them in your own garden.
Learn how to transform and design your garden with Lee Burkhill’s crash course in garden design. In over 5 hours, Lee will teach you how to design your dream garden. Featuring practical design examples, planting ideas and video guides. Learn how to design your garden in one weekend!
Garden Design for Beginners Online Course: Want to become a garden designer or design your own garden? This beginner course is for you. Join me, Lee Burkhill, an award-winning garden designer, as I train you in the art of beautiful garden design. Enjoy 20 hours of online study and video lessons, along with quizzes and a completion certificate.
No dig lawn conversion offers a sustainable, low effort path from grass to productive growing space. Whether you’re creating a vegetable bed, a flower border or a wildlife friendly patch, this method protects soil health while dramatically cutting the physical work and cost of traditional turf removal. You can start with nothing more than cardboard and compost on top of the grass you’ve already got.
By working with the soil rather than against it, you’ll build a fertile, thriving bed that improves year after year, all while keeping carbon locked in the ground and the soil life beneath it undisturbed. Start layering, and let the cardboard and compost do the heavy lifting for you.
Happy Gardening!



Lee Burkhill, known as the Garden Ninja, is an award-winning garden designer and horticulturist with over 30 years of gardening experience and 15 years as a professional garden designer. A qualified RHS (Royal Horticultural Society) professional, Lee specialises in sustainable garden design and practical horticultural advice. He designs and presents on BBC1’s Garden Rescue and in leading gardening publications. Lee combines three decades of hands-on gardening knowledge with professional design qualifications to help gardeners create beautiful, functional outdoor spaces.
View all posts by Lee Burkhill








JOIN THE NINJAS

Be the first in line for new Guides, Discount codes and Offers