For the garden you’ve already got, not the one you’re starting from scratch. Seven checklists and video lessons from BBC Garden Rescue’s Lee Burkhill, designed to help you decide what’s worth keeping before you spend a penny.
69


Quick Answer
Bare root hedging plants are lifted from the field while dormant and sold without a pot or compost, costing roughly half to a third of the equivalent container grown plant. Plant them between November and March, work mycorrhizal fungi into the trench, then cut them back hard the first spring to force bushy growth from the base.
I love bare root planting; it’s the easiest, cheapest and quickest way to plant hedges without all the drama of pot grown plants and excessive watering. Yes, bare roots are smaller, but the money and time saving is huge, not to mention the variety of specimens on offer. I’ve been recommending bare root hedging to clients for as long as I have been designing gardens, and the reaction is almost always the same mix of surprise and slight suspicion, as though a plant without a pot around its roots must somehow be inferior. Unless you need immediate impact and don’t mind the extra maintenance that comes with it, bare roots are the way to go!
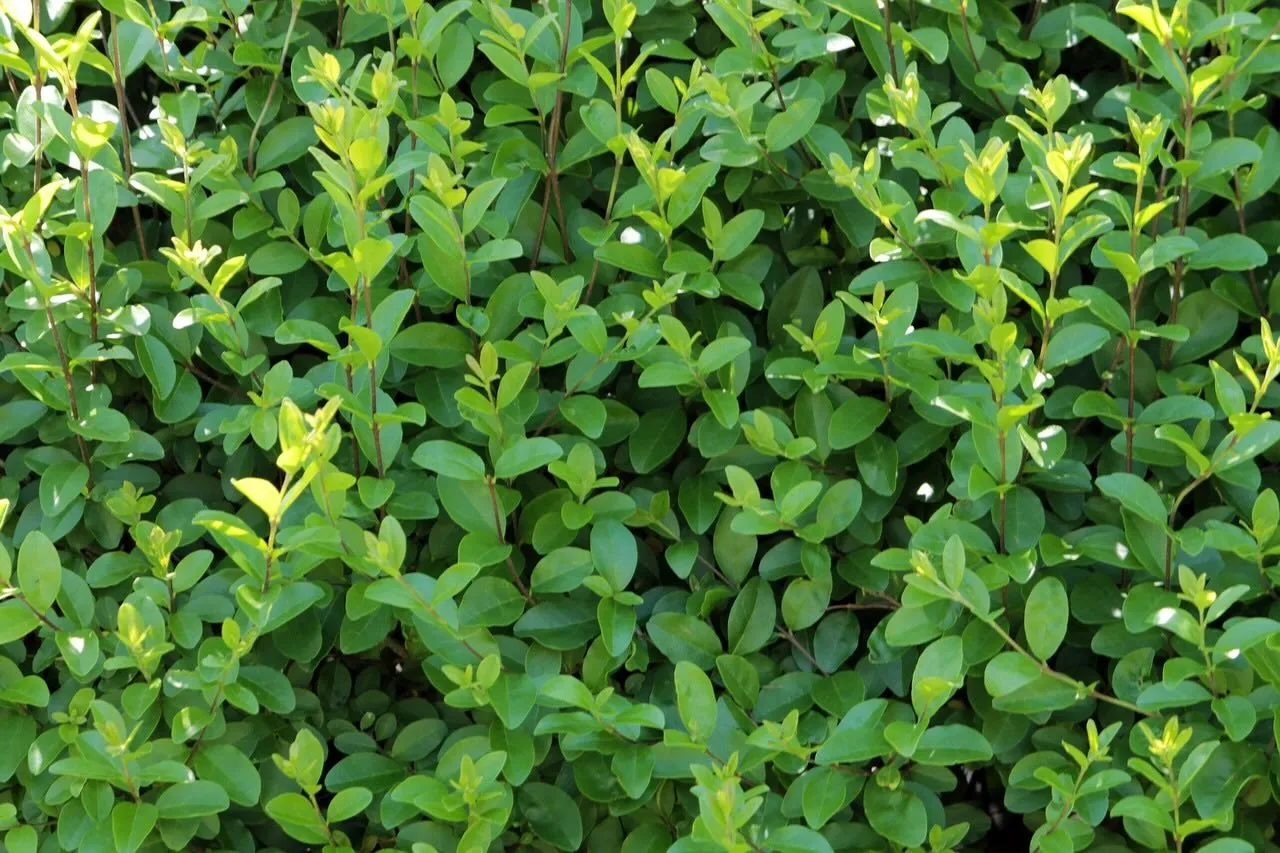
A bare root whip is exactly the same plant, grown in exactly the same field, as the container grown version sitting nearby with a much higher price tag. The only difference is that it has been lifted while dormant rather than potted up and grown on for another season, which is where almost all of the extra cost comes from.
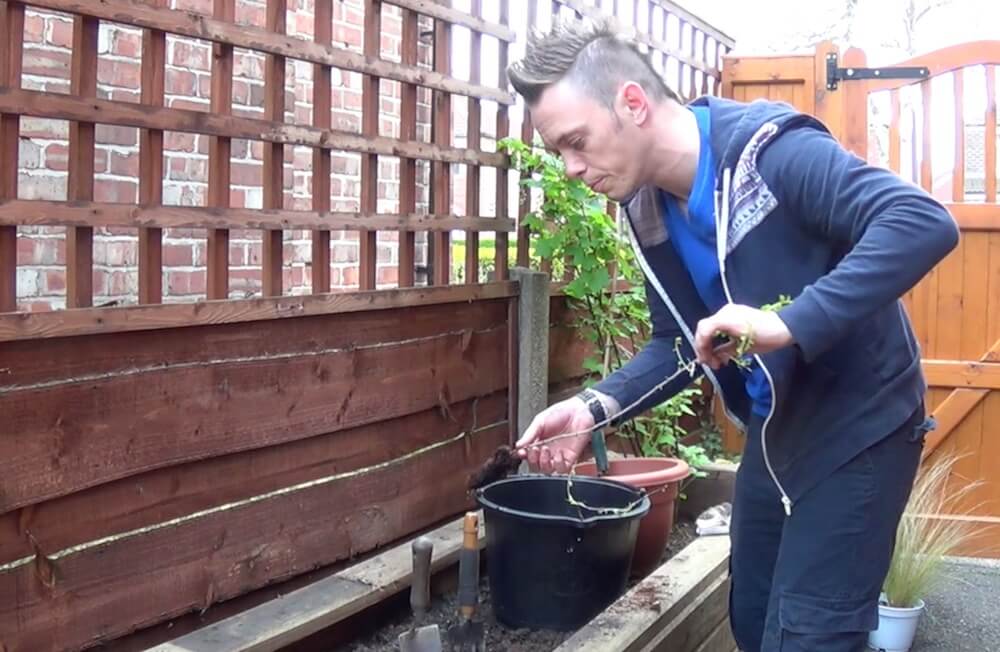
The other thing I see constantly, and it pains me every time, is a carefully planted bare root hedge that someone has then left completely alone through its first spring and summer, watching it grow tall and thin rather than cutting it back hard, as I recommend below. A hedge planted this way and never formatively pruned in year one will spend the rest of its life gappy at the base and leggy at the top, which is precisely the opposite of what anyone wants from a hedge.
This guide covers both halves of the job properly, planting it right and then pruning it at the correct time in the first year.
What you will find in this guide
This page contains affiliate links for products I use and recommend. If you take action after clicking a link, I may earn a small gardening commission, which helps keep the Garden Ninja blog free for everyone.
🛒 Buy Rootgrow Mycorrhizal Fungi from Amazon UK, the single product I would not plant a bare root hedge without.
A bare root hedging plant is lifted straight out of the nursery field while it is dormant, with the soil shaken or washed off the roots, and shipped to you with nothing around them at all beyond perhaps a bit of damp hessian or a plastic sleeve to stop them drying out in transit. They are unassuming, fast to deliver through the post and thoroughly cost effective.
There is no pot, no compost, no growing medium, and crucially, none of the growing time and overhead that goes into potting a plant up and keeping it alive in a container for a further season. That missing overhead is exactly why bare root plants are so much cheaper, typically half to a third of the price of the identical plant sold container grown, sometimes less again when you are buying in the quantities a proper hedge needs.
The trade-off, and the reason I suspect so many gardeners overlook the option entirely, is a narrower planting window. Bare root plants can only be planted while they are dormant and the ground is workable, roughly November through to March, whereas a container grown plant can technically go in the ground any month of the year. For a single specimen shrub where timing might truly be inconvenient, container grown makes sense. For a hedge, where you are often buying thirty, fifty or a hundred plants at once, the saving on bare root stock is substantial enough that I would plan the job around the planting window rather than the other way round.
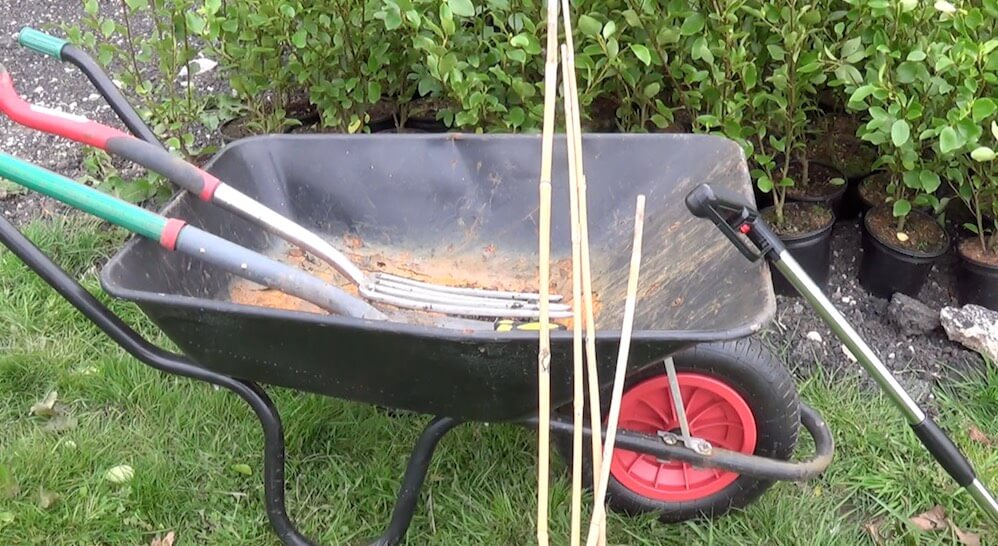
There is also a performance argument for bare root over container grown, separate from the cost saving. A bare root plant establishes its root system directly into your native soil from day one, rather than having to break out of the compact, often quite different growing medium it was potted up in. In my experience, a well planted bare root hedge frequently catches up to and overtakes an equivalent container grown hedge planted at the same time, simply because the roots never had to fight their way out of a pot shaped root ball first.
The bare root planting season runs from late November through to the end of March, covering the period when deciduous hedging plants are properly dormant and the ground is generally workable rather than frozen solid or waterlogged. Nurseries lift their bare root stock once the leaves have dropped in autumn, and stock generally becomes available from mid to late November, running through the whole of winter. Some growers hold plants back in cold storage, which can stretch the practical planting window into April, but I would always ask a supplier how long stock has been out of cold storage before ordering late in the season, since plants that have already broken bud need to go straight in the ground.
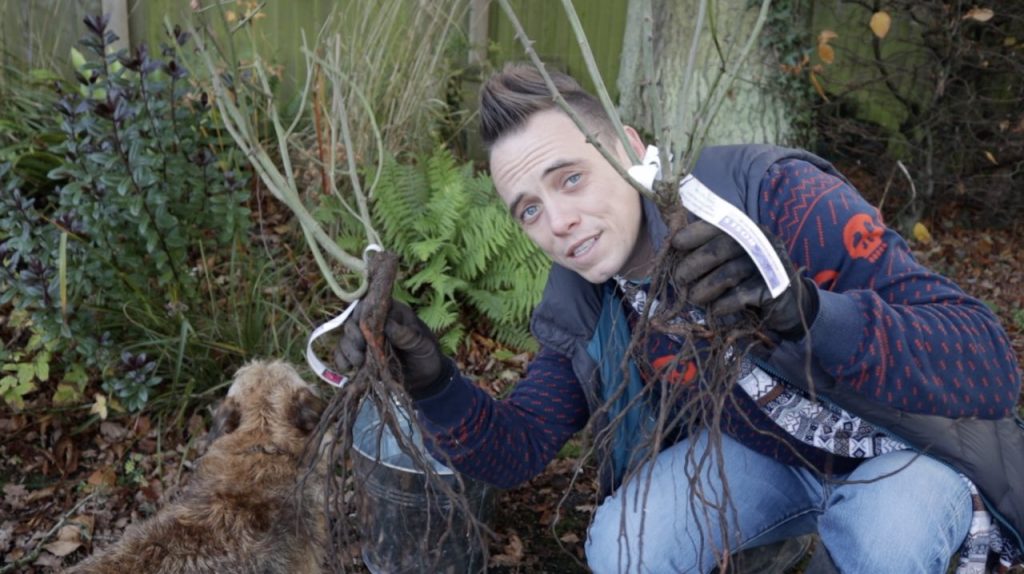
Early in the window, November and December, is honestly the best time to plant if you have a choice. The soil still holds some residual warmth from summer, which helps new roots start establishing even while the plant itself sits dormant above ground, and the increased autumn and early winter rainfall in the UK does a lot of the watering for you. Leave it until February or March and the plants will still establish perfectly well, but you lose some of that head start, and you are racing the plant’s own dormancy, since most bare root stock will start to break bud again from late March onwards, at which point it should really be treated as container grown for planting purposes.
💡 Top Tip: Never plant into waterlogged or frozen ground. If a hard frost or heavy rain arrives before you can get bare root plants in, heel them into a temporary trench in a sheltered spot, roots covered with loose soil, rather than leaving them lying around exposed to the air.
Not every hedging plant is routinely sold bare root, since evergreens establish less reliably without a root ball around them. The plants which do take to bare root planting well happen to include some of the most useful hedging species for UK gardens.
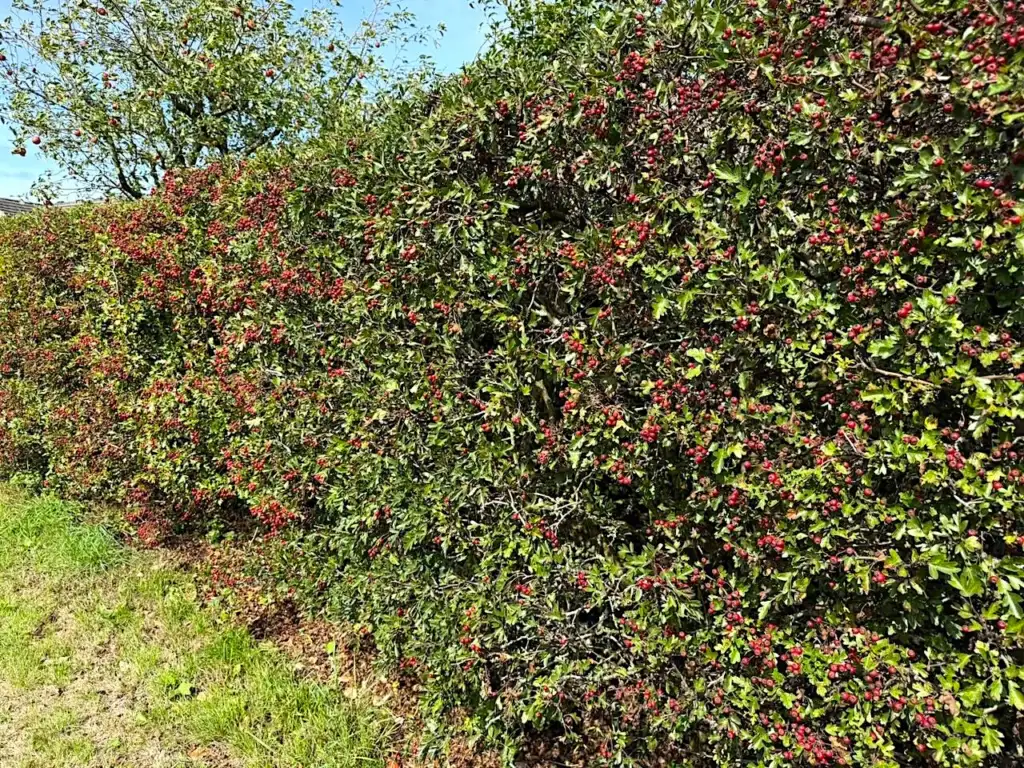
Hawthorn has formed the backbone of British native hedging for centuries, and it is deeply woven into rural folklore and superstition as a result. It is fast growing, dense once established, and covered in blossom in May, followed by berries that birds rely on through autumn. It also grows proper thorns, which bring a useful security benefit if you are hedging a boundary.
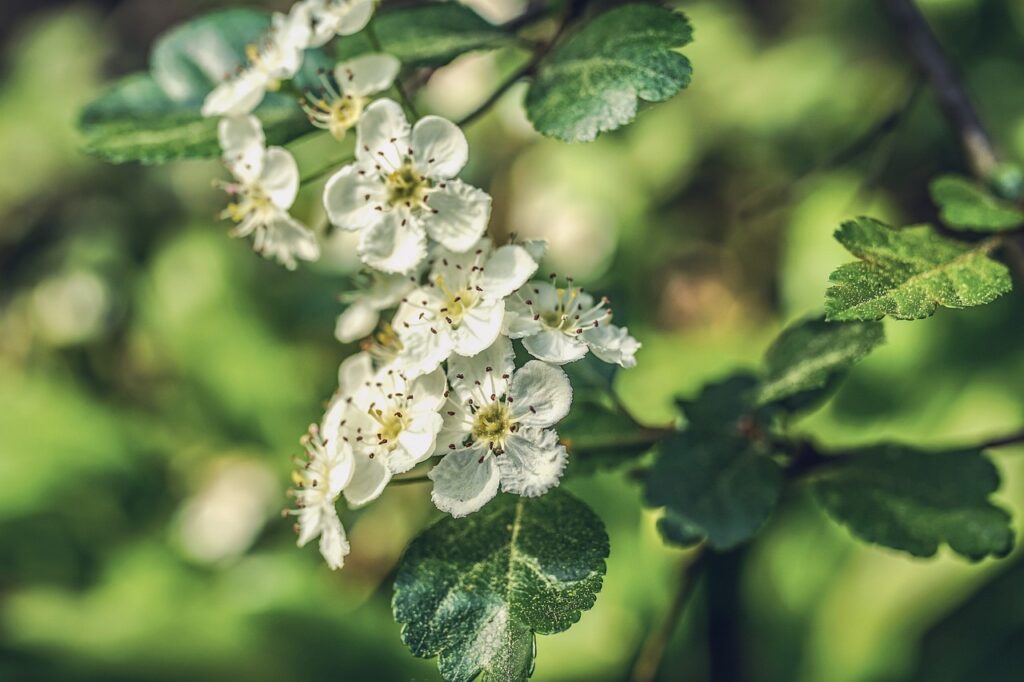
Those thorns are worth knowing about beyond the security benefit too. They are a common cause of punctured wheelbarrow tyres once you start cutting the hedge back each year, something I cover properly in my wheelbarrow buying guide if it is a problem you recognise.
| Botanical Name | Crataegus monogyna |
| Plant Type | Deciduous native hedging shrub |
| RHS Hardiness | H7 |
| Height and Spread | 5 to 10m unpruned, kept to 1 to 2m as a hedge |
| Flowering Period | May |
| Best Conditions | Full sun to part shade, most soils |
| Key Feature | Thorny stems, May blossom, autumn berries for wildlife |
🛒 Buy Hawthorn Bare Root Hedging Plants from Amazon UK
Often mixed with hawthorn in native and wildlife hedging, blackthorn brings clouds of white blossom very early in spring, before the leaves even appear, followed by sloes in autumn if you fancy your own sloe gin. It has been used for centuries to provide a thorny boundary that keeps livestock in and unwanted visitors out, and it remains one of the toughest plants on this list, happy to grow where far fussier hedging would sulk.
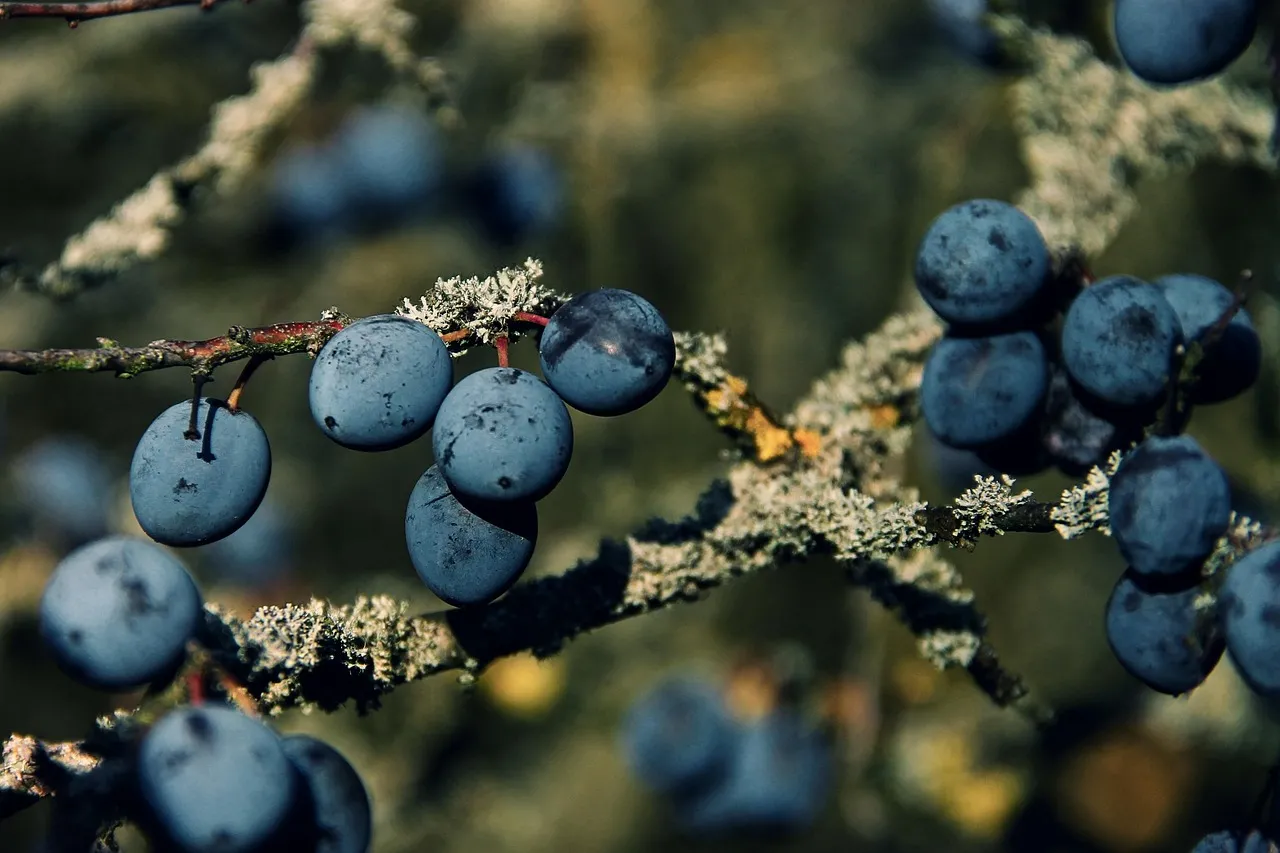
Blackthorn is even more heavily thorned than hawthorn, which makes it excellent for an impenetrable boundary hedge, though the same tyre puncture warning applies with even more force once you are cutting it back each year. Always use thick gloves when pruning, since the thorns can cause nasty puncture wounds. You can also take cuttings from an established blackthorn to make your own wands or athames if you’re into witchcraft.
| Botanical Name | Prunus spinosa |
| Plant Type | Deciduous native hedging shrub |
| RHS Hardiness | H7 |
| Height and Spread | 4 to 6m unpruned, kept to 1 to 2m as a hedge |
| Flowering Period | March, before the leaves appear |
| Best Conditions | Full sun, tolerates poor and heavy soils |
| Key Feature | Early white blossom, sloes in autumn, dense thorny growth |
🛒 Buy Blackthorn Bare Root Hedging Plants from Amazon UK
Beech is the classic choice for a formal, clipped hedge, and its habit of holding onto its coppery dead leaves through winter, known as marcescence, gives useful screening even in the dormant season. I adore the rich russet and orange colouration through autumn and into late winter, and the soft rustle of it as I walk the dogs past mine always feels like a proper mark of the season. Hornbeam looks similar and behaves almost identically, but copes better with heavier, wetter clay soils where beech can sulk.
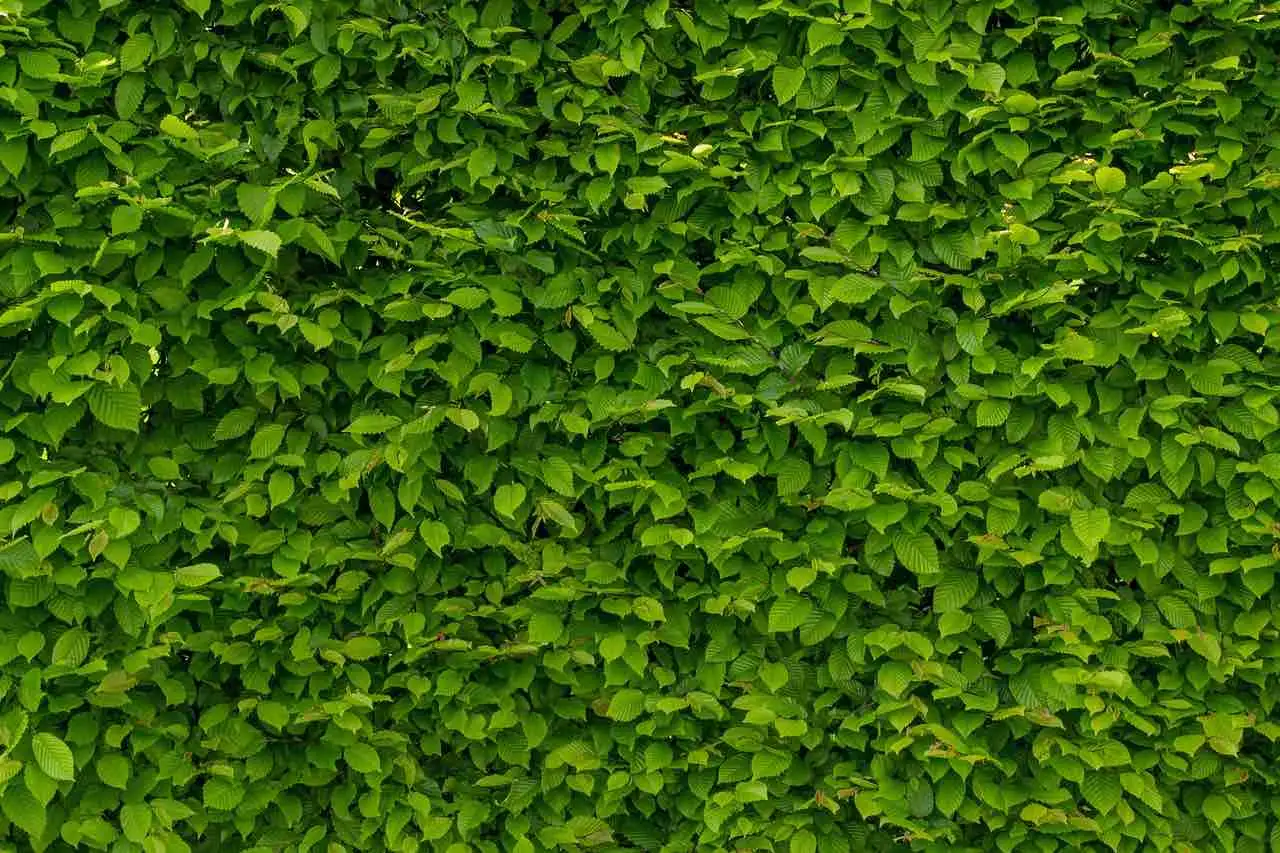
Both take formal clipping well and are among the most reliable bare root hedging plants you can buy, which is why they remain the default choice for a crisp, structured boundary in gardens of every size. Prune them hard twice a year for a dense, ribbed leaf hedge that holds its shape properly.
| Botanical Name | Fagus sylvatica |
| Plant Type | Deciduous formal hedging tree |
| RHS Hardiness | H6 |
| Height and Spread | 8 to 15m unpruned, kept to 1.5 to 2m as a hedge |
| Flowering Period | April, inconspicuous |
| Best Conditions | Full sun to part shade, well drained soil (choose hornbeam instead on heavy clay) |
| Key Feature | Retains coppery dead leaves through winter for year round screening |
🛒 Buy Beech Bare Root Hedging Plants from Amazon UK
Britain’s only native maple, and an underused hedging plant in my opinion. It looks very similar to the ornamental Japanese maples people plant as specimens, but is much hardier and copes far better with exposure, wind and wet roots, which makes it a useful problem solver for a boggy or exposed boundary. It takes clipping well, copes with a wide range of soils including chalk, and gives a soft yellow autumn colour that most native hedging mixes lack.
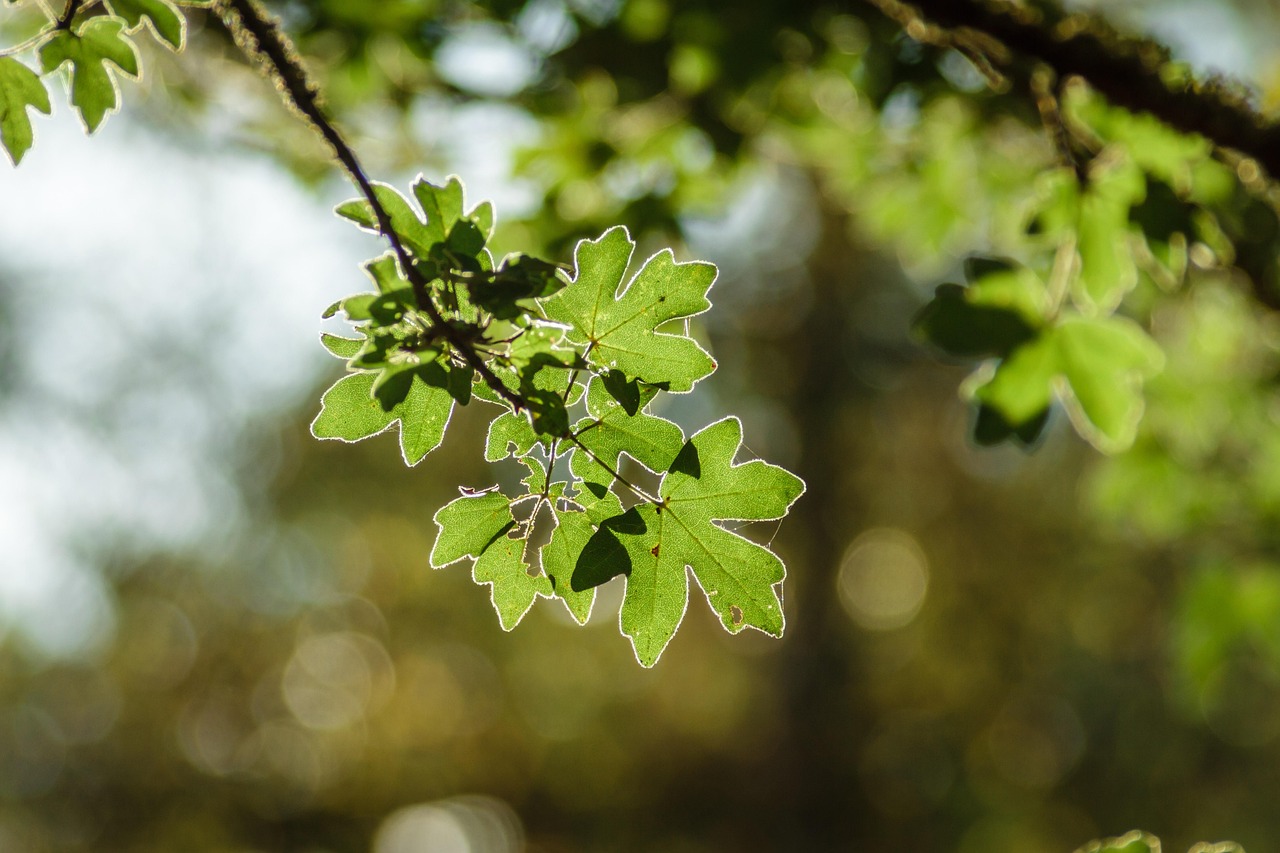
It is a regular component of the mixed native hedging bundles sold for wildlife boundaries, and it pairs well with hawthorn and blackthorn to create a mixed, informal hedge with more seasonal interest than a single species run. You can also plant field maple as a standard tree elsewhere in the same garden, so the hedge and a specimen tree share the same foliage through the seasons.
| Botanical Name | Acer campestre |
| Plant Type | Deciduous native hedging tree |
| RHS Hardiness | H7 |
| Height and Spread | 4 to 8m unpruned, kept to 1.5 to 2m as a hedge |
| Flowering Period | April to May, inconspicuous |
| Best Conditions | Full sun to part shade, tolerates chalk and clay |
| Key Feature | Soft yellow autumn colour, good wildlife value |
🛒 Buy Field Maple Bare Root Hedging Plants from Amazon UK
The classic front garden hedge across huge swathes of suburban Britain, and there’s a reason why. Privet is semi-evergreen, fast growing, and takes very hard renovation pruning without complaint if it has been let go for a few years. The clippings also rot down easily in a compost heap and take up far less room in the green bin than cherry laurel, beech or spiky hawthorn during clipping season.
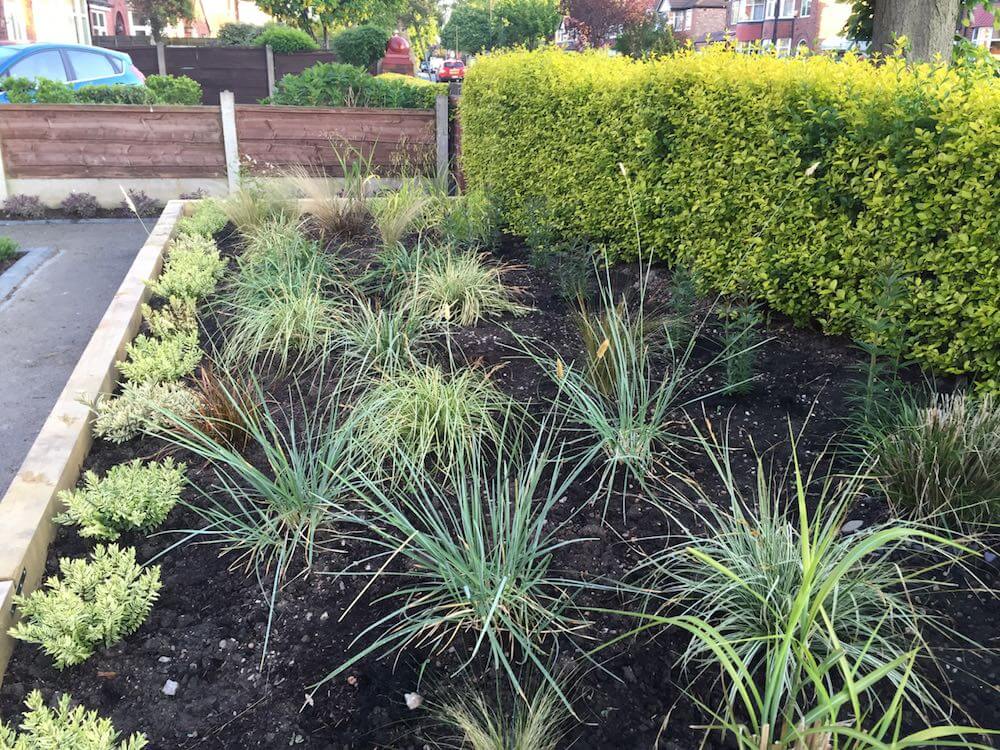
It is one of the more affordable bare root options and establishes quickly, which is why it remains a popular choice for a quick, tidy boundary in smaller front gardens. The small leaves also trap a surprising amount of roadside pollution, which is a genuine benefit if your hedge fronts a busy street.
| Botanical Name | Ligustrum ovalifolium |
| Plant Type | Semi evergreen hedging shrub |
| RHS Hardiness | H5 |
| Height and Spread | 3 to 4m unpruned, kept to 1 to 2m as a hedge |
| Flowering Period | June to July |
| Best Conditions | Full sun to part shade, most well drained soils |
| Key Feature | Fast growing, takes hard renovation pruning well |
🛒 Buy Privet Bare Root Hedging Plants from Amazon UK
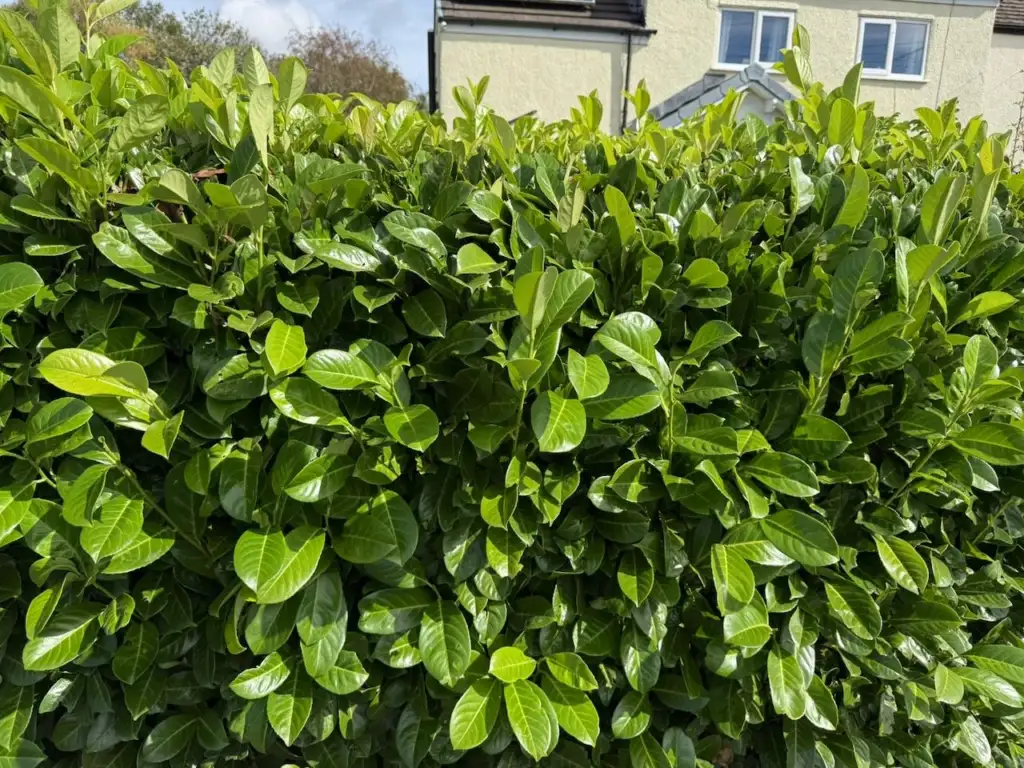
Cherry laurel is sold bare root far less often than the deciduous species above, since, as a broadleaf evergreen, it establishes more reliably as a root balled or container grown plant. Smaller bare root laurel whips do turn up from specialist hedging nurseries over winter, considerably cheaper than the container grown equivalent when you can find them.
The pot grown equivalents do give instant privacy and a boundary but often need a lot of watering and go into transplant shock at an alarming rate in my experience. Cherry laurel needs an immediate hard cut in year one to help it mesh together as a hedge, rather than just looking like a row of small trees in year two.
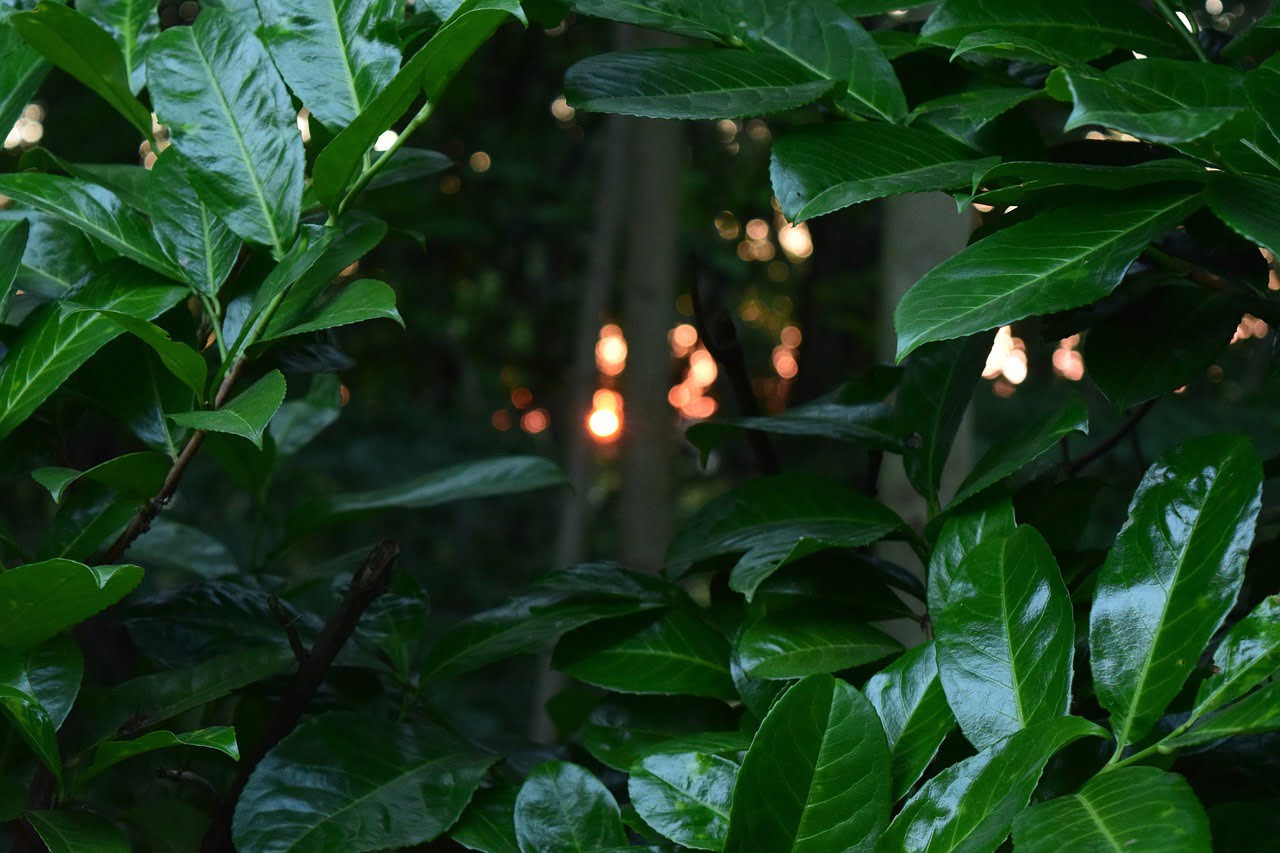
It gives dense, glossy, year round screening faster than almost anything else on this list. If your laurel hedge is already in the ground and looking yellow, patchy or in decline rather than newly planted, that is a different problem, and I have a dedicated guide to diagnosing and fixing a dying laurel hedge that covers it properly.
| Botanical Name | Prunus laurocerasus |
| Plant Type | Evergreen hedging shrub |
| RHS Hardiness | H5 |
| Height and Spread | 4 to 8m unpruned, kept to 1.5 to 2.5m as a hedge |
| Flowering Period | April to May |
| Best Conditions | Full sun to shade, most soils except waterlogged ground |
| Key Feature | Dense glossy year round screening |
🛒 Buy Cherry Laurel Bare Root Hedging Plants from Amazon UK
Yew is the plant I reach for whenever a client wants the finest, densest formal hedge money can buy, and it is one of the few conifers happy to take a hard clip year after year without complaint. It is slower to establish than anything else on this list, often putting on only 15 to 30cm a year in its first few seasons, but the trade off is a hedge that will outlive the person who planted it several times over, tolerating deep shade, chalk, clay and even coastal exposure once it has settled in.
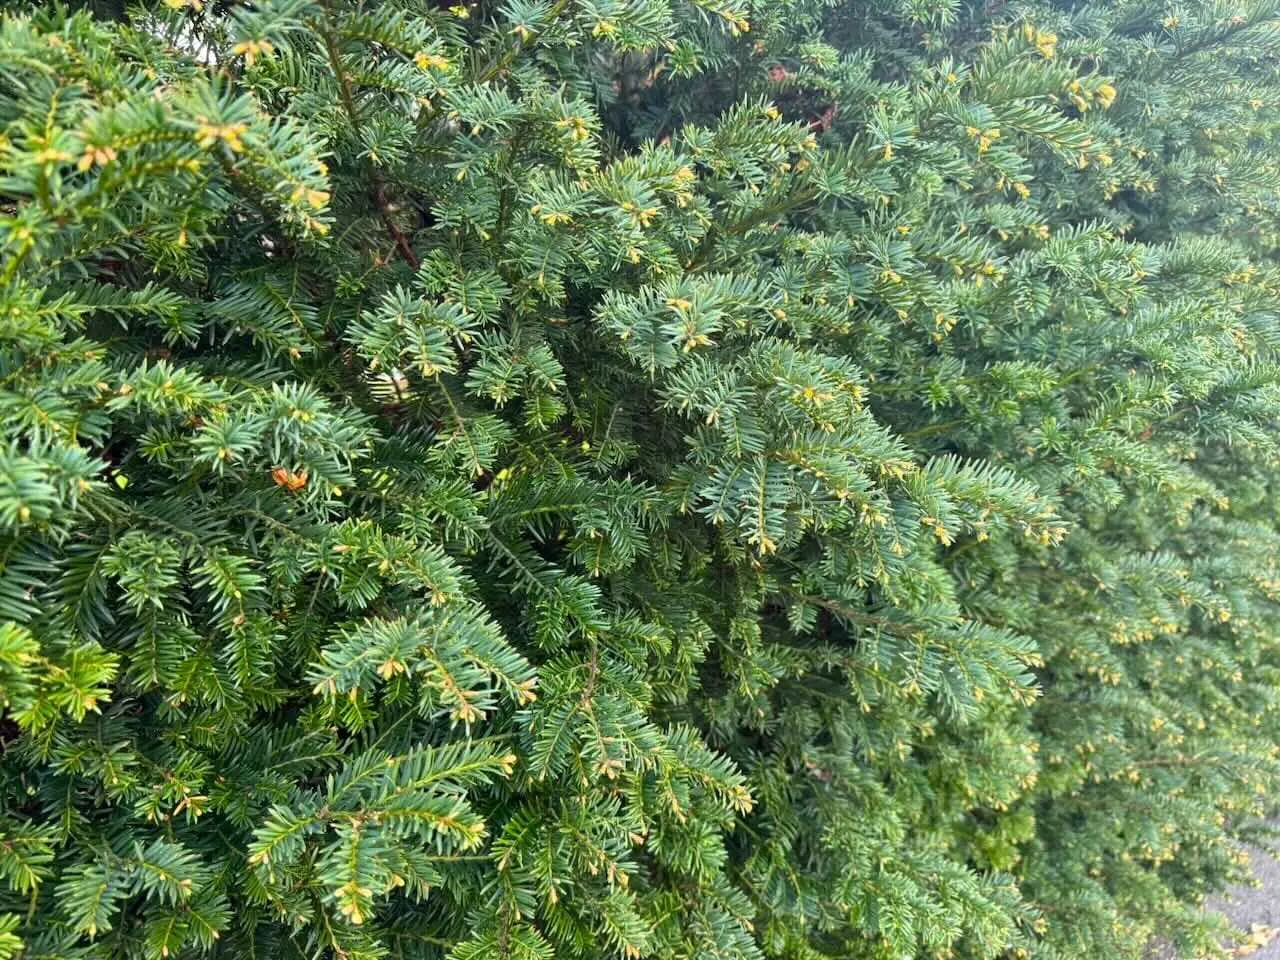
Bare root yew is available from specialist conifer and hedging nurseries over the same November to March window as the deciduous species above, usually as small transplants or whips rather than the large instant screening yew is sometimes sold as in containers.
Buying it bare root at this smaller size is dramatically cheaper than buying pot grown yew at height, so if you have the patience for a slower start it is worth seeking out. One important note for anyone with livestock, pets or young children in the garden: every part of the yew plant except the fleshy red aril around the seed is toxic if eaten, so keep clippings well away from animals and compost them rather than leaving them where they fall.
| Botanical Name | Taxus baccata |
| Plant Type | Evergreen coniferous hedging tree |
| RHS Hardiness | H7 |
| Height and Spread | Slow to 10m plus unpruned, kept to 1 to 2m as a hedge |
| Flowering Period | Inconspicuous, red arils in autumn |
| Best Conditions | Full sun to deep shade, tolerates chalk, clay and coastal exposure |
| Key Feature | The densest, longest lived formal hedge available, but all parts except the aril are toxic |
🛒 Buy Yew Bare Root Hedging Plants from Amazon UK
For most standard hedging whips, a single staggered row with plants spaced around 30 to 45cm apart gives you a dense hedge within a few years without wasting plants on excessive thickness. For a thicker, quicker establishing screen, or for a truly stock proof native boundary mixing hawthorn and blackthorn, a double staggered row works better, with two rows roughly 30cm apart and plants within each row offset from the one opposite, so the whole hedge fills in from more directions at once. Before you dig anything, it is worth marking the run out with a string line pulled taut between two canes, since a hedge planted freehand along an uneven line is far harder to correct later than it is to get straight from the start.
Dig a proper trench rather than individual holes wherever you can manage it. A trench, roughly a spade’s width and a spade’s depth, lets you work organic matter and mycorrhizal fungi evenly along the whole run rather than patchily around each individual plant, and it makes getting consistent spacing and a level planting depth considerably easier than trying to judge it hole by hole.
For a very long run of small deciduous whips, hundreds of plants for a field boundary rather than a domestic garden hedge, the slit method is worth knowing about as a faster alternative to trenching the whole line. Push a sharp spade almost to full depth, lever the handle away from you to open a slit in the soil, drop the roots in, then withdraw the spade and firm the slit closed with your foot. It is quicker than digging a continuous trench, though it suits smaller bare root whips only, not the larger standards or specimen trees within a mixed hedge line.
As soon as your plants arrive, stand the roots in a bucket of water for at least an hour, and up to overnight if they look at all dry when unwrapped. Bare root plants dehydrate faster than most people expect once out of the ground, and a good soak before planting makes a real difference to how quickly they establish.
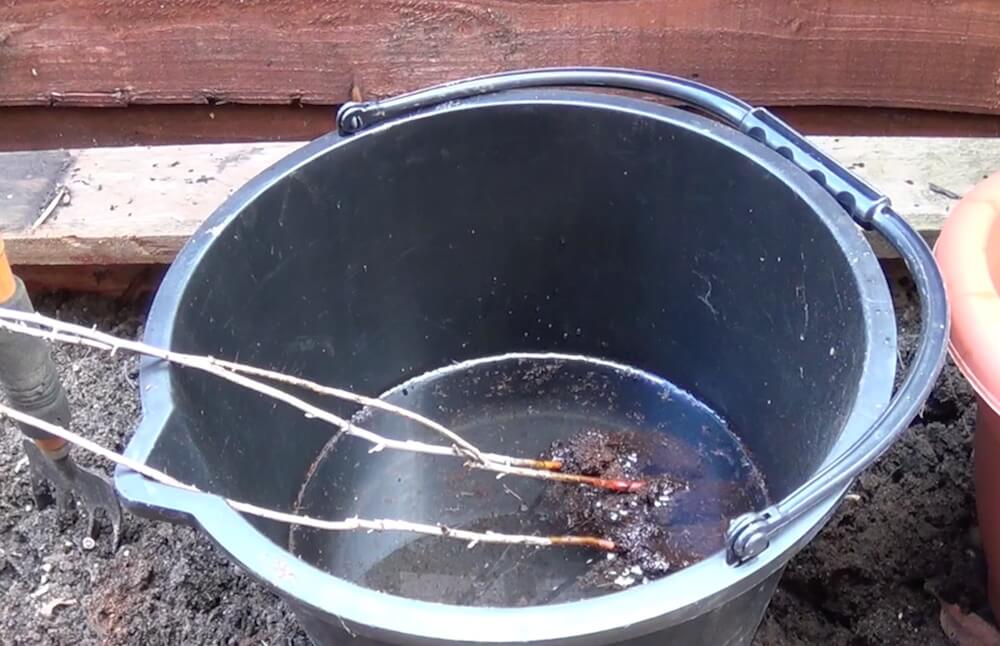
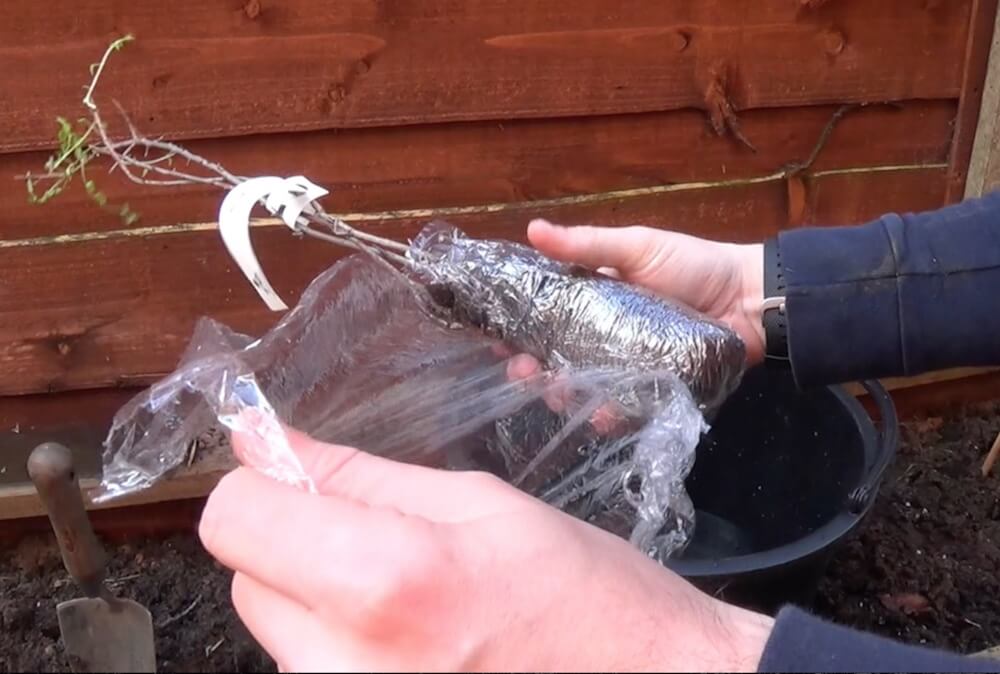
Remove any plastic sleeve or hessian wrapping and take a proper look at the root system. Trim back any roots that are visibly damaged, broken or diseased with a clean cut from your secateurs, but otherwise leave the root system alone. There is no need to tease out or wash bare root plants the way you occasionally would with a rootbound container plant.
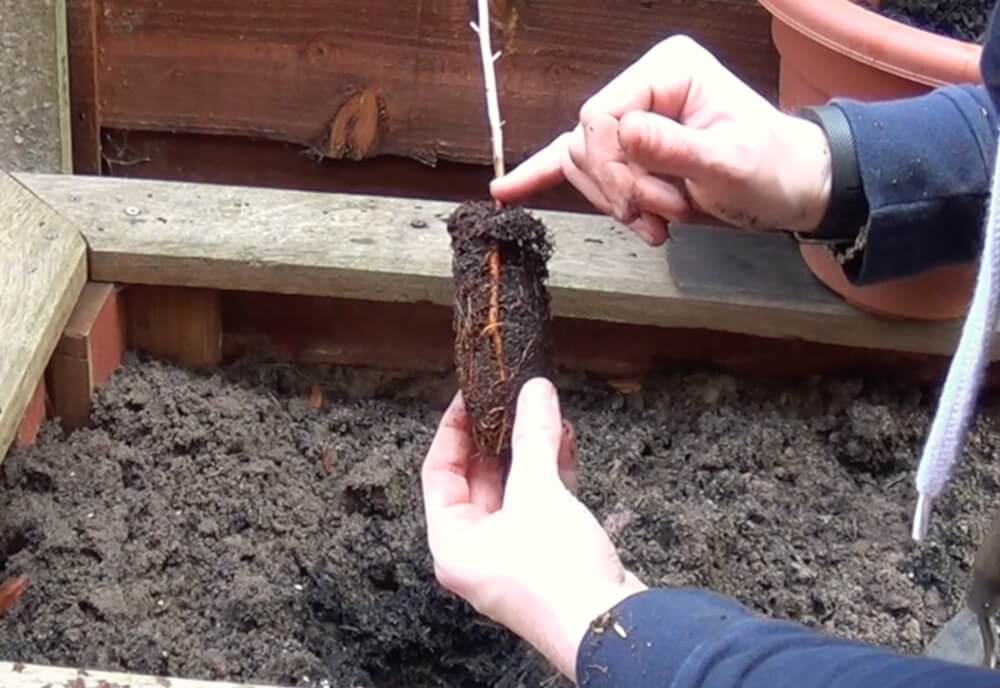
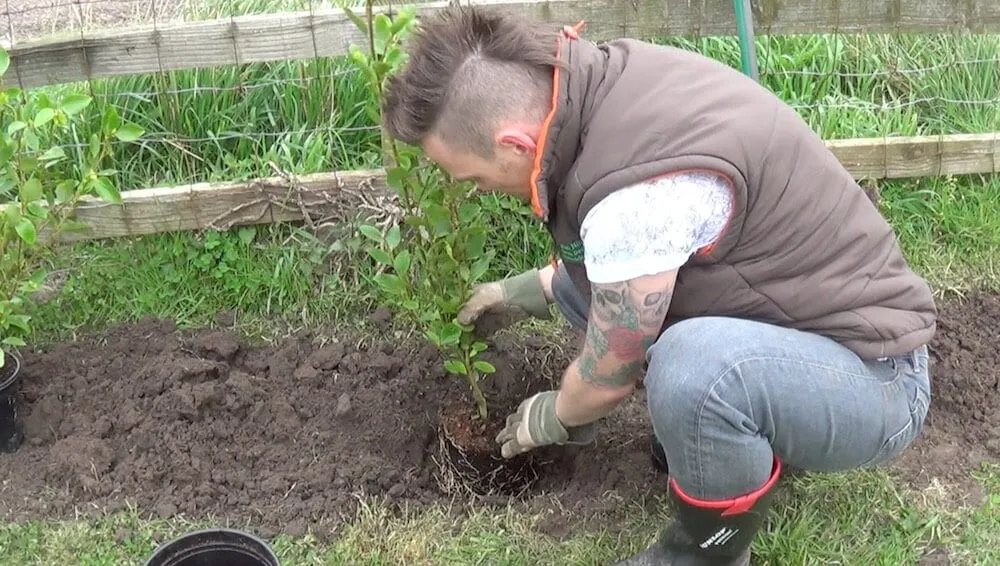
Dig your trench to a depth and width that comfortably accommodates the root system without cramming or bending it. Sprinkle mycorrhizal fungi granules directly onto the roots or into the base of the trench where they will make direct contact with the root system, since this is the one moment in the plant’s life when these fungi can actually colonise the roots properly. Skipping this step is, in my view, one of the most common wasted opportunities in hedge planting.
🛒 Buy Rootgrow Mycorrhizal Fungi from Amazon UK
Plant to the same depth the plant was growing at in the nursery field, which is usually visible as a soil mark on the stem. Spread the roots out naturally in the trench rather than bunching them into a tight clump, backfill with the excavated soil mixed with well rotted organic matter, and firm gently with your foot as you go to remove large air pockets without compacting the soil solid.
Individual hedging whips rarely need staking, but taller standards or specimen trees within a mixed hedge line benefit from a single stake and a proper tree tie to stop wind rock while the roots establish. Water every plant in thoroughly straight after planting regardless of the weather, since this settles the soil around the roots and closes any remaining air pockets far more effectively than firming with your foot alone.
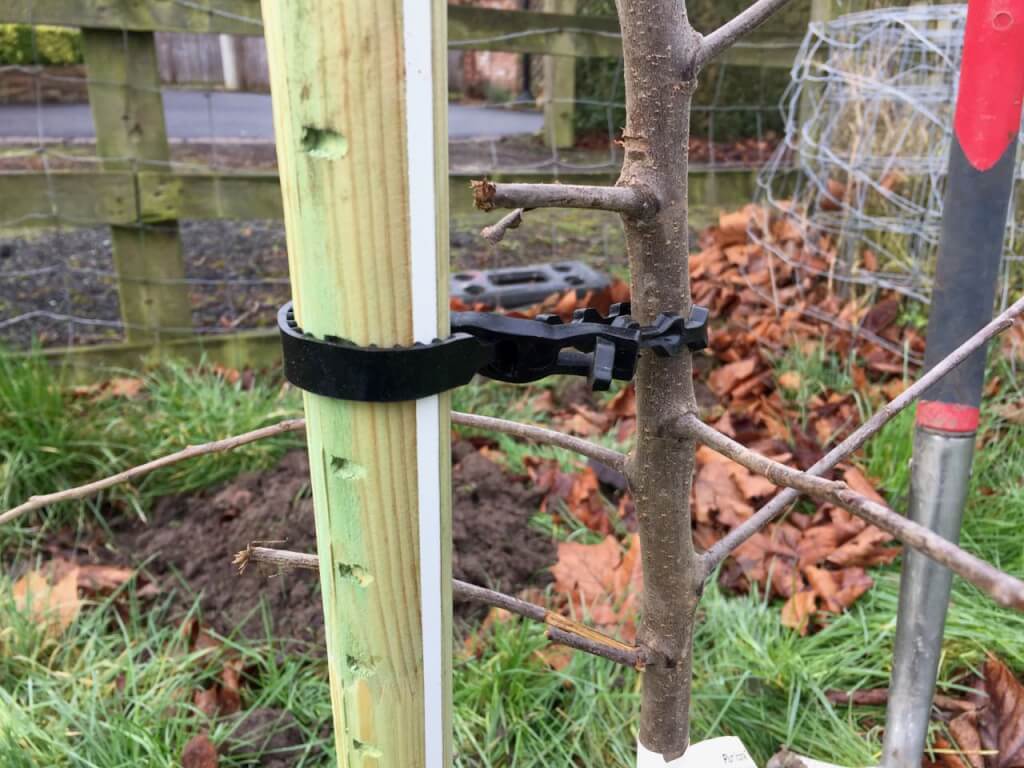
🛒 Buy a Tree Stake and Tie Kit from Amazon UK
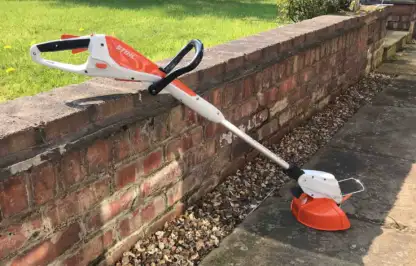
A young hedging whip is exactly the sort of soft, low bark that rabbits and deer find irresistible over winter, and it is just as vulnerable to being nicked or ring barked by your own strimmer while cutting the grass nearby the following summer. A spiral rabbit guard slipped over each stem solves both problems at once for a few pence per plant, and it is one of those small jobs that is far easier to do at planting time than to retrofit once the whip has already been damaged.
🛒 Buy Spiral Rabbit Guards from Amazon UK
This is where I see the most bare root hedges quietly go wrong. Someone plants their hedge carefully, following every step above to the letter, and then simply leaves it alone to grow, assuming that is what a hedge is supposed to do. It is the single most common mistake I come across with a newly planted hedge, and by the time it becomes obvious, usually two or three summers later, it is a much bigger and slower job to correct than it would have been to just do properly in year one.
Left unpruned, a young hedging whip does exactly what any young tree or shrub does. It puts most of its energy into one or two dominant leading shoots and grows upward, tall and thin, rather than putting out the low, bushy side growth that actually makes a hedge into a hedge. The result, a couple of years on, is a hedge that is respectably tall but embarrassingly see through at the bottom, precisely the opposite of what most people planted a hedge to achieve in the first place.
The fix is to cut hard in the first spring after planting, before the plant comes into full leaf. For most deciduous hedging species, including hawthorn, blackthorn, beech, hornbeam, and privet, this means removing around a third to a half of the previous season’s growth on the leading shoots. Yew and other evergreens are the exception, and should just be lightly trimmed to encourage branching rather than cut back hard in year one.
It feels drastic, and every single time I recommend it to a client who has just spent money and effort planting their hedge, I get the same slightly horrified look. But this hard initial cut is exactly what forces the plant to respond by putting out multiple new shoots lower down rather than continuing to chase upward from a single point, and it is the single biggest factor in whether you end up with a dense, well furnished hedge from ground level up, or a leggy one you spend years trying to thicken from the bottom retrospectively.
Repeat a lighter version of this formative cut in the second spring, trimming back perhaps a quarter of the new growth. By the third year, you can generally move on to normal maintenance trimming, keeping the hedge at whatever height and width you actually want it. Skip this formative pruning stage entirely, as so many newly planted hedges are, and you are left trying to correct a gappy base years later through hard renovation pruning, a much slower and less certain process than simply doing it right from the start.
🛒 Buy Felco 2 Secateurs from Amazon UK for the formative cut on individual whips, or see my cordless hedge trimmer guide once the hedge is established enough for a proper annual trim.
Winter planted bare root hedging generally needs very little watering through its first winter, since UK rainfall does most of the work for you. The period to watch is the following spring and into the first summer, particularly if there is a dry spell while the plant is still establishing its root system into the surrounding soil. As a rough guide, expect to give each metre of hedge around 30 to 50 litres of water a week during a prolonged dry spell, delivered as one thorough soak rather than several light sprinklings, since it encourages roots to grow down and out in search of water rather than staying shallow.
If you are planting more than 20m of hedging, do consider laying a seep hose, which reduces the effort to water it considerably for the first two years, and saves your shoulders. My video guide below will show you what a seep hose is and how to fit one.
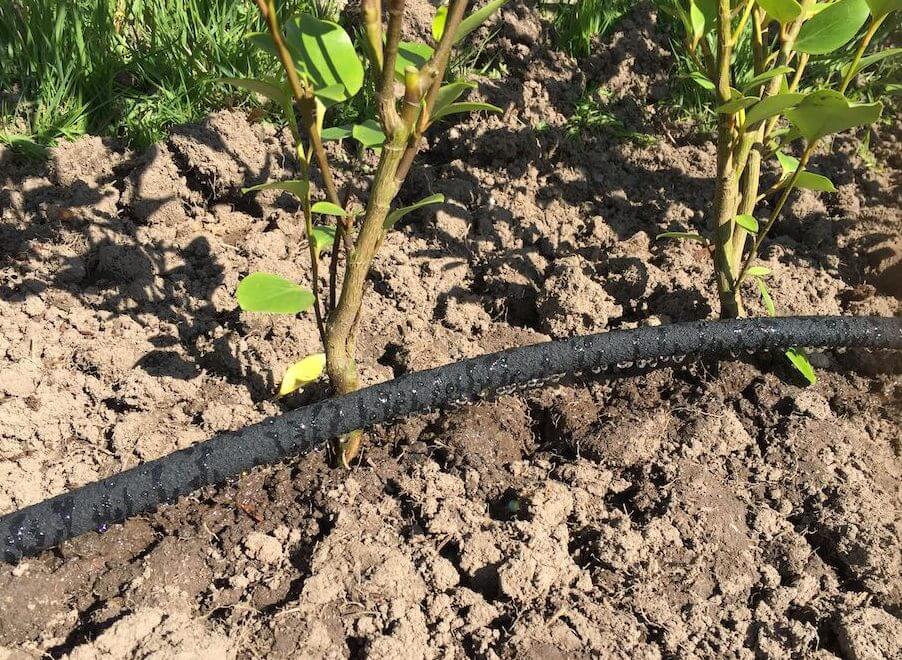
🛒 Buy a Seep Hose from Amazon UK
A good mulch layer along the base of the hedge, well rotted compost, bark or leaf mould, does two jobs at once. It suppresses the weed and grass competition that a young hedge is particularly vulnerable to in its first couple of years, and it locks in soil moisture through drier spells. Keep the mulch a few centimetres clear of the actual stems to avoid rot.
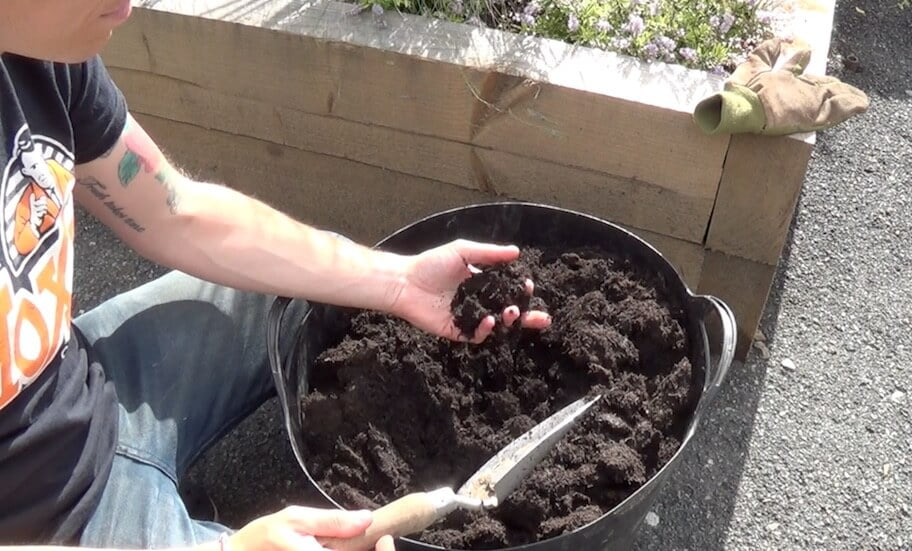
Grass in particular competes ferociously with a young hedge for both water and nutrients, far more aggressively than most gardeners expect. Keep a clear, weed free strip at least 30cm wide along the base of the hedge for the first two growing seasons, either by hand weeding, mulching thickly enough to suppress regrowth, or using a permeable weed suppressant membrane under the mulch layer.
Between late November and the end of March, while the plants are dormant and the ground is workable. Early in that window, November and December, generally gives the best results since the soil still holds some warmth and autumn rainfall helps establishment.
Yes, typically half to a third of the price of the identical plant sold container grown, since bare root plants skip the cost and time of being potted up and grown on for an extra season. The saving becomes substantial once you are buying the quantities a proper hedge needs.
As soon as reasonably possible, yes. If you cannot plant within a day or two of delivery, heel the plants into a temporary trench in a sheltered spot with the roots covered by loose soil, and soak the roots in a bucket of water for at least an hour before planting properly.
For a single row, space plants 30 to 45cm apart. For a thicker, faster establishing screen or a stock proof native boundary, use a double staggered row roughly 30cm between the rows, with plants in each row offset from the one opposite.
An unpruned young hedge puts its energy into upward growth from one or two leading shoots, leaving it thin and gappy at the base. Cutting back around a third to a half of the previous season’s growth in the first spring forces bushy growth from lower down, which is what actually makes a dense hedge.
Hawthorn and blackthorn form the backbone of most native mixes, offering blossom, berries and dense thorny growth for security and wildlife value alike. Field maple is a good addition for autumn colour, and beech or hornbeam work well where a slightly more formal edge is wanted alongside the native mix.
Yes, though it is sold bare root far less widely than deciduous species and usually only as small transplants or whips from specialist conifer nurseries. It is slower to establish than hawthorn or privet, but rewards the patience with the densest, longest lived formal hedge available.

Join over 100,000 gardeners on YouTube
Free gardening videos from the Garden Ninja, with 8 million views and counting.
Subscribe on YouTube, it’s freeA new hedge is often the first piece of a much bigger garden plan, and getting the layout right around it saves a lot of costly changes later. My design courses cover exactly this kind of whole garden thinking, from boundary treatment through to planting plans.
With courses starting from just £29, you gain access to award-winning design knowledge.
For the garden you’ve already got, not the one you’re starting from scratch. Seven checklists and video lessons from BBC Garden Rescue’s Lee Burkhill, designed to help you decide what’s worth keeping before you spend a penny.
Garden Design Examples for Small Gardens: 30 Design Templates & Planting Plans: In this online gardening course, I’ll walk you through 30 fantastic garden designs, explaining the logic behind the layout and plant choices, plus take-home tips for applying them in your own garden.
Learn how to transform and design your garden with Lee Burkhill’s crash course in garden design. In over 5 hours, Lee will teach you how to design your dream garden. Featuring practical design examples, planting ideas and video guides. Learn how to design your garden in one weekend!
Garden Design for Beginners Online Course: Want to become a garden designer or design your own garden? This beginner course is for you. Join me, Lee Burkhill, an award-winning garden designer, as I train you in the art of beautiful garden design. Enjoy 20 hours of online study and video lessons, along with quizzes and a completion certificate.
Bare root hedging remains one of the best value jobs you can do in a UK garden between November and March, and there is no need to overlook it in favour of a far pricier container grown alternative. Soak the roots, work mycorrhizal fungi into the trench, plant at the right depth, and then do the one thing so many newly planted hedges miss entirely: cut it back hard the following spring. That single step, more than anything else in this guide, is the difference between a hedge that fills in dense and even from the ground up, and one you are still trying to thicken from the bottom five years from now.
If you found this guide useful, I would love to hear what you are planting this bare root season. Drop a comment below or come and find me on social media. You can find me on YouTube, Instagram, Facebook and TikTok as Garden Ninja.
Happy Gardening Ninjas!


Lee Burkhill, known as the Garden Ninja, is an award-winning garden designer and horticulturist with over 30 years of gardening experience and 15 years as a professional garden designer. A qualified RHS (Royal Horticultural Society) professional, Lee specialises in sustainable garden design and practical horticultural advice. He designs and presents on BBC1’s Garden Rescue and in leading gardening publications. Lee combines three decades of hands-on gardening knowledge with professional design qualifications to help gardeners create beautiful, functional outdoor spaces.
View all posts by Lee Burkhill





JOIN THE NINJAS

Be the first in line for new Guides, Discount codes and Offers