-
How to Plant Bare Root Roses
 Lee Burkhill: Award Winning Designer & BBC 1's Garden Rescue Presenters Official Blog
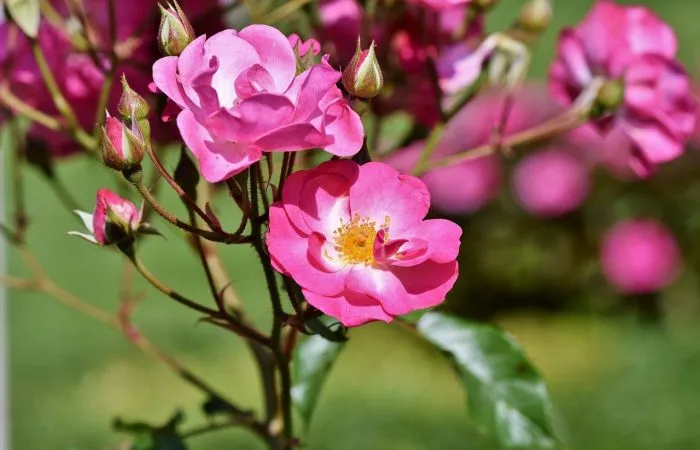
Bare root roses are probably one of the easiest yet most overlooked options when it comes to planting roses in your garden. It may surprise you but the best time to plant roses is in Winter. Winter rose planting can be a magical time for a gardener especially if you're looking to fill your garden with beautiful roses the following year. Planting bare roots roses is the best and most environmentally friendly way. Let me convince you why!
You may be thinking why on earth would anyone want to be out planting roses in the middle of Winter?
I’d usually agree but did you know that by planting bare root roses in winter you can save yourself a whole heap of expense and hassle next year? Saving you time and money to enjoy your roses in full bloom rather than having to babysit them throughout the summer?
Pull up a seat and let me explain why you’re going to want to plant bare root from now on.
When planting container roses in spring or summer you’re going to have to pay real attention to watering and feeding your new rose as it gets established.
It’s also going to cost you a lot more to buy one of the limited varieties from the Garden centre. You can pay up to £25 for a container rose midseason. You get it home to then struggle as the battle between moisture escaping from the roots and keeping it hydrated. If you’re a fan of saving money and not being out with a watering can every evening then you really need to consider bare root roses. Not to mention the plethora of varieties available to you!
What are bare root roses?
Bare root roses are plants that have been dug up during the colder dormant seasons where they need far less energy and attention. Bare root season runs from November to late February and enables a gardener to quickly and cheaply stock up their garden. Bare root roses are lifted by suppliers when they are dormant, in the UK usually in early November, which means that they are easier to handle and lighter to move.
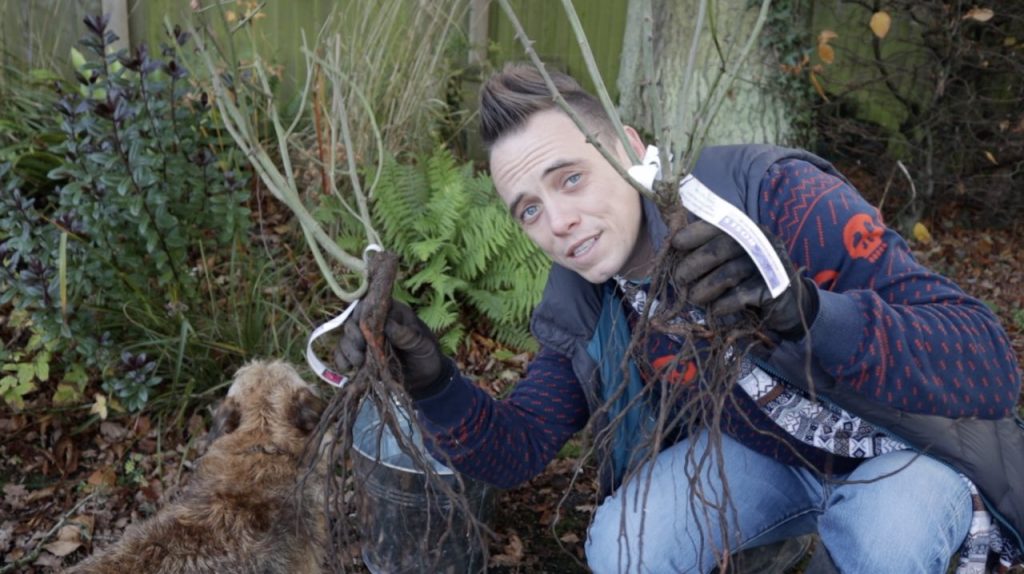
The soil is removed from the root and then they are carefully packaged up and sent out. Bare roots hardly take up any space and this saves on costs meaning you get the benefit of far cheaper roses than container-grown ones. In most cases, they are 1/3 of the cost of buying a potted rose from a garden centre.
Bare root roses are also far less maintenance as they are in a sleepy dormant state. Once planted correctly in Winter they will happily survive with next to zero attention, apart from the occasional watering if very dry spells occur (not likely in the wet UK!).
Last but not least buying bare root roses opens up a huge variety available for you compared to buying container-grown roses. When buying roses from a garden centre there’s only a limited variety to hand but with bare roots, the choice is nearly endless.
How to plant a bare root rose
So you’ve found the perfect rose for your garden and have ordered it in bare root. But now the question of how do I plant a bare root rose arises. I’m going to show you step by step how easy it is to plant a bare root rose.
Step 1: Soaking your Bare Roots
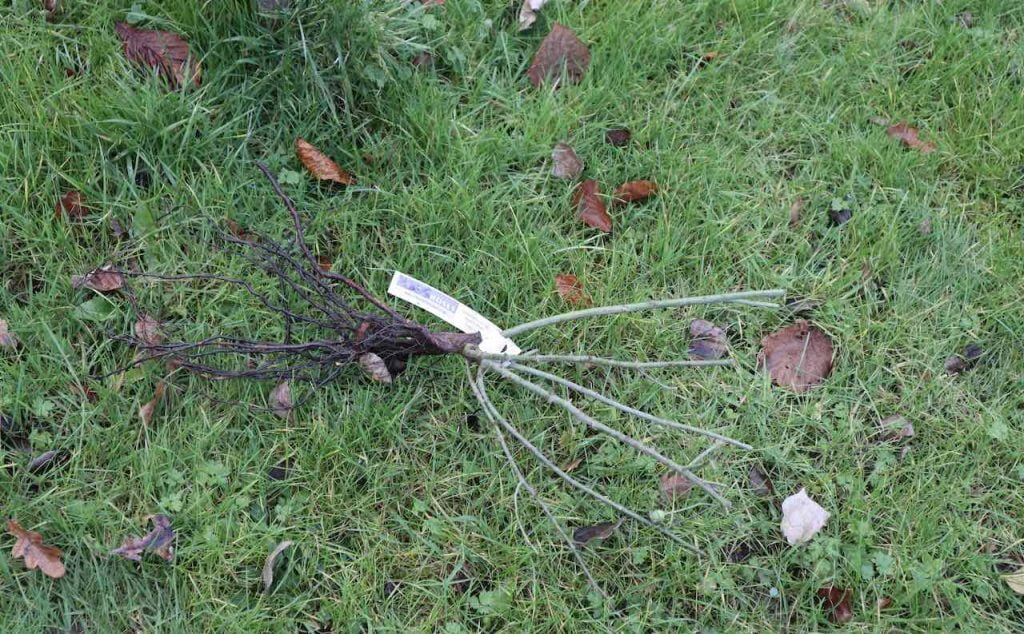
This is probably the most important step when planting bare root roses. Whilst the roses are dormant they are still alive and still have needs. Their metabolism may have slowed right down but they will still die just like any plant if they run out of moisture or nutrients. Once you have you bare roots delivered you need to get them planted ASAP.
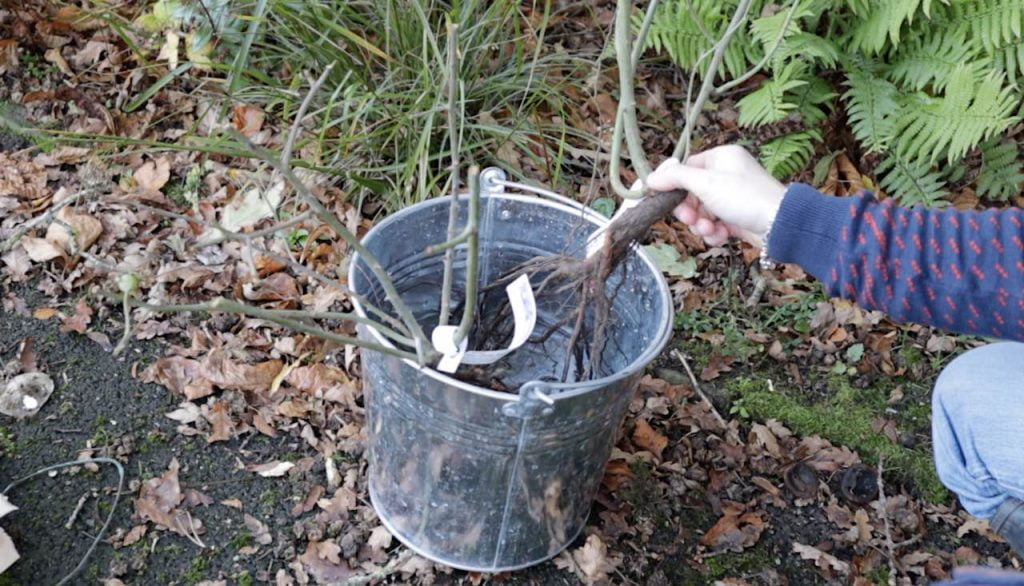
Once they have been unwrapped you will need to soak your bare root roses in a bucket of water for 1-2 hours. This is the help keep the roots hydrated before planting. Like taking a drink of water before going for a slow jog. No matter how well hydrated they look this step should not be missed. Do not leave them in water overnight as you run the risk of potentially doing more damage to your roses by part suffocating them, so a couple of hours will suffice.
Step 2: Choose a suitable planting location
Most eager gardeners are in such a rush to get their lovely new plants in they skip over this step too. It’s worthwhile considering the best position for your rose. They need either full sun or dappled shade in most cases so it is worthwhile checking with the rose you’re planting.
Sometimes the place you want to plant it vs the best place to plant it will be different. Mother nature always wins so make sure it’s in the best position to set it up for success. Dry, crowded and poor soil-filled borders should be avoided.
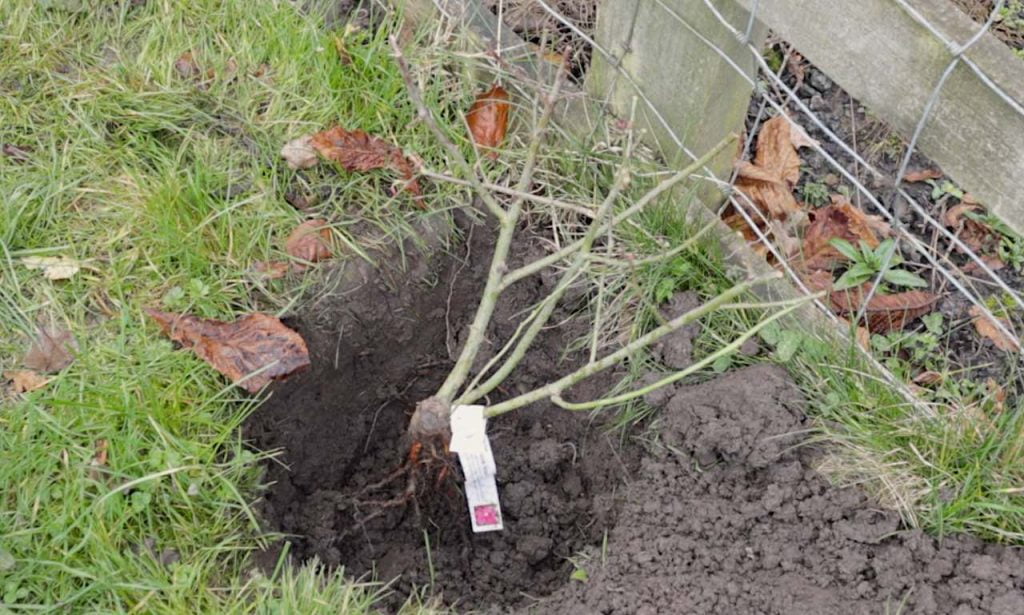
Step 3: Dig a hole for your rose
It’s wise to dig a hole that’s twice as wide as the bare root which will allow plenty of room for the roots to spread out. If you cram the roots of the roses in then you’ll make it far harder for the plant to establish. The roots need a little room to breathe if you will!
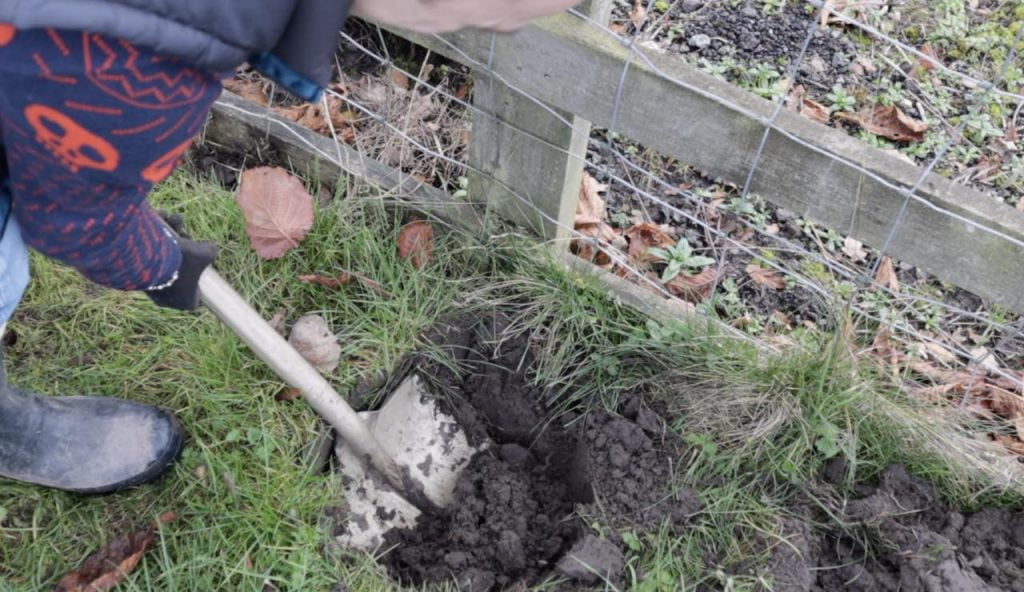
The hole doesn’t need to be hugely deep. In fact, I dig my hole so that the graft or union of the rose sits just above ground level. This is a really important step. If you bury the union too deeply it can rot or become diseased. Now there’s conflicting evidence on rose forums online.
Some gardeners recommend just and so burying the union and use a garden cane to show how far they plant. Others, like me, plant just above the ground. I think the burying advice comes from really cold climates where the rootstock could theoretically be damaged by heavy frosts.
Also, some people claim it stops sucker – unwanted shoots growing from the rootstock which doesn’t match the grafted species. However, in my experience, I always plant just above the ground and would recommend the same. I’ll let you decide which method you choose.
Step 4: What type of soil should I use for roses?
Roses are hungry plants. They use up so much energy putting on those gorgeous flowers each year and they require serious feeding if you want weeks of blowsy flowers each summer.
I use a mix of 50% high-quality peat-free Compost and 50% homemade Leaf Mould. The Compost provides nutrients to the rose as it establishes and the Leaf Mould adds a whole host of beneficial bacteria and moisture retention to the soil. If you don’t have Leaf Mould then just add more Compost.
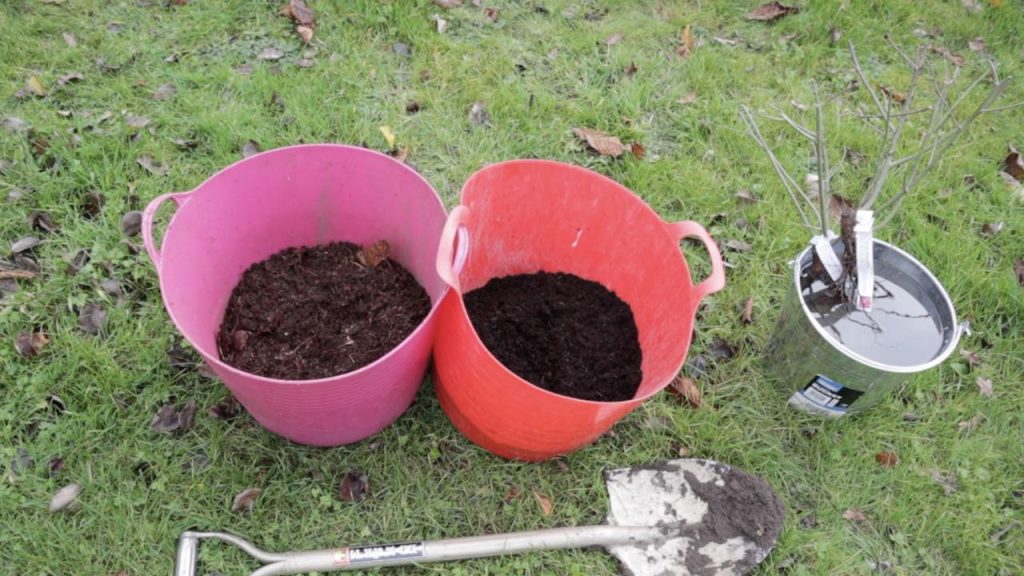
I mix a good handful of each into the hole before backfilling.
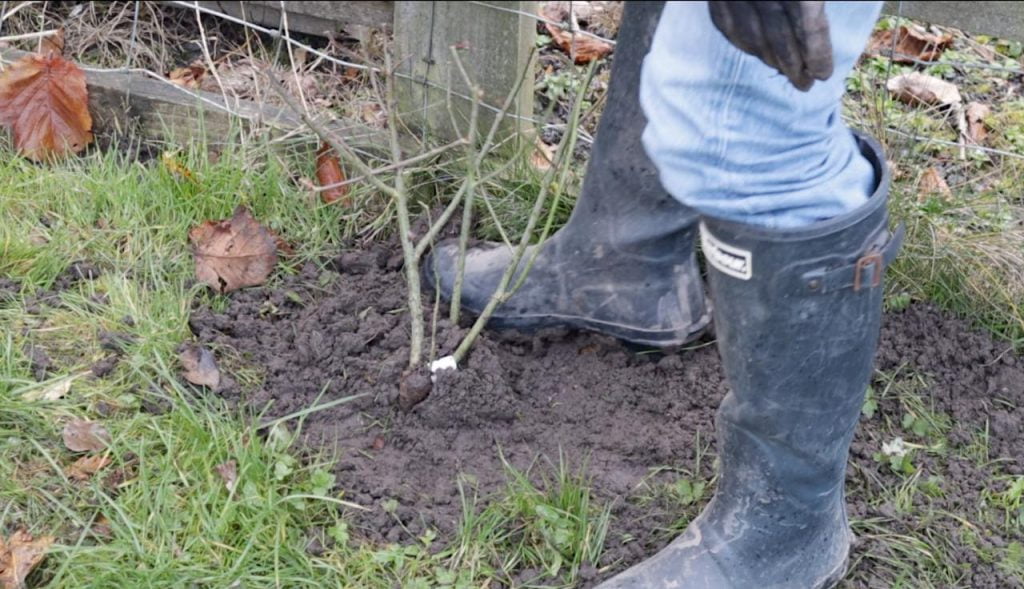
Step 5: Backfilling & Heeling in your rose
You then need to position your rose so it’s upright and you have the best side facing forward. Spin it around a few times and your intuition will show you the nicest side. Backfill with the soil you have excavated and then carefully heel in with your foot and then hands.
Compress the soil so the root is stable and well anchored to the spot. Don’t crush it or apply more pressure than you could stand being applied to your own toes.
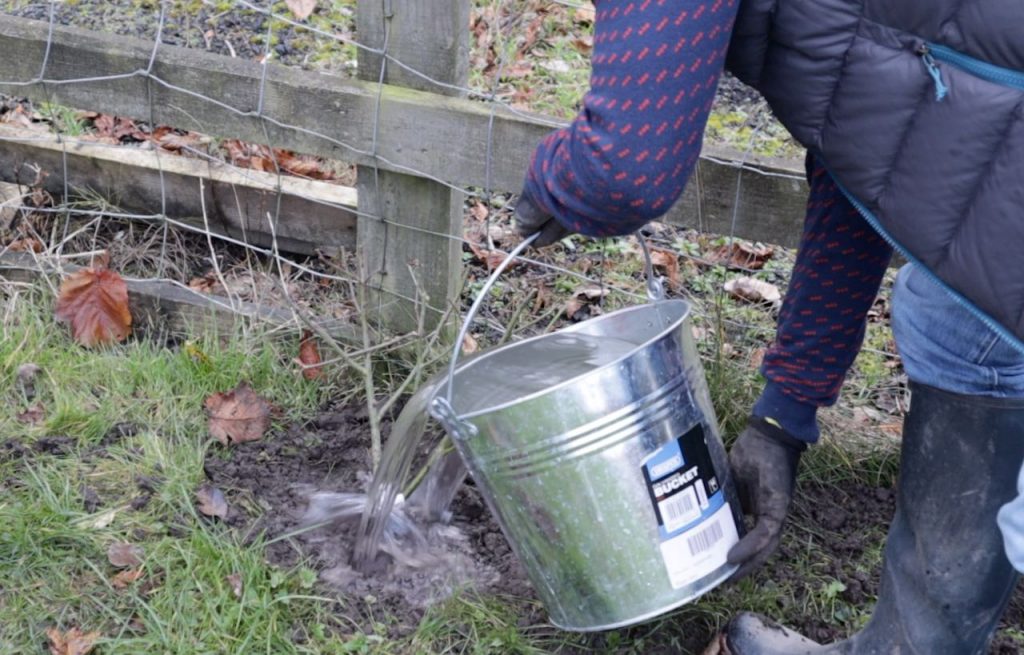
Step 6: Watering in bare root roses
The last step is again to water them in. No arguing, this again is a mandatory step! It not only helps draw the soil down around the roots but makes sure that the water in the roots isn’t drawn back out into the dry soil. You can also reuse the water you soaked them in to give them a really good drink.
Bare root roses really don’t require any other winter maintenance. Just keep your eye on them so they don’t fully dry out but they don’t really require any extra parental care. By planting them in the winter when they are dormant all their energy can go into growing and developing roots, not shoots or flowers. This means that by next spring they are established and ready to fire up their shoots and then provide a profusion of flowers!
Did you know that you can take my course and learn how to become a Garden Ninja yourself? Click here for details
Keeping bare root roses in good shape
Once your roses have put on some growth it may be time to prune your bare root roses. So make sure you follow my beginners’ guide to rose pruning below to ensure your bare root roses are in tip-top shape.
Summary
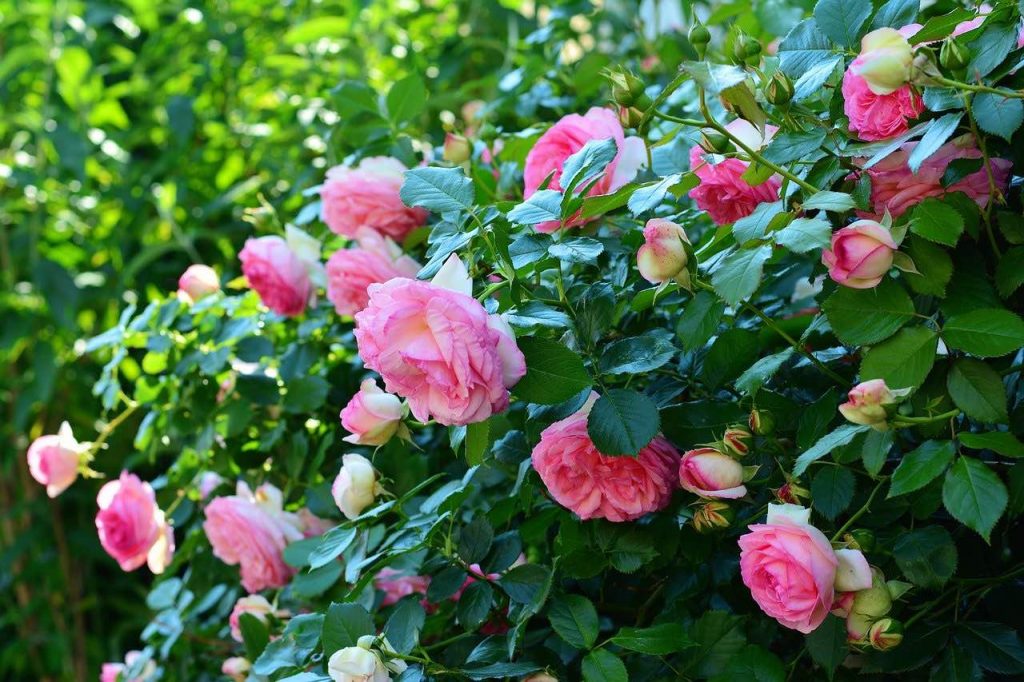
Whilst Winter may be the coldest of gardening months there are still plenty of opportunities to help bring in colour and pollen for insects next year! By choosing a bare root rose you’re saving yourself time and money when planting up your garden. I’ve used bare root roses in my own garden for years with great success.
I love the fact you have more specific cultivars and species available to you. Meaning you can choose a rose that’s completely suitable for your gardens aspect, soil type or position.

Have you planted bare root roses? Why not get in touch with your thoughts and pictures?
You can Tweet, Facebook or Instagram me. You can also follow me on Youtube where I’ve got plenty of garden guide vlogs. Happy gardening!


Lee Burkhill
Lee Burkhill, known as the Garden Ninja, is an award-winning garden designer and horticulturist with over 30 years of gardening experience and 15 years as a professional garden designer. A qualified RHS (Royal Horticultural Society) professional, Lee specialises in sustainable garden design and practical horticultural advice. He designs and presents on BBC1’s Garden Rescue and in leading gardening publications. Lee combines three decades of hands-on gardening knowledge with professional design qualifications to help gardeners create beautiful, functional outdoor spaces.
View all posts by Lee Burkhill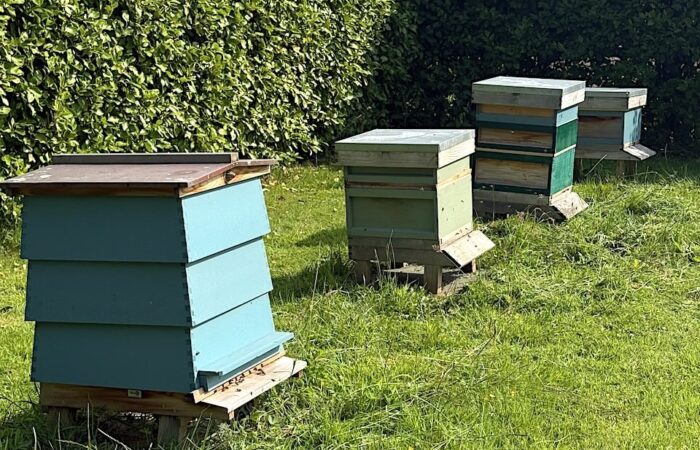


Categories
One thought on “How to Plant Bare Root Roses”
Leave a Reply
You must be logged in to post a comment.
Other posts
-

Start here: to begin your gardening journey! Read more
-
Can AI Design My Garden? The Truth About Artificial Intelligence Garden Design Tools Read more
-
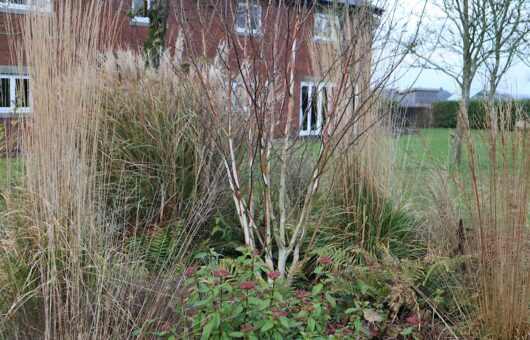
December Garden Tour; Bareroot pruning and border design Read more
-

Best Ground Cover Plants for Shade: 16 Expert UK Picks Read more
-
How to Prune Photinia Red Robin: UK Timing & Technique Guide Read more
-
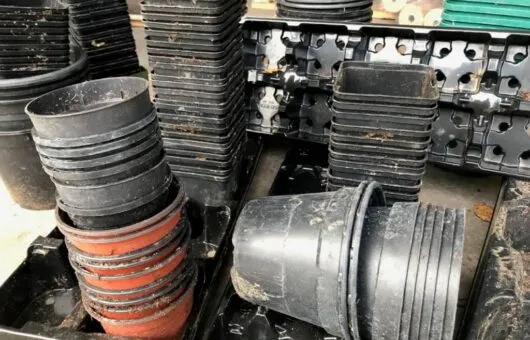
Plastic Plant Pots; is there a viable alternative? Read more


Great article! Picked up from GMG Bloggers WhatsApp group.
Mike Palmer