For the garden you’ve already got, not the one you’re starting from scratch. Seven checklists and video lessons from BBC Garden Rescue’s Lee Burkhill, designed to help you decide what’s worth keeping before you spend a penny.
69

🌱 Quick Answer
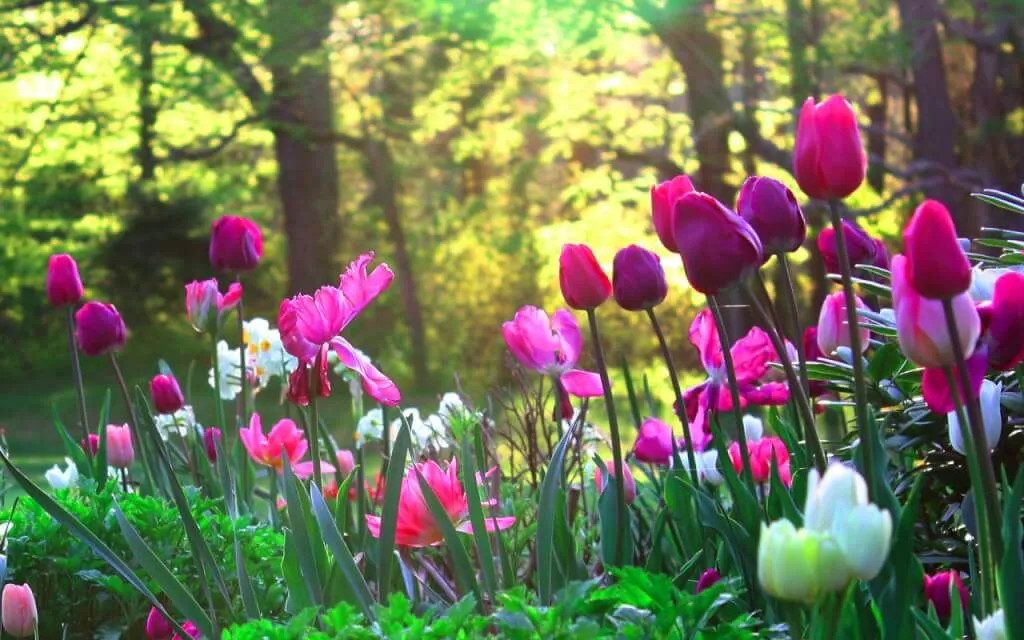
Plant tulip bulbs in November, after the first hard frosts, in a sunny spot with sharp drainage. Set them three times their own depth, roughly 15 to 20cm down, pointy end facing up. Waiting until November rather than jumping in with the daffodils in September is the single biggest factor in avoiding tulip fire disease, and it is the mistake I see most beginner gardeners make.
Tulips are the one spring bulb that splits Tulip-loving-gardeners into two camps! There are people who treat them as a one-season fling, buying fresh bulbs every Autumn for a guaranteed knockout display, and there are people determined to get them to come back reliably year after year like a proper perennial.
I have designed with both approaches in client gardens many times: for a quick spring fling and then compost them, and for gardens that want their tulips to return each year. The good news is that knowing how to plant tulips properly, i.e., at the right depth, in the right spot, at the right time, is the same skill whether you fall into either camp.
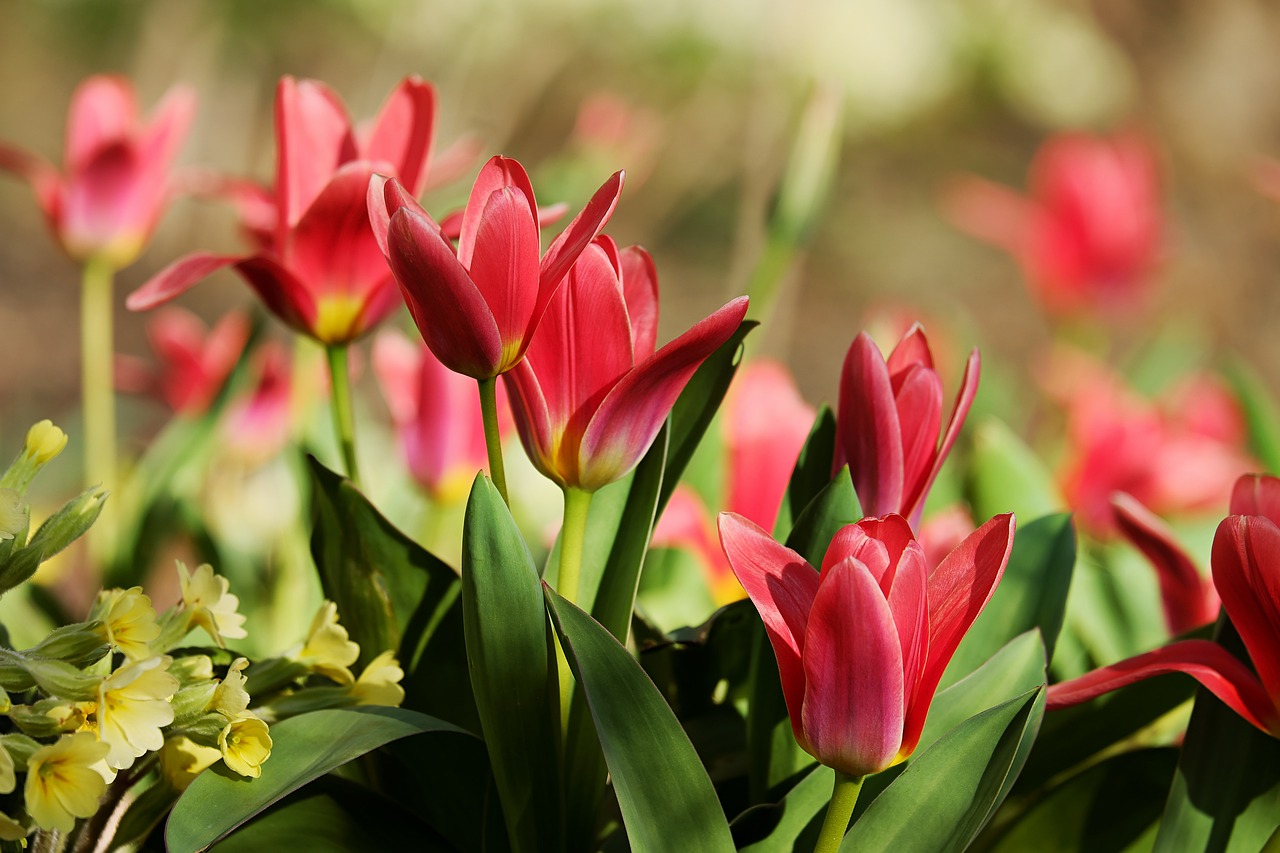
This guide covers everything I actually do on my own planting jobs each Autumn, from picking the right week to plant, through depth and spacing, to what to do with the bulbs once the flowers have finished. I have also pulled together my usual guide to bulb lasagne planting and my general spring bulb planting guide where they are directly relevant, since tulips are one part of a bigger Autumn bulb job for most gardens rather than the whole of it.
In This Guide
1. When to Plant Tulips 2. Where to Plant Tulips 3. How to Plant Tulip Bulbs Step by Step 4. Planting Tulips in Pots and Containers 5. Naturalising Tulips in Borders and Grass 6. Choosing the Right Type of Tulip 7. The Most Popular Tulip Bulb Cultivars 8. Aftercare After Flowering 9. Common Tulip Problems 10. Tools That Make the Job Easier 11. FAQsBefore we get into timing and technique, a word on tools. If you are planting a handful of bulbs in a pot, a hand trowel is all you need, but if you are working through a full border or naturalising drifts across a lawn, a proper long handled bulb planter saves your back and your knees over what can easily be an afternoon’s work, and it is the one I reach for on client jobs.
🛒 Buy the Burgon & Ball RHS Long Handled Bulb Planter on Amazon
This page contains affiliate links for products I use and recommend. If you take action after clicking a link, I may earn a small gardening commission, which helps keep the Garden Ninja blog free for everyone.
Tulips are the exception to the usual autumn bulb planting calendar rule. Daffodil bulbs, crocuses, hyacinths and alliums are all happiest going into the ground from September, but tulips do noticeably better if you make yourself wait until November, or even into early December in a mild year. I know that runs against the usual bulb-planting instinct when every other bulb in the shed is crying out to be planted, but there is a horticultural reason for it.

Tulip fire, a fungal disease caused by Botrytis tulipae, survives in warm, damp soil far more readily than it does in cold ground. Planting early, while the soil is still holding summer warmth, gives the fungus a much better chance of establishing around the bulb before winter properly sets in. Planting in November, once the soil has had a proper chill, cuts that risk right down. It is the single biggest factor separating a display that comes back healthy year after year from one that limps along with scorched, spotted foliage by its second spring.
As a rule of thumb, I always tell clients to watch for the first hard frost in their area and plant two to three weeks after that, rather than working off a fixed calendar date. Gardens in the north of England and Scotland will often hit that window in late October, while milder coastal gardens in the south west can be planting comfortably into December. If your ground is not yet frozen solid, you have not missed your chance.
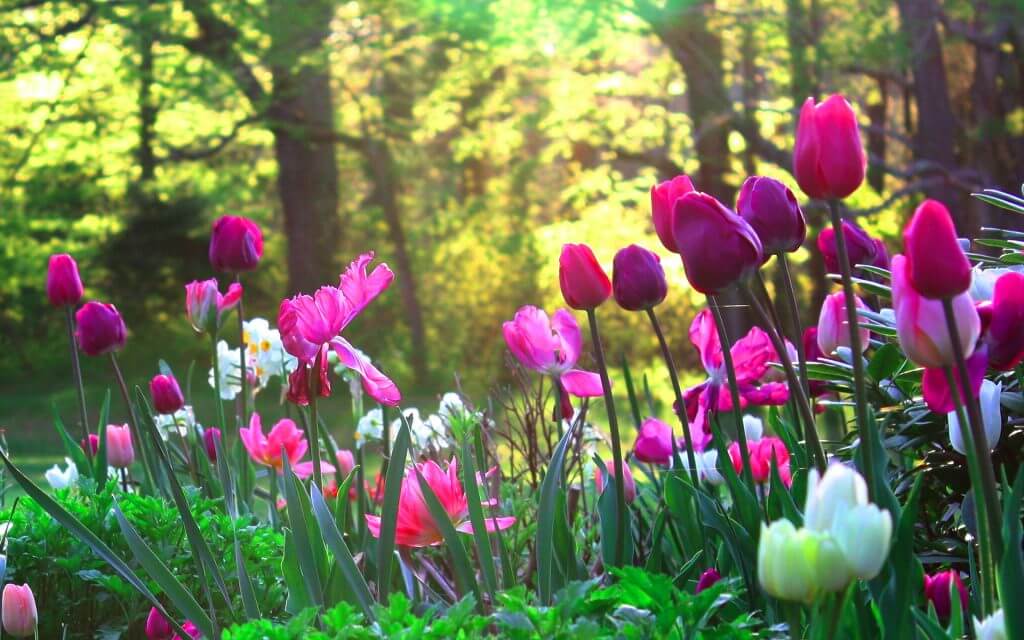
If a bag of bulbs has turned up at the back of the shed in January, then plant them! It is not ideal, and you will likely get a shorter, slightly delayed display with a lower success rate than bulbs planted in November, but a late-planted tulip bulb still beats a bulb left to dry out in a shed until Autumn.
As long as the ground is workable and not frozen solid, planting in January, and even in early February, will usually still flower that same spring, just a little later and a little less vigorously than bulbs planted on time.
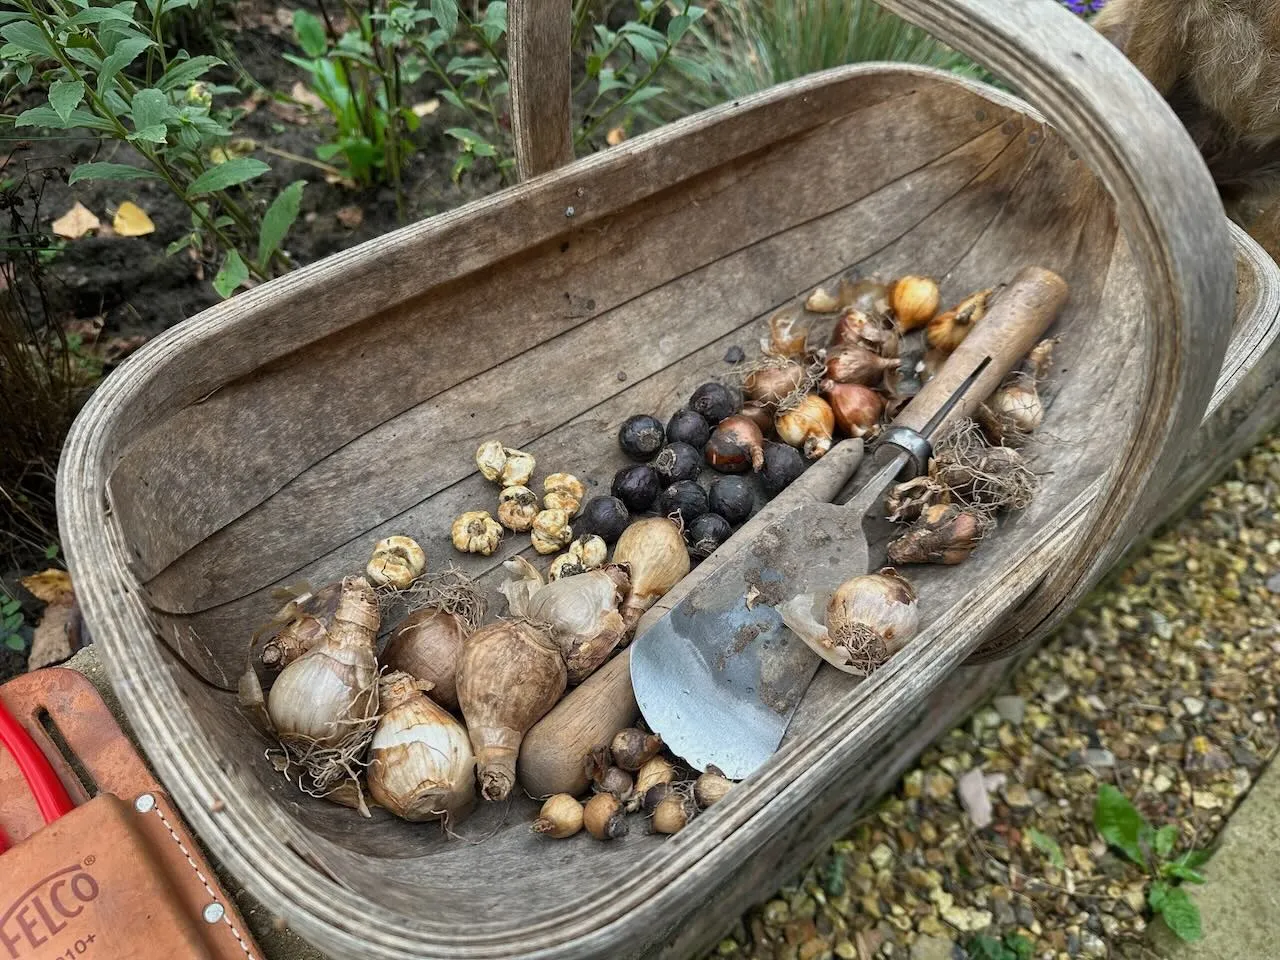
By March, the odds worsen considerably. Bulbs need a period of cold to trigger proper root development before the shoot emerges. If planting Tulips in late March, you often miss enough of that chilling period to flower well, if it flowers at all, in the first year. If you find yourself with bulbs that late in the season, your best options are either potting them up and keeping them somewhere cool and dark for a few weeks, like your fridge, to mimic a proper chill before bringing them into growth, or accepting a weaker first-year display and simply treating the bulb as an investment in the following Autumn.
Buy your bulbs early if you want the best choice of variety, since the good specialist ranges sell out of the more unusual colours by October, but store them somewhere cool, dark and dry, ideally in a paper bag rather than sealed plastic, and hold your nerve until the soil has cooled down before you actually get them in the ground.
Tulips want full sun and sharp drainage above almost everything else. They are bulbs bred for mountainous, dry summer conditions in Central Asia, and while our UK climate suits the cool, moist spring growth beautifully, our wet winters and heavy clay soils are where most tulip failures occur.
A tulip bulb sitting in waterlogged soil over winter will rot before it ever gets the chance to flower. So choosing the right conditions is essential. Unlike other bulbs that can tolerate the odd wet winter, Tulips are not one of them!

If you garden on heavy clay, which, let’s be honest, most new build UK gardens do, do not let that put you off tulips altogether. Improve drainage at the planting hole by working in horticultural grit or coarse sand before you set the bulb, or raise the whole bed slightly so water has somewhere to drain to rather than sitting around the bulbs. I have successfully planted tulips in some stubbornly heavy clay gardens over the years simply by bringing in far better drainage than the surrounding soil, i.e., using raised beds or gradients, without needing to overhaul the whole flower bed.
Aspect (the directiojn your garden faces and sunlight levels) matters more with tulips than with most other spring bulbs. A south- or west-facing border that gets a full day of sun will give you sturdier stems and richer colour than a shaded spot, where tulips tend to grow leggy as they stretch towards the light, and the flowers open paler than the label promised. If you are working with a shadier garden, my guide to plants for north-facing gardens covers spring bulbs that tolerate reduced light better than tulips.
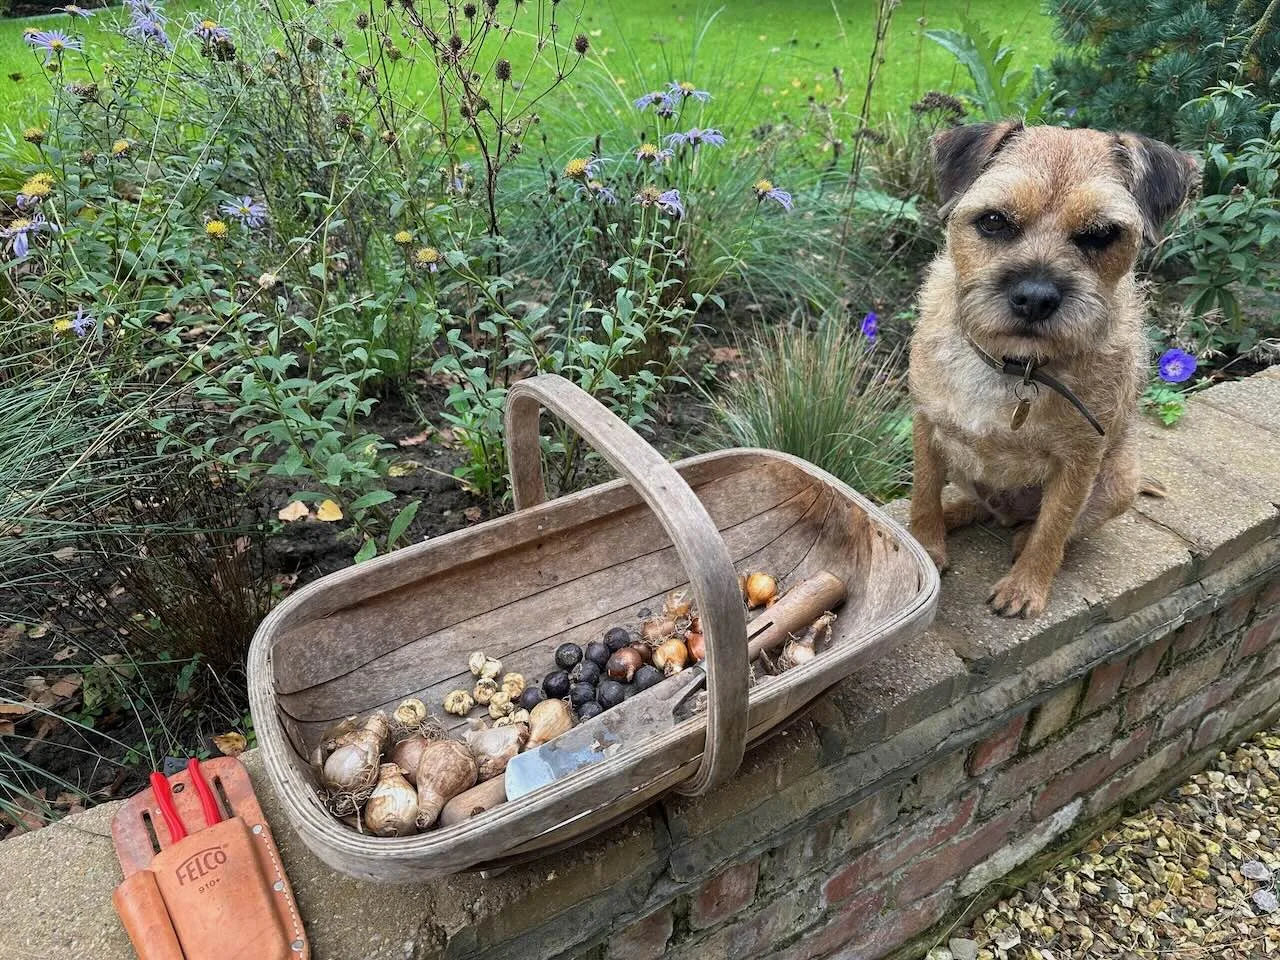
One more site consideration worth flagging before you plant: avoid planting tulip bulbs in the exact same patch of soil every year if you can help it. Tulip fire and other soil-borne fungal problems build up in the ground over successive seasons of the same crop going into the same spot, which is why commercial tulip growers rotate their fields. In a garden border this simply means shifting your main tulip display a metre or two each year, or alternating beds if you have more than one sunny spot to work with.
The actual planting technique is straightforward once you know the depth and spacing to work to, and it is the same whether you are planting a dozen bulbs in a small border or several hundred across a design brief. Here is the process I use on every job.
Dig to three times the bulb’s own height. Most standard tulip bulbs are around 5 to 6cm tall, which puts the base of the hole at roughly 15 to 20cm deep. Planting shallow is the most common mistake I see, and it leaves bulbs exposed to frost heave, where repeated freezing and thawing pushes the bulb up towards the surface over winter, and to hungry squirrels who will happily dig up anything within easy reach.
Improve drainage at the base of the hole if your soil is heavy. A handful of horticultural grit or coarse sand worked into the bottom of the planting hole gives the bulb somewhere for excess water to drain away from, which matters far more for tulips than for most other spring bulbs.
Set the bulb with the pointy end up and the flat end down, and gently firm it into the soil at the base of the hole. If a bulb has no obvious point, which does happen occasionally, plant it on its side rather than guessing. The shoot will still find its way to the surface; it will simply take a slightly more roundabout route.
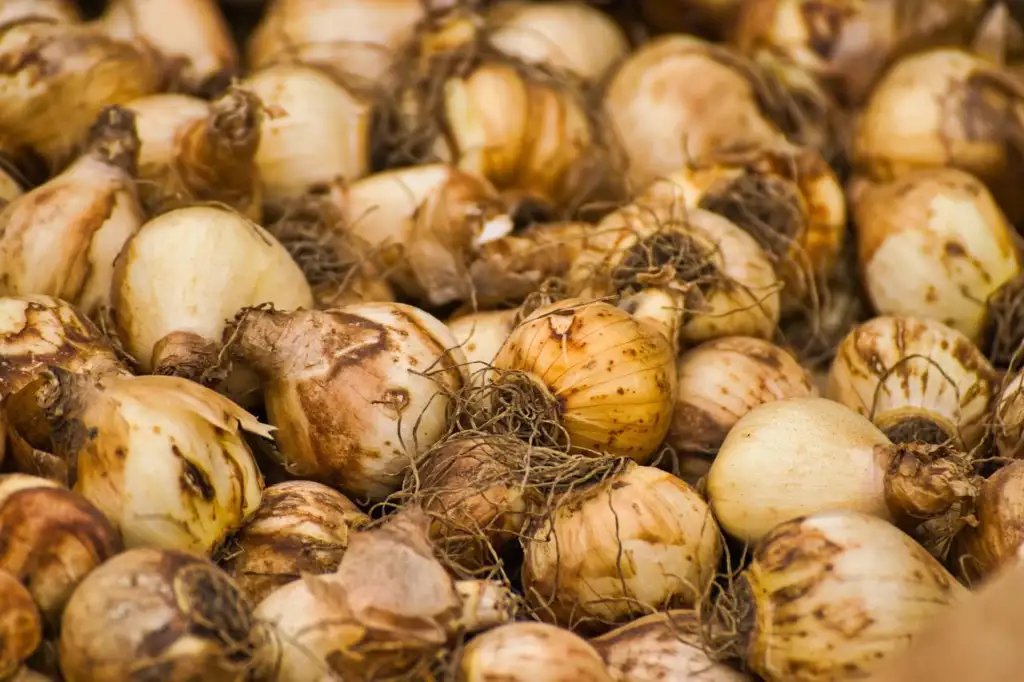
Space bulbs 10 to 15cm apart for a natural, slightly informal look in a border, or place them closer together, almost touching, if you want the dense, saturated colour-block effect you see in show gardens and public displays. Closer spacing uses more bulbs for the same area but the visual impact in April is considerably stronger, which is worth factoring into your budget if a big spring display is the goal.
Backfill and firm gently, then water in once. If the soil is already moist from Autumn rain, there is no need to water again immediately. However, give the bed one good soak straight after planting if conditions have been dry, as this helps settle the soil around the bulb and eliminates air pockets that can otherwise dry out roots before they establish.
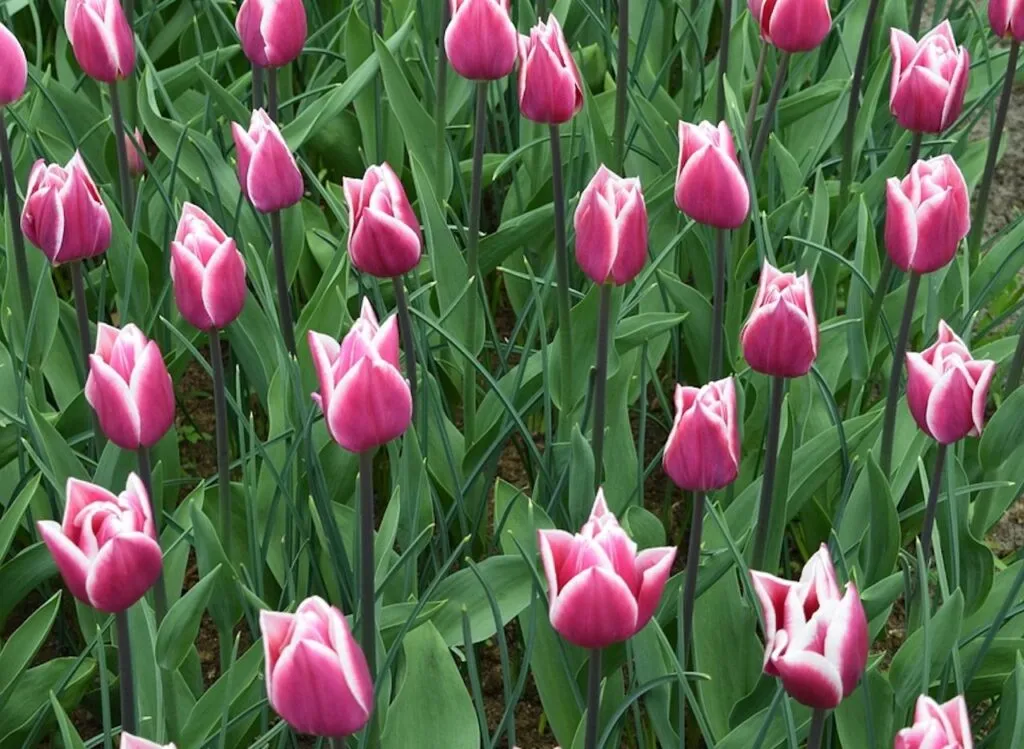
If you would rather watch the whole process than read about it, I cover planting bulbs in borders, containers, and lawns, plus the mistakes to avoid, in this video.
That is all there is to the mechanics of it. Most of the interesting decisions come down to where and how you group tulips for the display you actually want, which is what the next few sections cover.
Tulips are among the most reliable bulbs for container growing, and for many gardens with limited border space, they are a sensible way to get a genuine spring display without committing a whole bed to a few weeks of colour. The principles are the same as border planting with a couple of container-specific adjustments.
Choose a pot at least 30cm in diameter for a proper display rather than a token handful of bulbs, and make sure it has drainage holes, since waterlogging in a container kills tulip bulbs faster than almost anything else. Use a good-quality peat-free multi-purpose compost, ideally with some horticultural grit mixed through the lower half for extra drainage. You can plant bulbs slightly closer together in a pot than you would in open ground, almost shoulder-to-shoulder, since a container display is meant to look full and generous rather than naturalistic. For the full compost mix, depths and what to do after flowering, see my guide on how to plant bulbs in pots.
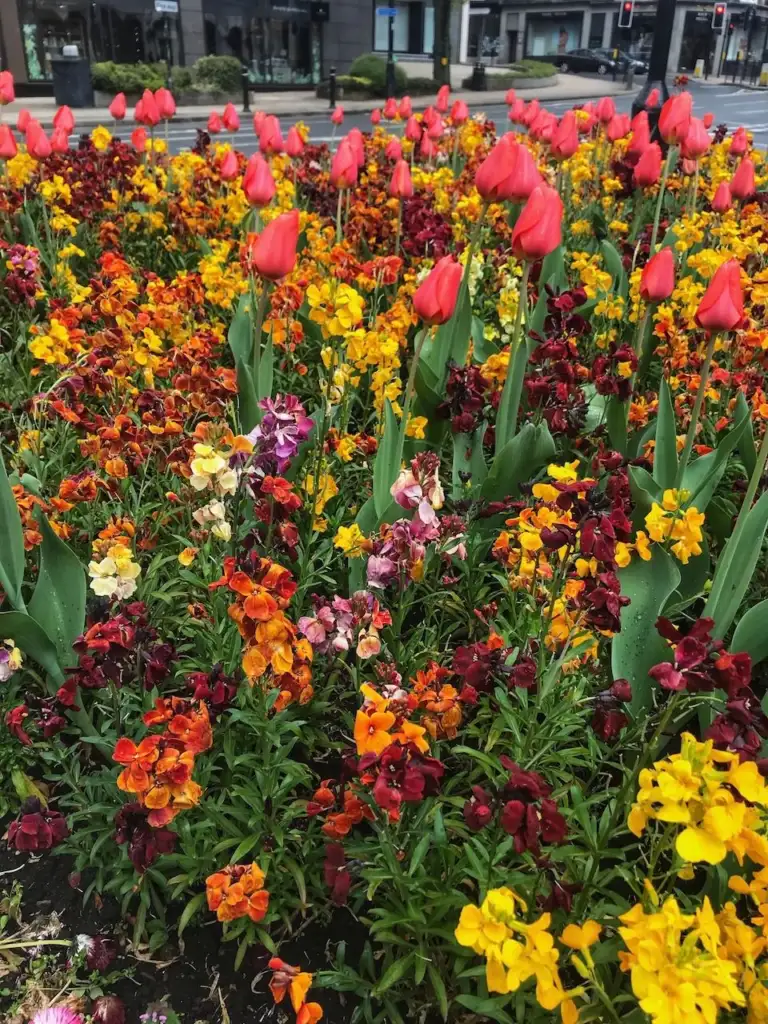
For real impact in a single pot, the bulb lasagne method is worth learning properly rather than just planting one layer of tulips. I have written a full guide on how to plant a bulb lasagne, layering tulips with earlier-flowering bulbs like crocuses and muscari beneath them, so a single pot gives you weeks of continuous colour rather than one short burst.
Container-grown tulips are more exposed to hard frost than bulbs in open ground, since a pot has far less thermal mass than a border. In a hard cold spell, it is worth moving pots against a sheltered wall or wrapping them in horticultural fleece rather than leaving them fully exposed on an open patio.
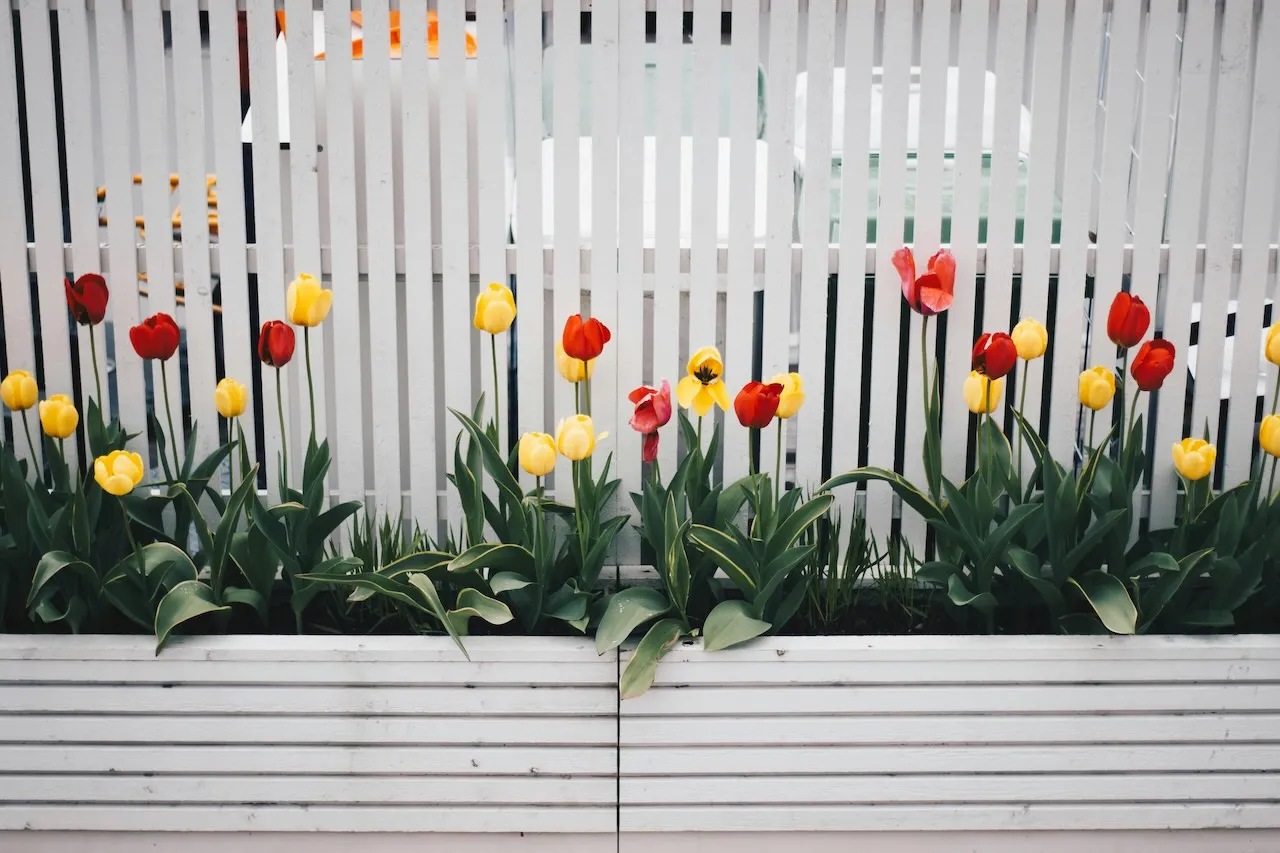
There is another, less-talked-about reason I plant most of my own tulips in containers rather than planting them straight into a border. Once tulips have finished flowering, the foliage goes through a properly scruffy few weeks, yellowing and flopping while it dies back, and there is no tidy way to hide that in an open bed without disturbing the bulb. In a pot, you can simply move the whole display somewhere out of view once the show is over, rather than staring at collapsing leaves in a prime spot for a month.
Containers also solve a problem specific to tulips that many gardeners run into without realising why. Many of the big, showy hybrids gradually lose their bred colouring over a few seasons and revert towards a duller, more muted mauve or pink, since that is closer to the wild parentage underneath the breeding. It is not a sign you have done anything wrong; it is simply how tulip genetics work over time, and it happens whether the bulbs are in a border or a pot.
The difference with containers is that swapping out a tired, reverted display for fresh bulbs is a five-minute job rather than having to dig over and replant an entire bed. I treat most of my container tulips as a one- or two-year display for exactly this reason, then start again with new bulbs, which keeps the colour scheme sharp rather than watching it slowly drift towards mauve every April.
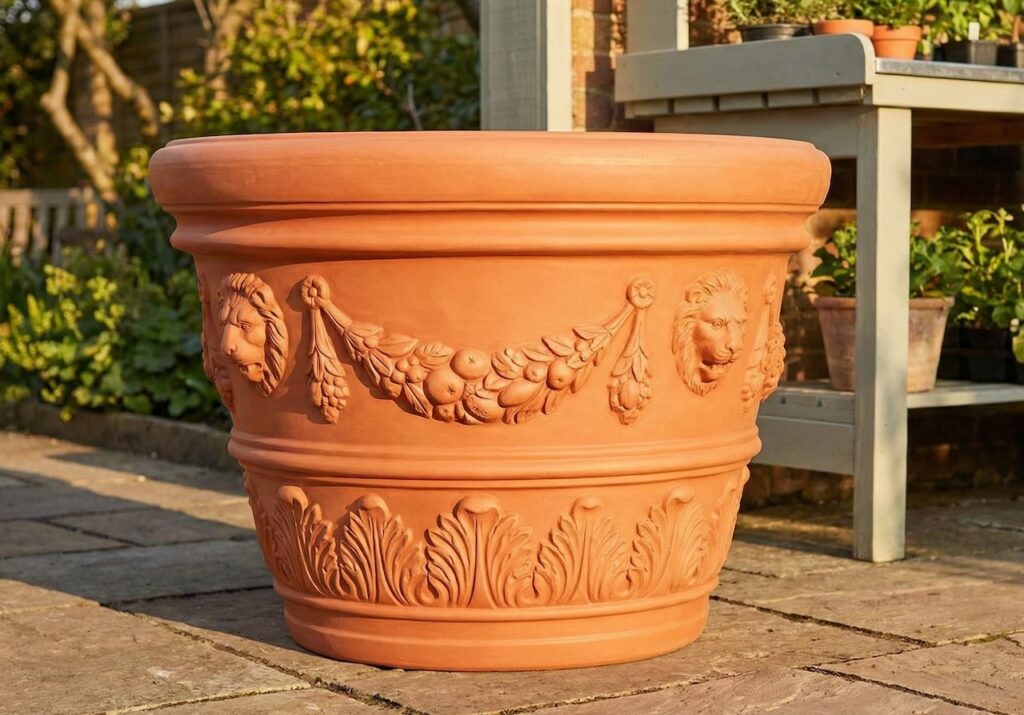
If you are choosing new pots for this, it is worth going a size up from what you think you need. A shallow, narrow pot dries out fast and does not give the roots much room, while a generous, well-proportioned planter holds moisture better and looks more substantial once the tulips are in full flower.
🛒 Shop planters and plant pots at Primrose
Naturalising is the practice of planting bulbs so they establish and spread with a natural, unplanned look, like the drifts you see under trees or through longer grass in a proper cottage garden or parkland setting. Not every tulip is suited to this, and it is worth being realistic about which types actually perennialise reliably before you plant a whole border expecting a self-sustaining meadow effect. If it is the shady woodland drift you are after, English Bluebells are the classic choice, and my guide to English vs Spanish bluebells explains how to buy the right ones.
Species tulips, sometimes labelled botanical tulips, are by far the best choice for reliable naturalising. These are the smaller, closer-to-wild forms of tulip, and because they have not been bred for the same degree of oversized, hybridised flowers as the classic Darwin and Triumph groups, they put more energy into building up the bulb each year rather than into a single spectacular but exhausting bloom. Planted in a sunny, well-drained spot and left undisturbed, species tulips will reliably come back and slowly clump up year after year, which is not something you can rely on with most of the large-flowered hybrids.
If you want a naturalistic, informal look, scatter the bulbs by hand across the planting area and plant them roughly where they land rather than working to a rigid grid. This is the same technique I use for daffodils and crocuses when naturalising in grass, and it avoids the slightly artificial rows that come from planting in straight lines. For borders, group tulips in odd-numbered clusters of five, seven or nine rather than dotting single bulbs about, since clumps read far better from a distance than scattered individuals.

If colour planning is part of what you are working through, my spring bulbs by colour guide organises tulips and other spring bulb varieties by hue, making it far easier to put together a border scheme that actually holds together rather than a random mix of whatever was left on the shelf in November.
There are around fifteen recognised groups of tulips, but for most gardens the choice comes down to four practical categories, and knowing which one suits your situation makes far more of a difference to the final display than agonising over individual colours.
These are the naturalising types covered above, shorter in height, more delicate in flower, and considerably more reliable at coming back year after year than the large hybrids. Good for rockeries, gravel gardens, the front of a border, or genuine naturalising where you want minimal ongoing input. Tulipa ‘Little Beauty’ is one I use regularly on client jobs for exactly this reason: a compact species tulip with rich magenta flowers and a dark blue centre, well suited to pots as well as open ground.
🛒 Buy Tulipa ‘Little Beauty’ from Primrose
This is the classic tulip shape most people picture: tall, sturdy stems with a single cup-shaped flower, and it is the group with the widest colour range and the best track record for repeat flowering among the larger hybrids. Darwin hybrids are my usual recommendation for a client who wants a reliable, strong border display without the fuss of annual replanting, since they perennialise noticeably better than the Triumph and Double groups.
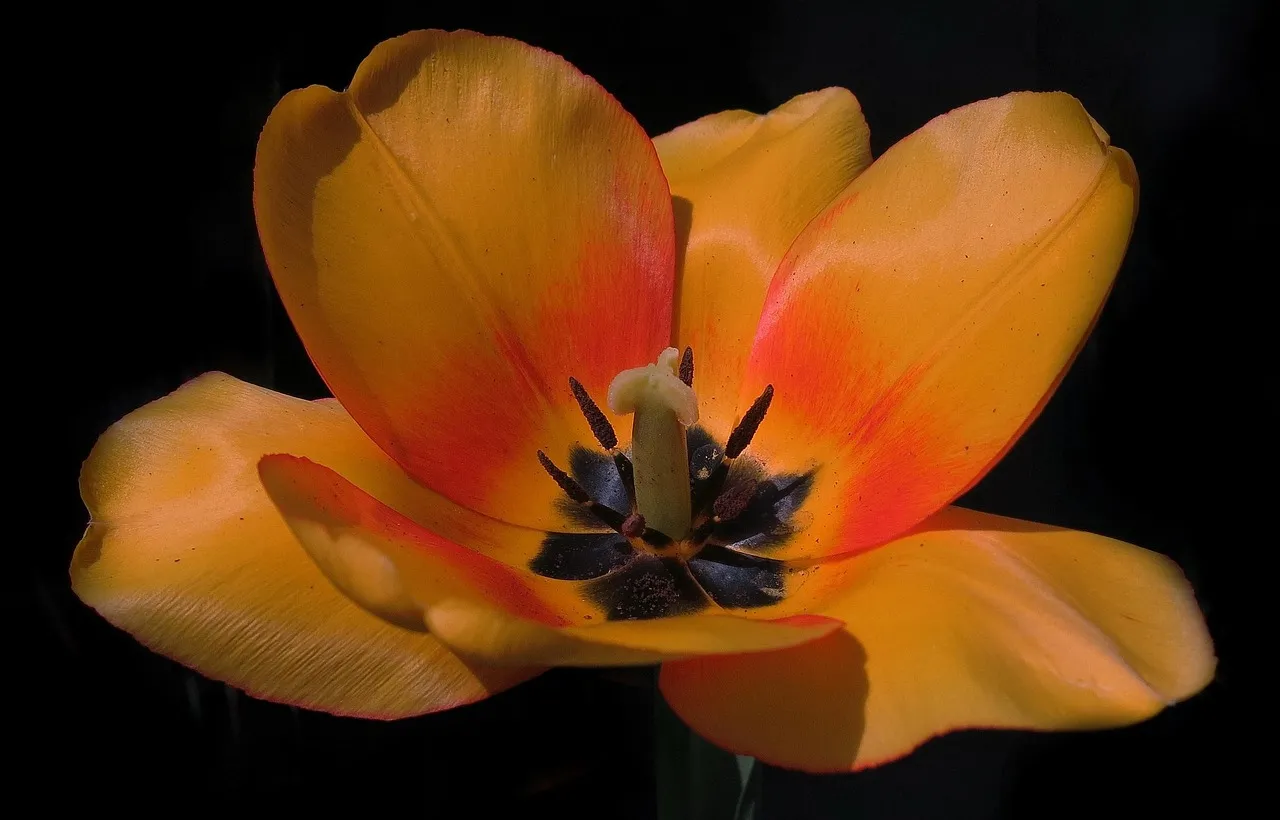
These are the showstoppers, with layered, ruffled flowers that closely resemble peonies from a distance, and they are outstanding as cut flowers for the house. The trade-off is that they perennialise less reliably than species or Darwin types and are more prone to flopping in wet weather because of the extra weight in the flower head, so I tend to treat these as a one- or two-season display rather than a permanent border fixture. Tulipa ‘Charming Beauty’ is a golden apricot double late variety worth trying if you want that peony effect without going fully into pink.
🛒 Buy Tulipa ‘Charming Beauty’ from Primrose
If you would rather not choose individual varieties, a curated collection takes the decision-making out of your hands while still giving a considered colour scheme rather than a random mix. I recommend Primrose’s Royal Tulip Collection for a classic, coordinated border display, and their Award-Winning Vibrant Species Tulip Collection where naturalising and reliable perennial performance are the priority over one big spring show.

🛒 Buy the Royal Tulip Collection from Primrose
🛒 Buy the Award-Winning Vibrant Species Tulip Collection from Primrose
Beyond the four broad types above, a handful of individual cultivars come up again and again in client briefs and on my own planting lists, for good reason. These are the varieties I would point a first-time tulip grower towards if they wanted proven, reliable colour rather than a gamble on something untested.
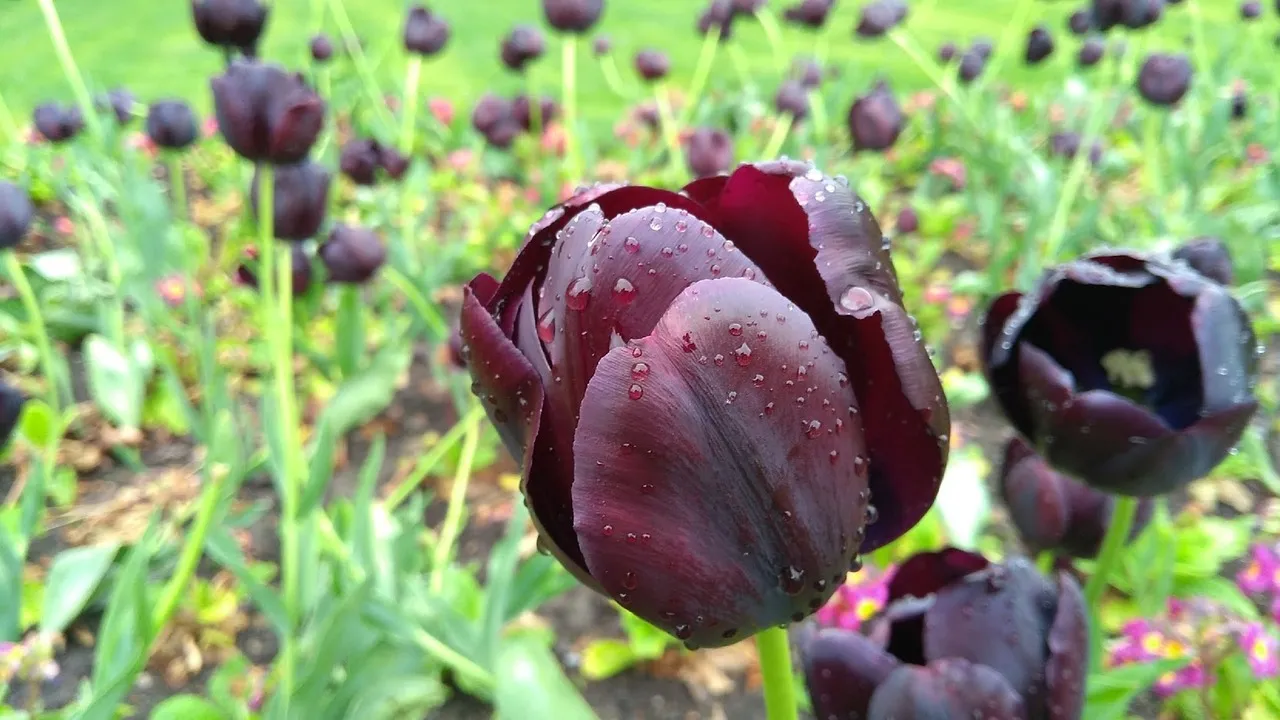
The closest thing to a black tulip you will find, ‘Queen of Night’ opens a deep, velvety purple that reads almost black in low light and softens to plum in full sun. It holds an RHS Award of Garden Merit, stands on sturdy 55 to 60cm stems that shrug off wind and rain, and is one of the more reliable single late tulips for coming back a second year. I use it constantly in border designs where a client wants drama and depth rather than another bright primary colour, pairing it against silver foliage or pale tulips like ‘Purissima’ for contrast.
🛒 Buy Tulipa ‘Queen of Night’ from Primrose
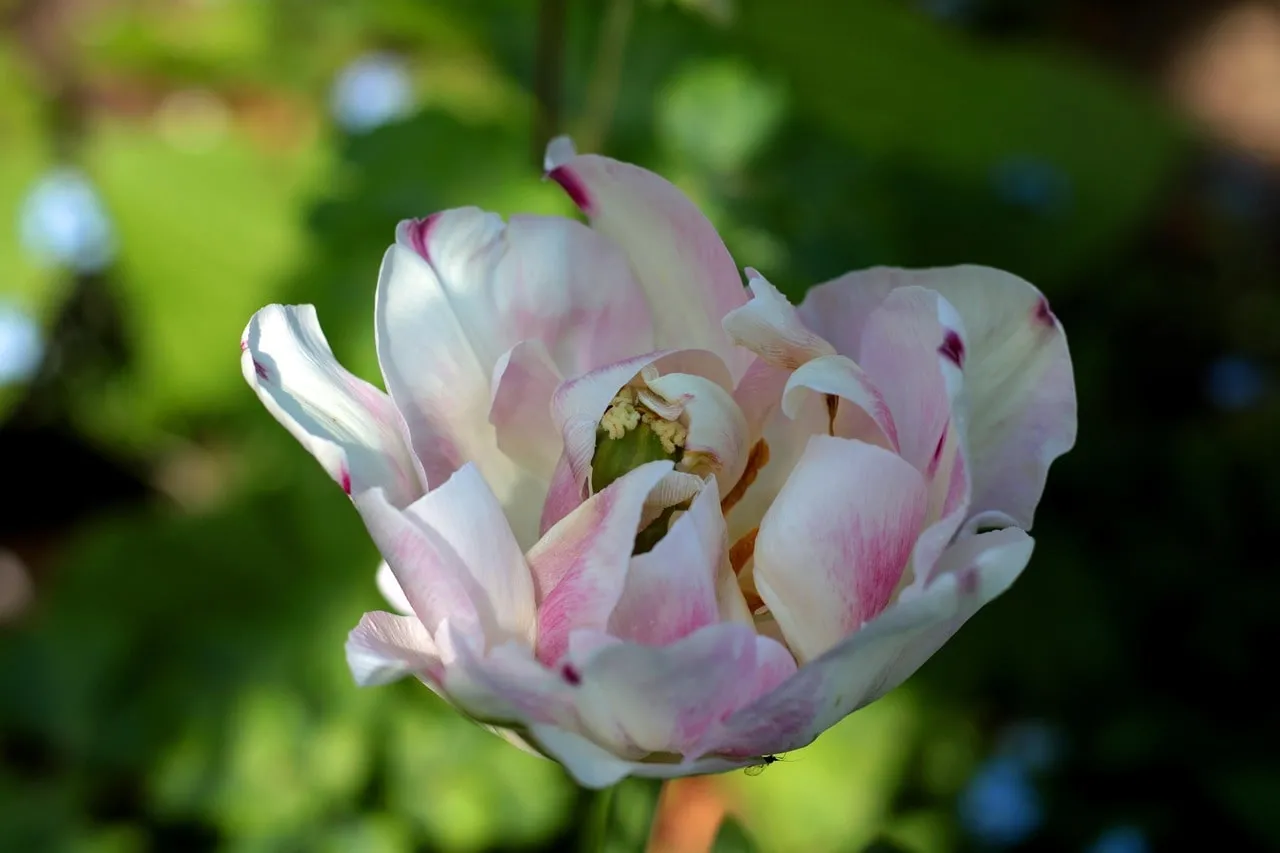
If ‘Charming Beauty’ was your introduction to double tulips earlier in this guide, ‘Angelique’ is the variety most people actually picture when they hear the word peony tulip. The blush pink, densely layered flowers regularly fool visitors into thinking there are peonies in the border weeks before peonies themselves are anywhere near flowering. It is a late-season variety, which makes it useful for extending your tulip display once earlier types have finished, and it is superb as a cut flower for the house.
🛒 Buy Tulipa ‘Angelique’ from Primrose
A lily-flowered tulip with slender, pointed petals in a rich tangerine orange, ‘Ballerina’ is one of the few tulips worth growing for scent as well as colour, with a light, sweet fragrance that carries on a still spring day. The elegant, waisted flower shape reads completely differently from the rounded cup shapes of the Darwin and Triumph groups, making it a useful variety for adding visual variety to a mixed tulip planting rather than relying on shape alone to do the work.
🛒 Buy Tulipa ‘Ballerina’ from Primrose
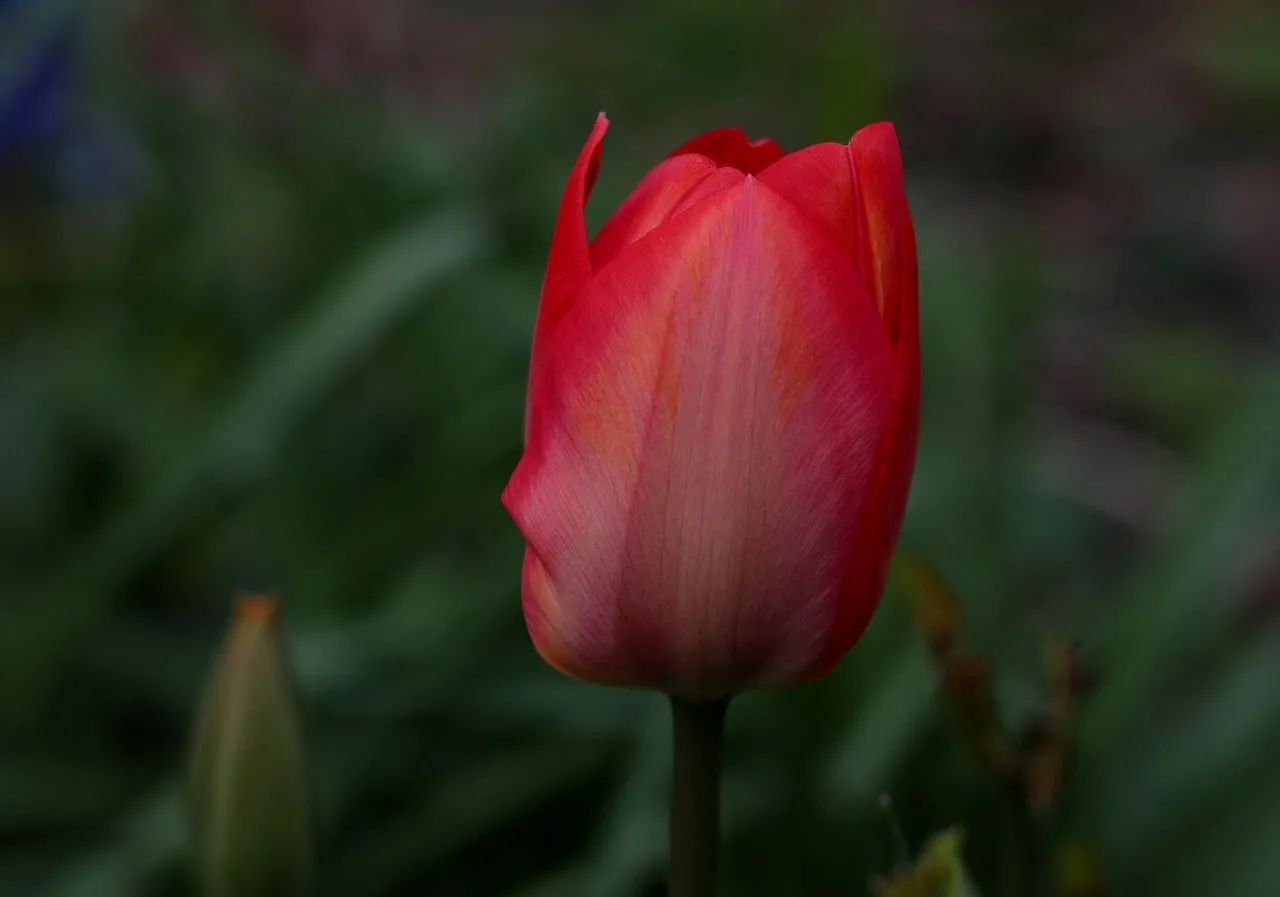
First introduced in 1845 and still one of the best-selling tulips in the UK today, ‘Couleur Cardinal’ earns its staying power. The scarlet flowers carry a plum-coloured flush on the outer petals that only shows properly in direct sunlight, giving them more depth than a flat red bedding tulip. It is an early to mid-season Triumph type on relatively short, sturdy stems, which makes it a good choice for a more exposed garden or a windy balcony where taller varieties tend to flop.
🛒 Buy Tulipa ‘Couleur Cardinal’ from Primrose
What you do once the flowers fade matters as much as the planting itself if you want tulips to come back next spring, and it is the stage most gardeners skip past too quickly.
Deadhead the spent flowers but leave the foliage completely alone. Snap or cut off the flower head once it has finished so the plant stops putting energy into seed production, but the leaves need to stay in place and photosynthesise for at least six weeks after flowering, ideally until they have yellowed and died back naturally. This is exactly the same principle as with daffodils, and cutting foliage back early is one of the most common reasons bulbs fail to flower the following year. Planting alliums nearby is the classic way to hide the fading leaves, and my guide on how to grow alliums covers the best varieties.
Feed while the foliage is still green. A balanced liquid feed or a potash-rich fertiliser applied every couple of weeks while the leaves are still active helps the bulb build up reserves for next year’s flower. Once the foliage has died back completely, feeding provides no further benefit, as the plant is no longer actively growing.
Decide whether to lift the bulbs or leave them in the ground. Species tulips and Darwin hybrids generally cope well when left in place year-round in a well-drained border. Double and Triumph types, and any tulips growing in a spot that stays damp over summer, do better lifted once the foliage has died back, dried off somewhere cool and airy for a few days, then stored in a paper bag in a dry, dark, cool place until it is time to replant in November. Bulbs left in consistently wet summer soil are prone to rotting even if they survived the winter perfectly well.
Tulip fire is the fungal disease mentioned above, characterised by scorched, distorted foliage and spotted or streaked flowers. Late planting in cold soil is your best prevention, but if you spot it, lift and dispose of affected bulbs rather than composting them, since the spores persist in soil and plant debris. There is a good thread on this in the Garden Ninja forum where I have talked through a specific case in more detail.
Squirrels and other rodents will happily dig up freshly planted bulbs, tulips particularly, since they read as a stored food source. Planting to the full recommended depth is the first line of defence, and a layer of chicken wire pegged over the planted area until growth appears in spring is the most reliable extra step if squirrels are a persistent problem in your garden.
Blindness, where bulbs produce leaves but no flower, usually comes down to one of three causes: the bulb was too small or immature when planted, foliage was cut back too early the previous year before the bulb had built up enough reserves, or the bulb has simply exhausted itself after several seasons without being fed or lifted. Buying high-quality, plump bulbs from a reputable supplier and following the aftercare steps above largely avoids this.
Frost damage to emerging shoots in a hard late spring can look alarming, with foliage tips browning or flopping, but tulips are hardier than they look and will usually push on and flower normally once temperatures recover. Only prolonged, severe frost after flower buds have formed causes lasting damage.
A trowel is perfectly adequate for planting a few dozen bulbs in a pot or a small border, but if you are working through a larger area, the difference a proper long-handled bulb planter makes to your afternoon is considerable. It lets you plant standing up rather than bent double, cuts a clean, consistent depth every time without needing to measure, and speeds the whole job up significantly once you have planted your first fifty or so bulbs and found your rhythm.
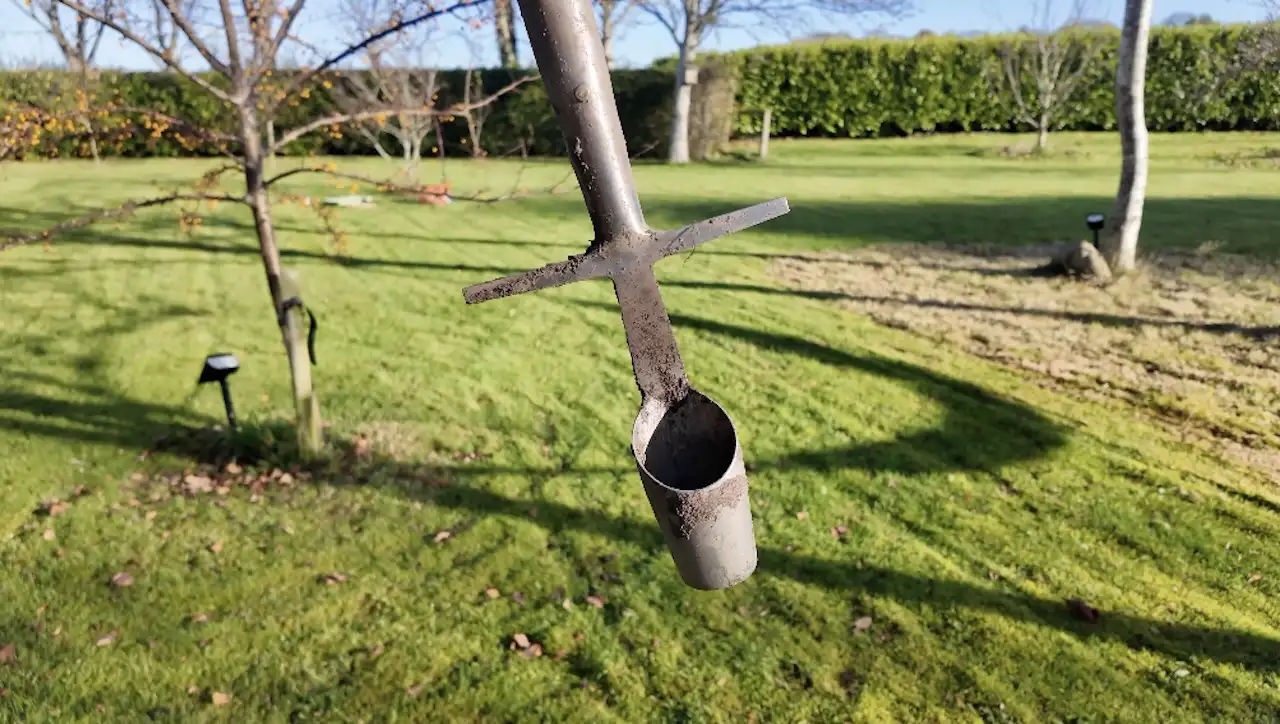
I use the Burgon & Ball RHS long-handled bulb planter for planting in flower beds and pots. The T-grip gives you real leverage and the tread on the footplate means you can put your full body weight behind each cut, which matters when you are working through turf or compacted clay rather than loose, freshly dug border soil.
🛒 Buy the Burgon & Ball RHS Long Handled Bulb Planter on Amazon
If you are also planting a wider mix of spring bulbs at the same time, my guide to the fastest way to plant bulbs covers the technique and a super-speedy Sneeboer bulb planter for naturalising tulips in lawns, which is worth a look if you are planting through turf or planting hundreds of tulip bulbs across a larger garden.
November, two to three weeks after the first hard frost in your area, is the best time to plant tulip bulbs. This is later than most other spring bulbs, and it is deliberate, since colder soil significantly reduces the risk of tulip fire disease.
Plant tulip bulbs at three times their own height, which works out to roughly 15 to 20cm deep for a standard-sized bulb. Planting too shallow leaves bulbs exposed to frost heave and to squirrels.
Species tulips and Darwin hybrids can generally stay in the ground year-round in well-drained soil. Double and Triumph types, and any tulips in soil that stays damp over summer, do better lifted once the foliage dies back and stored somewhere cool and dry until November.
The most common causes are foliage being cut back before it has died down naturally, bulbs sitting in waterlogged soil over summer, small or immature bulbs that never had the reserves to flower a second time, or simply choosing a double-flowered variety, which does not perennialise as reliably as species or Darwin Hybrid types.
Yes, tulips are one of the most reliable bulbs for containers. Use a pot at least 30cm across with good drainage holes, a peat-free compost with added grit, and plant bulbs slightly closer together than you would in open ground for a fuller display.
Yes, tulip bulbs are a particular target for squirrels and other rodents. Planting to the full recommended depth helps, and pegging chicken wire over freshly planted areas until spring growth appears is the most reliable extra protection.
No, as long as the ground is not frozen solid. Bulbs planted in January or early February will usually still flower that spring, just a little later and less vigorously than bulbs planted on time in November. By March, the success rate drops off considerably, since the bulb misses too much of the cold period it needs to root properly before shooting.
For a natural look, plant one bulb per hole spaced 10 to 15cm apart, or use a wider planting hole and group three to five bulbs together for an instant, fuller clump. Both approaches work; the difference is simply how quickly you want the display to look established.

Join over 100,000 gardeners on YouTube
Free gardening videos from the Garden Ninja, with 8 million views and counting.
Subscribe on YouTube, it’s freeGetting tulips planted properly is one part of a much bigger picture: figuring out what to plant them with, how to plan a border that holds together throughout the season rather than just in April, and how to make a spring display earn its place in a garden the rest of the year. That is exactly what my courses walk you through, starting from just £29.
For the garden you’ve already got, not the one you’re starting from scratch. Seven checklists and video lessons from BBC Garden Rescue’s Lee Burkhill, designed to help you decide what’s worth keeping before you spend a penny.
Garden Design Examples for Small Gardens: 30 Design Templates & Planting Plans: In this online gardening course, I’ll walk you through 30 fantastic garden designs, explaining the logic behind the layout and plant choices, plus take-home tips for applying them in your own garden.
Learn how to transform and design your garden with Lee Burkhill’s crash course in garden design. In over 5 hours, Lee will teach you how to design your dream garden. Featuring practical design examples, planting ideas and video guides. Learn how to design your garden in one weekend!
Garden Design for Beginners Online Course: Want to become a garden designer or design your own garden? This beginner course is for you. Join me, Lee Burkhill, an award-winning garden designer, as I train you in the art of beautiful garden design. Enjoy 20 hours of online study and video lessons, along with quizzes and a completion certificate.
Tulips reward a bit of patience more than any other spring bulb. Waiting until November to plant, digging deep enough, and choosing a sunny, well-drained spot solve the vast majority of problems before they start. Beyond well-drained soil, the main decision is simply whether you want a one-season showstopper from a double-flowered variety or a proper perennial one-season-only species tulip, since the proper approaches call for slightly different aftercare and expectations.
Whichever route you take, get your order in early for the best choice of variety, then hold your nerve and wait for that first proper frost before you actually plant. It is the one piece of advice from this guide that makes the biggest difference to how your tulips perform.
Happy gardening, and here’s to a proper display of colour come April. If you have a tulip question this guide has not covered, drop it in the forum, and I will get back to you.


Lee Burkhill, known as the Garden Ninja, is an award-winning garden designer and horticulturist with over 30 years of gardening experience and 15 years as a professional garden designer. A qualified RHS (Royal Horticultural Society) professional, Lee specialises in sustainable garden design and practical horticultural advice. He designs and presents on BBC1’s Garden Rescue and in leading gardening publications. Lee combines three decades of hands-on gardening knowledge with professional design qualifications to help gardeners create beautiful, functional outdoor spaces.
View all posts by Lee Burkhill






JOIN THE NINJAS

Be the first in line for new Guides, Discount codes and Offers