For the garden you’ve already got, not the one you’re starting from scratch. Seven checklists and video lessons from BBC Garden Rescue’s Lee Burkhill, designed to help you decide what’s worth keeping before you spend a penny.
69


Quick Answer
A bulb lasagne layers spring bulbs in one deep pot, with the largest at the bottom and the smallest on top, for flowers from February to May. Plant it in autumn in a pot at least 40cm deep with gritty compost. It flowers well in the first spring, then often declines, so single-variety pots give more reliable results.
You know what gets me every autumn? Those glossy gardening magazines showing pristine pots stuffed with layer upon layer of spring bulbs, promising you’ll have continuous flowers from February through May. Instagram is awash with them. YouTube tutorials multiply like rabbits. Everyone’s at it, stacking Tulips, Daffodils and Crocuses like they’re building some horticultural wedding cake.
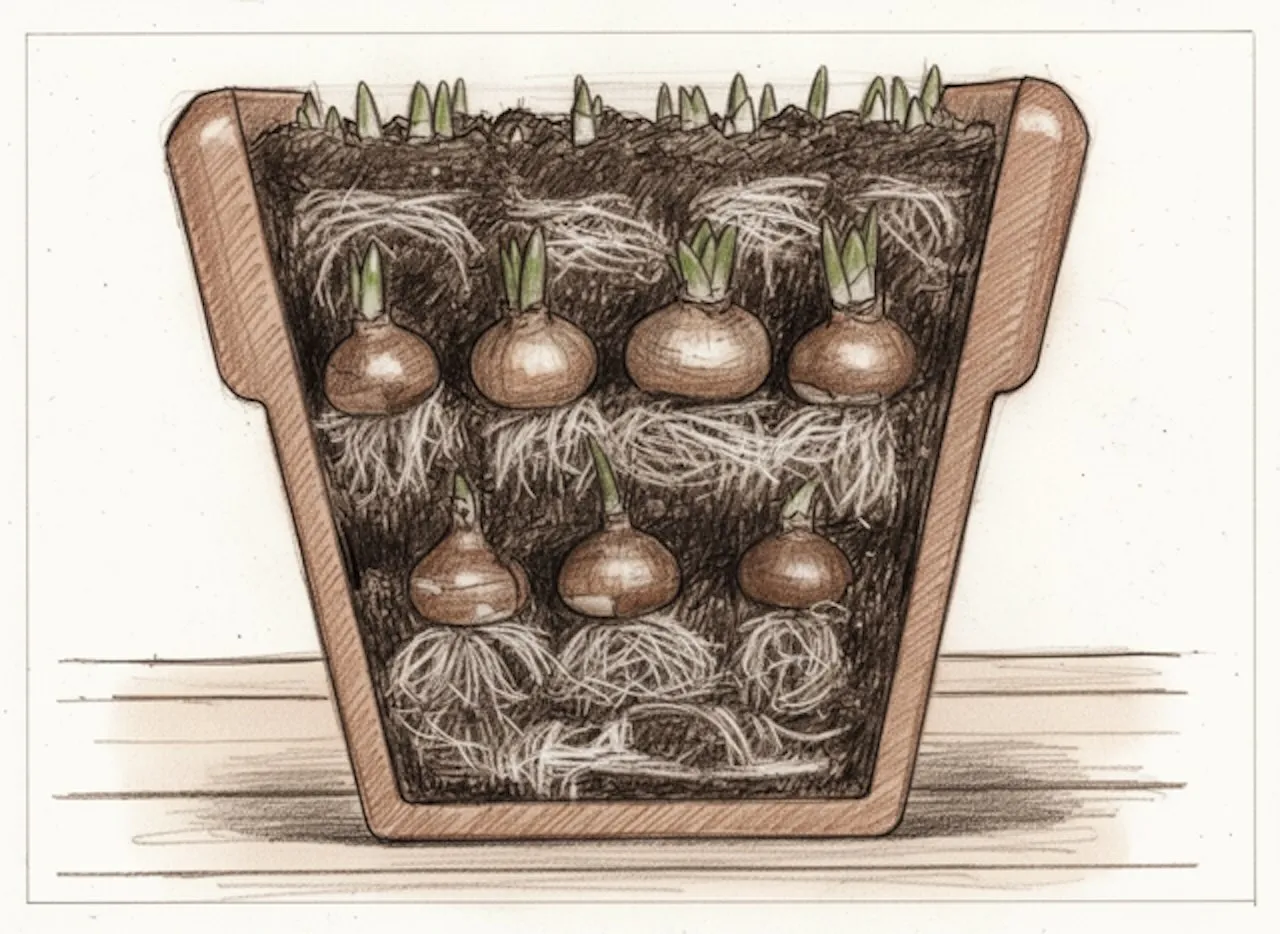
Well, here’s my confession after 30-odd years of getting my hands dirty in the garden: bulb lasagnes are absolutely rubbish. Before you think I’m just being a contrary Mary, let me walk you through how to actually create one of these things, and then I’ll explain exactly why I think they’re one of the most overrated techniques in container gardening. More importantly, I’ll show you three far better alternatives that’ll give you stunning spring displays without all the faff.
Jump To
This page contains affiliate links for products I use and love. If you take action (i.e. subscribe, make a purchase) after clicking a link, I may earn some gardening commission which helps me keep the Garden Ninja Blog free for all.
A bulb lasagne is where you layer bulbs in a container on top of each other in ‘sheets’ a bit like you would a regular lasagne. They appeal to people who want to get as many spring flowers as possible, and so someone invented this layering approach. If you would rather keep things simple, my guide on how to plant bulbs in pots covers the standard single layer method.
The concept seems foolproof. You’re essentially cramming multiple layers of different spring bulbs into one deep pot, with the largest planted deepest and progressively smaller varieties layered above. The idea is that they’ll all push through the layers above them, creating weeks of successive blooms in a single container. Maximum flowers, minimum space. What’s not to love?
In theory, you get:
It’s like planning a four-month party in a pot.
The reality is like inviting 50 people to a dinner party in your bathroom. Sure, they’ll all fit if you squeeze them in, but nobody’s going to have a good time. They may turn up once, but they subsequently fail to come back each year. They’re too crammed, too hungry for nutrients or completely bone dry.
Despite my feelings about them, I’m going to show you the proper technique. If you’re determined to try this, you might as well do it properly rather than bodging it, and for the first year, you will get some success and if you’re new to gardening, it may be the dip your toe in the water exercise you need in spring bulbs!
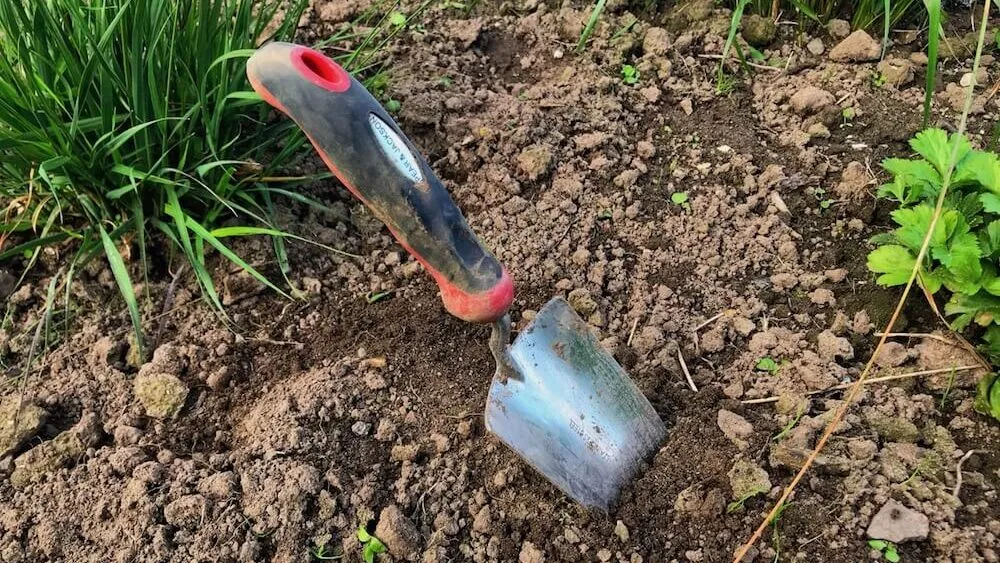
Two tools make the job easier. A hand trowel does the mixing, scooping and firming for every layer, and a stainless steel bulb planter cuts neat holes to the right depth when you tuck bulbs in between the plants in the pocket method I describe below.
🛒 Buy the Spear & Jackson Neverbend stainless hand trowel from Amazon UK
🛒 Buy the Spear & Jackson stainless steel bulb planter from Amazon UK
Check that your pot has adequate drainage holes. This is essential because you’re about to create the botanical equivalent of the London Underground at rush hour, and the last thing these cramped bulbs need is to be sitting in water.
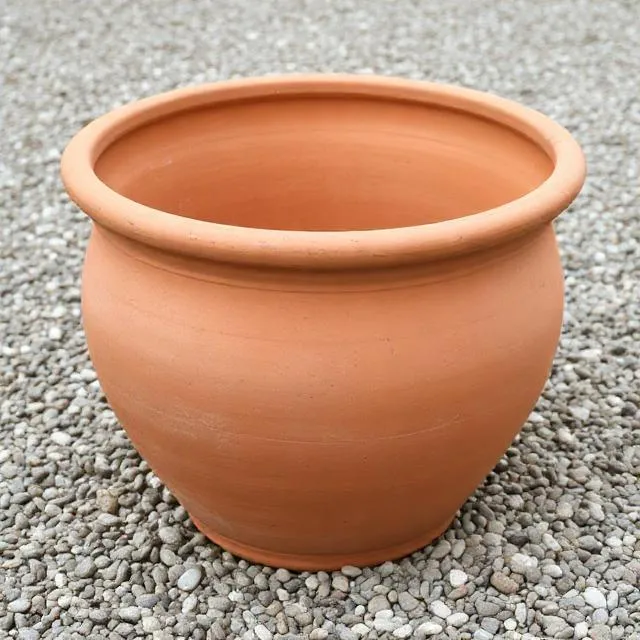
Here’s where I’m going to save you some hassle. Forget about adding crocks, broken terracotta, or stones to the bottom of your pot. It’s pointless. The theory that they improve drainage is a complete myth that’s been scientifically debunked. What actually happens is you create a perched water table where water sits in the compost just above the crocks rather than draining through. You’re making drainage worse, not better. Just make sure your pot has decent holes and you’re sorted.
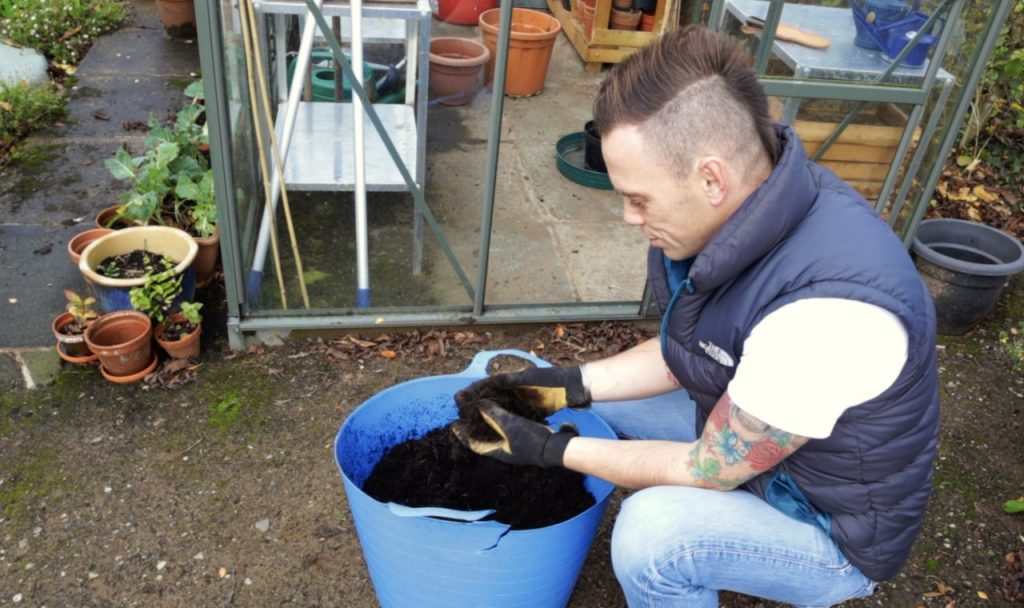
Combine your peat-free multipurpose compost with horticultural grit at roughly a 70:30 ratio. This does improve drainage by creating air pockets throughout the compost. Add about 5-8cm of this mixture to the bottom of your pot.
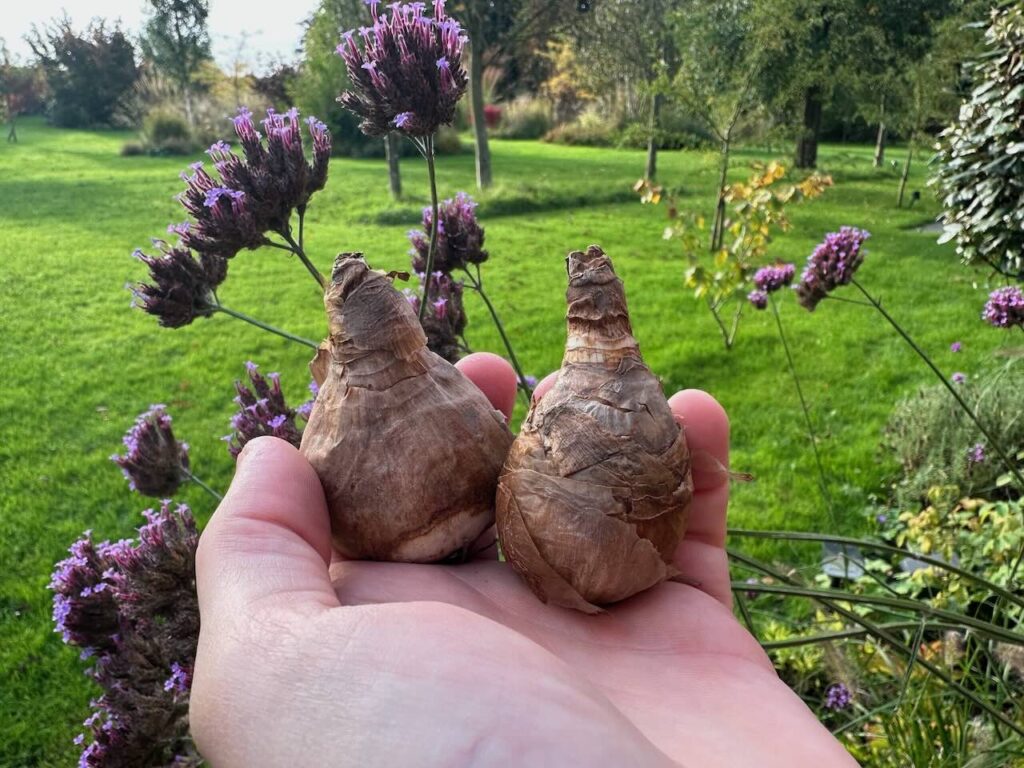
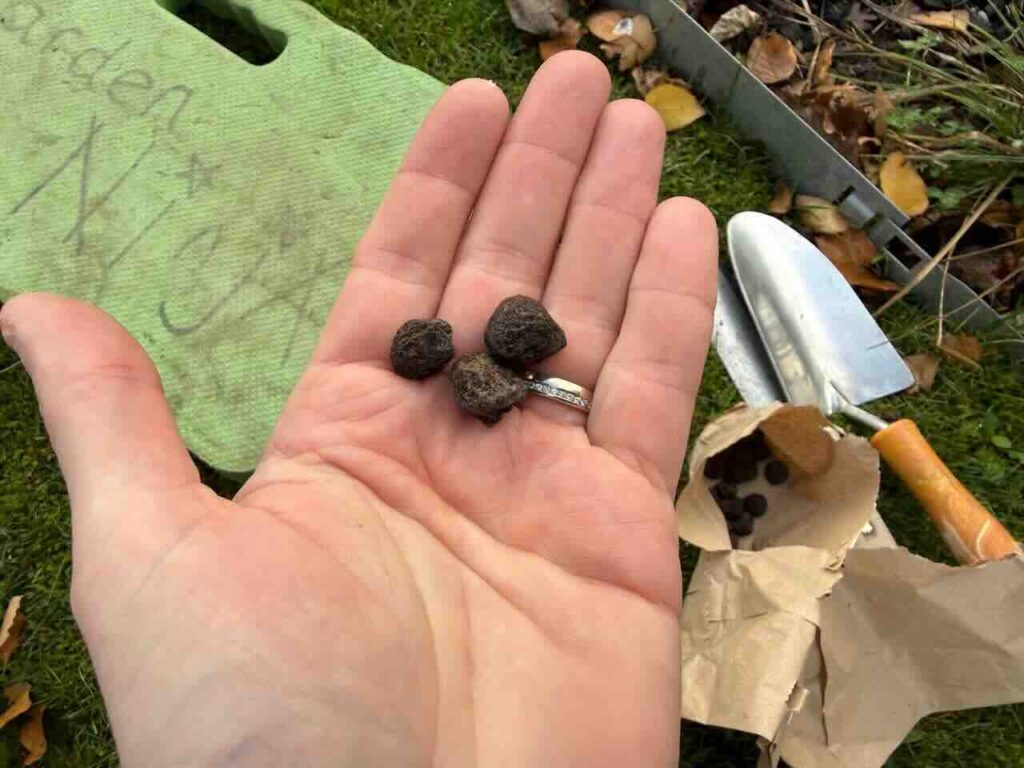
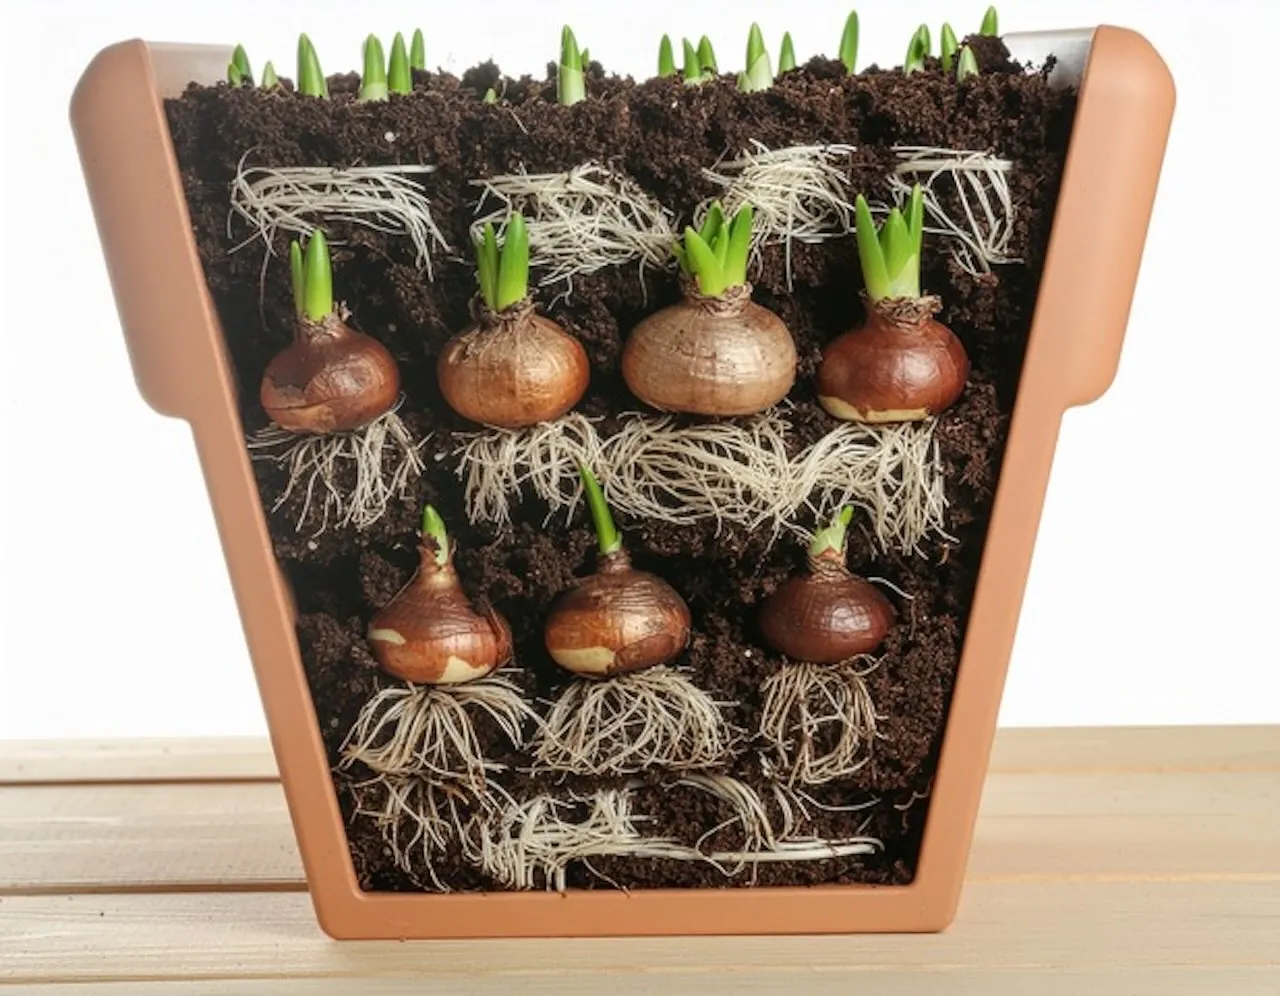
If you plant a lasagne anyway, the choice of bulbs decides whether it works. Pair bulbs by flowering time as well as size, so each layer finishes before the next one reaches its peak. Crocuses flower from February to March, Daffodils from March to April and Tulips from April to May, and the depth each one needs lines up neatly with that order.
| Layer | Bulbs to use | Depth from the top of the pot |
|---|---|---|
| Bottom | Late Tulips such as ‘Queen of Night’, large Daffodils | 15 to 20cm |
| Middle | Smaller Daffodils, Hyacinths, Alliums | 10 to 12cm |
| Top | Crocuses, Scillas, Chionodoxas, Grape Hyacinths | 5 to 7cm |
Choose firm, plump bulbs with no soft patches and no blue or green mould, because a damaged bulb at the bottom of the pot cannot be replaced without emptying everything above it. Limit the pot to four or five types of bulb. Every extra type adds another depth to get right and another set of leaves to manage in late spring.
Plant the whole pot in late October or early November. That timing suits Tulips, which are best planted late to reduce the risk of tulip fire, and Daffodils and Crocuses still root well in cool soil. My guides to planting bulbs in pots and to when to plant bulbs in the UK give exact depths and months for each bulb, and the individual guides to Tulips, Daffodils and Crocuses go into more detail on each one.
Once the flowers fade, snip off the dead flower heads and leave the foliage in place. The leaves send energy back down to the bulbs for six to eight weeks, so cutting them early reduces next spring’s flowers. Feed weekly with a high-potash liquid feed until the leaves turn yellow, then remove them. Keep the compost lightly moist and never wet.
After that you have two choices. You can lift the bulbs, dry them and store them somewhere cool and airy until autumn, or you can leave them in the pot and top-dress with fresh compost. Daffodils and Crocuses cope with being left in place. Tulips rarely repeat well in a pot, so treat them as a one-year display and replace them each autumn.
Waterlogged compost is the usual cause. Check that the pot has drainage holes, lift it onto pot feet so water can escape, and empty any saucer after rain. Mixing horticultural grit into the compost at roughly 70:30 keeps air in the mix. Check each bulb before planting and bin any that feel soft.
This points to tulip fire, a fungal disease caused by Botrytis tulipae. Look for distorted leaves, brown spots and fuzzy grey mould in damp weather. The RHS advises removing infected plants straight away and avoiding Tulips in the same soil for at least three years. There is no chemical treatment for home gardeners, so in a pot, replace the compost and start with healthy bulbs.
Cover the surface of the pot with chicken wire or a piece of mesh pegged down at the edges, then remove it when the first shoots appear. Prickly holly clippings laid over the compost also put animals off.
The lower layers fail through waterlogging, overcrowding or bulbs planted at the wrong depth for their size. Offset each layer so the bulbs sit in the gaps between the ones below, and keep the compost damp but never soaking. Tip the pot out the following autumn to see what happened: rotten bulbs point to poor drainage and small, hard bulbs point to overcrowding.
You’re forcing bulbs into an unnaturally cramped space where they’re competing for nutrients, water and room to develop. Yes, they’ll flower that first spring because they’re using stored energy from the bulb itself, but it’s not sustainable. The flowers are often smaller and shorter-lived than bulbs planted with proper spacing. It’s like expecting Olympic performance from athletes living in a phone box.
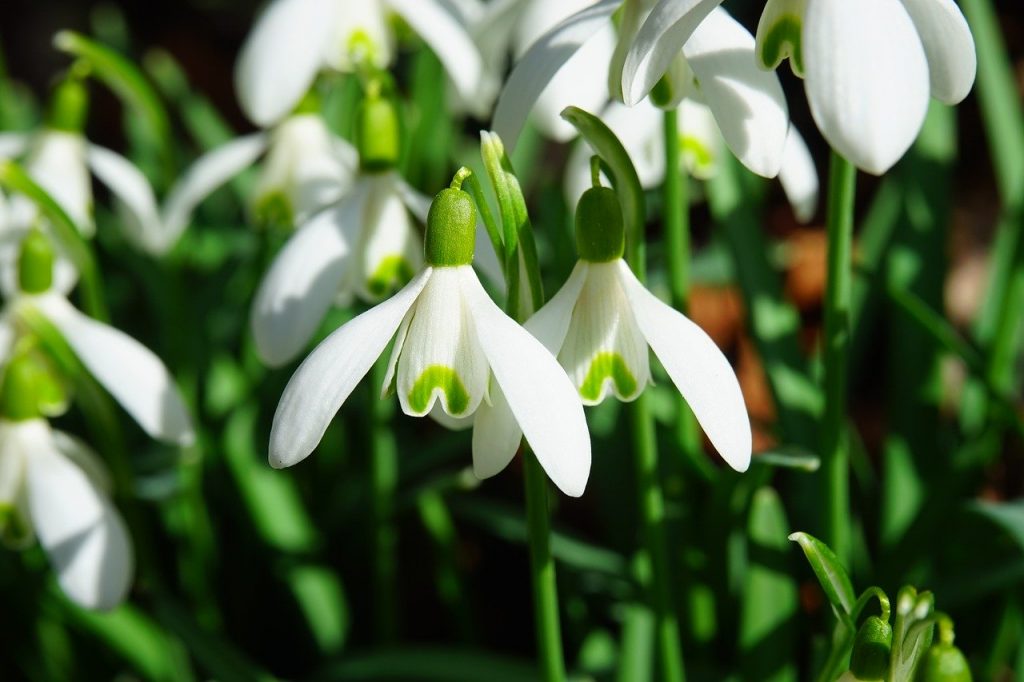
This is the killer for me. Once your Tulips have finished by late May, what are you left with? A container full of dying foliage that you can’t cut back because the bulbs need those leaves to photosynthesise and build up energy for next year. You’ve got this prominent pot in your garden or on your patio looking absolutely dreadful for weeks whilst the foliage yellows and collapses. It’s not exactly the aesthetic dream you signed up for.
The workload is absurd:
Or you accept they’ll perform progressively worse each year until you give up and bin the lot.
Most bulbs won’t reliably rebloom well in containers anyway. Tulips, especially, are notoriously difficult to get to flower well in pots for a second year. Daffodils are better, but even they struggle with the cramped conditions and competition. You’re essentially creating an expensive annual display that requires hours of fiddling about.
I’d rather spend my time creating sustainable, properly low-maintenance container displays that look good for months, not weeks.
OK, so now you know why I loathe bulb lasagnes, but I want to provide some alternatives that work far better and will enable you to spend more time enjoying spring flowers than feeding, lifting and mourning the loss of them!
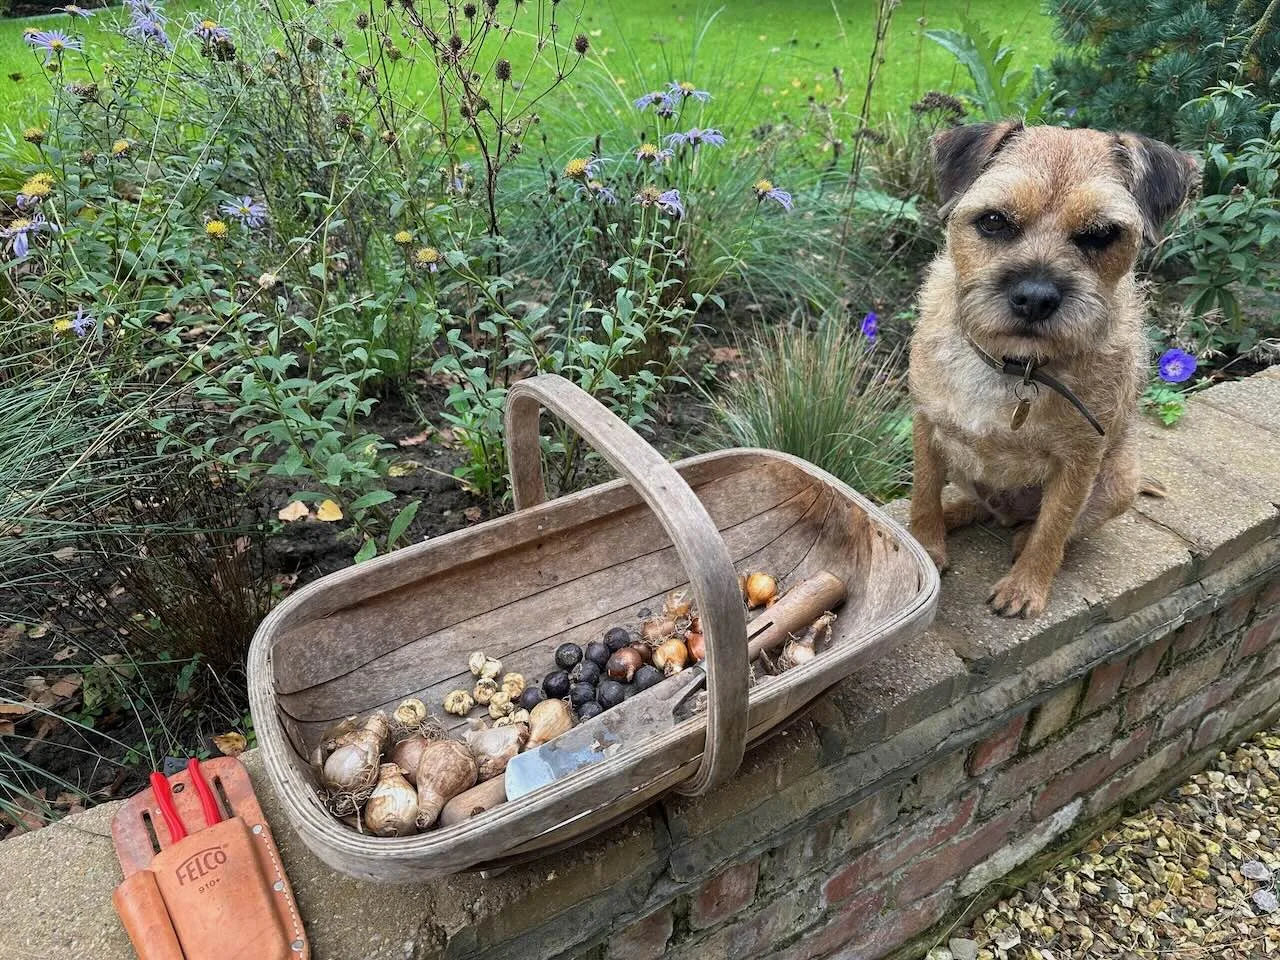
Instead of cramming everything into one pot like horticultural sardines, create a mixed container with permanent perennials and Daffodil bulb planting pockets.
How to create it:
Why this works better:
The bulbs, planted at the right depths from my bulb planting depth chart, flower in spring, giving you gorgeous colour, then as their foliage dies back, your permanent plants fill in and hide the dying leaves. Come summer, your pot still looks brilliant because the structural plants are thriving. You’re not left staring at an empty container.
The bulbs get better growing conditions because they’re not competing with 47 other bulbs for the same square inch of compost. You can feed the whole pot with a slow-release fertiliser in spring that benefits everything. And crucially, you’re not committed to digging everything up and replanting annually.
There’s genuine power in simplicity, something we Brits often forget in our enthusiasm to create the “cottage garden in a container” effect. Use one species of bulb and plant en masse, as in the container below, full of just Tulips. If you go down that route, my guide on how to plant Tulips in pots covers the depth and timing.
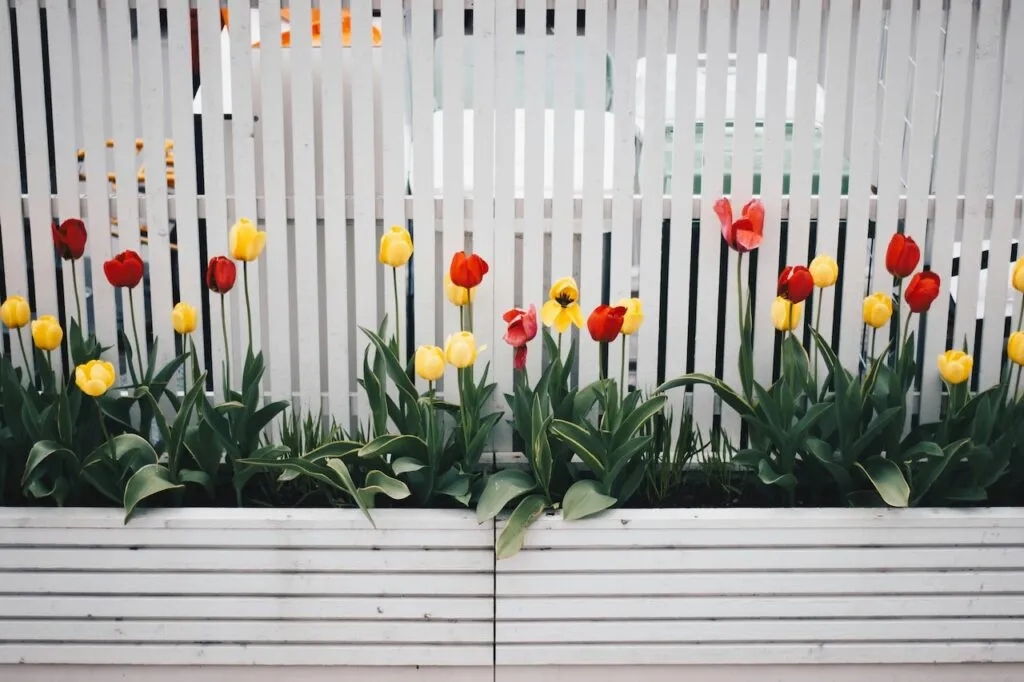
How to create it:
Stunning single-variety combinations:
Once they’ve finished, you can either lift the bulbs and replant the pot with summer bedding, or if you’ve chosen reliable repeaters like certain Daffodil varieties, underplant them with shade-tolerant summer annuals like Impatiens or Begonias that’ll hide the dying foliage.
For more guidance on choosing the right bulbs, check out my other bulb planting guides, where I cover everything from preventing bulb rot to creating succession planting schemes that actually work.
Instead of trying to squeeze four months of flowers into one pot, create a collection of three or four smaller containers, each planted with bulbs that flower at different times.
How to set it up:
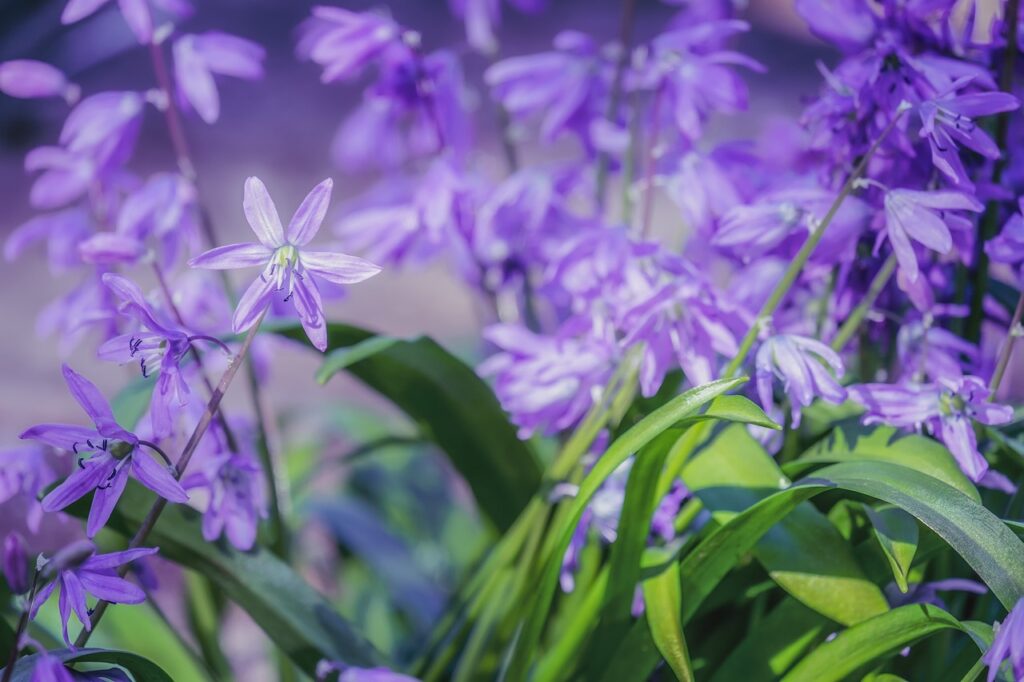
As each pot finishes flowering, simply move it to a less prominent position whilst the foliage dies back, and bring the next pot forward into the spotlight. This gives you all the succession of colour that a lasagne promises, but each type of bulb gets the space, depth and conditions it actually needs to thrive.
The maintenance is far simpler because you’re dealing with one bulb type per pot rather than excavating layers. When it comes time to replant, you can make informed decisions about which varieties performed well and which to replace. If you would like a woodland touch for late April and May, English Bluebells will also grow in a deep pot, and my guide to English vs Spanish Bluebells shows how to make sure the bulbs you buy are the native kind.
| Method | Maintenance | Second Year |
|---|---|---|
| Bulb Lasagne | Very High (weekly feeding, careful watering, complete autumn overhaul) | Poor to moderate (overcrowding impacts rebloom) |
| Perennial Pot with Bulbs | Low (standard care, occasional bulb replacement) | Good (permanent plants thrive, bulbs easily replaced) |
| Single Variety Statement | Low to Moderate (simple replanting if annual) | Variable (depends on type, easier to manage) |
| Staggered Collection | Moderate (multiple pots, simpler per-pot care) | Good (each type gets optimal conditions) |
Look, I understand the appeal. The idea of cramming maximum colour into minimum space speaks to our desire for instant gardening gratification. And yes, that first spring after planting, when everything comes up and flowers together, can look spectacular. I’m not denying that.
But gardening isn’t just about one glorious moment. It’s about creating sustainable displays that don’t leave you with ugly gaps and dying foliage and that don’t require you to become a full-time bulb excavation specialist.
The alternatives I’ve suggested give you all the spring colour and excitement of bulbs without the downsides:

Yes, for one season. The bulbs flower in sequence from February to May because each layer is planted at its own depth. The problems start afterwards, when overcrowding, competition for water and untidy foliage reduce the display in later years. If you want flowers over several springs, single-variety pots or bulb pockets in a mixed container are more reliable.
At least 40cm deep and 40cm wide. That depth leaves room for 5 to 8cm of gritty compost at the base, the bottom layer 15 to 20cm below the rim and a gap of about 2cm at the top for watering. A shallower pot forces the layers too close together and the bulbs compete for the same space.
Plant it in late October or early November. That timing suits Tulips, which are best planted late to reduce the risk of tulip fire, and Daffodils and Crocuses still root well. My bulb planting calendar gives the best month for each type of bulb.
A peat-free multipurpose compost mixed with horticultural grit at roughly 70:30. The grit keeps air in the compost and helps water drain, which matters because bulbs rot in wet compost over winter. Avoid adding crocks to the base of the pot, as they do not improve drainage.
Late Tulips or large Daffodils go at the bottom, smaller Daffodils, Hyacinths or Alliums in the middle, and Crocuses, Scillas, Chionodoxas or Grape Hyacinths on top. Use no more than four or five types so the flowering times overlap without crowding. The layer table above lists the depth for each one.
Water only during a dry spell, enough to keep the compost barely moist. Rain does most of the work outdoors. Standing water is the bigger risk, so lift the pot onto feet and empty any saucer. The bulbs root in cold, damp compost and then rest, so regular watering is unnecessary until shoots appear.
Daffodils and Crocuses can be reused. Leave the foliage until it dies back, then lift the bulbs, dry them and replant them in autumn or put them in the garden. Tulips often decline after the first year in a pot, so most gardeners replace them. Discard any bulb that feels soft or shows signs of rot.
The lower layers usually fail because of waterlogging, overcrowding or bulbs planted at the wrong depth for their size. Check drainage first, then check that each layer sits in the gaps between the bulbs below rather than directly above them. Tipping the pot out the following autumn shows whether rot or crowding was the cause.
No. Crocks, stones and broken terracotta do not improve drainage and can create a perched water table, where water sits in the compost just above them. Make sure the pot has drainage holes, then fill it with gritty compost. My guide on whether pots need drainage holes covers this in more detail.
In a 40cm pot, plan on roughly five to seven large bulbs in the bottom layer, a similar number of medium bulbs in the middle and ten to fifteen small bulbs on top. Space them close but not touching, and offset each layer so the shoots find gaps between the bulbs below.

Join over 100,000 gardeners on YouTube
Free gardening videos from the Garden Ninja, with 8 million views and counting.
Subscribe on YouTube, it’s freeGrowing in pots and containers is one of those beginner gardening skills that builds your confidence and gets you hooked on growing your own. Once you’ve mastered the basics covered in this guide, you’ll find yourself expanding your garden and probably boring your friends with tales of your pots!
If you want to really get to grips with garden design and create an amazing garden, my Garden Design for Beginners online course covers everything from planning beds to plant selection. Prices start from £29, and I’ll show you exactly how to design gardens that are both gorgeous and productive, just like the award-winning designs I create on BBC Garden Rescue. You can find out more about my online garden design courses here.
For the garden you’ve already got, not the one you’re starting from scratch. Seven checklists and video lessons from BBC Garden Rescue’s Lee Burkhill, designed to help you decide what’s worth keeping before you spend a penny.
Garden Design Examples for Small Gardens: 30 Design Templates & Planting Plans: In this online gardening course, I’ll walk you through 30 fantastic garden designs, explaining the logic behind the layout and plant choices, plus take-home tips for applying them in your own garden.
Learn how to transform and design your garden with Lee Burkhill’s crash course in garden design. In over 5 hours, Lee will teach you how to design your dream garden. Featuring practical design examples, planting ideas and video guides. Learn how to design your garden in one weekend!
Garden Design for Beginners Online Course: Want to become a garden designer or design your own garden? This beginner course is for you. Join me, Lee Burkhill, an award-winning garden designer, as I train you in the art of beautiful garden design. Enjoy 20 hours of online study and video lessons, along with quizzes and a completion certificate.
After 35 years of gardening, including my previous life as an IT project manager where I learned that complex solutions aren’t always better solutions, I’ve come to value approaches that are both beautiful and practical.
Bulb lasagnes might look good in magazine spreads, but in real gardens, for real gardeners who’ve got better things to do than spend hours digging up and replanting bulbs annually, they’re simply not worth the effort.
So go ahead and try one if you must. At least now you know what you’re getting into. But don’t say I didn’t warn you when you’re staring at that pot of yellowing foliage in June, wondering why you didn’t just plant some nice perennials with a few well-placed bulbs instead.
Trust me on this one, Ninjas. Sometimes the traditional wisdom needs questioning, and bulb lasagnes are definitely one of those times.
Happy gardening from The Garden Ninja! 🌿


Lee Burkhill, known as the Garden Ninja, is an award-winning garden designer and horticulturist with over 30 years of gardening experience and 15 years as a professional garden designer. A qualified RHS (Royal Horticultural Society) professional, Lee specialises in sustainable garden design and practical horticultural advice. He designs and presents on BBC1’s Garden Rescue and in leading gardening publications. Lee combines three decades of hands-on gardening knowledge with professional design qualifications to help gardeners create beautiful, functional outdoor spaces.
View all posts by Lee Burkhill




You must be logged in to post a comment.


JOIN THE NINJAS

Be the first in line for new Guides, Discount codes and Offers




Incredibly helpful article on bulb lasagnas, and now I will stick to simpler pot plans. Thank you!