For the garden you’ve already got, not the one you’re starting from scratch. Seven checklists and video lessons from BBC Garden Rescue’s Lee Burkhill, designed to help you decide what’s worth keeping before you spend a penny.
69


Quick Answer
To sharpen secateurs, clean the blades, then draw a wetted 1000 grit whetstone along the bevelled outer edge of the cutting blade at 20 to 25 degrees, always working away from the edge, for about two minutes. Take the burr off the flat side with two light passes, never more, then oil the pivot. The whole job takes around five minutes.
Sharp secateurs are the difference between gardening being a joy and being a wrist destroying slog that damages your plants. I learned this the expensive way three decades ago when I lost an entire shrub to disease after making ragged cuts with blunt snips. The infection entered through those torn edges and killed the plant within weeks. I have sharpened my secateurs religiously ever since, and that one habit has quietly outlasted every cheap tool I ever bought before I learned better.
Sharpening secateurs takes about five minutes and transforms them from plant crushing to precision cutting tools. Sharp blades make clean cuts that heal quickly, dramatically reducing disease risk whilst saving your wrists from repetitive strain. Yet most gardeners I meet, whether that is on a client project, in the forum, or on set filming Garden Rescue, treat sharpening as an afterthought and prune everything with secateurs so blunt they are basically just squashing stems rather than cutting them.
Jump to a section
This page contains affiliate links for products I use and love. If you take action, such as subscribing or making a purchase, after clicking a link, I may earn a small gardening commission which helps me keep the Garden Ninja blog free for everyone.
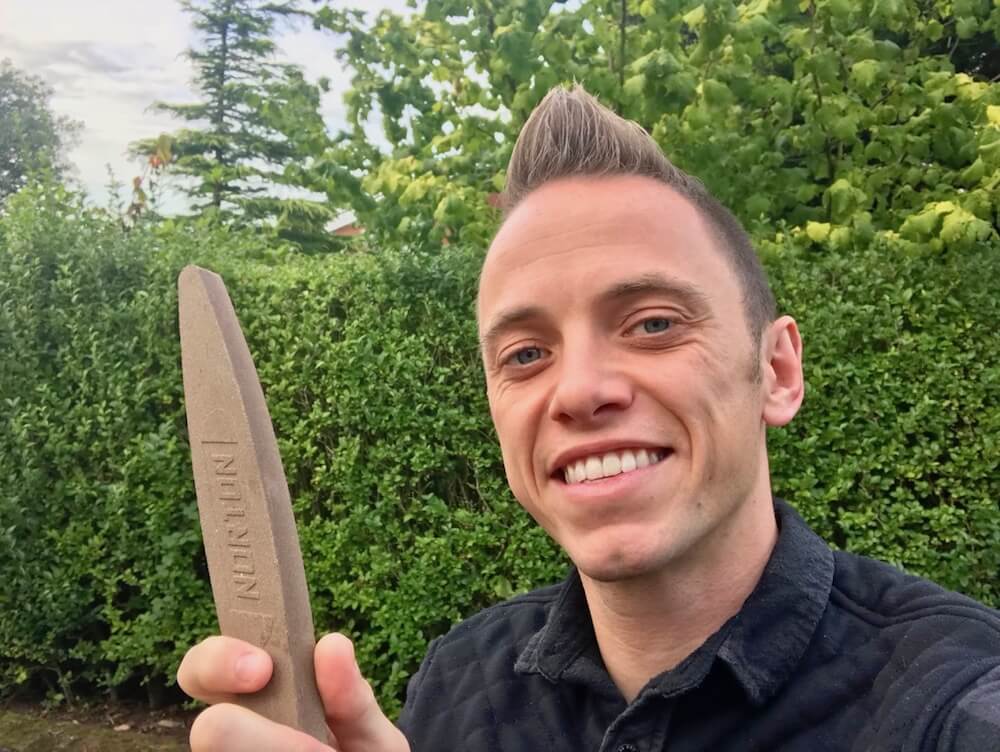
🛒 Buy the Niwaki 1000 grit sharpening stone I use from Amazon UK
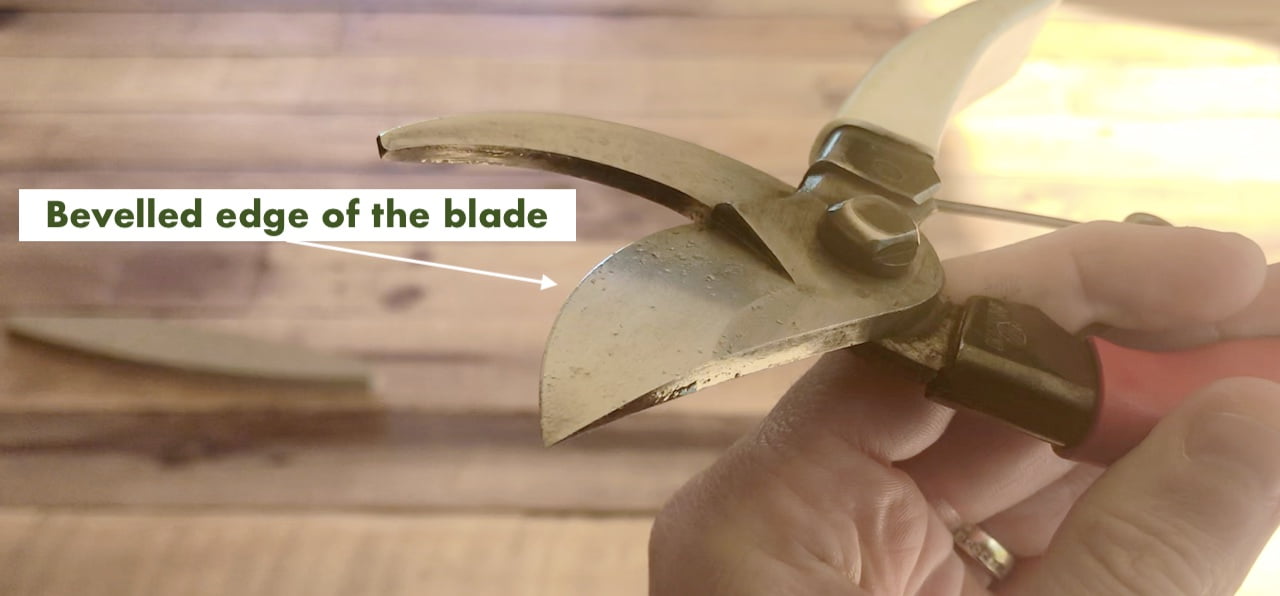
This section focuses mainly on bypass secateurs, which are by far the most common type in UK gardens and the type I would recommend to almost everyone. They work like a pair of scissors, with one curved cutting blade sliding past a flat lower blade. That distinction matters for sharpening, because you only ever sharpen the outer bevelled edge of the cutting blade. The flat inner face and the lower blade should be left alone, and touching them with a stone will ruin the precise fit between the two blades that makes bypass secateurs cut cleanly in the first place.
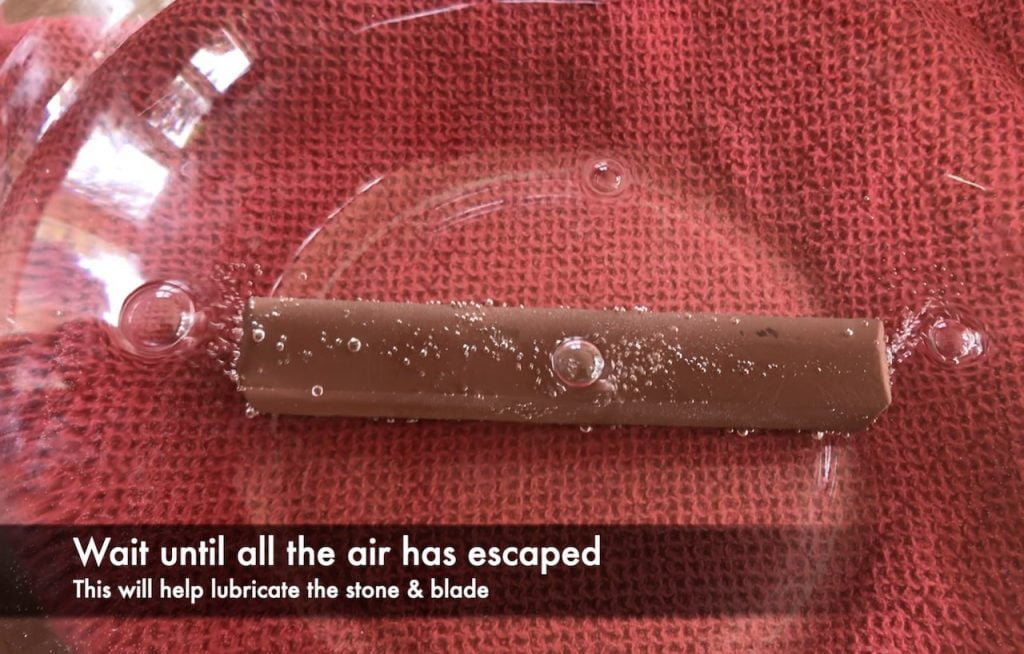
Always soak your whetstone or sharpening block before you start, since this lubricates it and makes the whole process far easier. Place it in a tub or bowl of water until the bubbles stop escaping, which usually takes ten to fifteen minutes.
Open the secateurs fully and hold them in your non-dominant hand, so the left hand for right-handed people and the right hand for left-handed people, leaving your dominant hand free to control the stone.
Identify the bevel, the angled face ground into the outside of the cutting blade. Most secateurs sit somewhere between twenty and twenty-five degrees, and the safest approach for a beginner is simply to match the existing angle on your blade rather than trying to establish a fresh one from scratch. If your sharpening block has a concave edge, that curved side naturally sits against the blade at roughly the right angle.
With a flat stone or file, hold it at somewhere between thirty and forty-five degrees against the blade and try to keep that angle as consistent as possible through every stroke, since a wandering angle is what gives you an uneven edge.
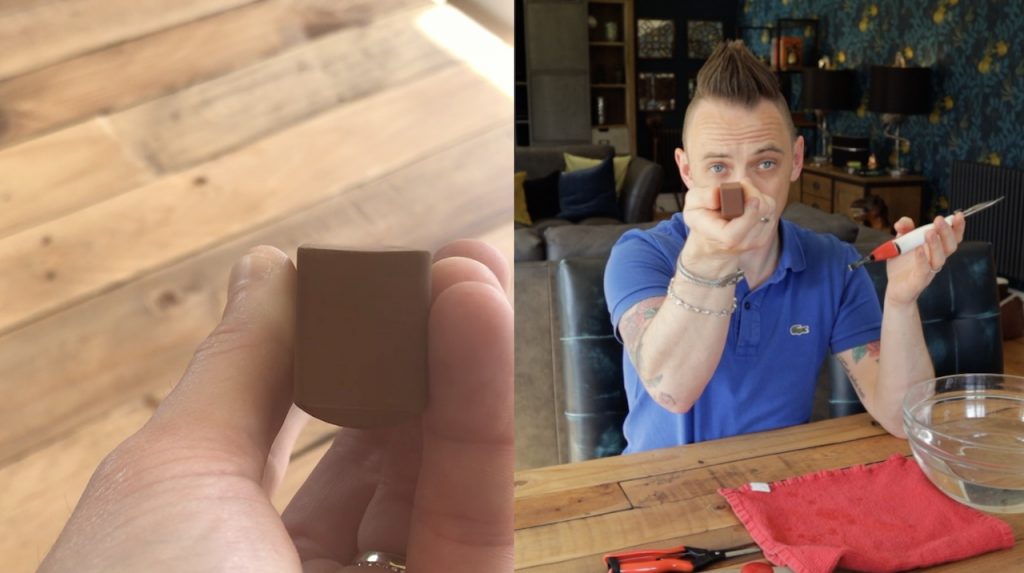
Lay the coarse side of your whetstone against the bevel and draw the blade across the stone in a single smooth motion, always moving away from the cutting edge rather than into it, which protects your fingers and gives a cleaner result. Pass the block from edge to edge, using the entire length of both the stone and the blade rather than working one small patch. Repeat this for around two minutes, or ten to fifteen passes if the blade has gone properly blunt, checking your progress against the paper test every so often rather than guessing.
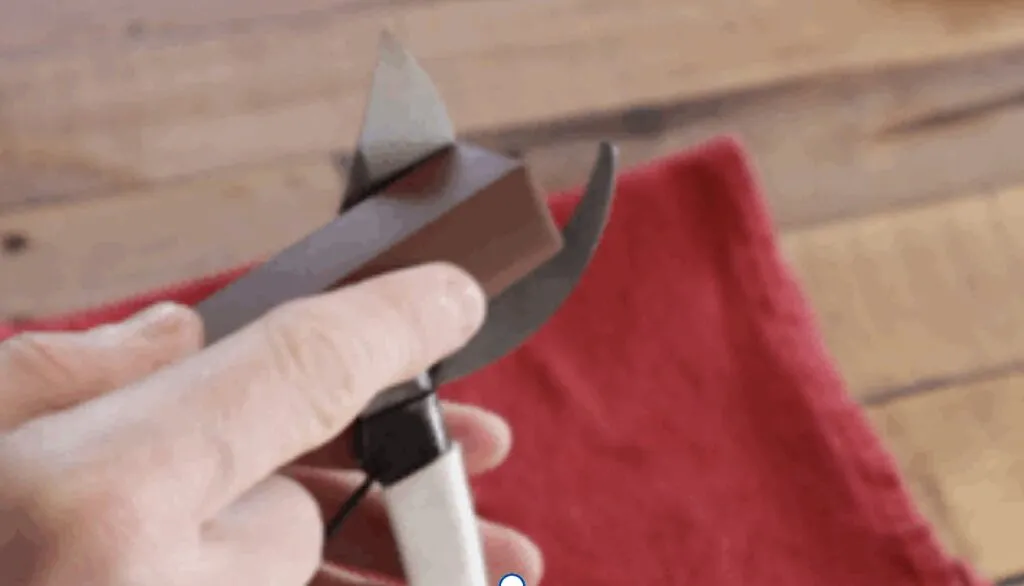
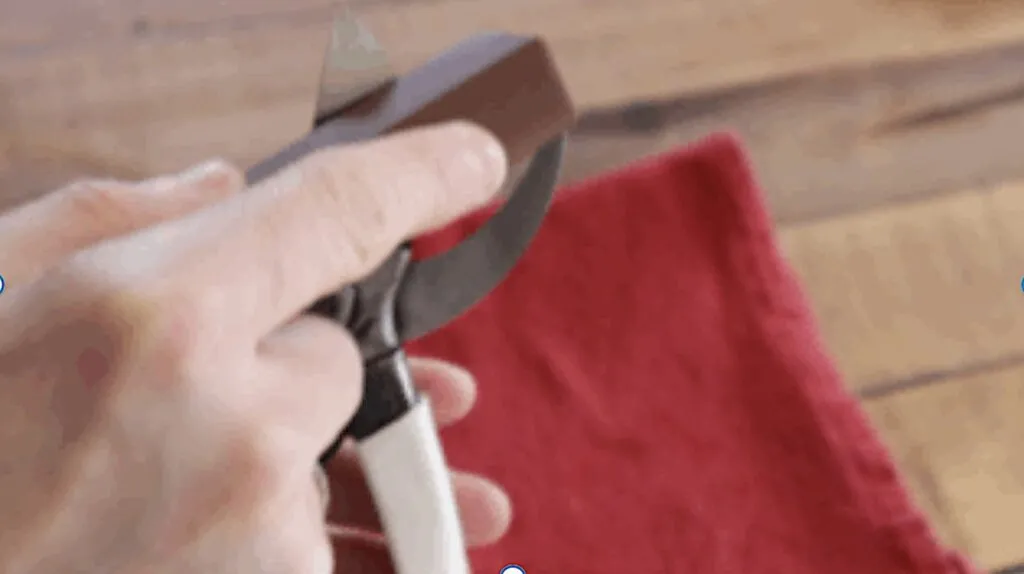
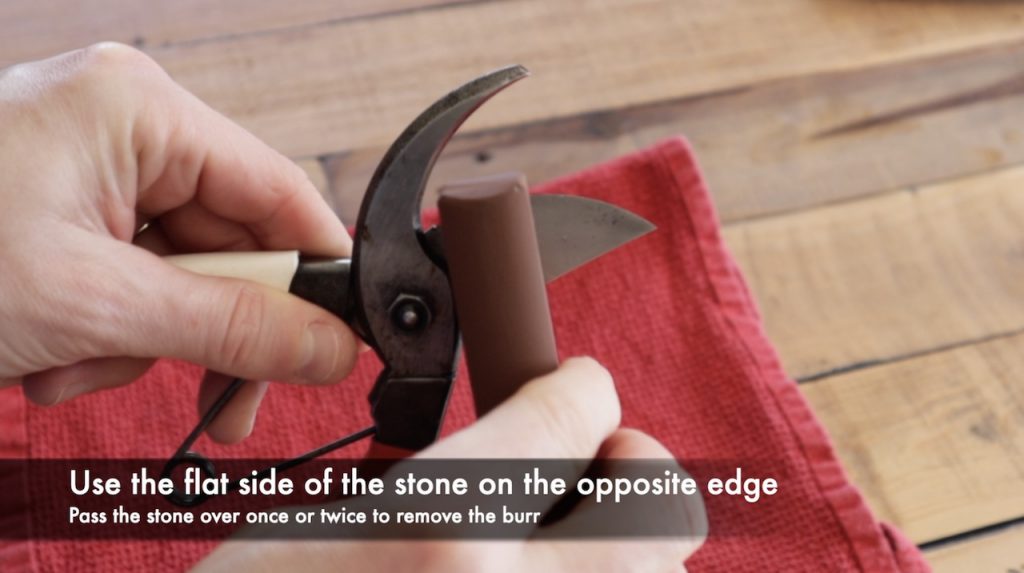
Once you can feel a slight burr forming along the inside edge of the blade, a tiny raised lip you can feel with a fingertip if you run it very lightly along the flat face, switch to the fine grit side of the stone and give it another five or six passes to polish the edge. Then, using the flat edge of the stone, make two clean, light passes across the flat side only to remove the burr. Do not do more than this, since over sharpening the flat side is exactly how you dull the edge you have just spent five minutes creating, and it is the single biggest mistake people make with secateurs.
Finish by wiping the whole blade down and putting a drop of oil on the pivot bolt, working it in by opening and closing the blades a few times. This is the step people skip, and it is the reason a lot of secateurs feel stiff after a few seasons even when the blade itself is still sharp. In fifteen years of maintaining my own tools and those on various client sites, I have never once needed to replace a pair of secateurs because the blade wore out. Every failure I have seen has come from a dry, gritty pivot or a rusted spring, both of which a drop of oil every few weeks would have prevented entirely.
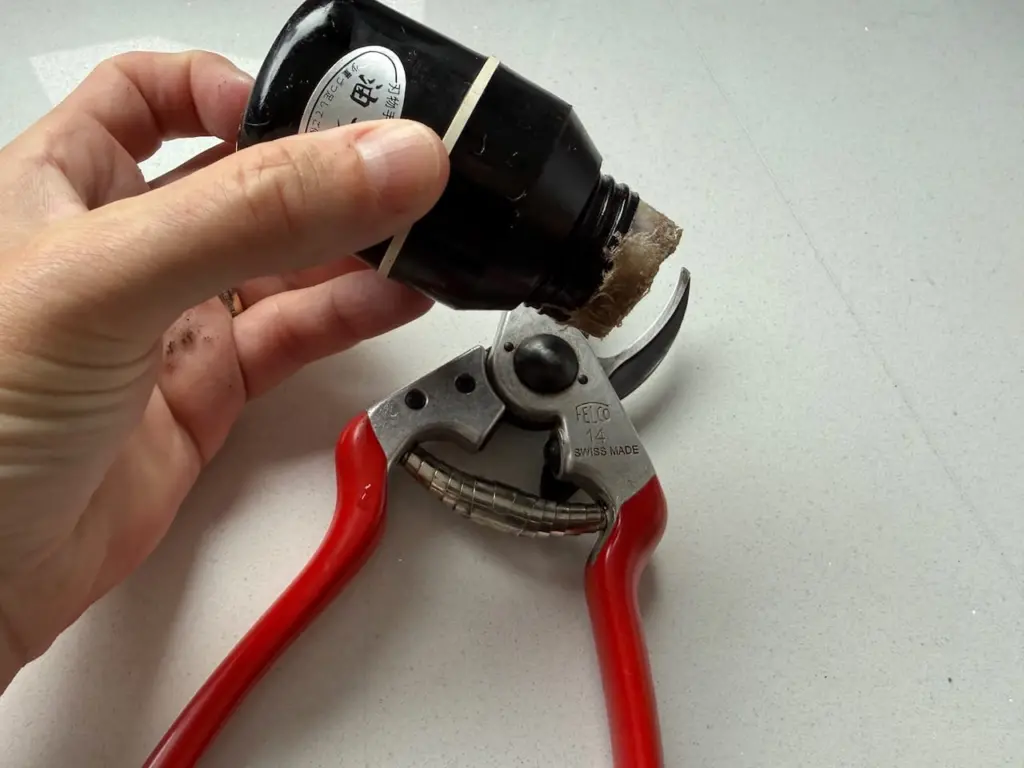
If your secateurs come apart with a small screw at the pivot, which most quality bypass models do, you can dismantle them fully for a deeper clean and a more controlled sharpening session on a flat surface rather than working on the assembled tool. I only do this once a year at most, at the end of the growing season, because it is easy to lose track of how the spring and washer sat originally, and reassembling secateurs slightly wrong is a more common problem than people expect. For regular maintenance sharpening every few weeks, working on the assembled, open blade is quicker and just as effective.
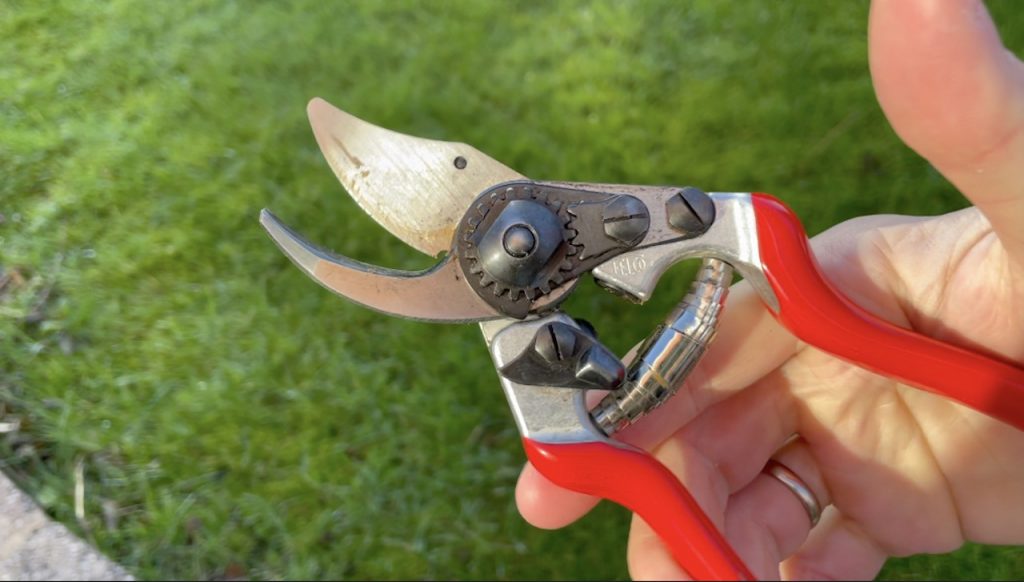
If you are shopping for a new pair rather than maintaining an existing set, this is the exact model I have relied on for years and the one I demonstrate with on camera, since the blade geometry holds an edge longer than most and the whole tool can be fully dismantled for servicing.
🛒 Buy the Felco 2 secateurs I use from Amazon UK
This guide focuses on bypass secateurs because they are what the vast majority of gardeners use, but anvil secateurs have different sharpening requirements worth knowing.
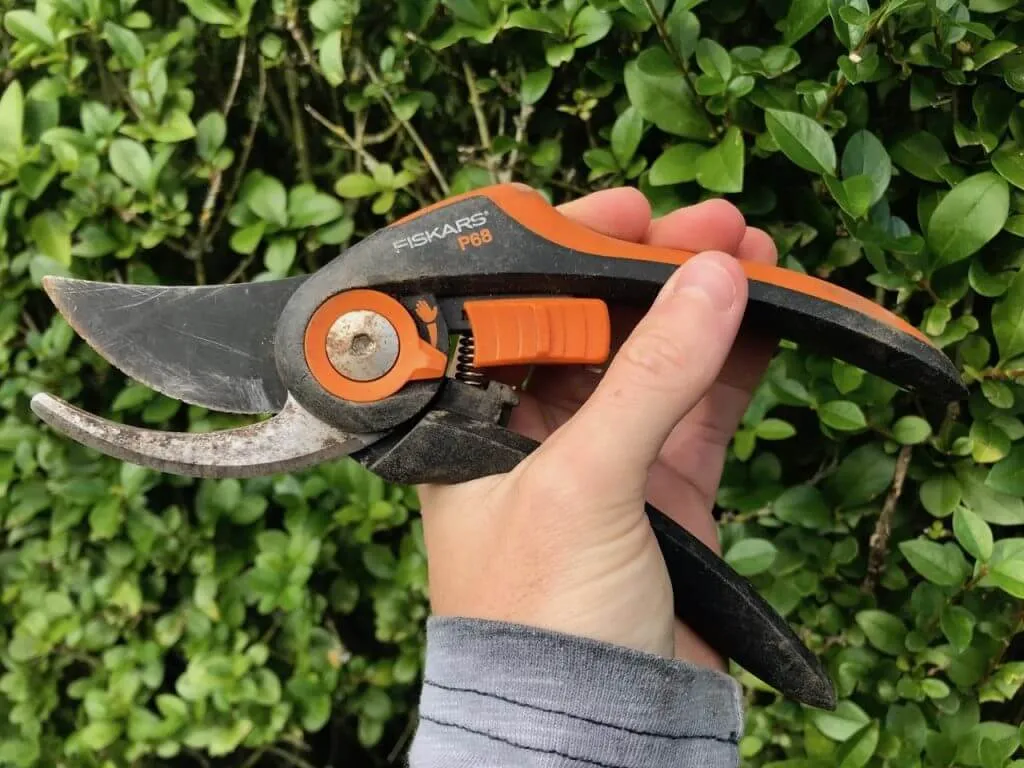
On bypass secateurs, the cutting blade passes by the anvil blade in a scissor action. The cutting blade has a bevelled edge that does all the work, and you only ever sharpen that bevelled edge, never the flat back. The lower blade does not need sharpening, since it is really just a support platform. Bypass secateurs give the cleanest cuts and are best for living plant material, where you want a neat wound that heals quickly.
On anvil secateurs, the cutting blade comes straight down onto a flat anvil, crushing the stem against it, more guillotine than scissors. The cutting blade has a straight edge, often bevelled on both sides. Sharpening an anvil blade means maintaining that straight cutting edge, using the same whetstone technique but working both sides if the blade is double bevelled. The anvil itself, the flat plate, never needs sharpening, but it can get dented from use, at which point you need a replacement anvil rather than more sharpening.
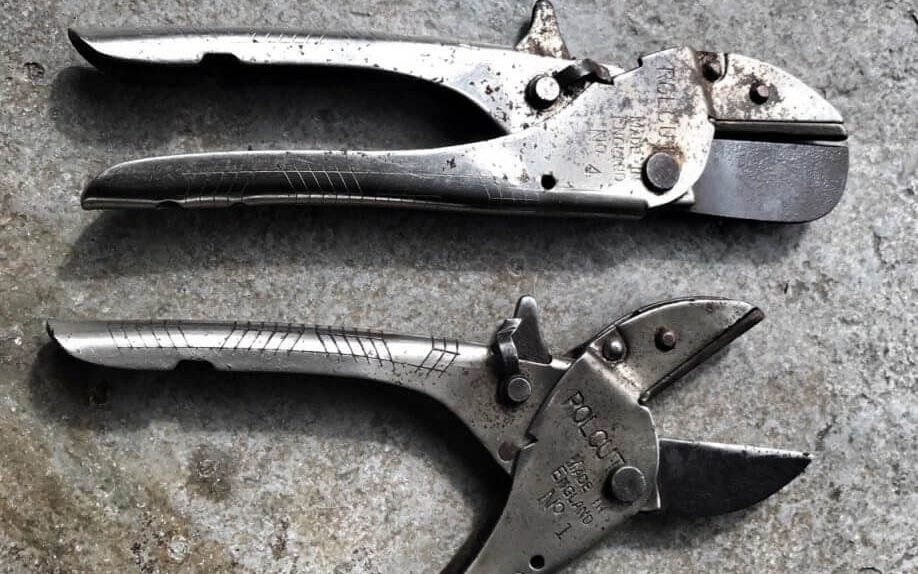
I do not generally recommend anvil secateurs for everyday pruning, since they crush stems rather than slicing them, which damages living tissue. Where they earn their keep is dead wood and hard, woody material where a clean living cut is not the priority.
A whetstone gives the best edge, but plenty of people want to sharpen a pair of secateurs with whatever is already in the kitchen drawer or the shed. Some of those alternatives work well, some work in a pinch, and one of them will quietly ruin your secateurs, so here is how each one stacks up.
Avoid pull-through knife sharpeners with a V-shaped slot. They grind both sides of the blade at a fixed angle, which suits a double-bevelled kitchen knife but takes metal off the flat back of a bypass secateur blade, opening up the gap between the blades so they crush rather than cut. Electric knife sharpeners are worse still, since they remove metal far too quickly. A handheld ceramic rod or a knife steel is a different story. Run it along the bevelled edge only, matching the existing angle, and it makes a decent quick touch-up between proper whetstone sessions.
Wet and dry sandpaper works surprisingly well in an emergency. Wrap a strip of 400 grit around a flat block of wood, or around a pencil for the curved part of the blade, and draw it along the bevel in the same direction you would use a stone, away from the edge. Finish with a few passes of 1000 grit, then take the burr off the flat side with two light strokes. It will not last as long as a whetstone edge, but it is far better than pruning with blunt blades.
A fine flat file is the right tool for grinding out a chip or a nick, but it is too aggressive for routine sharpening. Use it only on the bevel, file towards the edge in one direction, and always follow up with a whetstone or diamond sharpener to refine the rough edge the file leaves behind.
You will see people honing secateurs on the smooth shaft of a screwdriver, the same way a chef uses a steel. It does not remove any metal, so it cannot restore a blunt edge, but it can straighten a slightly rolled one for a few more cuts. Where a screwdriver or spanner earns its place is in tightening the central pivot nut, which fixes a surprising number of secateurs that feel blunt but are actually just loose.
Felco secateurs use the same technique as any bypass pair, and every part is replaceable, so if a Felco blade is badly chipped it is often quicker to fit a new one than to grind the damage out. Japanese secateurs such as Niwaki are made from harder steel that holds its edge for longer but can chip if you twist the blades on a thick stem. Sharpen them gently on a 1000 grit stone, then polish with a finer 3000 grit or higher if you have one, and never put them near a file. My best secateurs UK guide compares the pairs I use side by side.
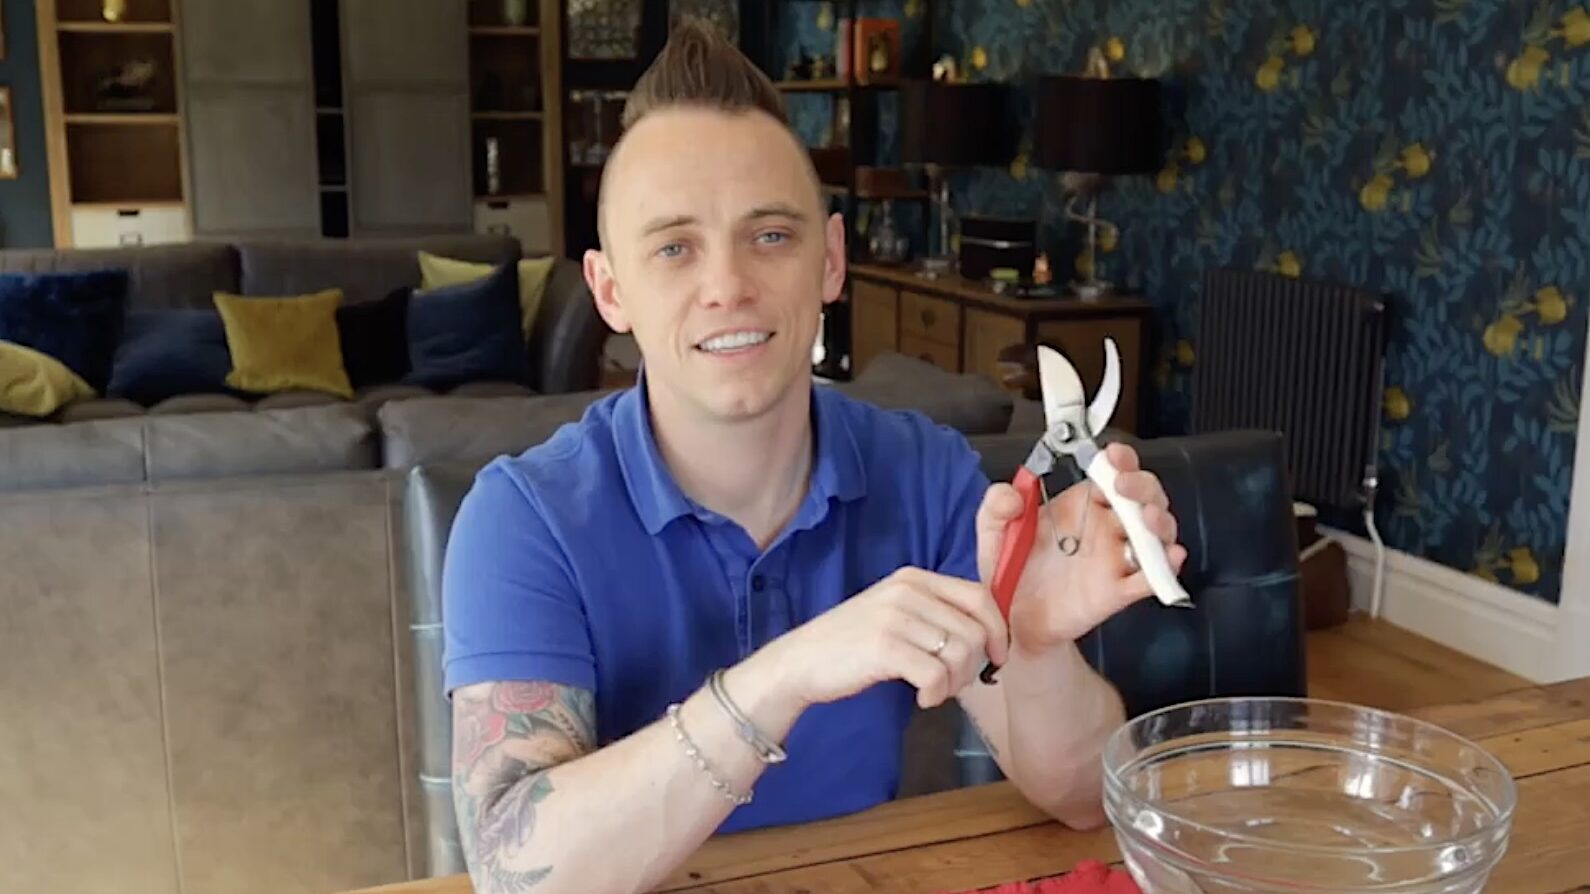
Most gardeners sharpen far too infrequently simply because they do not recognise the warning signs early enough. By the time a blade is obviously blunt, it has usually been doing quiet damage to your plants for weeks beforehand. Here is what to watch for.
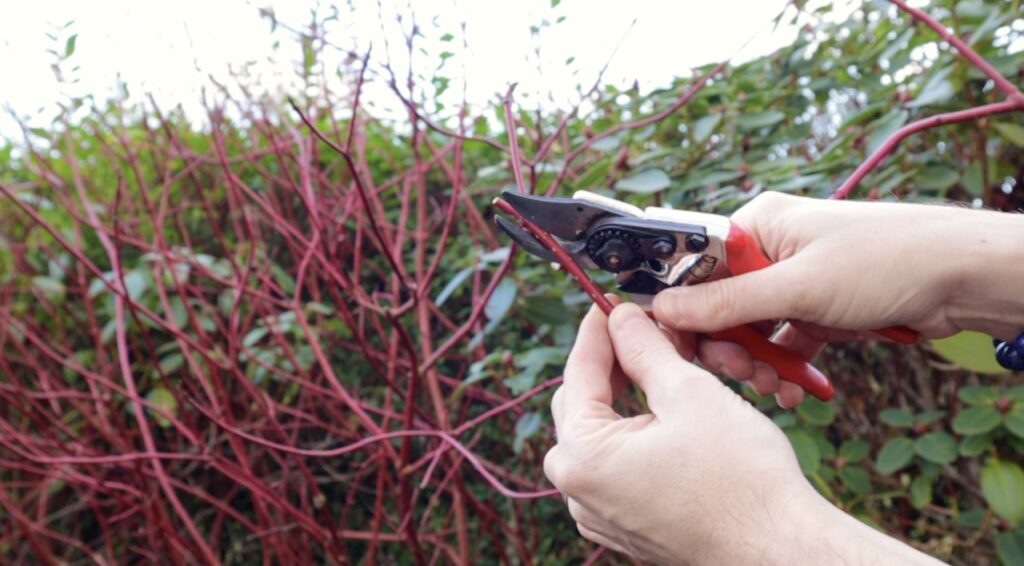
Sharp secateurs slice through stems. Blunt secateurs crush them. Look at the cut surface after pruning. If it is clean and smooth, you are fine. If it is ragged, split, or shows crushing on one side, your blades are blunt. Fresh green stems are particularly revealing, since they should look as if they have been cut with a knife, not crushed in a vice see below for a perfect pruning cut example.
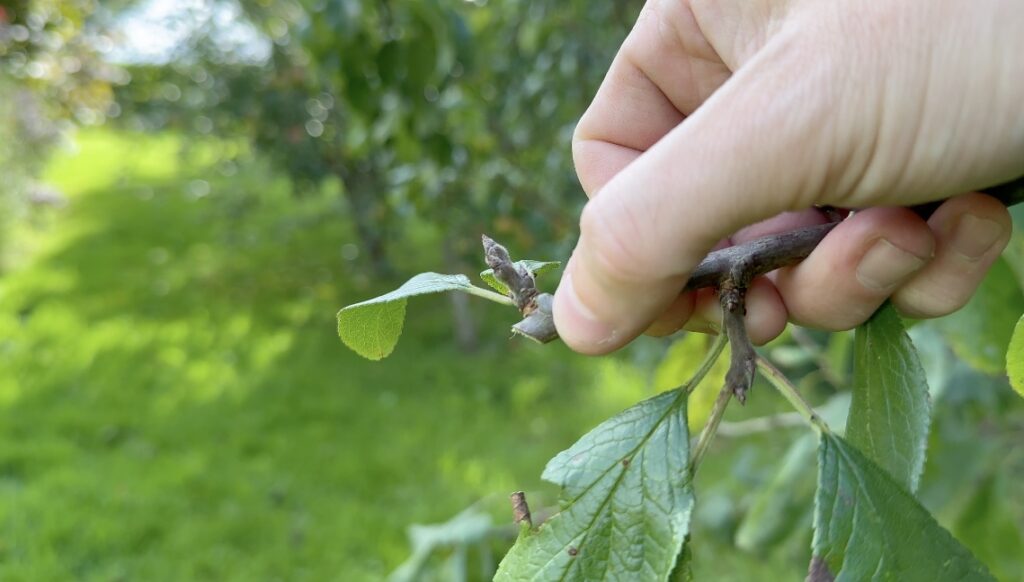
I see this constantly with clients who have been pruning their shrubs but actually just mangling them. The stems have bark peeling away from torn edges, splits running down from the cut, and obvious crushing damage. Every one of those wounds is an entry point for disease.
If you are squeezing harder than you used to for the same cuts, your secateurs are blunt. Sharp blades require surprisingly little pressure. I can prune pencil thick stems with sharp secateurs using just my fingertips, and if you are engaging your whole hand and feeling strain in your wrist after fifteen minutes of pruning, it is time to sharpen. This matters for preventing repetitive strain injuries too, since blunt secateurs force you to use far more hand strength, which adds up to serious wrist and forearm fatigue over a long session.
A related sign is stems sliding out sideways rather than being cut when you close the secateurs on them. Try tightening the pivot nut first, since that is the more common cause. If stems still slip, either the blade edge has worn down and needs sharpening, or the gap between blade and anvil has widened from repeated sharpening of the flat side, which you should never do.
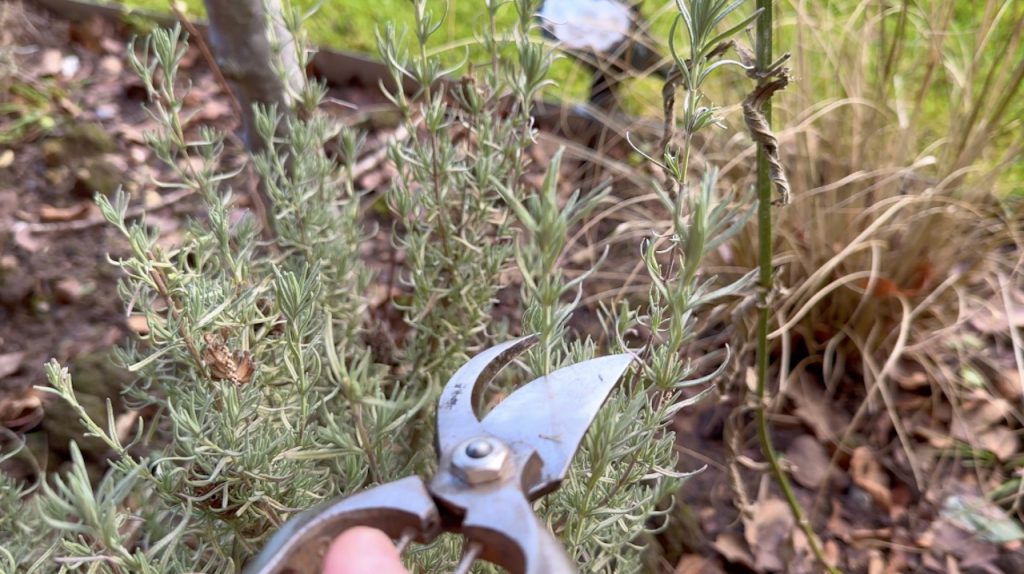
On woody stems specifically, blunt secateurs peel or tear the bark rather than cutting through it cleanly, sometimes lifting it away in long strips. This is a serious problem for the plant, since the damaged bark cannot callus over properly and stays vulnerable to infection and water loss.
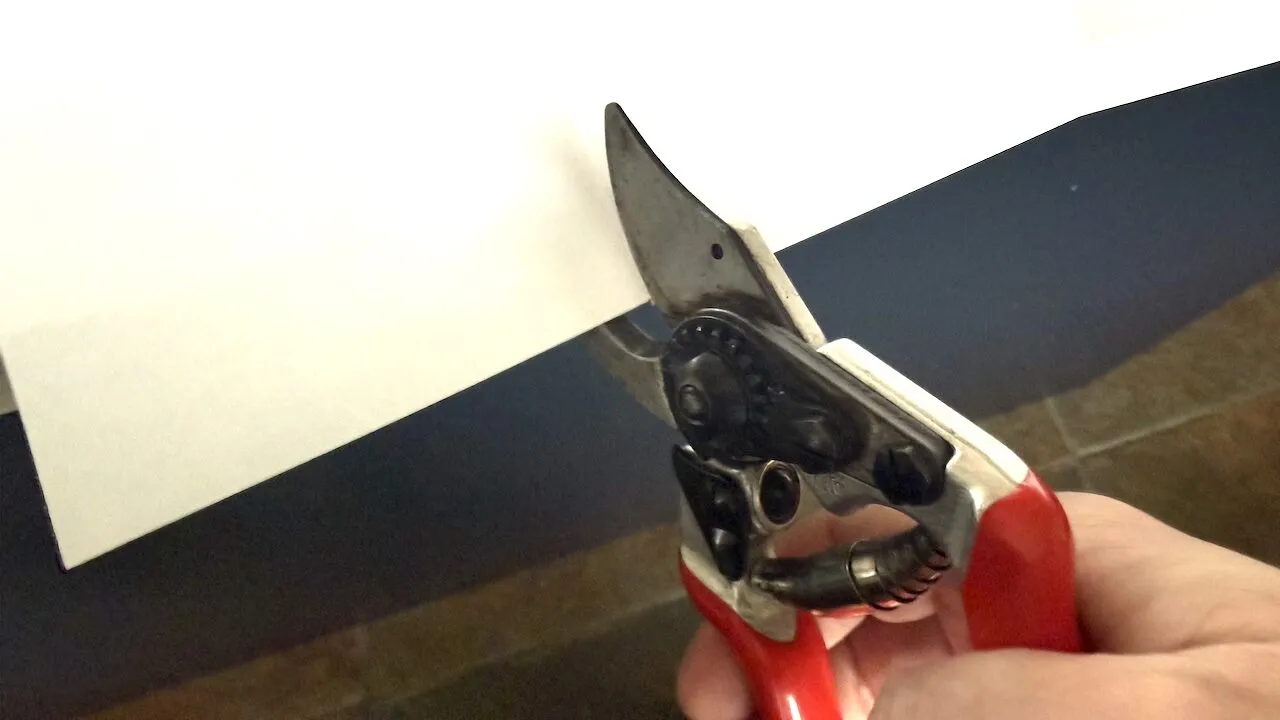
This is the definitive test, and it takes about ten seconds. Hold a sheet of ordinary paper vertically in one hand, and with sharp secateurs you should be able to slice cleanly through it from top to bottom in one smooth motion. The paper should not fold, bunch up, or tear. A blunt pair folds, tears unevenly, or needs you to saw back and forth to get through, and that is your answer.
For spades, hoes and edging tools the signs are more physical than visual. A sharp spade slices through turf and root with a single controlled push. Once the edge rounds off, you will notice yourself having to rock the spade or add body weight to force it through ground it used to cut easily, which is both harder work and worse for your back over a full day in the garden.
A blunt pair of secateurs squashes the stem fibres before the blade finally forces its way through, leaving a ragged, bruised wound rather than the clean cut a sharp pair makes in one motion. That is the bit that gets people to take sharpening seriously.
That bruised tissue is slower to callus over, which gives fungal spores and bacteria a longer window to get in. I have traced more than one dieback problem on a client’s roses back to nothing more exotic than the previous gardener pruning everything with secateurs that had not seen a whetstone in years. The plant science here is not complicated. Clean cuts heal faster, and faster healing means fewer entry points for disease.

There is a practical side to this too, and it is the one most people actually notice first. Sharp tools need less force which any one pruning roses will know. A blunt pair of loppers on a thick stem takes two or three attempts and a fair bit of arm strength, whereas a sharp pair goes through in one smooth squeeze. Over a full afternoon of pruning that difference in effort adds up, and it is also a real safety issue, since a blade that slips because it needed extra force behind it is far more likely to catch a finger than one that cuts cleanly on the first pass.
Sharpening a dirty tool wastes your time and blunts your sharpening stone faster than it needs to, so cleaning always comes first regardless of which tool you are working on. Sap builds up on secateur and shear blades surprisingly quickly, especially after pruning anything resinous like conifers or anything sticky like buddleja, and that residue will gum up the pivot and stop the blade sitting flush against your sharpening stone. Take your secateurs to a sink and give them a proper scrub. I use a crean mate from Japan, an abrasive sponge that lifts off sap and gunk once it has been wetted, though a fine wire wool pad or a pan scrub works nearly as well and is much easier to find on the high street.
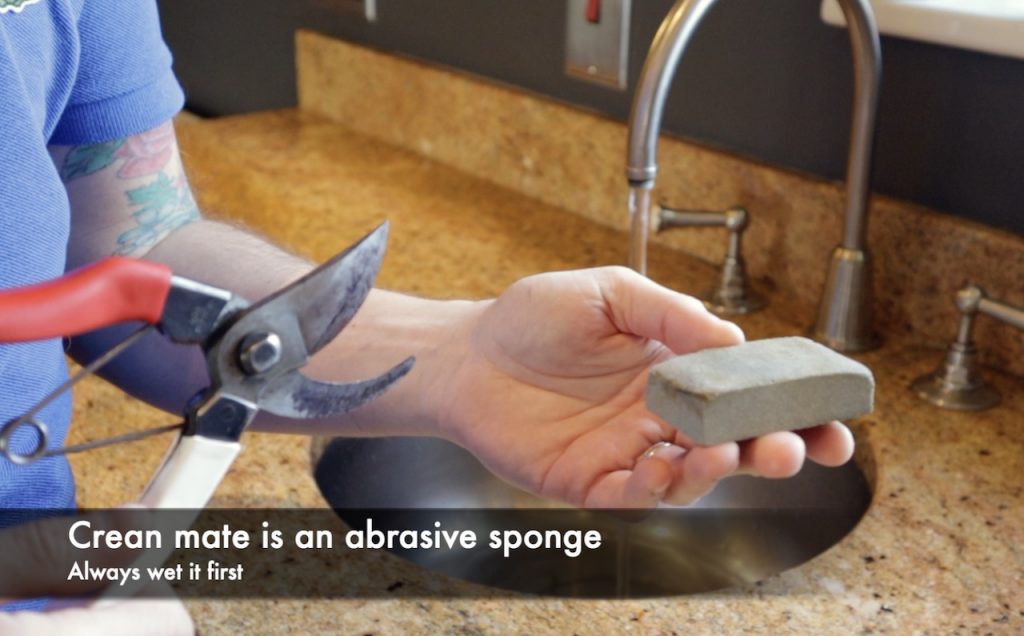
Use clean water only to shift the sticky residue. I avoid detergent or soap, since they strip the grease out of the secateur hinges and leave them sticking and behaving erratically afterwards. Less is more here, so stick with clean water and a bit of elbow grease.
For the sharpening itself, I keep three things in my kit, and between them they cover every tool in the shed.
Between a whetstone, a diamond file and a bottle of camellia oil you have everything you need to maintain a full shed of tools for years.
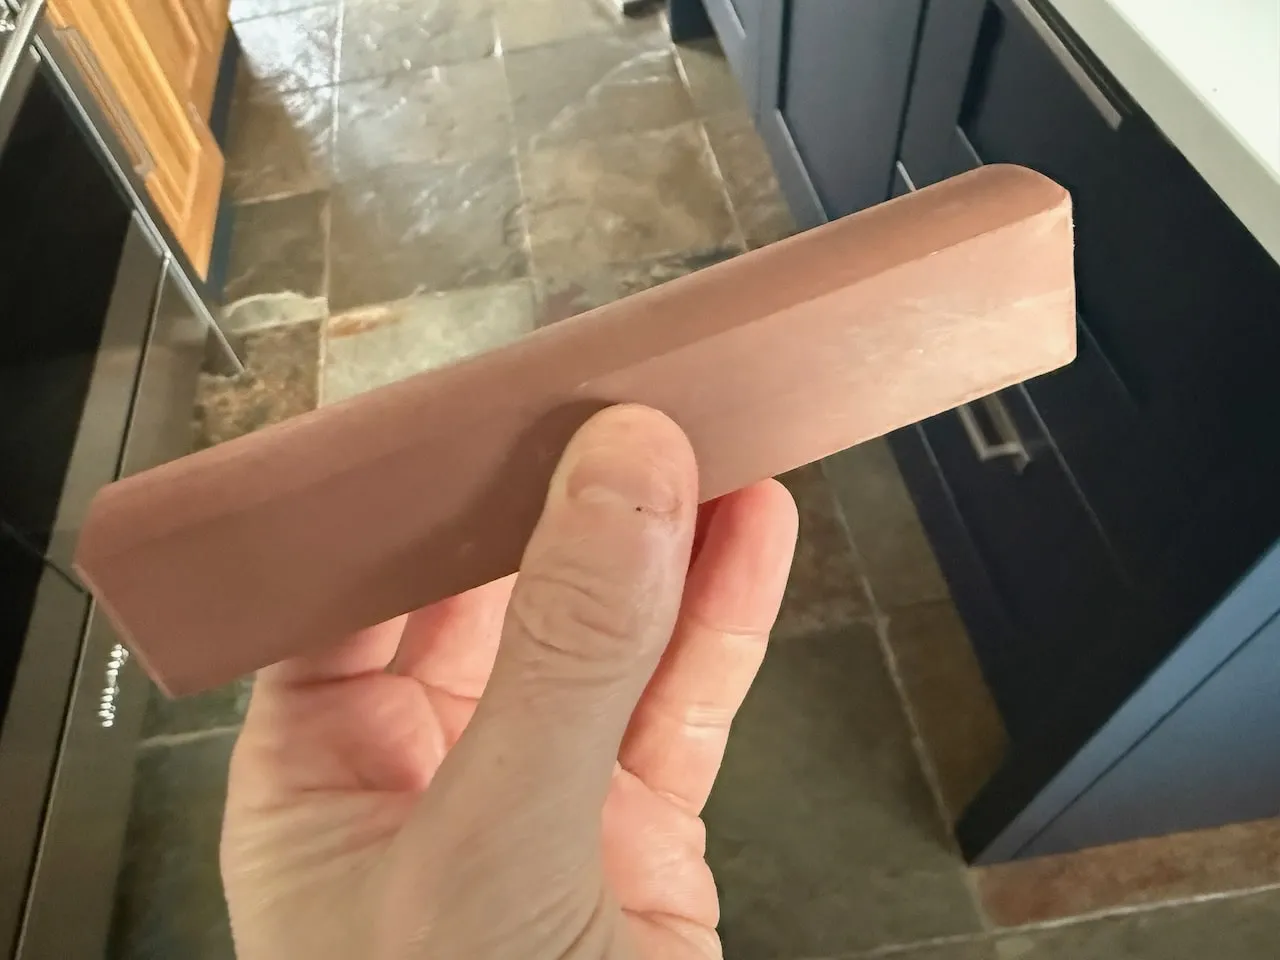
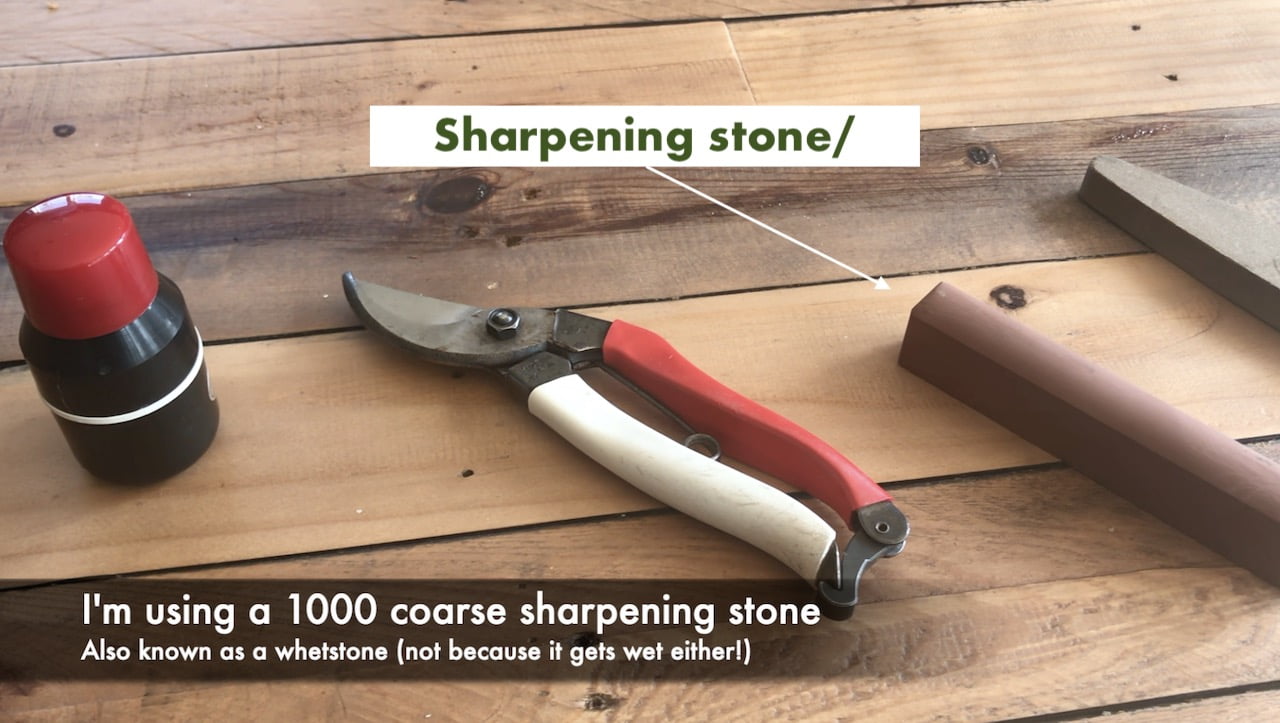
A pocket diamond sharpener is what I actually carry in my tool belt on site, because it needs no soaking and no flat surface to work on, so it is usable mid job when you notice a blade has gone off during a long pruning session. It will not give quite the polished edge a proper whetstone session does, but it will get you through the rest of the day without damaging the plant you are working on.
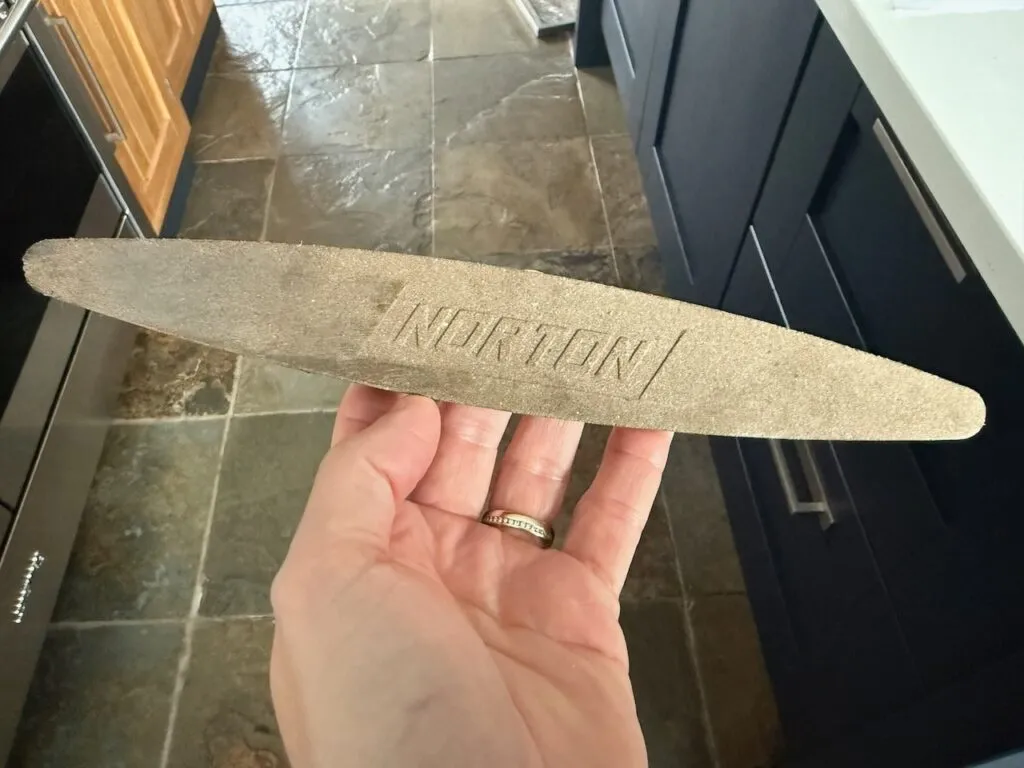
A pocket diamond sharpener lives in my tool kit permanently, since it is the only sharpening tool small enough to use on the spot without stopping a job to go and find a flat surface.
🛒 Buy a pocket diamond sharpener from Amazon UK
The third thing worth having is a light machine oil or a specific tool oil for wiping blades and pivots after sharpening. Oiling is what makes a sharpening job last, because an unprotected freshly sharpened edge will pick up surface rust within days if it sits in a damp shed, and rust undoes a sharpening job faster than normal use ever will. After sharpening I always oil the blades with camellia oil, which keeps them lubricated for smooth cuts and protects them from sap and rust. If you do not have camellia oil to hand, a small drop of general machine oil, or even clean cooking oil in a pinch, wiped on sparingly with a clean cloth does the same job.
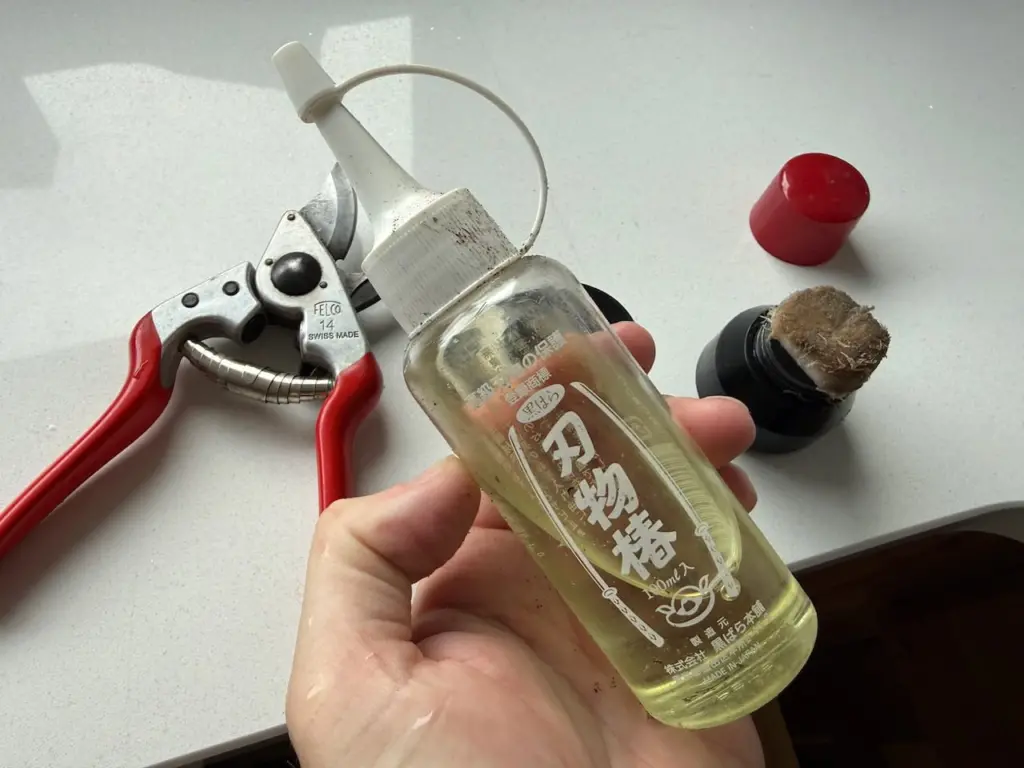
A small bottle of camellia oil is one of those things that seems unnecessary right up until the day you reach for secateurs that have gone stiff and slightly rusty from a damp shed over winter.
🛒 Buy camellia oil for garden tools from Amazon UK
A sturdy pair of leather gloves is worth having on hand for this whole process too, since you are working blades against stone and file all afternoon and a slipped hand is a common way people cut themselves during maintenance rather than during actual pruning. My full gloves guide covers the pairs I reach for most.
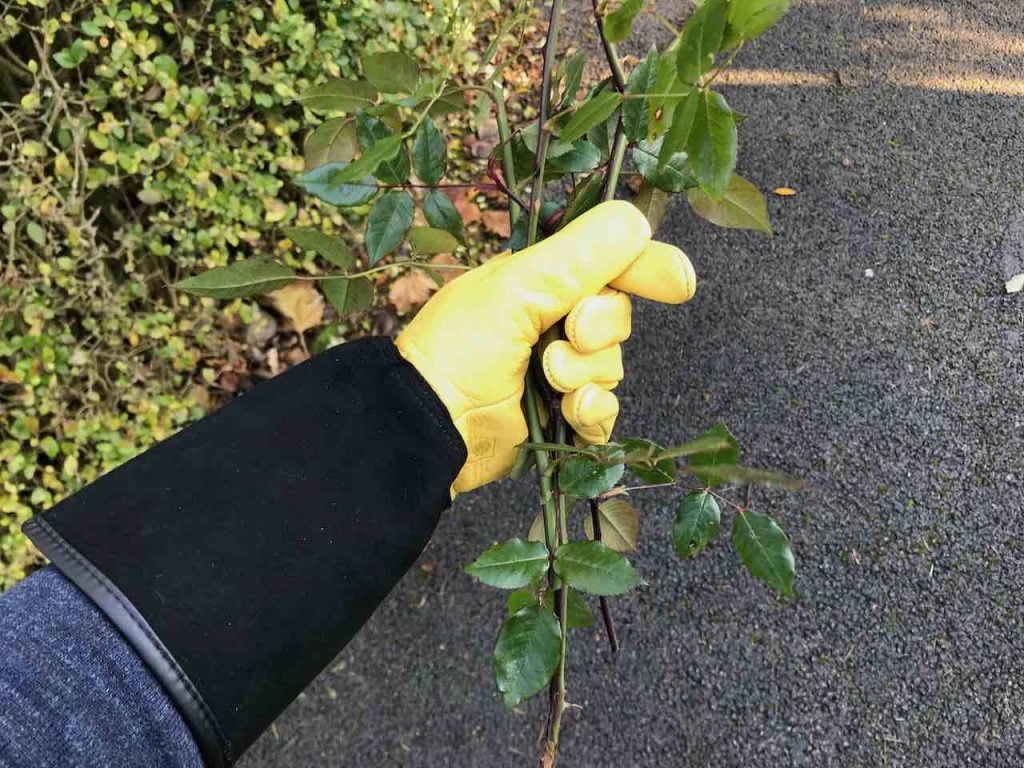
🛒 Buy the Gold Leaf gloves I use from Amazon UK
Whilst I prefer whetstones and that is what I demonstrate in the main guide below, other sharpening tools work brilliantly for secateurs, and each has advantages depending on your situation. I also prefer whetstones because you have a proper feel for what you are doing rather than simply grinding the blade away and hoping it is sharper afterwards.
The coarseness of the sharpening implement affects how fine the end result on the blade is, and the lower the coarse rating, the rougher the impact. For damaged tools, a rougher, coarser file is necessary to remove that damage first, before you work your way up to refine the edge. For most average-condition secateurs, I would recommend 1000 grit. As a rough guide, 200 to 500 grit is very rough and suited to filing down chips, 1000 grit is the sweet spot for sharpening secateur blades, and 3000 grit and above is for fine work and expert sharpening of grafting knives or similarly delicate blades.
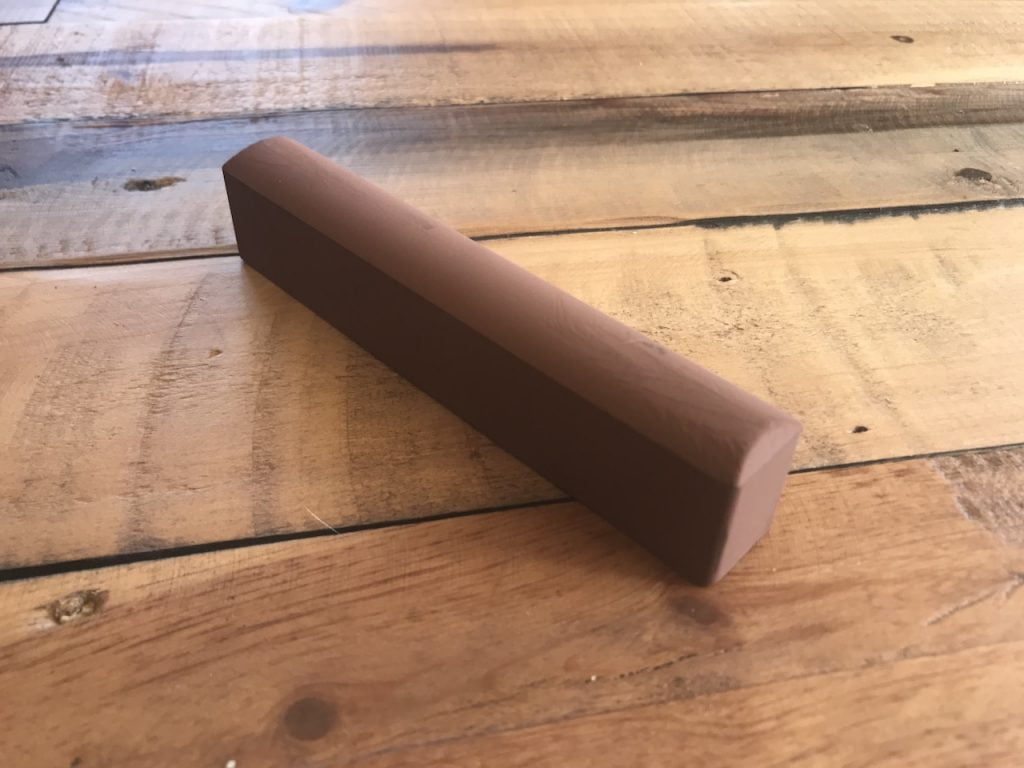
These clever devices guide you to sharpen at exactly the right angle by clamping onto the blade, so you cannot go wrong with the angle because the tool enforces it, and silicon carbide cutting surfaces sharpen quickly. The limitation is that they are fiddly to set up and you need the right size screwdriver to tighten the clamp properly. Once you know what you are doing with angles, a whetstone or diamond sharpener is faster, but for learning these are brilliant.
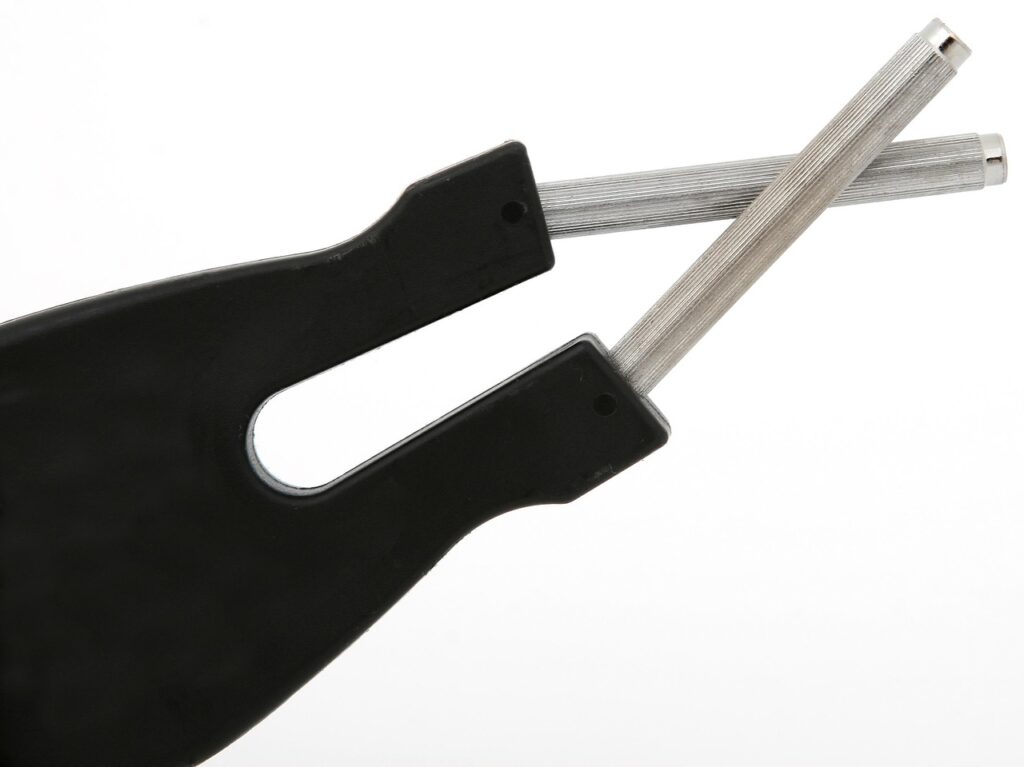
Metal files cut aggressively and are the tool for removing serious nicks, chips, or reshaping a badly damaged blade. They are too brutal for regular maintenance sharpening where you just want to touch up an edge. I use a file maybe twice a year when secateurs have been dropped, used to cut wire by mistake, or otherwise seriously damaged, and I always follow up with a whetstone or diamond sharpener to refine the edge the file left behind. Sharpening steels, the kind chefs use, realign the blade edge rather than removing material, and they are brilliant for quick touch ups but cannot restore a truly blunt blade. Think of a steel as maintenance between proper sharpenings rather than a sharpening method in its own right.
Shears are actually more straightforward to sharpen than secateurs once you understand the difference. Rather than one bevelled blade meeting a flat one, both blades on a pair of shears are bevelled, so you sharpen both, working the outer edge of each blade in turn with the same whetstone or a flat sharpening file if the blades are too long to sit comfortably on a stone.
Support the shears open and steady, ideally with the blade resting flat against a bench or clamped lightly in a vice if you have one, and draw your stone or file along the full length of the bevel in one direction, following the existing angle rather than the twenty to twenty five degrees you would use on secateurs. Shear bevels tend to run shallower, closer to thirty-five degrees on most quality pairs, so check what is already ground into your blade before you start rather than assuming it matches your secateurs. Work along the entire blade length in even strokes rather than concentrating on one spot, since an uneven edge will catch and tear rather than cutting cleanly along a hedge line.
Once you have done both blades, turn the shears over and take the burr off the inside edges with a few light passes flat against the stone, the same finishing step you used on the secateurs. Oil the pivot bolt and, if your shears have a tensioning nut, check it is not so tight the blades bind or so loose they flex apart under pressure, since both faults will undo a good sharpening job almost immediately.
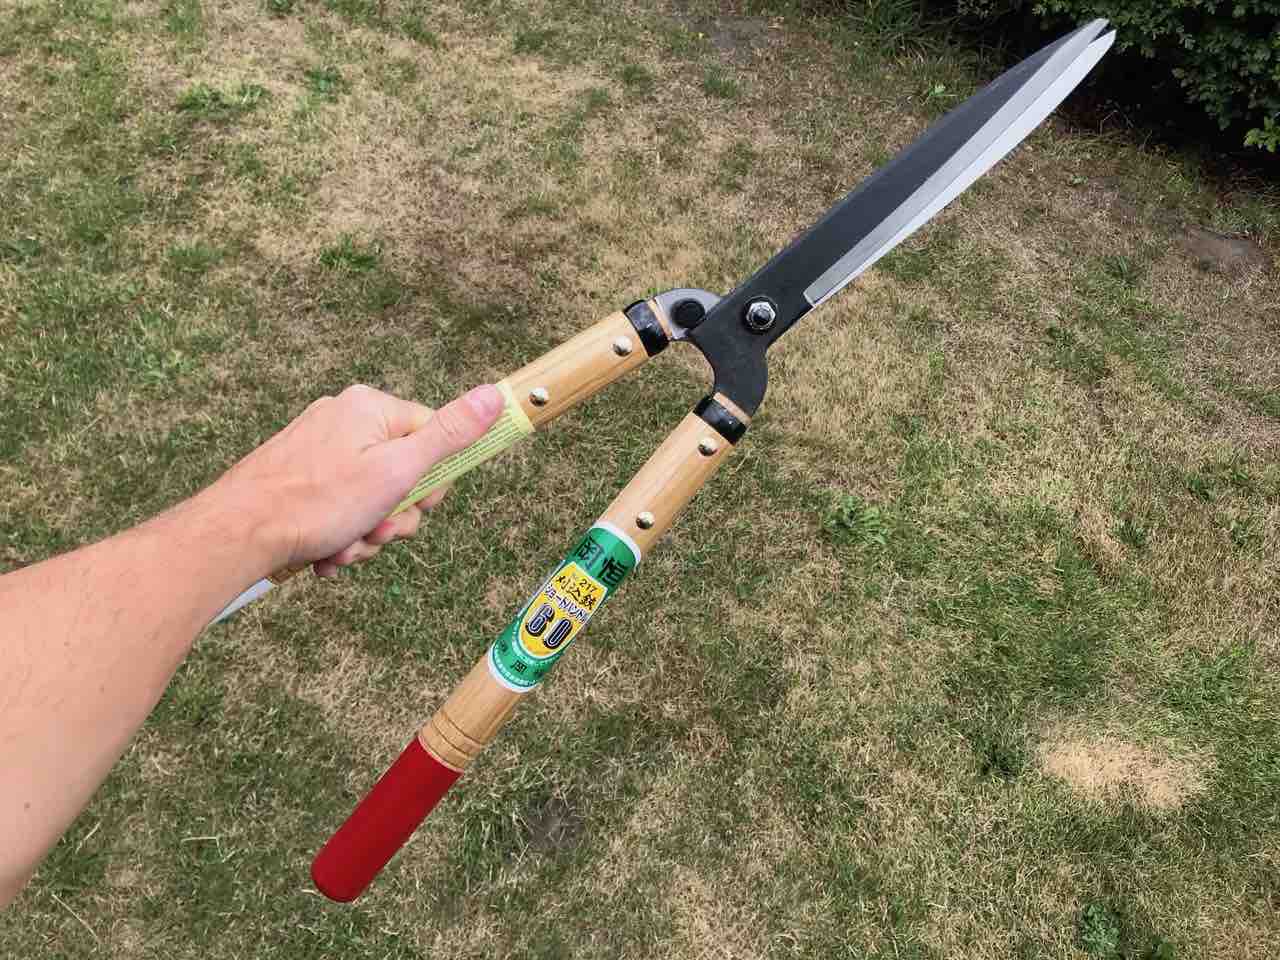
A traditional pair of Japanese steel border shears holds an edge noticeably longer than most budget options, which matters if you are maintaining box balls or a long run of formal hedging where a consistent edge across the whole cut is what actually shows.
🛒 Buy the Kimura Japanese hedge shears I use from Amazon UK
Loppers follow exactly the same principle as secateurs, since almost all garden loppers are a bypass design scaled up for thicker branches, so the technique transfers directly. Sharpen only the bevelled outer face of the cutting blade, leave the flat inner face and the lower blade alone, and work in the same direction away from the edge with your whetstone or a diamond file if the blade is too long or awkwardly shaped to sit flat on a stone.
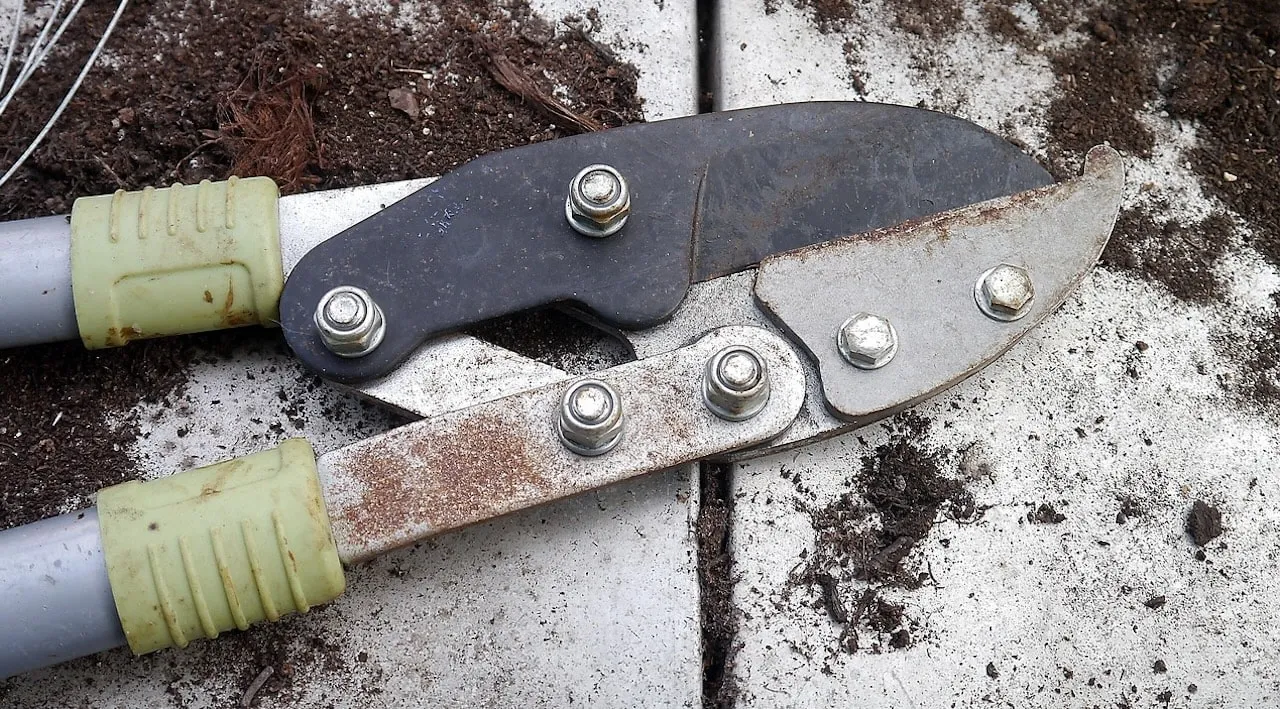
The one difference worth flagging is that loppers see harder use on tougher material, so the edge tends to pick up small nicks from knots and old wood rather than simply going generally blunt. Run your fingertip very carefully along the blade before you start and you will usually feel these nicks as tiny catches. Work the coarse side of your stone specifically over any nick until it has been ground out level with the rest of the edge before moving on to a general sharpen and polish across the whole blade; otherwise, that one damaged spot will keep catching and tearing on every cut you make afterwards.
Loppers also tend to have a stronger spring and a larger pivot bolt than secateurs, both of which benefit from a slightly more generous application of oil after sharpening, since the extra leverage in the handles puts more strain through that joint than a smaller tool ever sees.
Cultivation tools dull in a completely different way from cutting tools, because the damage comes from repeated contact with soil, stones and grit rather than plant tissue, so the sharpening approach is different too. Rather than a whetstone, a metal file is the right tool here, and rather than a precise bevel angle, you are mostly restoring a straight, even edge that has been rounded off and nicked by ordinary use.
Fix the tool securely, either in a bench vice or braced firmly against a solid surface, with the front face of the blade angled upward toward you. Working from the back of the blade toward the cutting edge, push the file away from you in long, even strokes along the full width of the blade, following the original bevel angle rather than trying to invent a new one. A double cut metal file, which has crossed rows of teeth rather than a single set, removes material faster and is the better choice for a spade or hoe that has picked up real nicks from stony ground.
A hoe specifically tends to want a shallower edge than a spade, since it is sliced through the top inch or two of soil rather than driven down into it. A flat bevel of around thirty degrees, filed from the top face of the blade only, is the figure I work to on a standard draw or Dutch hoe, and keeping that filing one directional rather than working both faces is what keeps the edge crisp rather than rounding it back off again.
Continue until the edge feels consistently sharp along its whole length rather than sharp in patches, checking regularly rather than filing blind, since it is easy to remove more metal than you actually need and shorten the working life of the blade unnecessarily. A well maintained spade edge should slice cleanly through turf and root with a single controlled push rather than needing you to rock or force it, and getting back to that point is usually only a few minutes of filing even on a spade that has been neglected for a full season.
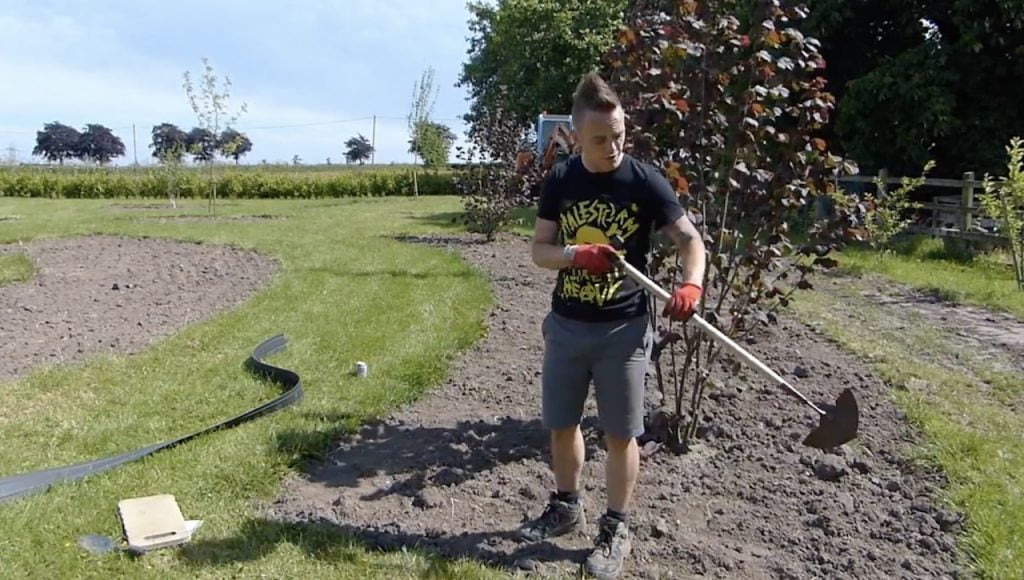
Edging irons and half moon edging tools take the same filing technique, working along the curved or straight cutting edge in the same direction. I keep a dedicated file just for this job, since cultivation tools pick up enough grit and soil residue that using the same file on your secateurs afterwards risks transferring that grit onto a much finer edge.
A proper double cut metal file is a distinctly different tool from the diamond sharpeners and whetstones used on cutting blades, and worth keeping separately in your kit rather than trying to make one tool do both jobs.
🛒 Buy a double cut metal file from Amazon UK
Almost every UK garden has one of these and almost nobody sharpens it, yet a blunt mower blade does the same damage to your lawn that a blunt pair of secateurs does to a shrub. Rather than a clean slice, a dull blade tears and bruises the tip of every single grass blade it passes over, and that torn, ragged tip is what gives an otherwise well-kept lawn a slightly grey, unhealthy look a day or two after cutting, along with a much higher risk of fungal disease finding its way in through all those open wounds.
Before you touch anything, disconnect the power. On a petrol mower that means pulling the spark plug lead off completely as well as switching the engine off, since a blade can still fire the engine over if it gets turned by hand with the lead connected. On a cordless mower, remove the battery, and on a corded electric mower, unplug it at the wall rather than just the mower itself. Take your time over this, because a mower blade spins with real force and the engine restarting unexpectedly while your hand is near the blade is exactly the kind of accident that ends a finger.
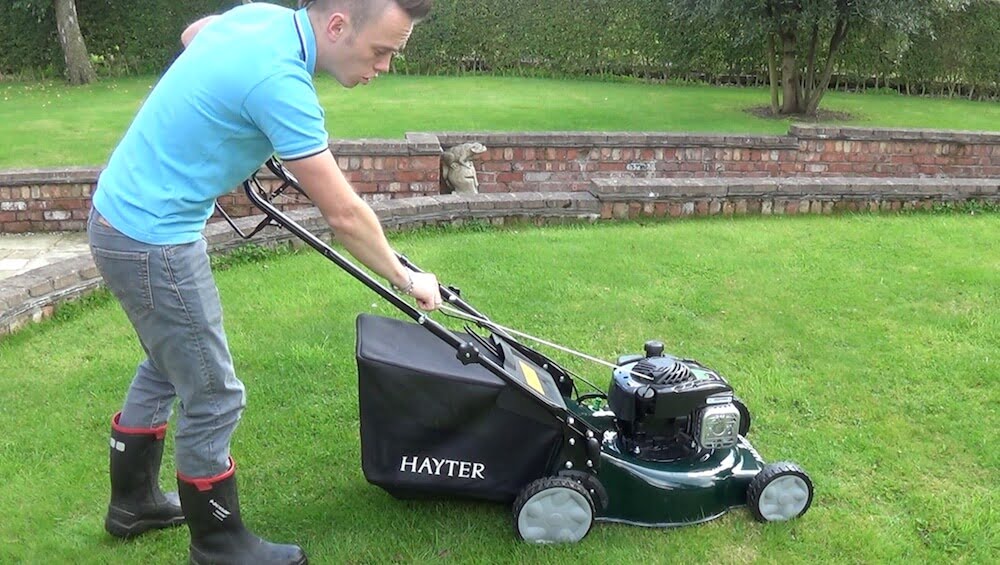
I once watched a homeowner try to sharpen his mower blade while it was still bolted to the deck, tipping the whole mower onto its side and running a file across the blade edge freehand while it sat loosely in place. It is one of the more nerve-racking things I have seen in a garden, since the blade was free to rock and shift under the file with every stroke, his hand was directly in the blade’s path the entire time, and there was nothing stopping the mower rocking further onto its side mid-stroke.
Always remove the blade completely and secure it properly in a vice before you go anywhere near it with a file or grinder. It takes an extra five minutes and it is the difference between a controlled, accurate sharpen and a properly dangerous way to spend an afternoon.
With the power disconnected, tip the mower onto its side with the air filter and carburettor facing upward, following your manufacturer’s guidance on which way to tip it, since doing this the wrong way round on a petrol mower can flood the carburettor or spill oil into the air filter. Use a socket wrench to remove the central bolt holding the blade in place, bracing the blade itself with a block of wood wedged against the deck so it cannot spin while you loosen the bolt. Once it is free, clamp the blade firmly in a bench vice with the cutting edge facing up and accessible.
Sharpen with a metal file or, for a faster result, an angle grinder fitted with the correct grinding disc, working the existing bevel on each cutting edge in one direction only, exactly as you would on a spade. Count your strokes and try to match them on both ends of the blade, since taking more metal off one side than the other will unbalance it.
Once both edges are sharp, check that balance properly before refitting, either with a purpose made blade balancer or the simple version of hanging the blade on a nail through its centre hole and watching whether either end dips. A blade that is not balanced will vibrate noticeably once it is spinning at full speed, and that vibration works its way steadily into the crankshaft bearing, which is a far more expensive repair than the mower blade itself.
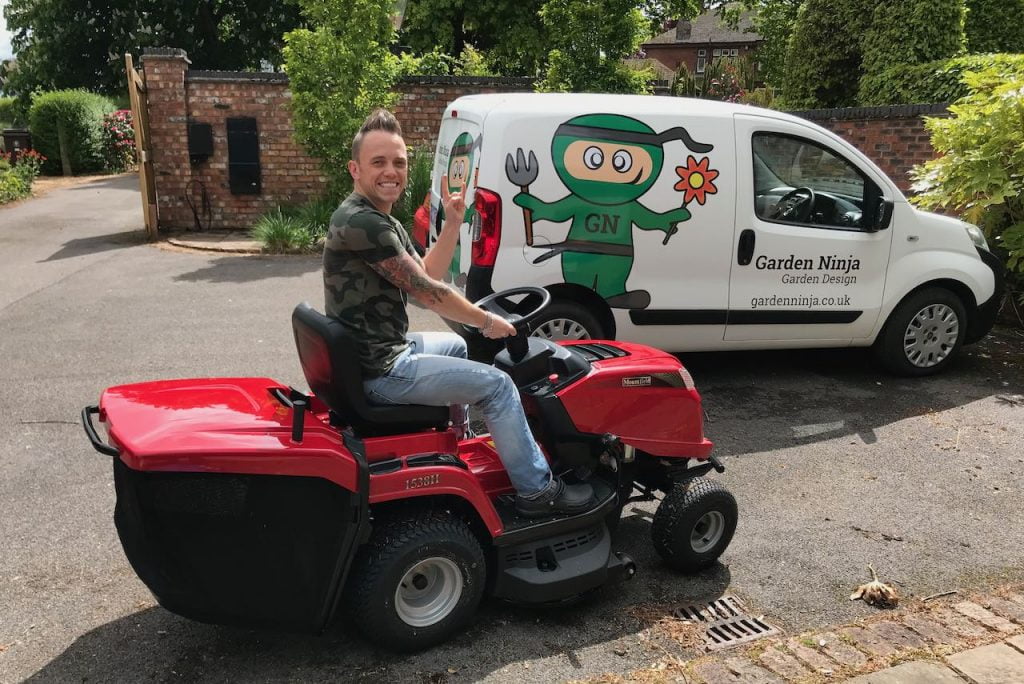
Refit the blade with the cutting edges facing the same direction they came off in, most mowers have the edges trailing rather than leading, and torque the central bolt back down firmly before reconnecting the spark plug lead or battery. Once a season is enough for most gardens, at the start of the mowing year before the grass really gets going, though anyone mowing over a lot of gritty soil, moss, or a lawn with buried debris will find the edge goes off faster and is worth checking again by midsummer.
A sturdy bench vice is the one piece of kit that makes every job in this section safer, from spades to mower blades, and it is worth the investment even in a small shed or garage.
🛒 Buy a bench vice from Amazon UK
A simple blade balancer takes the guesswork out of checking whether a freshly sharpened mower blade is running true, and it is a five second check that could save you a far more expensive bearing repair down the line.
🛒 Buy a lawn mower blade balancer from Amazon UK
If a blade has too many nicks to file back or has worn properly thin, a direct replacement is often cheaper and safer than persevering with a heavily reground original. Check your mower manual for the exact part number before ordering.
Cause: the central pivot has loosened, creating a gap between blade and anvil, you have accidentally sharpened the flat back of the blade over time, or there is sap buildup between the blades preventing them closing properly.
Solution: tighten the central pivot nut first. If that does not fix it, dismantle and check for crud preventing the blades meeting. If the blade has been over sharpened on the flat side and there is now a permanent gap, you need a replacement blade or new secateurs.
Cause: cutting wire, hitting stones whilst pruning, or dropping the secateurs onto hard surfaces damages blade edges.
Solution: use a coarse file, around 200 to 500 grit, to reshape the blade edge and remove the damaged section. This is aggressive work that removes significant metal, so once the nick is gone, switch to your regular 1000 grit whetstone to refine the edge. Deep damage sometimes cannot be fully removed without making the blade too thin, at which point you need a replacement blade.
Cause: the pivot point needs lubrication, there is rust in the mechanism, or the central bolt has been overtightened.
Solution: apply oil to the pivot and spring, working it in by opening and closing repeatedly. If it is still stiff, slightly loosen the central bolt by a quarter turn. If rust is the issue, dismantle, clean thoroughly, remove rust with wire wool, then reassemble with proper lubrication.
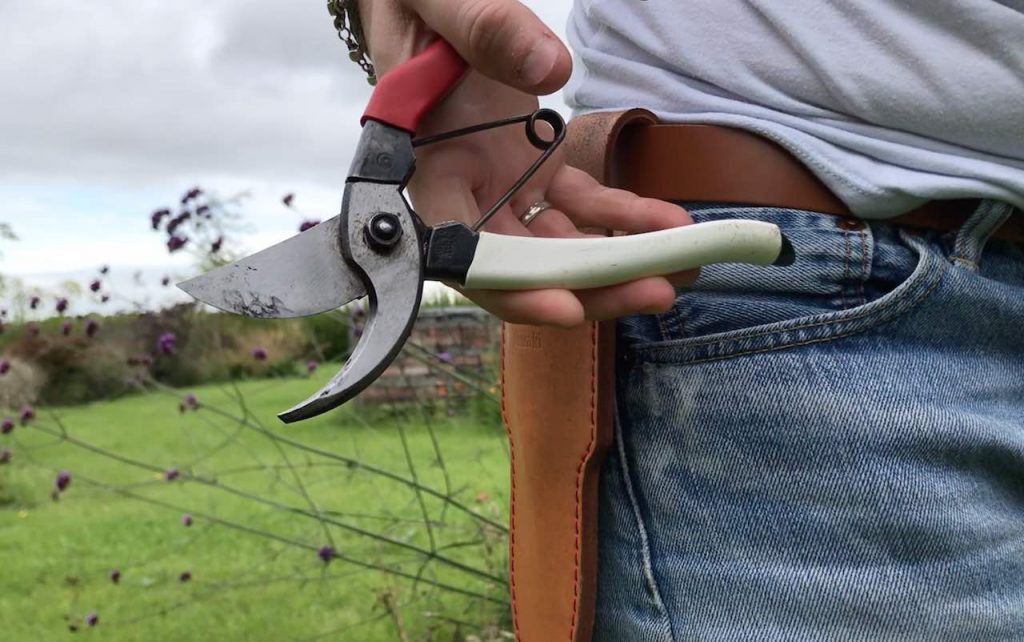
Cause: a worn spring, or the central bolt is not tight enough to hold everything together properly.
Solution: check whether the spring is stretched or damaged, since quality brands sell replacement springs. Make sure the central bolt is properly tightened. If the spring keeps falling out despite correct assembly, the secateur body itself may be worn where the spring seats, in which case it is time for new secateurs.
Cause: the pivot bolt is loose, or the blade is bent.
Solution: tighten the pivot bolt first. If the blades still cross, look down the blade edge to check whether it is bent. Minor bends can sometimes be carefully straightened with pliers, but a bent blade usually means it is replacement time.
Cause: storing tools damp, not oiling after use, or keeping them in a wet shed.
Solution: always wipe tools dry after use, oil them regularly, and store them somewhere dry. If a tool has already rusted, soaking the metal head overnight in ordinary white vinegar will usually loosen the rust enough to lift off afterwards with fine wire wool and a little oil. For severe rust you may need to dismantle and clean thoroughly, then establish a routine of oiling after every use.
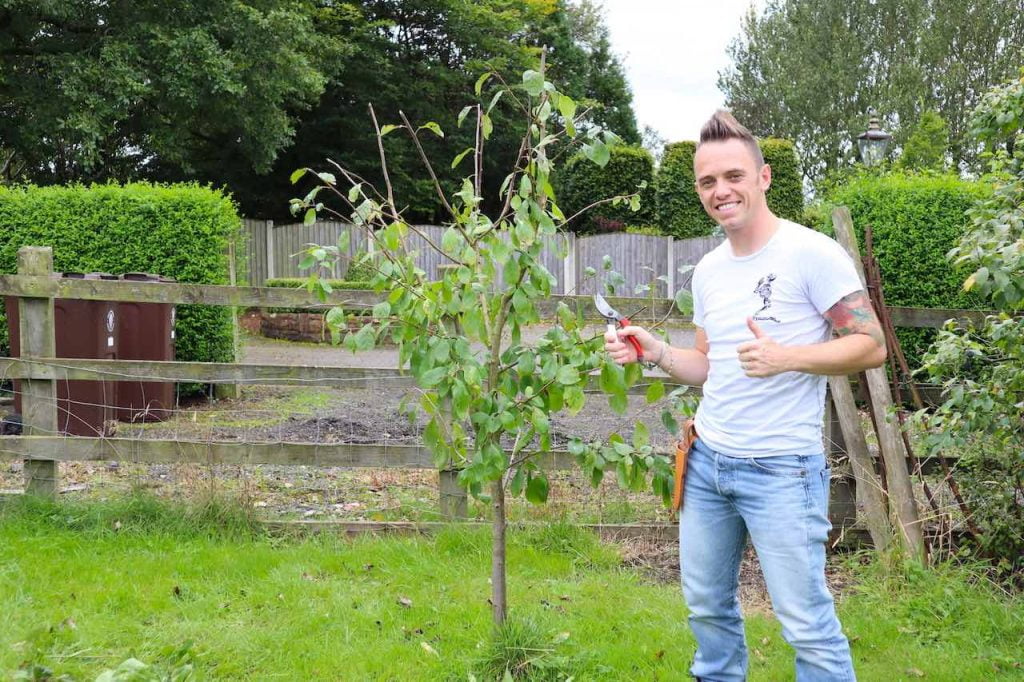
Never run your finger along a blade edge to test sharpness. Use the paper test instead. I have seen people slice themselves to the bone testing sharpness this way. A freshly sharpened blade is properly razor sharp and can cut you before you have had a chance to process what happened.
Always sharpen moving away from your body. If the sharpening tool or blade slips, it should move away from you rather than towards you. Position yourself so any slip sends things away from your legs, stomach and other hand.
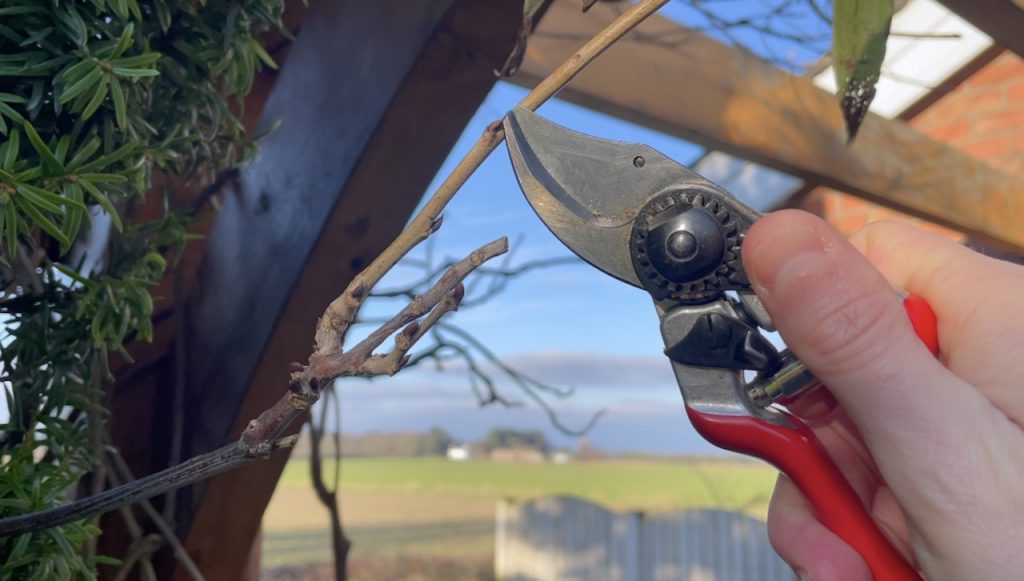
Secure the tool properly. Whether you are holding it or using a vice, it needs to be stable. A wobbly tool means poor sharpening and a real risk of injury when the blade suddenly moves while you are pressing down with the stone or file.
Work somewhere well lit. You need to see exactly what you are doing, since sharpening in dim light makes it hard to judge angles or confirm you are working on the correct part of the blade.
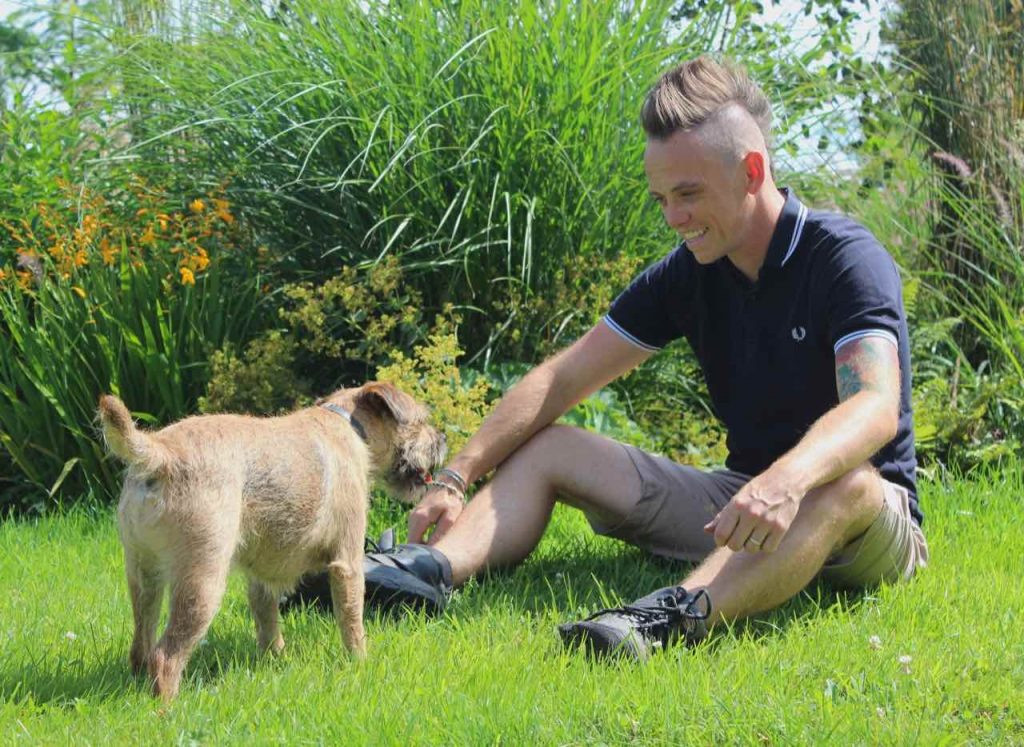
Keep children and pets well away while you are sharpening. A dog charging through, or a child grabbing your arm at the wrong moment, is exactly the kind of thing that ends in a hospital trip.
Clean up metal filings afterwards. The burr you remove from a blade is made of properly sharp metal particles. Do not leave these on a workbench or floor where they can embed in skin. Wipe up thoroughly with a damp cloth once you are done.
On a mower blade specifically, never sharpen it while it is still bolted to the deck. Disconnect the spark plug lead or battery, remove the blade completely and secure it in a vice, exactly as set out in the mower blade section above.
It is easy to focus entirely on the metal and forget that a huge number of quality garden tools still use ash or hickory handles, and those handles need their own maintenance if you want the tool to last as long as a well-cared-for blade should. Wood left untreated through a wet British winter will dry out, crack, and eventually split at exactly the point where the handle meets the metal socket, which is usually the moment a tool actually fails rather than the blade wearing out.
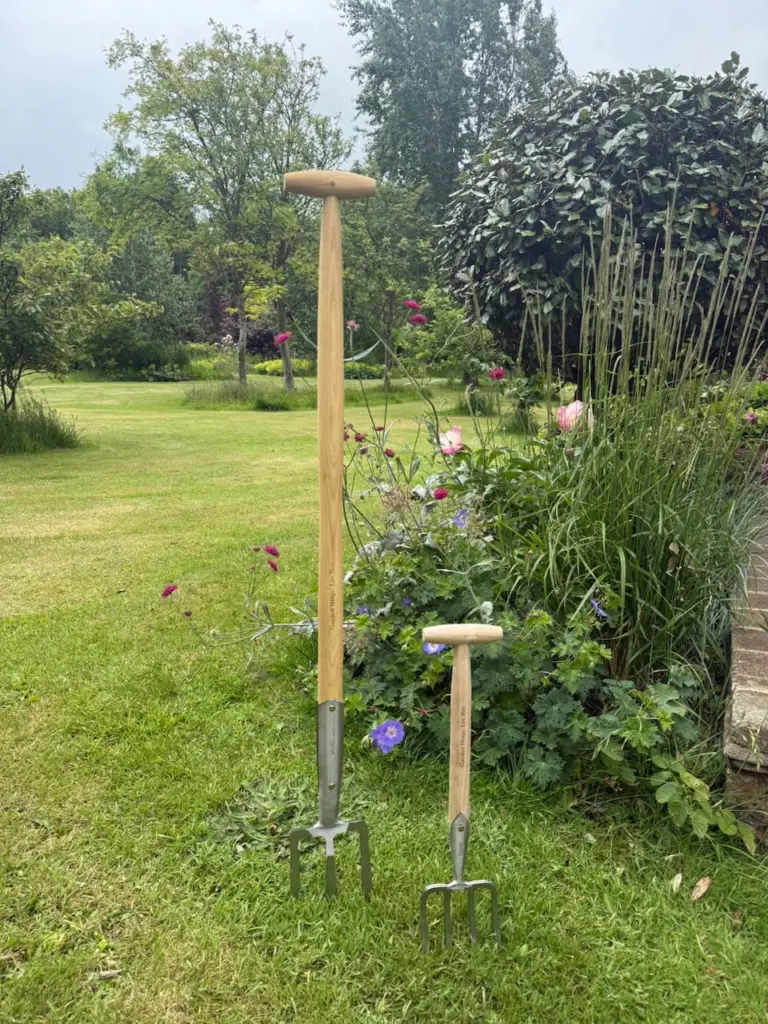
Once or twice a year, and always before putting tools away for winter storage, I rub a light coating of boiled linseed oil into every wooden handle in the shed. Apply it with a cloth, let it sit for ten minutes or so to soak into the grain, then wipe off any excess so the handle is not left tacky. This single habit is the reason some of my older tools, spades and forks that must be approaching fifteen years old now, still have handles as sound as the day I bought them.
Boiled linseed oil is inexpensive and one tin lasts years of shed maintenance, covering handles, wooden trugs and even a wooden garden bench if you have one.
🛒 Buy boiled linseed oil from Amazon UK
Late autumn, once the main pruning season has finished, is when I do a proper full service on every tool in the shed rather than the quick maintenance sharpen I do through the growing season. This is the moment to dismantle secateurs fully if yours come apart, clean every surface properly, sharpen from scratch rather than just touching up, oil every moving part, and treat any wooden handles before everything goes away for the winter months when it will see far less use.
Rust is the real enemy of stored tools, and it does more damage over a damp winter in an unheated shed than a whole season of hard use. Wipe every blade with a lightly oiled cloth before storing, since that thin film is enough to stop condensation reaching bare steel. If a tool already has surface rust, soaking the metal head overnight in ordinary white vinegar will usually loosen it enough to lift off afterwards with fine wire wool and a little oil, without needing anything more aggressive than that. It is worth doing this before storage rather than discovering the damage has spread when you go to use the tool again in spring.
Where you actually store tools matters more than most people assume. A damp shed floor is the worst place for anything metal, so hanging tools on a wall rack rather than leaving them stood in a corner or, worse, resting in a bucket of damp sand, keeps them drier and also means you can actually see what state each tool is in at a glance rather than digging through a jumble to find out.
A simple wall mounted tool rack keeps blades off a damp shed floor and, in my experience, is the single change most likely to actually get a household into the habit of hanging tools back up properly rather than leaving them wherever they were last used.
🛒 Buy a wall-mounted garden tool rack from Amazon UK
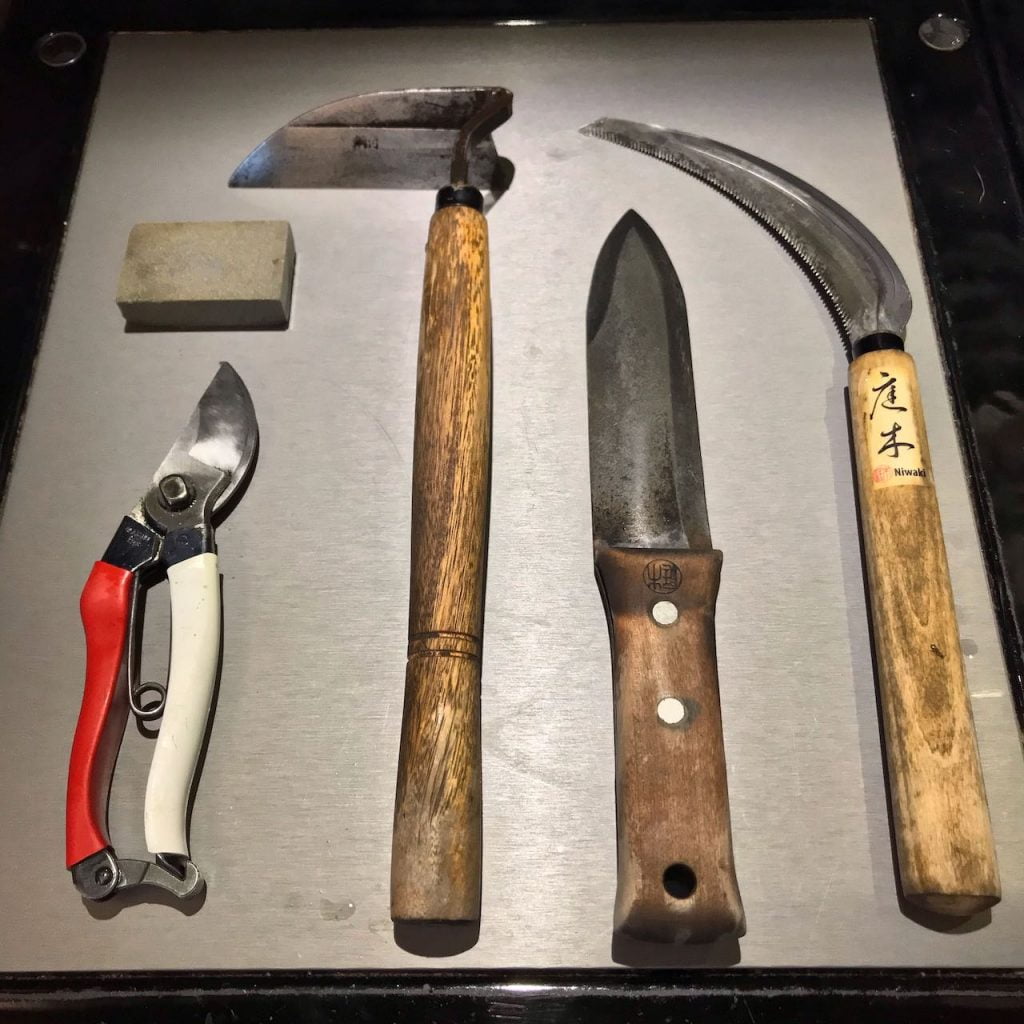
This depends entirely on how much you use a tool. I use my secateurs daily in my own gardening practice, so I sharpen mine weekly, and if I have just hard pruned a shrub I will sharpen straight after finishing that job. If you only use your secateurs a few times a month, sharpening every three to four weeks is usually enough. Always sharpen after a heavy pruning session, especially one involving thick, woody stems, and use your own experience and common sense on top of any fixed schedule. In my experience it is better to sharpen more often than less.
For shears in regular use through the growing season, the same weekly to monthly rhythm applies, plus that fuller service at the end of the season covered above. Loppers, which see less frequent but harder use, tend to need attention more like once a month during a busy pruning period.
Spades, hoes and edging tools are different again, since the RHS guidance I generally agree with suggests once or twice a year is enough for most cultivation tools, depending on how stony your soil is and how heavily you use them. A garden on heavy clay full of flint, which describes a fair number of the client sites I have worked on over the years, will blunt a spade edge noticeably faster than a light, stone free loam, so treat this as a starting point to adjust based on your own conditions rather than a fixed rule. A mower blade sits closer to the spade end of that scale, once a season for most lawns, though gritty ground or a mower that regularly clips buried debris will need a midsummer check as well.
💡 Top Tip
Run the paper test on your secateurs at the start of every pruning session rather than waiting until a cut looks obviously ragged. It takes ten seconds and tells you immediately whether the blade needs attention before it does any damage to the plant.
A properly good pair of secateurs should last a lifetime with the maintenance covered in this guide, and I would treat that as the benchmark for whether a tool is worth persevering with. Replace a blade, rather than continuing to sharpen it, when it is deeply nicked, bent or cracked, when it has been sharpened so many times that the flat back is noticeably thinner, or when the gap between the cutting blade and the anvil has become so wide that stems slip between them rather than being cut. If sharpening no longer restores clean cutting action, the blade is done. Most quality secateurs, Felco included, have replacement blades available, whereas cheap supermarket secateurs are usually cheaper to replace entirely than to buy new blades for.
If sharpening by hand is not something you want to take on yourself, several manufacturers offer a proper sharpening and servicing service for their own tools, and this is well worth doing once every few years even if you maintain the edge yourself in between, since a professional service will also check the pivot tension, the spring and any wear in the mechanism that a simple sharpen will not address. For secateurs and shears you are typically looking at somewhere in the region of five to fifteen pounds a tool, while a professional mower blade sharpen and balance, often bundled with an annual service, tends to run from about fifteen to thirty pounds. It is a small cost against a tool you might otherwise be using for the next twenty years.
Clean the secateurs thoroughly, then run a wetted sharpening stone along the bevelled edge of the blade at around twenty to twenty five degrees for about two minutes, using smooth strokes working away from the blade edge. Never sharpen the flat back except to remove the burr with two light passes. The whole process takes about five minutes once you have the technique down.
Yes. A pocket diamond sharpener works well for a quick touch up and needs no soaking or flat surface, which makes it useful mid job, though a proper whetstone session will give a cleaner, longer lasting edge for a full sharpen. A metal file also works, though it is more aggressive and better suited to removing serious damage than everyday maintenance.
A combination whetstone with a 1000 grit side is the best all-round tool for sharpening secateurs, since it gives a clean, lasting edge and many have a concave edge that sits neatly against a curved blade. A pocket diamond sharpener is the best choice for quick touch-ups in the garden, because it needs no soaking and no flat surface.
Not with a pull-through or electric knife sharpener, because they grind both sides of the blade and will open up the gap on a bypass pair. A handheld ceramic rod or knife steel is fine for a quick touch-up, as long as you only run it along the bevelled outer edge at the existing angle.
Wrap a strip of 400 grit wet and dry sandpaper around a flat block of wood, or a pencil for the curved part of the blade, and draw it along the bevelled edge away from the cutting edge. Finish with a few passes of 1000 grit and take the burr off the flat side with two light strokes. It is a good emergency fix, though a whetstone edge lasts longer.
Sap and grit build up on the blade faster than most people expect, and this residue effectively grinds against the edge every time you make a cut. Regular cleaning, alongside sharpening, is usually the missing step.
No. Only sharpen the bevelled outer edge of a bypass secateur blade, never the flat back except to remove the burr. Sharpening the flat side creates a gap between the blade and the anvil, so your secateurs tear and crush stems rather than cutting cleanly. This is the single biggest mistake people make and it can ruin secateurs permanently.
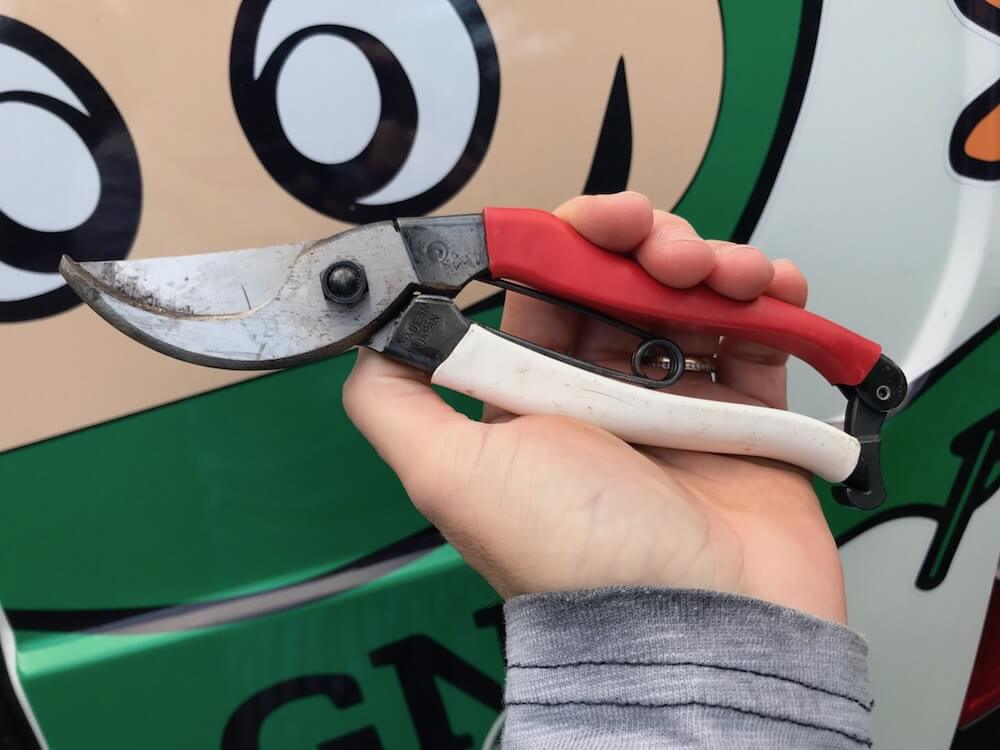
Sharpen Niwaki and other Japanese secateurs on the bevelled outer edge only, using a 1000 grit whetstone and gentle, even strokes, then polish on a finer stone of 3000 grit or more if you have one. The steel is harder than most European secateurs, so avoid metal files, which can chip the edge.
Test sharpness with the paper test, cutting through a sheet held vertically. Sharp secateurs slice cleanly through with minimal effort. If the paper folds, crushes or tears rather than cutting, sharpen again. Never test sharpness by running a finger along the blade, since that is how people end up needing stitches.
If it starts taking noticeably more effort or several attempts to slice through turf that it used to cut in one push, the edge has rounded off and a few minutes with a metal file will usually restore it.
Only for a full annual service. For regular maintenance sharpening every few weeks, working on the assembled, open blade is quicker and just as effective, and reduces the risk of reassembling the spring or washer incorrectly.
No. Always disconnect the spark plug lead or remove the battery, then take the blade off completely and secure it in a vice before sharpening. A blade left loosely attached to the mower can rock under the file and puts your hand directly in its path, which is a properly dangerous way to do this job.
Secateurs and shears typically cost somewhere between five and fifteen pounds per tool at a professional sharpening service, while a mower blade sharpen and balance, often included as part of an annual service, tends to run from about fifteen to thirty pounds.
Replace blades when they are deeply nicked, bent or cracked, when repeated sharpening has made the flat back noticeably thinner, or when the gap between the cutting blade and the anvil has become wide enough that stems slip through rather than being cut. Most quality secateurs have replacement blades available, which is usually far cheaper than a whole new tool.

Join over 100,000 gardeners on YouTube
Free gardening videos from the Garden Ninja, with 8 million views and counting.
Subscribe on YouTube, it’s freeA freshly sharpened pair of secateurs is only half the job. Knowing what to prune, where each plant should go, and how the whole garden fits together is what my online garden design courses teach, using the same process I follow on real client gardens.
With courses starting from just £29, you can plan the garden your newly sharpened tools deserve.
For the garden you’ve already got, not the one you’re starting from scratch. Seven checklists and video lessons from BBC Garden Rescue’s Lee Burkhill, designed to help you decide what’s worth keeping before you spend a penny.
Garden Design Examples for Small Gardens: 30 Design Templates & Planting Plans: In this online gardening course, I’ll walk you through 30 fantastic garden designs, explaining the logic behind the layout and plant choices, plus take-home tips for applying them in your own garden.
Learn how to transform and design your garden with Lee Burkhill’s crash course in garden design. In over 5 hours, Lee will teach you how to design your dream garden. Featuring practical design examples, planting ideas and video guides. Learn how to design your garden in one weekend!
Garden Design for Beginners Online Course: Want to become a garden designer or design your own garden? This beginner course is for you. Join me, Lee Burkhill, an award-winning garden designer, as I train you in the art of beautiful garden design. Enjoy 20 hours of online study and video lessons, along with quizzes and a completion certificate.
None of this needs specialist skill or expensive kit. A whetstone, a metal file, a small bottle of camellia oil and perhaps ten minutes every few weeks through the growing season will keep every cutting and cultivation tool in your shed working the way it did when you bought it, and it will make every pruning job in this guide easier and safer as a direct result. The mower blade is the one exception worth building into a proper seasonal routine rather than a quick five-minute job, precisely because it comes off the machine and needs a bit more care to do safely.
It may seem pedantic, but keeping your tools clean and sharp really is in your garden’s best interests. A solid, sharp set will cut cleanly through all sorts of plant matter, saving stress on your wrists and your plants, and taking a few minutes periodically to sharpen them is actually a properly relaxing task once you have the technique. If you take one thing from this article, let it be the paper test. Run it on your secateurs before your next pruning session, and if the paper folds instead of slicing, you already know exactly where to start.
Happy gardening, and here is to blades that actually do the job you bought them for. If you have a tool care question this guide has not covered, drop it in the forum and I will get back to you.
Lee Burkhill, known as the Garden Ninja, is an award-winning garden designer and horticulturist with over 30 years of gardening experience and 15 years as a professional garden designer. A qualified RHS (Royal Horticultural Society) professional, Lee specialises in sustainable garden design and practical horticultural advice. He designs and presents on BBC1’s Garden Rescue and in leading gardening publications. Lee combines three decades of hands-on gardening knowledge with professional design qualifications to help gardeners create beautiful, functional outdoor spaces.
View all posts by Lee Burkhill




You must be logged in to post a comment.



JOIN THE NINJAS

Be the first in line for new Guides, Discount codes and Offers






Where can I buy sharpening tools for the sequester sharpening?
You can buy the Niwaki sharpening stone here. https://www.amazon.co.uk/dp/B07VHD5D5C/ref=cm_sw_r_as_gl_api_gl_i_83SNR010X0XQE6QBCQ03?linkCode=ml2&tag=gardenninja-21 (This is an affiliate link so if you do choose to buy receive a small commission that helps keep this blog free to use!)