For the garden you’ve already got, not the one you’re starting from scratch. Seven checklists and video lessons from BBC Garden Rescue’s Lee Burkhill, designed to help you decide what’s worth keeping before you spend a penny.
69


Quick Answer
Most magnolias need very little pruning and actively prefer to be left alone. When pruning is necessary, the golden rule is to do it immediately after flowering in late spring or early summer. Always use clean, sharp tools, remove dead, damaged, or crossing branches only, and avoid cutting into old, thick wood where possible.
I have worked with magnolias on countless design projects over the years, from compact Magnolia stellata squeezed into small town gardens to enormous Magnolia grandiflora that have been growing against walls for generations. The one thing every single one of them has in common is that they respond badly to being hacked back hard and enthusiastically. Slow-growing, naturally beautiful, and borderline resentful of unnecessary interference, they reward patience and restraint.
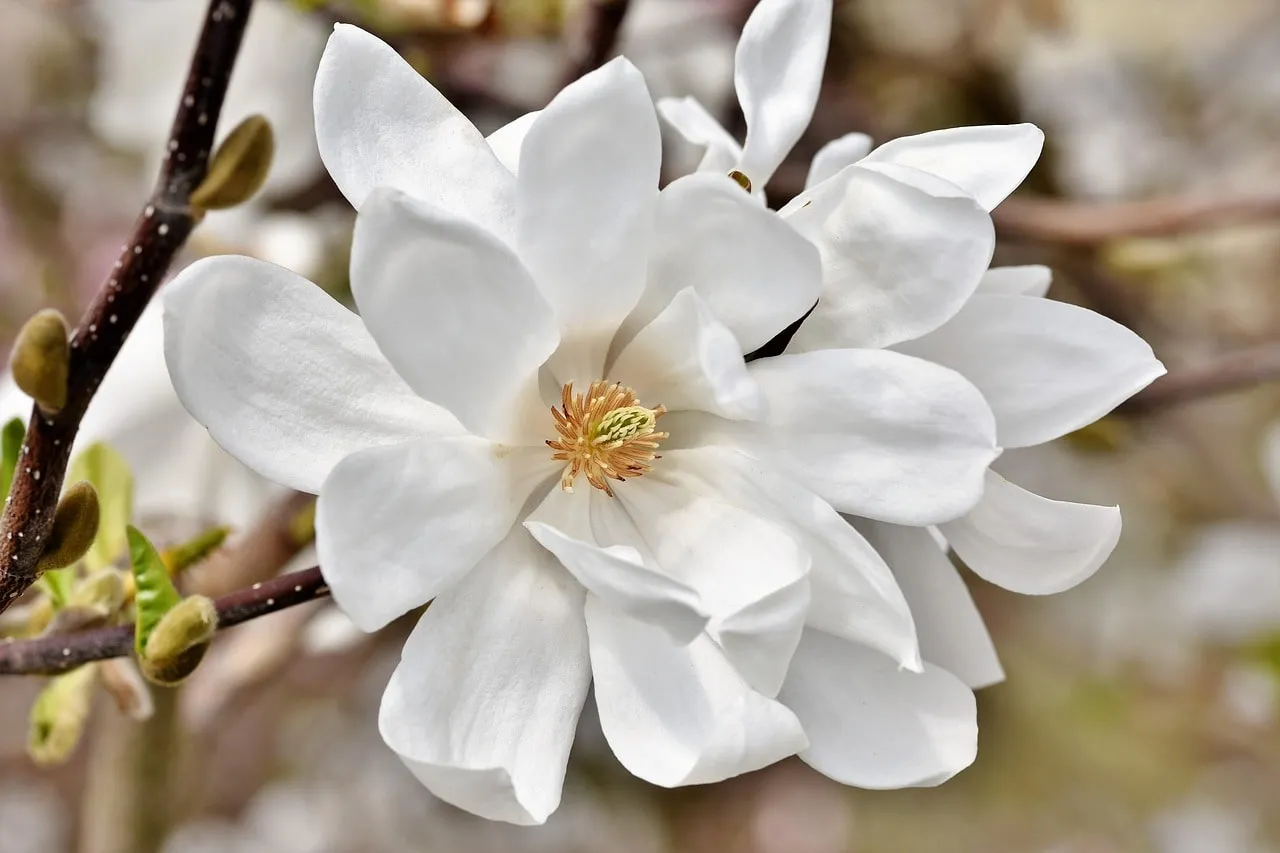
This guide covers everything you need to know: when to prune, what tools to use, the key differences between pruning deciduous and evergreen magnolias, and the mistakes that are most likely to cost you a year of flowers. Whether you have a young tree that needs shaping, an established specimen that has outgrown its space, or simply a few dead or crossing branches to tidy up, read on.
Jump To
This page contains affiliate links for products I use and love. If you take action (i.e. subscribe, make a purchase) after clicking a link, I may earn some gardening commission which helps me keep the Garden Ninja Blog free for all.
This is the most important question, and the honest answer is: usually not very much. Magnolias are naturally elegant trees with a strong architectural structure. Left to their own devices, most of them will develop a pleasing shape without any human intervention. Unlike roses or buddleja, which respond brilliantly to hard annual pruning and positively sulk if you ignore them, magnolias genuinely prefer a hands-off approach.
That said, there are situations where some degree of pruning is both appropriate and necessary. Removing dead, diseased, or damaged branches is always worthwhile and should be done as soon as you notice the problem, regardless of the time of year. Crossing branches that rub against each other creates wounds that become entry points for disease and should be addressed. Young trees sometimes benefit from light formative pruning in their first few years to establish a clear structure. And occasionally a magnolia will put on a growth spurt in one direction and need a gentle steer to keep it in proportion with its surroundings.
💡 Top Tip
Before you reach for the secateurs, stand back and look at the tree from a distance. Magnolias often look asymmetrical or unbalanced during and immediately after flowering, but they tend to even themselves out naturally through the season. Give it until midsummer before deciding whether intervention is actually needed.
What you should absolutely avoid is pruning for the sake of it, or cutting back hard simply because the tree looks large. Magnolias are slow growers, and every large branch represents years of development. Removing significant amounts of growth in one go creates huge wounds that magnolias are notoriously slow to compartmentalise, leaving them vulnerable to fungal infection and dieback. The less you take, the happier the tree.
Timing is everything with magnolias, and getting it wrong is the single most common reason people end up with a tree that fails to flower the following year. The correct window is immediately after flowering has finished. For most deciduous magnolias, which bloom in early to mid spring before the leaves emerge, this typically means pruning in late April or May. For later-flowering varieties and for evergreen magnolias such as Magnolia grandiflora, the window shifts to early summer, usually June or July.
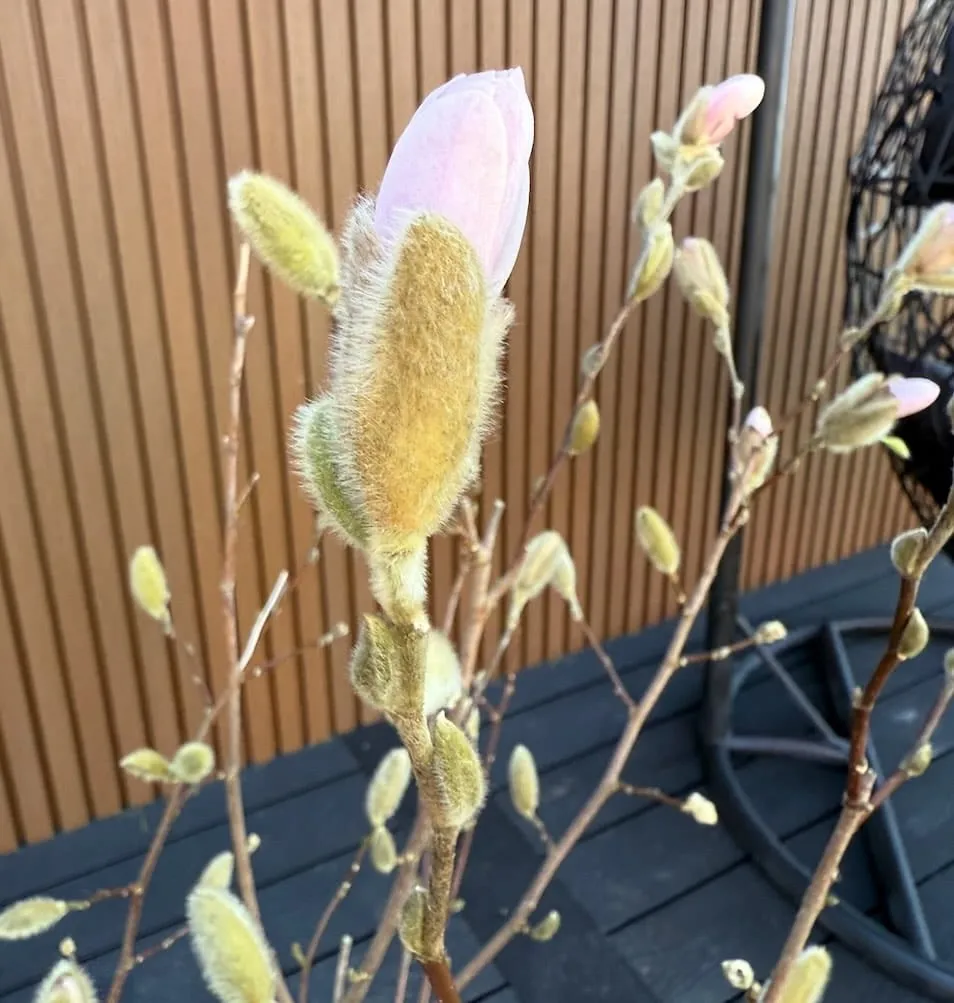
The logic behind this timing is straightforward. Magnolias set the following year’s flower buds during the summer and early autumn. If you prune after the buds have formed, you are removing next year’s flowers before they have had a chance to bloom. Pruning immediately after flowering gives the tree the maximum amount of time to produce new growth and set a fresh crop of flower buds before the season closes. Any later than midsummer and you risk cutting into the embryonic buds for the following spring.
There is one exception worth noting: dead, diseased, or structurally dangerous branches can and should be removed at any time of year. A branch affected by coral spot fungus, for example, will not get better if you wait until May. Take it off as soon as you see it, cut back into healthy wood beyond the visible discolouration, and dispose of the affected material away from the compost heap.
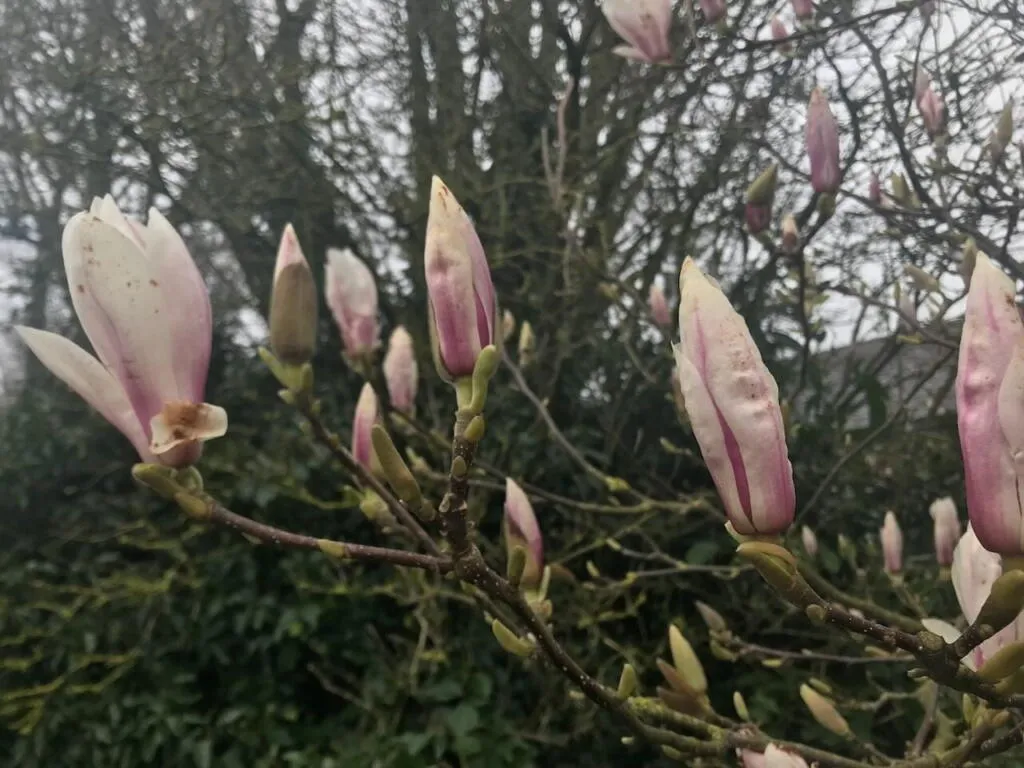
Winter pruning is something to approach with caution. Magnolias pruned in winter or early spring, before the sap has risen properly, can bleed excessively from the cut surfaces. This loss of sap weakens the tree, and the wet cuts are much more susceptible to frost damage and fungal entry. If you absolutely must prune in winter, keep cuts to a minimum and apply a wound sealant to any significant cuts.
Sharp, clean tools are not optional when it comes to magnolias. Because they are slow to heal from pruning wounds, every cut you make should be as clean and precise as possible. A ragged cut made with blunt secateurs creates a much larger wound surface, takes far longer to callous over, and provides a far easier entry point for fungal pathogens than a clean, precise cut made with a well-maintained blade. Before you start, sharpen your tools and wipe the blades with a diluted disinfectant solution.
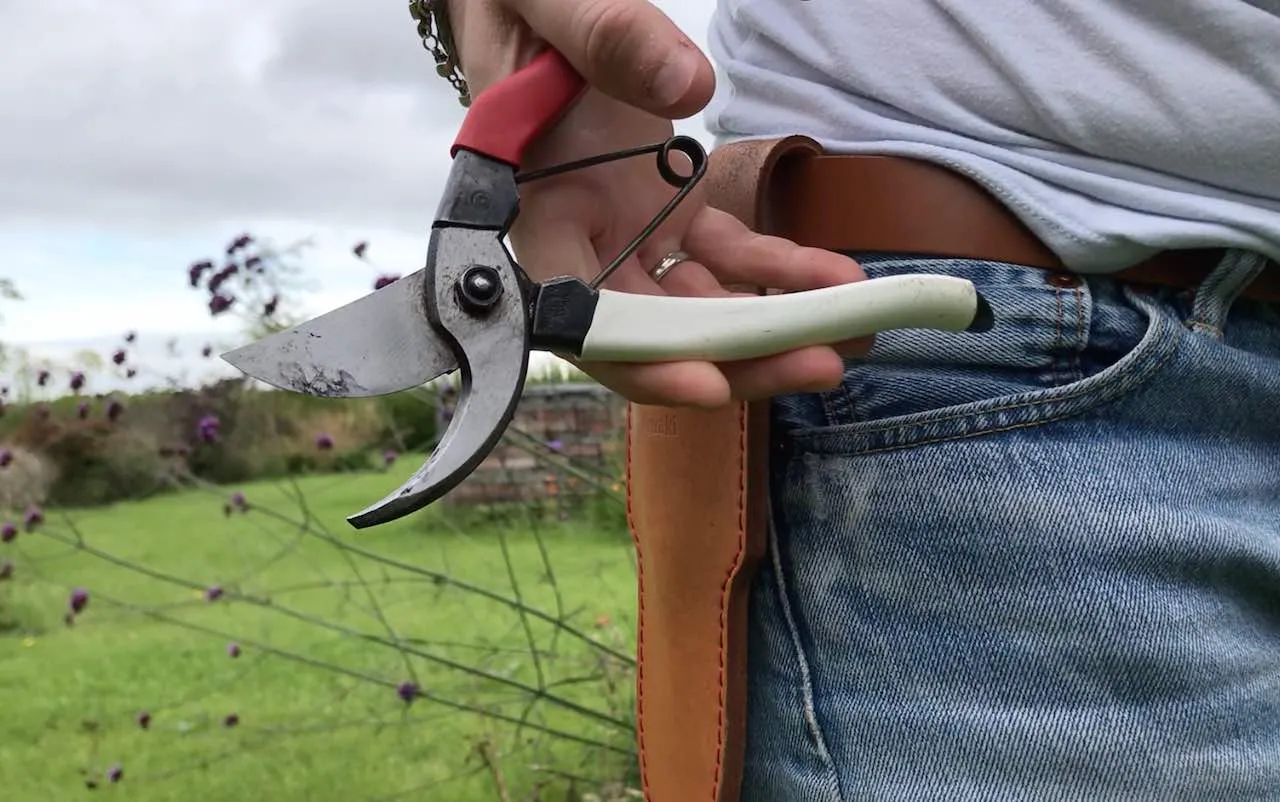
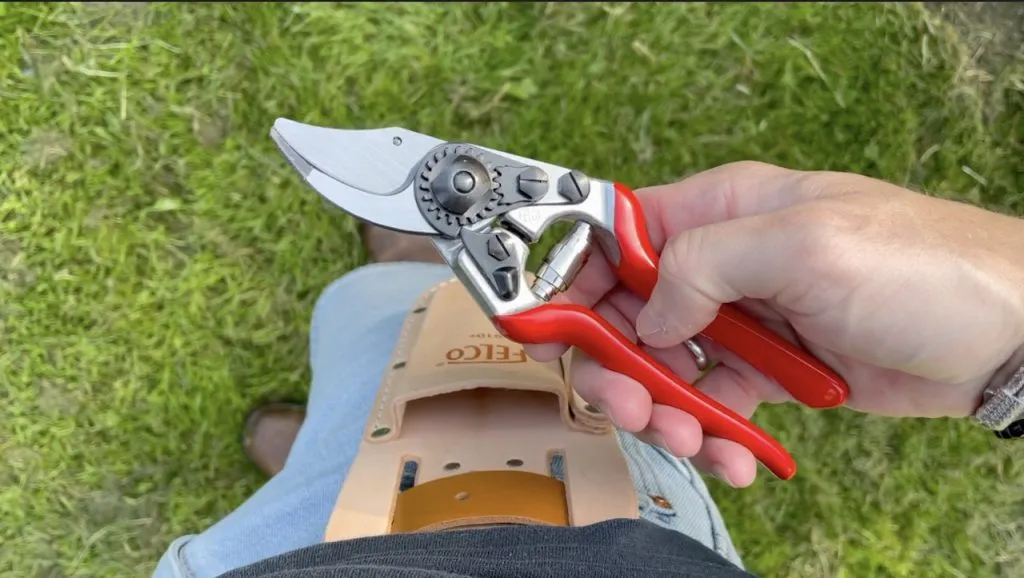
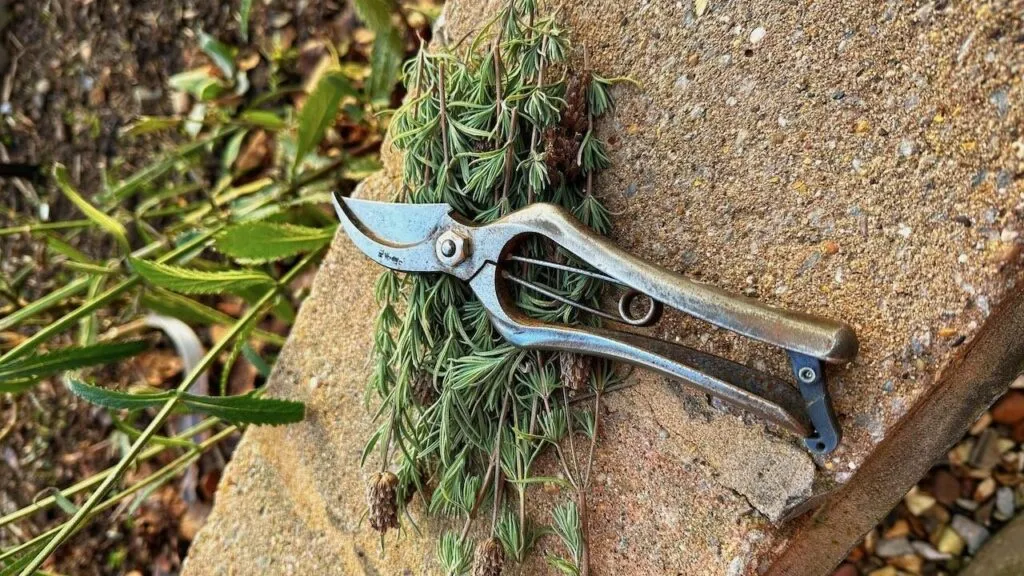
For most magnolia pruning work, bypass secateurs are your primary tool. Bypass secateurs cut with a scissor action, slicing cleanly through the stem rather than crushing it against an anvil. This distinction matters enormously for magnolias because crushed stem tissue heals far more slowly and is more prone to disease. The Felco range has been a staple in my tool bag for years and with good reason: the blades hold an edge well, replacement parts are readily available, and they are built to last decades rather than seasons.
🛒 Buy Felco bypass secateurs from Amazon UK
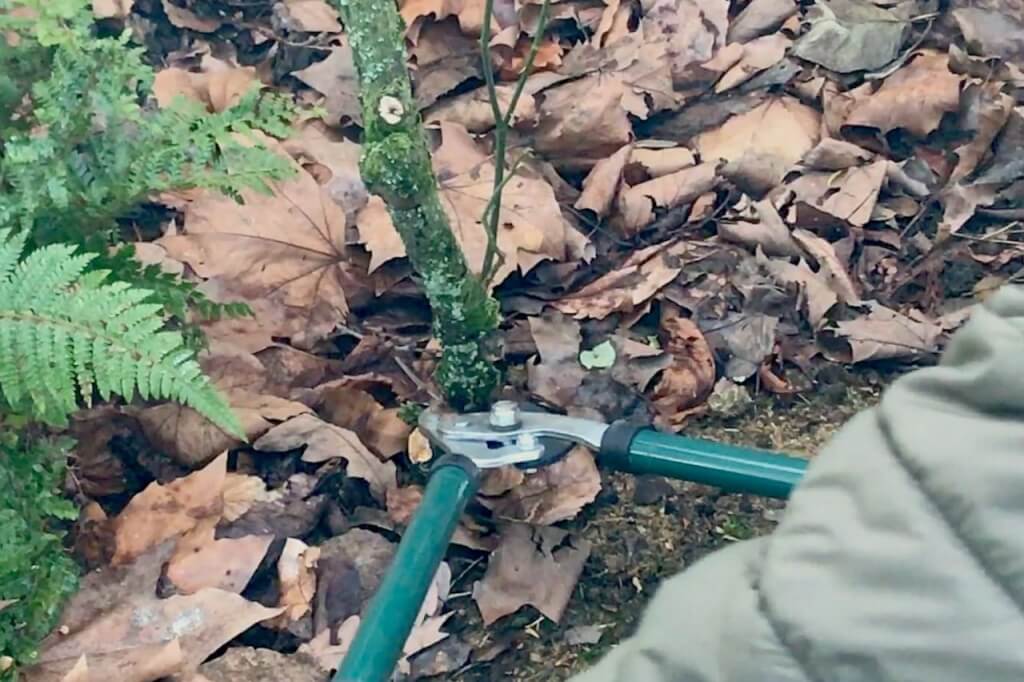
For branches between roughly 2cm and 5cm in diameter, a good pair of loppers will make the job far easier and safer than trying to force secateurs through wood they are not designed to handle. Long-handled loppers also give you the leverage and reach to get into the crown of a larger magnolia without needing to stand on tiptoe or overstretch, which is where poor pruning cuts tend to happen.
🛒 Buy bypass loppers from Amazon UK
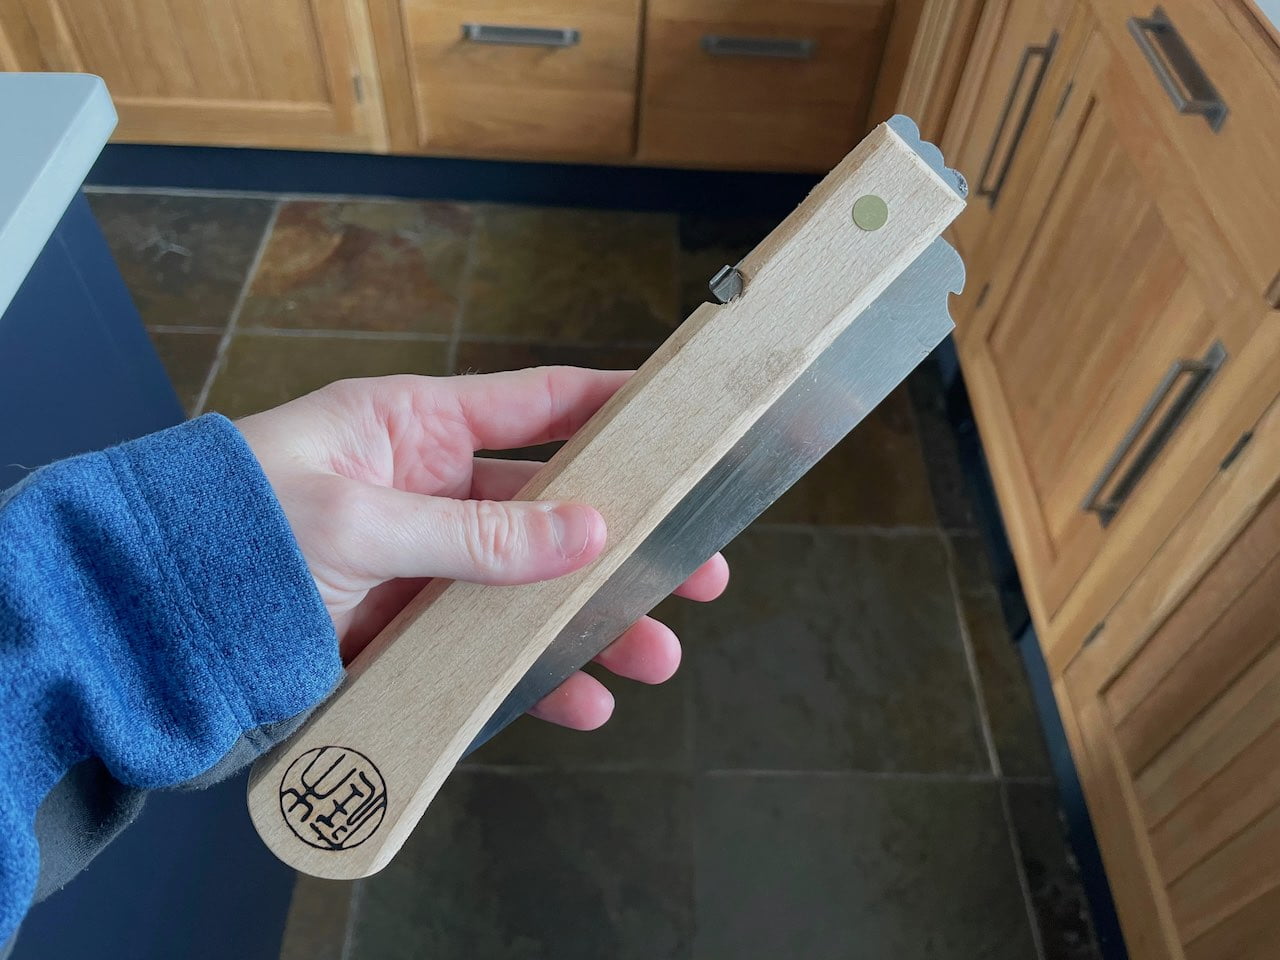
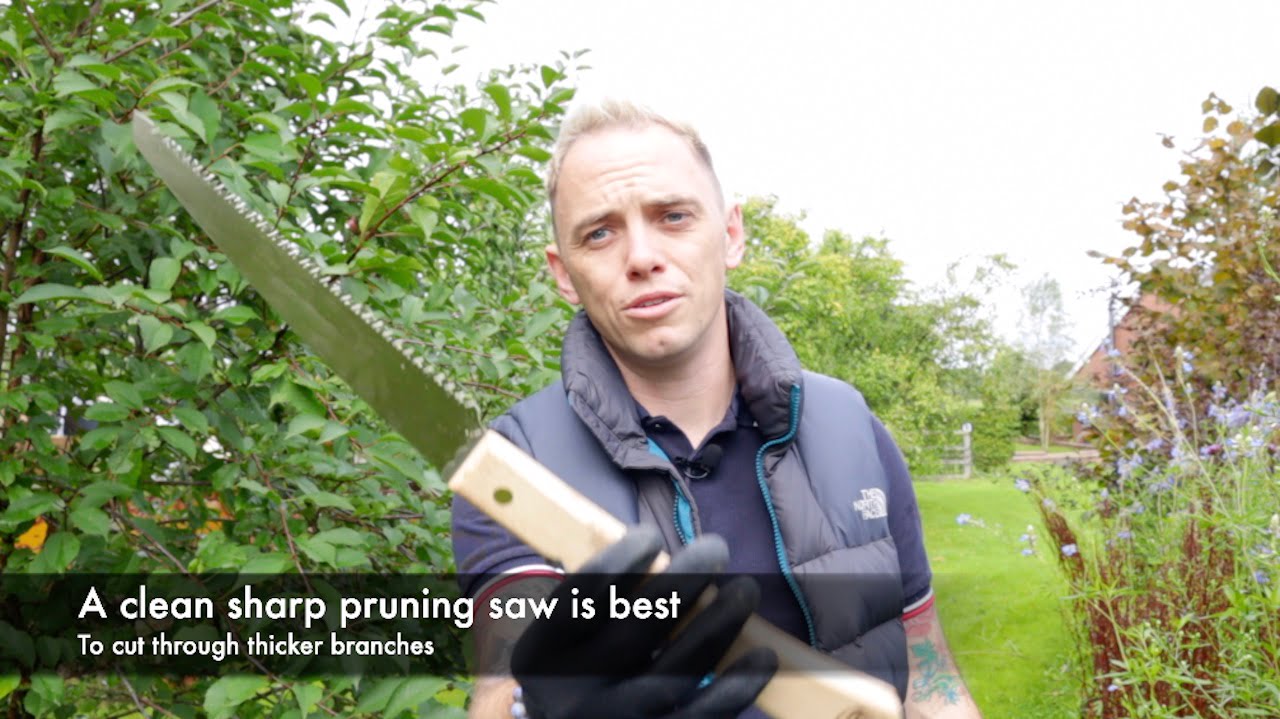
Anything thicker than about 5cm needs a pruning saw. I use a folding Japanese-style pruning saw for most of this work because the pull-stroke cutting action gives extraordinary control and produces remarkably clean cuts even through thick, dense wood. The narrow, tapered blade is also much easier to manoeuvre in the tight spaces inside a crown than a traditional fixed-blade saw.
🛒 Buy a Japanese folding pruning saw from Amazon UK
Finally, a bottle of wound sealant or pruning paste is worth having to hand, particularly if you are removing branches thicker than about 3cm or pruning outside the ideal post-flowering window. Magnolias are susceptible to silver leaf disease (Chondrostereum purpureum), which enters through pruning wounds, and sealing large cuts reduces this risk considerably. It is not a guarantee, but it is a sensible precaution.
🛒 Buy pruning wound sealant from Amazon UK
The first thing to do before making any cut at all is to stand back and assess the tree properly. Walk around it. Look at it from different angles and at different distances. You are trying to identify specific problems: dead or dying wood, crossing branches, anything growing inward toward the centre of the crown, and any branch that has grown markedly out of proportion with the rest of the tree. Once you have a clear picture of what needs removing, the actual pruning becomes much simpler because you are working to a plan rather than snipping speculatively.
Always start with the dead wood. Dead branches are easy to identify in spring and summer because they carry no leaves and the bark tends to look dry, shrivelled, or discoloured. Cut back into healthy wood, making your cut just above a healthy bud or lateral branch. You will know you are in healthy tissue because the cut surface will be pale cream to green, not brown or hollow. If the wood is brown all the way through, keep cutting back until you reach clean tissue.
Diseased wood should be removed with particular care. If you suspect coral spot (which shows as small orange-pink pustules on the bark) or any other fungal infection, cut well back beyond the visible symptoms and dispose of the removed material in the bin rather than the compost. Sterilise your cutting tools between each cut using a spray of diluted disinfectant. This is not excessive caution: it is the difference between catching a problem early and watching it spread through the whole tree.
Once the dead and diseased material is out of the way, look for branches that cross or rub against each other. Where two branches compete for the same space, the constant friction between them eventually damages the bark on both, creating open wounds that invite disease and pests. The solution is to remove one of the two offending branches, keeping whichever is better positioned and more naturally part of the tree’s overall structure.
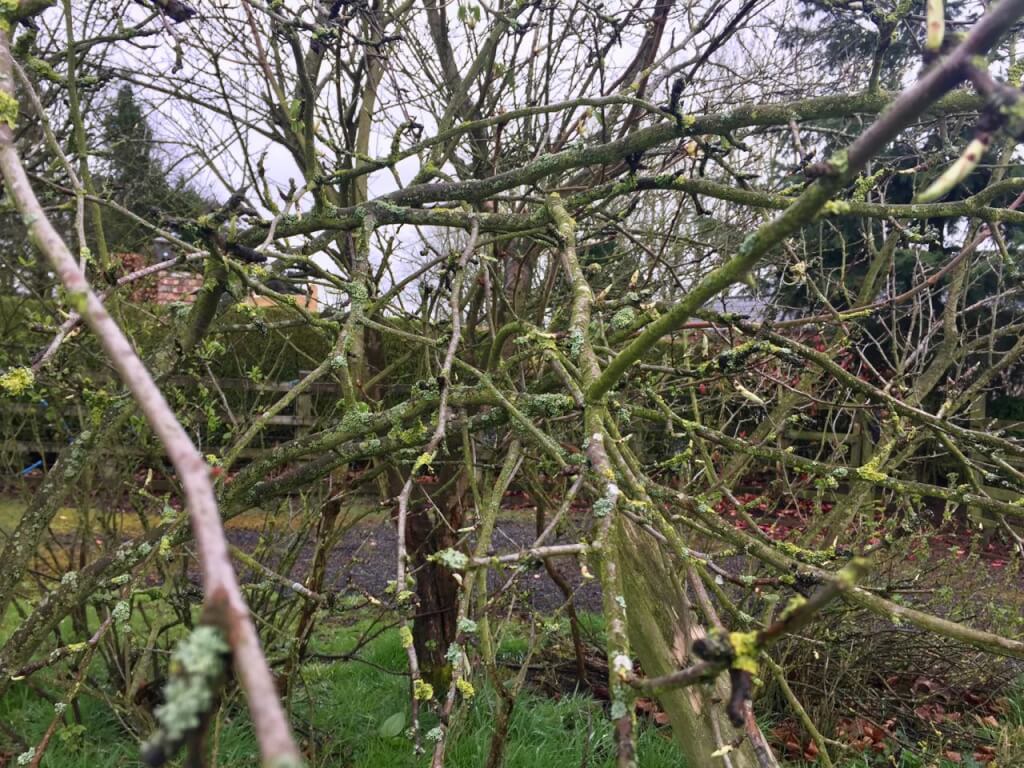
When choosing which branch to remove in a crossing pair, always take out the one growing inward toward the centre of the crown rather than the one growing outward and upward. Magnolias benefit from an open centre that allows light and air to circulate freely through the canopy. A congested, airless crown is more prone to disease and produces fewer flowers than one with good air movement.
If you are working with a young magnolia in its first three to five years, this is also the time to carry out any light formative pruning. The goal at this stage is to establish a clear main leader (the central upward-growing stem) and a balanced framework of lateral branches. Remove any competing leaders by cutting the weaker ones back to their point of origin. If there are branches that are growing at very acute angles to the trunk, where the crotch angle is very narrow, consider removing these as they are structurally weak and prone to splitting under the weight of flowers and leaves as the tree matures.
💡 Top Tip
Never remove more than a quarter of the tree’s overall canopy in a single season. Magnolias respond to heavy pruning with excessive production of vigorous, sappy shoots called watershoots. These look lush but flower poorly and actually weaken the tree’s structure. Little and often is always better than one dramatic session.
If one branch has grown noticeably longer than the others and is pulling the tree out of balance, you can shorten it back. The key is to cut back to a healthy lateral branch rather than simply cutting the tip off mid-stem. Cutting to a lateral is called a reduction cut, and it looks much more natural than a heading cut, which leaves a blunt stub that often produces a cluster of weak, poorly attached shoots in response. Find a lateral that is pointing in a direction you want the branch to grow, and cut just above it so that the lateral becomes the new growing tip.
For any branch over about 3cm in diameter, always use the three-cut method. Make a partial cut from underneath the branch first, about 30cm out from where you intend to make your final cut. Then make your second cut from the top, just slightly further out from the trunk than the undercut. The branch will fall cleanly without the bark tearing back toward the trunk. Your third and final cut is then made close to the branch collar, the slightly raised ring of bark at the base of the branch where it meets the trunk, leaving the collar intact to support healing.
Once pruning is complete, you can apply wound sealant to any cut surface larger than about 3cm in diameter. There is some academic debate about whether wound sealants actually help or hinder the natural compartmentalisation process in trees. To be honest, I never use pruning sealants, and I find it causes more problems than it solves, especially if applied incorrectly. Clear all the pruned material away from the base of the tree, as piles of decaying wood nearby can harbour fungal spores.
Not all magnolias are pruned in exactly the same way. The main distinction is between deciduous magnolias and evergreen magnolias, but within those categories, there are also important differences in vigour, growth habit, and typical garden use that influence how and when you should prune.
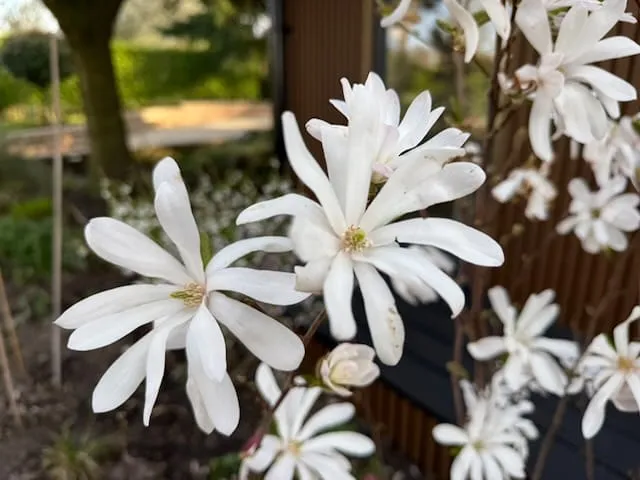
The star magnolia is the classic choice for smaller UK gardens and one of the most widely planted magnolias in the country. It is naturally compact and multi-stemmed, with a bushy, rounded habit that rarely needs any pruning at all beyond the removal of dead wood. It blooms very early in the season, often from late February onward, which means the flowers are always at risk from late frosts. Do not be tempted to prune away what appears to be frost-damaged flower damage immediately; wait until the tree comes fully into leaf and assess properly what is live growth and what is genuinely dead.
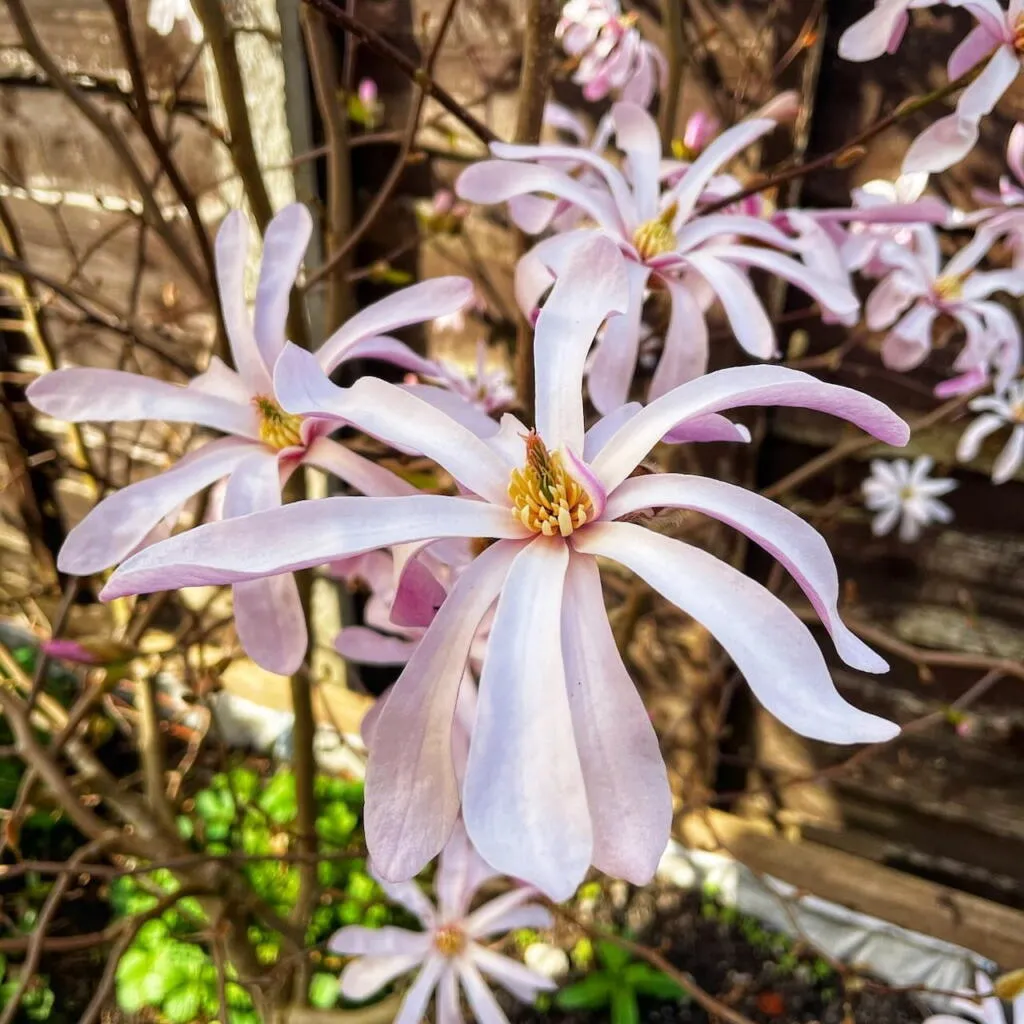
Prune immediately after flowering finishes, typically in April. Because it blooms so early, you have a generous window between the end of flowering and the point at which next year’s buds begin to set. Limit yourself to removing dead wood and any crossing or congested branches. If the shrub has become genuinely overgrown, you can reduce its overall size by no more than a quarter in a single season, always cutting back to a healthy lateral.
🛒 Buy Magnolia stellata from Amazon UK
The saucer magnolia is perhaps the most common magnolia you will encounter in established UK gardens, with its spectacular goblet-shaped pink and white flowers appearing on bare branches in March and April. It grows into a large, spreading tree or multi-stemmed shrub over time and is much more vigorous than M. stellata. Pruning requirements are broadly similar: remove dead, damaged, and crossing wood immediately after flowering, and keep intervention light.
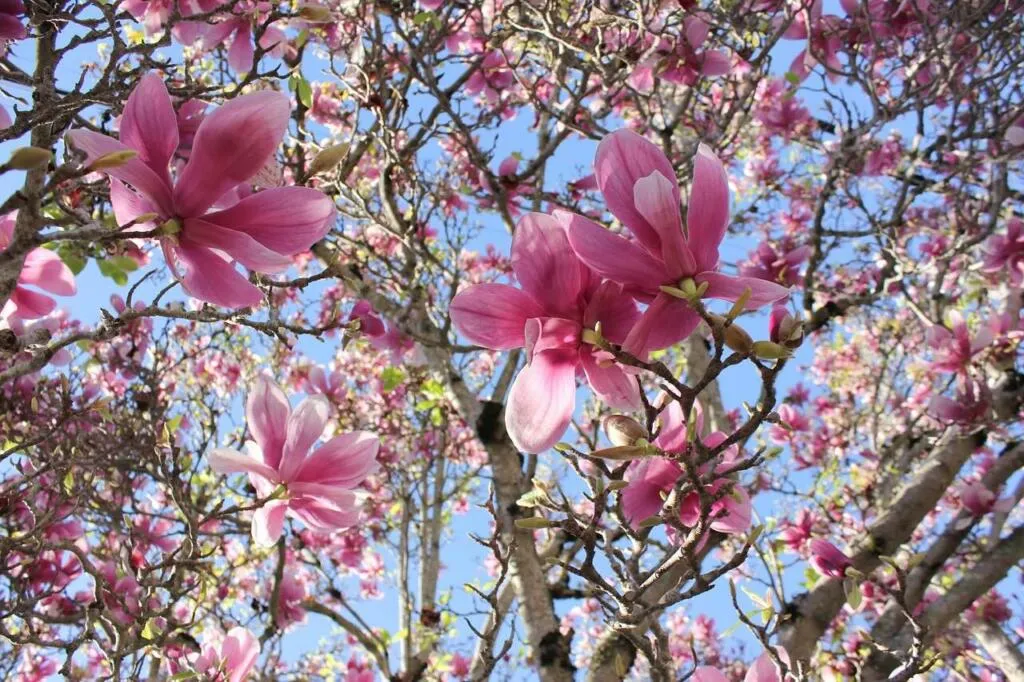
One issue that frequently arises with mature saucer magnolias is a dense, congested crown over the years. If you are dealing with an established tree that has become tangled and airless in the centre, you can open it up gradually over two or three seasons by removing one or two of the most congested inner branches per year rather than trying to sort it all out in one go. Patience here will always produce better results than decisiveness. Use a pruning saw for thicker branches, and always cut underneath first before finishing the cut from the top to stop snagging.
🛒 Buy Magnolia soulangeana from Amazon UK
Magnolia grandiflora is in an entirely different category from the spring-flowering deciduous magnolias because it is evergreen and flowers from June through to September. This fundamentally changes the pruning approach. Because it flowers on growth produced the same season rather than on wood from the previous year, it is a little more forgiving of pruning timing than its deciduous cousins, though immediately after the main flush of flowers in late summer remains the safest time.
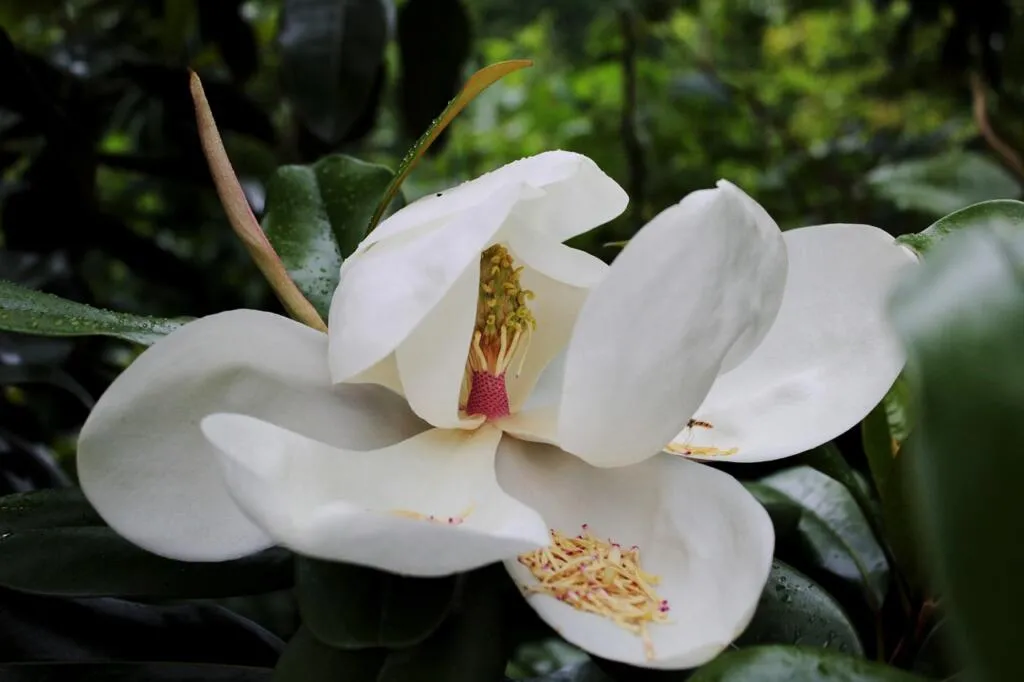
Wall-trained specimens of M. grandiflora require more active management than free-standing trees. The goal with a wall-trained plant is to maintain a relatively flat, fan-shaped framework of branches tied against the wall, removing any shoots growing directly outward away from the wall and shortening any that have extended too far beyond the desired outline. This is essentially the same discipline as training an espalier apple, and benefits from the same light, regular approach rather than occasional dramatic intervention.
🛒 Buy Magnolia grandiflora from Amazon UK
The ‘Little Girl’ hybrids, including ‘Susan’, ‘Betty’, ‘Jane’, and ‘Ann’, were bred specifically for smaller gardens and later flowering, which reduces the frost risk compared with the very early-flowering species. ‘Susan’ in particular has become enormously popular in UK gardens over the last decade, and with good reason: it is compact, reliably hardy, and produces a second flush of flowers in late summer that the larger species rarely manage. Pruning requirements are essentially the same as for other deciduous magnolias. Prune after the main spring flowering, keep it minimal, and do not be alarmed if the second flush is lighter in a year where you have pruned.
🛒 Buy Magnolia ‘Susan’ from Amazon UK
The volume of forum questions I receive about magnolias that are failing to flower, looking stressed, or simply declining is striking, and in the vast majority of cases the problem traces back to one of a handful of avoidable pruning errors. These are the ones I see most consistently.
This is by far the most common mistake and the one most likely to cost you a season of flowers. Autumn and winter pruning on deciduous magnolias is something I see regularly, usually because gardeners are tidying up at the end of the year and include the magnolia in their general clearance. If you prune in autumn or winter, you are almost certainly removing the flower buds already set on the wood, waiting for spring, similar to Rhododendron pruning. The tree will leaf up perfectly normally, but the flowers will simply not be there. Stick to immediately after flowering, every time.
Magnolias do not regenerate readily from old wood in the way that many other garden shrubs do. If you cut a branch back hard into wood that is more than a few years old, particularly into the grey, fissured bark of mature wood, the chances of it breaking into new growth are poor. Unlike a buddleja or a dogwood, which will practically thank you for hard pruning by coming back twice as vigorous, a magnolia will often simply die back from the cut. Always prune back to a healthy lateral branch rather than cutting to a bare stem and hoping for the best.
This is a situation I genuinely sympathise with. Someone plants a magnolia without quite appreciating how large it will eventually become, and when it starts to crowd out neighbouring plants or block light to the house, the instinct is to cut it back hard. But hard pruning a magnolia does not produce a smaller, neater version of the same tree. It produces a stressed, weakened tree with poor flowering, excessive watershoot growth, and large wounds that are difficult to heal. If a magnolia has genuinely outgrown its space, the honest answer is often that it needs to be removed and replaced with a more compact variety rather than being repeatedly cut back.
⚠ Warning
Never use hedge trimmers or mechanical clippers on a magnolia. The shredded, multiple small cuts they produce are extremely difficult for the tree to seal and significantly increase the risk of disease entry. Every cut should be a clean, deliberate, single-blade cut with the appropriate hand tool.
Watershoots are the long, straight, excessively vigorous shoots that emerge from the trunk or main branches, often in large numbers, following heavy pruning or significant stress. They are the tree’s attempt to rapidly replace lost canopy and have a very different character from normal growth: they grow almost vertically, are soft and sappy, and rarely flower well even if left in place.
The temptation is to leave them because they look healthy and green, but most of them should be removed as soon as they appear by rubbing them off at the base with your thumb while they are still soft, or cutting them back flush with the branch when they are small. A few well-placed watershoots can be trained to fill a gap, but a forest of them will weaken the tree and look terrible.
It bears repeating: blunt secateurs crush stem tissue rather than cutting through it cleanly. Dirty tools spread disease between plants. Neither is acceptable on a tree that heals as slowly as a magnolia. Sharpen your tools before you start and wipe the blades between cuts. It takes an extra thirty seconds and could save the tree.
Failure to flower is the most frequent complaint I hear about magnolias, and it has a surprisingly short list of causes once you work through them methodically.
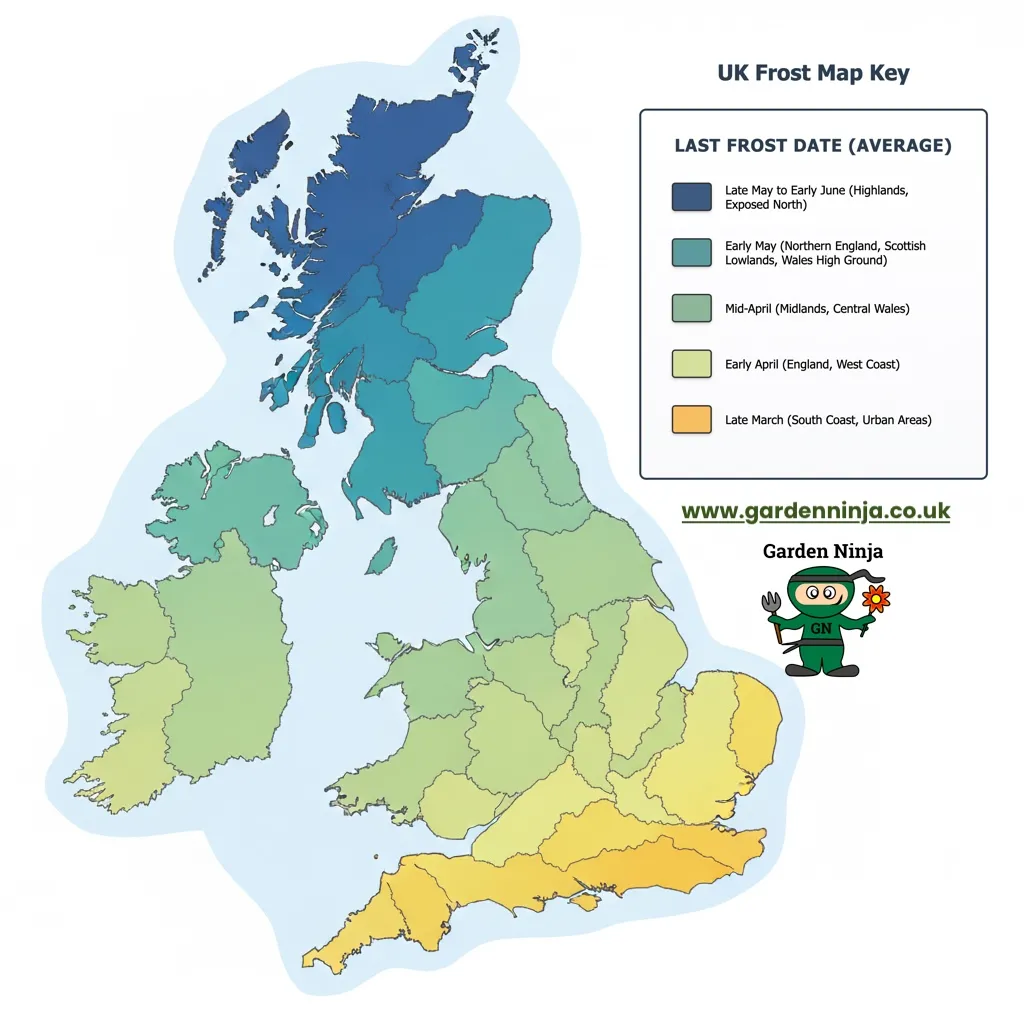
The early-flowering deciduous magnolias, particularly M. stellata and M. x soulangeana, set their flower buds in autumn and carry them through the winter in a dormant state. A single sharp frost at the wrong moment in late February or March, when the buds are beginning to swell and become vulnerable, can destroy an entire year’s flowering in one night. The buds turn brown, and the flowers simply do not open. This is not a pruning problem, and there is not a great deal you can do about it beyond choosing a sheltered planting position and, where possible, favouring later-flowering varieties that miss the worst of the late frost window.
If your magnolia leaves up normally but produces few or no flowers, late pruning is the most likely culprit. Any pruning carried out after midsummer will have removed the flower buds for the following year. The tree looks perfectly healthy because the foliage is unaffected, but the flowers are gone. The solution is simply to wait until after flowering next season and then move your pruning window to the correct time going forward. The tree has not been permanently damaged and will flower normally once the pruning timing is corrected.
Young magnolias, particularly those grown from seed, can take anywhere from five to fifteen years to flower for the first time. Grafted plants typically flower much sooner, usually within two or three years of planting, which is one reason they are the standard form you will find in most garden centres. If your magnolia is a young plant that you are growing from seed or have recently planted, patience may genuinely be the only prescription needed.
Magnolias strongly prefer slightly acidic, moisture-retentive but well-drained soil. In very alkaline (chalky) conditions, they will struggle to take up iron and other micronutrients, leading to a condition called chlorosis where the leaves turn yellow between the veins. A chronically stressed tree in the wrong soil will rarely flower well. Improving the soil pH by mulching with ericaceous compost and applying a sequestered iron feed can help, but if the underlying soil is very chalky, a container-grown specimen in ericaceous compost is often a more practical long-term solution.
Magnolias flower most abundantly in full sun. A plant growing in deep shade will produce acceptable foliage but distinctly disappointing flowers. If your magnolia is being shaded out by neighbouring trees or buildings, this is likely contributing to its reluctance to bloom. Removing competing overhead shade where possible, or accepting that relocation might be the best option, is a more effective approach than any amount of pruning.
Magnolias benefit from a little attention in the weeks after pruning to help them recover and channel their energy into producing good growth and flower buds for the following season. The most impactful thing you can do is apply a generous mulch of well-rotted organic matter around the base of the tree, keeping it away from the trunk itself. A 5 to 8cm layer of garden compost or bark mulch applied in a ring extending to the drip line (the outer edge of the canopy) will retain moisture, regulate soil temperature, suppress competing weeds, and gradually improve soil structure as it breaks down.
A feed with a balanced slow-release fertiliser in spring, after flowering, supports the tree through the critical period of new growth production and flower bud initiation. Avoid high-nitrogen feeds, which push sappy leaf growth at the expense of flowering. A feed specifically formulated for acid-loving plants, or a general-purpose granular fertiliser with roughly equal parts nitrogen, phosphorus, and potassium, is the right choice. In alkaline areas, a liquid-sequestered iron feed applied alongside the main fertiliser helps address any nutrient deficiencies before they become visible as leaf yellowing.
Watering is particularly important in the first two or three years after planting and in the period immediately following pruning. A newly pruned magnolia that is also stressed by drought will struggle to heal its wounds and set flower buds simultaneously. During dry spells between April and August, water deeply and infrequently at the base of the tree rather than giving a light daily splash, which encourages shallow rooting. A thorough soak once or twice a week is far more beneficial than a brief daily watering.
💡 Top Tip
If your magnolia is growing in a lawn, make sure the grass is not competing directly with the tree roots right up to the trunk. A clear mulched circle of at least 1m in diameter around the base of the tree will make a noticeable difference to its vigour and flowering over time. Grass competing with a tree for moisture and nutrients is a surprisingly significant drain on the tree’s resources.
Finally, keep an eye on the pruning wounds over the following weeks and months. In most cases they will begin to callous over neatly without any further intervention. If you notice any signs of fungal infection such as orange pustules (coral spot), soft brown rot around the wound edge, or any unusual discolouration spreading into adjacent bark, remove the affected material immediately and apply a copper-based fungicide as a precaution. Caught early, most fungal problems on magnolias are entirely manageable.
🛒 Buy slow-release fertiliser for acid-loving plants from Amazon UK
🛒 Buy ericaceous mulch compost from Amazon UK
It is best to avoid pruning magnolias in winter unless you are removing dead, diseased, or hazardous branches. Winter pruning encourages sap bleed from cut surfaces, and the wet wounds are vulnerable to frost damage and fungal entry. If you must prune in winter, keep it to a minimum and seal large cuts with wound paint.
As a general rule, never remove more than a quarter of the total canopy in a single pruning session. Magnolias respond poorly to heavy pruning and do not regenerate from old wood reliably. If a significant reduction in size is needed, spread the work over two or three seasons rather than doing it all at once.
The most likely causes are frost damage to the flower buds, pruning at the wrong time of year (particularly in summer or autumn), or the tree being too young. Check the pruning timing first. If the buds were present but turned brown and failed to open, late frost is the probable culprit rather than anything you have done wrong.
Hard pruning is not recommended for magnolias. Unlike many other garden shrubs, they do not regenerate reliably from old wood. Hard pruning typically results in a stressed tree, excessive watershoot production, poor flowering, and large wounds that are slow to heal. If the tree has genuinely outgrown its space, replacing it with a more compact variety is usually the better long-term answer.
For cuts over roughly 3cm in diameter, applying a wound sealant or pruning paste is a sensible precaution. Magnolias are susceptible to silver leaf disease, which enters through pruning wounds, and sealing large cuts reduces this risk. It is particularly advisable if you are pruning outside the ideal post-flowering window.
Spread the work over two or three seasons rather than tackling it all at once. In the first year, remove dead, diseased, and crossing branches. In the second year, begin to open up the centre by removing one or two of the most congested inner branches. In the third year, you can start to make modest reductions to the outline, always cutting back to a healthy lateral rather than leaving bare stubs.
Prune evergreen magnolias in late summer or early autumn, after the main flush of flowering has finished. For wall-trained specimens, a light tidy in mid-spring to remove any winter-damaged shoots is also beneficial. Avoid pruning in winter and early spring when the risk of frost damage to cut surfaces is highest.
Ready to stop guessing and start designing with confidence? My Garden Design for Beginners online course takes you from blank canvas to brilliant layout, step by step.
I’m Lee Burkhill, award-winning garden designer and BBC1’s Garden Rescue presenter, and I’ve built this course around the same principles I use for every client garden — practical, honest, and designed to actually work in the real world.
In 20 hours of flexible online study, you’ll cover:
Video lessons, real-world case studies, quizzes, and a certificate on completion — all for just £199.
Enrol today and start designing your dream garden.
For the garden you’ve already got, not the one you’re starting from scratch. Seven checklists and video lessons from BBC Garden Rescue’s Lee Burkhill, designed to help you decide what’s worth keeping before you spend a penny.
Garden Design Examples for Small Gardens: 30 Design Templates & Planting Plans: In this online gardening course, I’ll walk you through 30 fantastic garden designs, explaining the logic behind the layout and plant choices, plus take-home tips for applying them in your own garden.
Learn how to transform and design your garden with Lee Burkhill’s crash course in garden design. In over 5 hours, Lee will teach you how to design your dream garden. Featuring practical design examples, planting ideas and video guides. Learn how to design your garden in one weekend!
Garden Design for Beginners Online Course: Want to become a garden designer or design your own garden? This beginner course is for you. Join me, Lee Burkhill, an award-winning garden designer, as I train you in the art of beautiful garden design. Enjoy 20 hours of online study and video lessons, along with quizzes and a completion certificate.
The golden rule with magnolias is restraint. Prune immediately after flowering finishes in late spring or early summer; remove only dead, damaged, and crossing wood; use sharp bypass tools on every cut; and never remove more than a quarter of the canopy in a single season. Avoid pruning into old wood, skip the Autumn and Winter sessions entirely, and seal any large cuts with wound paint. Give the tree a mulch and a balanced feed after pruning, and it will reward you with another spectacular display next year.
Happy Gardening!



Lee Burkhill, known as the Garden Ninja, is an award-winning garden designer and horticulturist with over 30 years of gardening experience and 15 years as a professional garden designer. A qualified RHS (Royal Horticultural Society) professional, Lee specialises in sustainable garden design and practical horticultural advice. He designs and presents on BBC1’s Garden Rescue and in leading gardening publications. Lee combines three decades of hands-on gardening knowledge with professional design qualifications to help gardeners create beautiful, functional outdoor spaces.
View all posts by Lee Burkhill





JOIN THE NINJAS

Be the first in line for new Guides, Discount codes and Offers