-
How to build a fire pit: easy garden DIY Guide
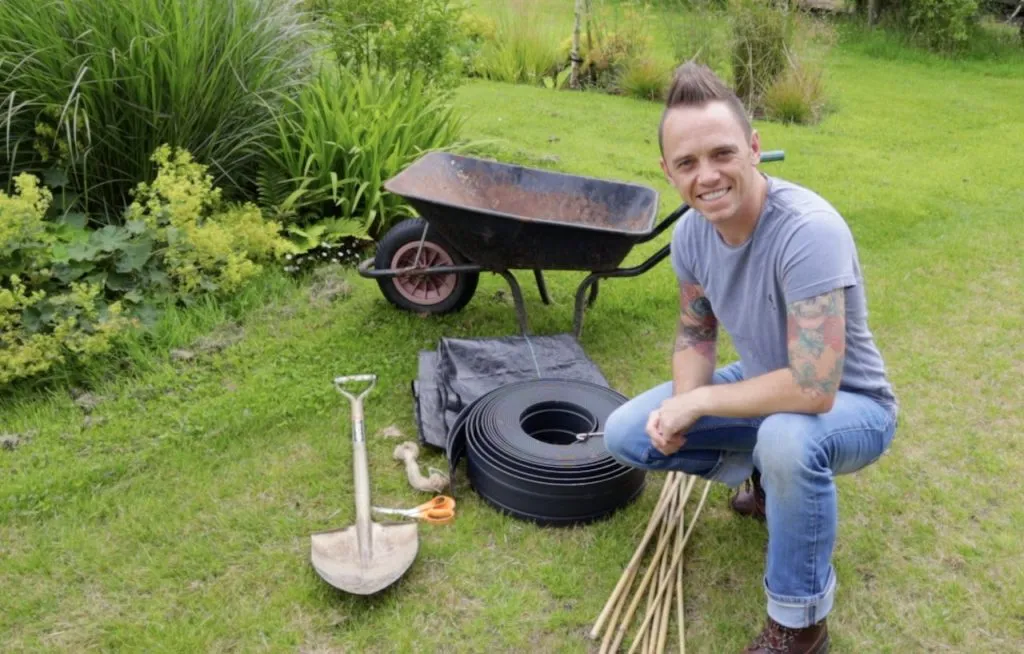
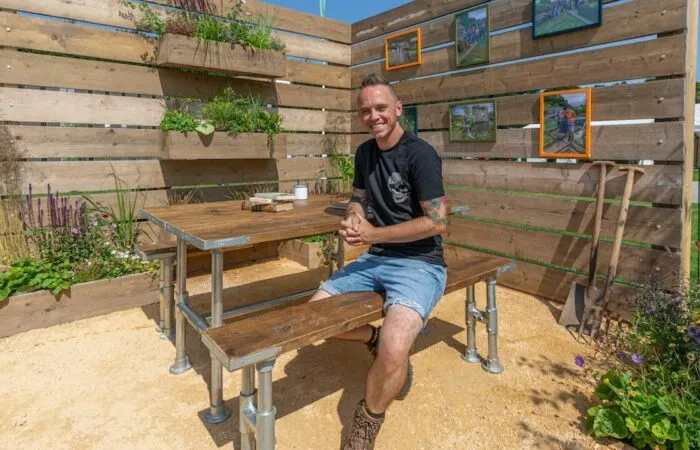
 Lee Burkhill: Award Winning Designer & BBC 1's Garden Rescue Presenters Official Blog
I'm a big fan of recycling and upcycling in the garden. It's so easy to buy things online but there's something really satisfying in making your own fire pit out of reclaimed materials. This creates a one of a kind bespoke fire pit which will really set your garden alight!
If you want to build your own fire pit in your garden that looks like its straight out of a garden design magazine then this guide will show you how! I'm going to demonstrate a fire pit in a lawn which is the easiest and safest place to have one. If you are building one on a paved area you can lift the paving slabs and follow the guide from there.
Building a fire pit in your garden couldn't be easier, and there's a wide variety of different styles and materials you can use. The basics of creating a fire pit follow the same steps, so this guide is universal.
Did you know that you can take my course and learn how to become a Garden Ninja yourself? Click here for details
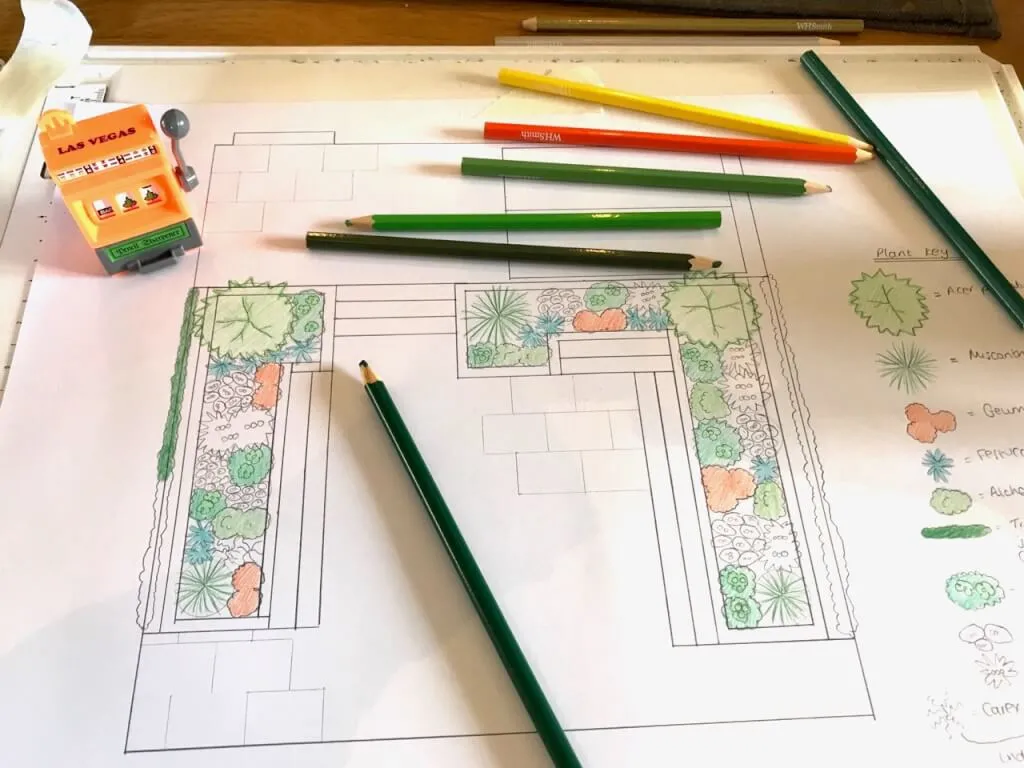
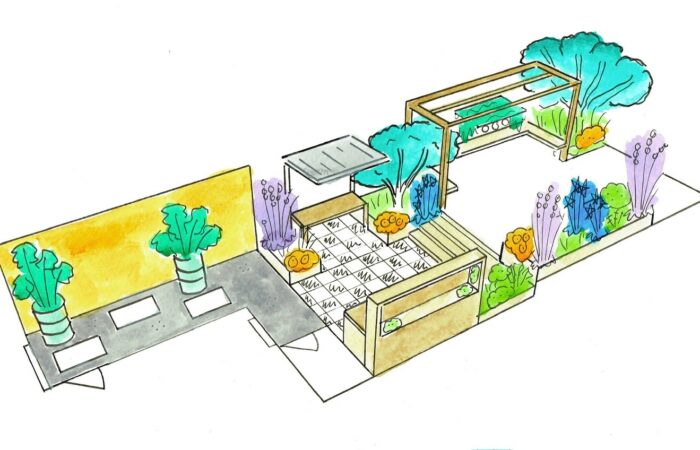
The fire pit I'm creating is going to be a circular design. I find circular focal points in gardens encourage people to sit around them and connect. You can create any shape you desire but I find circles to be the most relaxed and really help connect with any garden layout. Squares and rectangles can be a bit formal and, if you get the proportions wrong, can look uneven. I'm installing this in the Exploding Atom Garden. If you want to know more about this concept garden, then read the design guide here.
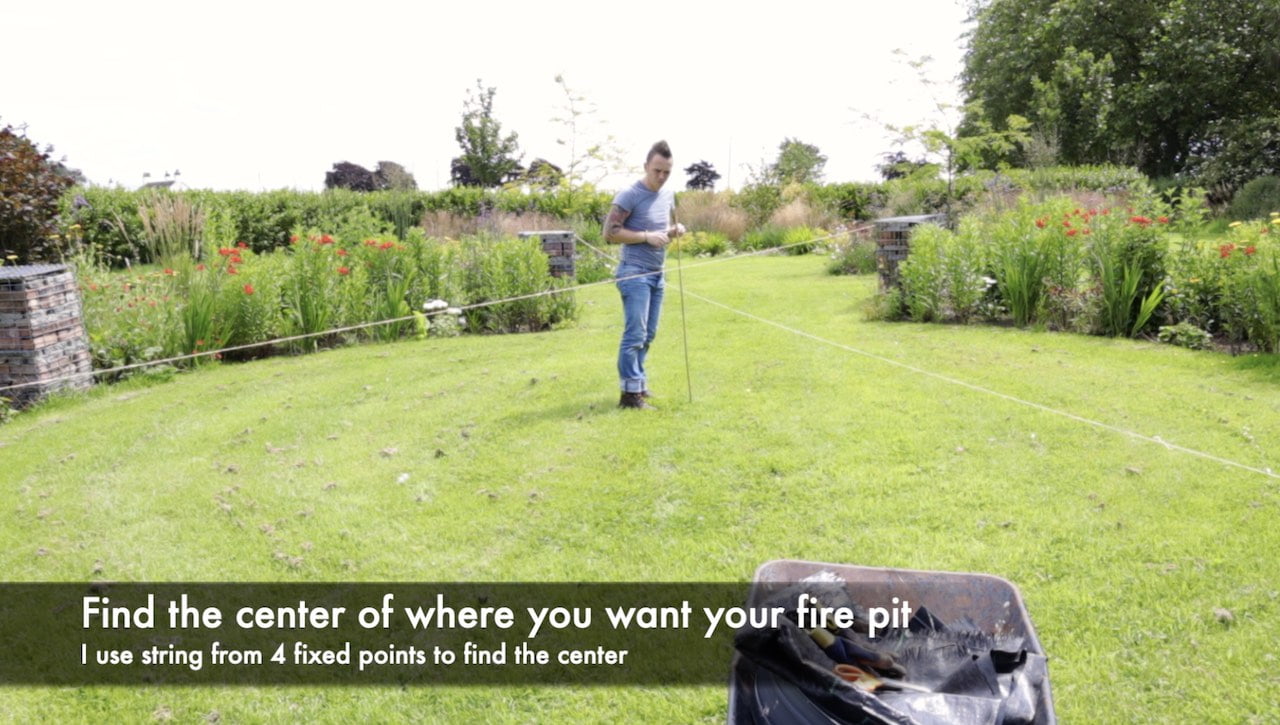
Step 1: Find the position where you want to fit your fire pit. Ensuring it's not underneath any overhanging trees or wooden structures. I like to place mine centrally on a lawn, which gives easy access all around and draws your eye to it as a focal point. Use string to find the central point of your fire pit area. Put a cane on the lawn to mark the centre.
Step 2: Measure the diameter of your fire bowl or steel bowl. This is the width. You then need to add 30cm-50cm as your final diameter. This is to allow for the fire pits surrounding rocks and ensure it's a safe distance away from the fire you are whilst enjoying it!
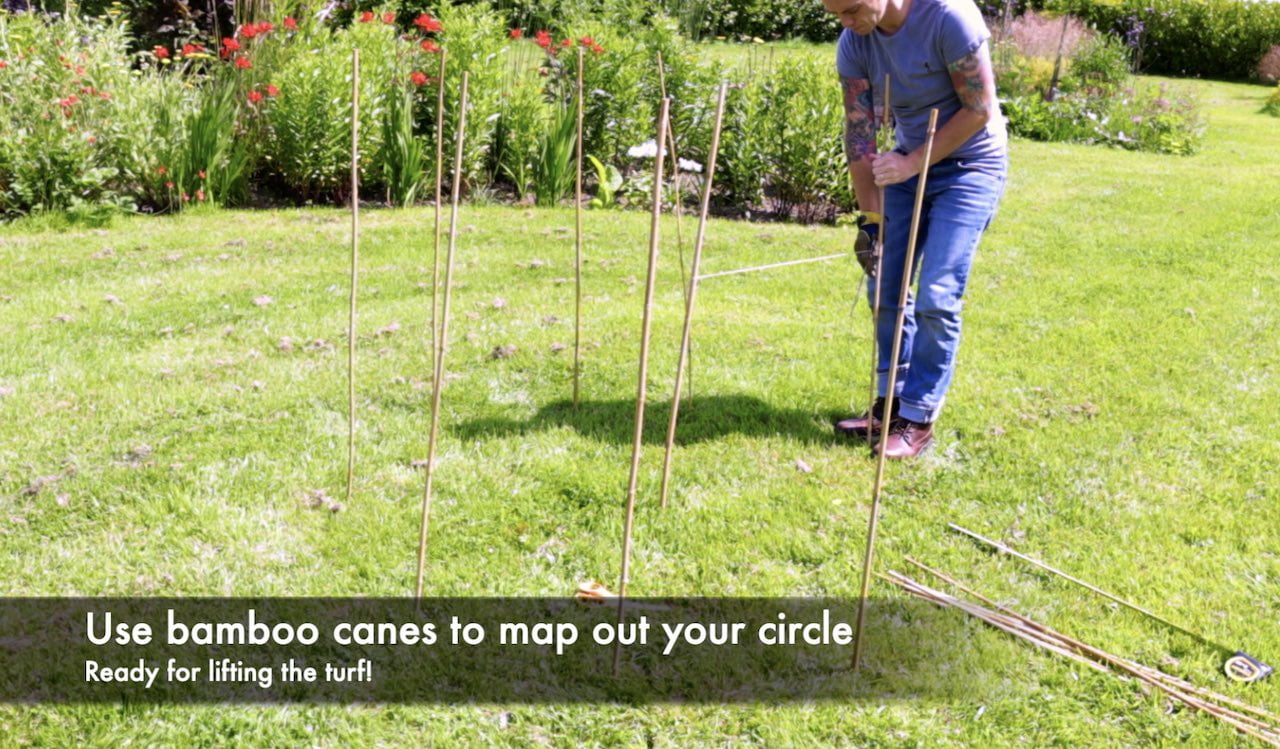
Step 3: Tie a piece of string to the central cane and measure the radius, i.e. half the total diameter. Then, tie your tent peg to this string. You can then swivel the string around the cane to mark your circle. I use additional canes to map out the circle on the turf.
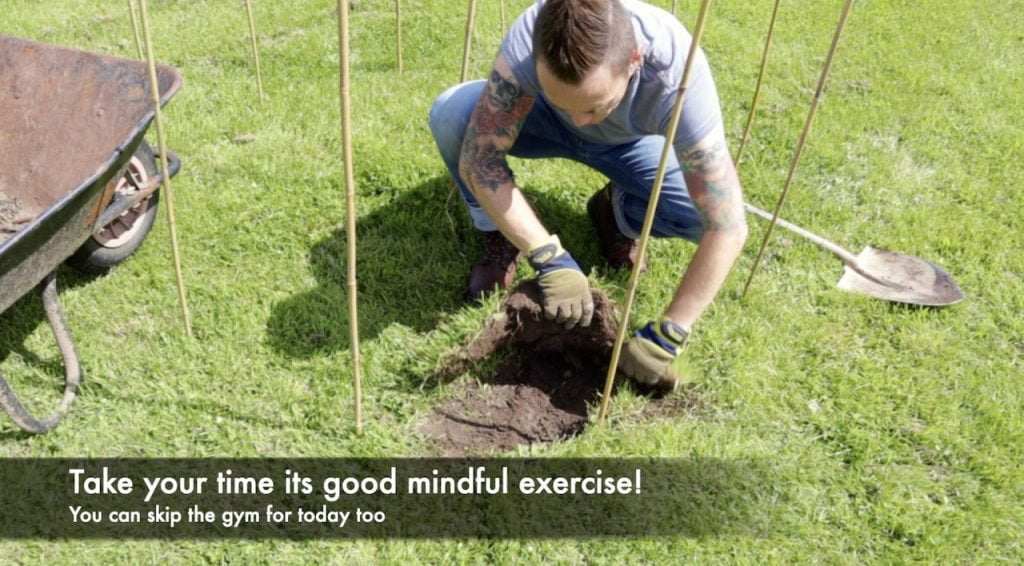
Step 4: Cut out the turf from your marked-out circle. I use a sharp spade and cut the turf into strips before lifting them. Aim to lift 1-1.5 inches of turf off. This turf can also be recycled by stacking it grass side down so it breaks down into gorgeous garden soil!
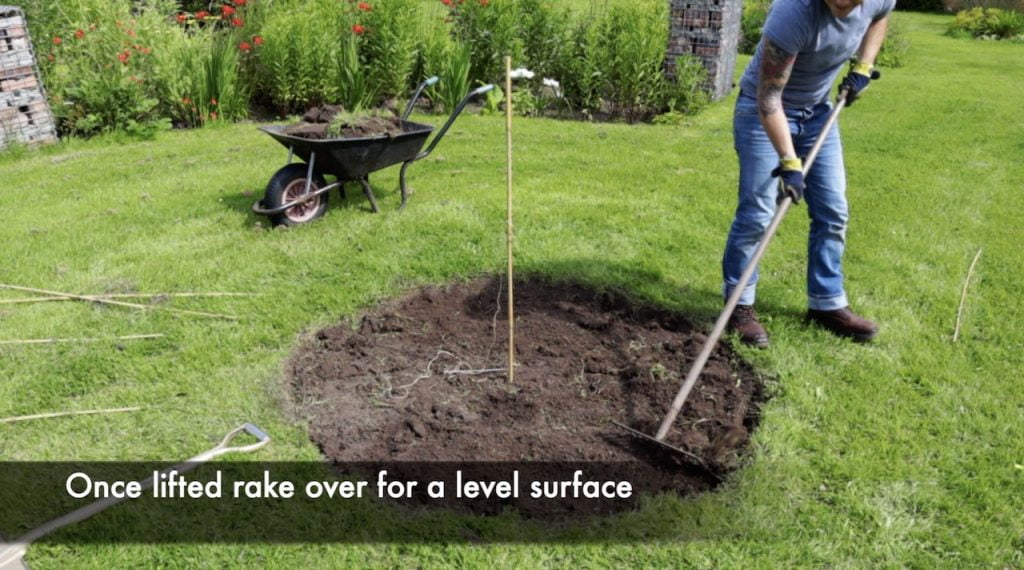
Step 5: Use a rake to level out the exposed circle. Remove any large rocks or debris you've uncovered.
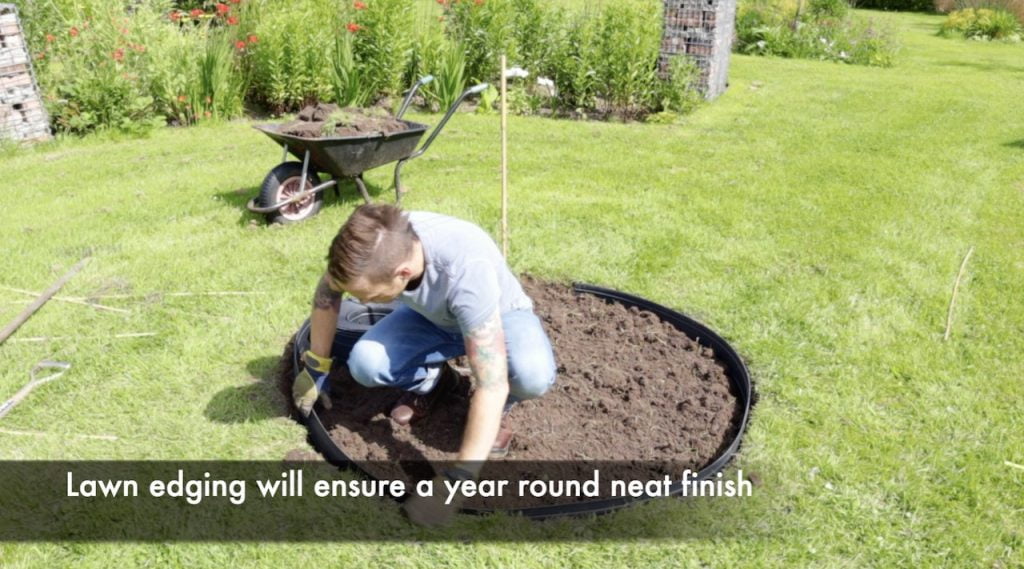
Step 6: If using an edging strip like metal or plastic then using your sharp spade cut around the circle. Ready for you to fit your edge strip. If you're using bricks to edge it you'll need to dig a small trench and then bed these into either sand or cement.
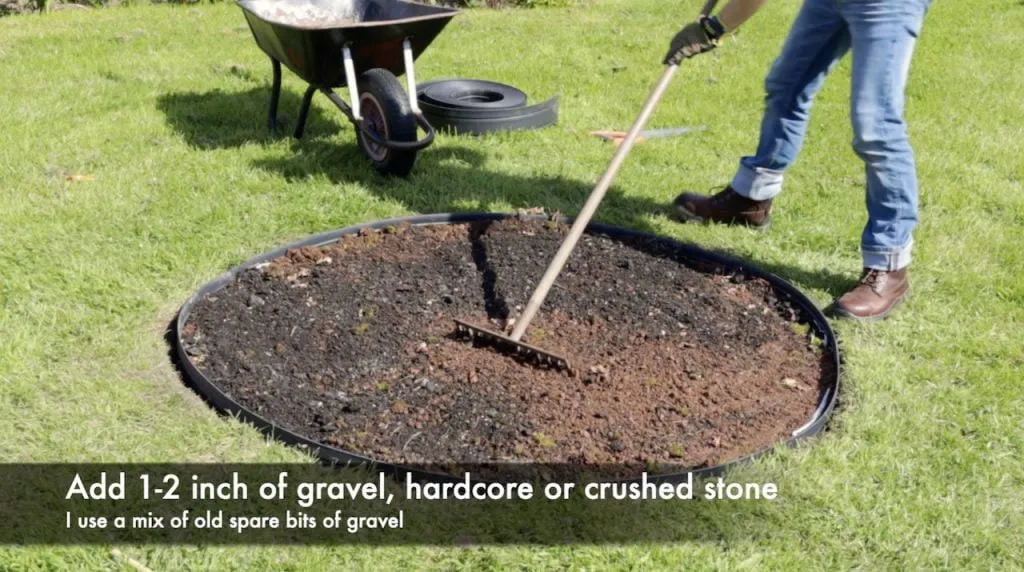
Step 7: Add your weed membrane, to stop any weeds from growing back up and then add 1-1.5 inches of gravel or hardcore into the circle. Use a rake to spread it out and compact it with your feet. This is now the fireproof base to protect the ground and you from the fire pit's potential heat!
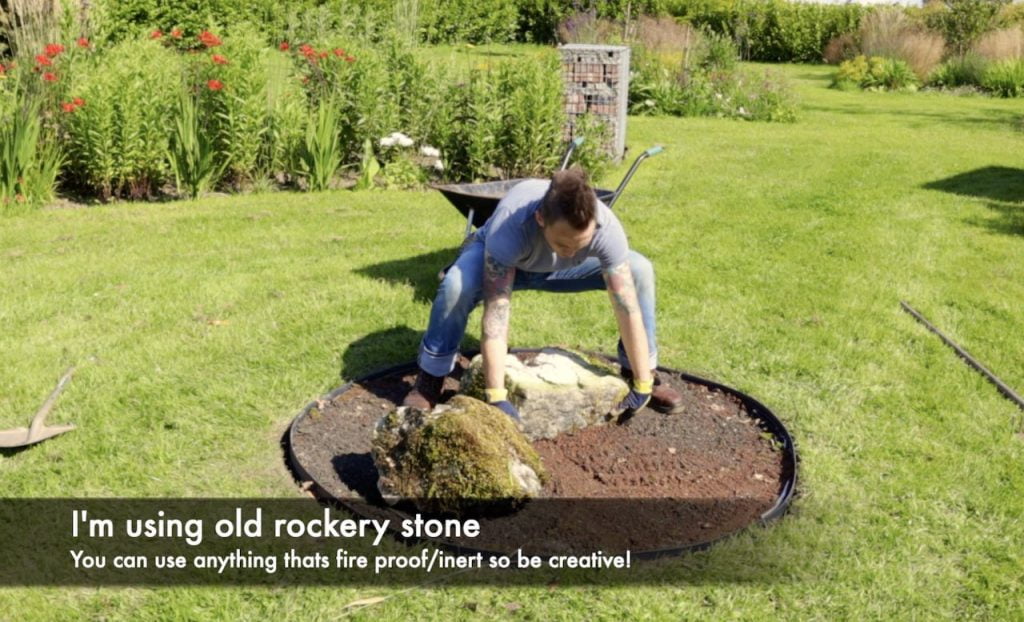
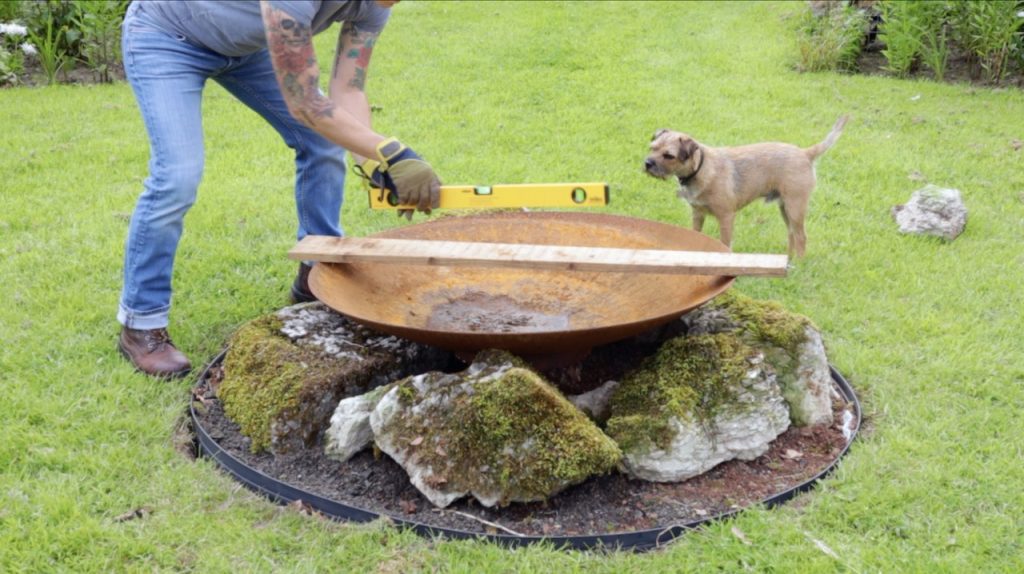
Step 8: This is the fun bit. Start arranging your rockery stone, concrete or reclaimed building materials into a circle in which the fire bowl will sit. Use bricks to create a flat area in the middle where the base of the bowl or dustbin lid can sit. Then, with a piece of wood and spirit level, make sure it's level.
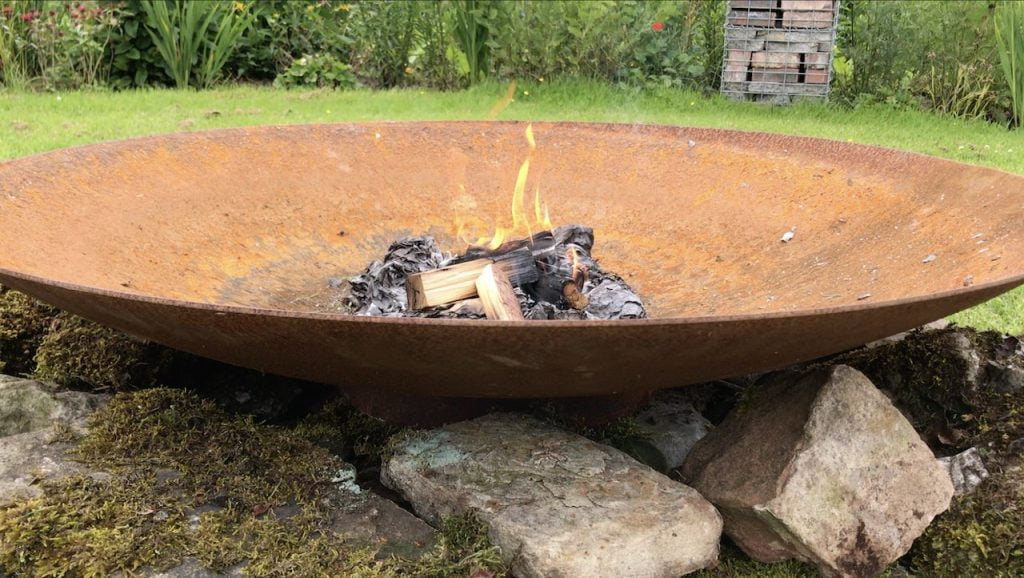
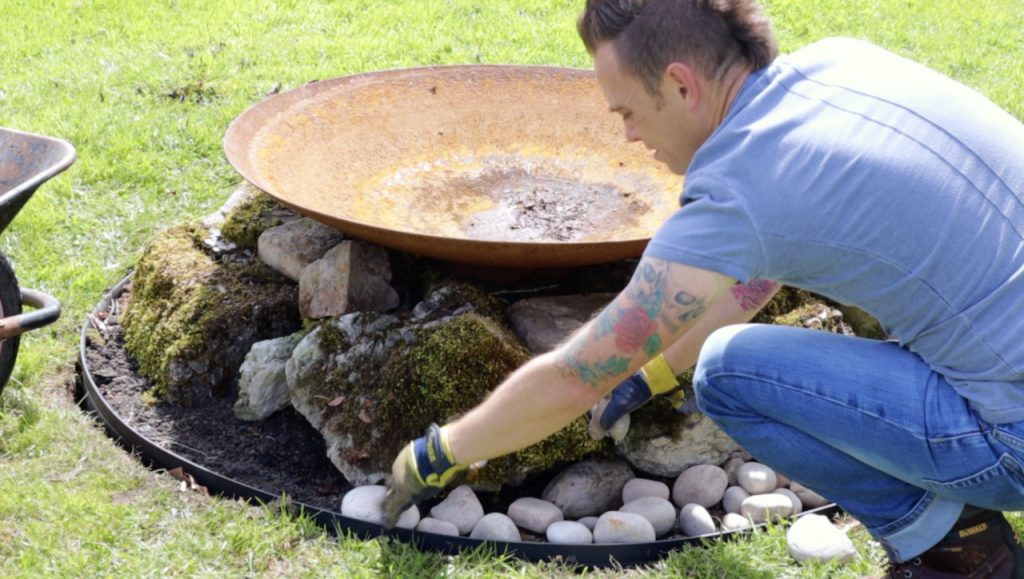
Step 9: Place your bowl in the middle and then using decorate gravel or chippings dress around the circle any gaps that there maybe. This decorative step will start to make your fire pit look amazing. So take your time and use any recycled materials you can as long as they are heat resistant. Broken roof tiles or broken terracotta pots can look great too!
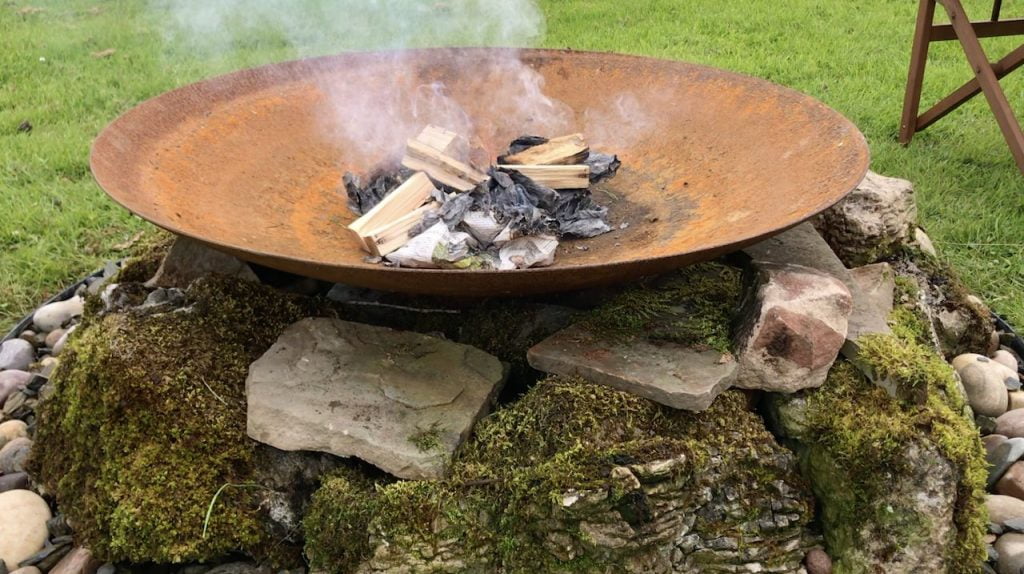
Step 10: Your fire pit is complete. Now, it's time to sit back, light a fire, and enjoy your hard work!

It goes without saying that you should always be sensible about fire safety and never leave the fire pit unattended. If you're lifting heavy objects, make sure you get help from someone. Bend when you lift. Take your time. Always say please and thank you—that kind of stuff!
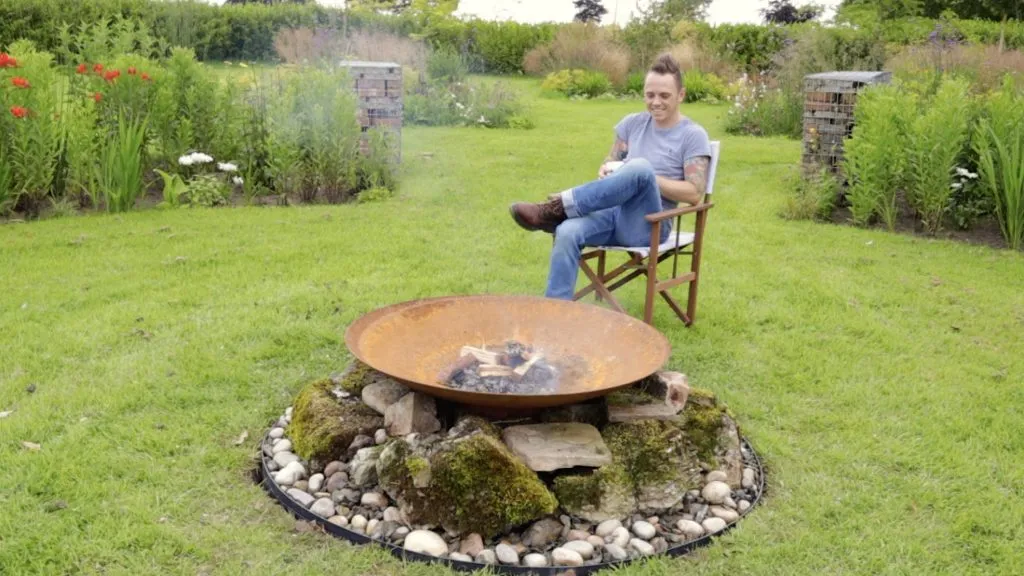
A fire pit can add a real wow factor to the garden. It's also achievable to use recycled materials, saving them from going to landfills. Whether you choose a fancy corten steel bowl or a metal dustbin lid, the same effect can be achieved on different budgets or garden sizes.
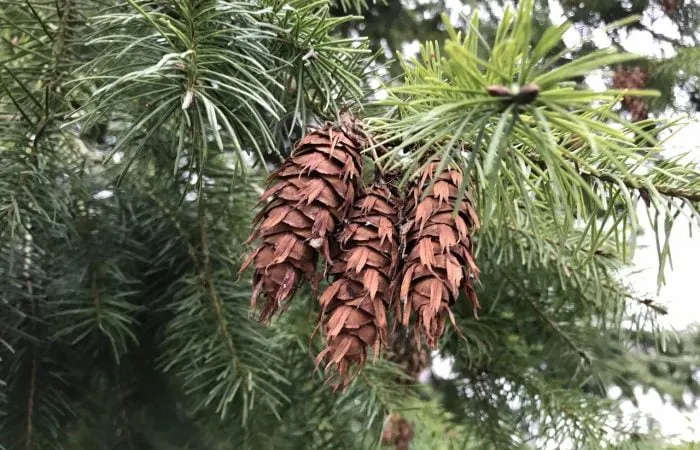
If you have trees on your property, then any tree prunings or fallen branches can be used in the fire bowl. This means that it's a solution that can be a really low carbon footprint design project!
Have built a DIY fire pit? Why not share it with me on Social media. You can Tweet, Facebook or Instagram me with your designs. If you need gardening advice why not check out my Youtube Gardening guides and subscribe if you haven’t already!
Happy gardening!


You must be logged in to post a comment.


JOIN THE NINJAS

Be the first in line for new Guides, Discount codes and Offers

 To my YouTube channel
I love this so much! Reusing an old piece of metal and rocks from your own yard is such a smart idea!
Great website, thanks so much for showing us