-
Help my monstera is yellowing and dying: Your complete rescue guide
 Lee Burkhill: Award Winning Designer & BBC 1's Garden Rescue Presenters Official Blog

Yellow monstera leaves indicate specific problems that can be diagnosed and fixed with the right approach. As a garden designer who's rescued countless struggling monsteras, I'll show you exactly how to identify what's causing your plant's yellowing leaves and implement the proven solutions that actually work. From overwatering and light issues to natural aging and pest problems, this comprehensive guide covers every cause of monstera yellowing with clear, actionable steps to restore your plant's health.
Quick Answer
Monstera leaves usually turn yellow from overwatering, by far the most common cause, though underwatering, poor light, a root bound pot, feeding problems, natural ageing, pests and environmental stress can all be responsible. Check your soil moisture and roots first, since this diagnoses most cases immediately, then match your yellowing pattern to the right cause and fix below.
Spotted your prized Monstera looking more yellow than Instagram-worthy green? Before you panic and start googling “plant funeral services,” take a deep breath. After years of rescuing countless Monstera from the brink of houseplant disaster, and fielding no end of panicked messages from fellow plant parents, I’ve cracked the code on diagnosing and fixing yellowing Monstera leaves. Whether you’re dealing with one suspicious yellow leaf or a full-scale foliage crisis, this guide will help you understand exactly what’s happening and how to nurse your green giant back to its former glory.
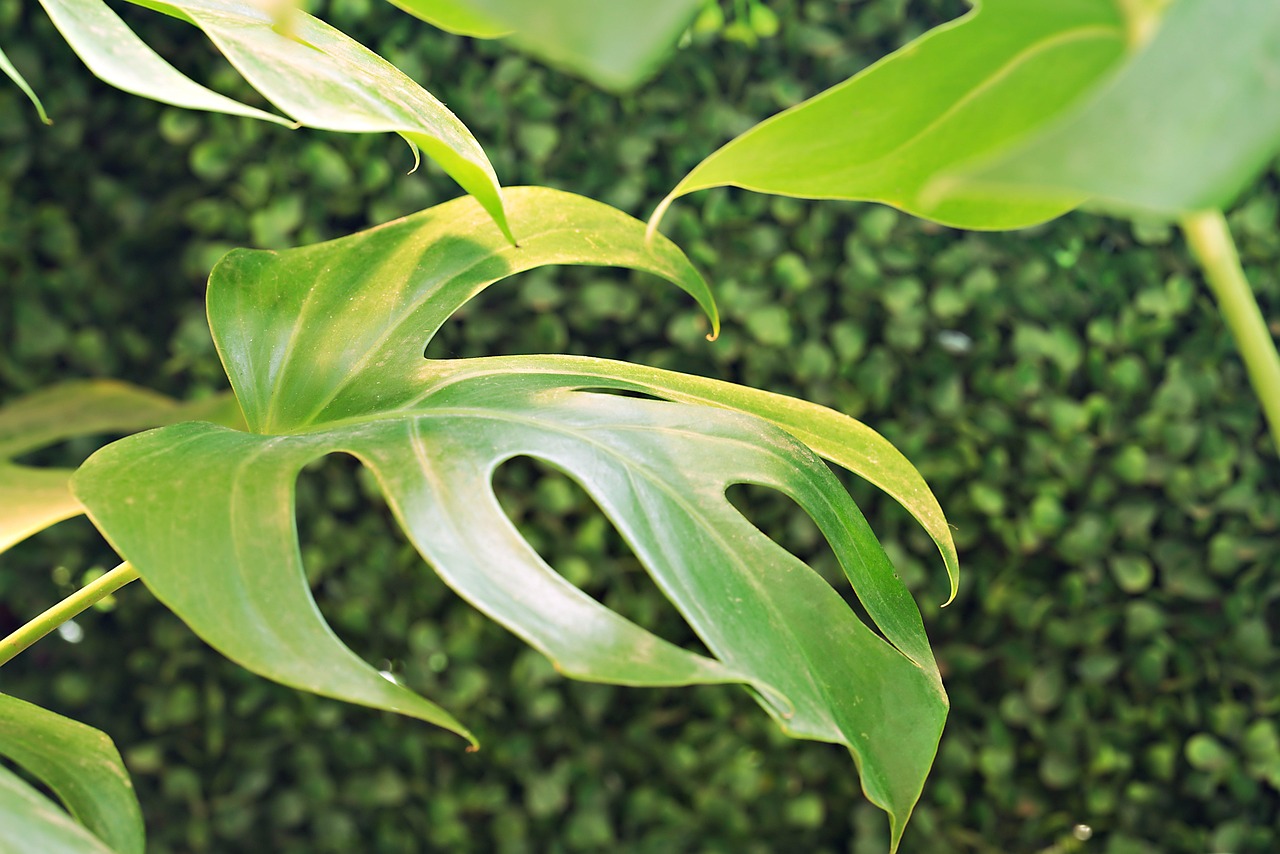
Your monstera’s yellow leaves aren’t necessarily a death sentence. A monstera’s yellowing leaves are actually your plant’s way of communicating with you. From overwatering disasters to light issues, root-bound pots and feeding mistakes, I’ll guide you through every common culprit behind monstera yellowing and give you practical, tried and tested solutions that actually work. By the end of this guide you’ll know exactly how to diagnose your plant’s problem and get those leaves back to their deep, glossy green.
Jump To
This page contains affiliate links (see full details here). If you purchase through these links I may earn a small commission at no extra cost to you. I only recommend products I personally use and trust at Garden Ninja HQ.
What causes monstera leaves to turn yellow?
Yellowing monstera leaves, known scientifically as chlorosis, can stem from several interconnected factors. Understanding these causes is crucial because the solution depends entirely on accurate diagnosis. Treat the wrong problem and you can make things worse for a plant that was only ever a little bit thirsty, or a little bit drowned.
Most monstera yellowing falls into seven main categories:
- Watering issues (both over and under)
- Lighting problems
- A root-bound pot that needs repotting
- Feeding problems, whether too little or too much
- Natural ageing
- Pest infestations
- Environmental stress
The key is learning to read the subtle differences in how yellowing presents itself, since each cause creates its own distinct pattern.
Unlike outdoor plants, which face genuine seasonal change, indoor monsteras experience relatively stable conditions, which means yellowing is usually a direct response to a care issue rather than a natural cycle. This actually works in your favour once you identify and correct the problem, since recovery is often swift and satisfyingly dramatic.
Your monstera’s yellowing pattern tells a story. Lower, older leaves yellowing one at a time suggest natural ageing or slight underwatering. Multiple leaves across the plant yellowing quickly point to overwatering or root problems. Yellowing that starts from the leaf edges usually indicates light or humidity issues, while a distinct pattern where the veins stay green and only the tissue between them turns yellow is a strong clue that feeding is the culprit, which I’ll come back to further down.
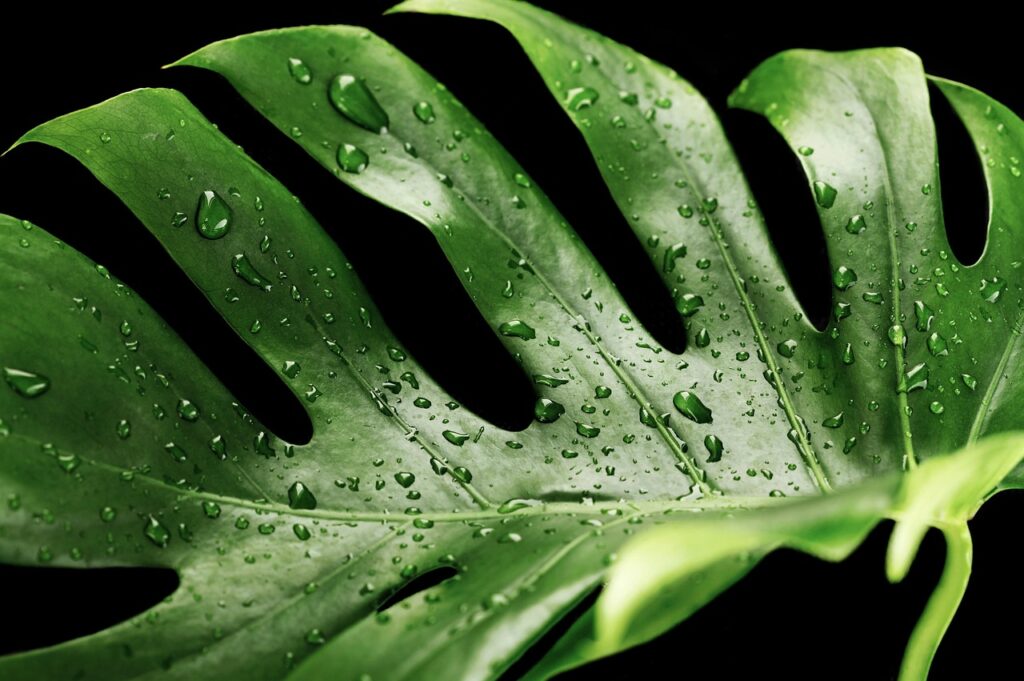
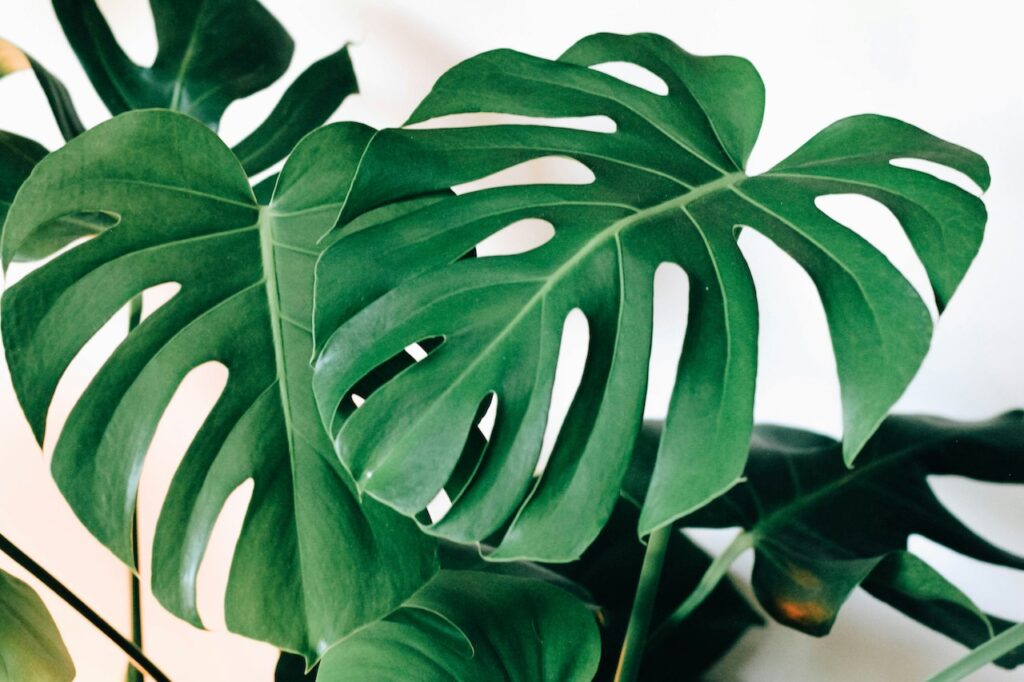
Understanding your plant’s normal appearance helps you spot problems early. Healthy Monstera leaves should be deep green, glossy and firm to the touch. Any deviation from this baseline, whether yellowing, browning or wilting, tells you your plant needs a bit of attention. If you’ve enjoyed getting your monstera settled and fancy building out a wider, properly low fuss houseplant collection around it, my guide to the best low maintenance indoor plants is worth a browse too.
Should I remove the yellow leaves from my monstera?
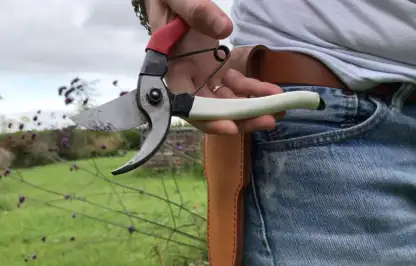
If the leaves are naturally yellowing, more on that further down, then yes, remove fully yellowed leaves promptly to stop them becoming a pest harbour or a disease entry point. Cut as close to the main stem as possible using clean, sharp scissors to avoid damage or infection. However, if a leaf is only just starting to yellow and is a fresher, younger leaf with plenty of green chlorophyll still in it, follow the watering, light, root or feeding fixes below before you reach for the secateurs.
Fully yellow monstera leaves will never recover back to green, so if that’s the case, take them off cleanly.
The right tool for the job
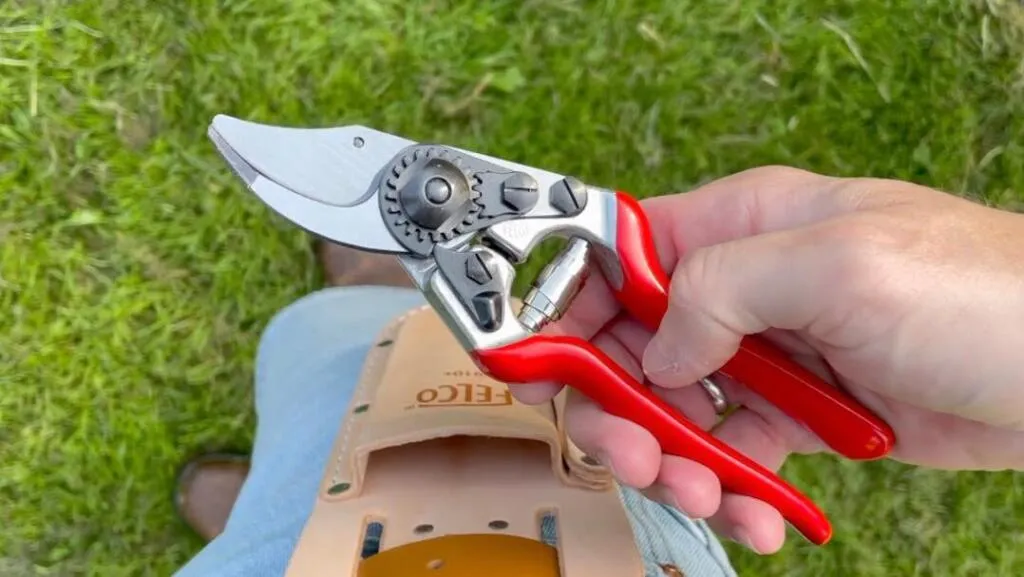
🛒 Buy sharp houseplant snips from Amazon UK
A pair of proper snips, specifically sized for houseplants rather than a full-sized pair of border secateurs, makes a satisfying difference here. You get a cleaner cut, less crushing of the stem tissue, and far less chance of introducing infection than you do hacking away with kitchen scissors that have probably also cut through a bag of frozen peas at some point this week.
1) Overwatering: the number one culprit
Overwatering ranks as the number one cause of monstera yellowing, responsible for roughly 70% of the cases I encounter, both in my own greenhouse and in the steady stream of panicked forum posts I answer every month. This is usually because monstera owners want the very best for their houseplant and end up killing it with kindness through excessive watering and overfeeding.
This problem develops gradually, which makes it particularly sneaky. By the time you notice yellowing, root damage may already be well underway.
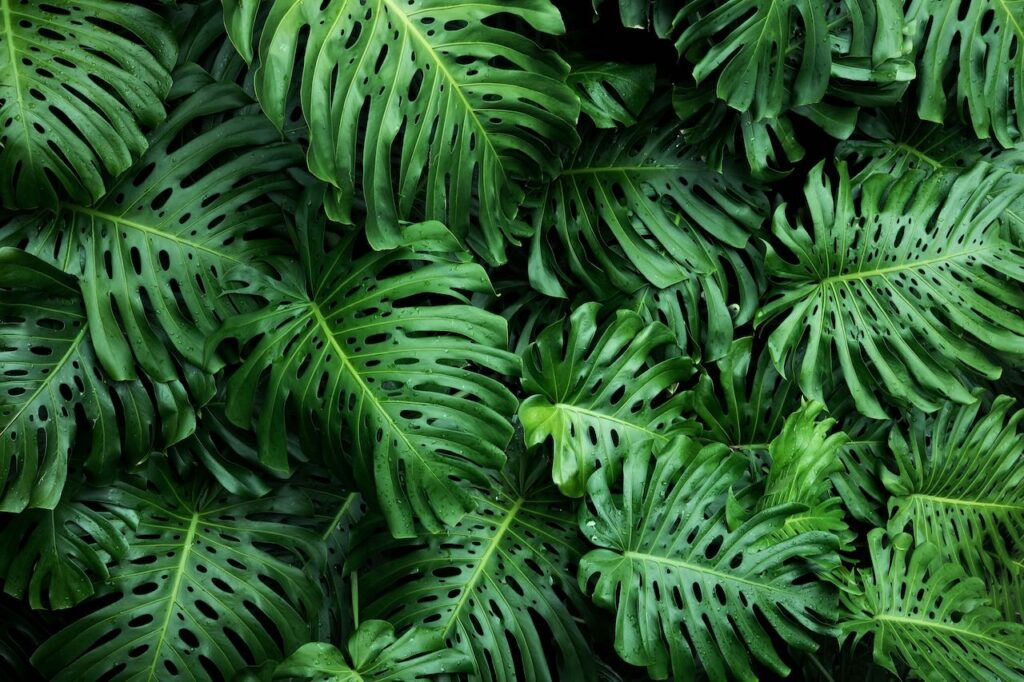
When soil remains consistently wet, Monstera roots literally suffocate. These tropical plants evolved in rainforest conditions with excellent drainage, where water moves through quickly rather than pooling around the roots. Waterlogged soil creates anaerobic conditions that prevent roots from accessing oxygen, which leads to root rot and the yellowing that follows it. If you want the fuller picture of how root rot develops and spreads, my guide to the top plant diseases covers the fungal side of things in more depth.
Identifying overwatering symptoms
The yellowing from overwatering typically starts with the lower leaves and progresses upward. Affected leaves often feel soft or mushy rather than crisp, and you might notice general wilting despite wet soil, which confuses a lot of people since drooping usually says “thirsty” rather than “drowning.” The plant appears listless and growth slows dramatically.
Check your soil by pushing a finger 5 to 7 centimetres deep. If it feels consistently moist or waterlogged days after watering, you’re likely dealing with overwatering. Healthy Monstera soil should feel slightly damp but never soggy, with a clear wet and dry cycle between waterings.
Look out for these additional warning signs too: a musty or sour smell from the soil, fungus gnats hovering around the plant, or black, mushy roots visible at the drainage holes. Advanced cases may show softening of the stem near the soil line, which is a sign to act fast.
Emergency overwatering rescue protocol
A cheap moisture meter takes the guesswork entirely out of this and I think it’s one of the best few pounds a nervous plant parent can spend, since it stops you relying on a finger test that’s frankly quite easy to misjudge on a busy Tuesday.
Stop watering immediately and assess the damage. Remove your monstera from its pot and examine the root system. Healthy roots should be white or cream coloured and firm to the touch. Black, brown or mushy roots indicate rot and must be removed with sterilised scissors.
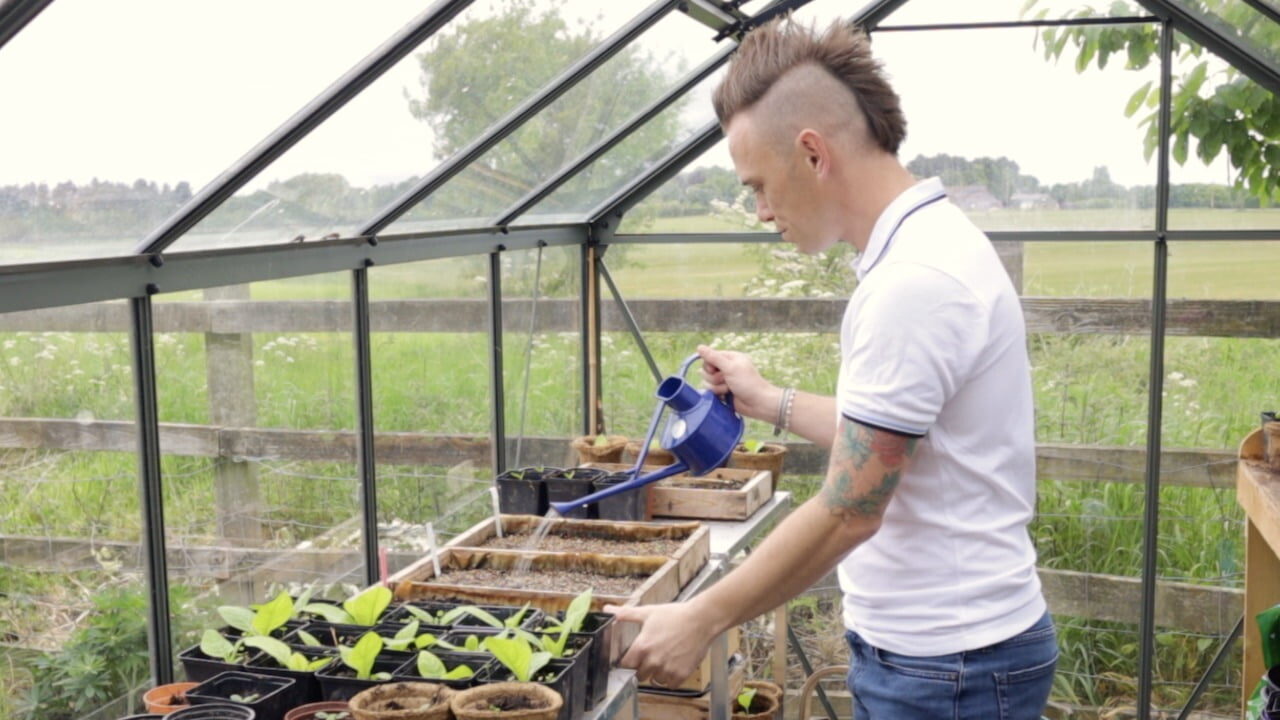
🛒 Buy a soil moisture meter from Amazon UK
Trim away all the damaged roots, cutting back to healthy white tissue. This might seem drastic, but monsteras can recover from surprisingly extensive root pruning. Once you’ve removed the damaged roots, let the plant sit out of soil for a few hours to dry slightly before you go anywhere near fresh compost.
Repot in fresh, well draining potting mix and never reuse old soil that’s been waterlogged. Choose a pot with multiple drainage holes and avoid saucers that might trap water underneath. Water lightly after repotting, then wait until the top few centimetres of soil dry before you water again.
Recovery from overwatering takes patience. Don’t expect immediate improvement, since it may take several weeks for new, healthy growth to appear. During this time, provide bright indirect light and avoid fertilising, since damaged roots can’t process nutrients effectively and you’ll only add insult to injury.
Moving forward, water only when the top 2 to 3 centimetres of soil feel dry. In winter this might mean watering every 10 to 14 days, while summer watering might happen weekly. The key is responding to your plant’s actual needs rather than following a rigid calendar reminder that has no idea what your radiators are doing.
2) Underwatering: the opposite extreme
Whilst overwatering gets most of the attention, underwatering causes plenty of monstera yellowing too, particularly during warmer months when these fast-growing plants are drinking rapidly. Unlike overwatering, underwatering yellowing typically affects the whole plant more uniformly rather than working its way up from the bottom.
Monsteras are surprisingly thirsty during their growing season. Their large leaves lose a lot of moisture through transpiration, and their vigorous growth demands consistent hydration. When water becomes scarce, the plant prioritises survival by shutting down its older leaves first.
Recognising underwatering symptoms
Underwatering yellowing often starts with leaves losing their deep green colour and turning pale before progressing to yellow. This usually affects older, lower leaves first, but can spread through the whole plant quickly if water stress continues.
Physical symptoms include leaves feeling papery or crisp rather than soft, browning or crisping at the leaf edges, and the whole plant appearing to droop despite otherwise firm stems. The soil will feel dry several centimetres down, and the pot will feel noticeably light when you lift it.
Unlike overwatering, underwatered monsteras often show rapid improvement once watering resumes. However, severely yellowed leaves won’t recover their green colour and should be removed to redirect the plant’s energy toward healthy new growth.
Correcting underwatering problems
Begin by giving your monstera a thorough drink, watering until water flows freely from the drainage holes. Don’t be tempted to flood the plant in one guilty go. Steady, thorough watering is far more effective than trying to make up for lost time in a single anxious downpour, Ninjas.
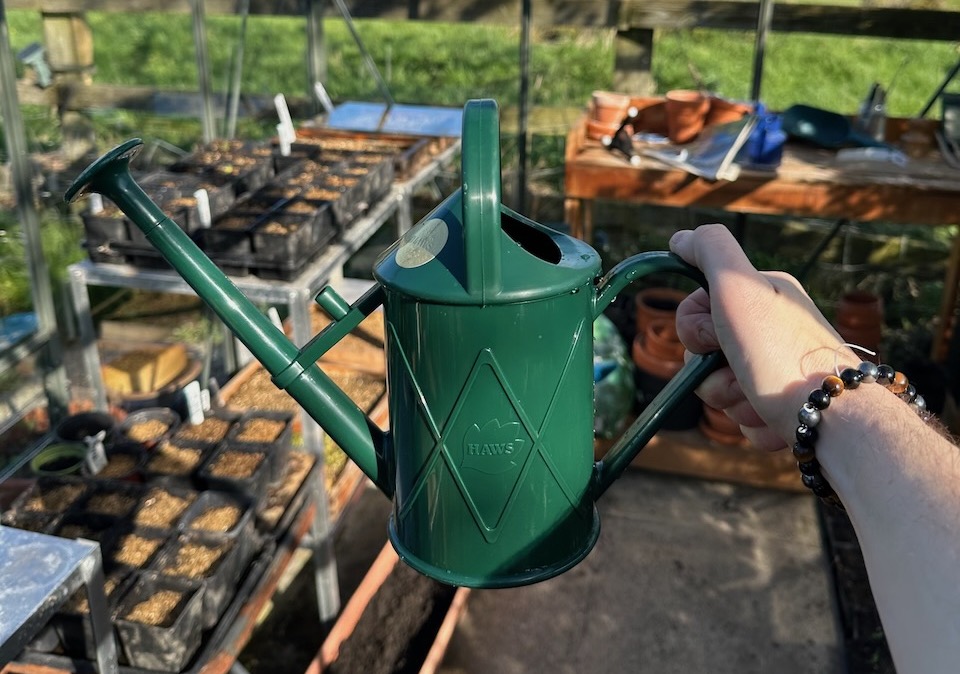
If the soil has become severely dry and water runs straight through without being absorbed, your potting mix may have become hydrophobic. Sit the entire pot in a tray of water for 30 to 60 minutes, allowing the soil to rehydrate gently from the bottom up.
Monitor soil moisture more closely going forward. The finger test remains the most reliable method. Stick your finger 2 to 3 centimetres into the soil, and when this top layer feels dry, but the soil beneath remains slightly moist, it’s time to water.
Consider your environmental conditions when you’re establishing a watering routine. Central heating, air conditioning, bright light and active growth all increase water consumption. Summer monsteras may need watering twice a week, while winter plants might go 10 to 14 days between drinks.
Preventing future underwatering
Learn your plant’s seasonal rhythm. Monsteras grow actively from spring through autumn, which means they need more frequent watering during that period. Winter growth slows right down, and watering needs decrease accordingly.
Consider the environmental factors affecting water loss too. Plants near heating vents, in sunny windows, or in low humidity rooms will need more frequent watering. Moving your monstera during winter heating season might mean adjusting your whole schedule.
3) Light related yellowing: finding the sweet spot
Monsteras have specific light requirements that, when unmet, show up as yellowing leaves. These tropical plants evolved in rainforest understoreys, receiving bright but filtered light rather than direct sun or deep shade. Getting that balance right prevents most light-related yellowing before it ever starts.
Too little light problems
Insufficient light causes gradual yellowing that often goes unnoticed until it’s well established. Low light yellowing typically affects the entire plant, starting with a general pale appearance that progresses to yellow over weeks or months.
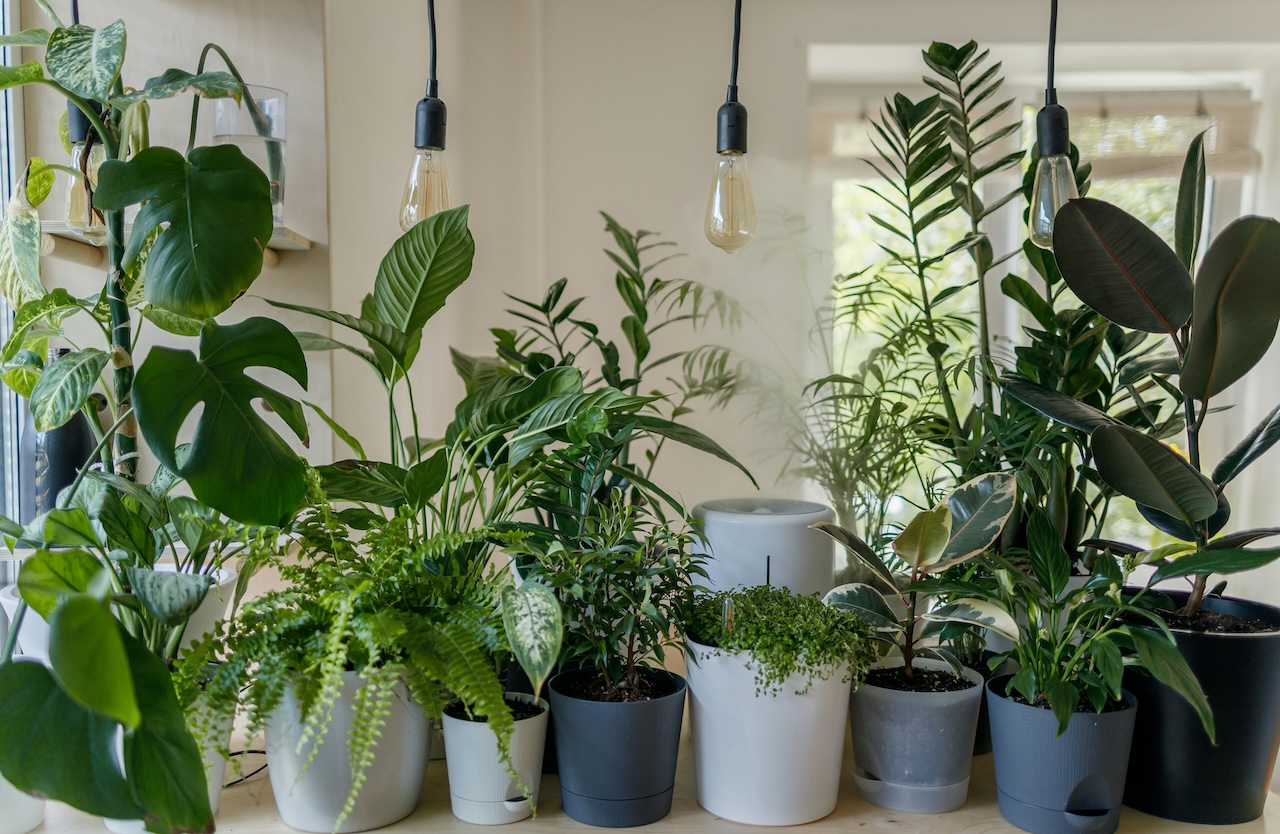
Plants receiving inadequate light lose their vibrant green colour, developing a pale, washed out appearance. Growth slows dramatically, and new leaves stay small without developing the characteristic splits, known as fenestrations, that make monsteras so appealing in the first place.
In severe low light conditions, monsteras become leggy, with long gaps between leaves as the plant stretches toward any available light source. This stretched, weakened growth makes the plant more susceptible to other problems further down the line.
Too much light damage
Direct sunlight burns monstera leaves, initially creating yellow or pale patches that quickly progress to brown, crispy areas. Unlike gradual low light yellowing, sun damage appears rapidly and affects leaves unevenly depending on exactly how the light was hitting them.
Sunburn typically starts as bleached yellow spots on the leaves facing the light source, progressing to brown, papery patches with clearly defined edges. Severely burned leaves won’t recover and should be removed to stop the plant wasting energy on them.
Even intense indirect light can overwhelm a monstera if it’s introduced too suddenly. Plants moved from low light into bright conditions often show stress yellowing as they adjust to the sudden jump in intensity, so any change of position is best done gradually.
Finding optimal monstera lighting
Position your monstera in bright, indirect light, near but not directly in front of an east facing window, or several feet back from a south facing one. The light should be bright enough to read comfortably by, but your hand shouldn’t cast a sharp shadow on nearby surfaces.
Morning sun through east facing windows is generally safe for monsteras, since it’s gentler than intense afternoon sun. South and west facing windows often need sheer curtains, or positioning the plant 1 to 2 metres back from the glass, to prevent scorching.
North facing windows rarely provide sufficient light for the best monstera growth, though plants can survive in these spots. If a north facing window is your only option, consider supplementing with a grow light during the winter months.
Seasonal light adjustments help keep growing conditions consistent. Summer’s intense light may mean moving plants further from the window, while winter’s weaker light might mean moving them closer, or adding artificial lighting altogether.
Using grow lights effectively
I’ve used lights very similar to these to get great results in some properly shady rooms here at Garden Ninja HQ, and they’re extremely cost effective, especially over the winter months when a north facing flat can otherwise feel like a monstera’s worst nightmare.
LED grow lights give you excellent control over your monstera’s lighting environment, particularly useful in darker homes or during winter. Full spectrum LEDs positioned 30 to 60 centimetres above the plant provide ideal supplementation.
Aim for 12 to 16 hours of combined natural and artificial light during the growing season, reducing to 10 to 12 hours in winter. Introduce grow lights gradually over several days to prevent shock, starting with shorter periods and building up to the full duration.
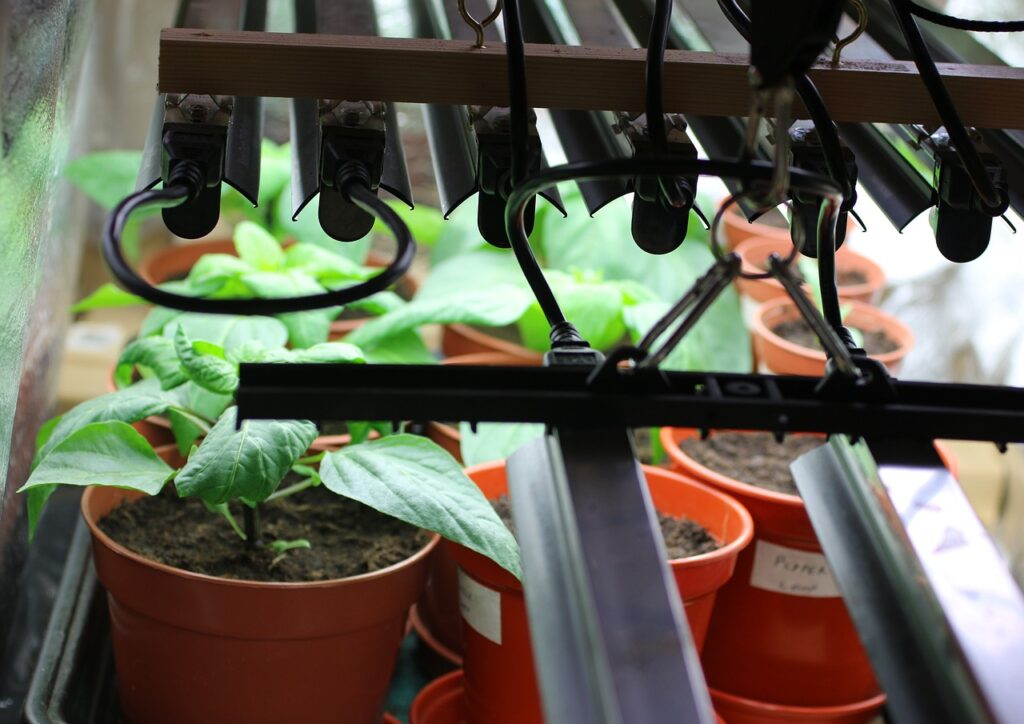
Quality matters more than intensity with grow lights. Choose full-spectrum LEDs with good reviews rather than the cheapest option going, since bargain bin lights rarely provide the correct wavelengths for healthy plant growth.
🛒 Buy an LED grow light for indoor plants from Amazon UK
4) Root bound monstera: the cause everyone forgets
This is the one I see missed constantly, including on plenty of other advice sites, because it doesn’t fit neatly into “water more” or “water less.” Monsteras are vigorous growers and it’s entirely possible to end up with a plant that has outgrown its pot by a considerable margin while still looking perfectly healthy from the top. Underneath, though, the roots have run out of room, started circling the inside of the pot, and are now struggling to take up water and nutrients efficiently no matter how well you’re watering.
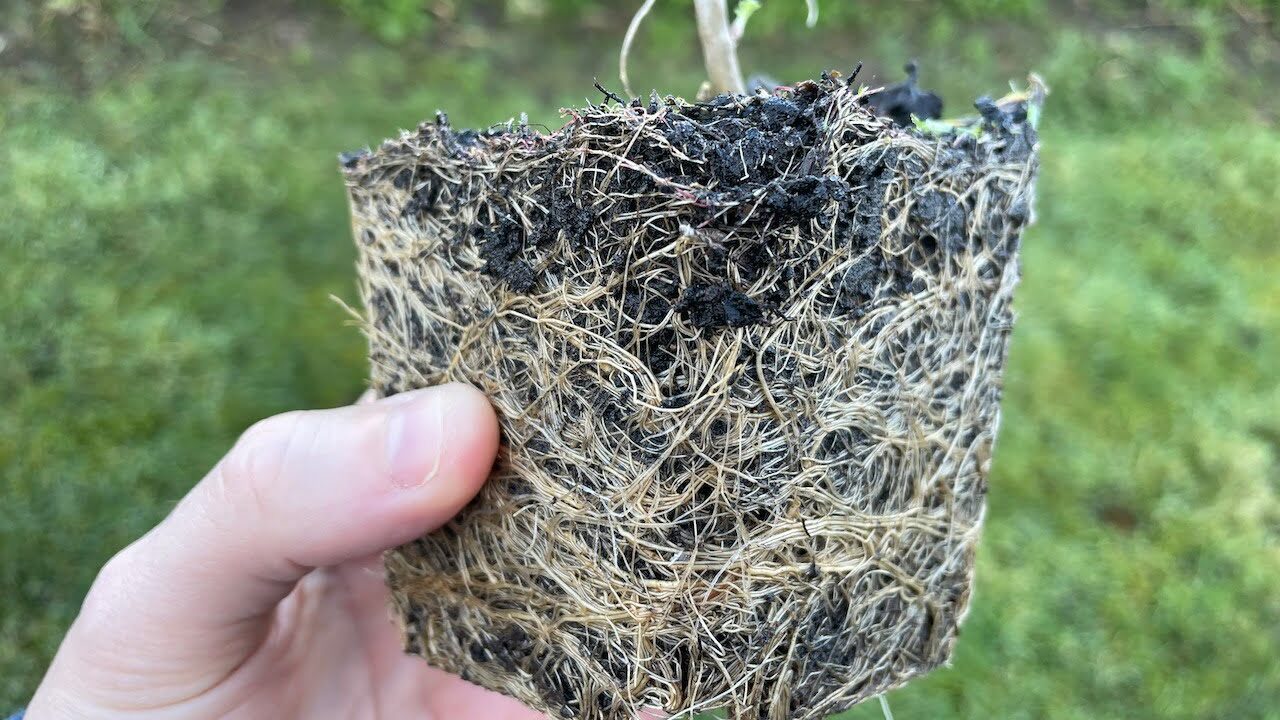
The telltale signs are roots emerging through the drainage holes, soil that dries out unusually fast after watering, growth that has noticeably slowed, and yellowing that continues despite you doing everything else right. If you’ve had your monstera in the same pot for two years or more and it’s put on a fair bit of size, a root bound pot should be one of your first suspects rather than a last resort.
Repotting your root bound monstera
I’ve recommended mixes with added Seramis granules consistently for aroids like monstera, since the granules absorb water and release it slowly, buffering against the feast or famine watering most of us do without even realising it, especially when we’re just starting out.
Move up gradually, into a pot only 5 to 8 centimetres wider in diameter rather than something enormous, since an oversized pot holds far more moisture than the roots can use and simply sets you up for an overwatering problem instead. Gently tease out any roots that are circling the root ball, without being overly aggressive, since damaging the fine root hairs causes its own wave of wilting and yellowing in the weeks that follow. If you want the full step by step process, including exactly how to handle a plant that’s badly pot bound, my complete guide to repotting houseplants walks through the whole job.
🛒 Buy a well draining houseplant potting mix from Amazon UK
5) Feeding problems: the middle ground everyone misses
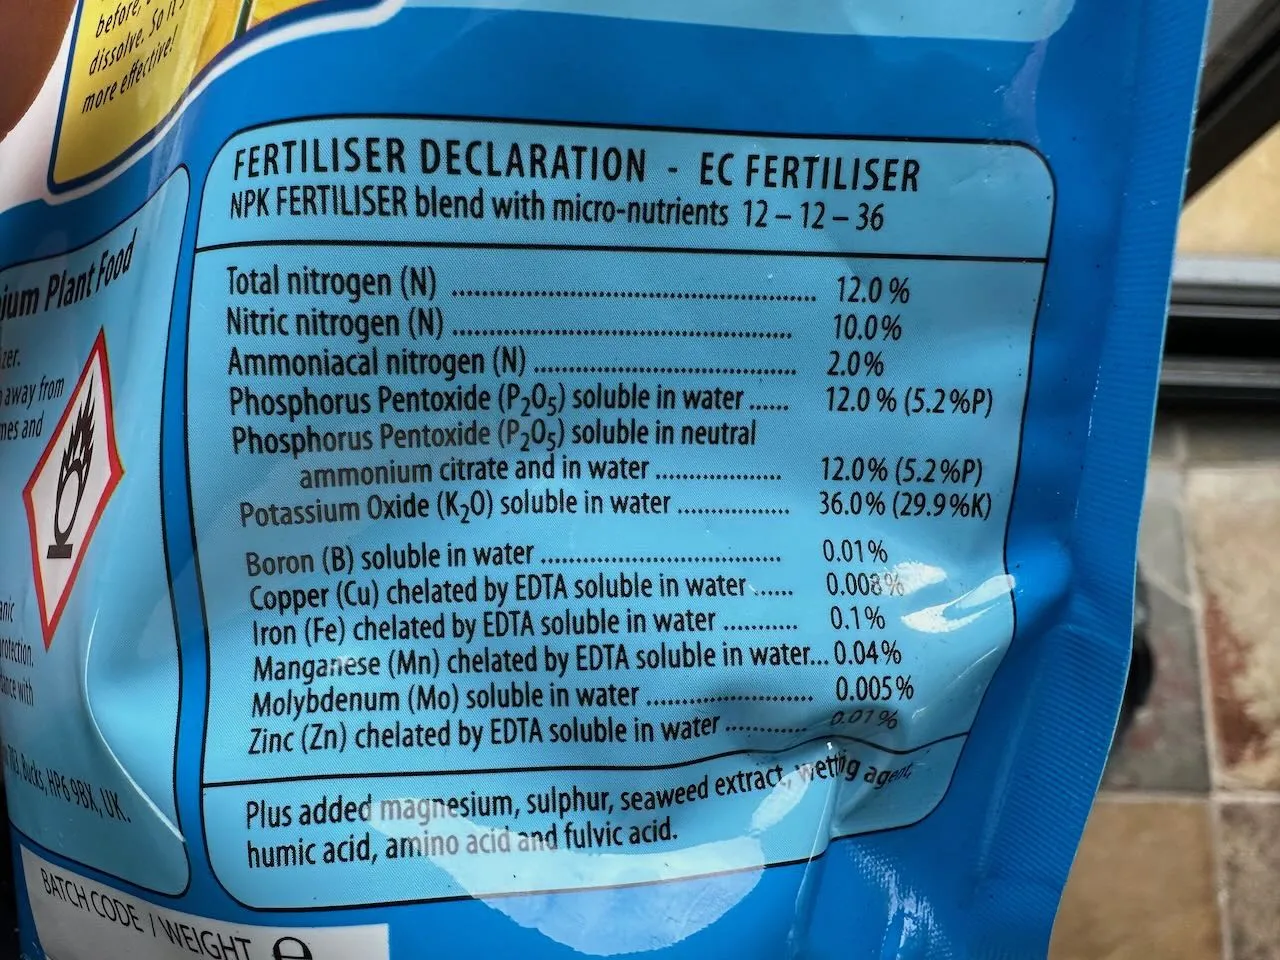
Feeding is the other cause that rarely gets a mention, and it cuts both ways. A monstera that’s never been fed can run properly short of nutrients, while a monstera that’s been fed with more enthusiasm than restraint can develop a fertiliser salt build up in the compost that damages the roots almost as effectively as overwatering does. Both problems show up as yellowing, and they look different enough from each other, and from watering issues, that it’s worth learning to tell them apart.
A genuine nitrogen shortage tends to show as an overall pale, washed out yellowing that starts with the oldest leaves, since nitrogen is a mobile nutrient the plant will strip from older growth and send to new growth first. A magnesium shortage looks quite different and is a useful one to know, since it causes interveinal chlorosis, where the leaf veins stay noticeably green while the tissue between them turns yellow, again usually starting on the older leaves. Overfeeding, by contrast, tends to show as yellowing and browning concentrated at the leaf tips and margins, sometimes alongside a crusty white build up on the surface of the compost, which is mineral salt left behind as water evaporates.
Feeding your monstera correctly
I use a seaweed based liquid feed on most of my own houseplants, monstera included, since it delivers a gentle, balanced range of nutrients and micronutrients without the sharp salt spike you get from some of the cheaper synthetic feeds.
Feed monthly from spring through to early autumn using a balanced liquid houseplant feed diluted to half the strength stated on the bottle. Monsteras don’t need feeding through winter, when growth has slowed right down and there’s very little the plant can actually do with the extra nutrients. If you suspect a salt build up from overfeeding, flush the compost thoroughly every couple of months by running several times the pot’s volume of plain water through it and letting it drain away completely, which resets the soil chemistry nicely. Never feed a plant that’s stressed, recently repotted, or recovering from root rot, since damaged roots simply can’t process nutrients and you’ll only compound the problem.
🛒 Buy envii SeaFeed seaweed fertiliser from Amazon UK
6) Natural ageing: when yellowing is normal
Not all monstera yellowing indicates a problem. Some leaf loss represents natural ageing that’s perfectly healthy, and even my own thriving monstera plants have the odd yellow leaf appear now and then as part of that process. Understanding normal ageing patterns prevents unnecessary worry and stops you making changes the plant didn’t actually need.
Recognising natural senescence
Natural ageing typically affects the oldest, lowest leaves first, progressing slowly and affecting only one or two leaves at a time. These leaves gradually fade from deep green to pale green, then to yellow, before eventually browning and dropping off.
Ageing leaves usually show a fairly uniform yellowing across the whole leaf, rather than the patchy or edge based yellowing that’s more characteristic of a care problem. The process progresses slowly over several weeks, giving the plant time to reabsorb valuable nutrients before the leaf finally drops.
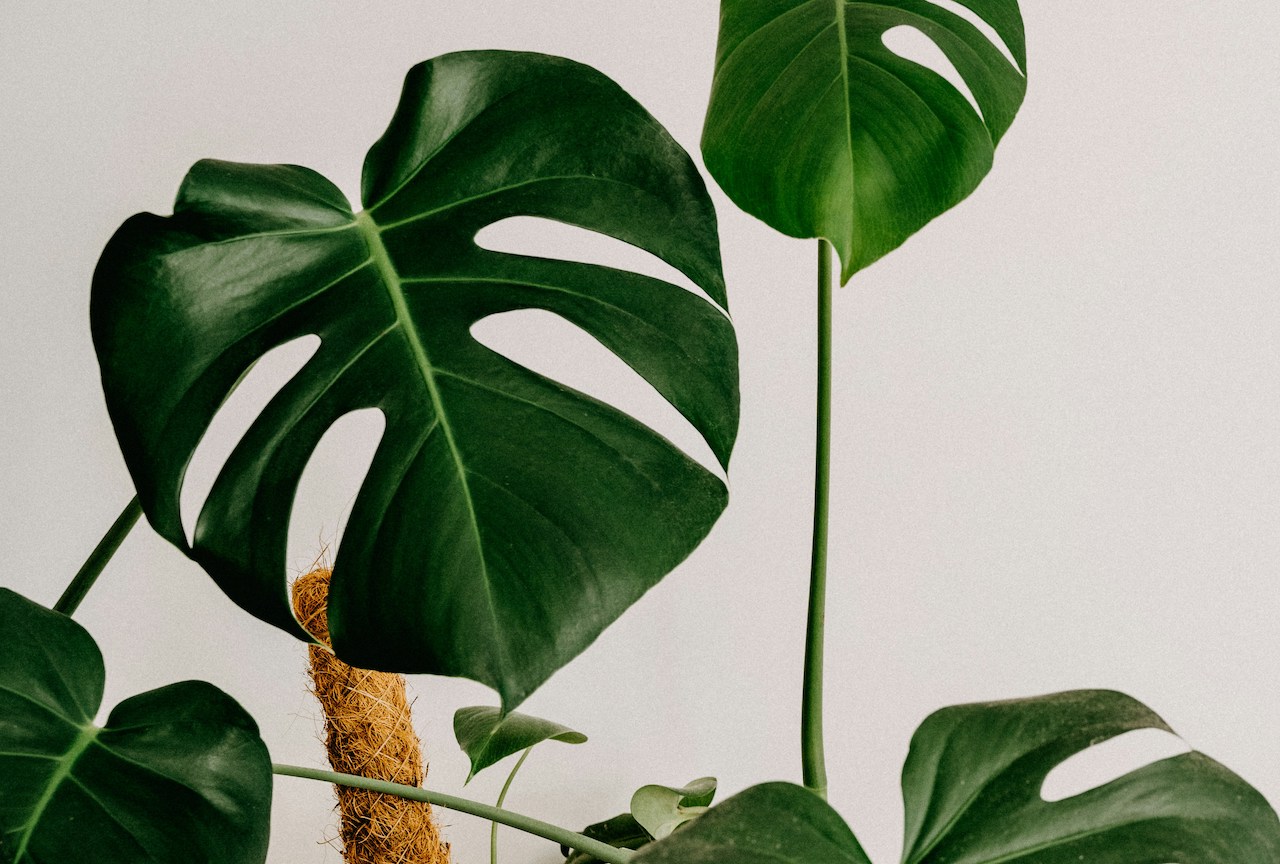
This process speeds up during active growing seasons, when plants focus their energy on new growth. Spring and summer often see increased leaf turnover as monsteras prioritise resources for fresh, vigorous foliage over hanging on to older leaves that are no longer pulling their weight.
Why monstera plants shed older leaves
Leaf ageing serves an important biological function. As leaves age, their photosynthetic efficiency drops while their maintenance cost stays the same, so shedding older leaves lets the plant redirect energy toward more productive new growth.
Before dropping an ageing leaf, the plant carefully withdraws valuable nutrients from it, including nitrogen, phosphorus and potassium, which is what causes the yellowing in the first place. Those reclaimed nutrients get reused in newer growth elsewhere on the plant. Clever stuff, when you think about it.
Young, rapidly growing monsteras may show more frequent leaf turnover than mature plants. This isn’t a concern, provided new growth keeps coming and the plant as a whole remains healthy and vigorous.
When ageing becomes concerning
While some leaf ageing is entirely normal, excessive or rapid leaf loss points to an underlying problem, particularly if a third or more of the leaves start turning yellow and dropping at the same time. More than one or two leaves yellowing simultaneously suggests genuine plant stress rather than natural ageing.
Ageing should only ever affect the oldest leaves. If newer or middle-aged leaves start yellowing, it’s time to investigate watering, light, root space or feeding rather than putting it down to age. Natural ageing never sweeps through the whole plant rapidly.
7) Pest related yellowing: hidden invaders
Several common houseplant pests can cause Monstera yellowing, often going undetected until the damage becomes obvious. These tiny invaders weaken the plant by feeding on its sap, leading to yellowing, wilting and general decline if you leave them untreated.
i) Spider mites
The microscopic menace. Spider mites create a characteristic yellowing that starts as tiny yellow speckles on the leaves, gradually joining up into larger yellow areas. These pinprick-sized pests thrive in the warm, dry conditions common in heated homes over winter.
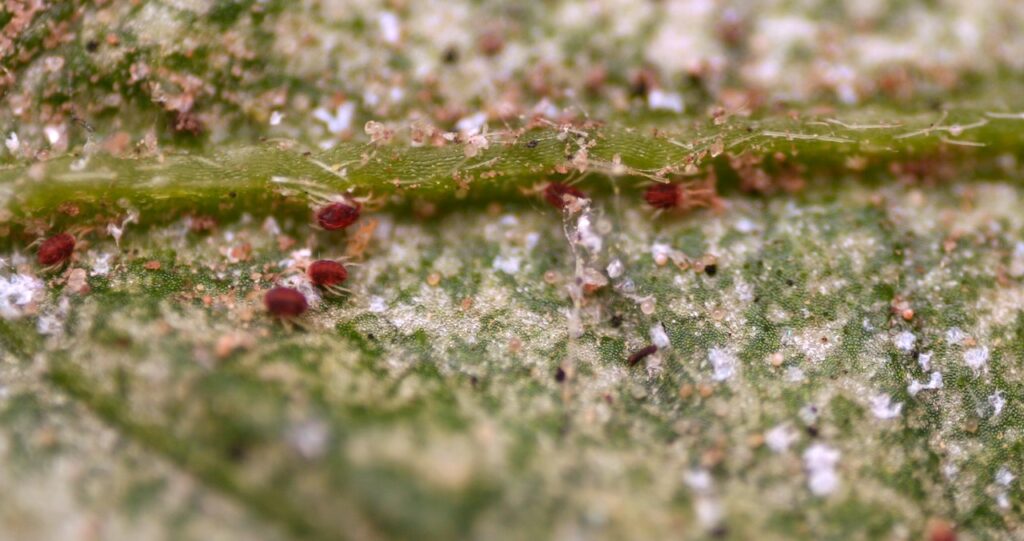
Early spider mite damage appears as stippling, meaning countless tiny yellow dots across the leaf surface where the mites have fed. Advanced infestations show more extensive yellowing, fine webbing on the undersides of leaves, and a severely weakened plant. You’ll often notice it sticking to your fingers when you’re cleaning the leaves.
Check for spider mites by examining the leaf undersides for tiny moving specks or fine webbing. In my experience they tend to appear right at the base of the leaf where it joins the stem first, so that’s the spot to check before anywhere else.
ii) Thrips
The plant juice thieves. Thrips cause a silvery yellow streaking across monstera leaves, creating a distinctive, almost bleached appearance quite different from other kinds of yellowing. These slender, fast moving insects are difficult to spot but leave a very recognisable pattern of damage behind.
Thrips feeding creates pale, silvery patches that can appear almost metallic in certain light. Affected areas eventually turn yellow and brown, and heavily infested leaves can become completely chlorotic.
Look for thrips by gently tapping the leaves over a sheet of white paper and watching for tiny, elongated insects. Adult thrips are around 1 to 2 millimetres long and can be yellow, brown or black depending on the species.
iii) Scale insects
The stubborn suckers. Scale insects appear as small, brown or white bumps attached to stems and the undersides of leaves. These armoured pests are particularly sneaky, since they’re easily mistaken for a natural part of the plant until the infestation becomes severe.
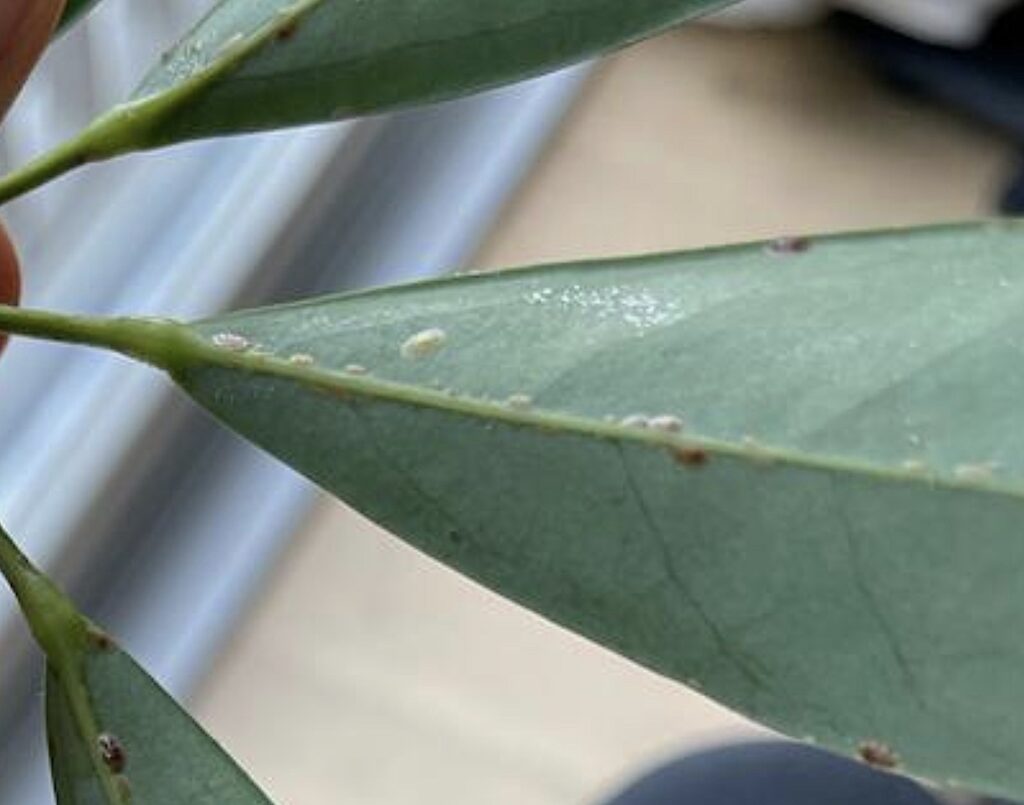
Scale feeding causes gradual yellowing and weakening, often starting with the lower leaves and progressing upward. A heavily infested plant will show widespread yellowing, stunted growth and general decline.
Remove scale insects individually using a cotton bud dipped in surgical spirit, or apply a systemic insecticide for a severe infestation. Their protective waxy covering makes them fairly resistant to most contact treatments, so persistence really is the name of the game.
Treating pest infestations
Start treatment as soon as you spot pests, since their numbers can rise fast in the stable, warm conditions of an indoor room. Isolate the affected plant to stop the problem spreading to your other houseplants while you deal with it.
For spider mites and thrips, start with a strong water spray to physically knock pests off, then follow up with an insecticidal soap or neem oil according to the instructions on the bottle. Repeat treatments every 5 to 7 days for a few weeks to properly break the pest life cycle. A simple solution of washing up liquid diluted one part to four with water in a spray bottle will see off most infestations, and for scale insects specifically, a cotton bud dipped in a spare splash of vodka works a treat, assuming you’re willing to sacrifice it for the cause.
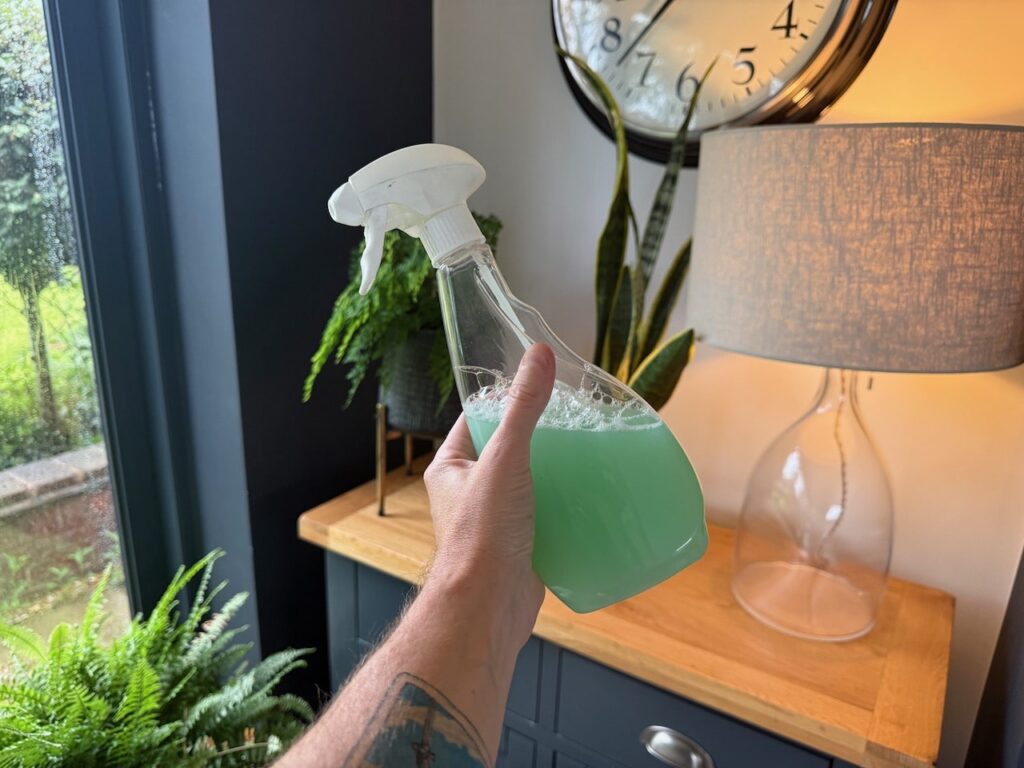
Steer clear of harsh chemical sprays and synthetic treatments where you can, since they tend to cause more harm than good on a houseplant. My full organic house plant pest spray guide has the recipes and application schedule laid out in detail if you’d like to make up a batch properly.
8) Environmental stress factors
Monsteras are surprisingly sensitive to environmental change, and stress from temperature swings, humidity extremes or air quality issues often shows up as yellowing leaves. Understanding these factors helps you create the stable conditions that prevent stress related problems before they start.
Temperature stress symptoms
Cold draughts from windows, doors or air conditioning vents can cause rapid yellowing, particularly on the leaves closest to the cold source. Equally, hot air from heating vents or radiators creates its own localised stress that shows up as yellowing or browning.
Temperature shock from moving a plant between different environments is common enough when bringing plants home from the garden centre, and it can trigger yellowing within days or weeks of the move. This stress response is temporary but understandably worrying for new plant parents.
Maintain a consistent temperature between 18 and 27°C for the best monstera health. Avoid placing plants near heat sources, cold windows, or anywhere with a temperature swing greater than 5 to 6°C between day and night.
Humidity related issues
Low humidity, particularly common during winter heating season, stresses monsteras and can contribute to yellowing. These tropical plants prefer humidity levels around 50 to 60%, considerably higher than a typical UK home in January.
Extremely low humidity, below around 30%, causes leaf edges to brown and yellow before it spreads to the whole leaf. Plants may also show slower growth and increased susceptibility to pests in very dry conditions.
Increase humidity using a humidifier, a humidity tray, or simply by grouping plants together. Avoid misting directly onto the leaves, since this can encourage fungal problems without meaningfully improving the local humidity.
Air quality and chemical damage
Household chemicals, cleaning products and aerosols can damage monstera leaves, causing yellowing or brown spots that appear suddenly after exposure. Even products used in a nearby room can affect sensitive plants. In my experience this is rare unless you’re in a small room or flat and reaching for something particularly harsh, oven cleaner sprays especially, so it’s worth ruling out the more common causes first.
How long does it take to recover yellowing monstera leaves?
Understanding monstera recovery helps set realistic expectations and stops premature panic when improvement seems slow. Different causes of yellowing carry different recovery timeframes, and patience really is the key ingredient in getting your plant back on track.
Immediate response (0 to 2 weeks)
Correctly diagnosed and properly treated problems often show improvement within days. An underwatered plant may perk up within hours of a proper drink, while an overwatered plant will take considerably longer to show a positive response.
Don’t expect a yellowed leaf to return to green once the yellowing has begun. Focus on preventing further yellowing and encouraging healthy new growth instead of trying to save leaves that are already gone, which is exactly why removing yellowed leaves promptly is usually the better approach.
Remove fully yellowed leaves promptly, but leave partially green leaves in place until they turn completely yellow. This lets the plant reclaim what nutrients it can while it stops wasting energy on foliage that’s no longer functioning properly.
Medium term recovery (2 to 8 weeks)
New growth appearing is the clearest signal of a successful recovery. Healthy new leaves emerging from the growing tip mean your monstera is bouncing back and redirecting its energy toward future growth rather than firefighting.
Growth rates vary with the seasons, with spring and summer recovery happening faster than an autumn or winter rehabilitation. Be patient with winter recovery in particular, since reduced light and cooler temperatures naturally slow everything down.
Keep your care consistent throughout recovery, and resist the urge to “help” with extra fertiliser or more frequent watering. A stressed plant needs stability far more than it needs intensive intervention.
Long term restoration (2 to 6 months)
A full recovery back to pre problem health can take several months, particularly for a severely stressed plant or one that needed root pruning along the way. This extended timeline is entirely normal for a major intervention, so don’t be discouraged if progress feels slow at first.
Monitor the plant’s overall health rather than fixating on individual leaves. Steady new growth, improving leaf size and colour, and general vigour all point to a successful recovery, even if some of the old damage remains visible on older leaves for a while yet.
Frequently asked questions about monstera yellow leaves
Will a yellow monstera leaf turn green again?
No. Once a monstera leaf has turned yellow, the chlorophyll breakdown that caused it is not reversible, and the leaf itself will never return to green. Your energy is much better spent fixing the underlying cause so no further leaves follow it, rather than trying to nurse an already yellow leaf back.
Is one yellow leaf on my monstera anything to worry about?
Not usually. A single older, lower leaf turning yellow while the rest of the plant looks healthy and continues producing new growth is normal ageing rather than a problem. It only becomes a concern if several leaves start yellowing at once, or if newer leaves near the top of the plant are affected.
Can I cut off all the yellow leaves at once?
Yes, fully yellow leaves can be removed all at once, since they’ve already finished doing anything useful for the plant. Leave any partially green leaves in place a little longer, though, so the plant can finish reabsorbing the nutrients from them before they drop naturally.
Why are my monstera’s new leaves coming in yellow?
New growth emerging yellow rather than green usually points to a feeding problem, most often a nitrogen or magnesium shortage, or occasionally very low light preventing proper chlorophyll development. This is different from older leaves yellowing with age and is worth investigating with a feed and a light check rather than waiting it out.
Does tap water cause monstera leaves to turn yellow?
Occasionally, though it’s rarely the main cause in the UK. Chlorine and fluoride in tap water can contribute to leaf tip browning in sensitive plants over time, but genuine chlorosis is far more likely to come from watering, light, roots or feeding first. If you’d like to be cautious, leaving tap water to stand overnight in an open container before use allows some chlorine to disperse.
Should I feed a monstera that already has yellow leaves?
Only once you’ve confirmed feeding is actually the cause. If the yellowing is from overwatering or root damage, feeding will make things worse, since damaged roots can’t process the nutrients and you risk a harmful salt build up on top of an already stressed plant. Diagnose first, then feed.
How do I tell if it’s overwatering or underwatering causing the yellow leaves?
Check the soil and the leaf texture together. Overwatering gives you consistently wet soil, soft or mushy yellow leaves, and yellowing that starts from the bottom of the plant. Underwatering gives you dry soil several centimetres down, crisp or papery yellow leaves, and a lighter pot when you lift it. The two causes feel completely different once you know what you’re checking for.
Join over 100,000 gardeners on YouTube
Free gardening videos from the Garden Ninja, with 8 million views and counting
Subscribe on YouTube, it’s freeSummary
Rescuing a yellowing Monstera comes down to reading the signs calmly rather than panicking at the first change of colour. Check the soil and the roots first, since that rules out overwatering in or out immediately, then work through light, root space and feeding before you settle on natural ageing as the answer. Some yellowing is completely normal. The rest is almost always fixable once you know what you’re looking at.
Consistency beats constant fussing every single time with these plants. Stable watering, the right light, a pot that actually fits the roots, and a sensible feeding routine will prevent the vast majority of yellowing before it ever starts. Your monstera wants to thrive. Create the right conditions, then have the confidence to step back and let it get on with it.
Happy monstera growing, Ninjas!





Lee Burkhill
Lee Burkhill, known as the Garden Ninja, is an award winning garden designer and horticulturist with over 30 years of gardening experience and 15 years as a professional garden designer. A qualified RHS (Royal Horticultural Society) professional, Lee specialises in sustainable garden design and practical horticultural advice. He designs and presents on BBC1’s Garden Rescue and in leading gardening publications. Lee combines three decades of hands on gardening knowledge with professional design qualifications to help gardeners create beautiful, functional outdoor spaces.
View all posts by Lee Burkhill






Categories
Other posts
-

How to learn Garden Design: most cost-effective learning methods Read more
-
Start here: to begin your gardening journey! Read more
-
How to take softwood cuttings to propagate plants: the easy way Read more
-
How to Prune Cherry Trees: beginner guide Read more
-
The Complete Autumn Lawn Renovation Programme: Scarify, Aerate, Overseed and Top Dress Read more
-
Spring Bulbs by Colour: 60 Varieties Organised by Hue for Easy Planning Read more
-
Winter vs Summer Pruning: What’s the difference? Read more