For the garden you’ve already got, not the one you’re starting from scratch. Seven checklists and video lessons from BBC Garden Rescue’s Lee Burkhill, designed to help you decide what’s worth keeping before you spend a penny.
69


Quick Answer
The complete autumn lawn renovation programme runs in this order: mow short, then scarify to remove thatch, aerate to relieve compaction, overseed bare and thin areas, top dress to level and feed the seed bed, apply an autumn lawn feed, then water daily for two weeks. Do this between late August and mid-October when soil is still warm and autumn rain does half the work for you. Done in the right sequence, this single annual session is the most productive lawn care you will do all year.
If you’re looking for a lush green thats the envy of your neighbours, you’ve come to the right place, gardener. This guide will show you my step-by-step autumn lawn renovation tips and tricks. Whilst your neighbours are endlessly pouring over fertiliser in July and constantly moaning about weeds and moss, we’re going to avoid all that midsummer drama and maintain our lawns at the correct time of year; September and October!

Jump To
This page contains affiliate links for products I use and love. If you take action (i.e. subscribe, make a purchase) after clicking a link, I may earn some gardening commission which helps me keep the Garden Ninja Blog free for all.
Every year in August, I do the same thing: I walk across my lawn at Garden Ninja HQ, press my heel into the turf, and assess what the summer has done to it. After months of foot traffic, dry spells, and a family with dogs, the answer is usually the same. The surface is compacted, the thatch layer has built up, there are a few bare patches where the soil has baked hard, and the grass looks tired. By the following October, after a weekend of renovation work, it looks like a completely different lawn. That transformation happens because Autumn is the best possible window for lawn renovation, and the process, done in the right order, saves a lot of effort and fuss when compared to summer lawn fixes.
The reason September and October are so productive for lawn work comes down to a combination of soil temperature, moisture and grass biology. The soil is still warm from summer, which means grass seed germinates quickly, and new roots establish before winter. The shorter days and cooler air temperatures mean the grass is not under the heat stress that makes summer renovation so unreliable. Weed germination slows significantly in Autumn, which means overseeded grass faces less competition. And in a typical UK Autumn, rainfall does much of the watering work for you, keeping the seedbed moist without you needing to run a hosepipe every morning. It’s super lazy lawn maintenance at its finest Ninjas!
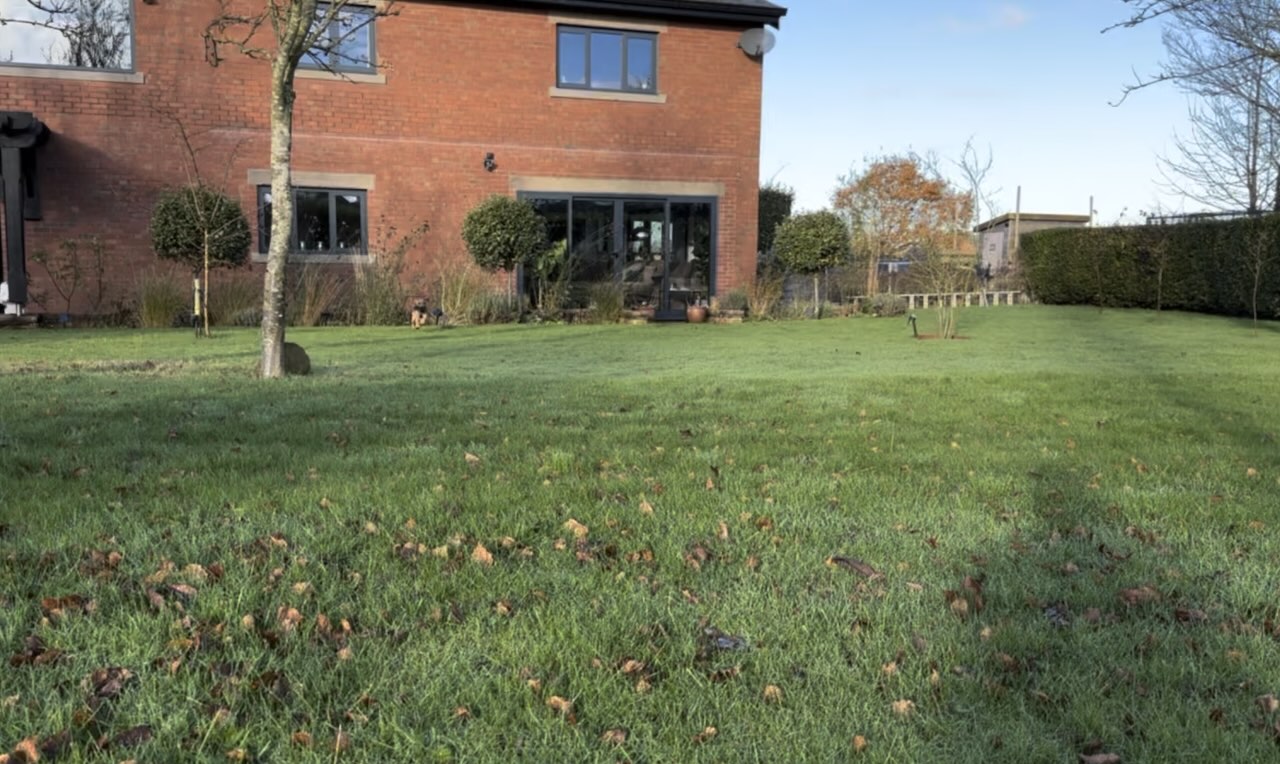
The window runs from late August through to mid-October. The same window is the best time for sowing a brand new lawn from seed. Late August is the earliest practical point because the summer growth flush has finished and the soil temperature is still high enough to support rapid germination. Beyond mid-October, soil temperatures drop below the threshold at which grass seed germinates reliably, and any new grass sown too late in the season will not have enough time to establish before the cold arrives. In northern England and Scotland, bring the deadline forward by two to three weeks. In the south of England, you can push it slightly later.
Spring is a workable secondary window, running from late March to early May, but it comes with drawbacks. Weed competition is stronger, watering requirements are higher during dry springs, and the renovation work competes with the start of the main mowing season. For most gardeners, Autumn renovation produces better results with less effort. And who wants to put in extra effort if we don’t need to?
Before reaching for any equipment, spend ten minutes actually looking at your lawn rather than just walking across it. This assessment tells you which of the five renovation steps you actually need and which you can skip, because not every lawn needs every treatment every year.
Walk across your lawn normally and pay attention to how the surface feels underfoot. If the lawn feels noticeably spongy or bouncy rather than firm, you have a thatch build-up problem that needs scarifying. The springy feeling comes from the compressible thatch layer rather than healthy turf, and it is one of the clearest diagnostic signals available without any tools at all. Also watch what happens when you water or when it rains: if water beads up on the surface and runs off rather than soaking in quickly, that confirms both a thatch problem and likely compaction beneath the surface. If more than a quarter of your lawn area is covered in moss, apply a moss killer several weeks before your renovation session rather than scarifying it out in real time.
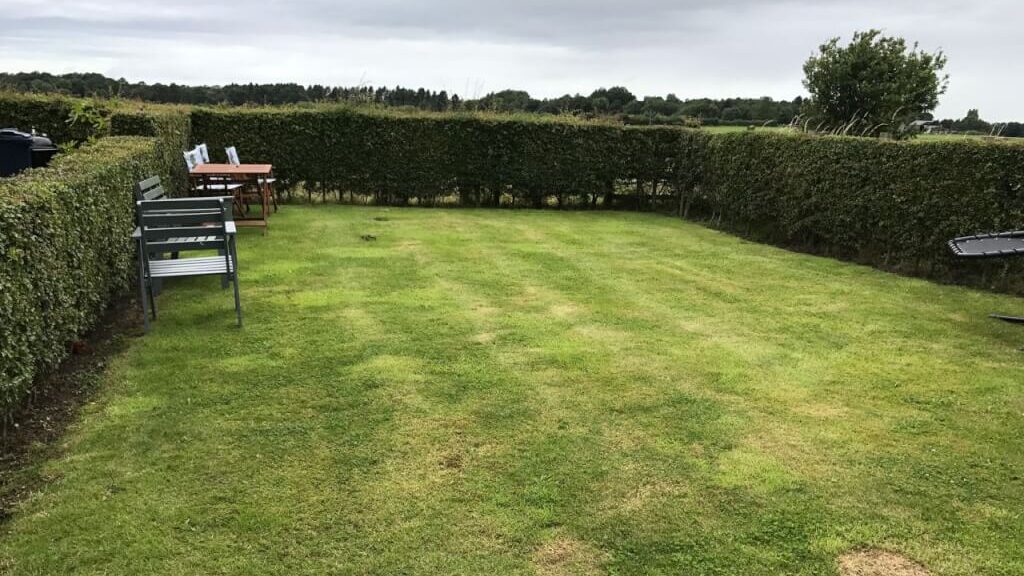
Push a screwdriver or trowel into the turf at several points across the lawn and look at the cross-section you expose. Healthy turf has a thin layer of brown organic matter between the green grass blades and the soil, no more than about a centimetre deep. This is a small amount of thatch, and it is actually beneficial, acting as a cushion and helping retain some moisture. If the brown layer is more than about a centimetre and a half deep, you have a thatch problem. The thatch layer prevents water, air, and nutrients from reaching the roots and harbours fungal diseases. This lawn needs scarifying.
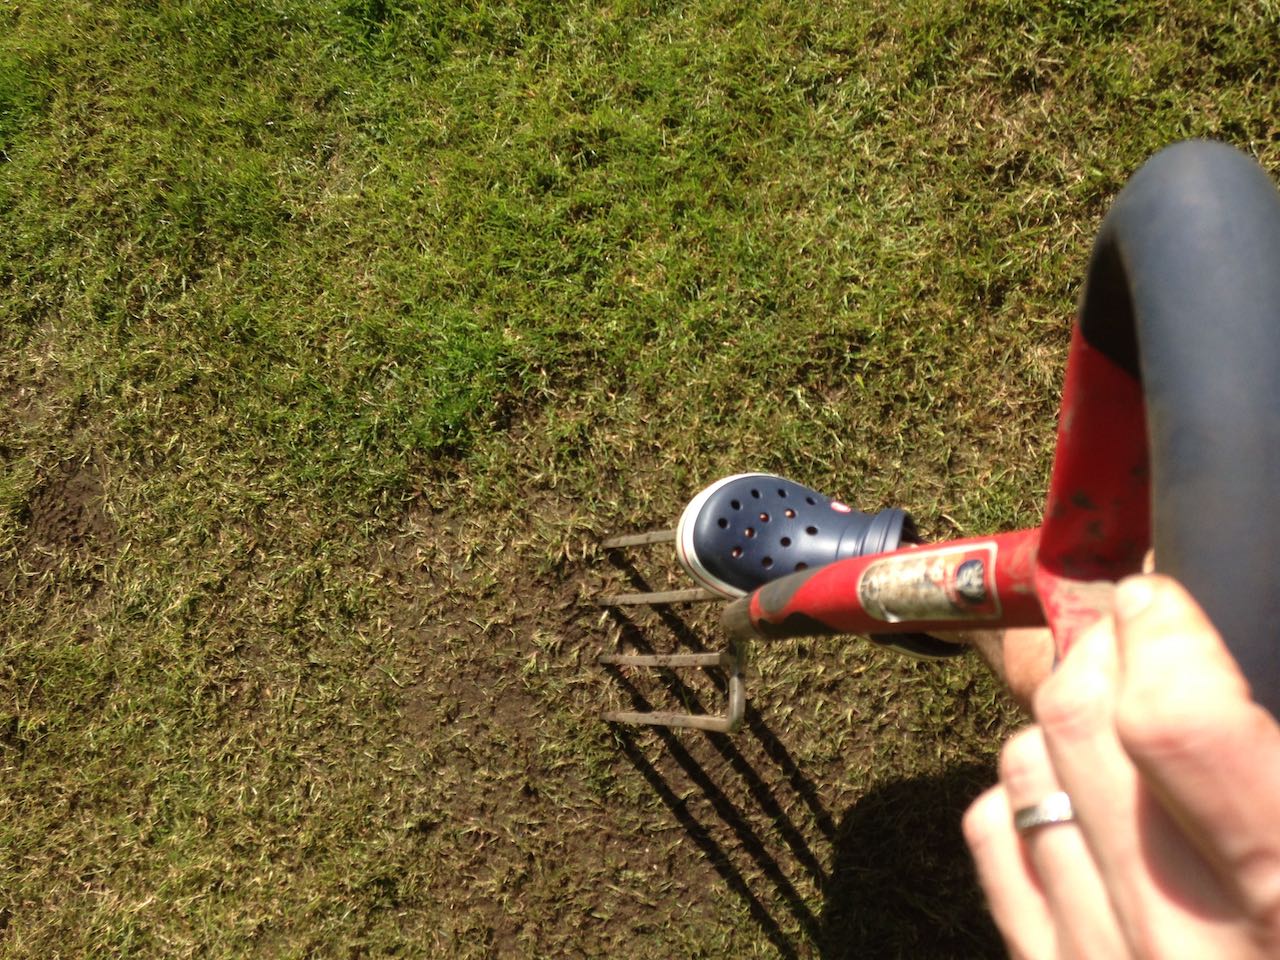
Push a garden fork or screwdriver into the lawn in several places, particularly in areas that receive regular foot traffic, such as children’s play areas, dog runs, and the line between the back door and the shed. If it goes in easily to a depth of 10 centimetres, drainage is reasonable. If it encounters significant resistance in the top few centimetres, the soil is compacted, and water will pool on the surface rather than drain through. This lawn needs aerating. Also look for areas where water sits after rain rather than draining away: a clear sign of compaction beneath the surface.
Walk the whole lawn and note any areas where the grass cover is thin, patchy, or completely absent. Bare patches may have been caused by drought, heavy shade, dog urine burn, compaction, or fungal disease. Check whether the bare area is in deep shade before planning to overseed it: grass seed will not establish in less than three to four hours of direct sun per day, and overseeding a shaded patch is a waste of good seed. For patches caused by dog urine, thoroughly drench the area with water before the renovation session to dilute the nitrogen salts in the soil, then overseed.
💡 Top Tip
Do your lawn assessment after a period of dry weather rather than immediately after heavy rain. A waterlogged lawn tells you very little about its underlying drainage capacity because everything looks saturated. The best diagnostic is a lawn that has had three or four dry days, where you can clearly see which areas drain well, which stay damp longest, and where the grass colour is weakest.
The week before your renovation session, cut the lawn shorter than your normal summer height. Lower the mowing height by one or two settings to around 25-30 millimetres. Do not scalp it, but do get it lower than usual. Short grass makes scarifying more effective because the tines or blades can reach the thatch layer rather than just churning through long grass. It also makes aeration easier and reduces competition from the existing sward for overseeded grass in the weeks after renovation.
I cut my own lawn two to three days before the renovation session rather than on the day of the renovation. This gives any clippings time to dry and blow clear, and the lawn a little recovery time before the more aggressive work of scarification begins. If you scarify immediately after mowing, the fresh-cut grass tips can clog the scarifier blades on electric machines, reducing their effectiveness.
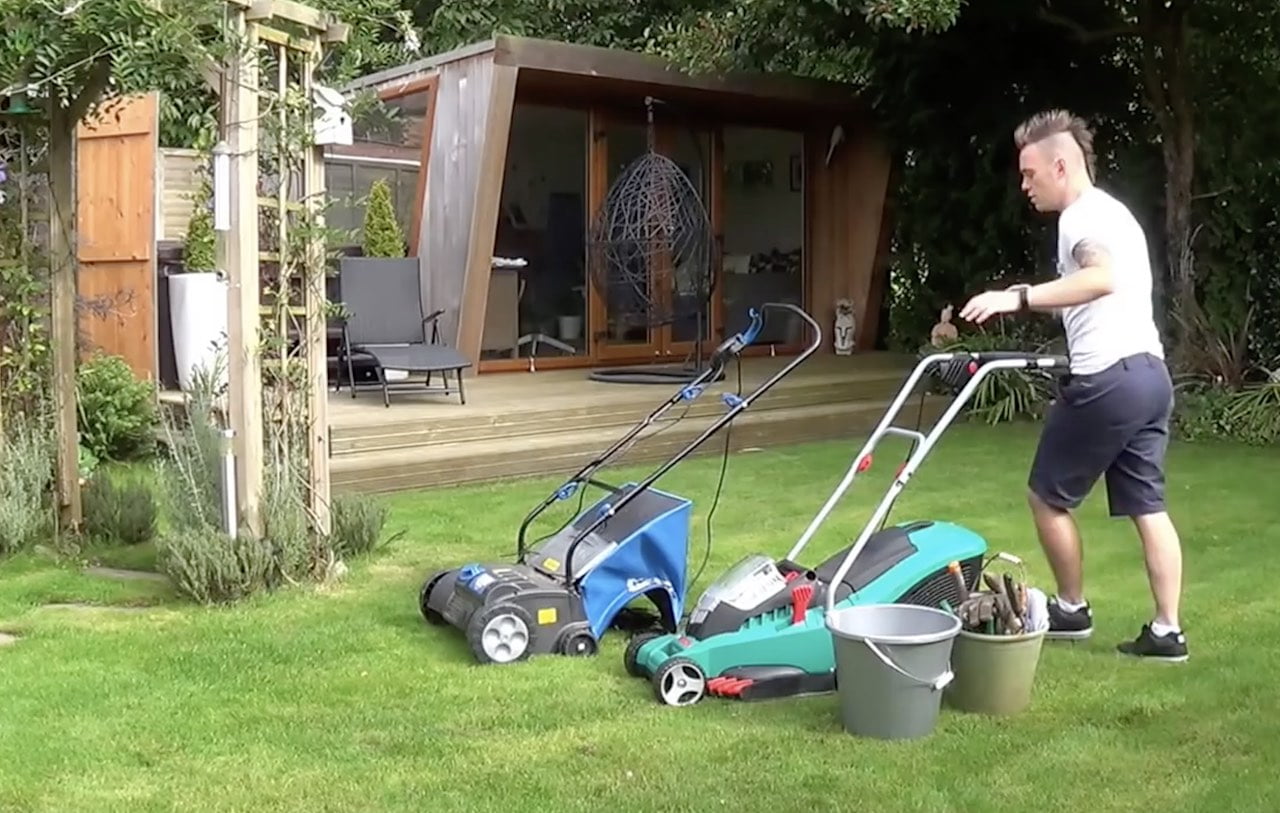
🛒 Buy lawn mowers from Amazon UK
Scarification is the most dramatic-looking step in the renovation process and the one that produces the most anxiety in first-time lawn renovators. I have had so many messages from gardeners who have done their first scarify, looked at the wreckage left behind, and convinced themselves they have killed the lawn. You have not killed it. A well-scarified lawn looks terrible for two to three weeks. By six weeks, it looks better than it did before you started, often dramatically so.
Scarification removes the thatch layer: the dense mat of dead grass, moss, and organic debris that builds up between the grass blades and the soil surface. Once removed, water, air, and nutrients can reach the root zone properly for the first time in months or years. The grass responds to that improved access with properly vigorous new growth. The first scarify on a long-neglected lawn is always the most alarming, because the more thatch there is to remove, the more devastated the lawn looks afterwards. But it is also the one that makes the biggest difference.
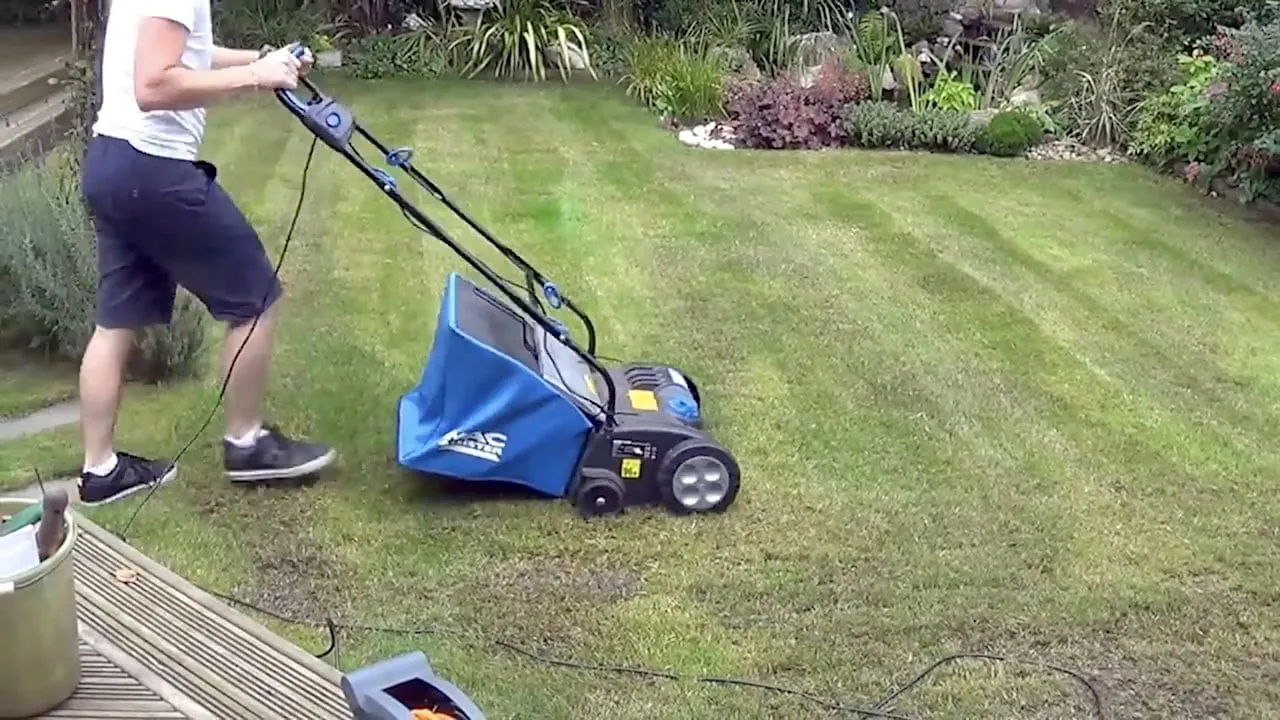
Blade depth is the detail most first-time scarifiers get wrong, and it makes a significant difference to both the result and the recovery time. For light thatch up to about 1 centimetre deep, set the blades to 2-3mm below the turf surface. For heavy thatch or significant moss coverage, 3-5mm is appropriate. Never set deeper than 5mm. Beyond that depth, you are cutting into healthy grass root material rather than thatch, which significantly extends recovery time and risks permanent thinning. Start with the blades set at the shallowest setting and make a single test pass of about a metre. Look at what comes up: if it is mostly green grass tips, go slightly deeper. If it is pulling out brown thatch material and old moss, the depth is correct.
Make a first pass in one direction across the lawn, then make a second pass at 45 degrees to the first. Two passes at different angles remove significantly more thatch than a single pass and produce a more even result. Adjust the blade depth carefully: too shallow and you skim the surface without properly disrupting the thatch; too deep and you rip out healthy grass runners along with the debris. Start with the blade set just to touch the surface and deepen by one setting at a time until you see the scarifier pulling out brown thatch material rather than just green grass tips.
Rake up all the debris before moving to the next step. This material should be composted, as it makes an excellent carbon layer in a compost heap. Do not leave it on the lawn surface, where it will mat down and reintroduce exactly the problem you have just removed. I usually fill several large trugs from even a modestly sized family lawn. The volume of material that comes out is always more than expected and is a good indication of how much was suppressing the grass.
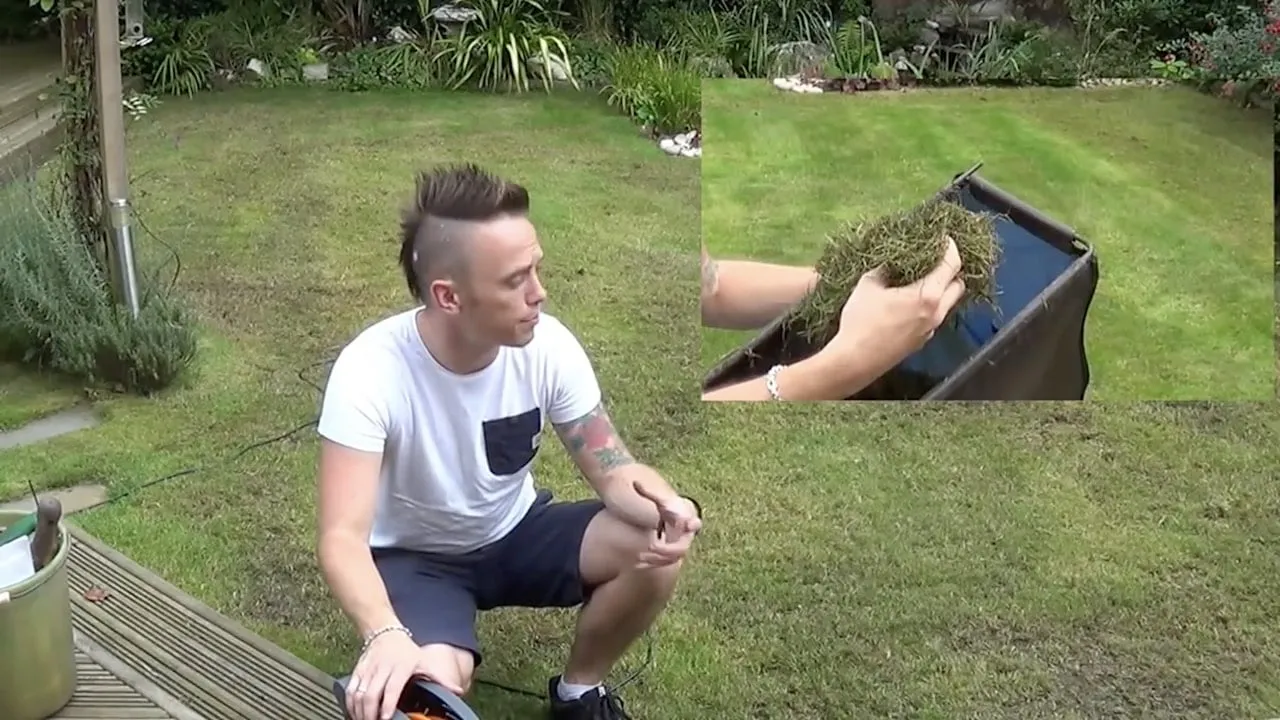
🛒 Buy electric lawn scarifiers from Amazon UK
For everything else you need to know about scarification, including equipment choices, how to tackle a severely thatchy lawn, and what to expect during recovery, see the detailed how-to scarify a lawn guide.
Aeration is performed immediately after scarifying, while the surface is open and the soil is ready to receive the treatment. The aim is to create channels through the compacted upper layer of soil so that air, water, and nutrients can reach the grass roots rather than pooling at the surface or running off. Compacted soil is one of the most common reasons a lawn fails to respond well to feeding and overseeding, because if the roots cannot access water and nutrients, the grass stays thin regardless of what you apply on top.
Hollow-tine aeration, which removes plugs of soil rather than simply pushing soil aside, is more effective for compacted lawns than solid-tine aeration. The plugs that come out can be broken up with a rake and left as a light top dressing, or removed entirely and replaced with a sand-and-compost mix to improve long-term drainage. The holes created by hollow tines give grassroots room to spread and allow the top dressing applied in the next step to work down into the soil rather than sitting on the surface.
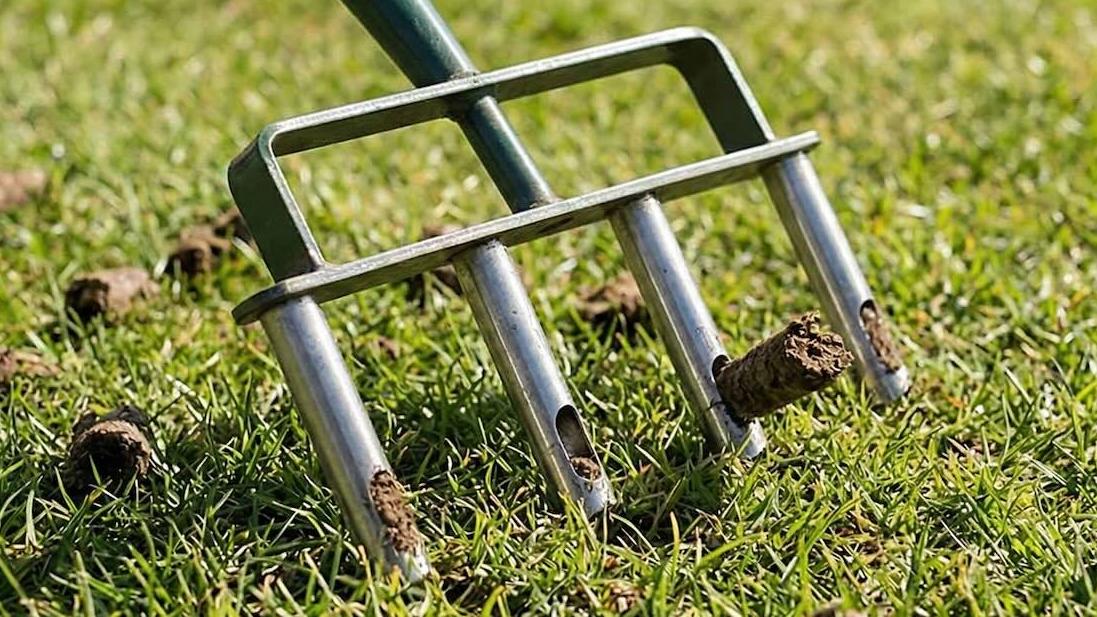
On a lawn that is not significantly compacted, a garden fork pushed in to 10 centimetres at intervals of about 15 centimetres across the whole surface is a perfectly effective approach for lighter aeration. It takes longer than a mechanical aerator on a large lawn, but costs nothing and produces good results for a family garden. On heavily compacted areas, particularly under play equipment, along well-worn paths across the grass, and in gateway areas where people always walk in the same line, a hollow-tine aerator makes a much more significant difference.
🛒 Buy hollow tine aerators from Amazon UK
The full guide to aeration techniques, equipment comparisons, and how to choose between hollow-tine and solid-tine methods is in the dedicated how to aerate a lawn guide.
Overseeding is the step that fills in the bare patches and thickens up the thin areas that scarification and aeration have exposed. The timing is perfect at this point in the renovation sequence: the thatch has been cleared, the soil is open, and the aeration holes provide exactly the kind of soil-to-seed contact that grass seed needs to germinate reliably.
Choose a seed mix that matches your existing lawn and its conditions. A standard wear-tolerant ryegrass blend suits most family lawns that receive regular foot traffic. A finer fescue blend suits more ornamental or lightly used lawns where a finer texture matters. Do not waste a fine fescue mix on a lawn that gets heavy use, because fescue is not built for it. If your lawn has shaded areas where the grass has thinned, look for a shade-tolerant mix containing fine fescues and smooth-stalked meadow grass, both of which handle lower light better than ryegrass.
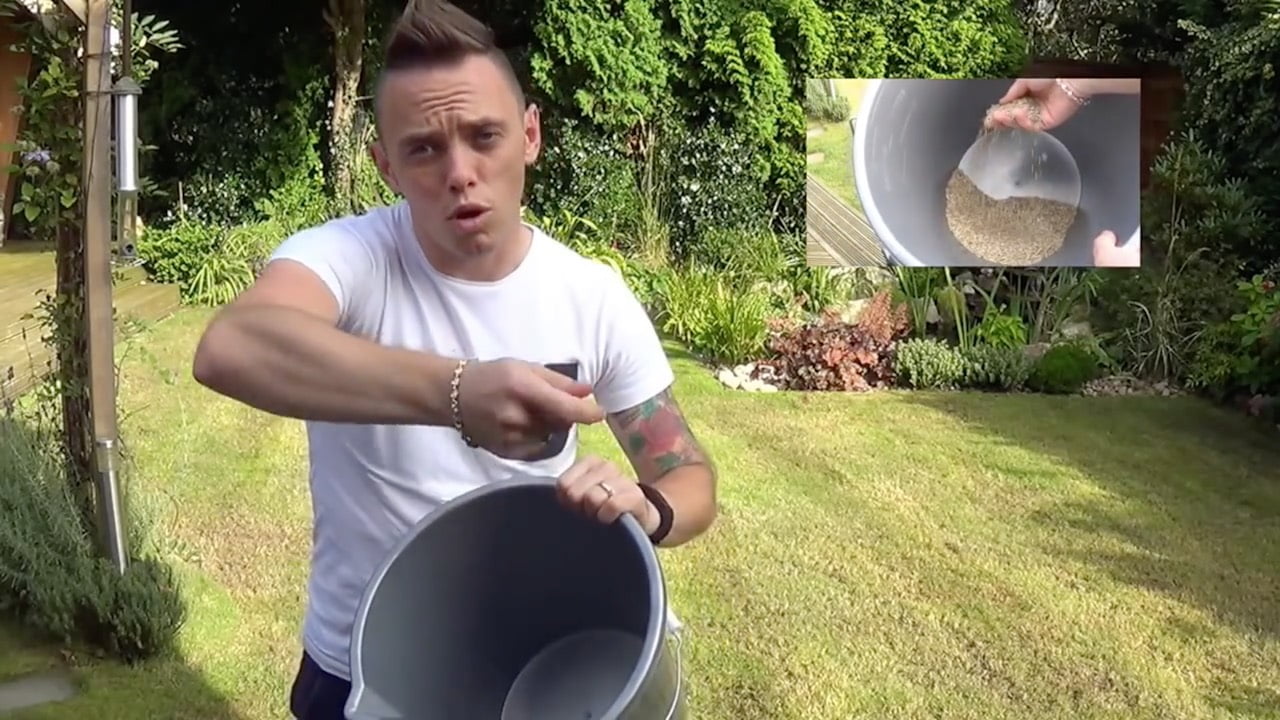
Apply an overseeding mix at 15 to 35 grams per square metre to fill in thin areas, and up to 50 grams per square metre to completely bare patches. A seed spreader gives a more even distribution than hand broadcasting on larger lawns. For small bare patches, hand sowing is perfectly adequate. After sowing, use the back of a rake to gently work the seed into the surface rather than leaving it exposed on top where birds will take it. A light covering of compost or top dressing material after sowing significantly improves germination rates by keeping the seed moist and in contact with the soil.
🛒 Buy lawn grass seed from Amazon UK
🛒 Buy lawn seed spreaders from Amazon UK
The complete step-by-step overseeding guide, including how to prepare the seedbed, sowing rates by grass type, and what to do when germination is uneven, is in the how to overseed a lawn guide.
Top dressing is the step that most home gardeners have either never heard of or never tried, and it is consistently the one that makes the most visible difference to the long-term quality of the lawn surface. It involves spreading a thin layer of sandy loam or a purpose-mixed dressing material across the entire lawn surface after scarifying, aerating, and overseeding. The material works into the aeration holes, levels minor undulations in the surface, creates a seedbed around newly sown grass seed, and gradually improves the soil structure beneath as it is worked in by worms and rain over the following weeks.
I started top-dressing my own lawn at Garden Ninja HQ about four years ago, after years of just scarifying and overseeding. The cumulative improvement in surface evenness and drainage has been significant enough that I now include it as a standard recommendation in any lawn renovation programme. It is the step that separates a lawn that looks good for a season from one that progressively improves year on year.
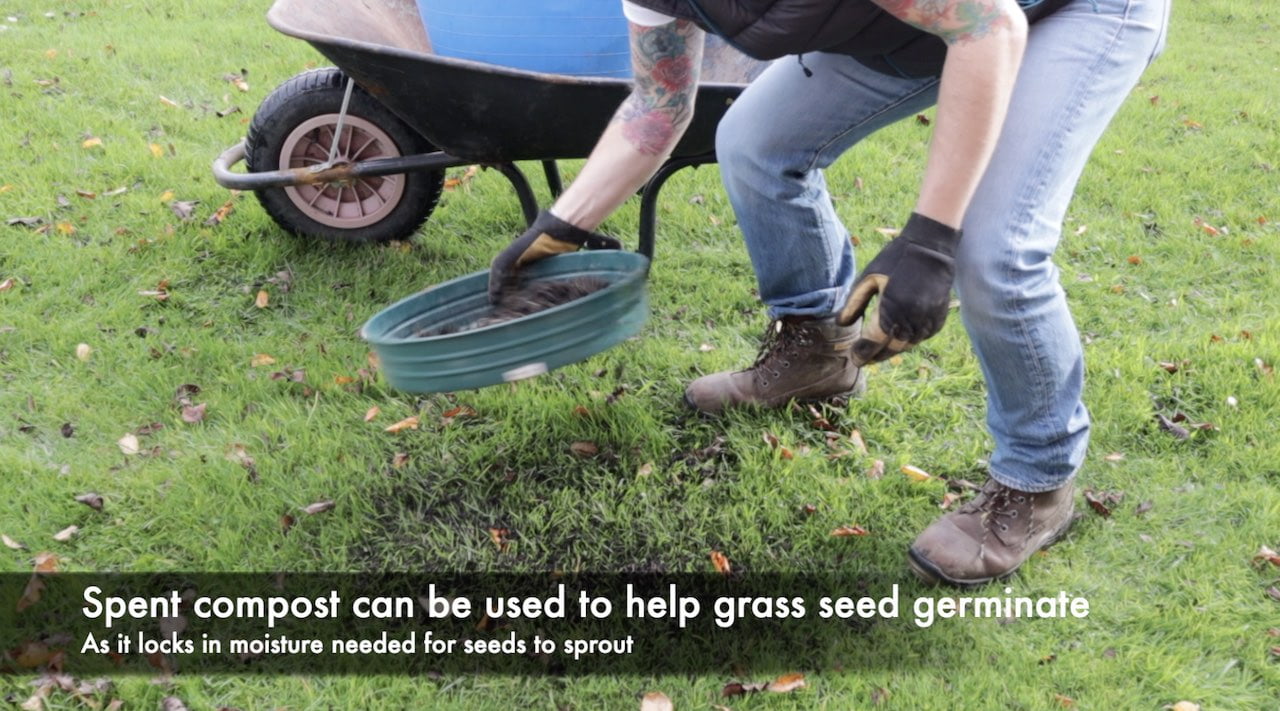
Match the top dressing material to your existing soil type. On clay-based lawns, use a mix of roughly 70 percent sharp sand and 30 percent fine compost. The sand improves drainage and prevents the clay from compacting as severely under foot traffic. On sandy or free-draining lawns, a 50/50 loam-and-compost mix adds organic matter and improves moisture retention without worsening drainage. On a reasonably balanced soil, a purpose-made lawn top dressing mix from a garden centre or online supplier is perfectly adequate and removes the need to mix your own.
Apply at a rate of three to four kilograms per square metre, spread evenly, then work into the surface with the back of a lute, a flat-bladed landscape rake, or simply the back of an ordinary garden rake. The goal is to fill the aeration holes and cover the grass seed without burying the existing grass leaves. If you apply too much and the grass disappears completely beneath the dressing, you have gone too deep and need to rake some off.
🛒 Buy lawn top dressing mix from Amazon UK
The complete top dressing guide with application rates, equipment, and what to expect during recovery is in the how to top dress your lawn guide.
The final step in the renovation sequence is applying an autumn-specific lawn fertiliser within a week of completing the other work. The timing and type of feed are both important, and getting either wrong produces noticeably worse results.
Autumn lawn feeds are formulated very differently from summer feeds. While summer feeds are high in nitrogen to promote rapid green, leafy growth, Autumn feeds are high in potassium and phosphorus, with very low nitrogen. Potassium strengthens cell walls, improves frost resistance, and supports root development. Phosphorus specifically encourages root growth, which is exactly what renovated grass and newly germinated seedlings need before winter. Applying a high-nitrogen summer feed in Autumn produces a flush of soft, lush top growth that is more vulnerable to frost damage and disease, the opposite of what is needed.
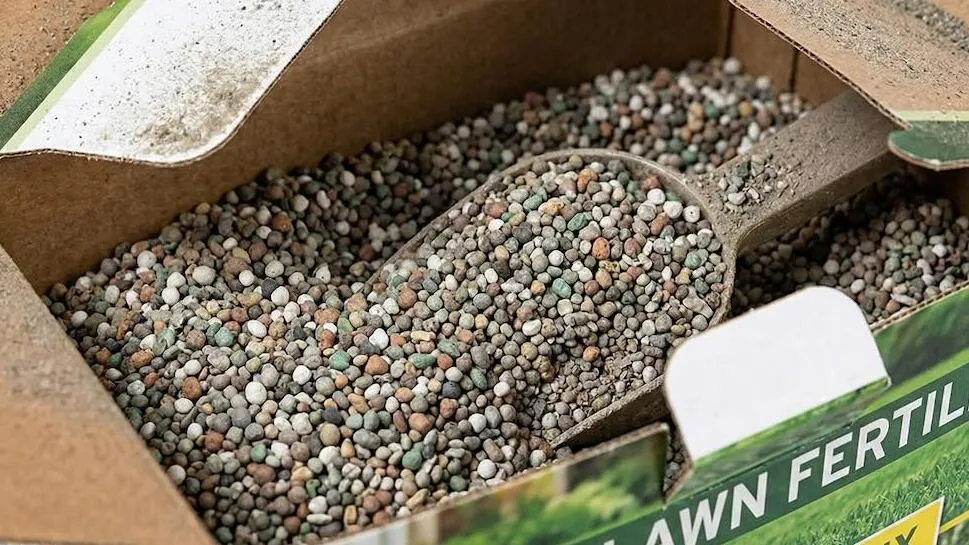
Apply the feed as directed on the packet, using a spreader for even distribution across a larger lawn. On a small lawn, careful hand application with gloves is fine. Water the feed in if rain is not forecast within 48 hours, to prevent any concentrated granules from scorching the grass. Do not feed after late October: by then, the grass is heading into dormancy, and any feed now will simply wash through the soil or sit unused on the surface.
🛒 Buy Autumn lawn feed from Amazon UK
The two weeks immediately following renovation are the most critical for the programme’s success. What happens in this period determines how well the overseeded grass establishes and how fully the existing grass recovers from the stress of scarification and aeration.
Water the lawn daily in the mornings for the first two weeks unless significant rain is forecast. The goal is to keep the surface consistently moist without waterlogging. Grass seed dries out and dies very quickly in its first days after germination if the moisture is not maintained. A light spray rather than a heavy soaking is more effective at this stage: you want to keep the seedbed moist, not wash the seed around or compact the surface with heavy water pressure.
At day three, the lawn looks like it has had a fight with a lawnmower and lost. The thatch removal has left brown patches and exposed soil, the top dressing sits unevenly on the surface, and it all looks considerably worse than it did before you started. This is entirely normal. At two weeks, you will see the first green haze of germinating grass appearing through the top dressing. By four weeks, the lawn is visibly recovering, and the bare patches are filling in. By six weeks, on a well-renovated lawn, the improvement is dramatic. I photograph my lawn at each stage every year to remind myself how bad it looks at week one, because it is very easy to panic unnecessarily.
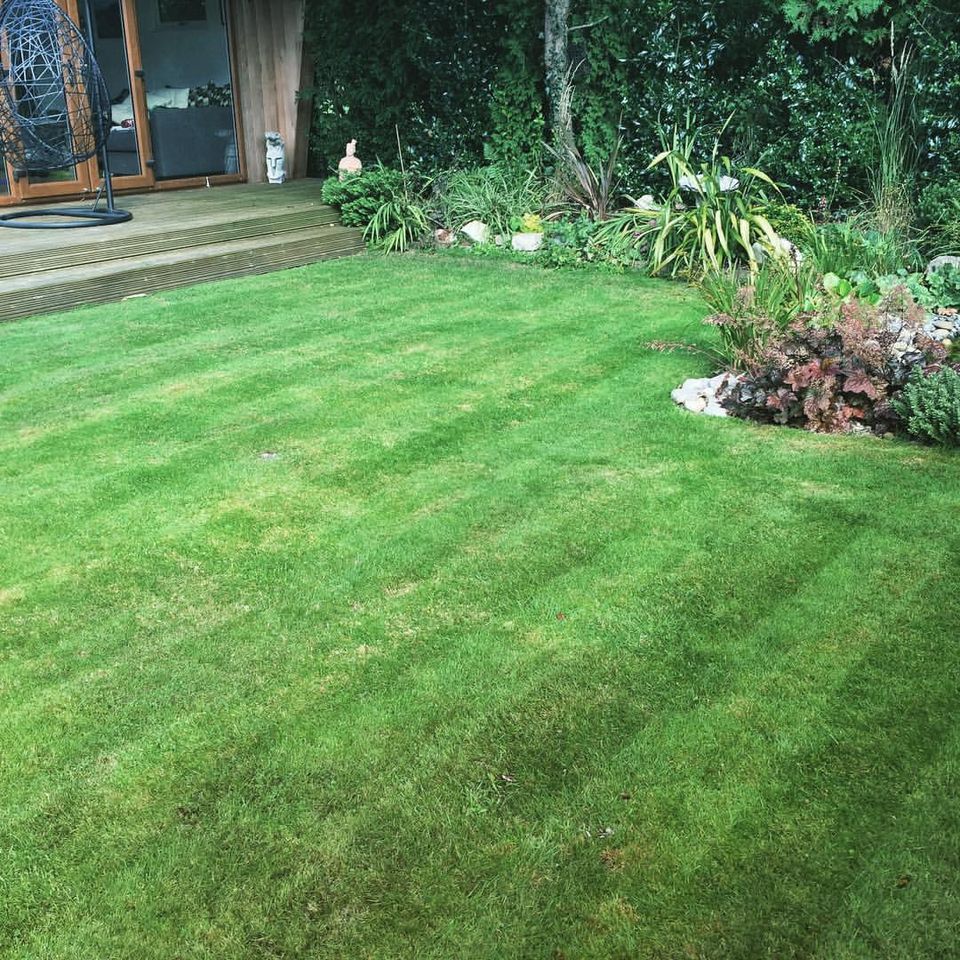
Do not mow for at least two to three weeks after renovation. Wait until the new grass seedlings are clearly visible and beginning to bulk up before the first cut. When you do mow, set the blade at a higher level than your normal summer height and collect the clippings rather than leaving them on the surface. The first few cuts should take no more than a third of the grass blade length each time. Gradually lower the cutting height over subsequent mows as the new grass thickens and establishes.
⚠️ Warning
Keep children, dogs, and foot traffic off a newly overseeded lawn for at least four weeks. A freshly germinated seedling pulled out of the ground by a dog paw or a child’s running shoe is gone for good. This is the single most common cause of patchy results after overseeding. Canes and string, or a temporary fence across the lawn, are worth the minor inconvenience of going around the edge for a month.
Moss in a lawn is a symptom rather than a cause. Before spending money on moss killer or repeatedly scarifying it out, it is worth understanding why it is there, because moss will always come back if the underlying conditions that invited it remain unaddressed.
Moss thrives where grass is weak. It takes advantage of thin, sparse grass cover to colonise the gaps. The grass is thin and sparse for one of four reasons: compaction preventing root development, excessive shade reducing photosynthesis, waterlogged or acidic soil limiting grass growth, or poor feeding leaving the grass too undernourished to compete. Scarification physically removes the moss, and aerating the lawn after scarifying addresses the compaction that often underlies it. But the moss will return next year unless the drainage is improved, the shade is reduced, or the feeding programme is maintained to keep the grass dense enough to crowd it out.
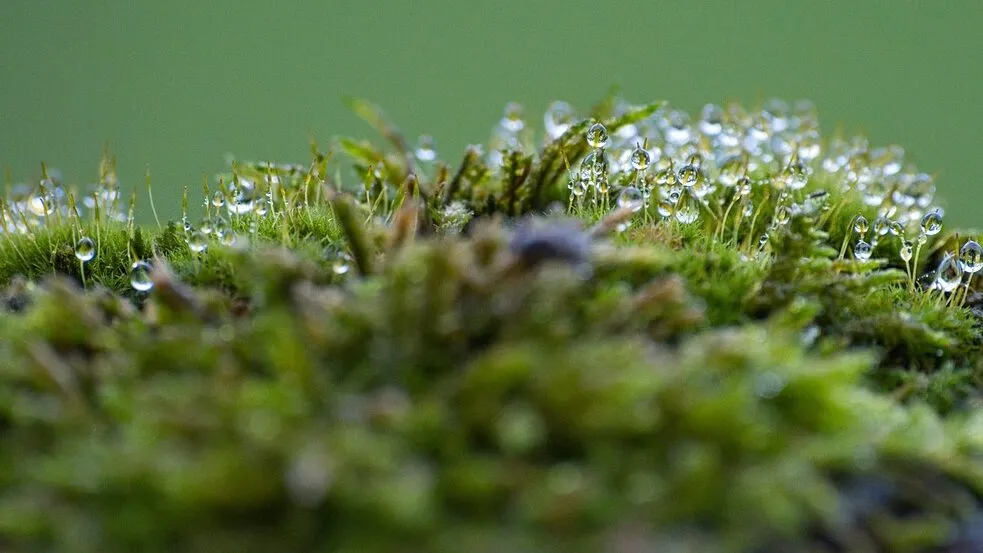
If moss is a recurring problem on your lawn, apply a moss-killer product containing ferrous sulphate 4 to 6 weeks before your renovation session. Wait until the moss has turned black and dried out before scarifying. This prevents the spread of live moss spores across the lawn surface by the scarifier blades. Dead, dry moss comes out far more cleanly than live, wet moss. Always follow up with overseeding after scarifying out heavy moss, as the affected areas will be largely bare and will quickly recolonise with more moss unless grass seed is sown promptly.
For the full moss removal and prevention guide, see the dedicated how to get rid of moss in your lawn guide.
🛒 Buy lawn moss killer from Amazon UK
One of the most common questions I get before people attempt their first renovation is how much of each material to buy. The answer depends on lawn size, and getting it roughly right before you go to the garden centre saves multiple trips. The table below provides quantities for the three most common UK lawn sizes at standard application rates.
These figures are based on standard application rates and assume you already own a scarifier and aerator, or are hiring them separately. The grass seed quantity assumes overseeding across the whole lawn at a standard rate. For lawns with very few bare patches, you can reduce this significantly. Always buy slightly more top dressing than you calculate you need, as bags are heavy and returning to the garden centre mid-session is frustrating. Any unused top dressing can be stored in a dry shed for spring repairs.
The sequence matters more than most gardeners realise. Overseeding before aerating means the seed sits on a compacted surface with poor soil contact. Top dressing before scarifying means the dressing material mixes with the thatch layer rather than reaching the soil. Feeding before overseeding risks scorching emerging seedlings. The correct order is: mow, scarify, aerate, overseed, top dress, then feed. Each step prepares the conditions for the next one to work properly.
Every year, I see gardeners at the garden centre in late October buying grass seed for a renovation they have finally got round to starting. In the south of England, late October can still work with a degree of luck and a mild Autumn. In the north, it usually does not. Grass seed needs a minimum soil temperature of around 8 to 10 degrees Celsius to germinate reliably. Below that threshold,d it will sit dormant in the soil through winter and either germinate patchily in spring or fail to germinate at all. If you have missed the Autumn window, it is better to wait for a spring renovation in late March than to rush a late-autumn session that will not produce results.
This is an easy mistake to make if you have leftover summer feed and do not want to buy a separate Autumn product. The difference in formulation is significant enough to matter. Summer feed pushes nitrogen-driven top growth. Autumn feed builds the root system and cell strength. Using summer feed in Autumn on newly renovated grass produces soft, lush growth that is poorly prepared for winter, more susceptible to disease, and more likely to suffer frost damage in its first cold spell.
Grass seed that germinates and then dries out before the root system has established is lost. The commitment to daily morning watering for two weeks is not optional if you want an even result. I set a phone reminder for 7am on the mornings after my renovation session because it is very easy to look at a grey October sky, assume it will rain, and then come home to find the seedbed has dried out in a mild, breezy afternoon.
The two most common reasons for patchy overseeding results are mowing before the seedlings are established and cutting too low on the first mow. New grass seedlings have very shallow root systems in their first few weeks. A mower blade passing over them before they are properly rooted will pull them out rather than cut them. Wait at least 3 weeks, then mow on a high setting for the first 2 cuts.
Every year, a proportion of gardeners find themselves in mid-November without having completed the renovation they planned. Life gets in the way, the weather was persistently awful through September and October, or the realisation simply came too late. It is worth being direct about the options rather than attempting a late renovation that yields poor results.
If it is before mid-October in the south of England, proceed with the renovation but prioritise overseeding and feeding over scarifying. Scarifying a lawn in borderline conditions and then leaving it bare and stressed going into a cold November is more harmful than skipping it for a year. Overseed, top dress lightly, and apply Autumn feed. The grass seed may germinate slowly, but will establish over the following weeks if the soil temperature remains above 8 degrees Celsius.

If the soil is waterlogged rather than just moist, stop entirely. Aerating or scarifying saturated soil seals the hole walls shut rather than creating open channels, and repeatedly driving a mower or scarifier across a waterlogged surface further compacts the soil rather than relieving it. Read the ground rather than the calendar. The test is simple: push a screwdriver into the lawn and twist it. If water wells up around the hole, the soil is too wet. Wait until it drains before doing anything.
If it is already late October or November, wait for spring. A spring renovation from late March to early May, using the same six-step sequence, will produce excellent results. The grass seed faces more weed competition in spring than in Autumn, and you will need to water more consistently during dry April and May, but the process is otherwise identical. One missed Autumn does not ruin a lawn. Attempting a rushed renovation in the wrong conditions can.
💡 Top Tip
If autumn conditions have been unusually wet and you want to do something useful for the lawn before winter, apply an autumn feed on a dry day when the grass is still growing. This single step strengthens roots and improves frost resistance without requiring the lawn to be in perfect condition first. It is not a substitute for the full renovation, but it keeps the lawn stronger through winter and reduces the amount of recovery work needed in spring.
Late August to mid-October for most of the UK, with September as the peak month. In northern England and Scotland, start by late August or early September. Spring renovation from late March to early May is a viable alternative, but requires more effort and watering.
Mow short, then scarify, aerate, overseed, top dress, and feed. That sequence is not arbitrary: each step prepares the surface conditions for the next one to work properly. Doing them in a different order produces noticeably worse results.
Two to three weeks before new seedlings are clearly visible, four to six weeks for a full recovery that looks better than the pre-renovation lawn. Do not mow for at least two to three weeks after renovation.
Most family lawns benefit from annual scarification. Check thatch depth each Autumn: if the brown layer between grass blades and soil is more than about 1.5 centimetres deep, scarify. If it is thinner and there is no significant moss, a light raking may be sufficient.
You can, and many gardeners do. But top dressing is the step that produces the most visible long-term improvement in surface quality and drainage. Even a single application each Autumn adds up to a meaningful improvement over three to four years. If you do one renovation step you haven’t done before, make it this one.
Yes. Late March to early May is workable. The disadvantages compared with Autumn are stronger weed competition, higher watering requirements, and the renovation competing with the start of the mowing season. A well-executed spring renovation is far better than leaving a tired lawn another year.
Ready to stop guessing and start designing with confidence? My Garden Design for Beginners online course takes you from blank canvas to brilliant layout, step by step.
I’m Lee Burkhill, award-winning garden designer and BBC1’s Garden Rescue presenter, and I’ve built this course around the same principles I use for every client garden — practical, honest, and designed to actually work in the real world.
In 20 hours of flexible online study, you’ll cover:
Video lessons, real-world case studies, quizzes, and a certificate on completion — all for just £199.
Enrol today and start designing your dream garden.
For the garden you’ve already got, not the one you’re starting from scratch. Seven checklists and video lessons from BBC Garden Rescue’s Lee Burkhill, designed to help you decide what’s worth keeping before you spend a penny.
Garden Design Examples for Small Gardens: 30 Design Templates & Planting Plans: In this online gardening course, I’ll walk you through 30 fantastic garden designs, explaining the logic behind the layout and plant choices, plus take-home tips for applying them in your own garden.
Learn how to transform and design your garden with Lee Burkhill’s crash course in garden design. In over 5 hours, Lee will teach you how to design your dream garden. Featuring practical design examples, planting ideas and video guides. Learn how to design your garden in one weekend!
Garden Design for Beginners Online Course: Want to become a garden designer or design your own garden? This beginner course is for you. Join me, Lee Burkhill, an award-winning garden designer, as I train you in the art of beautiful garden design. Enjoy 20 hours of online study and video lessons, along with quizzes and a completion certificate.
Autumn lawn renovation is the single most productive lawn care session of the year. Done in the right order between late August and mid-October, the combination of scarifying, aerating, overseeding, top dressing, and Autumn feeding transforms a tired summer lawn into the best it has looked in years. The work takes a weekend morning. The recovery takes six weeks. And the result, year after year, is a lawn that gets progressively better rather than gradually worse. That is worth one morning with a scarifier and a bag of grass seed.
Happy Gardening! 🌿



Lee Burkhill, known as the Garden Ninja, is an award-winning garden designer and horticulturist with over 30 years of gardening experience and 15 years as a professional garden designer. A qualified RHS (Royal Horticultural Society) professional, Lee specialises in sustainable garden design and practical horticultural advice. He designs and presents on BBC1’s Garden Rescue and in leading gardening publications. Lee combines three decades of hands-on gardening knowledge with professional design qualifications to help gardeners create beautiful, functional outdoor spaces.
View all posts by Lee Burkhill









JOIN THE NINJAS

Be the first in line for new Guides, Discount codes and Offers