Beginner level

August to me signifies the last month of summer in the garden. You may start to notice those bright flowers slowly fade in the garden as the month draws to an end. The changes in the wind may signify Autumns on its way. However, there's still an awful lot of excitement to be had at this time of year in the garden. If you know where to look. So come join me on this months tour packed with top tips!

July is often thought of as the pinnacle of gardening activity where summer blooms are looking their best. August is often discussed as the poor cousin, often without any real supporting evidence! With careful plant choices and selections nearly every month of the year can have something wonderful growing or producing.

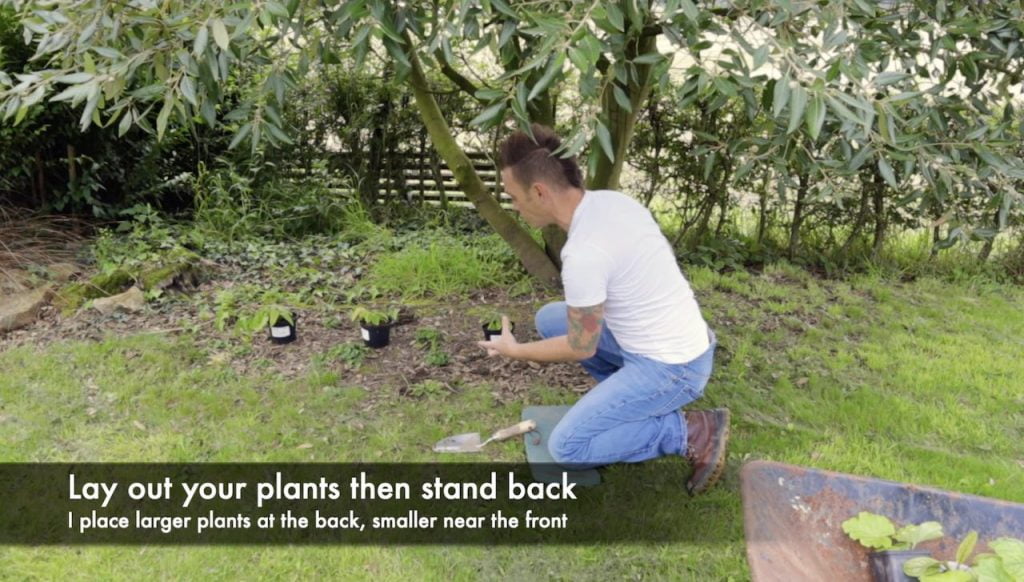
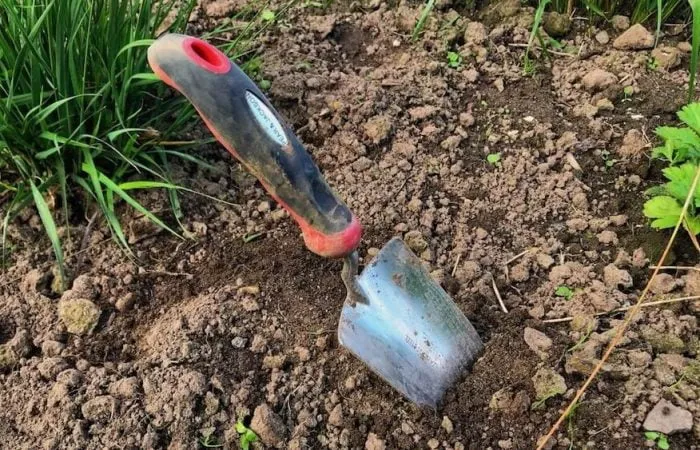
In this months garden tour, I tackle one of the trickiest flower bed types; Dry shade. I'll be showing you how even in the most inhospitable parts of the garden you can create something gorgeous by selecting the right plant for the right place. So come on let's get cracking!

Plants for Dry Shade

I often get asked about planting for shady areas, in fact, I've written twice about it because it gets so much attention. If you want to see the full list of unusual plants for a shady garden you can read all about them here. Most of these plants are often suited to damp garden conditions due to the shade but what if you have dry shade?

Today's plants are all perfectly at home in dryer less comfortable spaces and can be a lifesaver for awkward garden spots, in particular underneath established garden trees. This is because these trees will be thirsty and consuming large amounts of water. Not to bother though with these plant specimens, they all cope really well once established in dry shade.

Epimediums

Epimediums originate from China and are one of the hidden gems in any gardeners toolkit for flower bed design. These low to the ground unassuming herbaceous perennials are often semi-evergreen so act as both ground cover and flowering interest. Epimediums do their best in Mid-spring so can really help brighten up a dull flower border.

Epimedium amber queen

They are slow-growing so I do tend to water them each week as they establish. Once established they are really tough but give them a bit of love to help them on their way. They don't ask for much, sometimes I give mine a leaf mould mulch every few years to give them a bit of TLC. It's in spring when they put on their displays of hanging delicate flowers!

A glossy leafed Epimedium shade plant
Epimediums are low to the ground and semi-evergreen. They prefer a woodland canopy to really shine!

Epimedium 'Spine Tingler'

The name really does say it all and this brutal looking Epimedium is bound to stop visitors in their tracks! Don't be put off by the barbed wire appearance they're not that sharp. The wiry stems of the leaves often make them look at if they are hanging by threads as they dance in the wind.

A spine tingler Epimedium

Epimedium frohnleiten

This Epimedium is far less brutal looking than 'Spine Tingler' but has a proliferation of yellow flowers in spring. It also has a burnt/mottled leaf colouration which is really interesting. Smaller than 'Spine Tinger' this is a front of border specimen.

Epimedium in a plant pot

Epimedium 'Amber Queen'

Now for some burnt ember in the dry shady border with this Epimedium. It's absolutely gorgeous and I've used it many times in other Garden Designs over the years. It sends out these tiny little orange flowers in April that to me look like hanging bats! This should add a real wow factor to this border.

An amber queen Epimedium

Tellima Grandiflora

Tellima grandiflora, in my opinion, is one of the most overlooked and underused plants. Not only does it have 'killer gap filler' foliage but in April it sends up tall spikes which bell-like flowers emerge. Also known as the 'Fringe cup'. It starts off pink and then the flowers turn a creamy vanilla colour. Simply wonderful.

Whilst its never listed as being a dry shade plant I've used it many a time in awkward dry spots to great effect. Once again showing how a mix of knowledge and experience in the garden brings a bounty of rewards. Always trust your own experience where possible in the garden.

A Telima grandiflora in the garden
Tellima grandiflora is an underused beauty!

Rumex sangunieus / Bloody Dock

It wouldn't be a Garden Ninja guide if I didn't include some contentious critic encouraging plant species. So here it is, the bloody dock. Often argued as a weed, shunned and vilified. These plants are beautiful and deserve more attention. They will cope with pretty much any situation and provide one of the best foils for shady spots due to their bloodshot leaves. You can also eat their acidic tasting leaves in salads.

Super easy to grow from seed and undemanding. I'd highly recommend you give them a go. Especially as a spacer plant between other all signing all dancing varieties.

The bloody dock Rumex Sanguinieus

I've arranged these underneath a tree which I'd crown lifted. You can see more in the video above about how I space them or read my recent guide on how to lay out flowers in a garden border here.

Garden Ninja laying out plants

Deadheading explained

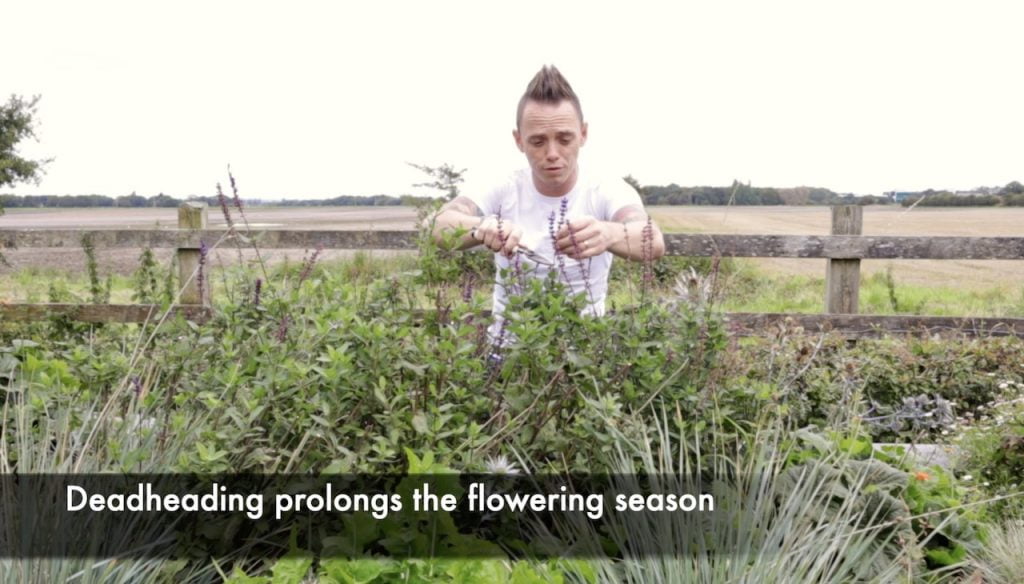
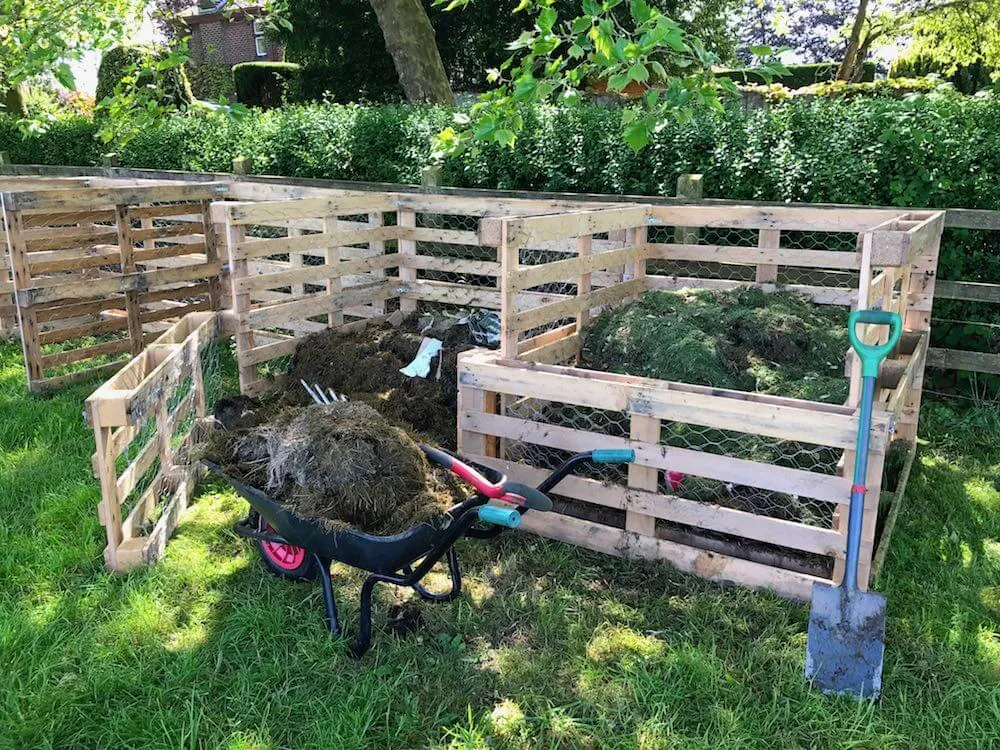
This month, I've been asked by a number of people online about deadheading. Whether I deadhead everything in the Exploding Atom Garden or not. I'll be honest: I don't deadhead everything. I simply don't have the time.

Deadheading does prevent your plants from setting seed so they usually will send out another flower to try and make more seed. If you don't deadhead you may be blessed with more plants next year as the seed are scattered, but fewer flowers this year. If you deadhead you get more flowers but no real chance of self-seeded plants. So it's entirely up to you!

Garden ninja deadheading flowers

However, in the Granite Garden, I do deadhead frequently because it's far smaller and manageable. It's also the place I sit in more frequently so it's nice to keep it looking lovely. Besides I find the smaller the border the more you need to deadhead whereas large borders can hide a number of sins!

Deadheading flowers
Always cut just above a set of leaves. Avoid snipping just below the spent flower as this leaves a section of awkward stem that just dies back.

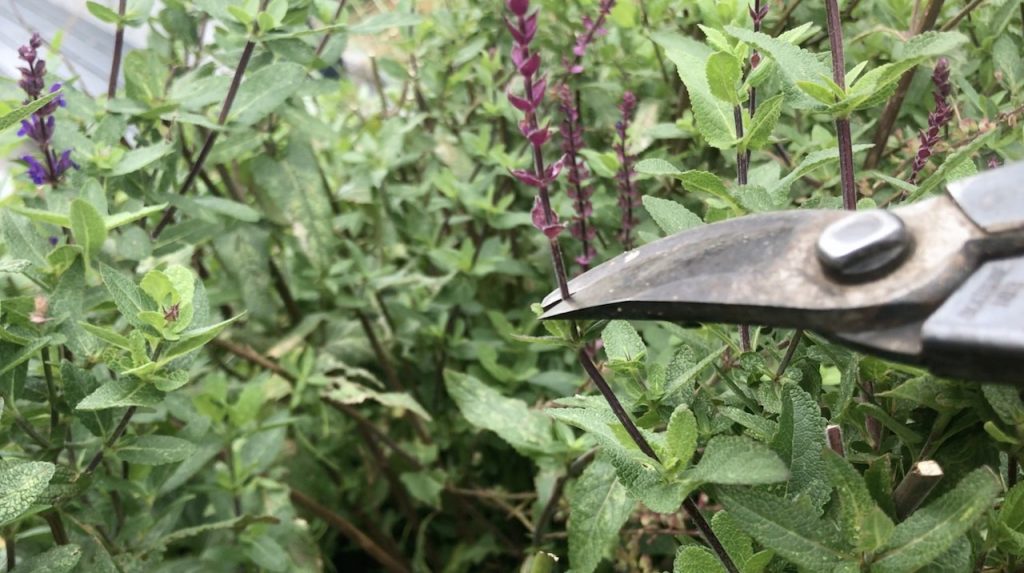
Deadheading is easy when you know-how. You want to cut just above the next set of leaves down from the spent flower. Never just beneath the flower. This is because the stem will die back to the next set of leaves down, leaving an awkward brown stump. So always find the next set of leaves down and then make your snip!

Keep your Pumpkins up high!

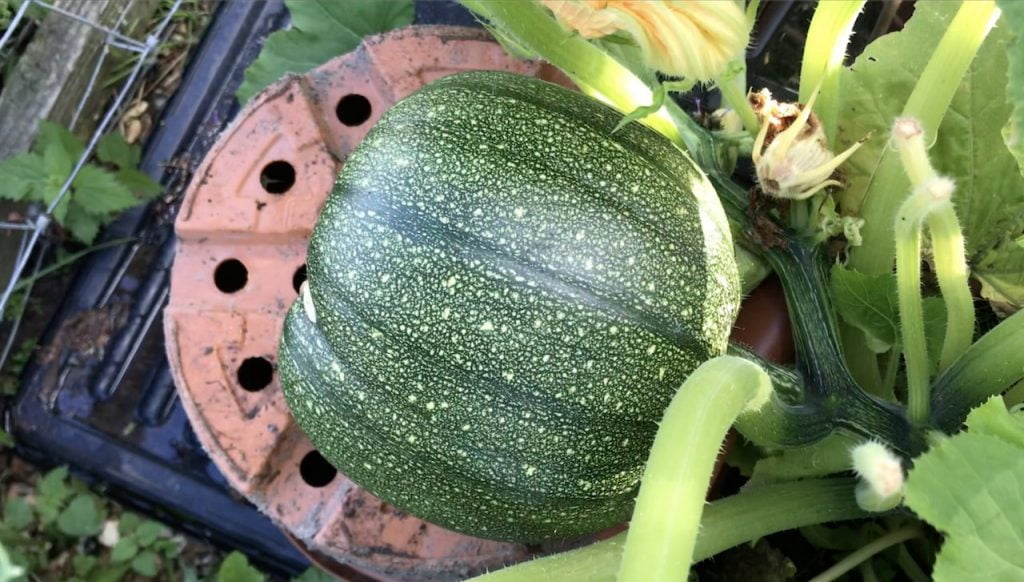
Lastly, this month, I've been focusing my attention on some grow your own vegetables. I'm not usually known for my kitchen garden (as I still don't have one). However, I have been growing Squashes and Pumpkins to give some Autumn vegetable yields!

One top tip with Squash or Pumpkins is to keep the fruits off the floor as this stops them rotting or potentially getting nibbled. I've used a upturned plant pot but you can also use an old crate, a handful of hay or anything else that stops them sitting on wet mucky ground.

Pumpkin being held high

So that's pretty much it for August outside of my Garden Design practice. What's lovely about moving into September is the quiet, slightly darker nights as they roll in. For now, I'm going to savour the last minutes of August!

If you're looking for garden design help or guidance, why not book one of my hour long online garden consultations? It can help set you off on the right path and help make your garden awesome! Take a look at my online booking here.

Garden Ninja book an online consultation button

Why not share your gardening stories with me on Social media? You can TweetFacebook or Instagram me with your designs. If you need gardening advice, why not check out my YouTube gardening guides and subscribe if you haven’t already?

Happy Gardening.

Garden Ninja Signature
Online garden design courses

Share this now!

One thought on “August Garden Tour 2020: Plants for dry shade and deadheading guide

  1. CJ says:

    Great tip about keeping the pumpkins elevated! I lost my pumpkin plants already this year due to pests but I will remember this for next year.

Leave a Reply

Your email address will not be published. Required fields are marked *

This site uses Akismet to reduce spam. Learn how your comment data is processed.

Other posts

View all categories