-
How to repot a plant: container gardening top tips
 Lee Burkhill: Award Winning Designer & BBC 1's Garden Rescue Presenters Official Blog
Over time container gardens or pot-grown plants will need repotting to ensure further healthy growth and flowering. As gardeners, we may use containers to propagate plants from seeds or cuttings. We may also choose to use pots to allow us to move plants around the garden in and out of season.
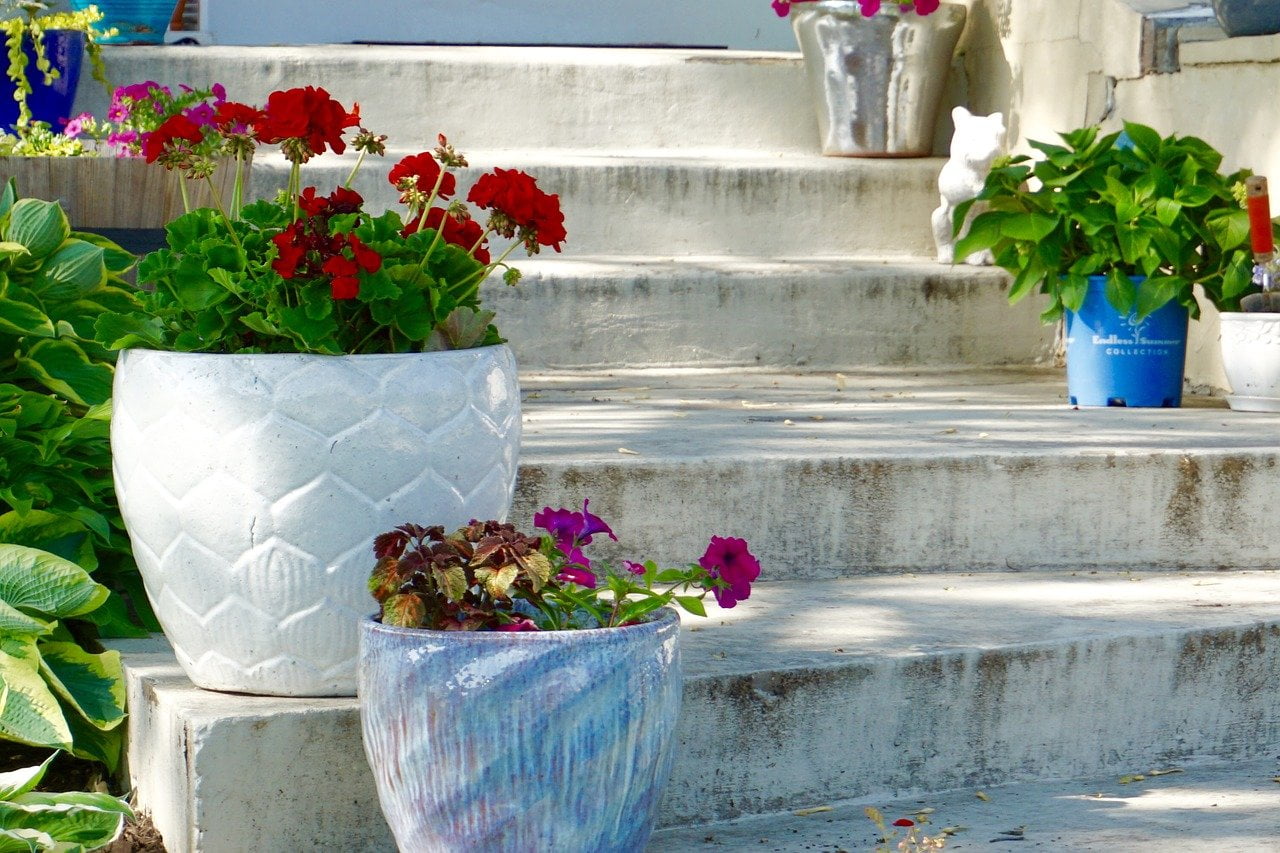
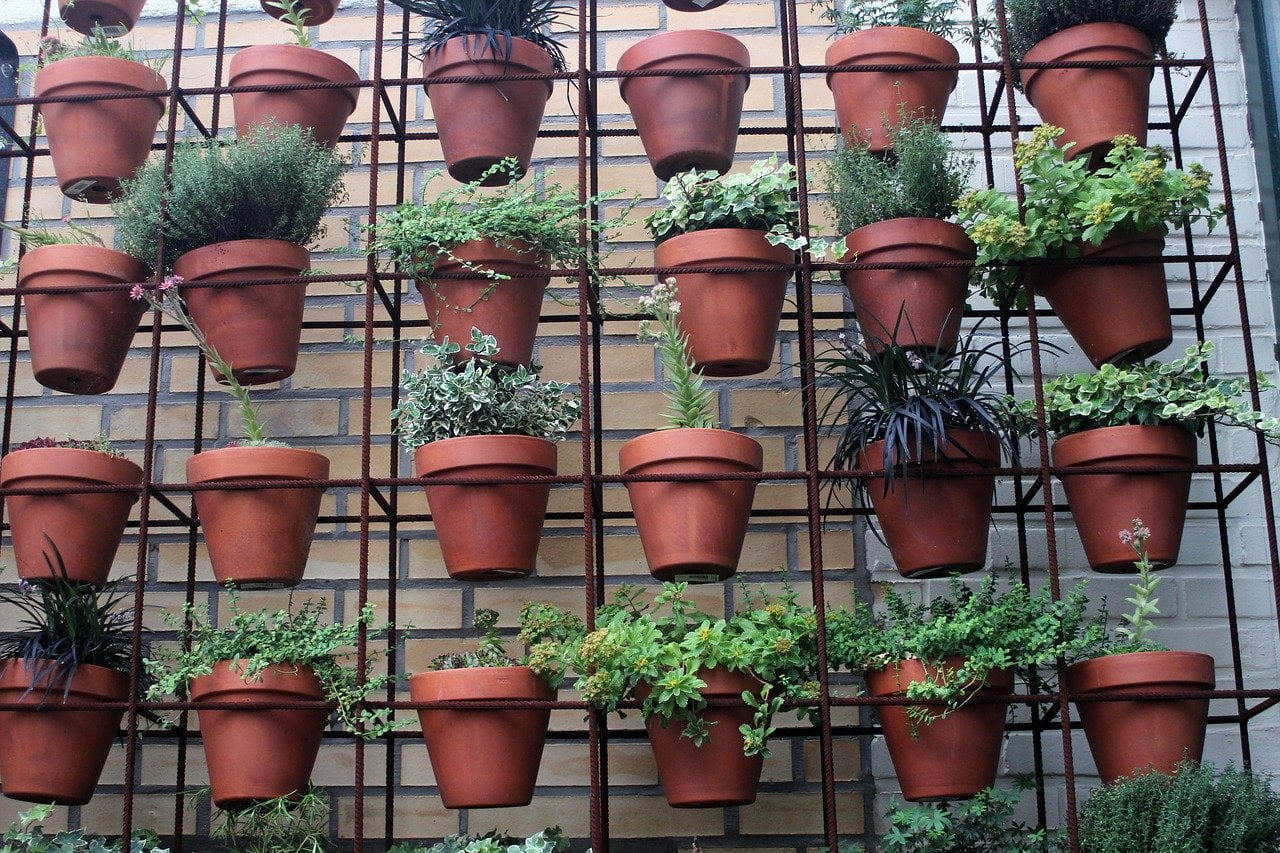
Potted plants can also be useful in container gardens where there is no soil. Balconies, urban spaces and city gardens may all use containers or potted plants to bring some greenery to otherwise hard spaces.
Container planting allows you to plant anywhere and in any sized garden. There is no need to have soil or earth to plant into. It allows you to plant in containers using a growing media such as compost, coir or leaf mould and bring plants and arrangements to otherwise garden-free spaces!
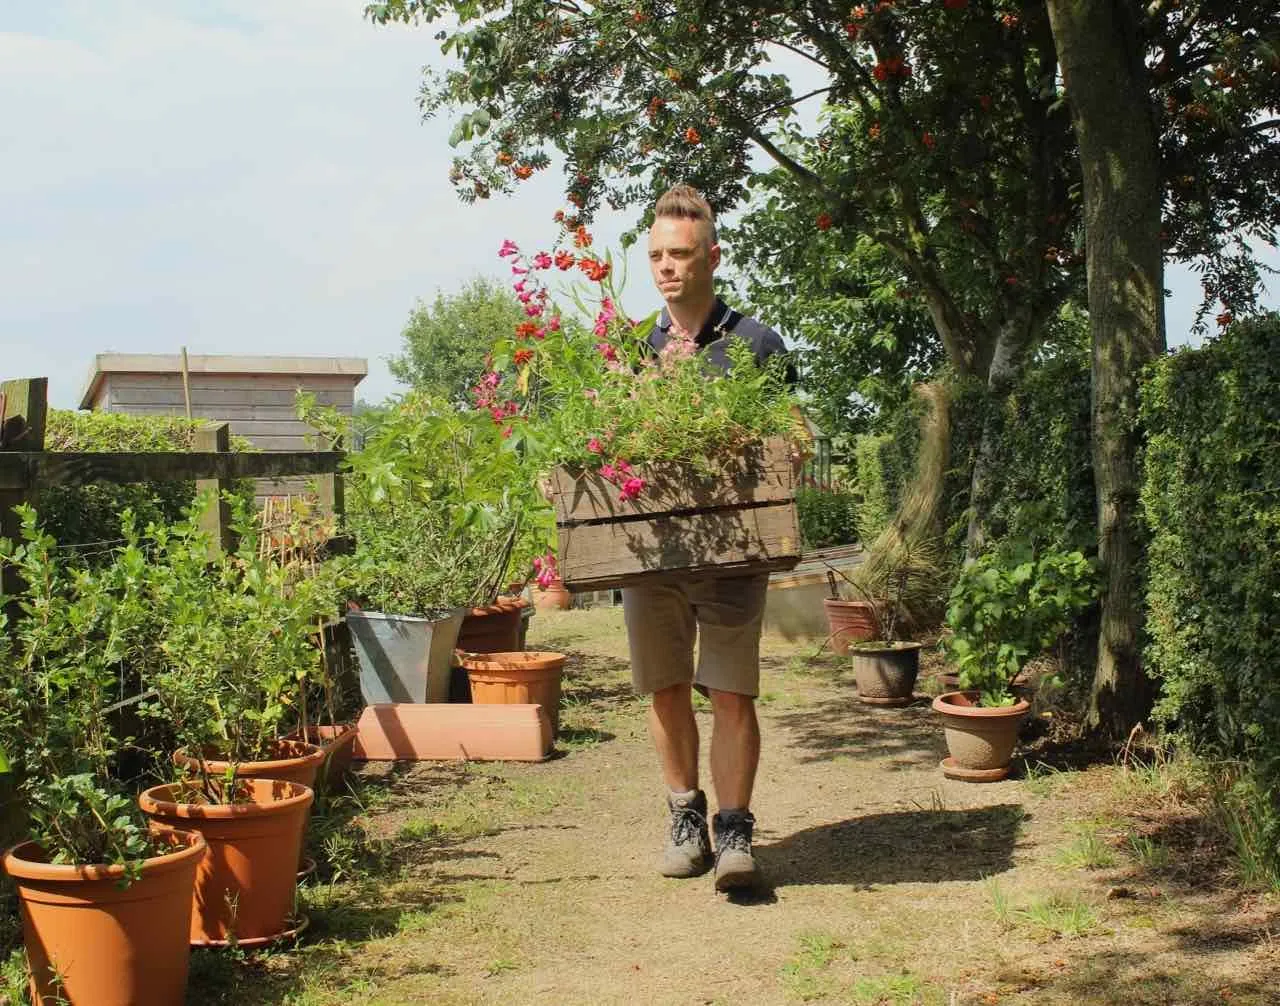
Container gardening enables you to also move around plants to create multi-layered schemes. It also means that season planting can be moved out of view once the plants have gone over for that year.
Designers sometimes use containers to enable planting where otherwise there would not be any and to break up hard landscaping.
Repotting is the simple act of lifting a plant out of a pot, checking the roots and repotting. Sometimes repotting into a larger container but always replacing the growing medium or compost during the process.
You may be wondering why we don't just leave containers or pot-grown plants alone as they are. However, they do require some maintenance to ensure they give us the best display. We repot plants for a number of key plant health reasons:
After a few seasons or years, any container plant will eventually become root-bound or root-balled. This is where the roots of the plants reach the edges of the pots and carry on searching for water and nutrients by then growing back around the pot. If left unchecked the plant's vigour may suffer.
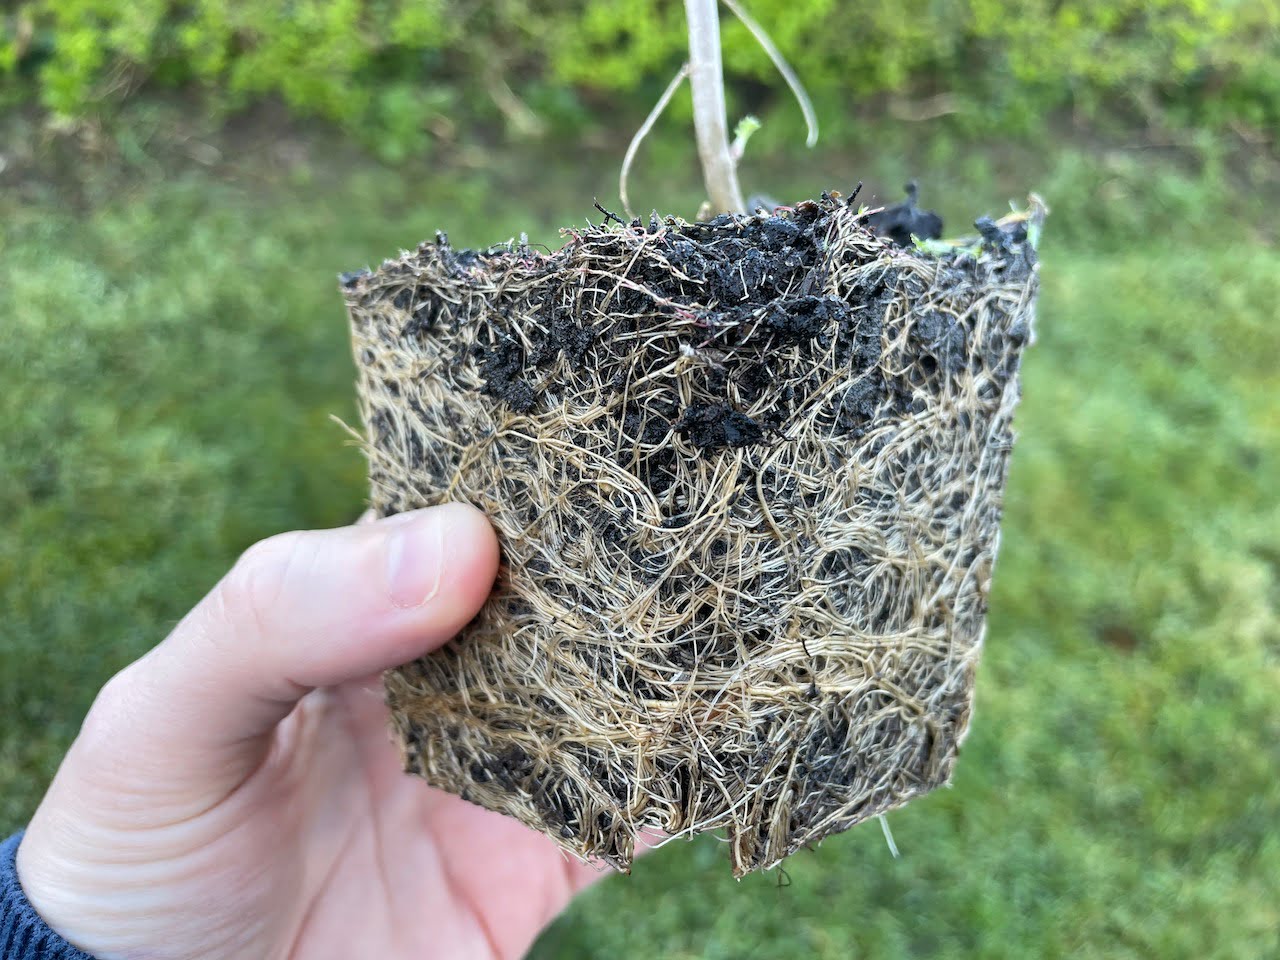
A root-bound plant has outgrown its container and either needs the roots trimming back to encourage more growth or they need to be repotted into a larger container.
Did you know that you can take my course and learn how to become a Garden Ninja yourself? Click here for details
Repotting on into a larger pot can also enable new growth and vigour to the plant essential to keep it giving you seasonal displays of interest. This is because the larger pot encourages further root growth and means the plant can grow more vigorously.
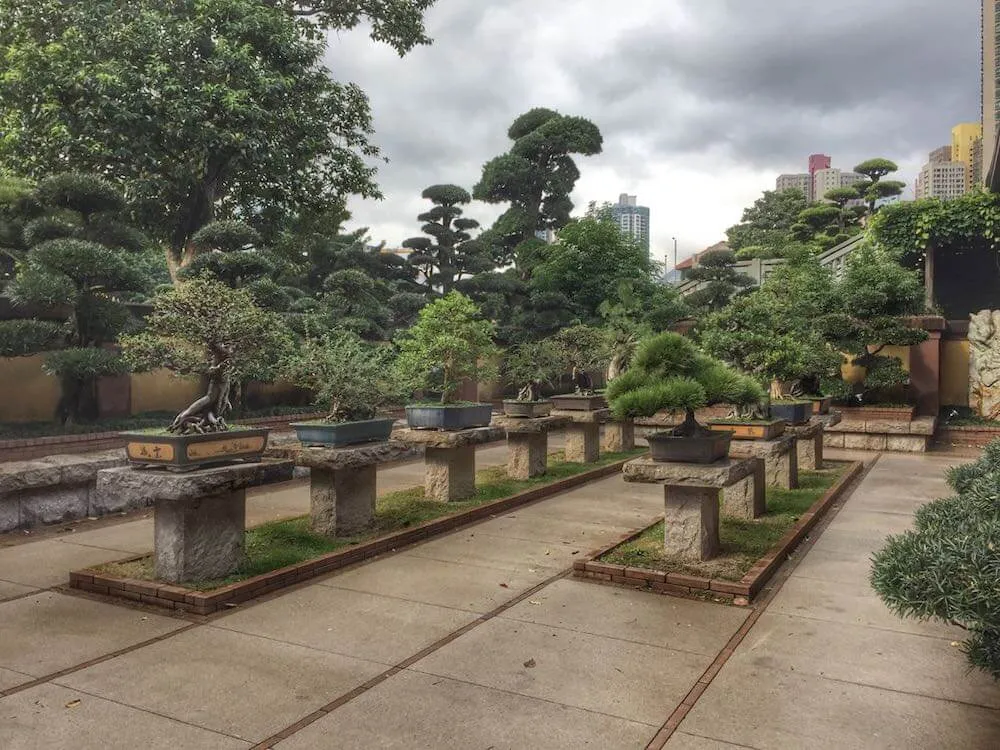
Whilst plants will have an ultimate height and spread, the size of the container they are grown in does influence them. Just think about bonsai trees for example!
Container plants can't locate nutrients or water from anywhere but the pot that they grow in. Meaning they are completely reliant on you for water and feed. Plants that are in the ground can access soil and send out roots far wider than in containers. Meaning that a container garden does require more careful maintenance.
After time the growing media in containers may simply break down to nothing more than dust. To keep the plant healthy it is wise to replenish with compost or other organic matter to keep your plant in tip-top shape.
This also keeps the soil structure in the best possible form, meaning it can free drain, yet retain the right moisture content, neither too wet nor too dry!
Repotting a plant is super easy and by following this guide you can make sure that your container plants thrive producing an abundance of flowers, fruits or vegetables each year.
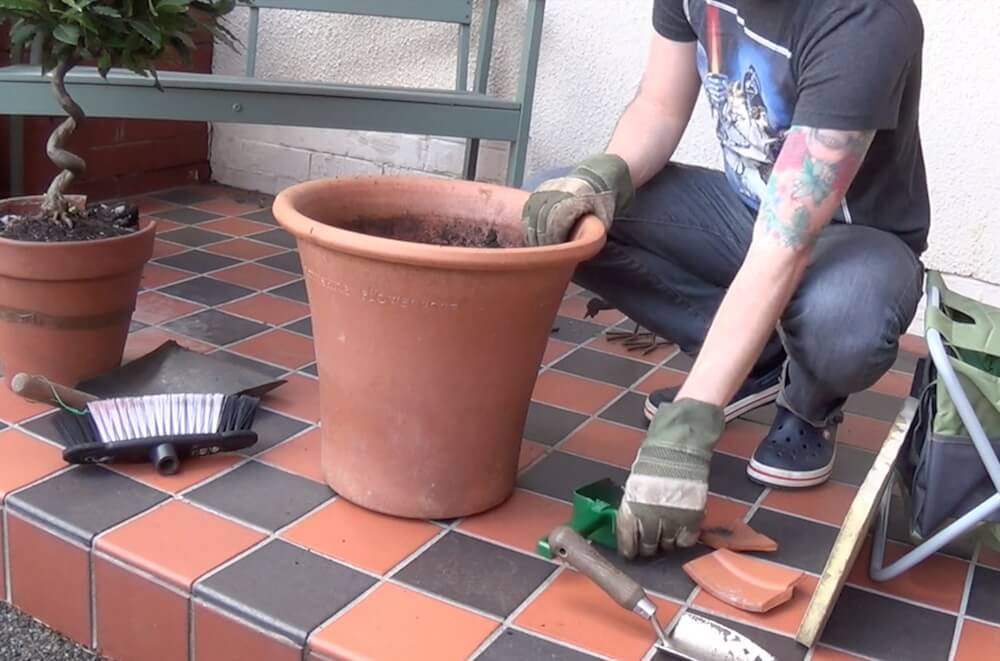
Firstly you will need to make sure that the new pot is sterile, clean and free from debris. Always make sure that your tools and equipment are as clean as possible.
If not you risk spreading disease and pests to your lovely plant. The kneeling pad and gloves are to protect both your knees and your hands, essential if you're a keen gardener to save thorns, debris, and filthy nail syndrome!

Drainage is essential for container gardens. If not the plants can literally drown. Most plant pots and containers come with a series of drainage holes at the bottom. Sometimes there are lots of small holes or one large central drainage hole. A good idea for larger pots is to insert what we gardeners refer to as crocks in the bottom of any plant pot.
Crocks for pots are broken bits of old clean pots, stones, or chippings used to add a barrier between the bottom of the pot and the growing media ie compost.
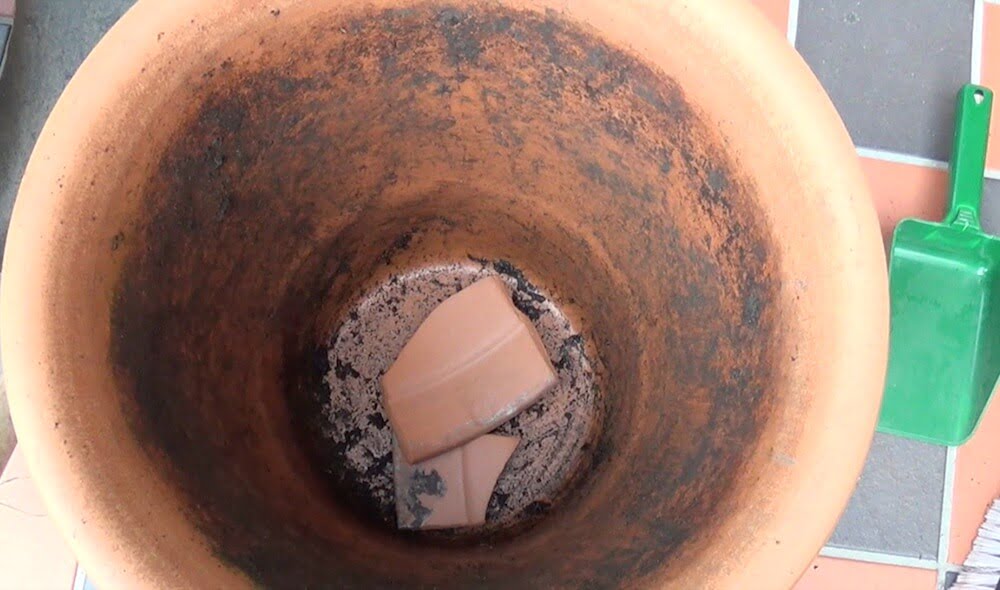
Why do we do this? This is because the holes are usually rather large in big pots and without the crocks the pots can free drain too quickly, meaning the plants will dry out. Crocks in all pots can help the bottom of the plant sitting in water which can lead to root rot.
Also, the growing media can sometimes leak out causing the soil to be lost and staining the surface underneath the pot.
The next step is to carefully lift the existing plant out of its current pot. Take care so you don't damage the plant or its root system by forcing it out. Sometimes tapping the side of the pot can help loosen it or work a trowel around the edges.
If a plant is really root bound sometimes breaking the plastic pot or cutting it open is easier.
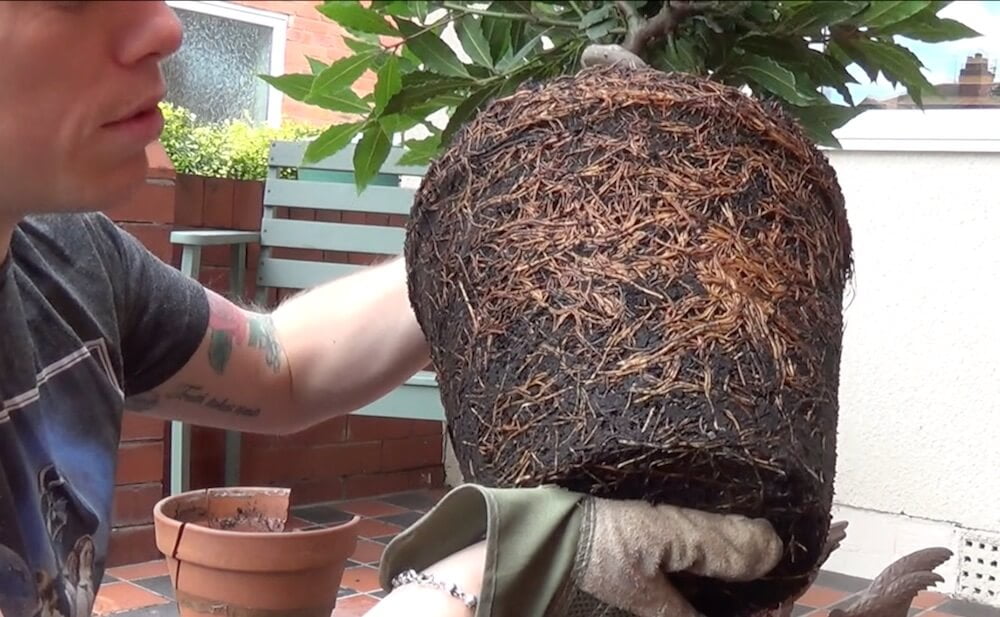
Inspect the root structure of the plant when you have removed it. Does it look congested? If so you can tease the roots apart to help loosen them. Sometimes it is actually worthwhile using a sharp knife or scissors to cut away sections of the root ball to free them up.

This also spurs the plant on to produce more healthy roots once repotted. Just take caution not to be too scissor-friendly! Only removing up to 1/5th of the current root structure anymore and the existing plant may struggle to sustain itself.
I always use peat-free compost or even better homemade compost. Peat free is super important as peat is a non-renewable growing media. This means once it's dug up it takes thousands of years to replenish, and whilst it's high in nutrients there are far more sustainable alternatives.
Ensure there is enough compost in the bottom of the new pot so the plant when placed inside comes up to just below the new pot rim. Too high and water will run off rather than penetrate the soil making it very difficult to water!
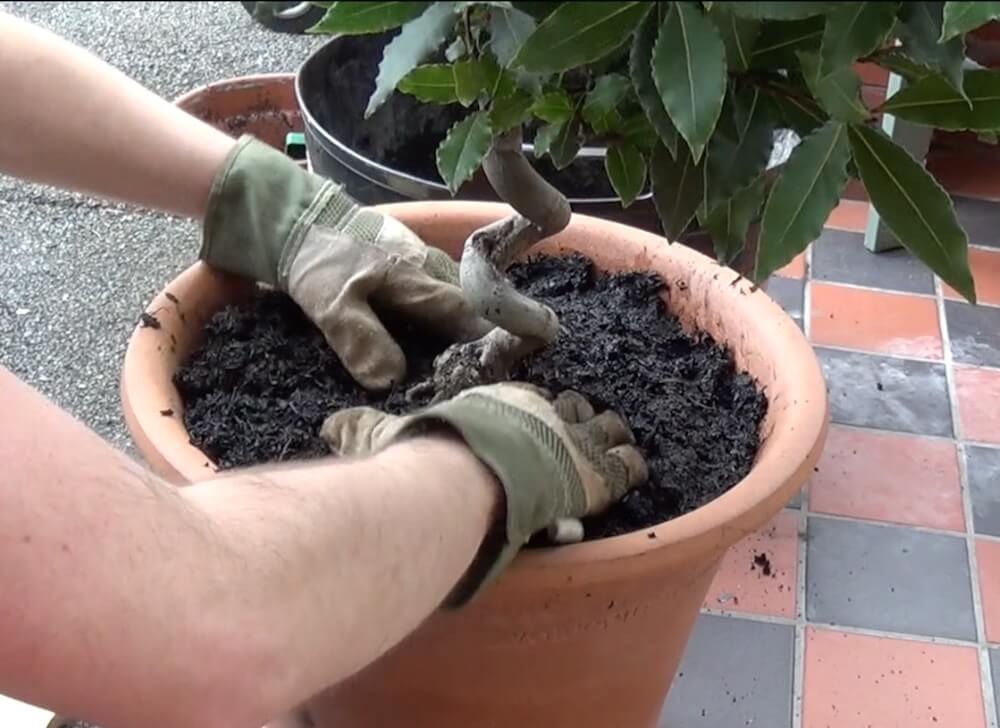
It's now time to backfill with new compost. Ensure you firm it down to ensure the plant is stable, level and in the right position. Once you are happy with this you can then add a decorative mulch to the top of the pot as a final step.
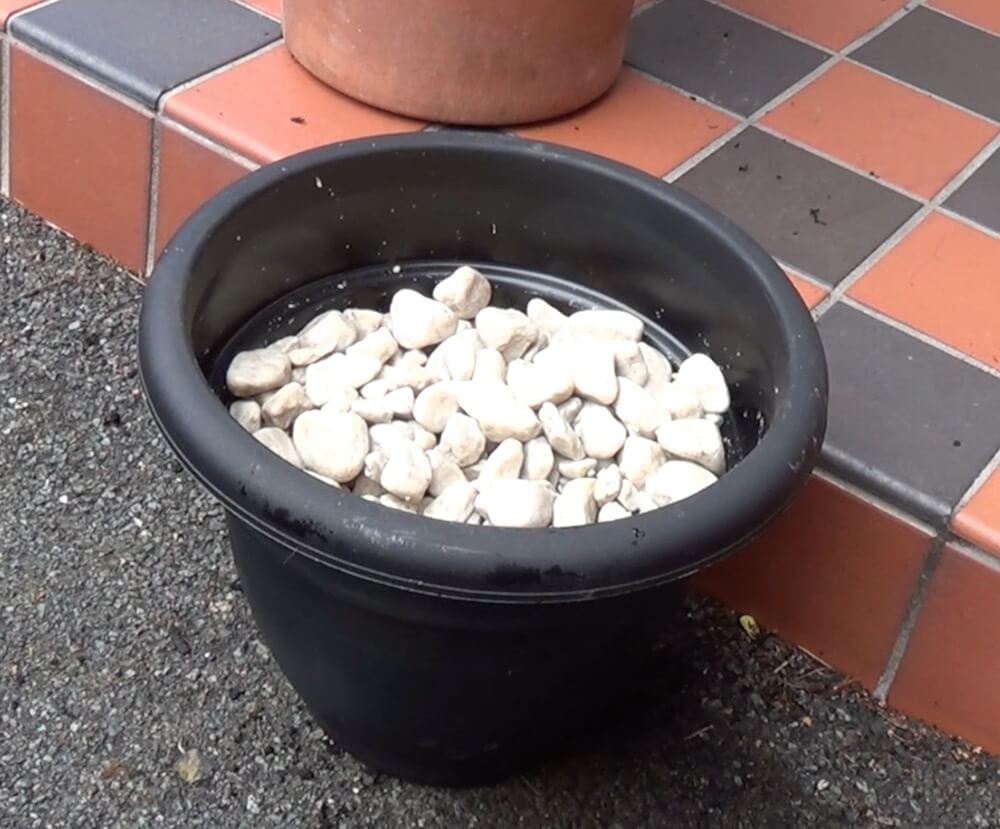
A mulch can help retain water in times of high temperatures and also stop the top surface of the soil from eroding. It also can really finish off a potted plant giving it that design flair! The mulch could be some chipped bark, pebbles, gravel or even leaf mould.
I've used white pebbles, bought from an approved source, you must never take rocks or gravel from the wild as this is both illegal and damaging to environment.
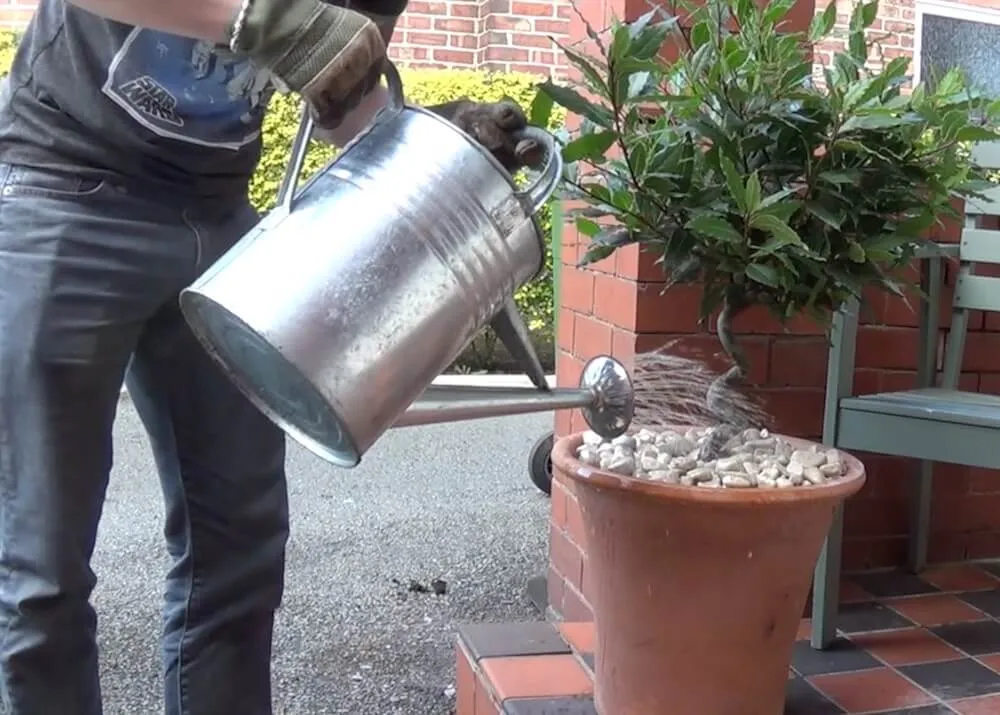
The final step is to give the plant a good watering, ideally from rainwater caught in a rain butt or other environmentally friendly source. Rainwater, usually, has a more balanced PH and doesn't contain fluoride and other chemicals that our drinking water must contain.
It's also more cost-effective to reuse 'clean' water where possible. Then you're done! A newly repotted plant to continue giving you many seasons of interest!
Using crocks, also known as pot shards or broken pottery pieces, in potted plants has been a common practice for many gardeners. A croc is placed at the bottom of a plant conatiner before being backdfilled with compost. It covers but does not seal or block the hole, but just adds a layer of material that slow down the escape of water and nutrients from the pot.
Here are arguments for and against using crocks:
In conclusion, while some gardeners swear by the use of crocks in potted plants for drainage and aesthetic reasons, others argue that they may not provide significant benefits and could potentially harm plant health due to restricted root health.
I always use crocs as I've never had any draw backs from them and do find it stops fresh compost simply pouring ut of the drainage hole of potted plants! Maybe try each method and see which works for you in the garden.
This is a commonly asked question about why as gardeners, we don't use soil from the garden in pots and containers.
The reasons we don't use soil in container gardens are:
Garden soil is simply too heavy and not suitable as a long term plant growing media for potted plants.
When potting on a plant, a good rule of thumb is to try and mirror the conditions that the plant likes in the wild. So if planting an alpine plant that needs free-draining soil you may need a 50/50 mix of compost and grit or perlite. Plants that need damper, rich conditions may need a mix of compost and manure for example.
Below is a guide to the UK plant pot sizes. Usually listed in litre sizes. It can be confusing as a new gardener to know the difference between a 9cm or P9 pot and a 2 litre. The chart below shows you the standard pot or container sizes, including their dimensions.
| Pot Size | Pot Diameter at the top | Pot Diameter at the base | Pot Height |
| 9cm (P9) | 9.0cm | 6.0cm | 8.5cm |
| 1 Litre (C1) | 13.0cm | 10.0cm | 11.0cm |
| 2 Litre | 17.0cm | 12cm | 13.0cm |
| 3 Litre | 19.0cm | 13cm | 15.0cm |
| 4 Litre | 20.0cm | 15.5cm | 16.5cm |
| 5 Litre | 22.5cm | 16.5cm | 18.0cm |
| 7 Litre | 25.0cm | 19.0cm | 20.0cm |
| 10 Litre | 28.0cm | 24.0cm | 22.5cm |
| 15 Litre | 33.0cm | 25.5cm | 30.0cm |
| 20 Litre | 35.5cm | 27.5cm | 32.5cm |
| 25 Litre | 38.5 cm | 30.0cm | 35.0cm |
| 30 Litre | 41.0cm | 33.0cm | 36.0cm |
| 40 Litre | 50.0cm | 35.5cm | 45.0cm |
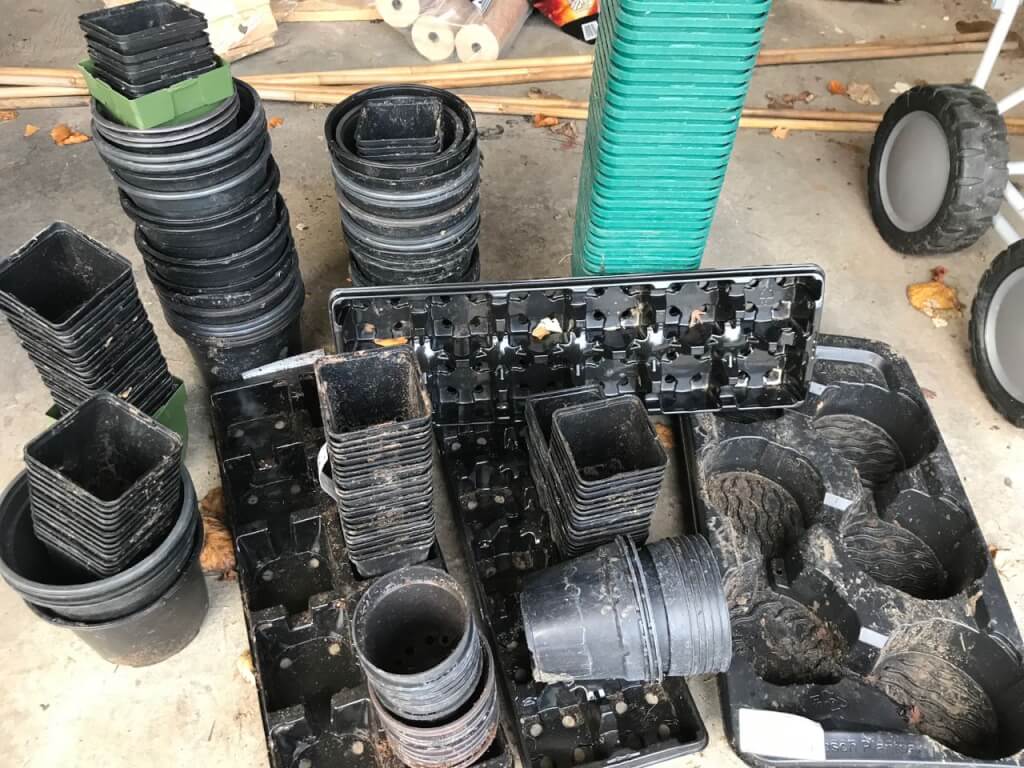
Sometimes C or P is used before the litre or size further to confuse things. It's really the number you're looking at. Anything with a 9 is usually the smallest plant pot size used to propagate plants. When you get to the 10 litres and above in pot size, you're looking at larger established plants and shrubs. So the cost of these sizes will vary according to the age and maturity of the plant.
Below we have P9 the small square pots, then circular 1-litre pots and larger 2-litre circular pots. The green rectangular stacked pots are 3 litres for reference.
If you haven't already read my guide on why plastic pots should be avoided where possible due to the lack of recycling facilites then you can read that here!
The frequency of repotting plants depends on several factors, including the type of plant, its growth rate, and the size of its current pot. Some plants such an annual vegetables will need repotting far quicker than slow to grow herbaceous perennials or low fuss shurbs. Most container plants needf repotting every 2-3 years as a rule of thumb.
Here's a general guideline for how often to repot plants.
If your plant has been in hte container for over 2 years it will need potting on. Replensishing the compost and or adding a good organic plant feed will help reininvigorate it. You can also rot prune certain plants when you repot them. It's a god idea to snip off some roots and tease them out when repotting to encourage fresh growth. If you can also increase the pot size when potting on.
Check if the plant has become root-bound, meaning its roots have filled the pot and started circling around the bottom. If you notice roots protruding from the drainage holes or wrapping around the soil ball, it's time to repot.
Fast-growing plants may need repotting more frequently than slow-growing ones. If your plant is rapidly outgrowing its current pot or becoming top-heavy, it's a sign that it needs more space to grow. You can slso tell if you turn the pot on its side and see roots appearing out the drainage hole. That's a sure fire sign it needs repotting!
Spring is typically the best time to repot plants because they are entering their active growth phase. Avoid repotting during the winter months when plants are dormant as its cold, wet and harder to do. As the plants are dormant they don't need the nutirnets yet so fresh compost can go to waste.
Potting on container plants each year or two is a surefire way to keep your garden looking fantastic each year. By choosing the correct peat-free growing medium and also trimming back roots your planting opportunities will know no bounds! Using pots can enable a fabulous display of flowers even in the smallest of spaces and container or pot gardening can help start your budding journey as a beginner gardener!
Even if you have a tiny rented garden or balcony container gardening can help you make the most out of your space. So what's stopping you from container gardening?
You can Tweet, Facebook or Instagram me. You can also follow me on YouTube where I’ve got plenty of garden guide vlogs.
Happy gardening!


You must be logged in to post a comment.

JOIN THE NINJAS

Be the first in line for new Guides, Discount codes and Offers

 To my YouTube channel
Hi, thanks for this. I want to repot my hydrangea when is the best time for this please?
Hi Billy, Early spring is the best time. Once the frosts have passed. They like an ericaceous compost and growing media. Happy Gardening! Lee