For the garden you’ve already got, not the one you’re starting from scratch. Seven checklists and video lessons from BBC Garden Rescue’s Lee Burkhill, built to help you work out what’s worth keeping before you spend a penny.
69


Quick Answer
Rhododendrons most often die or decline in UK gardens because of alkaline soil, which stops the plant taking up iron even when nutrients are present, waterlogged ground that leads to phytophthora root rot, exposure to drying wind or strong winter sun that scorches the evergreen leaves, or bud blast fungal disease that turns flower buds black before they open. They need acid soil with a pH below 6.5, reliable drainage, and shelter from cold wind and hard morning frost. Get those conditions right and most other problems resolve themselves.
I have grown rhododendrons in my own gardens for over twenty years and answered variations of “what is wrong with my rhododendron” more times than I can count on the forum and while filming BBC’s Garden Rescue. The frustrating truth is that almost every rhododendron problem in a UK garden comes down to one of a small handful of root causes, and the vast majority trace back to soil pH, drainage, or position rather than pests or disease. This guide walks you through every genuine cause of a struggling or dying rhododendron, how to tell them apart, and exactly what to do about each one.
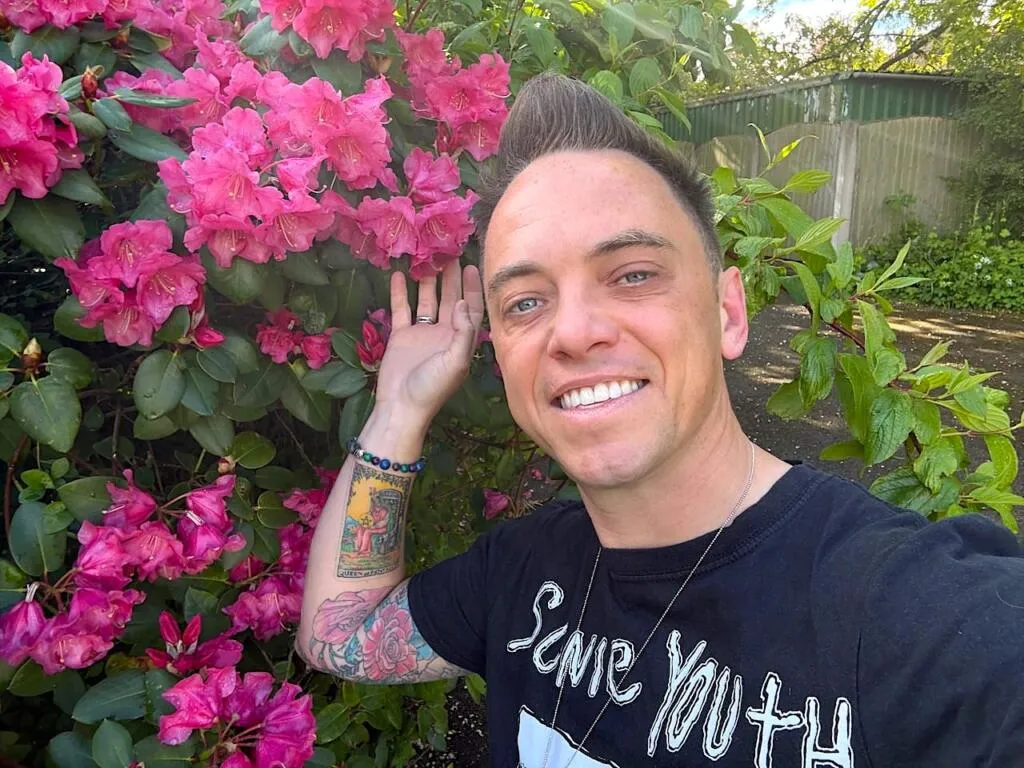
The good news you will be pleased to know, Ninjas, is that for 99% of garden owners, Rhododendrons or Rhodies as we call them in the business, are some of the best value, easy to look after, fuss-free evergreens ever. One of the main reasons I love them is their spring flowers, which brighten even our darkest, grimmest UK mornings before the summer appears. This guide will help you sort out any of the niggles you may find with your Rhodies and get them back to fighting fit!
This page contains affiliate links for products I use and love. If you take action (i.e. subscribe or make a purchase) after clicking a link, I may earn a small gardening commission, which helps me keep the Garden Ninja blog free for everyone.
Jump To
🌿 Rhododendron At A Glance
| Botanical Name | Rhododendron species and hybrids, including azaleas (Rhododendron subgenus Pentanthera and Tsutsusi) |
| Plant Type | Evergreen or deciduous flowering shrub, some reaching small tree size |
| UK Hardiness | H4 to H6 depending on species and hybrid, most garden varieties fully hardy |
| Height / Spread | 0.5 to 4m / 0.5 to 3m depending on variety, dwarf hybrids stay much smaller |
| Flowering Period | Most varieties April to June, some early hybrids from February |
| Best Conditions | Acid soil pH 4.5 to 6, dappled or partial shade, shelter from wind and hard morning frost |
| Soil | Humus-rich, free-draining but moisture-retentive acid soil. Ericaceous compost in containers |
Rhododendrons evolved in the mountain woodlands of Asia and North America, growing in leaf litter under the dappled canopy of taller trees, in acid soil that stays consistently moist but never sits wet. Every genuine rhododendron problem in a UK garden ultimately traces back to how far its actual growing conditions are from those it evolved for. Alkaline or heavy clay soil, a fully exposed south or east-facing position, waterlogging, and cold drying wind are the four conditions that cause the great majority of the problems that bring gardeners to my forum asking why their rhododendron is dying.
Spend five minutes properly looking at the plant before doing anything. Where exactly are the symptoms, what do the leaves and buds actually look like, and what has the weather and watering been like over the past few months? The pattern narrows the cause down considerably, and treating the wrong problem- feeding a plant that actually needs better drainage, for example- wastes time the plant may not have.
🌿 Rhododendron Diagnosis at a Glance
| What you see | Most likely cause | Jump to |
|---|---|---|
| Uniform yellowing across many leaves, poor growth, in non-acid soil | Alkaline soil causing iron deficiency (chlorosis) | Section 3 |
| Wilting overall, waterlogged soil, mushy dark roots, sudden yellowing then collapse | Waterlogging or phytophthora root rot | Section 4 |
| Buds turning black or brown, covered in tiny dark bristle-like growths, failing to open | Bud blast fungal disease | Section 5 |
| Grey or white powdery coating on the leaf surface, sometimes with yellow or brown blotching | Powdery mildew | Section 5 |
| Older leaves yellowing between the veins, sometimes with a reddish tint, dropping prematurely | Magnesium deficiency | Section 3 |
| Leaves tightly curled downward and drooping, worse on cold nights, recovering when mild | Normal winter cold response, not a problem | Section 6 |
| Brown, crisp leaf edges or whole leaves, plant in an exposed or windy spot | Wind scorch or winter sun scorch | Section 7 |
| Wilting in dry spells despite the ground looking damp on the surface, or general decline after a recent move | Drought stress or transplant shock | Section 8 |
| Neat U-shaped notches eaten from leaf edges, or sudden collapse with roots eaten away | Vine weevil, adults and larvae | Section 9 |
| Mottled pale upper leaf surface with brown varnish-like spots underneath | Rhododendron lace bug | Section 9 |
| Sudden dieback of a mature, well-established plant, white fungal sheets under bark at the base | Honey fungus | Section 10 |
Soil pH is where most rhododendron problems begin, and it is where most gardeners go wrong without ever realising it. Rhododendrons are lime-hating plants that need a soil pH between roughly 4.5 and 6 to function properly. In alkaline soil, typically anything above pH 7, the plant physically cannot take up iron and manganese even when both are perfectly present in the ground. The result is chlorosis, a progressive yellowing that starts between the leaf veins while the veins themselves stay green, and gradually spreads until the whole plant looks pale, weak, and unable to put on healthy new growth.
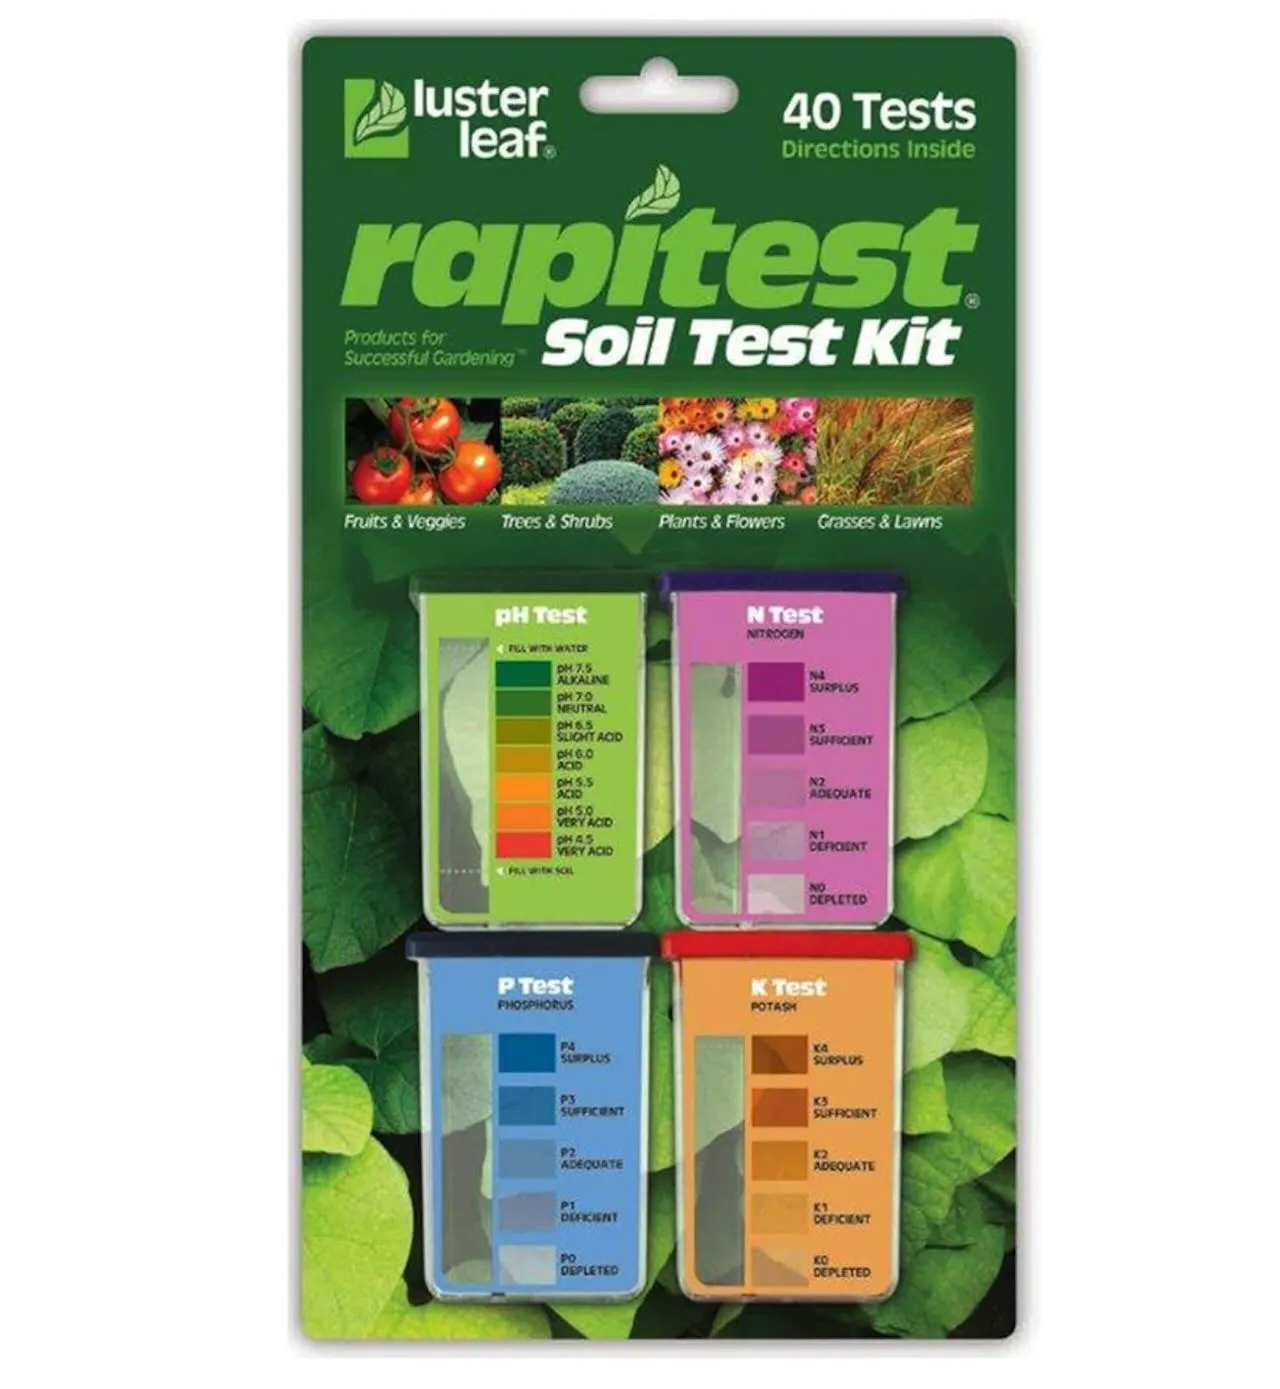
This is one of the easiest problems on this whole list to confirm and one of the hardest to fix outright, so it is always worth testing first. Testing your soil pH before planting a rhododendron, or as soon as problems appear, costs very little and gives you a clear answer within minutes. If your garden sits on chalk, limestone, or has been fed hard tap water for years, alkaline conditions are the first thing to rule in or out. For a fuller picture of what you are working with, my guide to identifying your soil type covers the basics before you get into pH specifics.
🛒 Find soil pH test kits on Amazon UK
If you already have an established rhododendron struggling in alkaline soil, a full change of ground pH is not realistic, so managing around it is the more practical route. Mulch generously every year with an acidic organic matter such as composted bark, pine needles, or leaf mould from oak or beech, which gradually lowers the surface pH over time. Feed with a proper ericaceous fertiliser in spring and again after flowering, and treat visible yellowing with a sequestered iron product, sometimes labelled chelated iron or Sequestrene, which supplies iron in a form the plant can absorb regardless of the surrounding soil pH. New growth typically greens up within two to three weeks of application, though the effect is not permanent and needs repeating annually in persistently alkaline ground.
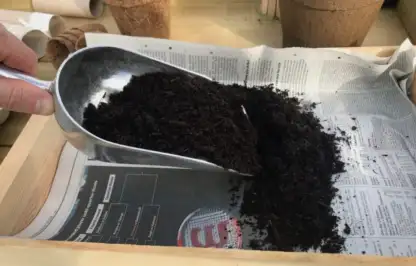
For container-grown rhododendrons, the picture is much more manageable, since you control the compost entirely. Always use ericaceous compost rather than a general multipurpose mix, and be aware that watering with hard tap water gradually raises the pH of even correctly potted ericaceous compost over several seasons, eventually triggering the same chlorosis you would see in alkaline garden soil. In hard water areas, switch to collected rainwater for container rhododendrons wherever you can, and repot into fresh ericaceous compost every two to three years to reset the pH.
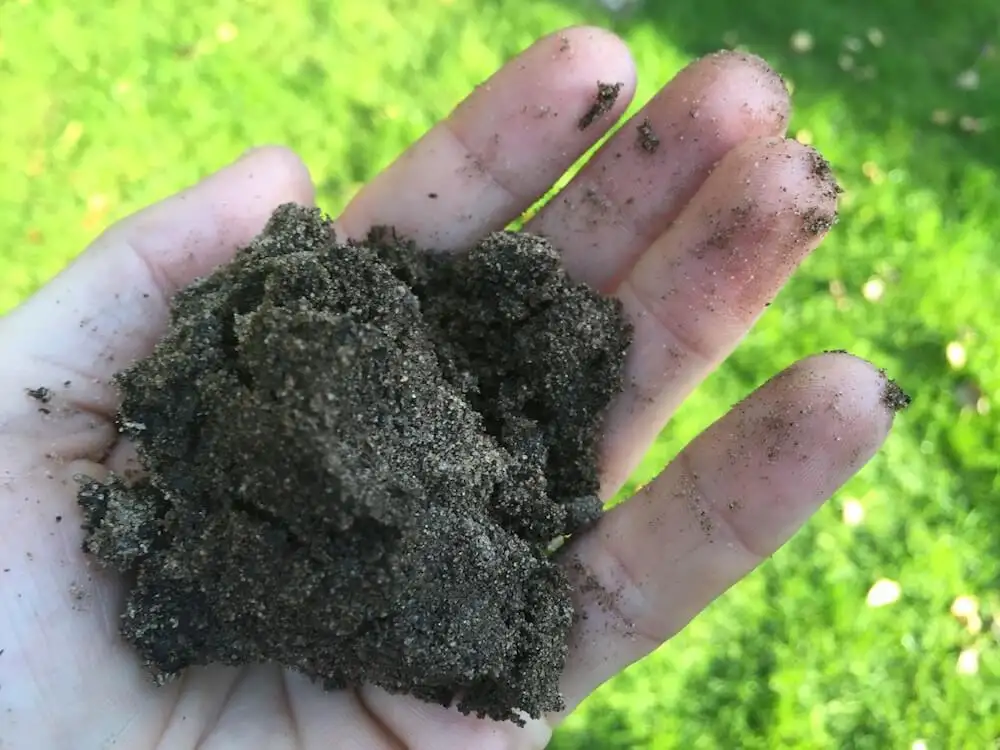
It is worth being clear about one distinction here, since it changes what you actually treat. Iron deficiency chlorosis, caused by alkaline soil, shows up mainly on the newer leaves at the tips of shoots. Magnesium deficiency is a separate and equally common cause of yellowing, but it shows on the older leaves further back on the plant, again between the veins and sometimes with a reddish-brown tint, and the affected leaves tend to drop prematurely. Magnesium deficiency is most common on light, sandy soils and can also be triggered by over-applying a potassium-rich fertiliser. Where the pattern points to magnesium rather than iron, a scatter of Epsom salts around the root zone, watered in, or a proper ericaceous feed that already includes magnesium, resolves it within a few weeks.
💡 Top Tip
If your whole garden sits on alkaline soil and you are set on growing rhododendrons, the honestly most reliable route is a large container of ericaceous compost, watered with rainwater and fed properly. It gives you complete control over the one factor that determines rhododendron success or failure more than any other, and produces reliably good results even in the chalkiest gardens.
🛒 Find ericaceous compost on Amazon UK
🛒 Find sequestered iron treatments on Amazon UK
If soil pH is the most common cause of a slowly declining rhododendron, waterlogging is the most common cause of a rhododendron that dies relatively quickly. Rhododendrons have shallow, fibrous root systems that need consistent moisture but absolutely cannot tolerate sitting in standing water.
In heavy clay, gley or poorly drained ground where water is stagnant, roots become starved of oxygen, begin to rot, and the plant wilts and yellows even though there is plenty of water present, which understandably confuses a lot of gardeners into watering it even more. Thats not to say Rhododendrons can’t deal with clay soil, they can, its when the ground is perpetually wet.
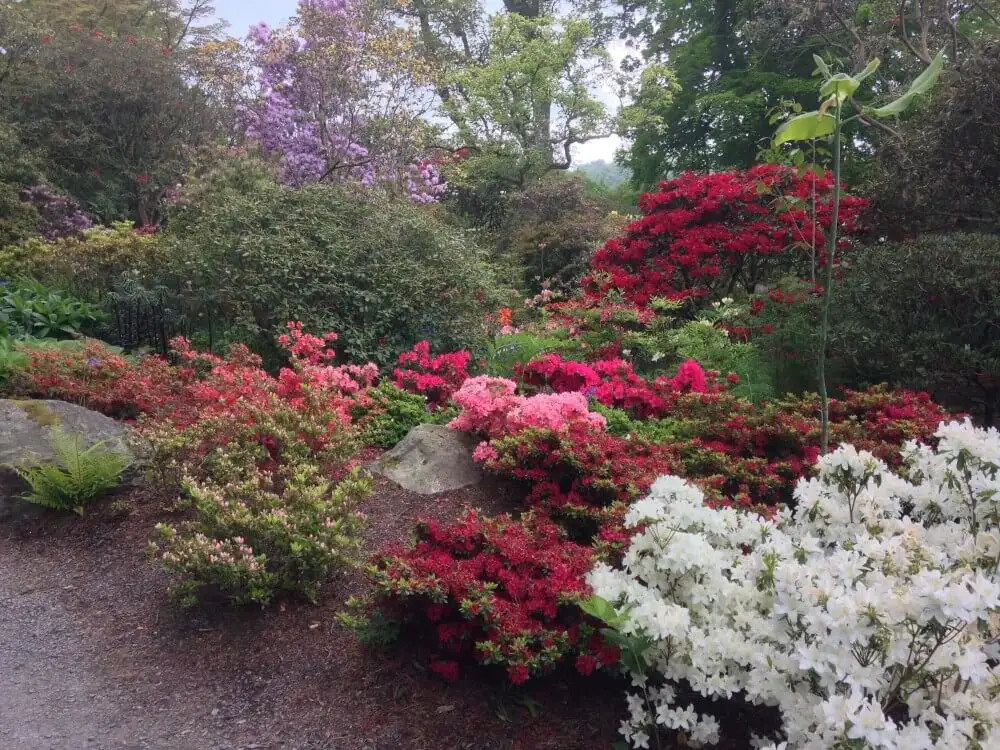
The more serious version of this problem is phytophthora root rot, a soil-borne fungal-like pathogen that thrives specifically in waterlogged conditions and is one of the genuine killers of established rhododendrons. It attacks the roots first, causing dark, mushy tissue that spreads upward into the crown of the plant. Above ground, symptoms look deceptively like drought: leaves wilt, curl, and turn a dull greyish green or bronze, then brown and die, often starting on one side of the plant before spreading. The giveaway that distinguishes phytophthora from simple drought stress is that watering the plant more does nothing to help, because the roots delivering that water are already dead.
To confirm phytophthora, dig around the base of an affected stem and check the tissue just under the bark at soil level. Healthy tissue is cream or white. Infected tissue shows a distinct reddish-brown staining that often extends several centimetres up the stem from the roots. Unfortunately there is no reliable cure once phytophthora has taken hold in an established plant’s root system. The most useful thing you can do is improve drainage immediately for any nearby plants that are not yet affected, since the pathogen spreads readily through waterlogged soil and standing water, and avoid replanting another rhododendron or azalea in the same spot for several years.
Prevention is far more effective than any cure here, and it comes down to getting drainage right before you plant. Rhododendrons planted in a raised position, even just a shallow mound 10 to 15 centimetres above the surrounding soil level, drain dramatically better than those planted flush with heavy ground. Working plenty of composted bark or leaf mould into the planting hole improves structure without changing the acid pH the plant needs, and avoiding any position where water is known to pool after heavy rain removes the risk almost entirely.
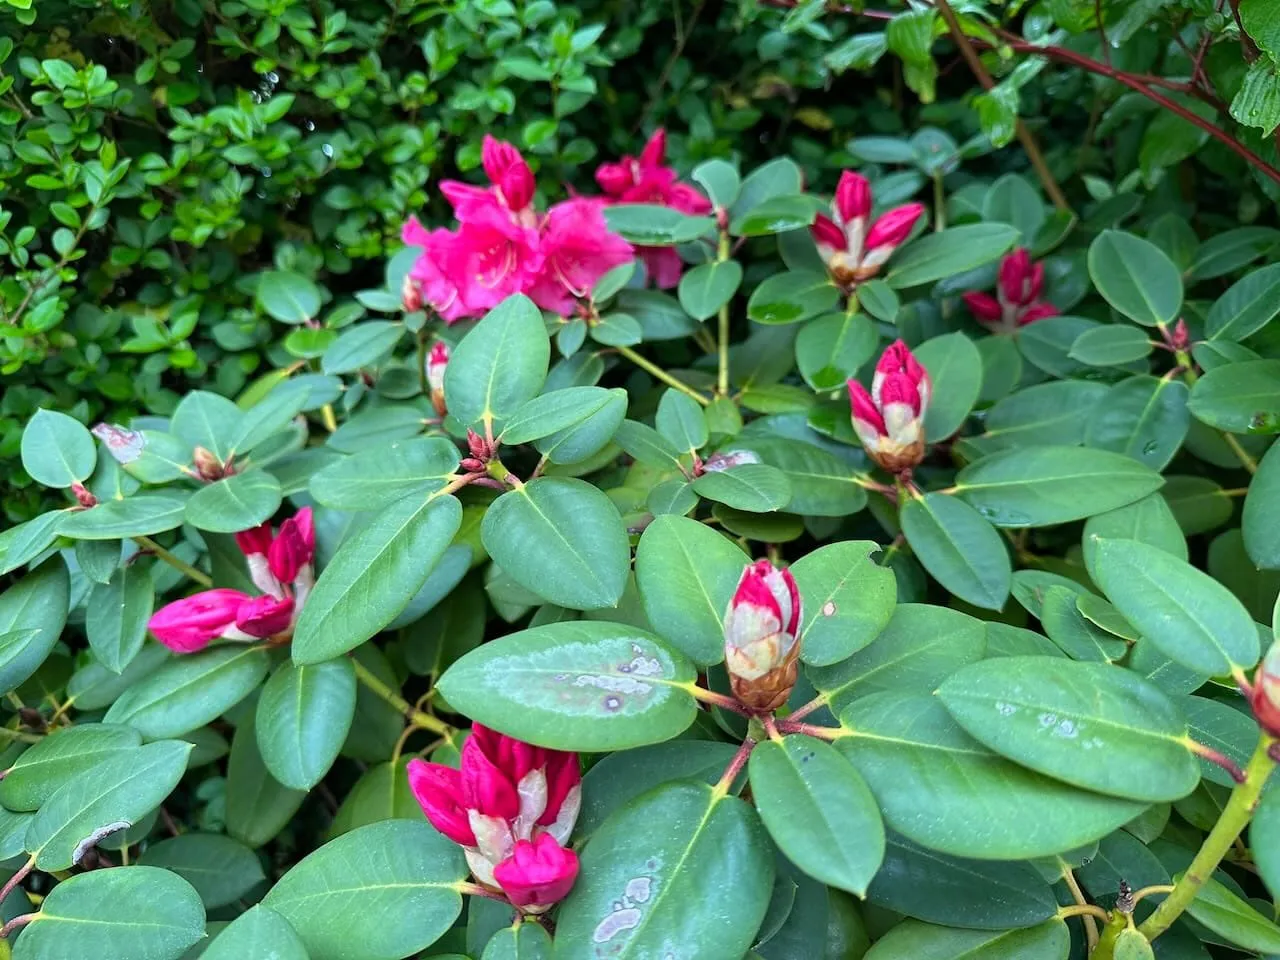
Bud blast is a fungal disease, caused by the fungus Pycnostysanus azaleae, that specifically targets rhododendron and azalea flower buds. It is one of the more distinctive problems on this list because the symptoms are so recognisable once you know what to look for. Affected buds turn brown or silvery grey through late autumn and winter, then black by late winter or early spring, and if you look closely at the surface of a blasted bud you will usually see small black pin-like bristles poking out of it, which are the fungus’s fruiting bodies. The bud never opens and eventually dries out and falls or stays stubbornly attached to the plant.
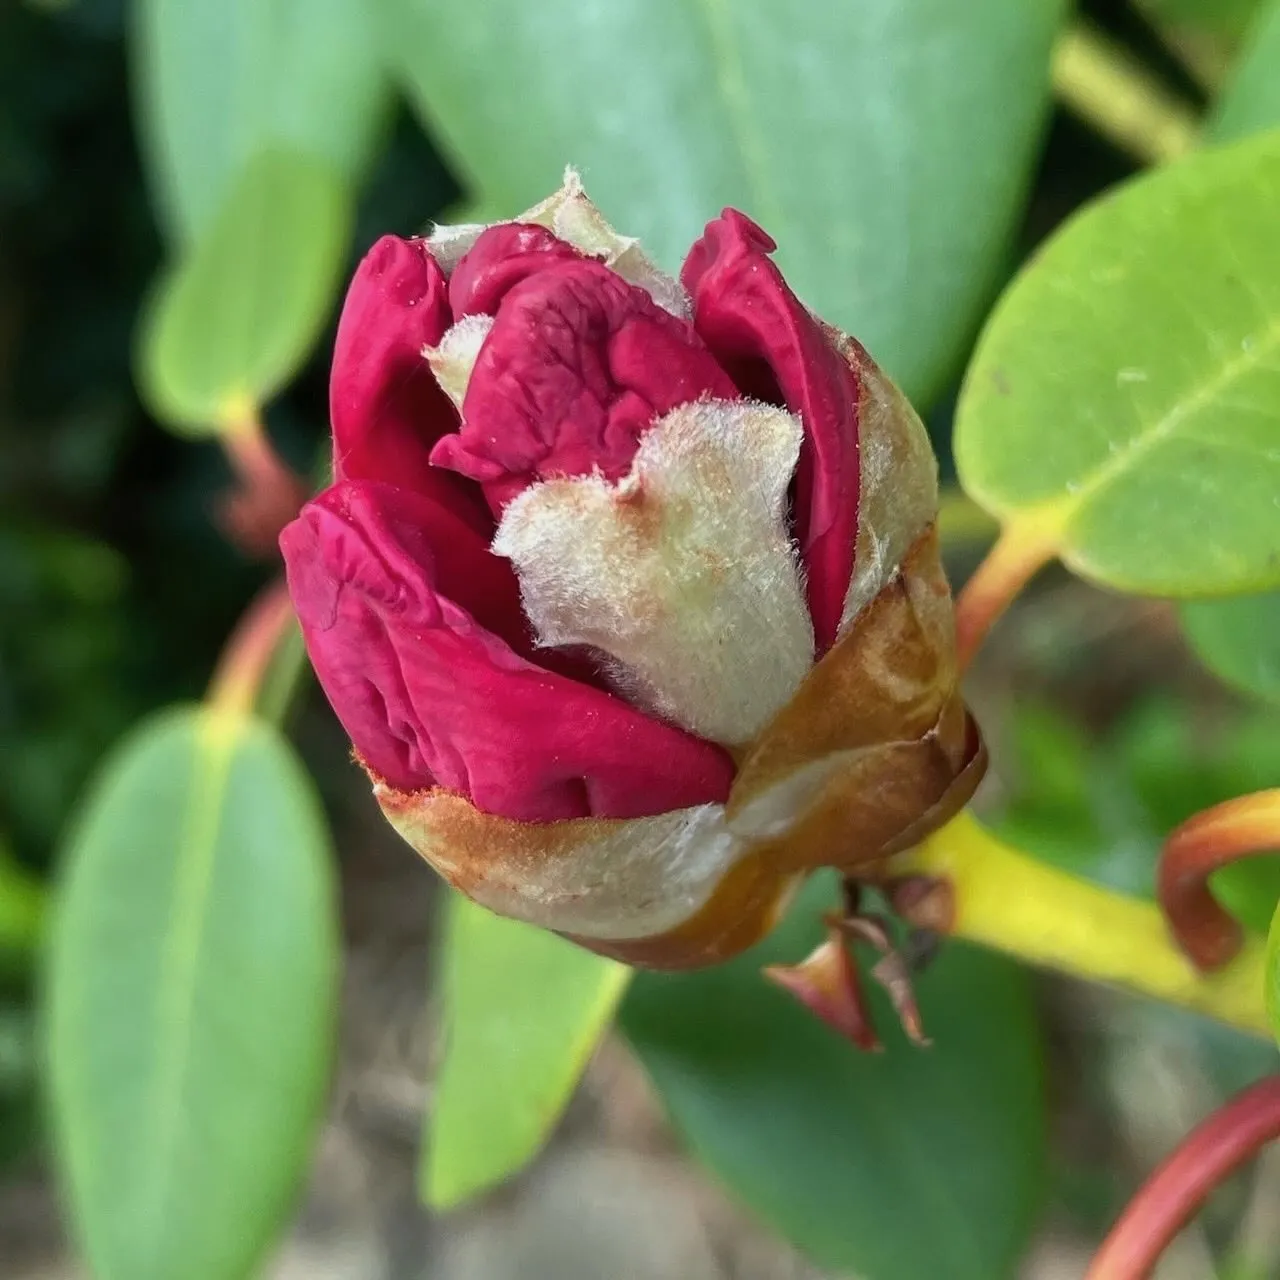
What makes bud blast frustrating is that the fungus is usually spread by the rhododendron leafhopper, a small green insect that feeds on the plant through late summer and early autumn and creates tiny wounds in developing buds through which fungal spores enter. This means effective control has two parts. First, remove and dispose of every affected bud as soon as you spot it through autumn and winter, since each one is a source of spores that can infect next year’s buds. Never compost affected material. Second, if leafhoppers have been a persistent problem in previous summers, an appropriately timed insecticide treatment in August and September, when the adult leafhoppers are most active, breaks the transmission cycle before the buds are wounded.
Bud blast rarely kills a rhododendron outright, but a heavily infected plant can lose most of a season’s flowers, which is devastating if you have been waiting all year for the display. Good general plant health helps considerably, since a vigorous, well-fed rhododendron in the right conditions recovers and produces a strong new flush of buds the following year even after a bad bud blast season, whereas an already stressed plant struggles to bounce back.
Powdery mildew is the other disease worth knowing well, since it shows up in most UK rhododendron collections at some point and is often mistaken for something more serious. It appears as a pale grey or white powdery coating on the upper or lower leaf surface, sometimes accompanied by yellow or brown blotching and premature leaf fall on badly affected leaves, and it thrives in conditions where air circulation is poor and the plant sits in shade with still, humid air around the foliage. Deciduous azaleas are particularly prone to it. It rarely kills an established rhododendron but weakens it over successive seasons if left unmanaged. Improving airflow by thinning congested growth and avoiding overhead watering that wets the foliage late in the day both reduce the conditions the fungus needs. For a persistent case, a fungicide labelled for powdery mildew on ornamentals, applied at the first sign of the grey coating, brings it under control within a season.
This is a common and often needless source of panic that turns out not to be a problem at all, so I want to address it directly before going any further. If your evergreen rhododendron’s leaves tightly curl downward like little cigars and droop on cold winter mornings, then relax and flatten out again when the weather warms up, that is not disease, drought, or dieback. It is the plant’s own protective mechanism against cold and frost, reducing the surface area exposed to the drying, freezing air and to intense low winter sunlight, and it is completely normal.
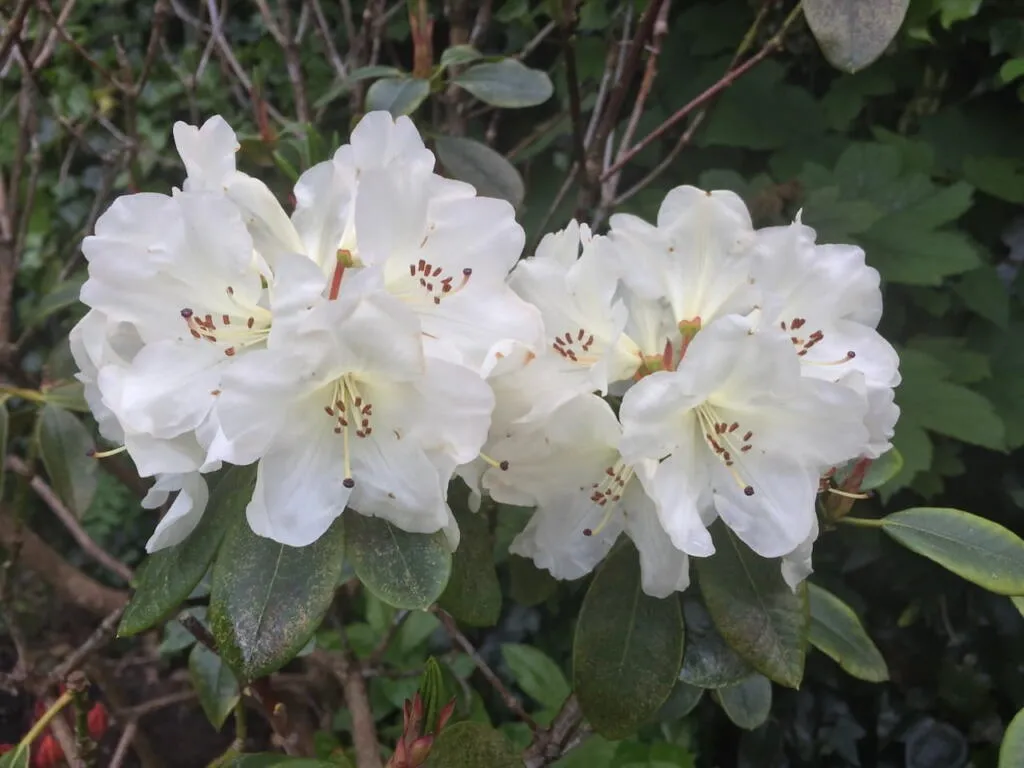
The mechanism is thought to be a combination of the leaf cells losing water under freezing conditions and a genuine adaptive curling response, and the colder the temperature, the tighter the curl. A rhododendron sitting through a hard frost with leaves rolled up tight and hanging almost vertically is behaving exactly as it should. The important distinction is that this response is temporary and reverses within a few hours of the temperature rising, typically by mid-morning on a sunny winter day or within a day or two of a cold snap passing.
Where you do need to worry is if the curling and drooping does not reverse once temperatures warm up, if it is accompanied by browning or yellowing, or if it is happening well outside cold weather, in summer for example, in which case you are looking at one of the other causes on this list, most likely drought stress or root problems, rather than the normal cold response. Use the timing and the recovery pattern as your guide: reverses with warmth, is normal; persists regardless of temperature, is not.
Position matters enormously for rhododendrons, and getting it wrong causes a slower, more chronic kind of suffering than most of the other problems on this list. As woodland edge plants, rhododendrons want light but not the full, unbroken force of a south-facing border, and they want shelter from wind rather than an open, exposed site. Get either of these wrong and the plant survives but never really thrives, showing browning, scorching, and a generally tired appearance year after year.
Wind scorch shows as brown, crisp, dry leaf margins and tips, sometimes affecting a whole side of the plant that faces the prevailing wind. It is caused by the leaf losing moisture through transpiration faster than the roots can replace it, particularly during cold, drying winds in winter when the ground may also be frozen and unable to supply water at all. This is why an evergreen shrub can appear to be suffering from drought in the depths of winter even though it has not been dry. Exposed coastal gardens and open, elevated sites are especially prone to this, and a rhododendron in a properly windy position rarely looks its best regardless of how well you otherwise care for it.
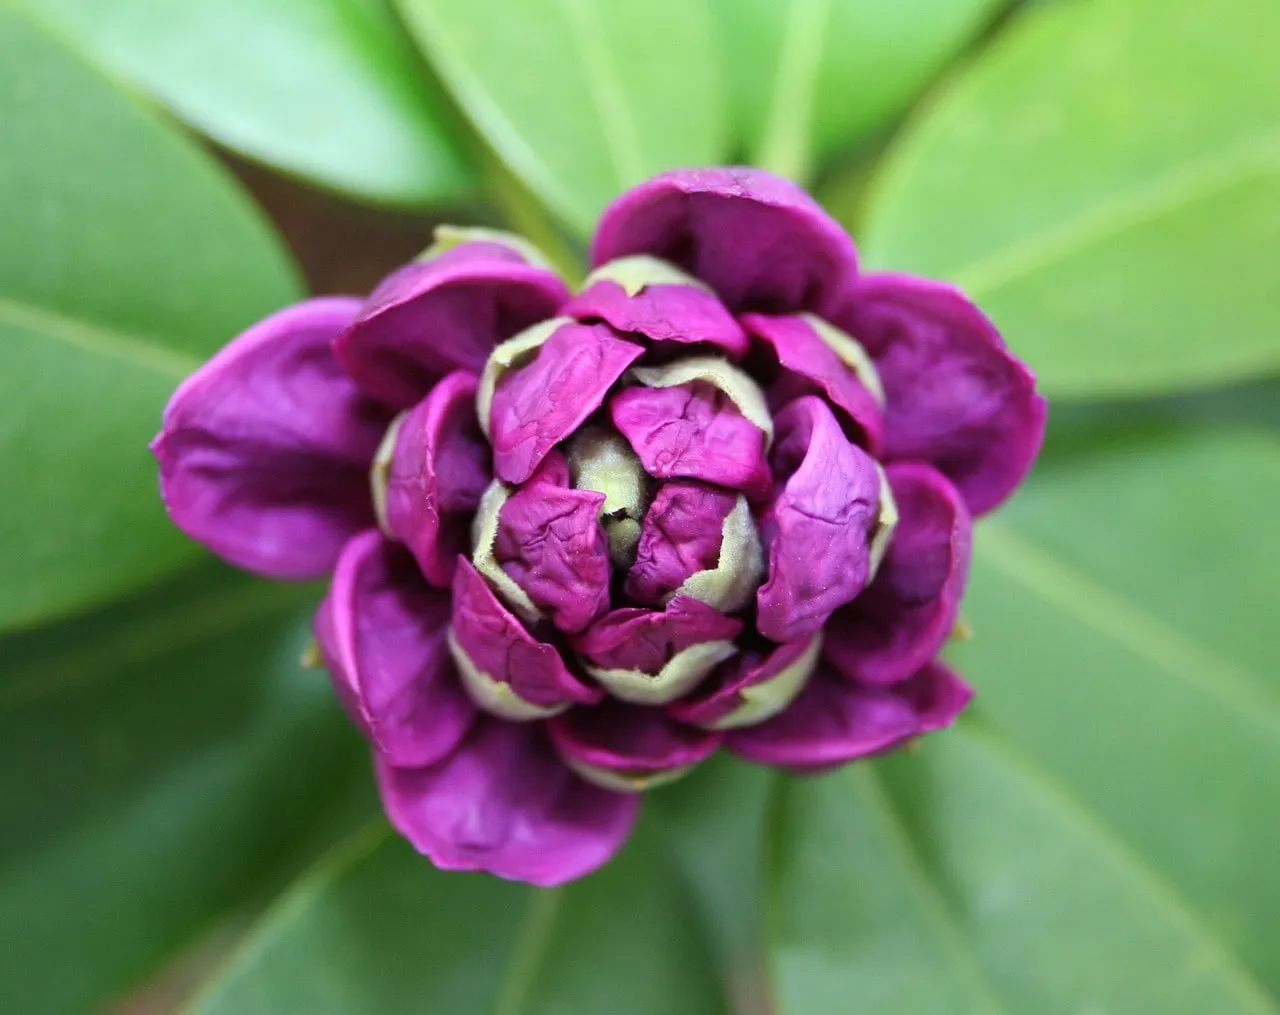
Sun scorch is a related but distinct problem, showing as pale, bleached, or brown patches on the upper leaf surface, usually most severe on plants in full, direct summer sun with no dappled canopy above them. Winter sun scorch is a variation of the same problem: strong low winter sunlight hitting frozen leaves causes rapid cell damage as the tissue thaws too quickly, similar in mechanism to the frost thaw damage that affects camellia buds.
The genuine fix for both wind and sun scorch is usually repositioning rather than treatment, since no amount of feeding or watering compensates for the wrong site. If moving the plant is not practical, a windbreak of hessian screening or a hedge planted to the windward side over a few seasons makes a real difference, and dappled shade from deciduous trees planted or already present nearby softens direct summer sun considerably. For a rhododendron already established in a difficult spot, a thick autumn mulch helps insulate the root zone against the freezing conditions that make wind scorch worse, and an anti-desiccant spray applied before the worst of winter can reduce moisture loss from the leaves in particularly exposed gardens.
🛒 Find horticultural fleece for winter protection on Amazon UK
Despite their shallow root system making them look tougher than they are, rhododendrons are notably poor at tolerating drought, and UK summers with extended dry spells increasingly catch gardeners out. Because the roots sit close to the surface rather than reaching deep for moisture, the top few centimetres of soil drying out affects a rhododendron far more quickly than it would a deeper-rooted shrub. Symptoms include wilting and drooping foliage during the heat of the day, leaves that fail to recover fully overnight, and in severe or prolonged drought, browning and leaf drop.
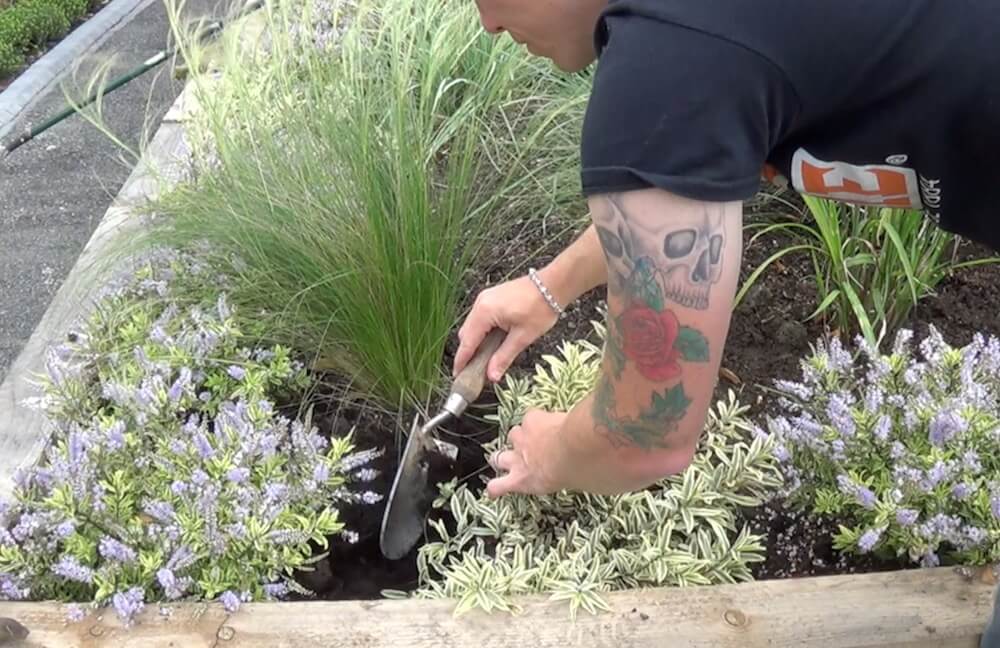
A generous mulch, 5 to 8 centimetres of composted bark, pine needles, or leaf mould applied over the root zone and kept clear of the main stems, is the single most effective thing you can do to protect a rhododendron through a dry summer.
It retains soil moisture for considerably longer between waterings and moderates soil temperature, which matters given how shallow the root system sits. Combine this with a deep, thorough watering during proper dry spells rather than frequent light sprinkles, which encourage roots to stay near the surface and make the plant more vulnerable, not less. Strulch is a fantastic straw mulch to keep water in your soil, especially with our current heatwaves.
Transplant shock produces a similar picture and is essentially the same underlying problem: a root system that has been disturbed and temporarily cannot take up enough water to support the top growth, regardless of how much water is available in the surrounding soil. If you have recently moved a rhododendron and it now looks wilted, drooping, or generally unhappy, this is very likely the cause rather than anything more sinister.
Water thoroughly and consistently for the first full growing season after a move, mulch well, and avoid feeding heavily until you see clear signs of new growth, since pushing a stressed plant to grow before its roots have re-established tends to set it back further. Most rhododendrons recover fully from a well-timed autumn or early spring transplant within a single season, provided the aftercare is right.
Two pests cause the most significant damage to rhododendrons in UK gardens, and they attack very different parts of the plant. Vine weevil is by far the more serious of the two, particularly for container-grown rhododendrons, because it is the larvae rather than the adult that does the real damage, and that damage happens entirely out of sight below the compost line.
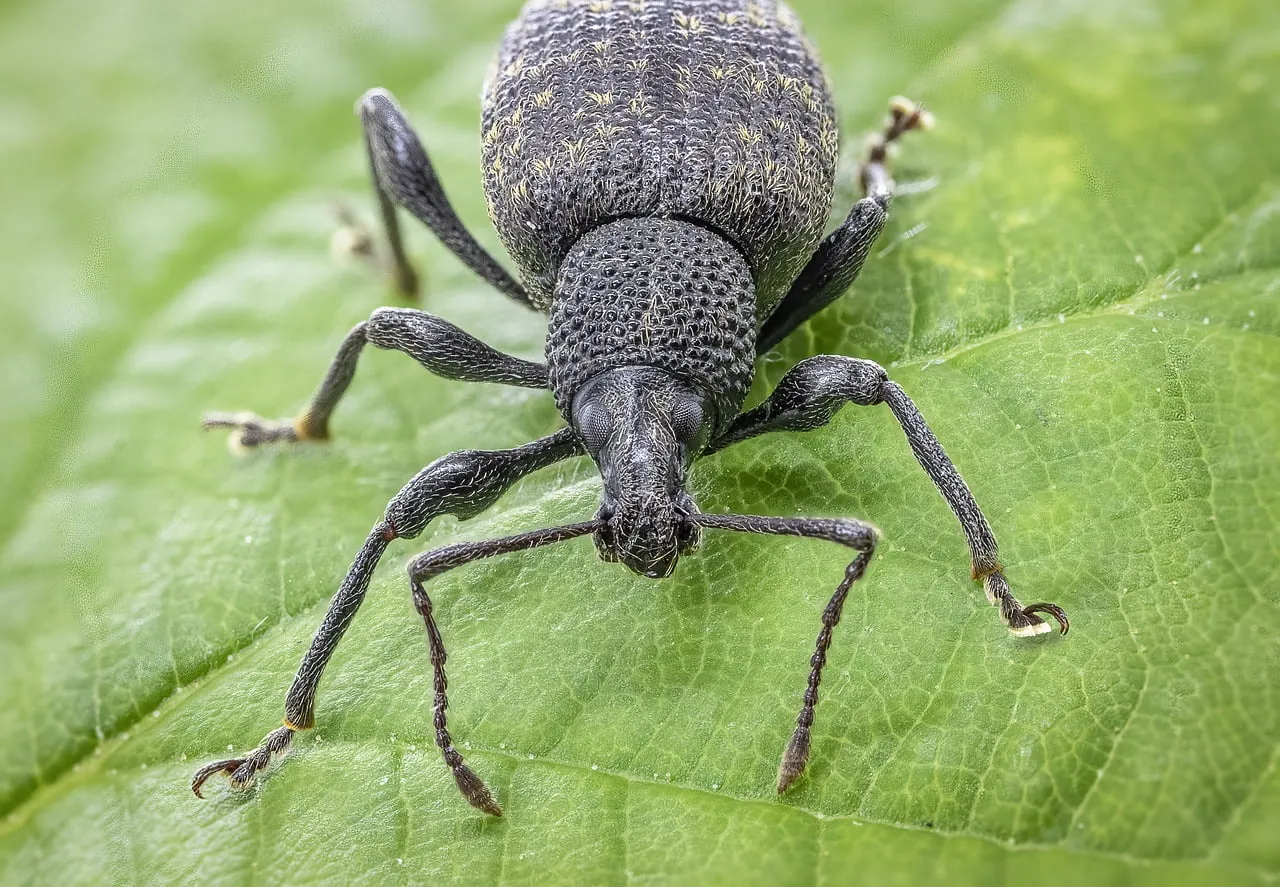
The adult vine weevil, a small dull black beetle, is nocturnal and rarely seen, but its feeding leaves a very recognisable calling card: neat, U-shaped notches eaten from the edges of the leaves, working inward over successive nights. This damage is cosmetic and does not seriously threaten the plant on its own. The real danger comes in late summer when adult females lay eggs in the compost or soil around the base. The larvae hatch and spend autumn, winter, and early spring feeding on the roots from below, and by the time you notice the plant wilting and collapsing with no obvious above-ground cause, the root system may already be largely eaten away.
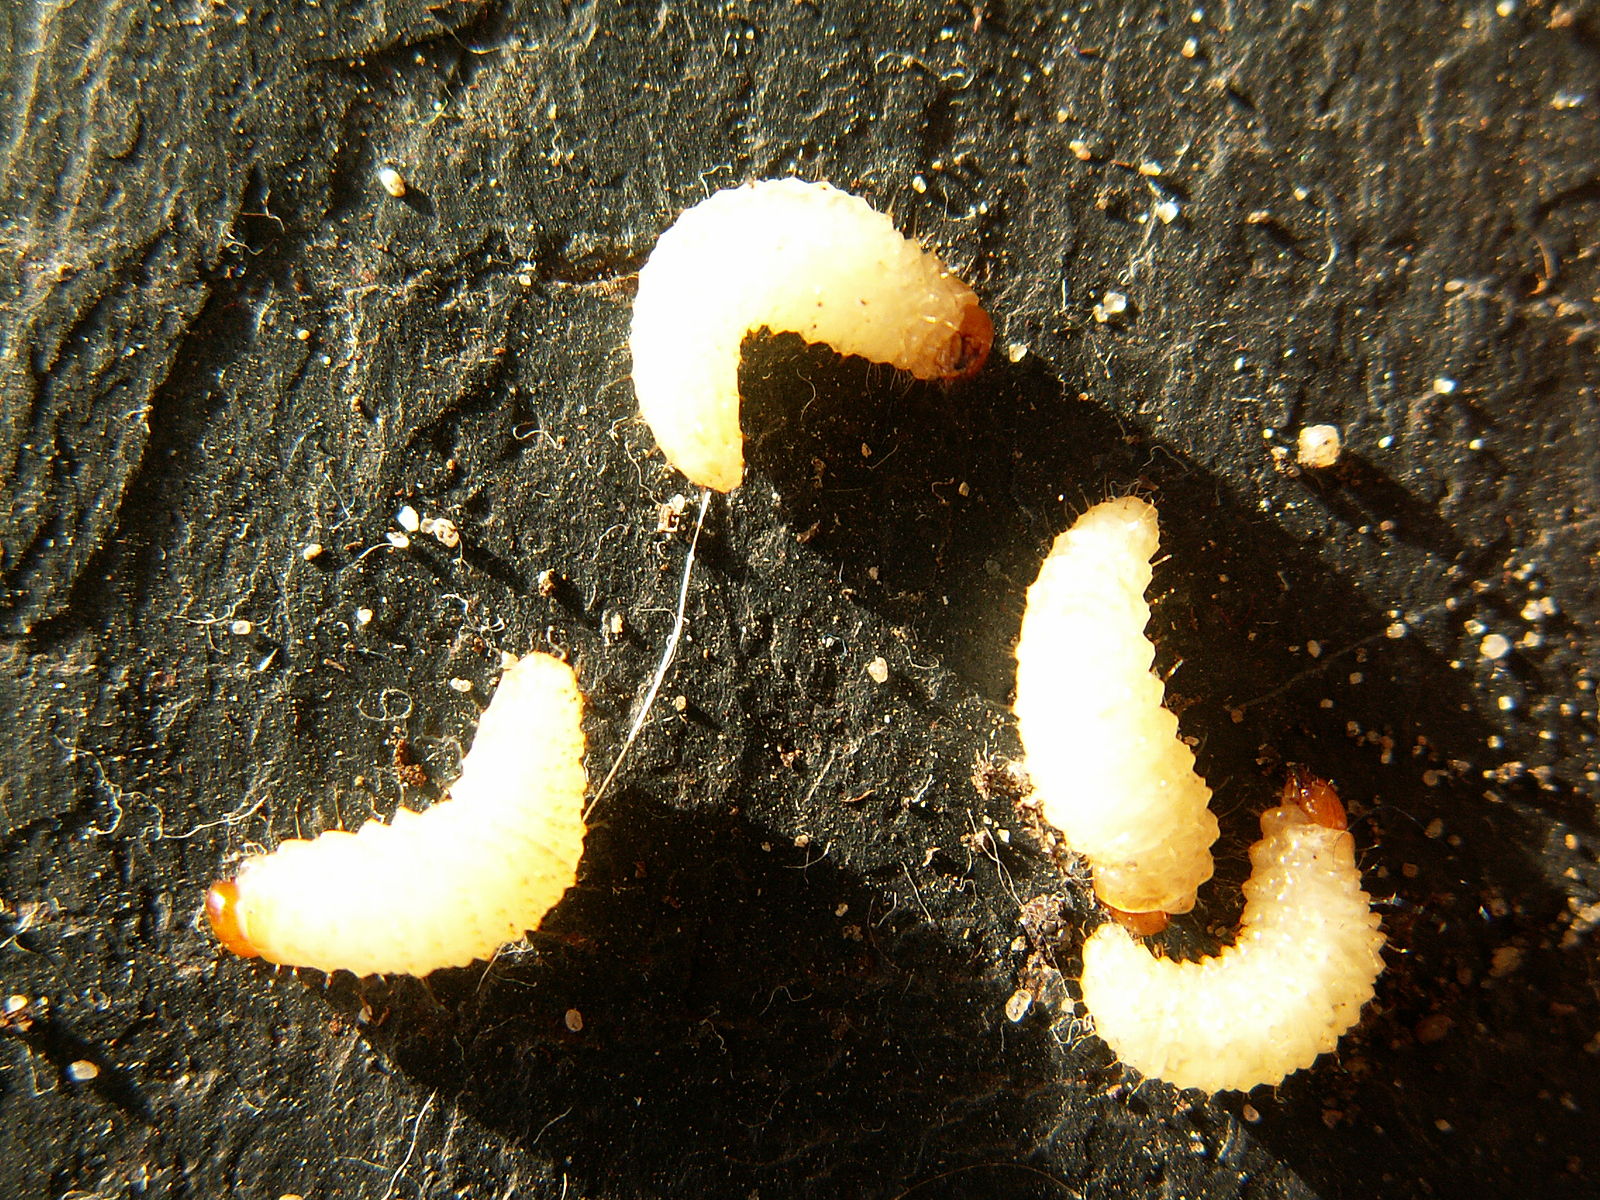
If you tip a struggling container rhododendron out and find the compost largely free of fine roots with fat, cream, C-shaped grubs present, that confirms vine weevil larvae as the cause. My full vine weevil guide covers the complete control approach in detail, but the short version is that biological control using nematodes, applied to moist compost in late summer while soil temperatures are still above 12°C, is the most effective preventive treatment, seeking out and killing the young larvae before they can do significant damage. For an established infestation, the practical response is to remove all the compost, wash the roots clean, pick out every grub by hand, and repot into fresh ericaceous compost.
Rhododendron lace bug is a smaller, less well-known pest but increasingly common in the UK. It feeds on the underside of leaves, causing a distinctive fine, pale mottling on the upper leaf surface that can look at first glance like nutrient deficiency, alongside small brown, varnish-like spots of excrement visible on the underside.
Heavy infestations reduce the plant’s vigour and general appearance over a season but rarely kill it outright. Control involves spraying the undersides of leaves, where the insects actually live, with a suitable horticultural soap or oil in late spring and early summer when nymphs are active, repeating every couple of weeks until the population is under control.
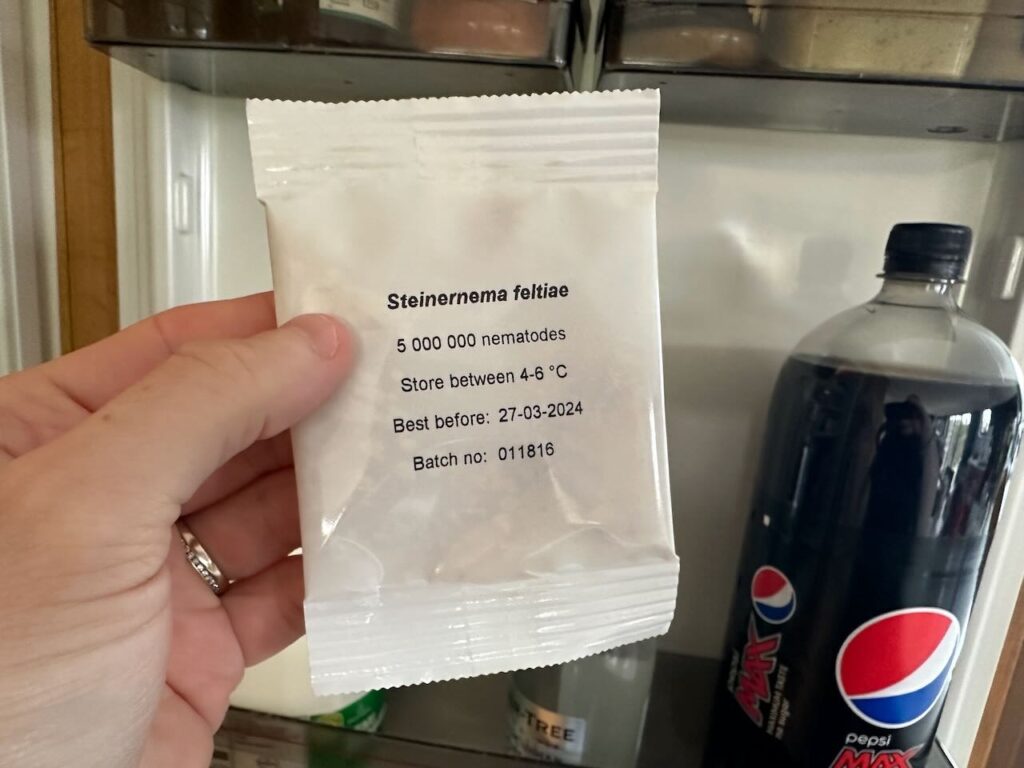
🛒 Find vine weevil nematodes on Amazon UK
Honey fungus is the one seriously damaging disease worth knowing about, though it is far less common than the causes covered so far and tends to affect older, more established rhododendrons rather than young plants. It is a soil-borne fungus that spreads through root contact and via thread-like black structures called rhizomorphs, sometimes described as looking like bootlaces, that travel through the soil between plants.
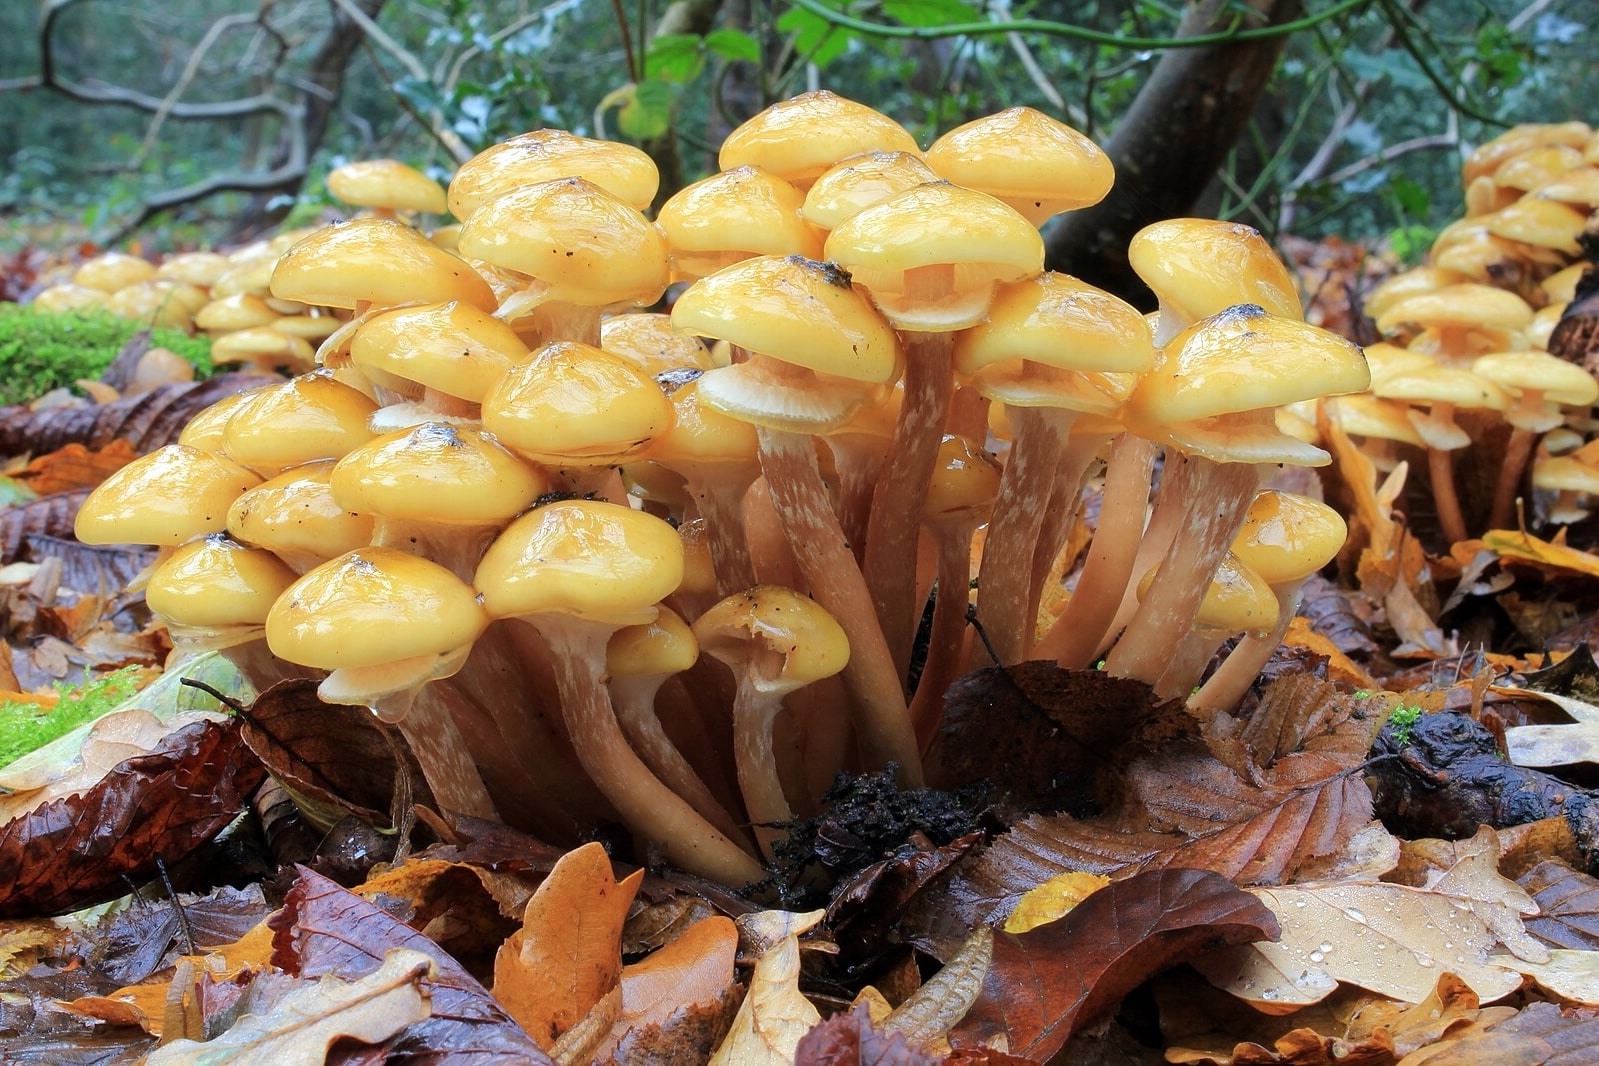
The above-ground symptoms are relatively slow and progressive: dieback of individual branches spreading over one or more seasons, a general thinning and yellowing of foliage, and reduced flowering, sometimes followed by honey-coloured toadstools appearing at the base of the plant in autumn, which is the clearest visual confirmation. To check for it, peel back a section of bark near the base of the stem at soil level. Honey fungus produces a distinctive white, sheet-like fungal growth just beneath the bark, sometimes with a faint mushroom smell. If you have it, sorry Ninjas, but your Rhododendron is DOOMED.
There is no effective chemical treatment for honey fungus once it has established in a plant, so removal of the affected specimen, including as much of the root system as practically possible, is the honest recommendation. Do not compost the removed material. Replanting a susceptible species in exactly the same spot carries real risk, since the fungus persists in any woody root material left behind in the soil, though rhododendrons themselves are considered only moderately susceptible compared with some other garden shrubs and trees, so an isolated case does not necessarily mean the whole bed is doomed.
It is also worth mentioning here that some rhododendrons simply reach a natural end of productive life, particularly older specimens that have been repeatedly cut back hard or that have sat in marginal conditions for many years. If a mature rhododendron shows gradual, even decline across the whole plant with no clear localised cause, no root rot symptoms, and no honey fungus present, this is sometimes simply the plant reaching the natural end of its vigorous years, and a good hard renovation prune combined with a proper feeding and mulching regime is often the best remaining option rather than chasing a single diagnosable cause.
If your rhododendron is struggling but still has living stems and some green foliage, work through this sequence in order before giving up on it. Most rhododendrons are more resilient than they look once the actual cause is correctly identified and addressed.
Step 1: Test the soil pH. This is quick, cheap, and rules out the single most common long-term cause of rhododendron decline in or out immediately. If the reading comes back above 6.5, treat with sequestered iron for a garden-planted specimen or move to ericaceous compost and rainwater for a container plant.
Step 2: Check the drainage. Push a finger into the soil around the root zone. If it feels cold, wet, and squelchy well below the surface, or water is visibly pooling after rain rather than draining away, improve drainage before doing anything else, and dig gently near the stem base to check for the reddish-brown staining that indicates phytophthora root rot.
Step 3: Assess the position. Is the plant in full, unbroken sun or an exposed, windy spot? If yes, and the plant is otherwise young enough or small enough to move, autumn or early spring is the best time to transplant it to a more sheltered position with some dappled shade.
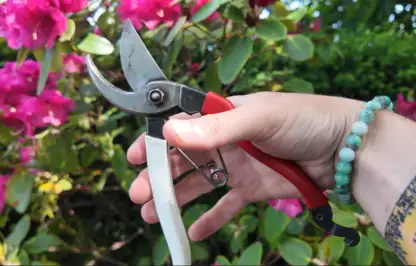
Step 4: Remove all dead and affected material. Use clean, sharp secateurs to cut back any branches that are brown and snap rather than bend, cutting back to a point where you can see healthy green tissue and a live bud beneath the bark. Dispose of the removed material carefully rather than composting it, particularly if disease is suspected. My separate guide to pruning and deadheading rhododendrons covers the full technique for shaping and renovation once the plant is back in reasonable health.
Step 5: Mulch generously. Apply 5 to 8 centimetres of composted bark, pine needles, or leaf mould over the root zone, keeping it clear of the main stems. This single action helps with drought protection, wind and frost insulation, and gradual pH management all at once, and is one of the best things you can do for a struggling rhododendron regardless of the underlying cause.
Step 6: Feed appropriately and be patient. Once the plant shows signs of new growth, apply a proper ericaceous fertiliser in spring and again after flowering. Avoid feeding a severely stressed plant heavily until you see clear recovery, since pushing growth before the roots have re-established tends to set the plant back further. Rhododendrons are slow, deliberate growers even when healthy, so give a recovering plant a full growing season before judging whether your intervention has worked.
Uniform yellowing that includes the leaf veins usually points to waterlogging or root damage. Yellowing that leaves the veins visibly green, known as interveinal chlorosis, is almost always iron deficiency caused by alkaline soil or hard tap water. Test your soil pH, switch container plants to rainwater, and treat with a sequestered iron product if chlorosis is confirmed.
If this happens during cold weather and reverses once temperatures rise, it is a completely normal protective response to cold and frost, not a sign of a problem. If the drooping and curling persists regardless of temperature, or happens in warm weather, look instead at drought stress, transplant shock, or root problems such as waterlogging or phytophthora.
A rhododendron that failed to flower usually had its buds either fail to form properly the previous summer or be damaged before opening. The most common causes, in order of frequency, are bud blast fungal disease, frost damage to developing buds in an exposed east-facing position, drought stress the previous summer, or overly vigorous pruning at the wrong time of year that removed the following year’s flower buds. Work through the diagnosis table at the top of this guide to narrow down which applies.
Growing a rhododendron directly in alkaline garden soil long-term is properly difficult and tends to end in slow decline no matter how much ericaceous feed you apply. The reliable solution in an alkaline garden is a large container filled with ericaceous compost and watered with rainwater rather than tap water, which gives you complete control over pH and produces good results even in the chalkiest gardens.
Dappled or partial shade beneath the canopy of deciduous trees is generally the ideal position, giving protection from full afternoon sun and cold drying wind while still providing enough light for good flowering. Avoid fully exposed, windy sites and avoid deep, unbroken shade, which reduces flowering considerably. My guide to shade loving plants for UK gardens covers other reliable companions for the same conditions.

Join over 100,000 gardeners on YouTube
Free gardening videos from the Garden Ninja, with 8 million views and counting.
Subscribe on YouTube, it’s freeNow your rhododendron is on the road to recovery, why not put that same problem-solving eye to work on the rest of the garden? My online courses walk you through exactly how I approach a new space, from reading the soil and site conditions correctly the first time, to building a planting plan that actually thrives rather than fights the conditions it is in.
With courses starting from just £29, you get access to award-winning design knowledge you can apply to every bed and border, not just the one giving you trouble this week.
For the garden you’ve already got, not the one you’re starting from scratch. Seven checklists and video lessons from BBC Garden Rescue’s Lee Burkhill, built to help you work out what’s worth keeping before you spend a penny.
Garden Design Examples for Small Gardens: 30 Design Templates & Planting Plans: In this online gardening course, I’ll walk you through 30 fantastic garden designs, explaining the logic behind the layout, the plant choices, and take-home tips for applying them in your own garden.
Learn how to transform and design your own garden with Lee Burkhills crash course in garden design. Over 5 hours Lee will teach you how to design your own dream garden. Featuring practical design examples, planting ideas and video guides. Learn how to design your garden in one weekend!
Garden Design for Beginners Online Course: If you want to make the career jump to becoming a garden designer or to learn how to design your own garden, this is the beginner course for you. Join me, Lee Burkhill, an award-winning garden designer, as I train you in the art of beautiful garden design.
🌿 More Plant Care & Diagnostic Guides
Struggling with a different plant, or want to make sure yours never gets to this stage? These are my other complete UK care and rescue guides.
Rhododendrons reward the right conditions with decades of reliable growth and a truly spectacular spring display, and the great majority of problems trace back to just a few things: alkaline or poorly drained soil, an exposed windy or overly sunny position, and stress during the summer months when next year’s flower buds are forming. Test the soil pH first, since it is the quickest thing to rule in or out and the most common underlying cause of a slow, chronic decline. Get the soil, drainage, and position right, and a rhododendron will give you years of dependable, jaw-dropping colour with remarkably little further attention.
For the complete guide to pruning, deadheading, and shaping your rhododendron once it is back in good health, visit my rhododendron pruning guide.
Happy Gardening!

Lee Burkhill, known as the Garden Ninja, is an award-winning garden designer and horticulturist with over 30 years of gardening experience and 15 years as a professional garden designer. A qualified RHS (Royal Horticultural Society) professional, Lee specialises in sustainable garden design and practical horticultural advice. He designs and presents on BBC1’s Garden Rescue and in leading gardening publications. Lee combines three decades of hands-on gardening knowledge with professional design qualifications to help gardeners create beautiful, functional outdoor spaces.
View all posts by Lee Burkhill





JOIN THE NINJAS

Be the first in line for new Guides, Discount codes and Offers