For the garden you’ve already got, not the one you’re starting from scratch. Seven checklists and video lessons from BBC Garden Rescue’s Lee Burkhill, built to help you work out what’s worth keeping before you spend a penny.
69


Quick Answer
Mulching means spreading a 5 to 7cm layer of organic material, such as compost, bark or leaf mould, over weed free, damp soil in April to May or September to October. Keep it clear of stems and trunks. Done properly, it cuts weeding by up to 80 percent, halves summer watering, and steadily improves your soil.
Mulching is hands down the laziest way to dramatically improve your garden, and I mean that as the highest compliment. After thirty-five years designing gardens professionally, the gardeners with the best-looking borders and healthiest plants are consistently the ones who have mastered this one simple technique.

Mulching your garden involves spreading a 5-7cm layer of organic material, such as compost, bark, or leaf mould, over the soil surface. This protective blanket transforms your beds by slashing weeding time by up to eighty percent, cutting your watering needs in half during summer droughts, and steadily improving your soil without you lifting a spade. It is the ultimate work smarter, not harder gardening technique.
Whether you are growing vegetables, establishing new flower borders, or maintaining established shrub beds, mulching delivers results that feel almost unfair. Your neighbours will be spending hours weeding and watering whilst your plants thrive with minimal effort. This complete guide covers everything you need to know: which mulches work best for different plants, exactly when to apply them in the UK, how much you actually need, and the critical mistakes that waste your time and money.
Let me show you how to mulch properly so you can spend less time maintaining your garden and more time actually enjoying it.
This page contains affiliate links for products I use and love. If you take action (i.e. subscribe, make a purchase) after clicking a link, I may earn some gardening commission which helps me keep the Garden Ninja Blog free for all.
Mulching is spreading a 5 to 7cm layer of material, such as compost, bark or leaf mould, over bare soil to suppress weeds, retain moisture and protect plant roots. It is one of the simplest, most effective jobs in the whole gardening calendar.
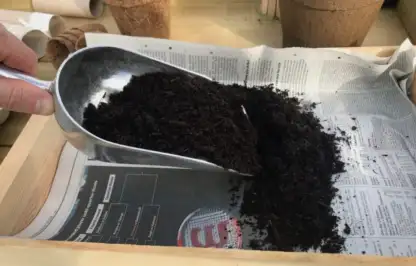
Think of mulch as a breathable blanket that sits on top of your soil rather than being dug into it. It can be organic material like compost, bark, or leaf mould that breaks down over time, or inorganic material like gravel or slate that stays put. The key is that it covers bare soil to lock in moisture, suppress weeds, regulate temperature, and, if it is organic, gradually improve soil structure as it decomposes.
Usually, it is organic, such as compost, leaf mould or bark, but it can be gravel based if you would rather have a permanent, non-feeding option. This can be added around the base of specific plants or across entire garden beds.
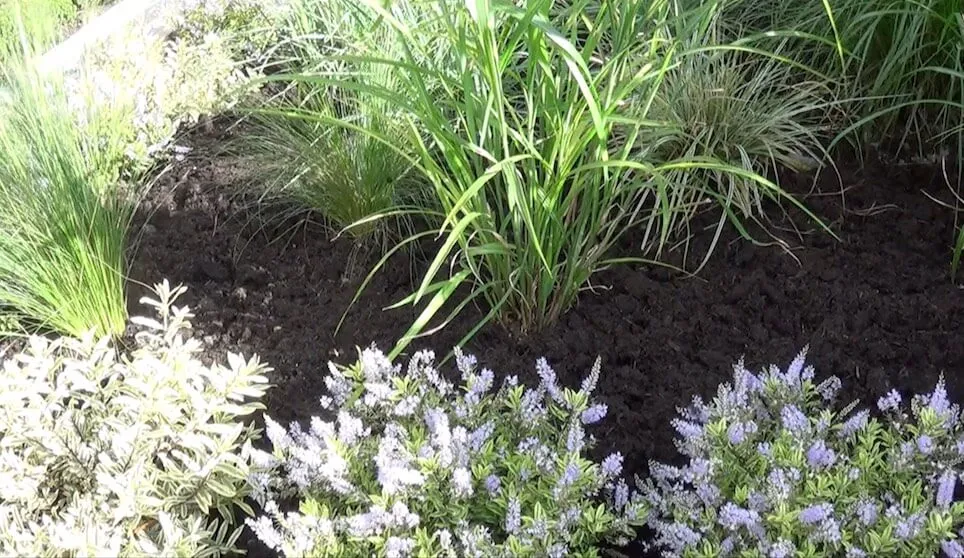
Compost is fully decomposed organic matter you dig into the soil to improve its structure and add nutrients. Mulch is a material spread on top of the soil surface rather than incorporated into it. Compost can be used as mulch, but not all mulch is compost, bark chips being the obvious example. In short, compost is added to the soil, and mulch is applied to the surface. I cover the full comparison, including costs and a layering method that uses both, in my dedicated compost vs mulch guide.
Mulching is relatively easy to do and has loads of benefits for your garden and plants. By mulching your plants, you can save time during the summer with watering and feeding. You can mulch by hand or with a trowel. The aim is to cover the soil around all of the plants and the rest of the exposed soil surface.
That is it. A couple of hours of work once or twice a year saves you dozens of hours weeding and watering all season. I usually mulch the entire bed to maximise the benefits. The most important thing is to weed the beds thoroughly beforehand, or the weeds will carry on thriving underneath, especially once they are being fed and kept moist by the mulch above them.
Aim for 5 to 7cm (2 to 3 inches) as your standard depth across borders and beds. That is deep enough to block light from weed seeds and slow evaporation without smothering anything sitting close to the surface. Where weed pressure is heavy, such as a bed that has been neglected or backs onto rough ground, go to 7 to 8cm. The one exception is grass clippings, which should never go on thicker than 2cm, since anything more mats together and turns slimy.
If you do not mulch deep enough, the benefits fall away sharply. A thin scattering of mulch looks tidy for a fortnight and then does almost nothing: light still reaches the soil, weed seeds still germinate, and moisture still evaporates at close to the uncovered rate. Skimping on depth to make a bag go further is a false economy, since you end up buying and applying mulch twice as often for a fraction of the benefit.
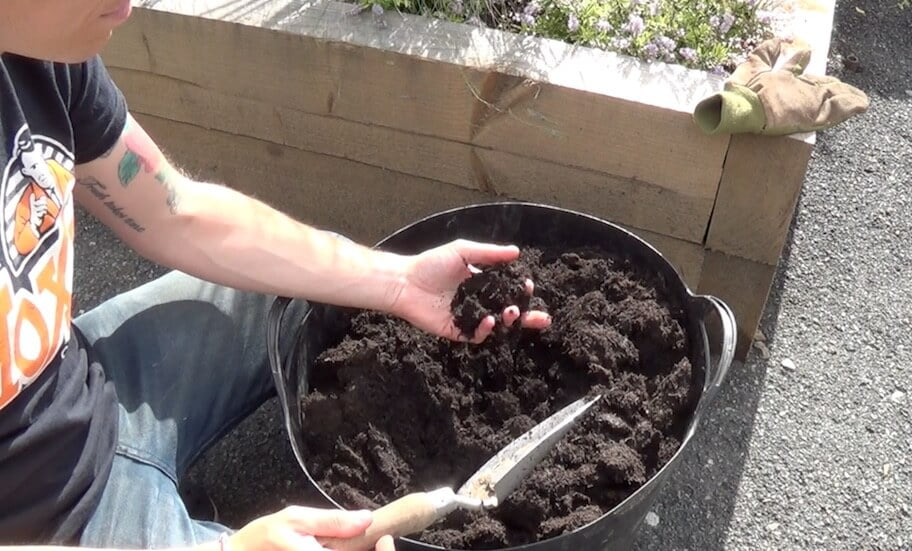
When you are mulching around individual plants rather than a whole bed, apply the same 5 to 7cm depth in a ring around each one, keeping it clear of the stem as covered further down this guide. It is worth spending the extra few minutes getting the depth right, since this is the single biggest reason mulch either works brilliantly or barely at all.
The best times to mulch in the UK are mid to late spring (April to May) and autumn (September to October).
Spring mulching is brilliant because the soil has warmed up but has not dried out yet, and you are getting ahead of summer weeds before they germinate. Autumn mulching protects plant roots through winter and gives organic matter time to break down, ready for spring growth. Avoid mulching when the ground is frozen solid or completely dry, since you will trap cold in the soil or waste the moisture-retaining benefits.
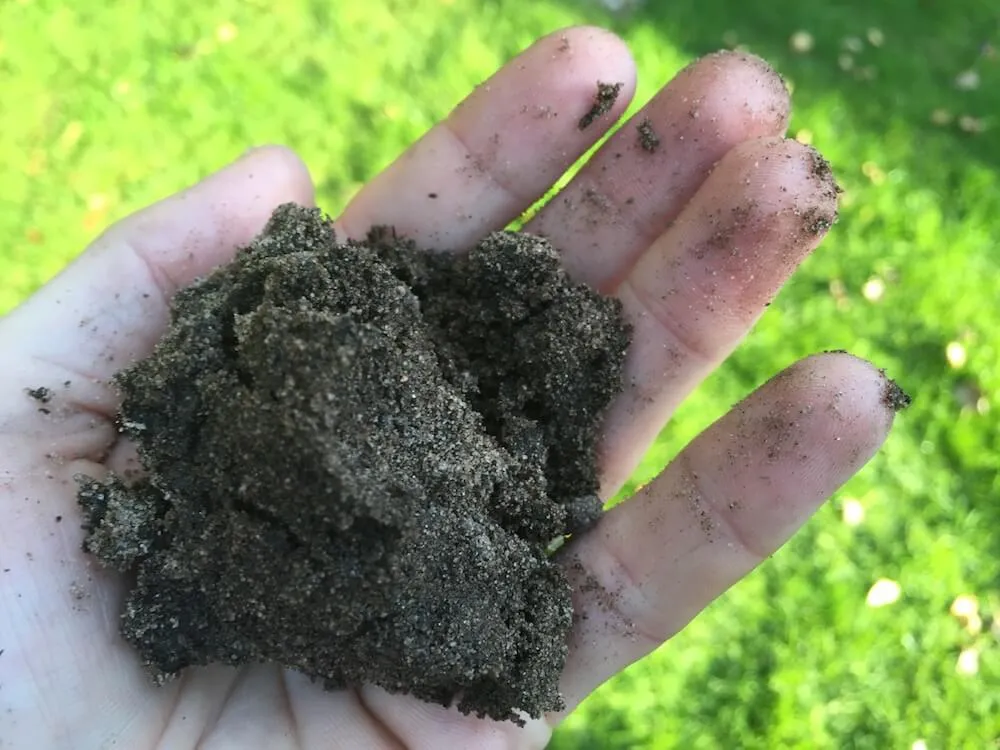
October and November are one of the two best windows to mulch, yet it is the one most gardeners forget about once the summer displays are over. Every autumn I mulch my own borders once the first proper rain has soaked the ground, and it is one of the most useful hours I spend in the garden all year.
Wait for that first decent autumn downpour rather than mulching bone dry September soil. Once the ground has taken a good soak, spread your mulch straight on top while it is still warm from the summer. This traps that moisture in for the whole winter and gives worms and soil organisms a head start pulling organic matter down before the cold really sets in.
Autumn is also when you have a free source of mulch falling out of the sky. Fallen leaves, either run over once with the mower to shred them or piled up to make leaf mould over the following year, are one of the best autumn mulches going, and it costs nothing beyond the time it takes to rake them up.
On clay soil in particular, an autumn mulch does a lot of the structural work that digging would otherwise achieve. Worms drag the organic matter down through the winter, and by spring you have a noticeably more open, workable soil without having lifted a spade. If you only mulch once a year, this is the application that gives you the most for the least effort, since it is working on your soil all winter while you are doing very little else in the garden.
There is one deliberate exception to the “keep it off the crowns” rule I stress throughout this guide, and it applies specifically to autumn. Borderline hardy plants such as Dahlias left in the ground over winter, Agapanthus, and some tender perennials benefit from a dry mulch mounded directly over the crown, rather than kept clear of it, purely for frost protection. Use a dry material such as bark, straw or bracken rather than wet compost for this job, since the aim is insulation, not feeding, and remove or pull it back in spring once the frost risk has passed.
For effective weed suppression and moisture retention, you need mulch at least 5 to 7cm (2 to 3 inches) deep across the entire area. As a rough guide, one cubic metre of mulch covers about 14 to 20 square metres at this depth range, or one 70-litre bag covers roughly one square metre at 7cm. Use my calculator below to work out quantities for your own beds, or use the formulas underneath it.
Work out exactly how much mulch you need for your garden beds
One cubic metre of mulch covers approximately 14 to 20 square metres at 5 to 7cm depth. So if your bed is 10 square metres, you need roughly half a cubic metre. If it is 40 square metres, you need about 2 to 3 cubic metres.
For bagged mulch, one standard 70-litre bag covers about one square metre at 7cm depth. So for that 10 square metre bed, you would need ten bags. This helps you work out whether buying bulk is more economical than bags.
For rectangular beds, it is simple: length × width = area in square metres. A bed 5 metres long by 2 metres wide is 10 square metres.
For irregular shapes, divide the bed into rough rectangles or circles, calculate each area, and add them up. Do not worry about being exact to the centimetre; close enough is fine for mulching calculations.
For circular beds, use the formula: radius × radius × 3.14. A circular bed 3 metres across (radius 1.5m) is about 7 square metres.
At 5cm depth, one cubic metre covers around 20 square metres. At 10cm depth, it covers just 10 square metres. This is why I stress proper depth constantly. Going thin to save money defeats the purpose, and you end up buying more mulch later anyway.
Let us say you need to mulch 40 square metres properly at 7cm depth. That is about 2.8 cubic metres, or roughly 350 litres, of bagged bark.
Working from the cost table below, bagged bark at around £6.50 per 80-litre bag works out at roughly £160 to cover that area. Bulk bark delivered at around £100 per cubic metre works out at about £280 for the 2.8 cubic metres. On the face of it bags look cheaper here, but that gap narrows or reverses once you are covering more than about 15 to 20 square metres in one go, since bulk pricing per cubic metre tends to fall as the load size increases and you avoid paying for bag packaging on every unit. Always get an actual delivered quote for your own quantity rather than assuming bulk is automatically cheaper.
The downside of bulk is that you need somewhere to store a large pile of mulch and the physical capacity to shift it around your garden with a wheelbarrow. Bagged lets you work bit by bit over several weekends if needed.
This is one of the questions I get asked most on site visits, and the honest answer is that it depends entirely on where you source your mulch from. I have worked on gardens where the mulch cost next to nothing and others where a good quality bulk delivery was the better investment. Here is how the main options compare in 2026.
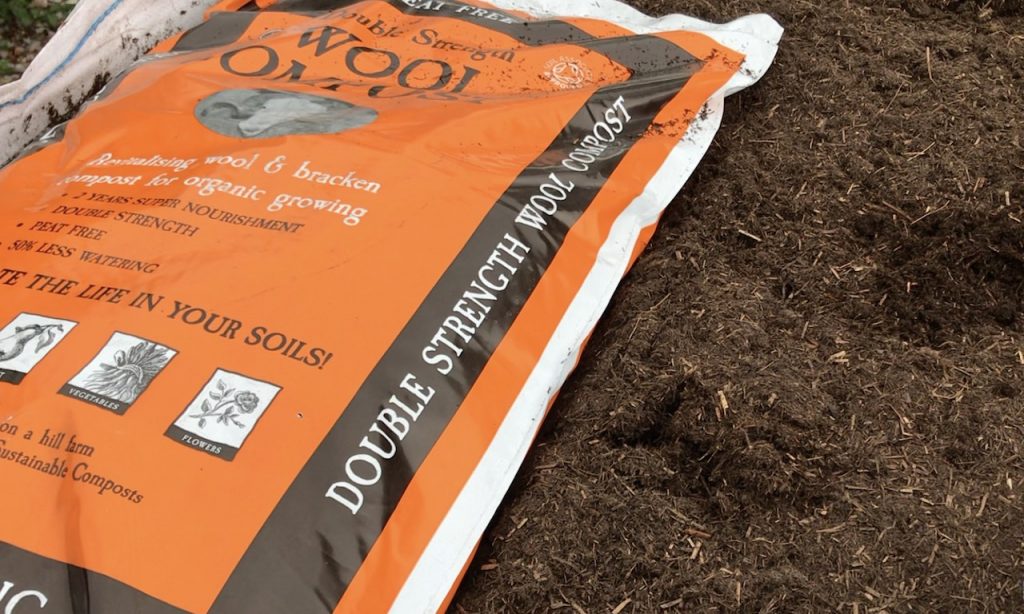
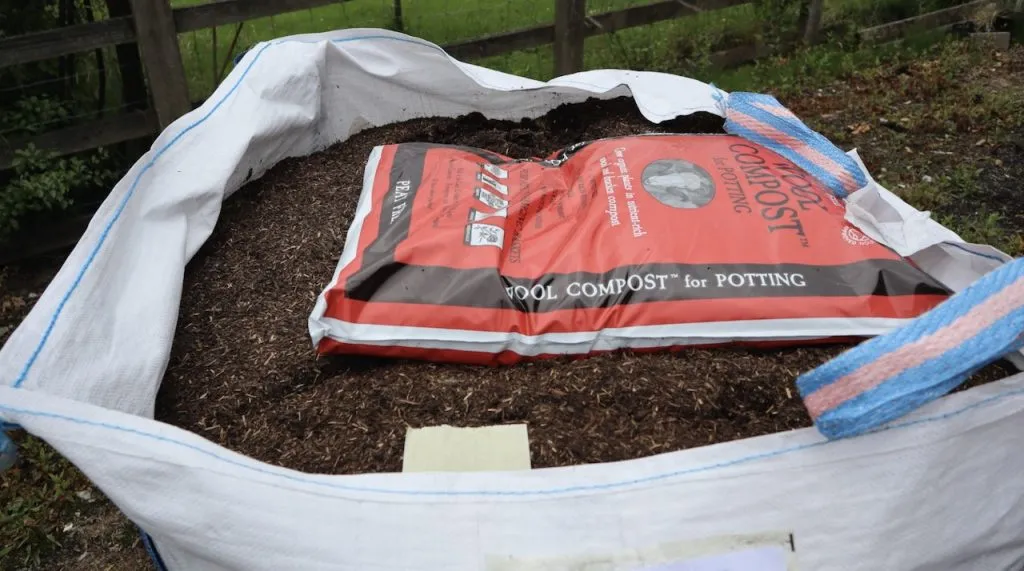
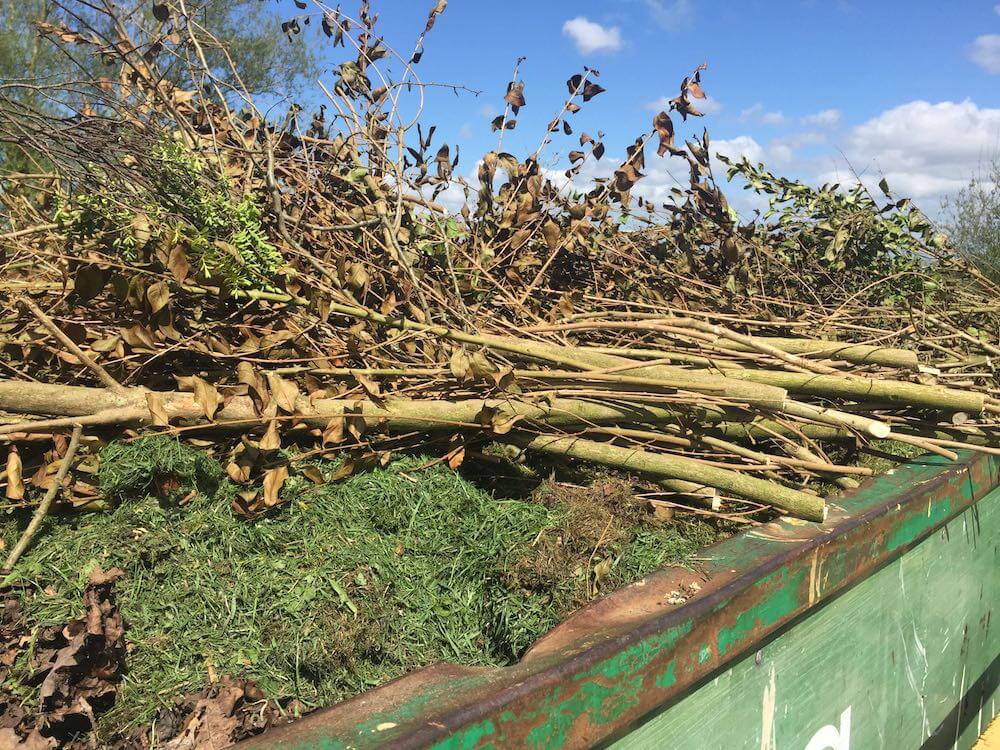
The cheapest mulch is almost always the mulch you make or source locally rather than the mulch you buy in bags. Most councils run green waste recycling schemes where composted material is sold back to residents at a fraction of garden centre prices, and some sites will let you collect it for free if you bring your own containers. Tree surgeons are another excellent source; a lot of them are happy to drop off a load of fresh woodchip free of charge simply to save themselves a tip run, though remember that fresh woodchip needs to go around established trees and shrubs rather than vegetable beds, for the nitrogen robbing reasons I have covered further down this guide.
If you are ordering bulk mulch by the cubic metre, it is always worth asking a neighbour if they want to split a delivery. Bulk hauliers usually charge a flat delivery fee regardless of quantity within a certain range, so two households sharing one load can end up paying considerably less per cubic metre than either would ordering alone.
Mulching offers several benefits for your garden, flower beds, and overall soil health. It is one of the most cost-effective techniques available to garden designers and horticulturalists. Here is a closer look at each benefit.
Mulching retains water, which is especially valuable given the effects of climate change on UK summers. In hot weather, you will need to water less, and plants are less susceptible to wilting, because mulch helps prevent water from evaporating off the soil surface.
Organic mulch, such as compost or recycled green waste, slowly releases nutrients into the soil over an extended period. This can reduce or even remove the need for additional fertilisers.
This can save money and time, since applying mulch in autumn and spring reduces how often you need to spot feed throughout the season.
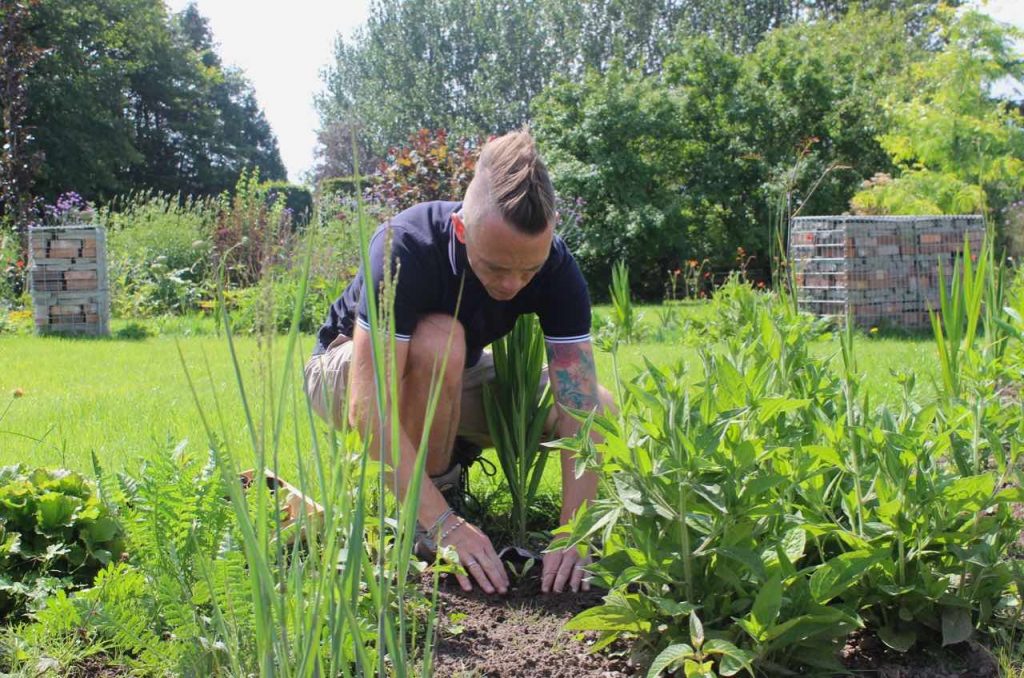
Organic mulches, in particular, improve the crumb structure of the soil. Earthworms and microorganisms break down organic matter, such as compost, and pull it down into the soil. This activity helps aerate and break up the soil.
This can reduce the amount of digging required and can help reduce carbon dioxide release from disturbed soil. It is a great way to improve the structure and texture of your soil without ever having to lift a spade.
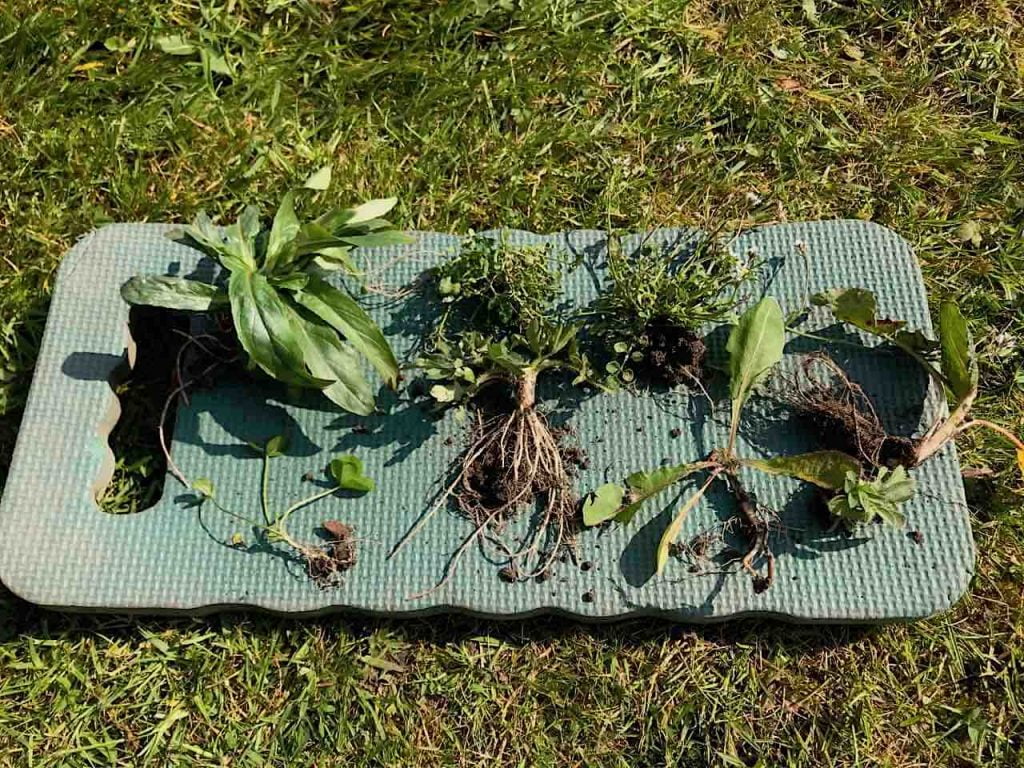
Mulching also helps reduce weeds, especially gravel-based mulches. I am keen to stress that when mulching, you should always start with a weed-free flower bed. Weed germination needs fine, disturbed tilth for the seeds to take root, which is why freshly cleared ground so often ends up with a fresh flush of opportunistic weeds if it is left bare.
Mulch removes that opportunity, making it much harder for new weeds to establish. If any weeds do appear, they are far easier to spot against dark mulch, since they stick out like a sore thumb and can be pulled quickly before they get going.
Most articles on mulching only tell you the good news, but after thirty-five years of doing this professionally, I would rather you went in with your eyes open. Mulch is brilliant, but it is not without its drawbacks, and being upfront about them saves you a few headaches.
Slugs and snails. A damp, sheltered mulch layer is exactly the habitat slugs and snails favour, particularly bark and compost mulches in the shadier, wetter parts of a garden. This is precisely why I recommend waiting until seedlings have several sets of leaves before mulching around them, since young growth is what they target first. Gravel mulch is considerably less hospitable to slugs if this is a recurring problem in your garden.
Upfront cost. Doing mulch properly, at the depth this guide recommends, across an entire garden is not free, and a bulk delivery or a season of bagged mulch is a genuine cost to budget for. It pays for itself over a season in saved watering and weeding time, but it is still an outlay, not a free lunch.
Nitrogen tie-up with wood based mulches. Fresh bark or wood chip locks up nitrogen at the surface as it breaks down, which I cover in full further down this guide. It rarely causes serious problems on an established border, but it is worth knowing about before you pile fresh chip around hungry young plants.
Trapping frozen or bone dry soil. Mulch locks in whatever condition the soil is already in. Applied to frozen ground it keeps that ground frozen for longer, and applied to parched soil it can stop rain penetrating efficiently until the mulch itself is saturated. Always mulch onto damp, unfrozen soil rather than either extreme.
Birds scattering it about. Blackbirds in particular treat a freshly mulched bed as an open invitation to forage, flicking material onto the lawn and paths while they search for worms and grubs underneath. There is no real fix beyond raking it back into place occasionally, but it is worth knowing before you mulch right up to a lawn edge.
No, and this is the beauty of organic mulch. As it breaks down, earthworms and soil organisms pull it into the soil where it improves structure and adds nutrients. You top up with fresh mulch once the old layer has decomposed or thinned out.
The only time you would remove old mulch is if it has become compacted and waterlogged, preventing water from reaching the soil, or if you are switching from one mulch type to another for aesthetic reasons. With organic mulches like compost or leaf mould, simply layer fresh material on top as the old mulch breaks down and integrates into the soil.
There are many different types of garden mulch available, depending on the outcome you want. Growing vegetables benefits from nutrient rich mulches, whereas ornamental flower beds often do better with chipped bark for weed suppression or gravel for a permanent, decorative finish.
Mulches are often classified as biodegradable (organic in structure and breakdown) or non-biodegradable (stone, man-made matting, or inert materials). Each has its own set of benefits and drawbacks, helping you pick the right mulch for your garden and flower beds.
Peat-free compost is probably the best all-round mulch, since it contains a good level of nutrients and is easily pulled down into the soil by beneficial bacteria, earthworms and other invertebrates.
Always choose peat-free or homemade compost, as this protects peat bogs, which are being destroyed by commercial peat extraction.
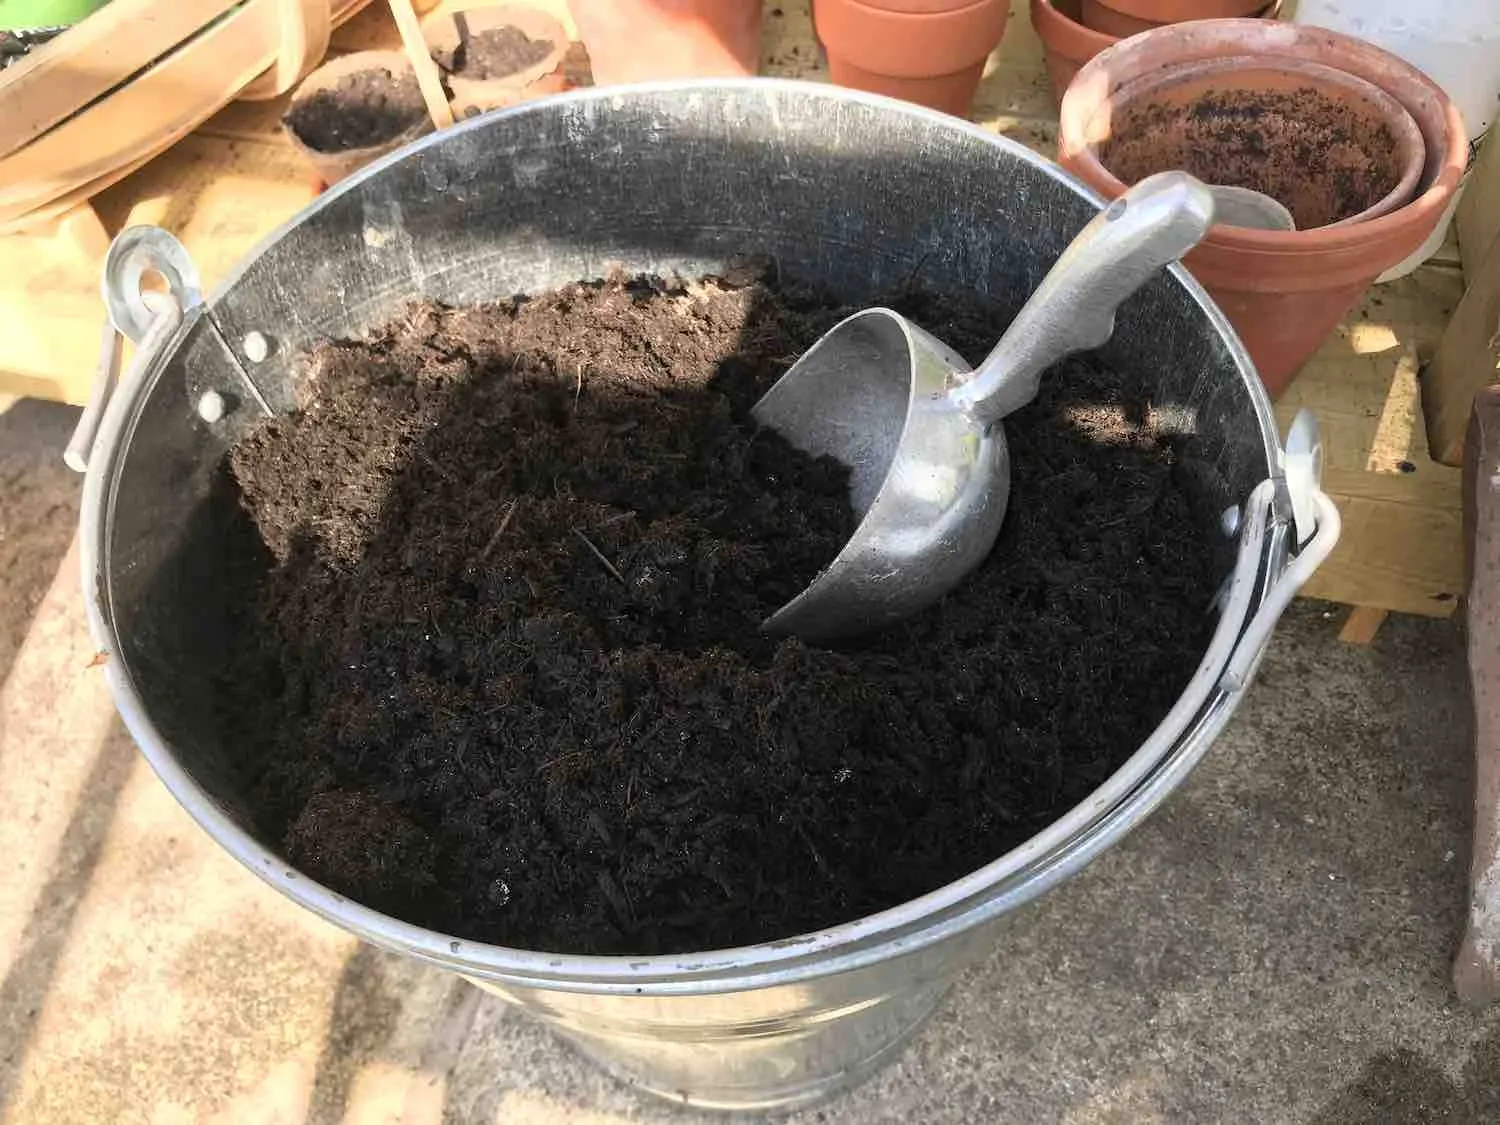
🛒 Buy peat free compost from Amazon UK
Probably one of the best all-round mulches for adding beneficial bacteria and acting as a gentle feed to your soil. Leaf mould is lightweight and very easy to lift and move around the garden.
Leaf mould can be made from fallen leaves and takes about 12 to 18 months to mature. It is a great way to recycle autumn leaves, and it is also excellent for helping germinating seedlings come along.
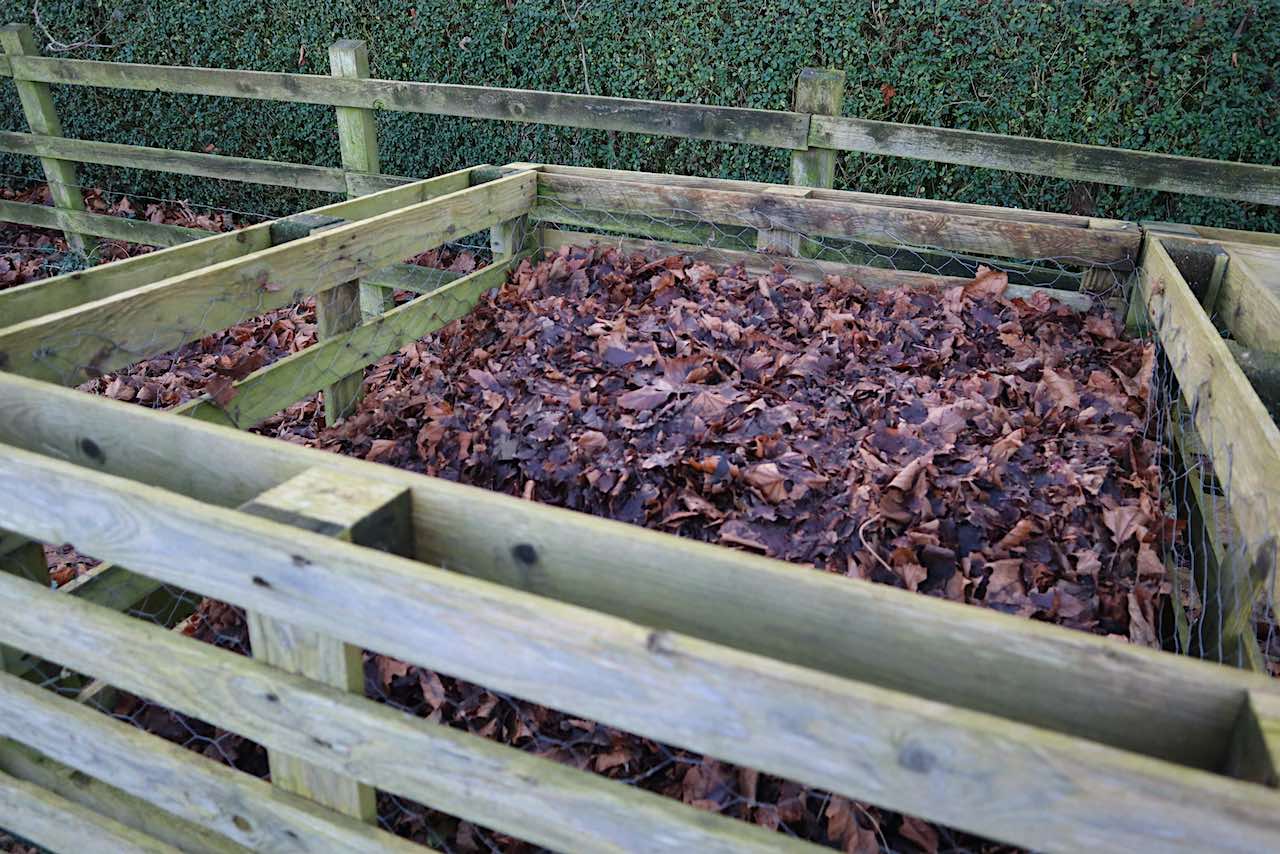
🛒 Buy a leaf mould or compost bin from Amazon UK
Chipped bark or wood chips are great for a decorative look and for holding moisture in the soil. However, as the wood breaks down it can rob nitrogen, a major core nutrient, from the surrounding soil, so if you already have poor soil, this may further reduce your garden’s fertility at the surface. See further down this guide for exactly why wood chips rob nitrogen and how much it actually matters.
Care needs to be taken to balance the feed of the ground to compensate for this, or you can use peat-free compost instead of bark wherever feeding matters more than appearance.
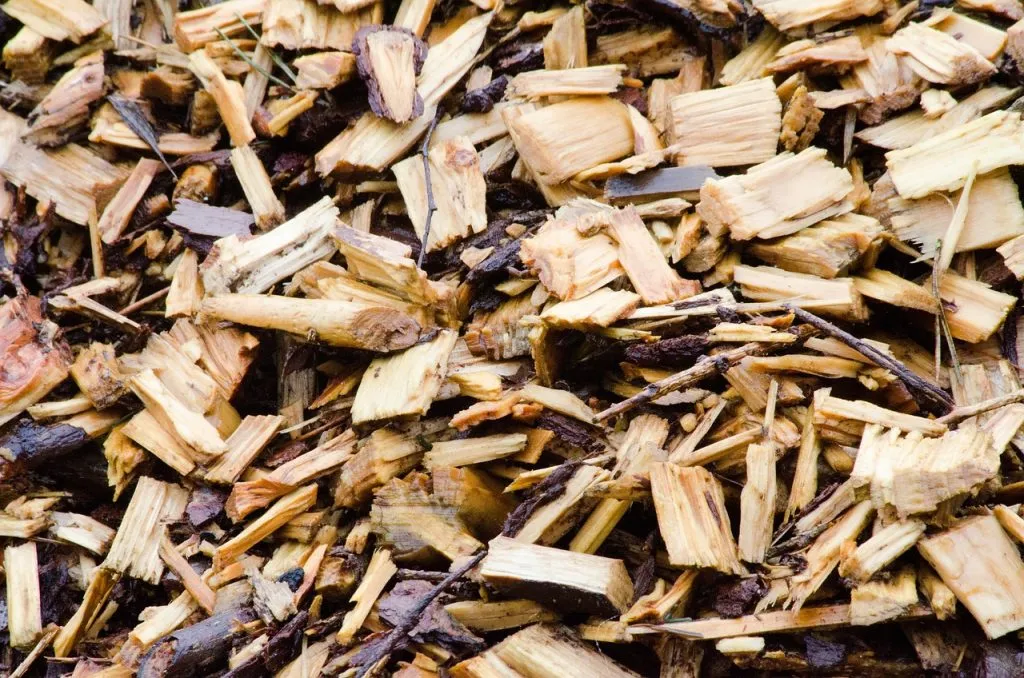
🛒 Buy chipped bark mulch from Amazon UK
Straw can be used as a soil mulch to help keep moisture in the ground, and it is used frequently by allotment owners and homesteaders as a way to reduce watering of garden vegetables. Stick to hay-free straw, since hay carries far more weed and grass seed and will cause you more work than it saves.
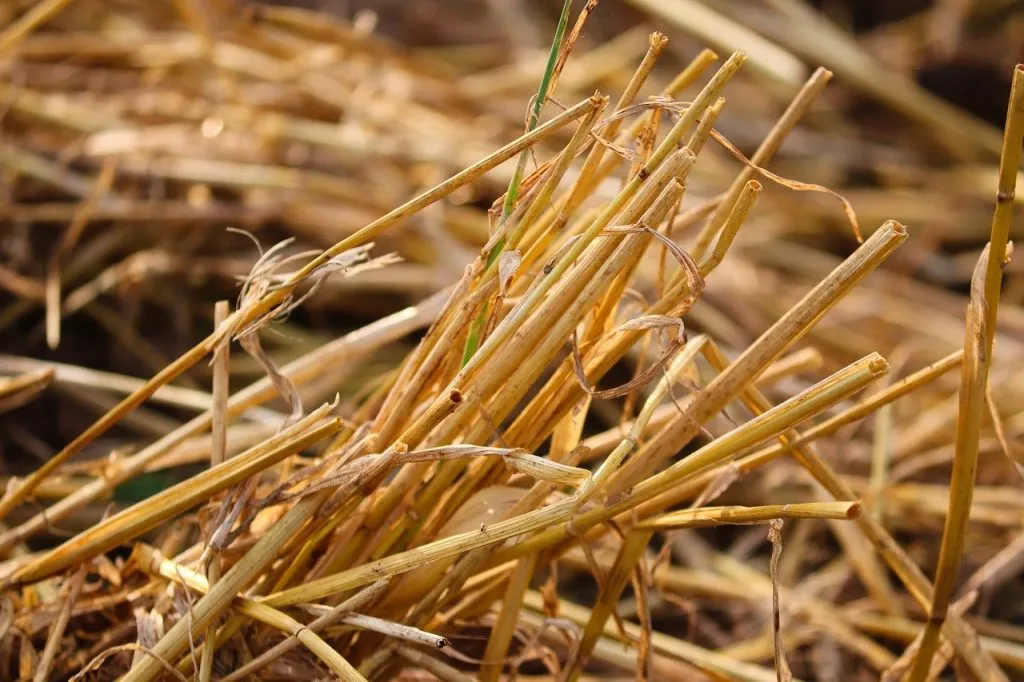
🛒 Buy straw mulch from Amazon UK
Straw mulching does not add much feed to plants and takes a while to break down. Birds and other garden visitors such as squirrels can also make a right mess of it as they dig and peck through it.
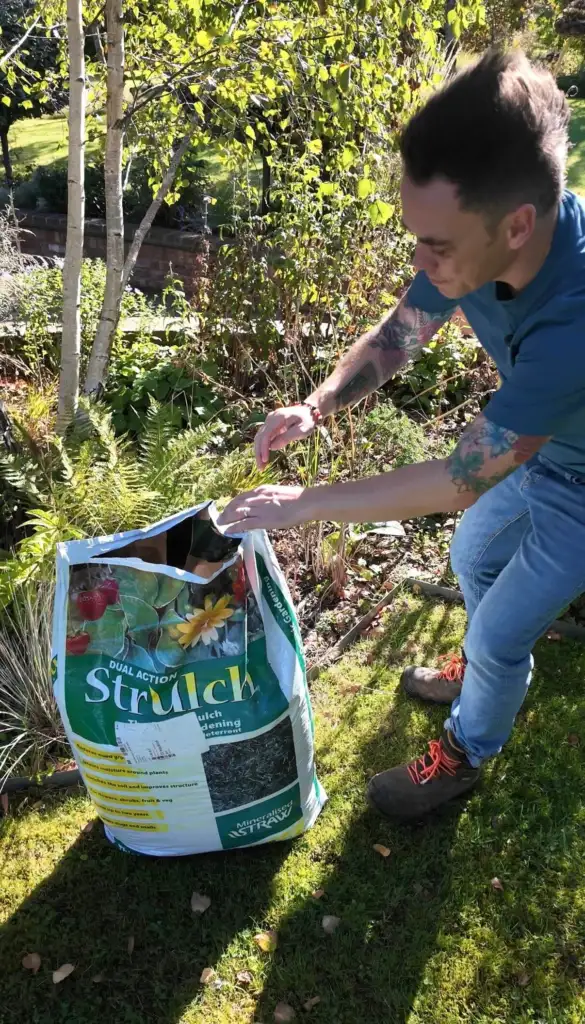
Strulch is a mineralised straw mulch, made from wheat straw that has been shredded and coated with iron oxide. That iron coating is what sets it apart from ordinary straw: it stiffens the fibres so they mat together rather than blowing about, and it is treated so it will not root down or introduce weed seed the way untreated straw sometimes can. It is one of the mulches I use in my own borders each autumn.
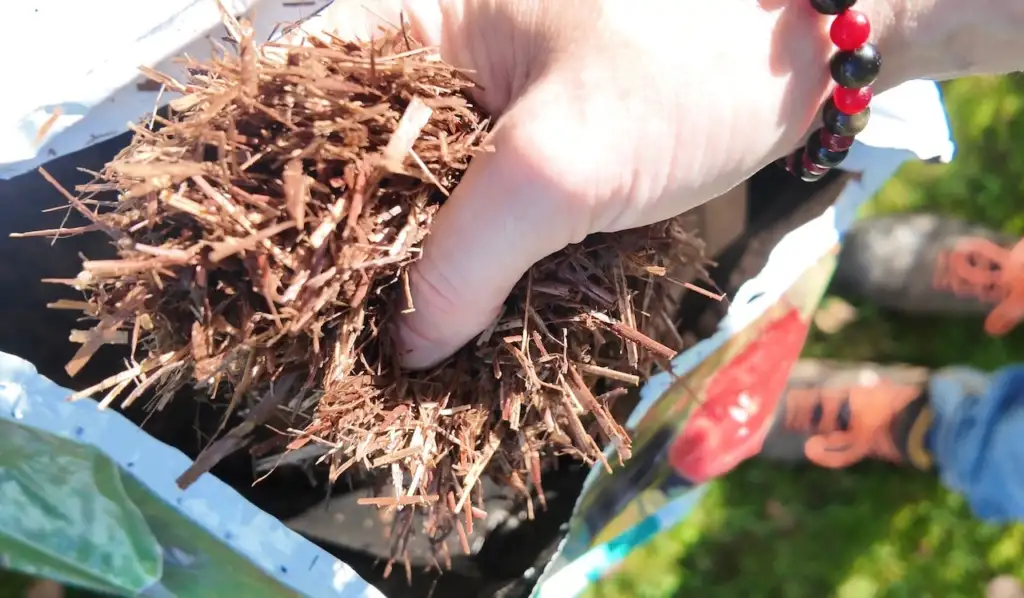
Spread it 5 to 7cm deep and it lasts considerably longer than plain straw, typically two to three years before it needs topping up, while still suppressing weeds and holding moisture well. Slugs and snails also dislike crossing it, which is a genuine bonus around vulnerable young plants such as Hostas. Its rust-brown colour fades to a soft grey over time and sits nicely in both ornamental borders and vegetable beds.
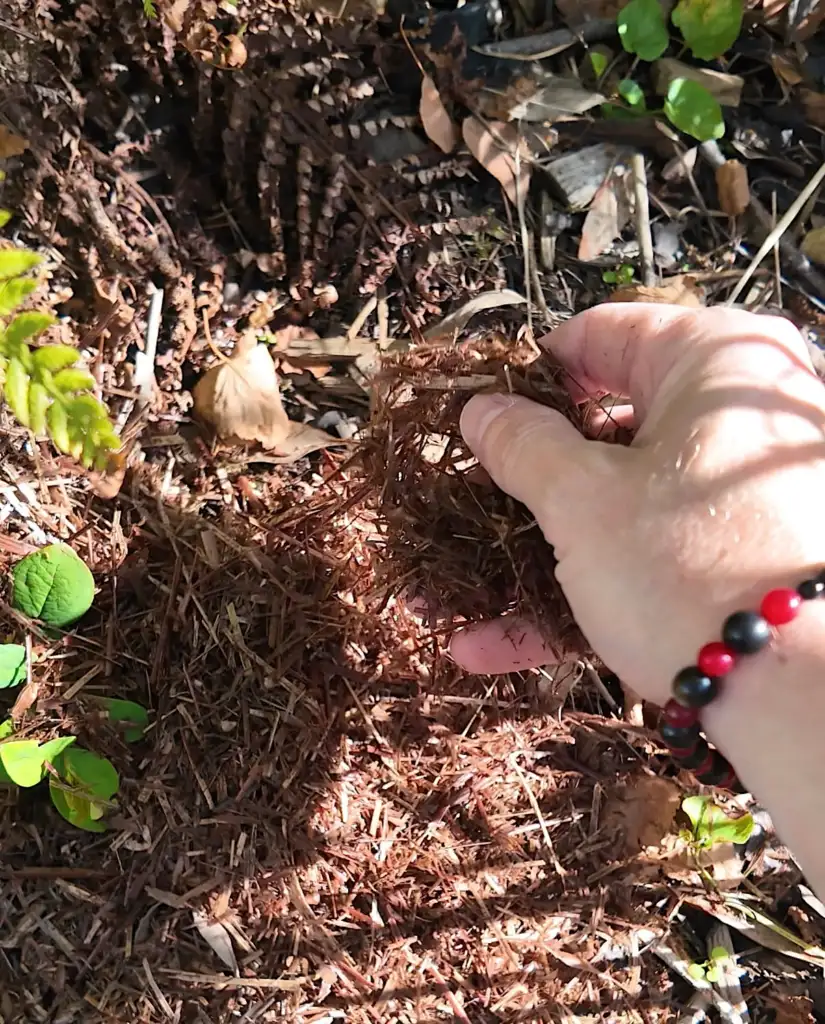
The trade-off is cost. Strulch is more expensive than bark or homemade compost, and, like most straw-based mulches, it has low nutrient value, so it will not feed hungry plants the way well-rotted manure or compost would. I use it where its slug-deterrent and long-lasting qualities matter more than soil feeding, and combine it with a spring feed where plants need the extra nutrition.
🛒 Buy Strulch mulch from Amazon UK
Gravel or stone chippings are particularly useful as a mulch for alpine plants and pond margins, since they reduce soil disturbance and assist with drainage. They contain no organic or nutrient value, so they will not feed your plants, only suppress weeds and retain moisture at the surface.
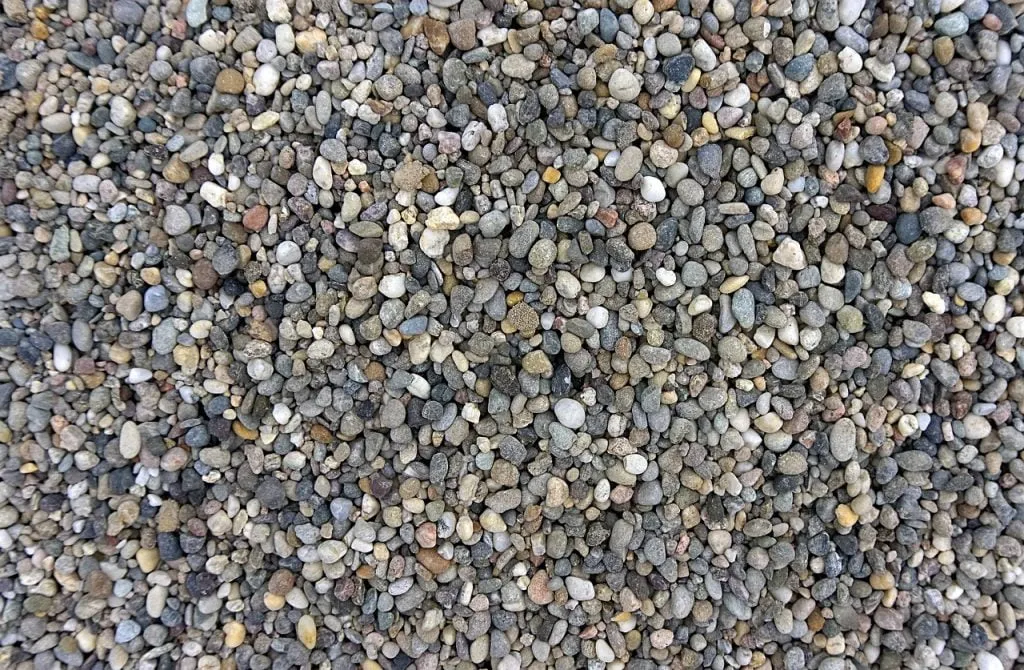
🛒 Buy gravel and stone chippings from Amazon UK
Another form of mulch is landscape fabric or geotextile membrane, usually laid before plants are dug into the ground. It acts as a permeable barrier around plants to control weeds and retain moisture.
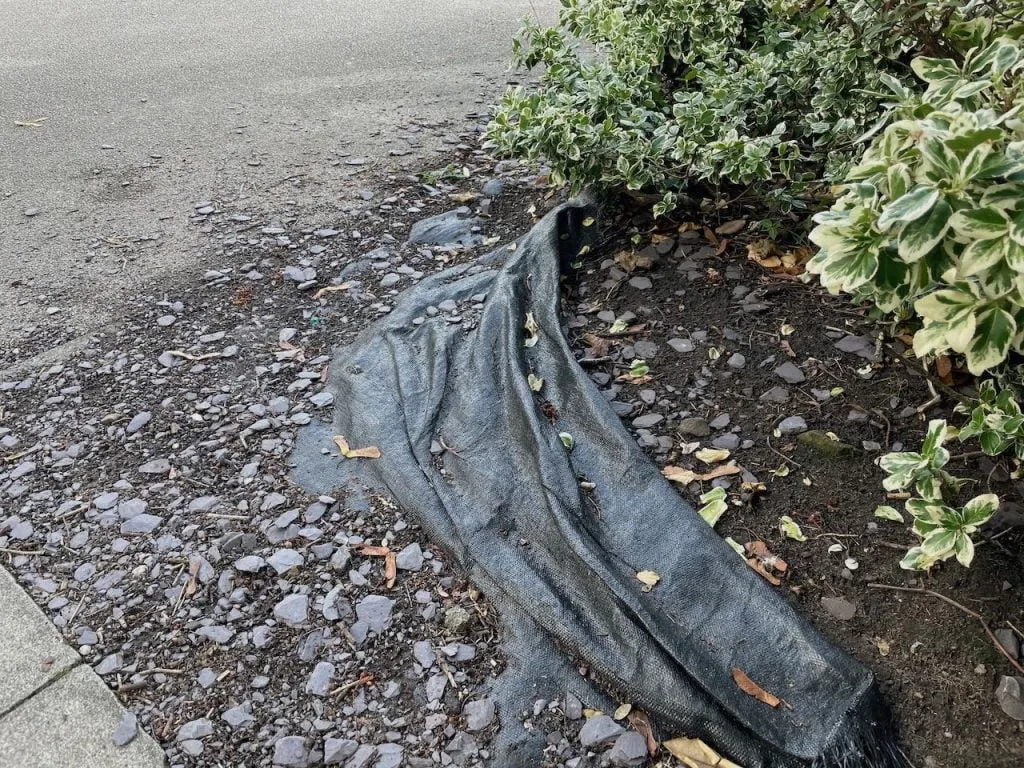
However, there are serious concerns about using plastic-based materials like this, since they cannot be easily recycled and can contaminate the soil and food chains over time. If using landscape fabric, natural hessian is a better alternative, since it will slowly break down rather than persisting in the soil.
🛒 Buy natural hessian matting from Amazon UK
I get asked constantly about the right mulch for specific parts of the garden, and Roses and vegetable beds are by far the two most common questions. Both are hungry, thirsty plantings that reward a proper mulching routine, but the right material differs slightly from a general ornamental border.
Roses are greedy plants that flower best when they are never allowed to go short of moisture or nutrients, which makes them one of the best candidates for a proper annual mulch. Well rotted farmyard manure or a good quality garden compost are my go-to choices for Roses, applied in a 5 to 7cm layer once the ground has warmed in spring. Both feed the plant steadily as they break down, which suits a Rose’s constant flowering demands far better than a purely decorative mulch like bark or gravel.
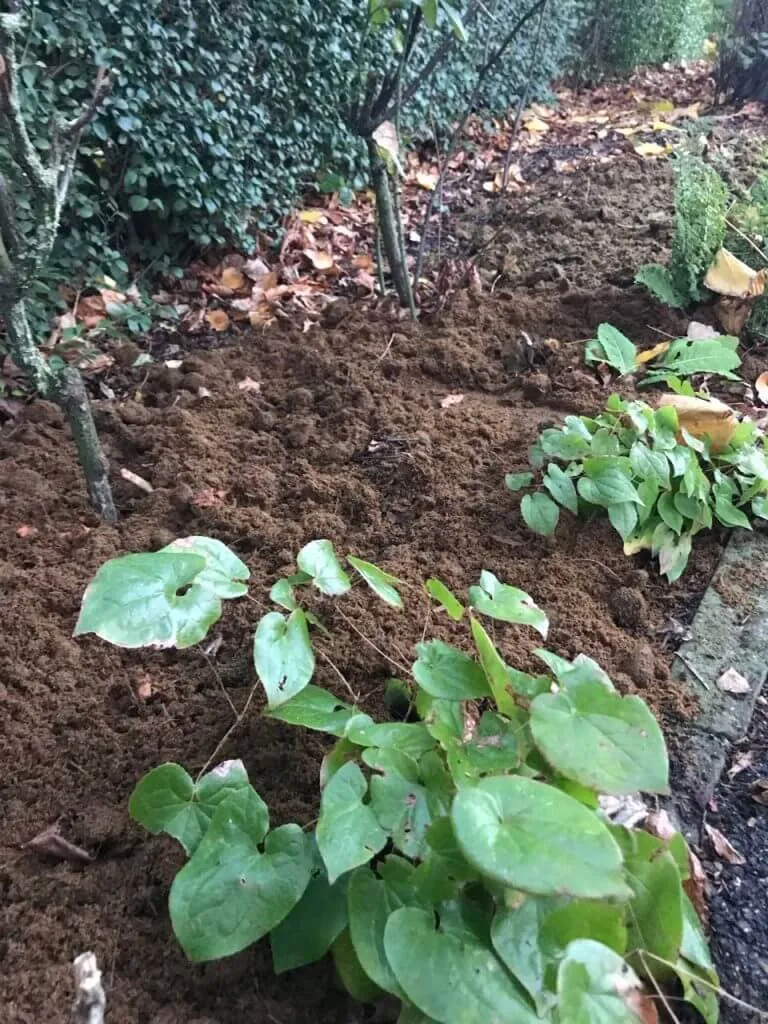
Keep the mulch 5 to 10cm clear of the main stem, exactly as I have stressed throughout this guide, since Roses are just as prone to stem rot and blackspot spreading in permanently damp conditions as any other shrub. If you are mulching Roses at the same time as your annual prune, do the pruning first, clear away any fallen leaves that might be harbouring blackspot spores, then mulch on top of clean soil. For the full technique on timing and cuts, my rose pruning guide covers this in detail.
🛒 Buy well rotted farmyard manure from Amazon UK
Vegetable beds need the most nutrient dense mulch you can get your hands on, since crops remove large amounts of nitrogen, phosphorus and potassium from the soil every single season. Garden compost, well rotted manure and leaf mould are all excellent choices for vegetable beds, while bark and wood chip should be kept well away, since both rob nitrogen from the soil as they decompose, which is the last thing hungry crops need.
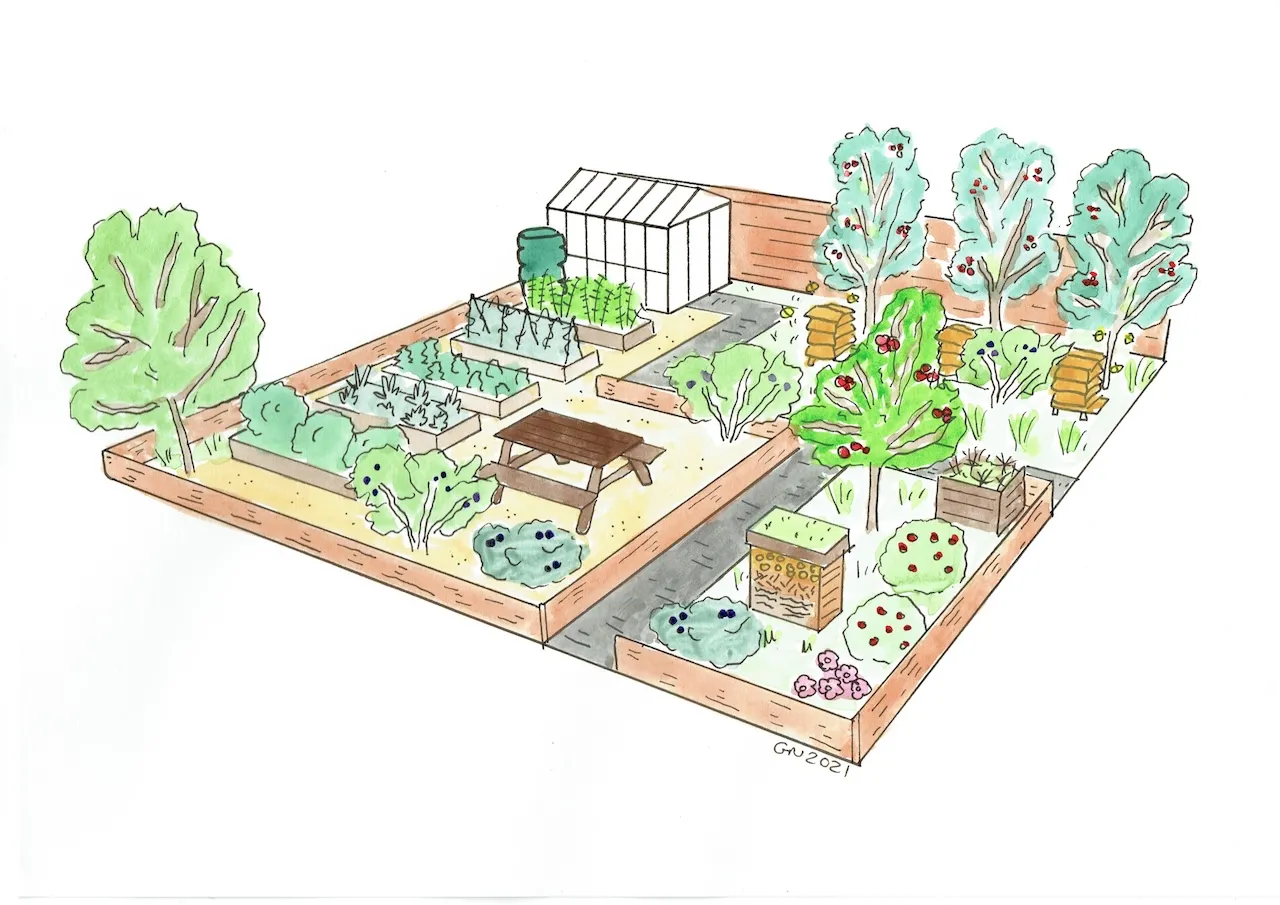
Timing matters more here than almost anywhere else in the garden. Never mulch over freshly sown seed, since it will simply stop germination in its tracks. Wait until seedlings are properly established with a few sets of true leaves, then mulch carefully between the rows, keeping material away from the stems. For established crops like squash, courgettes and beans, mulching in early summer once plants are growing away strongly helps enormously with the additional watering that a dry British summer demands.
Straw remains the traditional choice for strawberries specifically, since it keeps the fruit clean and off damp soil, but for the rest of the vegetable plot I would always reach for compost or well rotted manure first.
Trees, shrubs and hedges are some of the best candidates for mulch in the whole garden, since a well mulched root zone dramatically reduces the watering and weeding a woody plant needs while it establishes. The advice scattered through the rest of this guide comes together into one simple routine here.
For newly planted trees and shrubs, mulch in a ring out to at least the edge of the planting hole, ideally further, using bark, wood chip or compost at 5 to 7cm depth. Keep a clear gap of 15 to 20cm from the trunk of a young tree in its first couple of years, since the bark is still thin and easily damaged by permanently moist mulch sitting against it. As the tree matures and the bark thickens over subsequent years, you can gradually reduce this gap to the standard 10cm used for established shrubs.
For established trees and shrubs, mulch out to the drip line, which is the ring on the ground roughly beneath the outer edge of the canopy, since this is where the actively feeding roots are concentrated rather than close to the trunk. A 10cm clear gap from the trunk or main stems is enough once the bark has hardened. Bark or wood chip are ideal here, since neither needs replacing often and both look tidy under a permanent planting.
For hedges, mulch both sides of the base in a continuous strip rather than individual rings, since hedge roots run along the line of the hedge rather than radiating out from single points. This is particularly valuable in the first two or three years after planting a new hedge, when competition from grass and weeds along the base does the most damage to establishment. Once a hedge is established and has closed over at the base, ongoing mulching becomes far less critical, since the hedge shades out most competition itself.
Never pile mulch up against the trunk or stems of any woody plant in a volcano shape, whatever its age. This is covered in full under the common mistakes section further down this guide, since it is one of the most frequent and most damaging errors I see in gardens and street plantings alike.
This is a common source of confusion, since the word mulching gets used for two completely different jobs in the garden. Everything above in this guide is about spreading material over borders and beds. A mulching lawn mower does something else entirely: rather than collecting grass clippings in a box, it finely chops them and blows them back down into the lawn as it cuts.
Is mulching better for your lawn? In most cases, yes. Finely chopped clippings left on a lawn break down quickly and return nitrogen and organic matter to the soil, which can noticeably reduce how often you need to feed the lawn separately. The key is cutting regularly enough that the clippings are short and fine rather than long and clumpy, since long, wet clumps left on the surface can smother grass and encourage moss and disease rather than feeding the lawn.
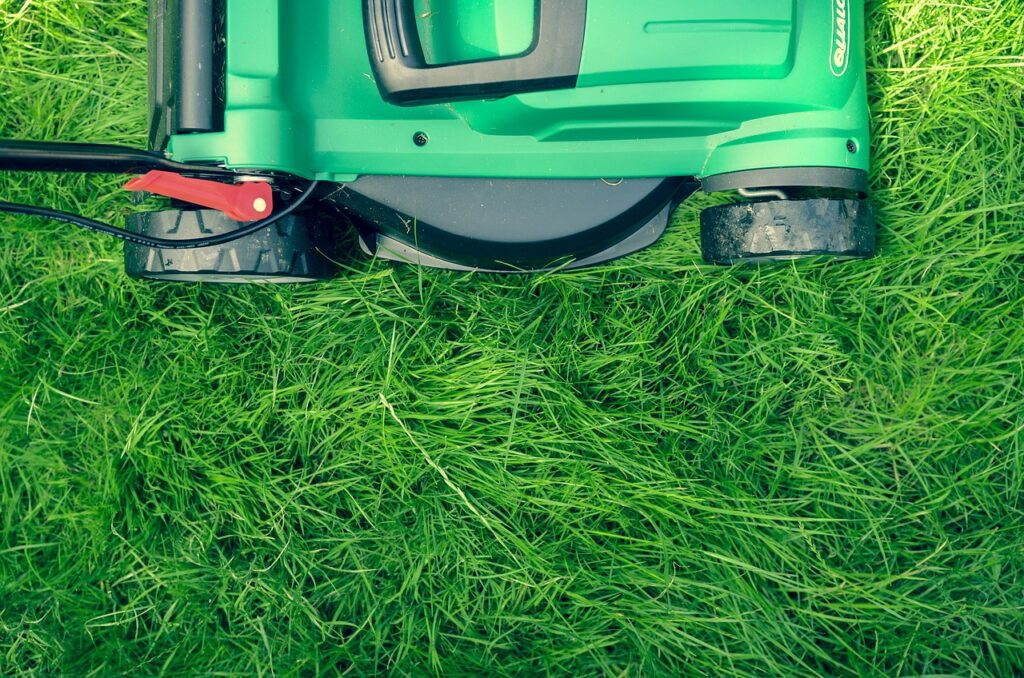
After nearly a decade of testing robot mowers across a huge range of models for this site, mulching is one of the features I look at closely, since a robot mower that mulches well removes the need to empty a collection box entirely and quietly feeds the lawn every single cut. If you are choosing a mower with this feature in mind, my lawn mower buying guide covers what to look for, including which mulching mowers have actually performed well in my own testing.
Not with loose mulch alone. You must start with completely weed-free soil before spreading bark, compost or any other loose mulch, or you are simply feeding the weeds that are already there. Perennial weeds like bindweed, couch grass, and ground elder will punch straight through loose mulch as though it is not there, and even annual weeds already established will thrive under it.
There is one proper exception, and it is one of the most searched mulching techniques for good reason: sheet mulching, sometimes called the no dig method, using a layer of cardboard underneath. Lay overlapping sheets of plain, uncoated cardboard directly over the weeds, water it thoroughly so it beds down and starts to break down, then cover it with a generous layer of compost or bark on top. The cardboard blocks light completely and smothers the weeds beneath it while it slowly breaks down over several months, at which point you have a clean, worked bed with none of the digging that clearing weeds by hand would have taken. This works well for perennial weeds in a new bed, but it is a planned technique using cardboard specifically, not a shortcut for skipping weeding before an ordinary mulch top-up.
Outside of deliberate sheet mulching, clear every last weed first, then mulch to prevent new ones germinating. It is tempting to skip this step, but you will regret it within weeks when you are battling weeds that are now better fed and much harder to spot and remove.
Whilst mulch benefits most gardens, there are specific plants and situations where mulching causes more problems than it solves. Knowing when to hold back is just as important as knowing when to mulch.
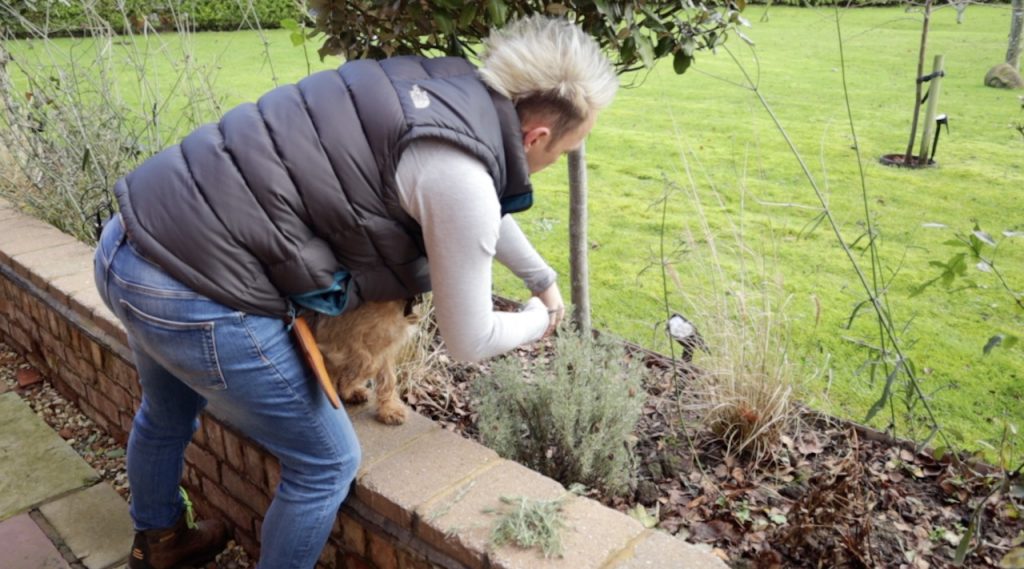
Lavender, Rosemary, Thyme, Oregano, Sage, Cistus, Santolina, and most Mediterranean herbs dislike organic mulch around their stems. These plants evolved in hot, dry conditions with gritty, free-draining soil, and organic mulch keeps things too moist around their crowns and stems, leading to rot and fungal problems.
If you must mulch around these plants, use gravel or grit instead of organic matter, and keep it well away from the stems. These plants are generally happier with bare soil or just a thin gravel mulch for aesthetic purposes.
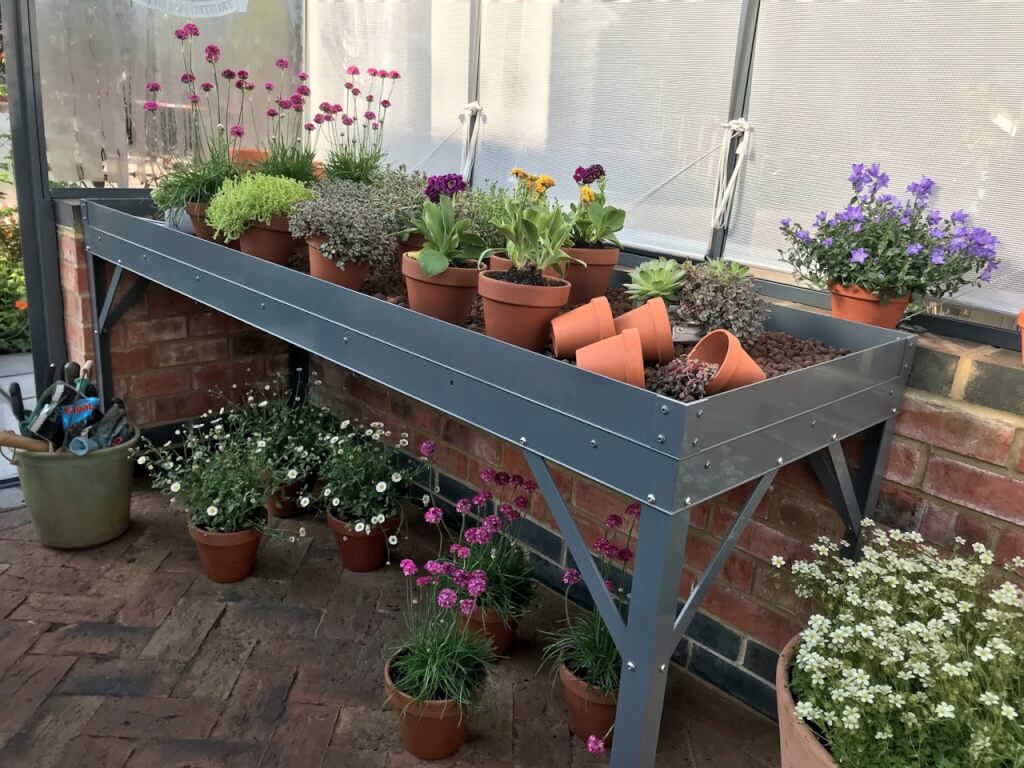
Alpines evolved to grow in rocky, perfectly drained conditions. They cope with extreme cold and snow but cannot tolerate wet, humid conditions around their foliage, and organic mulch creates exactly the wrong environment for them.
Use grit or small gravel around alpines, or no mulch at all. The rock garden or alpine bed should be topped with stone rather than organic matter. If you are growing alpines in containers, a top dressing of horticultural grit serves the aesthetic purpose without causing problems.
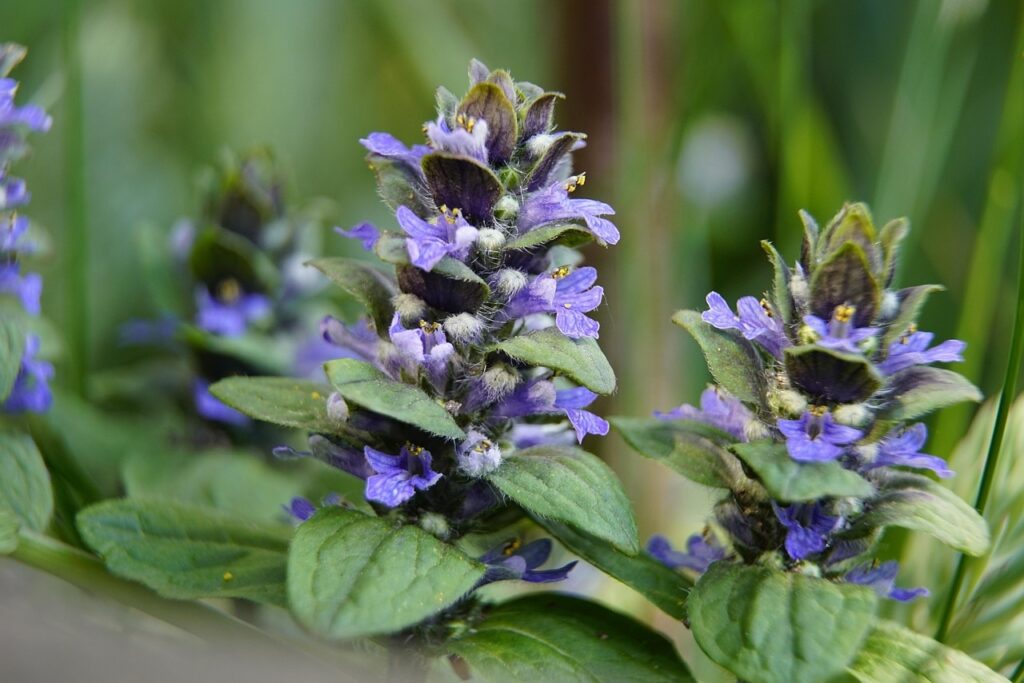
Plants like creeping Thyme, Ajuga, Vinca, Lamium, and other ground covers spread horizontally across the soil surface, rooting as they go. Mulch prevents this spreading behaviour and can actually smother these plants rather than helping them.
Let ground covers do their job as living mulch. Once they have filled in properly, they create their own weed suppression and do not need additional mulching. If you are establishing ground covers in a weedy area, you might mulch very lightly between plants initially, but remove it as the plants fill in.
Avoid mulching areas where you plan to sow seeds directly. Seeds need contact with bare soil to germinate, and most cannot push through even thin layers of mulch. If you are growing vegetables from seed, leave the bed bare until seedlings are well established, then carefully mulch between rows.
The exception is very large seeds, such as beans, squash, and peas, which can tolerate light mulch. Even then, I would wait until they have germinated and the seedlings are a few centimetres tall before mulching around them.
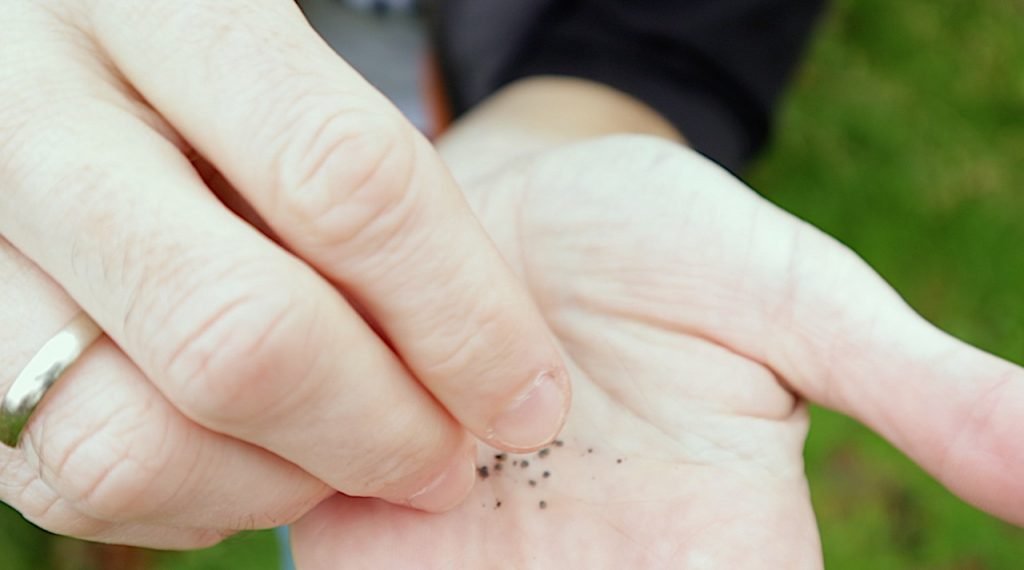
Emerging seedlings are delicate. Mulch can physically prevent them from breaking through the soil surface, or it can harbour slugs and snails that demolish tender young leaves. Wait until seedlings are at least 5 to 8cm tall with several sets of leaves before mulching around them.
This applies to both vegetable seedlings and germinating perennials. Let them get established first, then mulch carefully around them, keeping the mulch well away from the stems.
If your soil remains waterlogged for extended periods or you have serious drainage problems, adding organic mulch makes the situation worse by retaining even more moisture at the surface. The ground becomes a soggy, airless mess where roots cannot breathe.
Fix drainage problems before mulching wet areas. Install drainage, work in plenty of grit or sharp sand to improve structure, or create raised beds that lift plants above the waterlogging. Once drainage is sorted, mulch happily.

Mulch is generally brilliant for trees, but be very cautious with really young, newly planted trees in their first year. Piling mulch against the thin bark of a young tree trunk is asking for trouble, since the bark is too soft and damage-prone.
Keep mulch at least 15 to 20cm away from the trunk of young trees. Create a proper gap, not just a token space. As the tree matures and the bark thickens, you can gradually reduce this gap to 10cm, but always maintain a clear space around the trunk base.
This is one of the most misunderstood aspects of mulching, and it catches many gardeners off guard, often because it gets described in more alarming terms than the science actually supports. Let me explain what is really happening when you use bark or wood chip mulch.
When fresh wood breaks down, soil microorganisms need nitrogen to fuel the decomposition process, and they draw that nitrogen from the surrounding soil. This temporarily locks up nitrogen that would otherwise be available to your plants. The nitrogen is not lost; it is tied up in microbial bodies and will eventually be released back into the soil, but there is a lag period where nitrogen becomes scarce.
This is why you sometimes see plants with yellowing leaves after mulching with fresh wood chips, particularly around young plants that need plenty of nitrogen for rapid growth. The important detail that often gets missed is where this effect actually happens: it is concentrated at the thin boundary layer where the wood is in direct contact with the soil, not throughout the whole depth of soil beneath it. Surface bark left sitting on top of the ground rarely causes a serious deficiency in an established border, since most of a shrub or tree’s feeding roots are below that boundary layer.
The real risk comes from two specific habits rather than from surface mulching in general. The first is digging fresh bark or wood chip into the soil rather than leaving it on top, which mixes the nitrogen-hungry decomposition zone directly through the root area. The second is packing fresh chip tightly around small seedlings or new transplants, whose roots are shallow enough to sit right in that boundary layer. Avoid both, and nitrogen robbing stops being a practical problem for the vast majority of ornamental planting.
Where it is a genuine concern is around vegetable beds and hungry young plants that need consistent nitrogen through the growing season, which is exactly why I recommend compost, well rotted manure or leaf mould for those areas instead of bark or wood chip, as covered earlier in this guide. On an established shrub border, a light annual application of a balanced feed before mulching is enough insurance for most gardens, without needing to avoid bark altogether.
I have been designing gardens professionally for decades, and I still see the same mulching mistakes over and over. These errors do not just reduce the benefits of mulching; they can actually harm your plants or create more work than if you had not mulched at all. Let me save you the grief by highlighting what not to do.
Walk around any suburban neighbourhood and you will see mulch piled high against tree trunks like miniature volcanoes. This is bad for trees. Mulch in direct contact with bark keeps it constantly moist, which causes the bark to soften and rot. Diseases can enter through this weakened tissue, and you will often see adventitious roots growing into the mulch rather than down into the soil where they belong.
Pull mulch back at least 10cm from tree trunks and shrub stems, creating a visible gap. The mulch should look like a doughnut around the plant, not a volcano. I tell clients to imagine the plant needs breathing space around its ankles. This simple change prevents an enormous amount of rot and disease problems.
Mulch locks in whatever moisture is in the soil, so if you mulch when the ground is frozen solid or completely parched, you are trapping those conditions in place. Frozen soil stays frozen longer when covered with mulch. Dry soil stays dry, since the mulch stops rain penetrating efficiently until the mulch itself is saturated.
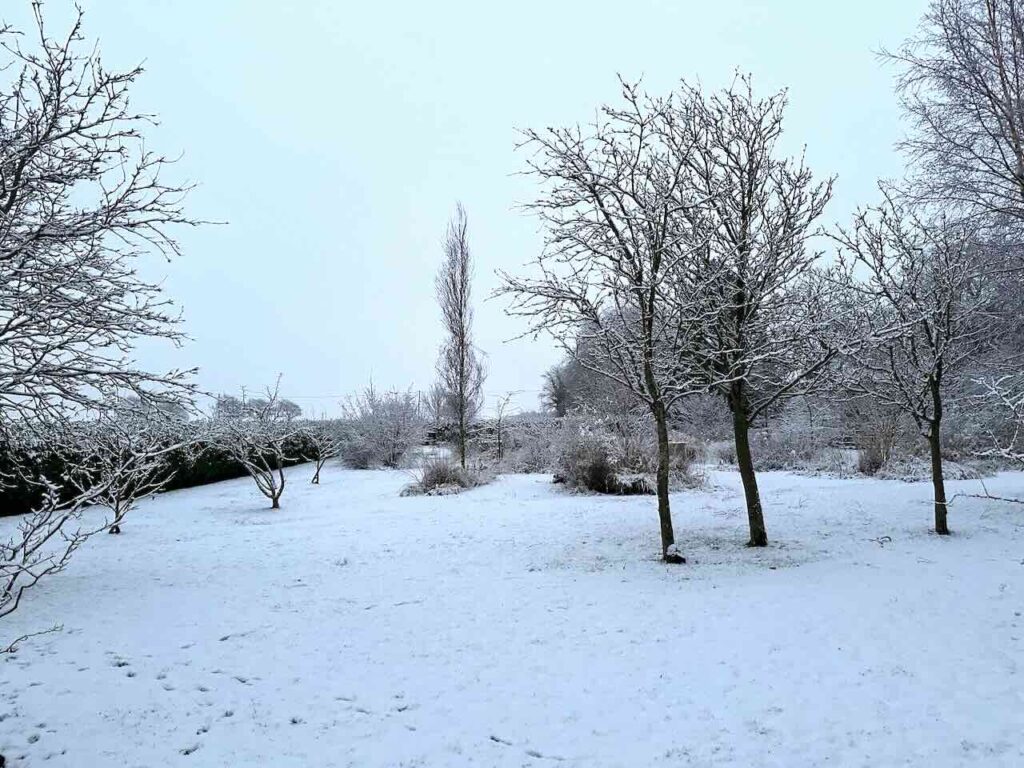
Always mulch onto damp soil. If it has been dry for weeks, water thoroughly first and let it soak in overnight before mulching. If the ground is frozen, wait until it thaws and warms up a bit. Spring mulching works brilliantly in April, since the soil is naturally moist from winter rain but has started warming up. Autumn mulching after the first proper rain is equally good timing, as covered in the autumn mulching section above.
I see so many gardeners spreading mulch maybe 1 to 2cm deep and wondering why they are still getting loads of weeds and the soil dries out just as fast as before. Thin mulch is pointless. You need at least 5cm depth, and preferably 7 to 8cm where weed pressure is heavy, to properly suppress weed germination and make a meaningful difference to moisture retention. The one exception, as covered earlier, is grass clippings, which should stay thin at around 2cm to avoid matting and going slimy.
Yes, this means buying more mulch than you might have planned for. But buying twice as much mulch and doing the job properly is far more cost-effective than buying half the amount you need, achieving no results, and having to do it all again six months later. Go deep or do not bother.
If I had a pound for every time I have seen someone mulch straight over existing weeds thinking the mulch will kill them, I would retire tomorrow. It does not work that way. Perennial weeds will punch through loose mulch without even slowing down, and annual weeds already established will love the extra feeding from organic mulch breaking down around them, as covered in the section above on mulching over weeds.
You must clear every single weed before mulching, every last dock root, every dandelion, every bit of ground elder. Get on your hands and knees and spend the time doing it properly. Only then does mulch work its magic by preventing new weed seeds from germinating. Mulch is prevention, not a cure, unless you are using the cardboard sheet mulching method covered earlier.

Not all mulches suit all situations. Fresh wood chips rob nitrogen from the soil as they break down at the surface boundary, which is fine around established trees and shrubs but a poor choice for vegetable beds where consistent fertility matters most. Gravel around acid-loving plants can slowly raise soil pH if it contains limestone. Straw in ornamental beds looks scruffy and blows about in the wind.
Match your mulch to your plants. Compost for vegetable gardens and hungry perennials. Bark for established shrubs and trees. Gravel for alpines and Mediterranean plants. Leaf mould for woodland plants. There is no one-size-fits-all solution, and choosing incorrectly undermines all your hard work.
Organic mulches break down. That is their superpower and also their limitation. Compost might last a year before it is fully incorporated into the soil, leaf mould disappears in around six months, and even bark eventually breaks down after two to three years. If you are not topping up regularly, you lose the benefits.
Check your mulched areas every spring and autumn. If you can see bare soil through the mulch layer, it is time to top up. Do not wait until the mulch has completely disappeared. Maintaining that protective layer year round is what delivers the long-term soil improvement and weed suppression.
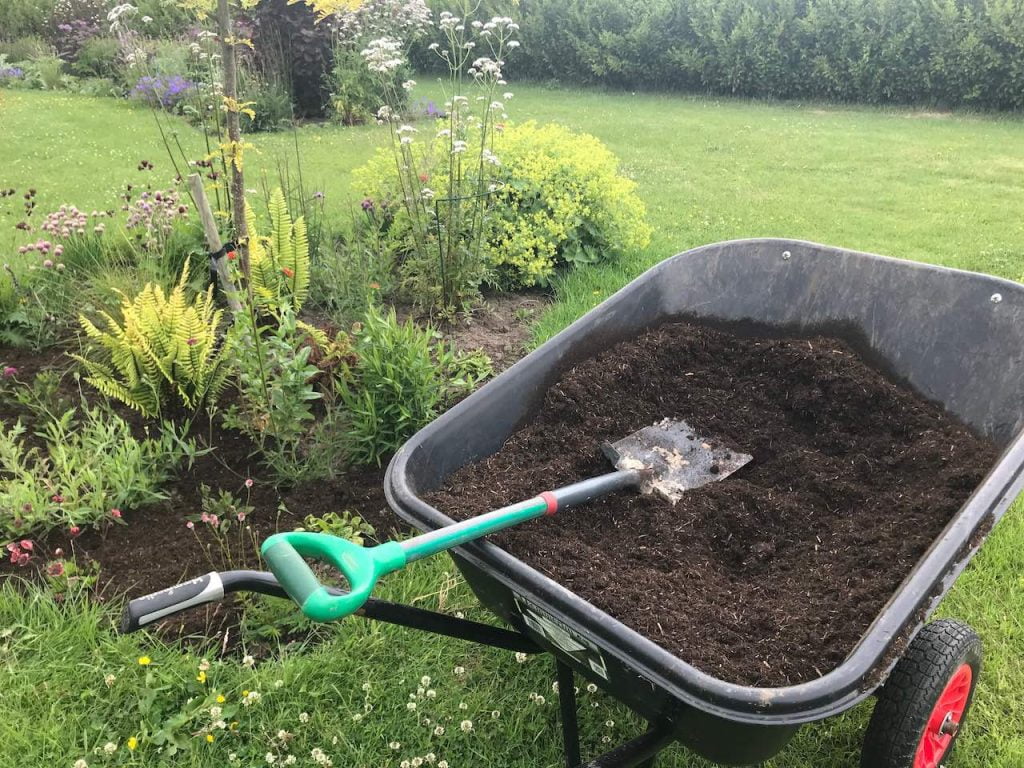
Some plants really do dislike mulch. Mediterranean herbs, such as Thyme, Oregano, and Lavender, prefer gritty, dry conditions around their stems, and mulch can keep things too moist and cause stem rot. Alpine plants are similarly unhappy with organic mulch that stays wet.
Ground cover plants, such as creeping Thyme and Ajuga, need to spread across the soil surface, and mulch prevents this. Young seedlings cannot push through thick mulch, and any plant with a very tight crown, like some Primulas, can rot if mulch is piled against it. Know which plants want mulch and which prefer to go without.
I practise exactly what I preach in this guide in my own borders every year, and it is worth explaining what that actually looks like rather than just giving you the theory. Each spring, once the soil has warmed and the last of the frosts have passed, I go through my beds methodically: weed everything back to bare soil first, then apply a 5 to 7cm layer, using well rotted manure or peat-free compost on the hungrier borders and bark on the more established shrub planting where I want a longer-lasting, lower-feed finish.
I mulch again in autumn once the first proper rain has soaked the ground, using whatever leaf mould I have made from the previous year’s fallen leaves wherever I have enough, and topping up with bought compost or bark where I have run short. This two-application routine, spring and autumn, is all my borders need through the year.
The difference in my own soil since I started mulching this consistently has been significant. Beds that used to bake solid and crack in a dry summer now hold moisture noticeably longer, and the heavy clay I garden on has become steadily easier to work each year as the worms pull the organic matter down. Weeding time has dropped enormously too. Where I used to spend a full afternoon a fortnight hand weeding a border through summer, mulched beds now need perhaps twenty minutes to pull the handful of weeds that do get through, which is exactly the trade of effort for results this whole guide is built around.
Fertilise first, then mulch on top. Applying a granular or liquid feed to the soil surface and then covering it with mulch traps the nutrients where the roots can use them, rather than leaving them exposed to run off in the rain. If you are using a slow release organic feed such as blood, fish and bone, work it into the soil surface before mulching for the best results.
You can, though it is not the ideal time. Summer mulching is best reserved for topping up an existing layer that has thinned out, rather than a full fresh application. The soil needs to be moist before you mulch, so if you are mulching in a dry summer spell, water thoroughly first and mulch straight afterwards to lock that moisture in. Spring and autumn remain the best windows for a full mulch.
You can, provided the ground is not frozen solid or waterlogged. Winter mulching mainly serves to protect roots from frost and insulate the soil, rather than the weed suppression or growth benefits you get from a spring or autumn application. If you missed the autumn window entirely, a winter mulch is still worthwhile protection, just wait for a mild, damp spell rather than mulching over frozen ground, since that traps the cold in rather than keeping it out.
Organic mulches can provide a damp, sheltered environment that slugs and snails enjoy, particularly bark and compost mulches in wetter parts of the garden. This is exactly why I recommend waiting until seedlings are properly established with several sets of leaves before mulching around them, since young, tender growth is the most vulnerable. Gravel mulch is far less hospitable to slugs than organic material if this is a particular concern in your garden.
Yes, very effectively, provided it is applied at 5 to 7cm over completely weed-free soil. Bark’s chunky texture blocks light more thoroughly than fine-textured mulches like compost, which is why it is generally the best choice where weed suppression is the main goal. It will not stop established perennial weeds that are already growing, only prevent new seeds from germinating, so the ground still needs to be properly cleared first.
It depends entirely on what you are trying to achieve. Compost feeds the soil quickly but breaks down within a year, so it suits vegetable beds and hungry perennials that need regular nutrition. Bark lasts two to three years and looks smart, making it better suited to permanent shrub borders and paths, but it offers very little in the way of nutrients and can rob nitrogen at the surface as it decomposes. For borders where you want both feeding and appearance, I will often use compost as the base layer and top it with a thin layer of bark, as covered in more detail in my compost vs mulch guide.
Yes, but only in thin layers of around 2cm and only on vegetable beds rather than ornamental borders. Grass clippings are free and high in nitrogen, but they go slimy and smelly if applied too thickly, and they mat together to form a barrier that stops water penetrating. Never use clippings from a lawn that has been treated with weedkiller, since the residues can damage your plants.
Yes, and it is actually one of the best times to mulch, since freshly planted specimens benefit hugely from the extra moisture retention while their root systems establish. Water the new plant in thoroughly first, then mulch around it, keeping the material clear of the stem or trunk. The one exception is very young trees in their first year, where I would recommend keeping a slightly wider gap of 15 to 20cm from the trunk, as covered earlier in this guide.
Use compost, well rotted manure or leaf mould rather than bark or wood chip, since vegetables need consistent nitrogen and cannot afford the surface nitrogen tie-up that wood-based mulches cause. Never mulch over freshly sown seed. Wait until seedlings have a few sets of true leaves, then mulch carefully between the rows at 5 to 7cm, keeping material clear of the stems. Straw remains the traditional choice specifically for strawberries, since it keeps the fruit clean and off damp soil, while the rest of the plot does best with compost or manure, as covered in the Roses and vegetable gardens section above.

Join over 100,000 gardeners on YouTube
Free gardening videos from the Garden Ninja, with 8 million views and counting.
Subscribe on YouTube, it’s freeMulching well is one habit among many that separates a garden that thrives with minimal fuss from one that is a constant battle. My Garden Design for Beginners Course builds on exactly this kind of practical, experience-led thinking, applying it across planning, planting and maintaining a whole garden rather than one technique at a time.
With courses starting from just £29, you get the same reasoning I have used across hundreds of client gardens and thirty-five years of hands-on horticulture, broken down into practical, step-by-step lessons you can apply straight away.
For the garden you’ve already got, not the one you’re starting from scratch. Seven checklists and video lessons from BBC Garden Rescue’s Lee Burkhill, built to help you work out what’s worth keeping before you spend a penny.
Garden Design Examples for Small Gardens: 30 Design Templates & Planting Plans: In this online gardening course, I’ll walk you through 30 fantastic garden designs, explaining the logic behind the layout, the plant choices, and take-home tips for applying them in your own garden.
Learn how to transform and design your own garden with Lee Burkhills crash course in garden design. Over 5 hours Lee will teach you how to design your own dream garden. Featuring practical design examples, planting ideas and video guides. Learn how to design your garden in one weekend!
Garden Design for Beginners Online Course: If you want to make the career jump to becoming a garden designer or to learn how to design your own garden, this is the beginner course for you. Join me, Lee Burkhill, an award-winning garden designer, as I train you in the art of beautiful garden design.
Mulching is one of the few reliably high-return jobs in the whole gardening calendar. A couple of hours spent spreading a proper 5 to 7cm layer across your borders in spring and again in autumn buys you a season of easier weeding, lighter watering and steadily improving soil, for the cost of some compost or bark and very little ongoing effort.
Get the basics right: clear the weeds first, choose a material suited to what you are actually growing, mulch to a proper depth rather than a token scattering, and keep it clear of stems and trunks. Everything else in this guide, from the calculator to the common mistakes, is really just detail sitting on top of those four fundamentals.
Happy Gardening!


Lee Burkhill, known as the Garden Ninja, is an award-winning garden designer and horticulturist with over 30 years of gardening experience and 15 years as a professional garden designer. A qualified RHS (Royal Horticultural Society) professional, Lee specialises in sustainable garden design and practical horticultural advice. He designs and presents on BBC1’s Garden Rescue and in leading gardening publications. Lee combines three decades of hands-on gardening knowledge with professional design qualifications to help gardeners create beautiful, functional outdoor spaces.
View all posts by Lee Burkhill





JOIN THE NINJAS

Be the first in line for new Guides, Discount codes and Offers