How to Build Raised Beds: Complete DIY Guide for Beginners (2025)
Lee Burkhill: Award Winning Designer & BBC 1's Garden Rescue Presenters Official Blog
Beginner level
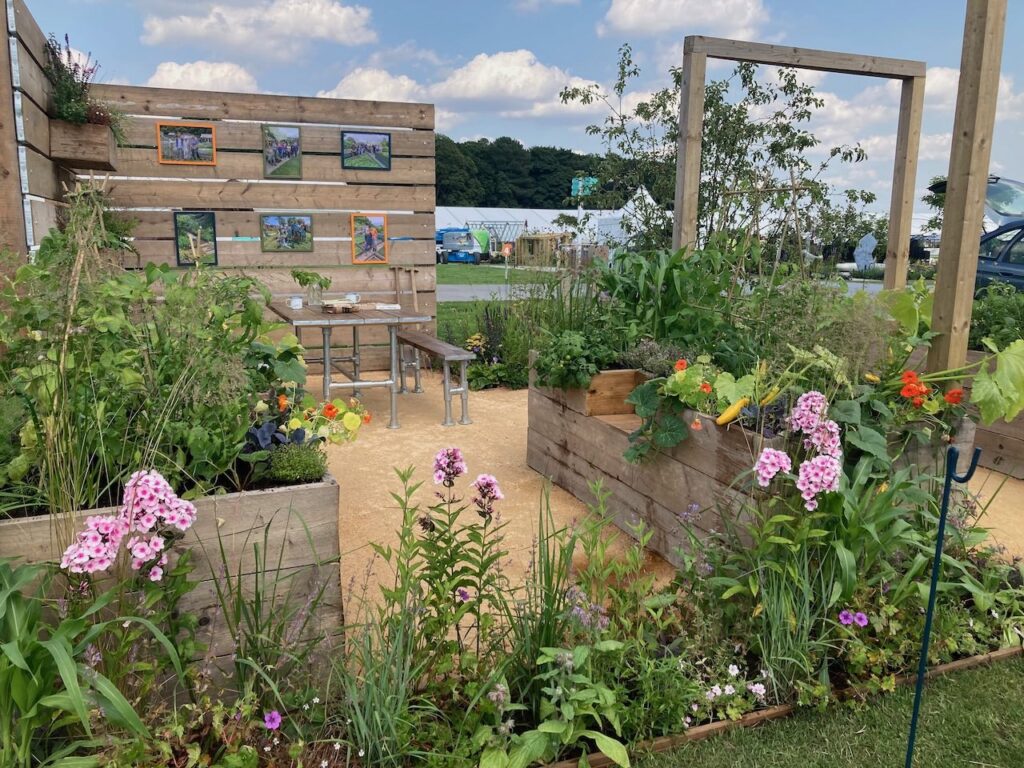
Raised beds are quite a hot topic at the moment in the gardening world for instant gardening appeal. Raised beds provide an easy way to garden practically anywhere! You can forget the woes of heavy clay soil or that poor soil that is compacted and simply build up with raised beds. This guide shows you how to build raised beds for amazing cost-effective planters for any sized garden.
This raised bed guide will explain exactly when and how to build raised beds for successful gardening. Raised beds can be used in nearly all gardens regardless of the condition of your soil. It allows you to build up away from poor, stony ground and choose the soil you need for the types of plants or vegetables you want to grow.
Raised beds are easy to maintain and can take your garden from bland and boring to incredible. Raised beds allow you to garden even in the most hospitable of places, bringing the plants and flowers up to eye level.
Quick Answer: How to Build a Raised Bed
Cut boards to size (2x 4ftx8ft pressure-treated timber or cedar recommended)
Drill pilot holes and attach corner brackets
Assemble the rectangle and add internal braces
Level and secure to the ground
Fill with quality soil mix Total time: 2-3 hours | Cost: £80-150
A raised bed, or ‘raised bed gardening,’ is where the soil is lifted above ground level and contained within a structure. The bed is usually created by building a frame or container filled with soil and organic matter, such as compost or leaf mould. Depending on the desired height, the bed is typically raised several inches to a few feet above ground level.
This could be using a wooden box, stone sides or scaffold boards. Raised beds allow planting on top of an existing soil level. If you think of a simple rectangle that can be planted into (or other shapes, depending on the material you use).
This may mean planting on top of a current garden border, paving terrace, or unused areas or structures. Raised beds allow you to create a raised area in which to plant. Raised beds raise the height of the gardening area to a level of your choice.
This reduces backache and bending when gardening. This also means you can avoid having to undertake a lot of hard landscaping because you don’t need to excavate huge amounts of soil or debris first. You simply build the bed and fill it with soil, and you’re good to go!
There’s also no real need to get a builder or construction team round to create raised bed planting in most cases. The hardest part is usually filling them with soil, which requires some manpower. You do need to be relatively comfortable with some light DIY, using a hand saw screwdriver and spirit level.
Benefits of raised beds
There are many benefits to gardening with raised beds, many of which are related to accessibility and the freedom to improve soil quickly for growing vegetables. Below are some of the high-level benefits of building raised beds in your garden.
Benefit
Gardening Advantage
1. Ease of access
Raised beds eliminate the need to bend or stoop when gardening.
2. Less soil compaction
As you’re not walking on the ground, there is less compaction (where the soil gets trodden on into a firm fudgy layer)
3. Less erosion of soil and spill
As you’re not walking on the ground, there is less compaction (where the soil gets trodden on into a firm, fudgy layer)
4. Better temperature control in spring
In the spring, the beds warm up quickly and are less likely to be in frost pockets.
5. Easier to maintain and weed than a traditional bed
Weeding is far easier than bending over as the beds are at a higher level.
This is especially true where a deep root bed is required. As the raised beds off the ground, there’s deeper soil for root vegetables to utilise.
7. Less bending and bad backs
This is especially true where a deep root bed is required. As the raised beds are off the ground, there’s deeper soil for root vegetables to utilise.
Drawbacks of raised bed gardening
There are a few drawbacks to raised bed gardening other than the effort required to set them up or the cost of the materials. Below are a few drawbacks to choosing raised beds for your garden design.
Drawback
Disadvantage to Gardening
1. Cost
Building a raised bed can be more expensive than planting directly in the ground, especially if high-quality materials are used.
2. Watering
Depending on the height of the raised bed, it may require more frequent watering than plants grown in the ground. The soil in a raised bed can dry out more quickly, especially during hot weather, which may require more frequent watering.
3. Drainage
While improved drainage is generally seen as an advantage of raised beds, if the bed is not properly designed and installed, it can lead to problems with drainage. Poor drainage can cause water to pool at the bottom of the bed, potentially harming plants.
4. Soil quality
While raised beds offer more control over soil quality, they can also be a disadvantage if the gardener does not use proper soil amendments or maintain the bed over time. Over time, the soil in a raised bed can become compacted or depleted of nutrients, which can harm plant growth.
Making a raised bed is not difficult, though it involves plenty of planning and measuring. Making your own raised beds gives you a sense of real achievement in the garden. The standard size for a raised bed is known as the 8 x 4 raised bed which is 8ft x 4ft. I’ve included a cut list below which also has the metric measurements in case you’re not use to using imerpial!
Tools to Build a Raised Bed
Wood saw (Heavy-duty or fine, depending on the thickness of the wood)
Screwdriver
Electric Drill & Bits
75mm Stainless Steel Screws
Mitre saw (Optional)
Here’s a complete cut list for your 8ft x 4ft (240cm x 121cm) raised bed:
Cut List for 8ft x 4ft (240cm x 121cm) Raised Bed – 16″ (40cm) High
Main Boards (38mm x 150mm / 1.5″ x 6″ treated timber)
2 pieces @ 240cm (8ft) (front and back panels)
2 pieces @ 121cm (4ft) (side panels)
4 pieces @ 150mm (6″) (corner braces)
1 piece @ 121cm (4ft) (centre support brace)
Alternative Using 225mm Boards (38mm x 225mm / 1.5″ x 9″)
For single board height construction:
2 pieces @ 240cm (8ft) (front and back panels)
2 pieces @ 121cm (4ft) (side panels)
4 pieces @ 225mm (9″) (corner braces)
1 piece @ 121cm (4ft) (centre support brace)
Hardware Required:
32 x 75mm (3″) exterior wood screws (stainless steel or zinc coated)
8 x 100mm (4″) coach screws (for corner braces – optional for extra strength)
Preparation Notes:
No adjustment needed: Standard 8ft x 4ft dimensions work perfectly with board thickness
Centre brace essential: At 8ft length, internal support prevents soil pressure bowing
Corner braces: Cut to match your chosen board height
Perfect imperial sizing: Uses standard lumber lengths with minimal waste
Soil Requirements:
This bed will need approximately 0.97 cubic metres (1.27 cubic yards) of topsoil to fill – roughly 48 x 20kg bags or 1 bulk bag delivered.
Money Saving Tip: This is the most economical size as it uses standard 8ft timber lengths with zero waste – perfect for beginners!
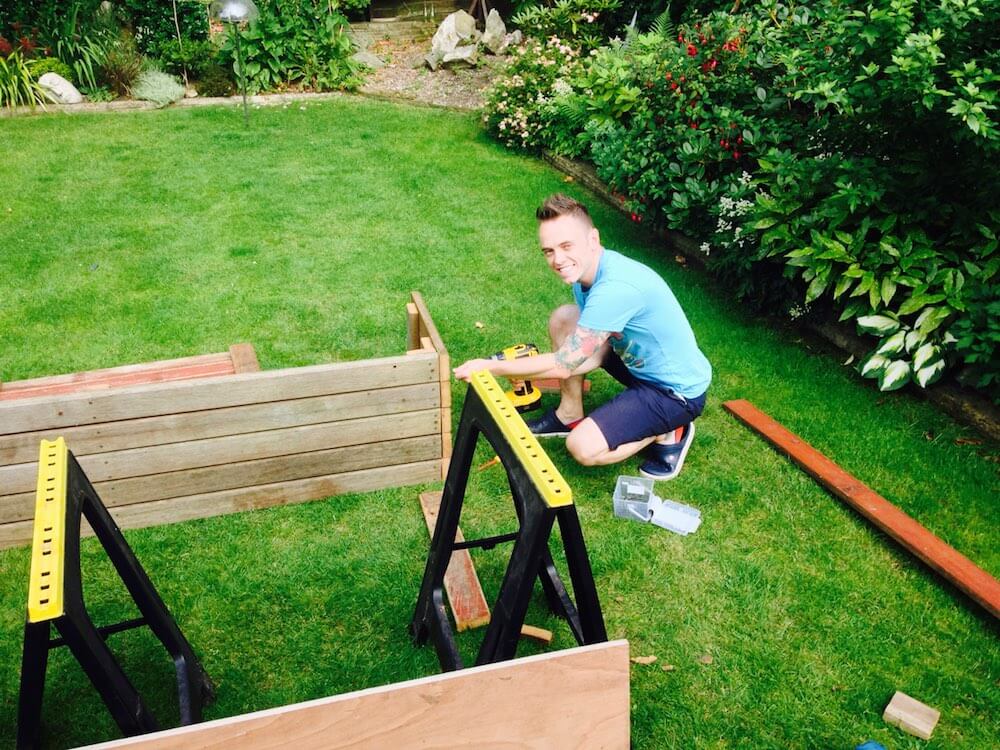
Raised bed building guide
If you want to make your own raised beds, the step-by-step guide below will help you quickly create a raised garden for fruit, vegetables, or flowers!
Step 1: Measure up
Once you have your measurements, double-check that they fit the space where the raised bed will go. An ideal size for a raised bed is 240cm in length, by 121cm deep, by 40cm tall, known as the 8ft x 4ft raised bed standard. Meaning you can reach over from each side
Step 2: Cut your boards to length
Using your wood saw, cut your boards to the length you need. For a 240cm raised bed, the boards should be 240cm long.
You then need to multiply the width of each individual board by the height you need the bed to be. This will give you how many 240cm boards you need per side. So if a board is 30cm wide and you want your bed 60cm high you will need two boards for each length.
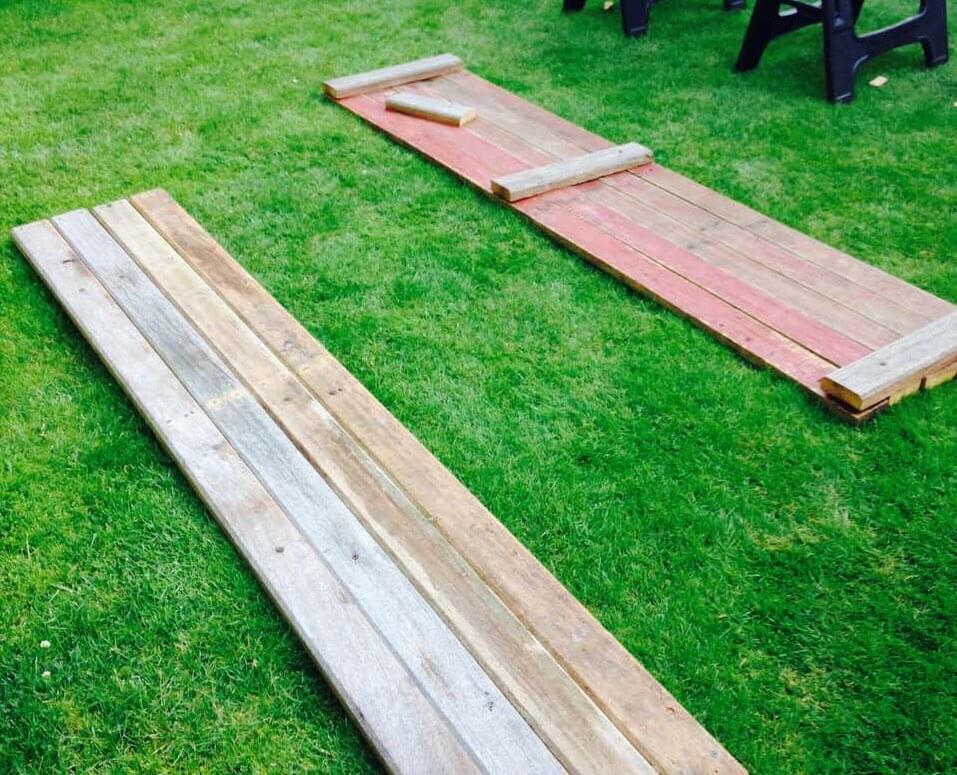
Step 3: Cut the raised bed sides
Next, cut the boards for the sides of the raised bed, also known as the depth. These will be your side panels. For example, a 121cm deep raised bed will require a 121cm long board for your side panel. Again, cut enough boards to make the required height.
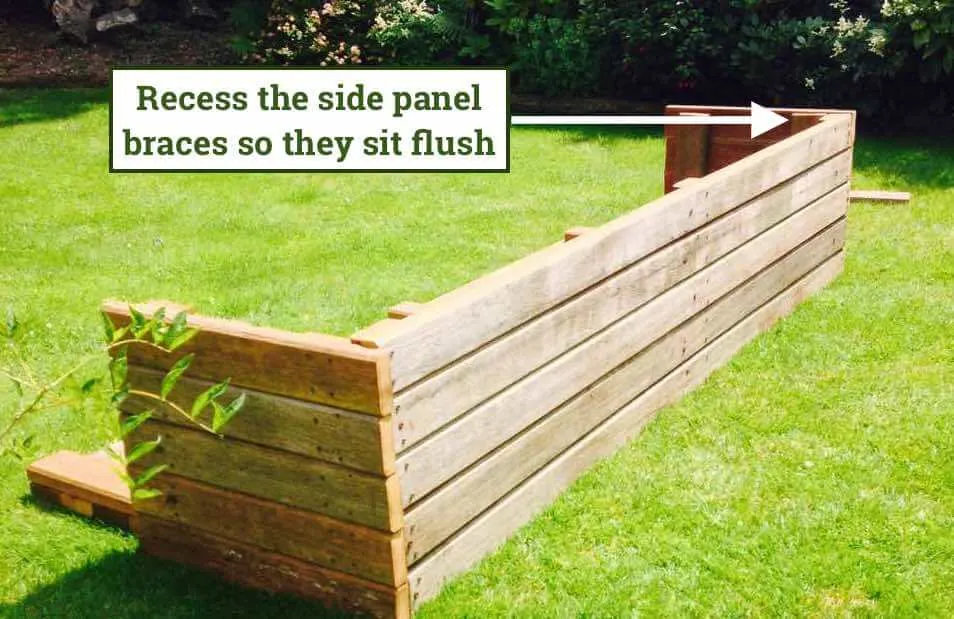
You will need to ensure the braces on the side boards are recessed. If they are dead on the edge, they won’t provide a flush joint, as they will butt up against the other brace when joined to the front and back panel.
You will need to ensure the braces on the sideboards are recessed. If they are dead on the edge, they won’t provide a flush joint, as they will butt up against the other brace when joined to the front and back panel.
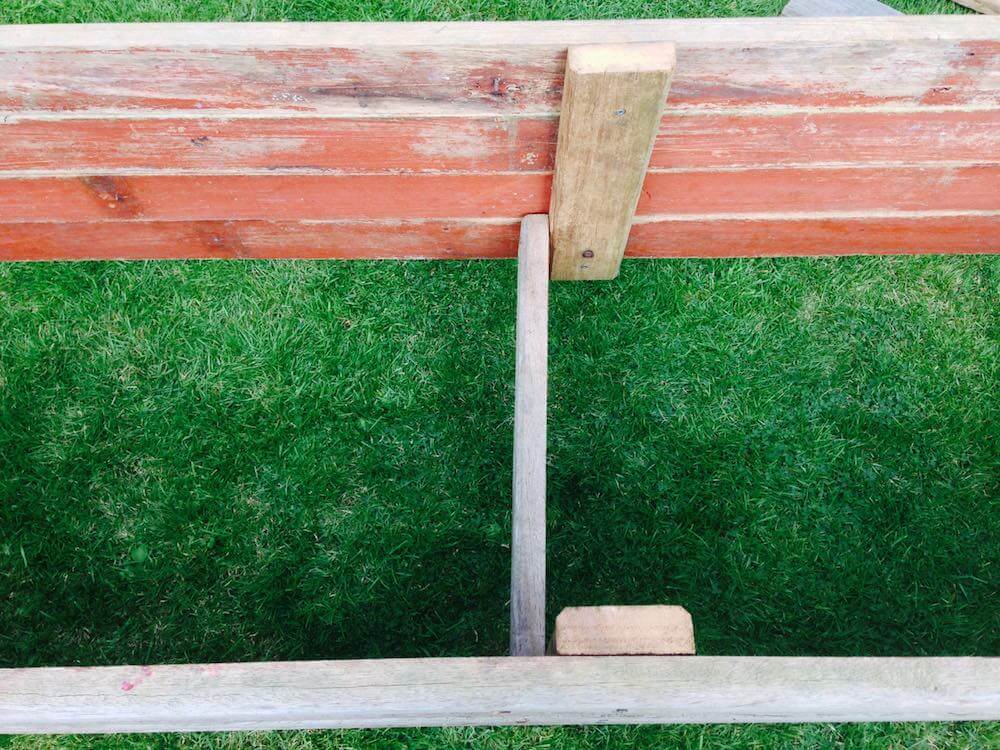
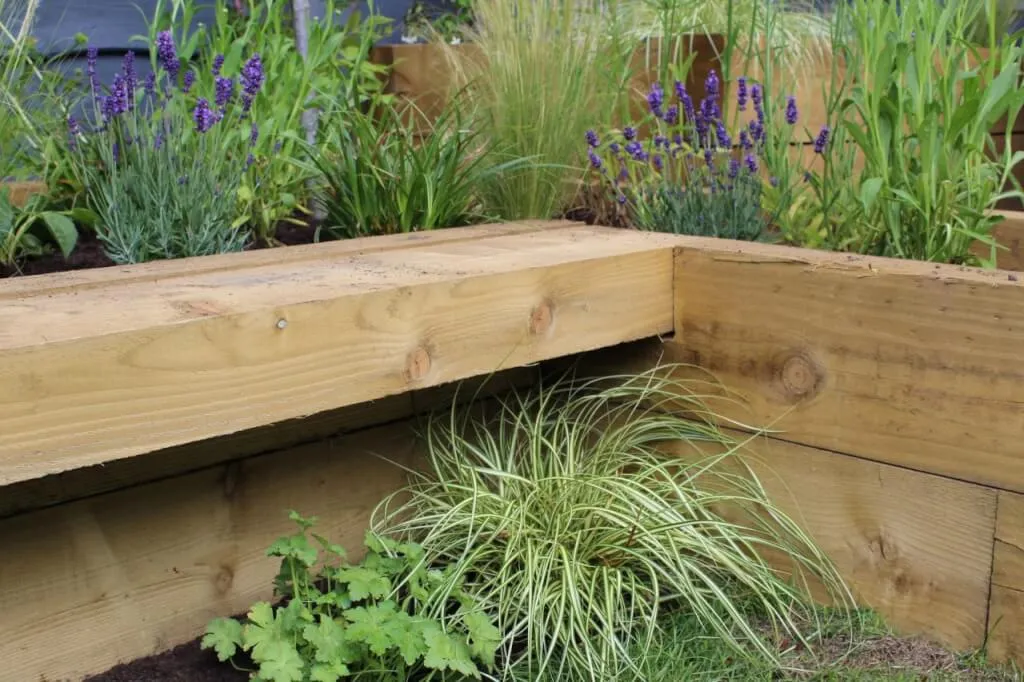
Step 4: Cut the side braces
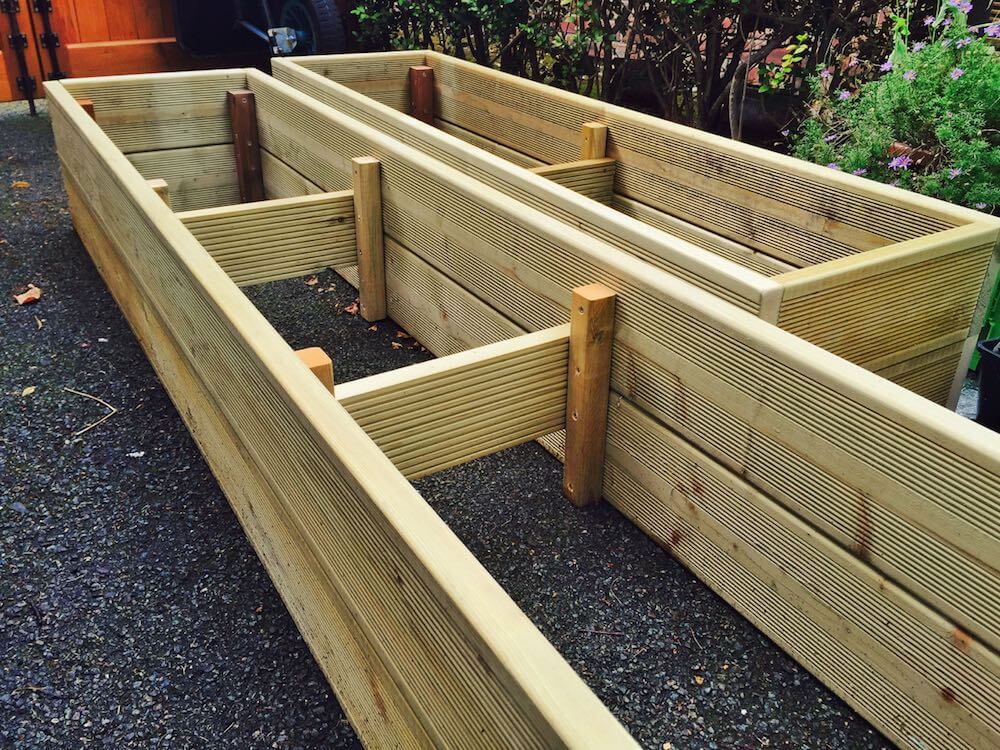
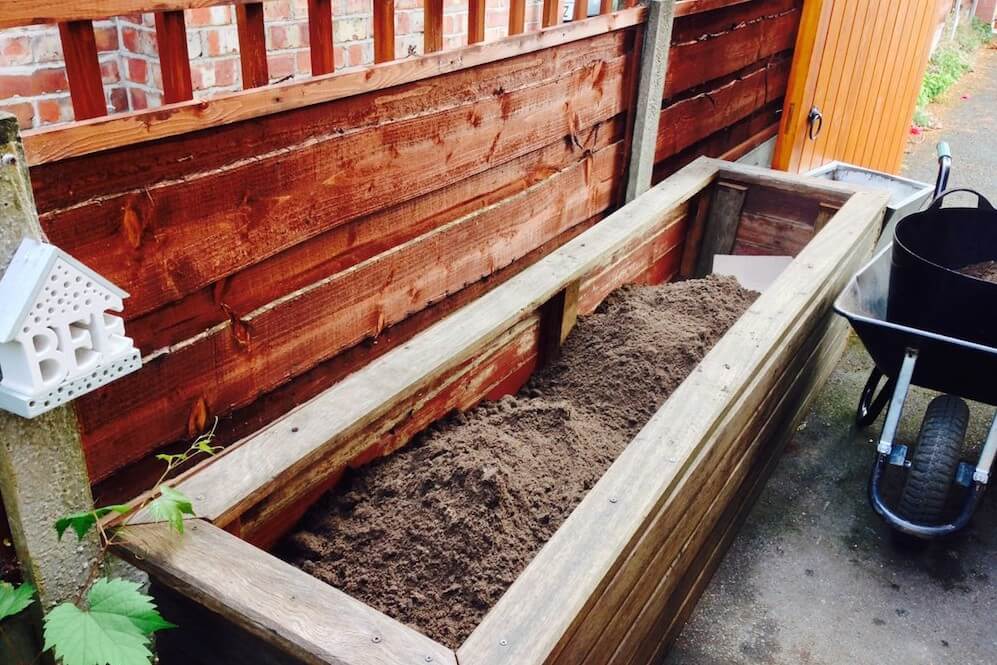
You then need braces to secure the rows of board or timber. The photo below shows how the braces can be positioned. It also shows you the front view with the screws going through the face of the side of the raised bed to the brace.
Measure the height of your bed and then cut enough braces for the faces of the bed. A minimum of two should be used on each face, but I usually use three for strength.
Step 5: Screw the braces to the sides
Drill a pilot hole and then screw these braces from the facing side inwards using your 75mm screws. Decking screws can also be used but be careful, as some can rust and stain your wood.
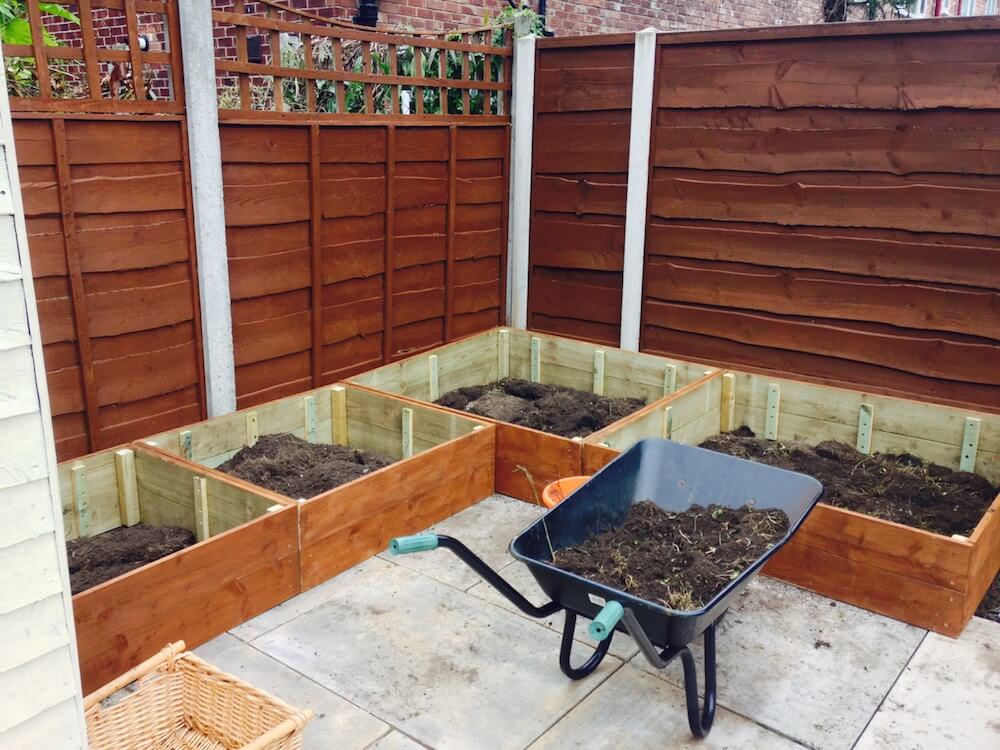
Step 6: Check you have all the pieces
You should now have four pieces: two long panels and two shorter side panels. The long piece is the length, and the shorter piece makes the depth of the raised bed.
Step 7: Screw the raised bed together
Once you have braced your four sides, you can start to screw the sides together. Drill pilot holes and then screw the edges together. Use clamp supports or a helping hand to keep them steady whilst you position them.
Step 8: Add an internal brace
Once all the screws are in, you then need to add another brace to the inside of the raised bed. This ideally should be placed in the middle and stop the raised bed from bowing when full of soil. It also adds strength & rigidity to your raised bed.
Step 9: Tighten all the screws up
Once that’s complete, double-check your bed for signs of movement or any joints that don’t feel tight and secure. Ensure all screws are tightened before you move or add the lip.
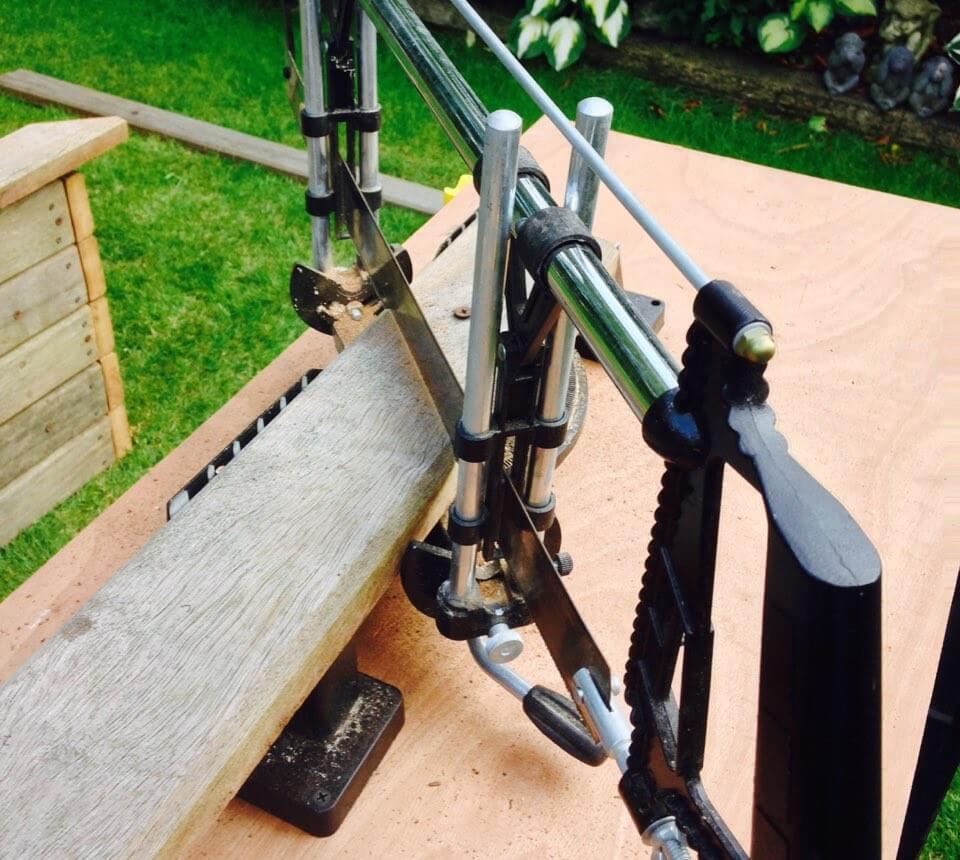
Optional Mitred Raised Bed Lip
You can now add a mitred edge or lip if you wish. This gives the raised bed a more finished look and somewhere to rest your tools, plant pots, or a pint of beer! To do this, you will need to measure the length on a new board and mark it up.
Then, cut from that measurement using a mitre saw set to 45 degrees.
Do this on each side, flipping the mitre to the opposite 45-degree angle so the cuts face away from each other. Measure the sides and do the same, ensuring they fit neatly before screwing them into the raised bed.
Once this is done, your raised bed should be complete!
Materials used for raised beds
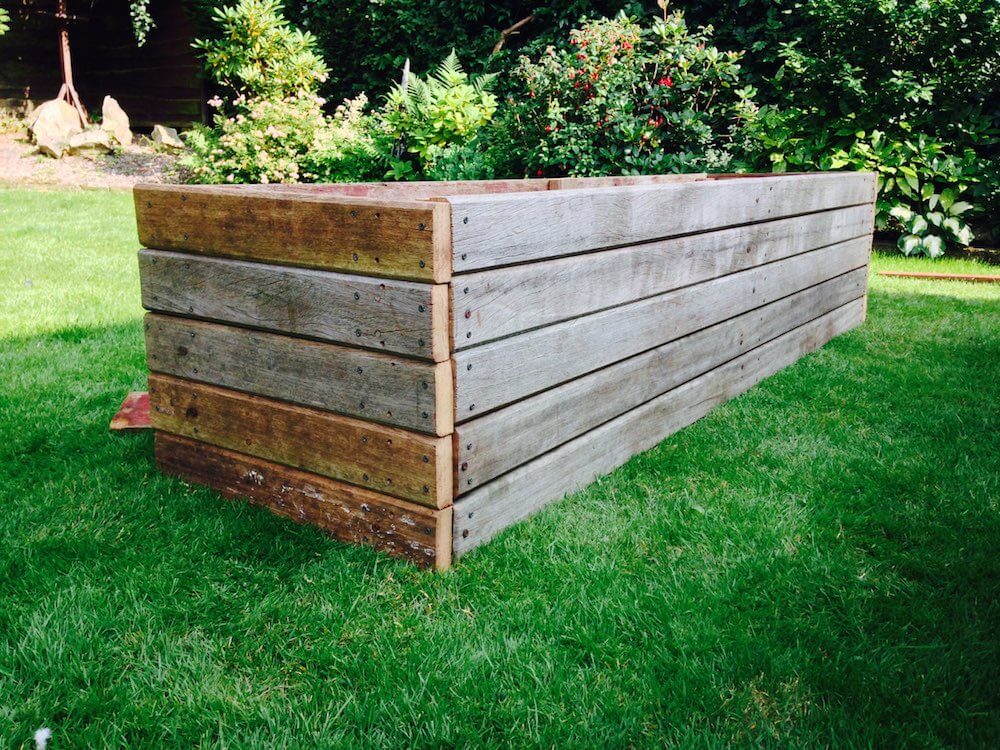
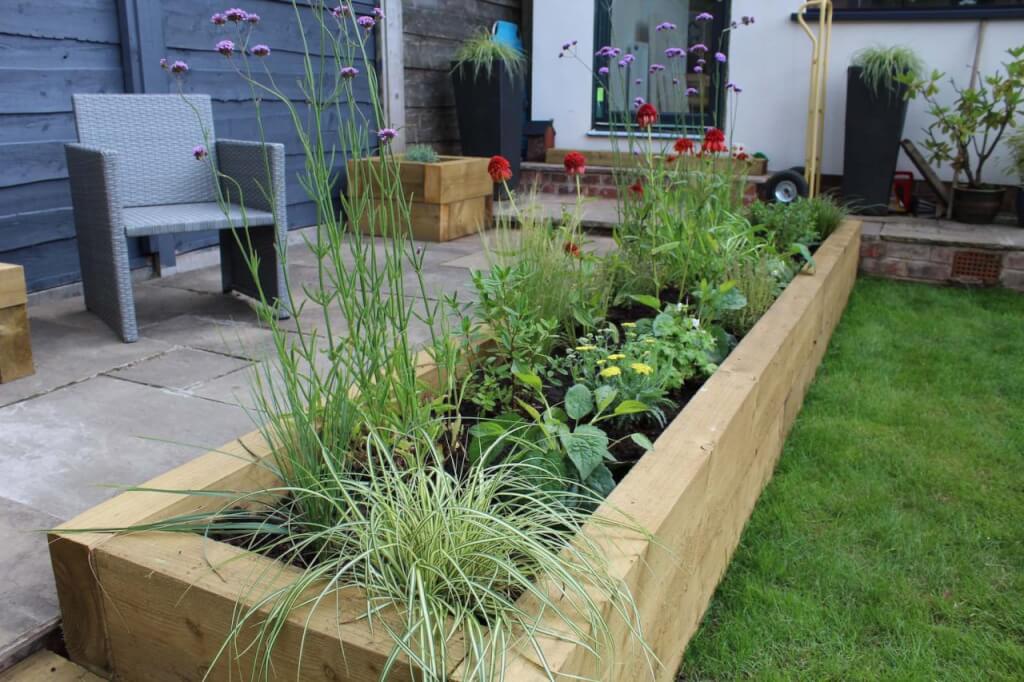
The most common form of raised bed is the wooden raised bed style, which uses wooden sleepers, gravel, or scaffold boards.
However, raised beds can be made of any material, not just wood. They can also be made of metal, brick, or stone if necessary.
Wood is usually the easiest material to work with for raised beds and lends itself to a garden. I prefer raised beds made from wood as they blend in with nearly all surroundings, which means you can use them for various planting plans. Wooden raised beds warm up quickly and require the least skill to install and work with.
If you’re a beginner gardener or on a budget, I highly recommend using timber for your first raised beds. Spend most of your budget on decent-quality topsoil and, of course, plants!
Raised beds can be made with the following materials:
Paving slabs – laid on their side
Timber sleepers – stacked and screwed at each end
Scaffold boards/timber gravel boards – pegged at each corner and screwed
Stone blocks or old rockery stone
Breeze blocks – staggered and mortared together
Prefabricated metal raised beds or corrugated steel bolted together
Can you make raised beds without timber?
Did you know you can build a raised bed without timber or stone? In Scotland, mounded soil beds are used in some allotments and gardens to create raised beds without wooden sides. These sloping beds are great if you’re on a budget or want a more natural appearance in your garden. These mounded beds can also reduce slugs, as there are no timber sides that stay damp, which can attract them!
What is a Hugelkultur garden?
There is also another type of raised mounded bed called a Hugelkultur garden. In this garden, logs, old plant waste, and organic matter are piled up into a mound, which slowly decomposes, allowing trees, vegetables, and herbaceous plants to be grown on top of it. It’s a super way to recycle garden waste and reduce the amount of expensive topsoil you need!
What can you grow in a raised bed?
The beauty of raised beds is their incredible versatility they’re like blank canvases waiting for your creative planting touch! Whether you’re dreaming of sun-warmed tomatoes, fragrant herbs, or stunning flower displays, raised beds can accommodate virtually any gardening ambition. Let me show you just how exciting the possibilities are:
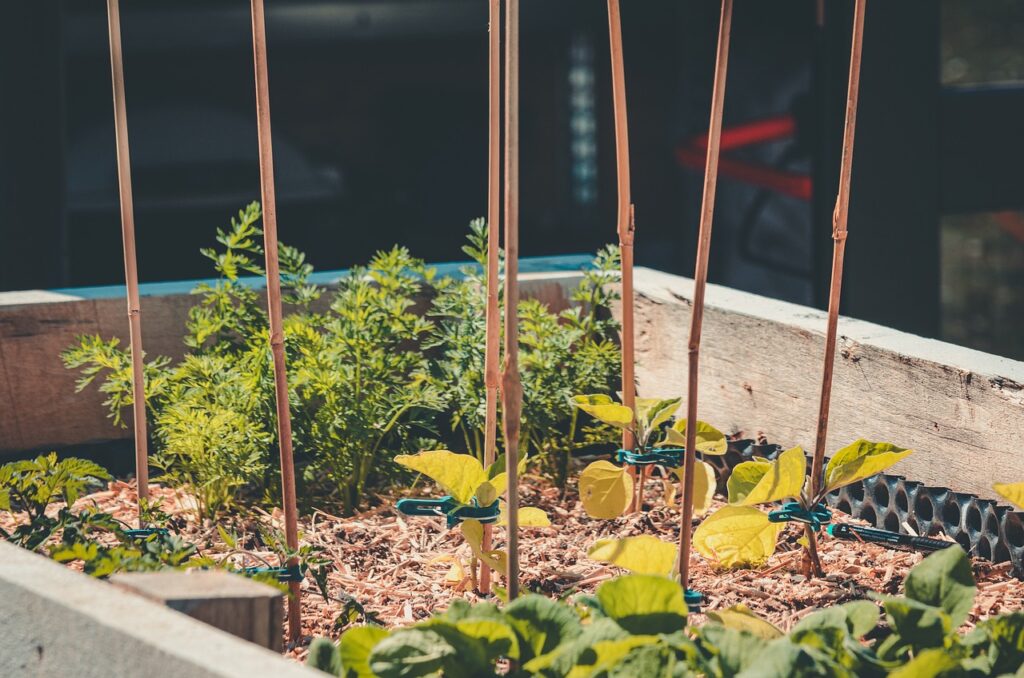
A) Vegetables: Your Own Kitchen Garden Paradise
Nearly all vegetables absolutely thrive in raised beds – it’s no wonder they’re the backbone of allotments across the UK! The controlled soil conditions and excellent drainage create perfect growing environments for everything from delicate salad leaves to robust winter brassicas.
Star Performers Include:
Root vegetables like carrots, parsnips, and beetroot that love the deep, loose soil
Salad crops such as lettuce, rocket, and spinach for continuous harvesting
Climbing champions like beans and peas that can use the bed edges for support
Space efficient crops including radishes and spring onions for quick wins
Heat lovers such as tomatoes, peppers, and aubergines that benefit from the warmer soil
Top Tip: A 4×8 foot raised bed can easily feed a family of four with salads throughout the growing season!
B) Soft Fruits: Sweet Success at Arm’s Reach
Transform your raised beds into productive fruit gardens that deliver delicious harvests year after year! The elevated growing environment is perfect for soft fruits, making picking easier whilst protecting precious berries from soil-dwelling pests.
Brilliant Choices Include:
Strawberries – plant in spring for summer berries, perfect in hanging baskets on bed edges
Raspberries – use taller beds and add canes for support, summer and autumn varieties available
Currants (red, black, and white) – compact bushes that fruit reliably for decades
Gooseberries – thornily rewarding bushes that produce masses of tangy berries
Blackberries – choose thornless varieties for easier harvesting
Pro Insight: Rotate strawberry plants every 3-4 years to maintain productivity – raised beds make this simple!
C) Herbaceous Perennials: Cut Flower Garden Magic
Create your own cutting garden paradise with herbaceous perennials that return bigger and better each year! Raised beds provide the perfect stage for these garden workhorses, bringing blooms up to eye level where you can truly appreciate their beauty.
Show Stopping Selections:
Delphiniums and lupins for dramatic height and cottage garden charm
Peonies and roses for fragrant, romantic blooms
Dahlias and chrysanthemums for vibrant autumn colour
Asters and rudbeckia for late season pollinator magnets
Lavender and catmint for aromatic, drought tolerant structure
Design Secret: Use the “thriller, filler, spiller” principle – tall dramatic plants at the back, medium plants in the middle, and trailing plants at the front!
D) Alpines: Drainage Dreams Come True
If you’ve ever struggled with alpines in heavy clay soil, raised beds are your salvation! These jewel like plants absolutely adore the exceptional drainage that elevated growing provides, finally allowing you to grow those challenging but gorgeous mountain plants.
Spectacular Alpine Stars:
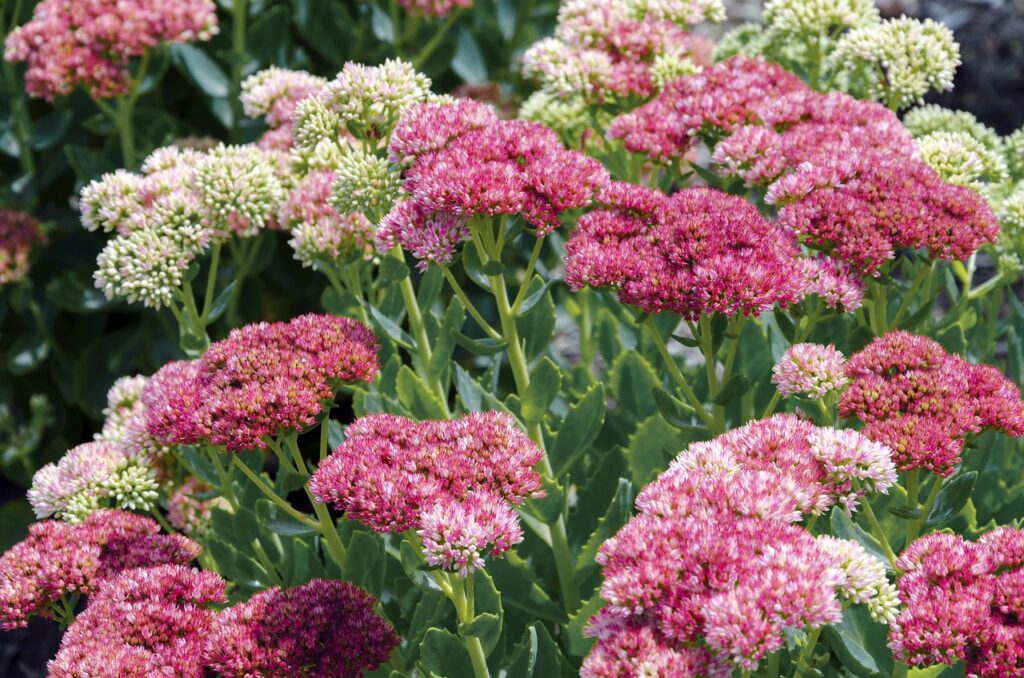
Sedums and sempervivums for architectural succulent displays
Dianthus (alpine pinks) for fragrant summer flowers
Gentians for intense blue autumn blooms
Alpine strawberries for tiny, incredibly flavourful fruits
Expert Tip: Add extra grit and gravel to your soil mix for alpines – they hate wet feet but love sharp drainage!
E) Ericaceous Plants: Acid Loving Beauties
Living on chalky or alkaline soil doesn’t mean you have to miss out on gorgeous acid loving plants! Raised beds let you create perfect acidic conditions, opening up a whole world of stunning ericaceous beauties.
Acid Loving Superstars:
Camellias – spectacular spring blooms in pink, red, or white
Blueberries – delicious fruit AND gorgeous autumn foliage colour
Rhododendrons and azaleas – incredible flower power in late spring
Heathers – year round structure and winter flower colour
Pieris – elegant spring bells and colourful new foliage
Money Saving Secret: Top dress annually with pine needles or leaf mould to maintain acidity naturally – much cheaper than buying ericaceous compost every year!
Bonus Growing Ideas That’ll Inspire You:
Mediterranean Herb Gardens: Create sun-baked raised beds filled with rosemary, thyme, oregano, and sage – perfect for cooking enthusiasts!
Children’s Pizza Gardens: Dedicate a raised bed to pizza ingredients – tomatoes, basil, oregano, and peppers. Kids love growing food they can actually eat!
Pollinator Paradise: Fill beds with bee and butterfly favourites like lavender, echinacea, and sweet alyssum for a garden that’s buzzing with life!
Sensory Gardens: Plant aromatic herbs, textured foliage plants, and flowers in different colours for gardens that engage all the senses.
The truth is, raised beds are limited only by your imagination and enthusiasm. They’re like garden laboratories where you can experiment, learn, and create exactly the growing conditions your chosen plants need to absolutely thrive!
Measuring up for raised beds
When building your raised beds, it’s important to measure their size, where they will go, and what you’ll plant in them. You must accurately measure the space in which your raised bed will go so that you have enough space and materials to build it.
The main measurements you will need when building a raised bed are the length, width & height of the raised bed.
Take a pad and always double-check your measurements.
Accurate measurements of raised beds are also essential for working out:
How much timber you will need
Number of screws you may need
Amount of topsoil for your raised bed
Quantity of plants you can place in your finished raised bed
How long should my raised bed be?
The best length for a raised bed is under 2 meters.
Anything longer means you’ll have to walk a long distance to get around it, and you’ll inevitably start taking shortcuts by jumping over the bed, which is dangerous.
As a rule, any raised beds over 2 meters long need braces. I always advise internal braces on all raised beds over 1 meter in length. This is because the soil is really heavy, and the pressure on the walls of a raised bed when the soil gets wet can be incredible. Bracing helps strengthen the raised bed.
If you’re going over 2.5 meters in a one-piece raised bed, you should really be looking at railway sleepers and steel ties, as these are strong enough for really long raised beds.
Another answer is to cut the entire length into a series of smaller raised beds. This also helps if there is ever any damage. You can replace one of the beds, not the entire raised bed! This can also be helpful as sometimes boundaries and adjacent walls are not entirely true, i.e. they may run on a slight angle.
Using multiple beds, you can make micro-adjustments to give the illusion of a straight line.
How wide should a Raised Bed be?
I usually recommend at least 90cm in width if you want to plant two rows of plants or ideally 121cm. Thinner widths can be used for balcony planting and beds in restricted spaces.
For vegetable plots, I would recommend between 90cm and 1.2 meters. Any raised bed over 1.2 meters wide will be difficult to reach over unless you plan to have access on all sides.
How high should a raised bed be?
As a rough rule, 6 inches or 15cm is the minimum depth you will need.
You will need to work over the ground underneath any shallower than this. Since most people using raised beds are trying to avoid this, you will need 15cm of topsoil for new planting. Also, if you are planting on top of a hard surface, this is the minimum depth.
Ideally, 40cm is a nice height for most raised beds to save your back. 60cm high raised beds are good if you want to perch and sit on the side, if using railway timbers or sleepers.
Soil Calculator For Raised Beds
Raised Bed Soil Calculator
🌱 Raised Bed Soil Calculator
Calculate exactly how much soil you need for your raised bed project
Volume needed:–
20kg bags needed:–
Bulk bags needed:–
Total area:–
💰 Estimated Costs
20kg bags (£4 each):–
Bulk bag (£45 each):–
Recommended option:–
💡 Pro Tips
Enter your raised bed dimensions above to get personalised soil advice and money-saving tips!
Which Soil to Choose When Filling Your Raised Bed
Now that you have your raised bed in position, you can start filling it with the soil of your choice. Ideally, you want a mix of loam and good organic matter in your beds. By choosing quality topsoil, you can ensure that whatever you plant in your raised beds has the best chance of producing beautiful flowers and large fruits!
The above descriptions refer to which particles of Sand, Silt, and Clay are most present in a soil sample. These are the mineral fractions of the soil and contain no organic matter themselves (they are inert on their own) but do provide a home for organic matter to thrive.
If you get to choose your own soil, always opt for a more sandy, free-draining soil compared to clay. Alternatively, mix in some peat-free compost to heavy clay soil to help break it up. I have a detailed article on why soil type matters, which you can read here to learn more about the best soil type for raised beds.
If you have taken up turf underneath the beds,you can use it in the bottom. Turn the turf upside down and line the base of your raised bed with it. This is a great way to recycle and save money on buying soil!
If you’re putting raised beds on top of a lawn, you can fill the raised bed with topsoil. You don’t need to remove the turf or grass, as this will break down over time.
Now is a valuable time to improve the drainage of the ground where the raised beds are being installed, especially if they’re being placed on heavy clay soil or in areas with poor drainage. Fork it over and add organic matter before you fit the bed.
Preparation is key, if you put a raised bed onto the compacted ground, you can end up with ‘wet bed‘. My guide to improving compacted soil below can show you how to improve soil conditions quickly and avoid this wet bed problem.
2: Building raised beds on tarmac or flags
If your raised bed is placed on a non-porous surface such as tarmac or flags, it may be useful to break into one of the flags to allow for drainage. This will prevent water from pooling at the bottom or causing a ‘wet bed’.
The wet bed is where the bottom of the raised bed is always damp, as the drainage causes a backlog of water. This can also damage your plants and cause an awful smell.
If you’re sitting the raised beds on ungrouted flags, drainage is probably unnecessary. However, if the flag’s surface is non-porous or slow to drain, you must break it up to allow water to drain from the raised bed.
See below for how to break up flags to allow for drainage. Use a lump hammer and goggles to smash the flag.
Don’t overfill your raised beds
You need to remember to leave a gap between the very top of the bed and the soil level.
I’d always leave a 2-3 inch gap between the very top and the soil level. This helps prevent the soil from spilling over onto the surrounding area. It also means that small or new plants are slightly protected from wind or immediate exposure.
When plants are young or new, any harsh winds can damage or slow down their ability to take root. It also means that when you water your plants, there’s no wet, muddy water spillover!
When filling the raised beds with topsoil, I’d always advise mixing in some compost or organic material to assist your new plants in taking root. You need to ensure that the soil has a pH that is suitable for your plants, ideally neutral at 7 for most plants. If you’re planting acidic-loving plants, you may need to acidify the soil by adding pine needle mulch.
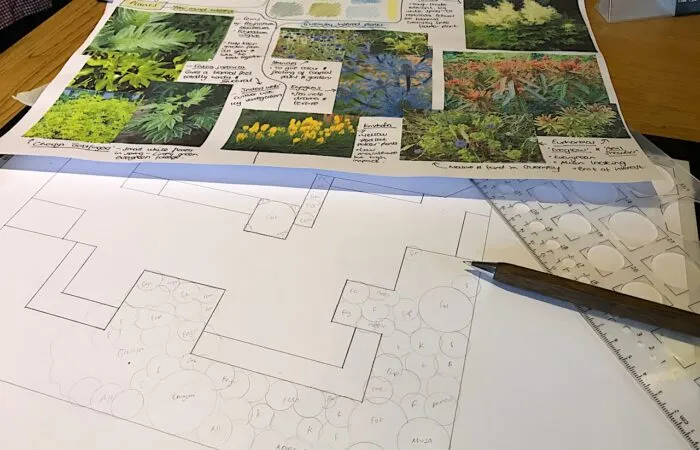
Choose a Suitable Planting Plan for the Raised Bed
Once filled, you can then start to lay out your plants. I advise you always work to a planting plan If not, you may end up with ‘pick and mix planting’ where you just plonk things here and there and the overall look becomes a bit of a jumble.
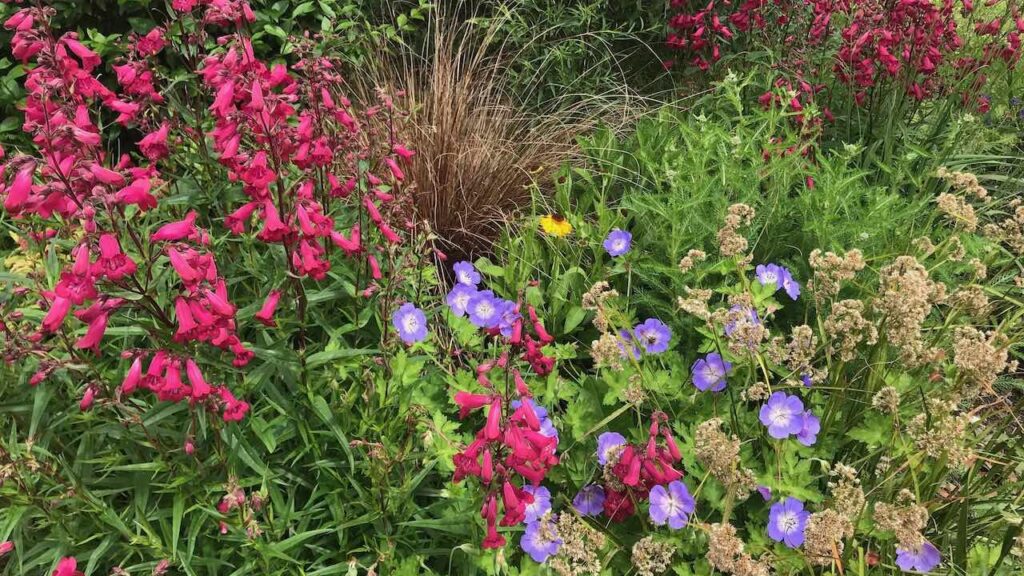
To make the best of your raised bed you need a cohesive planting plan. Usually, a good tip is to have the taller plants at the back, if it’s a bed against a wall, and then smaller plants towards the front. If it’s a bed you can walk all the way around, it can be a good idea to have the height in the middle with a row on either side of the plants. The possibilities are endless, but they must be well thought out! One popular scheme for a south-facing garden is a prairie planting scheme that’s both high-impact and low-maintenance.
How much do raised beds cost?
Raised beds come in several budget options, from cheap to high-end expensive, depending on the material and finish. For the most part, raised beds are a cost-effective way to garden.
As a starting point in order of cost, here are some ideas for raised bed prices for a 2000mm x 900mm x 400mm bed based on 2025 prices. These are without labour costs or sundries like screws, stains, varnish or soil.
Gravel or timber boards – £50-£80
Prefabricated metal beds £80-£200
Timber sleepers – £100-£200
Block & Paint – £80-£200
Brick – £250-£350
Stone £350 +
How much are sleeper-raised beds?
Using timber sleepers for raised beds is a popular option. Not only because they require little in way of assembly, but they last for years, with care for decades! Timber sleepers or railway sleepers allow you to build rectangular raised beds quickly.
The standard dimensions for a timber sleeper are250mm wide by 100mm high (or thick) by 2.6m long. This means the longest you can make a raised bed without having to tie it together is 2.6m.
In 2024, a timber sleeper costs around £25 per sleeper, making it a cost-effective option for raised bed construction.
How long do timber raised beds last?
Timberraised beds can last anywhere between 5 and 25 years. It all depends on the thickness, type of wood, and whether the timber has been pressure-treated. As a guide, a pressure-treated timber sleeper should last at least 20 years, if not longer.
Thin untreated soft wood like pine screwed to corner stakes or pegs will last far shorter, maybe 5-6 years.
Always double-check the timber your raised bed kit contains, or better still, build them yourselves using pressure-treated timber!
Learn more about Garden Design
Why not consider expanding your plant and garden design knowledge with one of my online gardening courses? My Garden Design for Beginners Course is here to help you transform your garden from average to exceptional with an affordable online course, no matter how little your experience with plants.
This course offers step-by-step guidance from me, Lee Burkhill—award-winning garden designer and presenter on BBC1’s Garden Rescue. In this course, you’ll go from a garden design novice to a confident designer equipped to tackle any green space.
Planting Techniques – Select and arrange plants like a pro.
Design Styles & Layout Options – Explore different styles to suit every garden.
Course Features:
20 Hours of Study Time
Flexible Online Learning
Engaging Video Lessons & Quizzes
Real-World Case Studies
Certification upon Completion
Taught by Award-Winning Designer Lee Burkhill
Enrol now for just £199 and start your journey toward garden design mastery!
29
Garden Design Examples for Small Gardens: 30 Design Templates & Planting Plans
Garden Design Examples for Small Gardens: 30 Design Templates & Planting Plans: In this online gardening course, I’ll walk you through 30 fantastic garden designs, explaining the logic behind the layout, the plant choices, and take-home tips for applying them in your own garden.
Weekend Garden Makeover: A Crash Course in Design for Beginners
Learn how to transform and design your own garden with Lee Burkhills crash course in garden design. Over 5 hours Lee will teach you how to design your own dream garden. Featuring practical design examples, planting ideas and video guides. Learn how to design your garden in one weekend!
Garden Design for Beginners: Create Your Dream Garden in Just 4 Weeks
Garden Design for Beginners Online Course: If you want to make the career jump to becoming a garden designer or to learn how to design your own garden, this is the beginner course for you. Join me, Lee Burkhill, an award-winning garden designer, as I train you in the art of beautiful garden design.
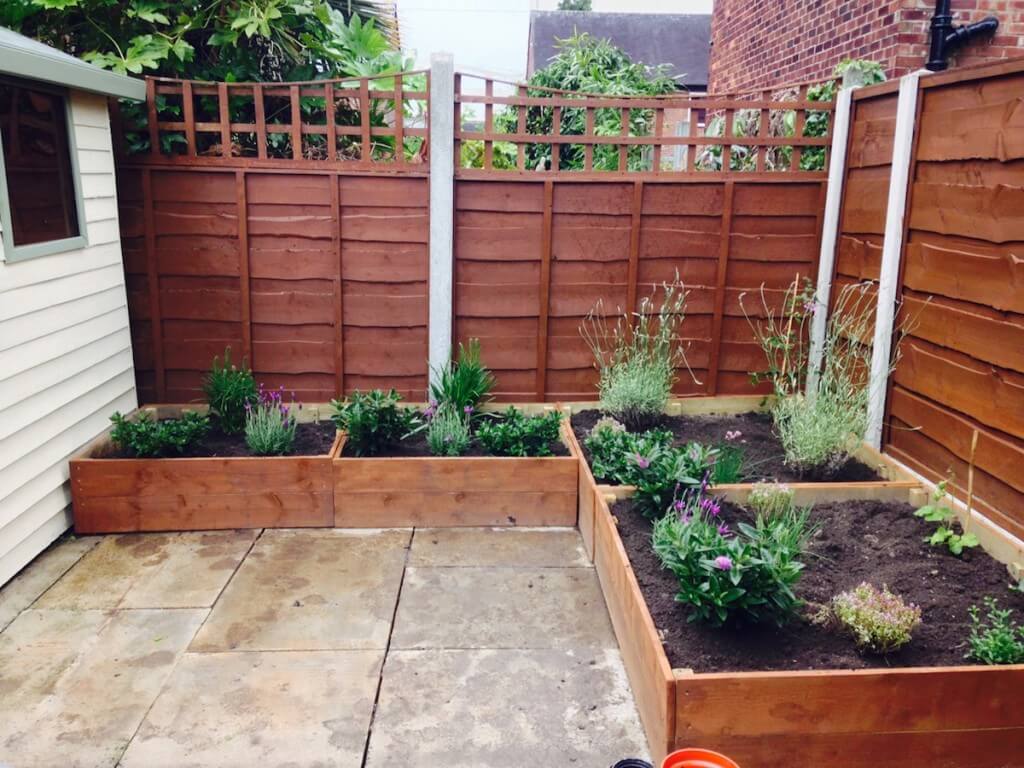
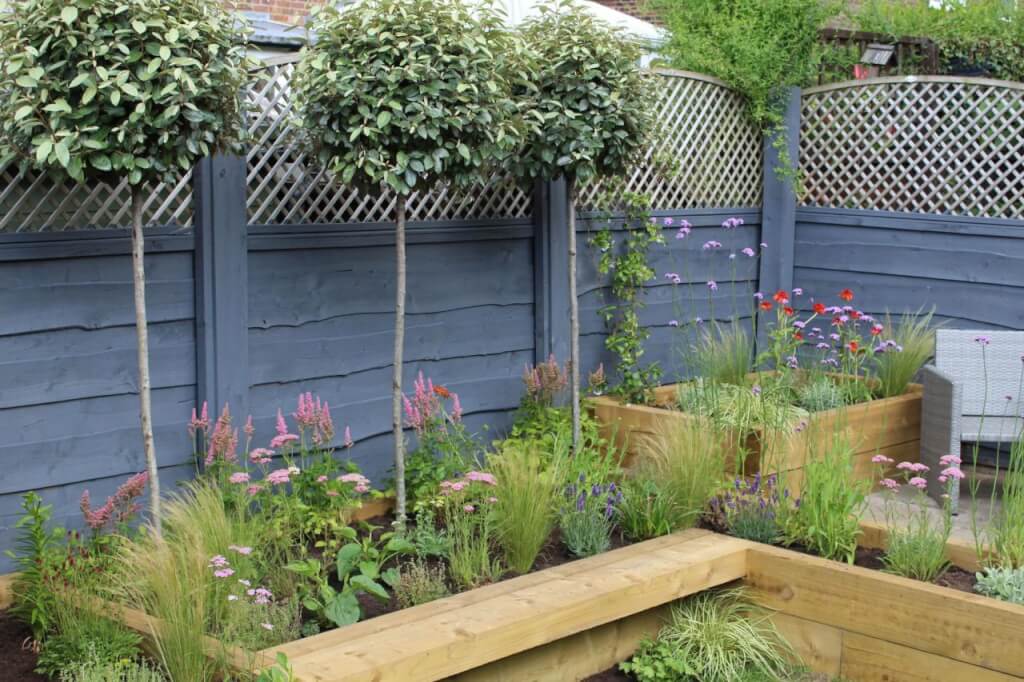
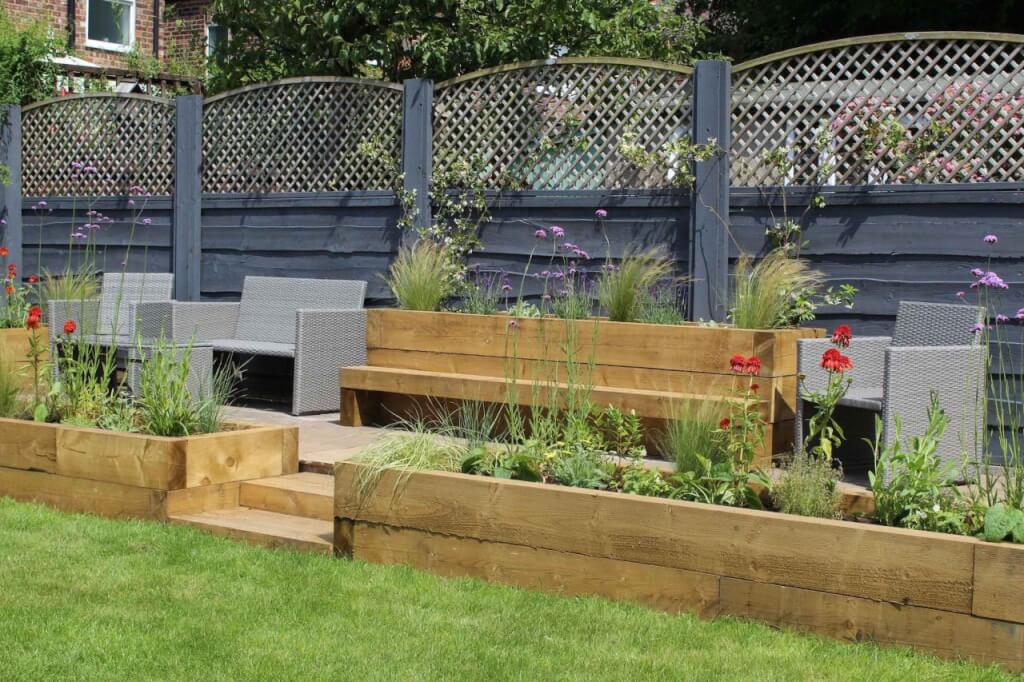
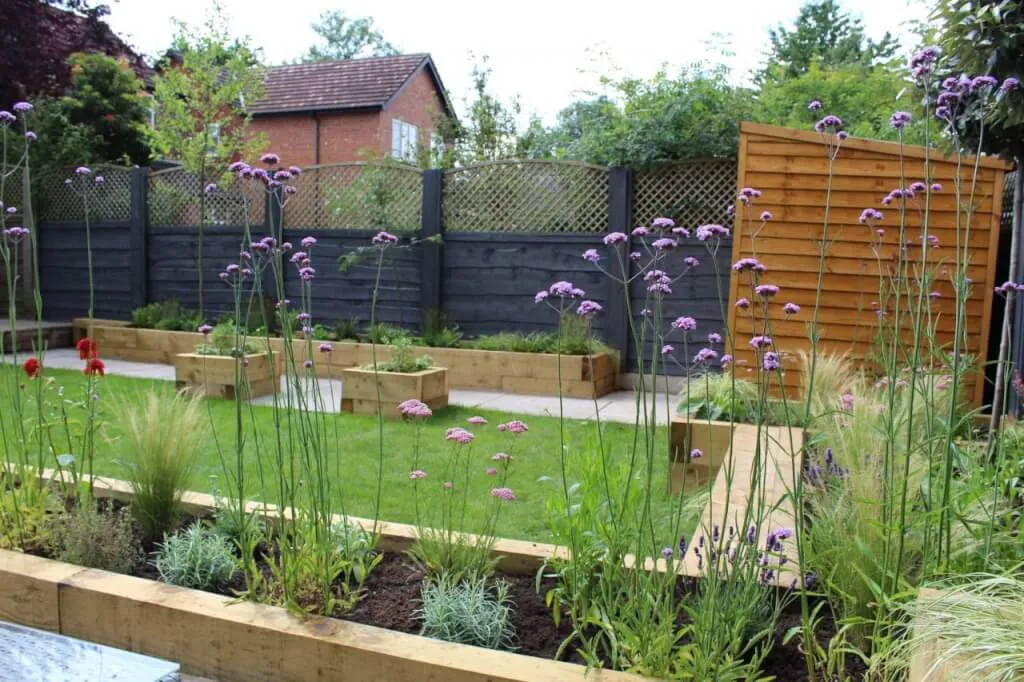
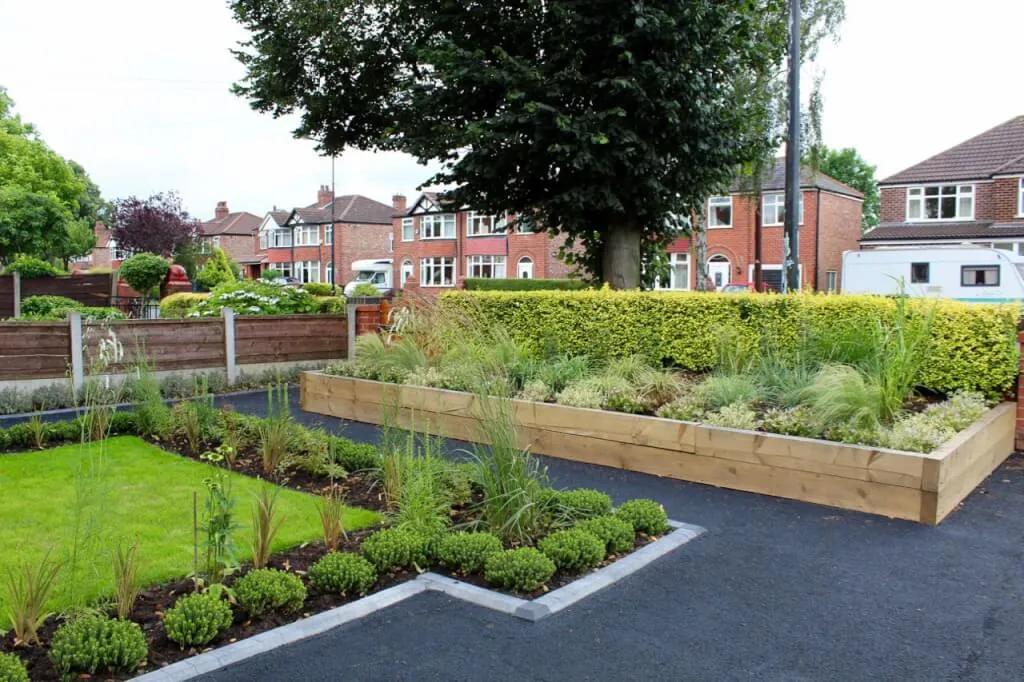
Ultimately raised beds come in all sorts of shapes and sizes and many materials. Raised beds are great for a quick-fix garden design and can be incorporated into any garden. A recent family garden transformation utilised them excellently, as can be seen here.
Whether you’re growing your own vegetables or planning a fantastic garden design, raised beds are an excellent choice. They allow you to pick your own soil and avoid growing in soggy, wet clay or uneven ground, so they’re a great beginner gardening choice!
Now you’ve read my guide to raised beds I’d love to hear from you on Social media, either by Tweeting, Facebook or Instagram. Why not let me help you with my YouTube Gardening guides?
Great detailed guide on making raised beds. I’m looking to make a raised bed for my succulents and this guide is all I need. Thanks for the great article.
I have some raised beds that I established a couple of years ago; unfortunately they’re starting to suffer from soil sinkage. Any tips for how to refill around permanent plantings without digging them up? I have a mix of small fruit trees and bushes in there so would rather not disturb them if I can avoid it…
Hi Judith, Thanks for your comment. The issue you’re going to have with topping up soil is that if you cover the graft or bases of trees and shrubs you can kill them bu suffocating the main stem. Depending on how low the soil has shrunk you may need to lift them slightly and then back fill. Alternatively, you could mulch deeply towards the front of the beds but leave a ring around the shrubs and trees, which will give the illusion of depth but without suffocating them. Hope that helps. Happy Gardening. Lee
Hi Lee, we have the teeniest garden and have bought a couple of triangular raised beds to help draw the eye through the garden. You mention height at the back which makes sense. And a prairie planting scheme. What plants would that include. Recommendations would be great and then I can share what you suggest on Instagram. Thanks
Great article thank you . Can I ask if the timber reused beds you describe can be painted ? If I used a wood paint/preservative would this harm the plants? Thanks
Hi Emma. Yes of course you can stain your raised beds. Look for water based stain or paint. That’s the best. It won’t harm the plants. Hope that helps. Lee


Great detailed guide on making raised beds. I’m looking to make a raised bed for my succulents and this guide is all I need. Thanks for the great article.
I have some raised beds that I established a couple of years ago; unfortunately they’re starting to suffer from soil sinkage. Any tips for how to refill around permanent plantings without digging them up? I have a mix of small fruit trees and bushes in there so would rather not disturb them if I can avoid it…
Hi Judith, Thanks for your comment. The issue you’re going to have with topping up soil is that if you cover the graft or bases of trees and shrubs you can kill them bu suffocating the main stem. Depending on how low the soil has shrunk you may need to lift them slightly and then back fill. Alternatively, you could mulch deeply towards the front of the beds but leave a ring around the shrubs and trees, which will give the illusion of depth but without suffocating them. Hope that helps. Happy Gardening. Lee
Hi Lee, we have the teeniest garden and have bought a couple of triangular raised beds to help draw the eye through the garden. You mention height at the back which makes sense. And a prairie planting scheme. What plants would that include. Recommendations would be great and then I can share what you suggest on Instagram. Thanks
Hi Bev, Thanks for your comment. You can view my garden design services here if you’re looking for help with your specific garden. Many thanks. Lee https://www.gardenninja.co.uk/garden-design-services/
Great article thank you . Can I ask if the timber reused beds you describe can be painted ? If I used a wood paint/preservative would this harm the plants? Thanks
Hi Emma. Yes of course you can stain your raised beds. Look for water based stain or paint. That’s the best. It won’t harm the plants. Hope that helps. Lee