Lee Burkhill: Award Winning Designer & BBC 1's Garden Rescue Presenters Official Blog
Intermediate level
Lifting, splitting and viding spring bulbs is a great way to bulk up your flower beds in late spring. Saving you splashing out on yet more spring bulbs come autumn. Us expert gardeners know that dividing established blocks of daffodils, snowdrops, tulips or crocus is the fastest way to increase those gorgeous spring blooms. So let me show you how to split, divide and propagate spring bulbs.
Knowing when and how to lift and divide spring bulbs is a common question that thousands of new gardeners have asked me, the Garden Ninja, over the years. I understand why it’s confusing, as you may think you should lift bulbs when dormant as you do with shrubs, but that would be incorrect.
The three most common questions I get asked about lifting bulbs are:
Should you split them in autumn or late spring?
How should you lift them without damaging them?
Should you feed spring bulbs after moving?
The confusion over how and when to lift your plants usually stops beginner gardeners from lifting bulbs and dividing them! Which is such a missed opportunity to propagate and multiple them! Often, the fear of lifting already successful bulbs can scare new gardeners away. But the beauty is you’re actually helping your bulbs thrive and getting more plants for free in the process!
Let me explain how to correctly lift bulbs every few yearsin late spring to help increase your spring blooms and create better spring flowerbeds!
The most successful time to lift spring bulbs for division is 6-8 weeks after they have finishedflowering in late spring, just before the flowering bulbs’ foliage dies back to the ground, which is one reason why you shouldn’t cut back the foliage immediately after flowering, as it starves the bulbs of resources for next year’s flowers.
Wait until the leaves turn yellow and start to flop over; this is your signal that the bulb has finished its work for the season.
Whilst other guides suggest autumn is the right time, the problem is that the bulb foliage has already died back, making spotting them for lifting near impossible unless you have marked out where your daffodils, snowdrops, tulips, or crocus bulbs are!
2. Why You Should Lift & Divide Bulbs
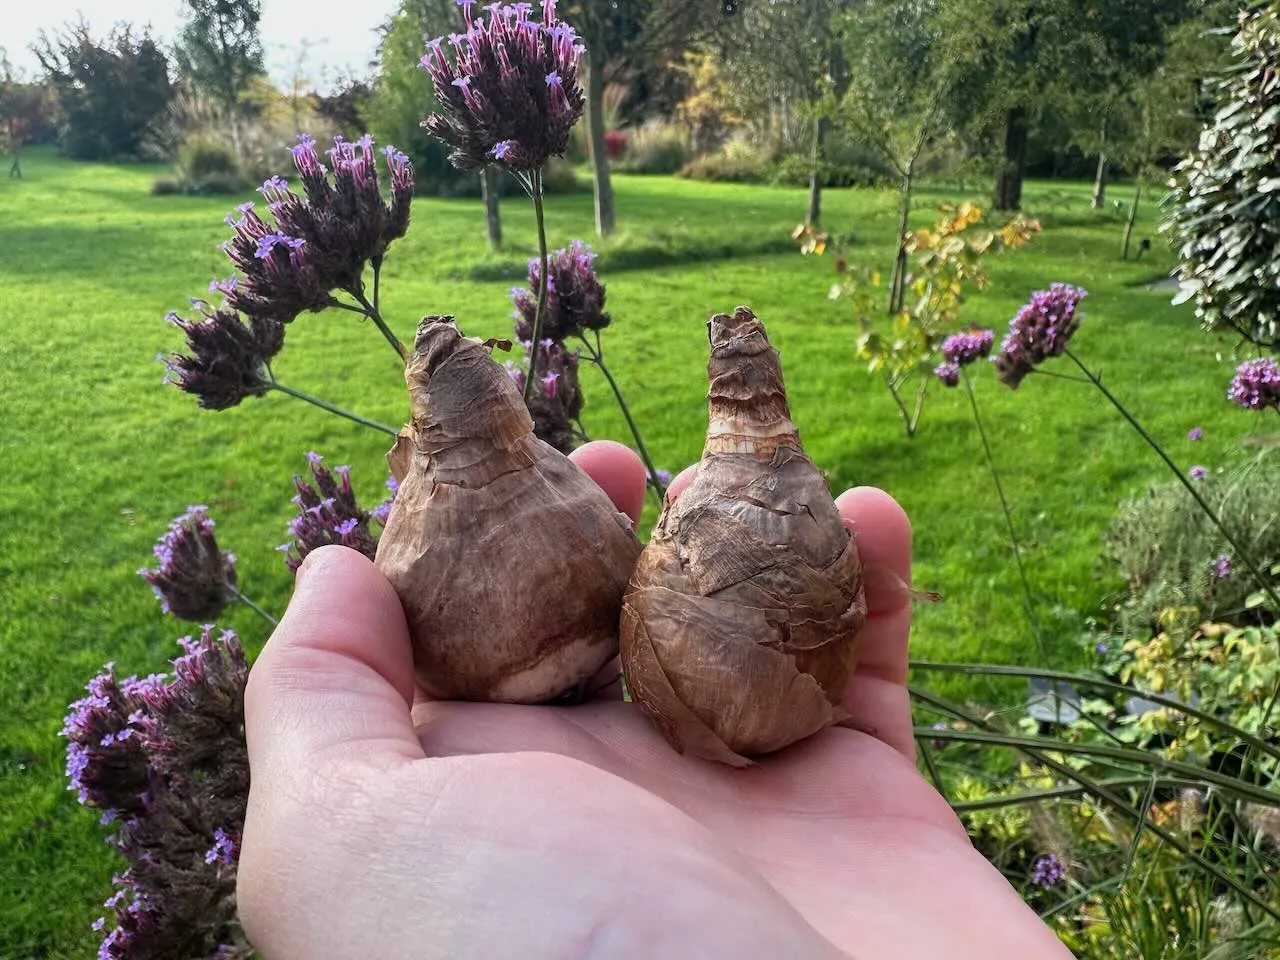
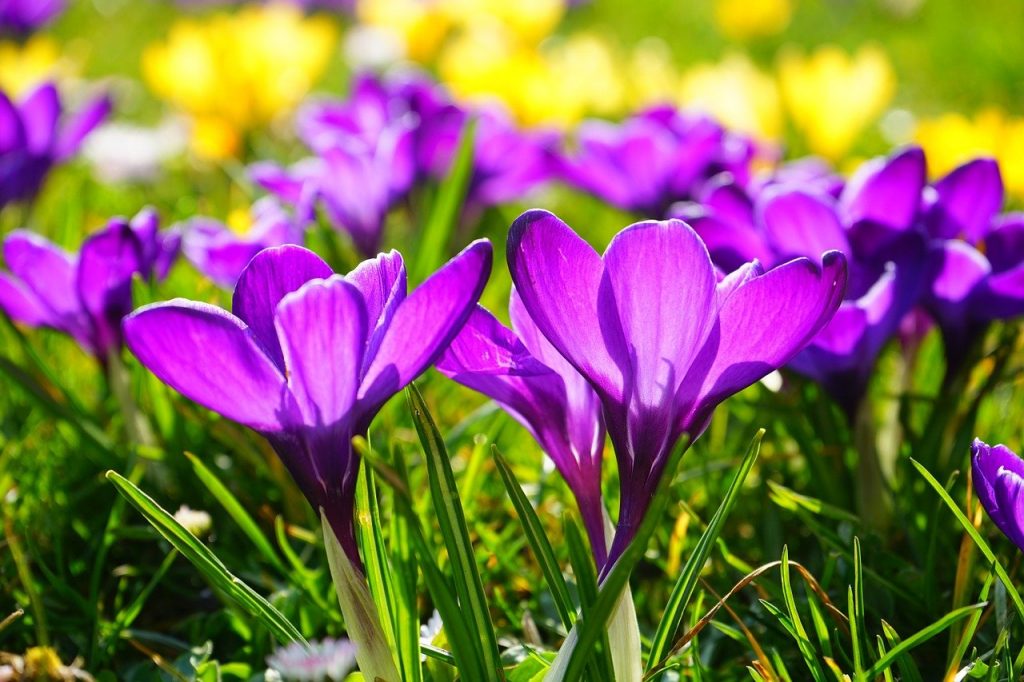
Many spring-flowering bulbs, such as daffodils (Narcissus), snowdrops (Galanthus), and crocuses (Crocus vernus), will happily naturalise by spreading themselves out over time as they propagate from bulblettes.
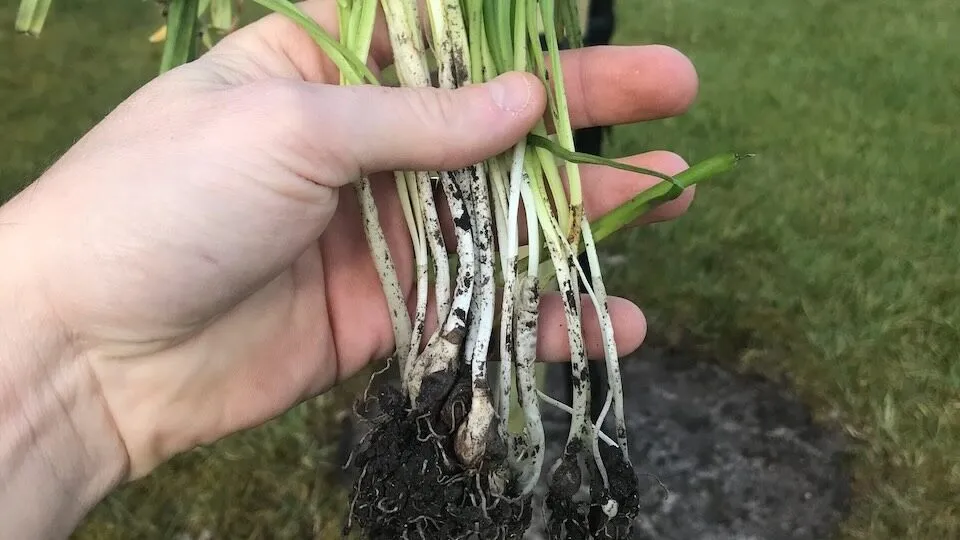
Bulblets are the most commonway that bulbs create new plants. A little offshoot starts to form on the bulb with its own stem. Eventually, this becomes large enough and detaches from the original parent bulb, forming a new plant.
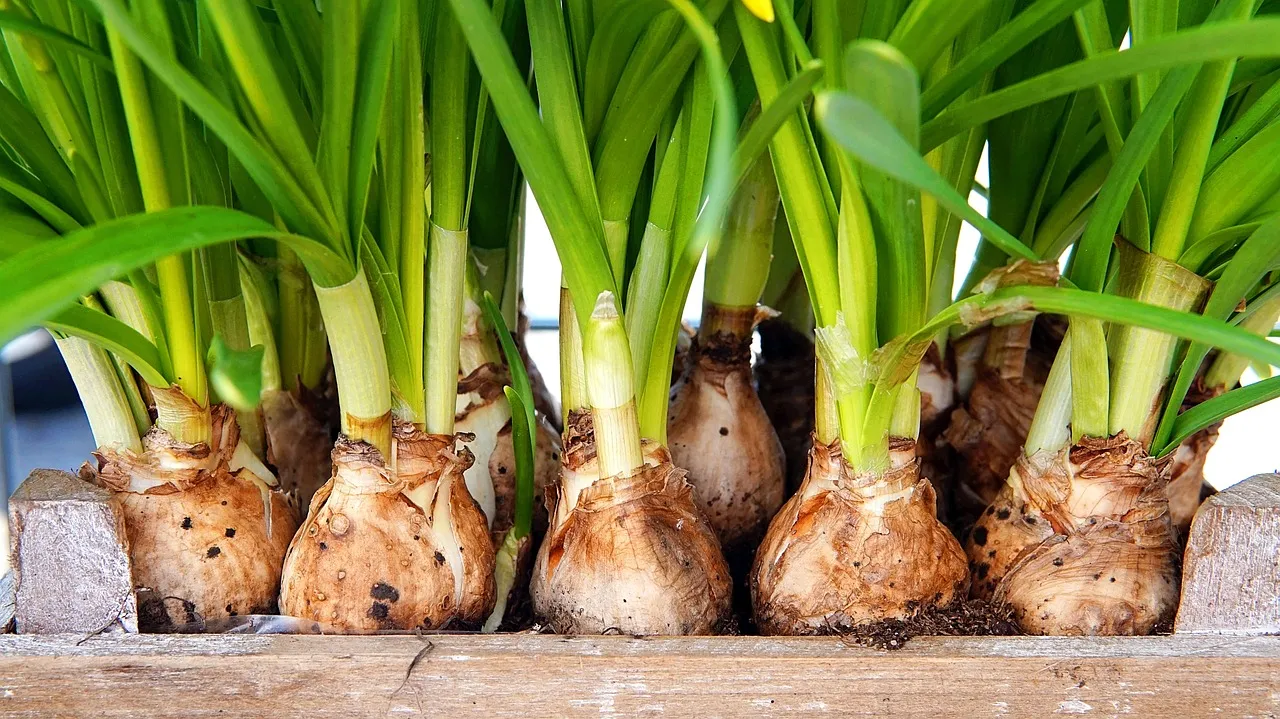
As the years pass, these clumps of parent and child bulbs can become congested. When bulbs are too close together, they compete for space, moisture, and nutrients, leading to weak growth and fewer flowers. In some cases, they’ll keep sending up leaves but give up on flowering altogether. Also, there’s only so much loose soil they can compact and push each other into!
Lifting and dividing is the gardening equivalent of decluttering. It gives each bulb the space it needs to perform well, reduces the spread of diseases, and allows you to multiply your plant stock for free, so what’s not to love?
3. How to Lift Spring Bulbs the Right Way
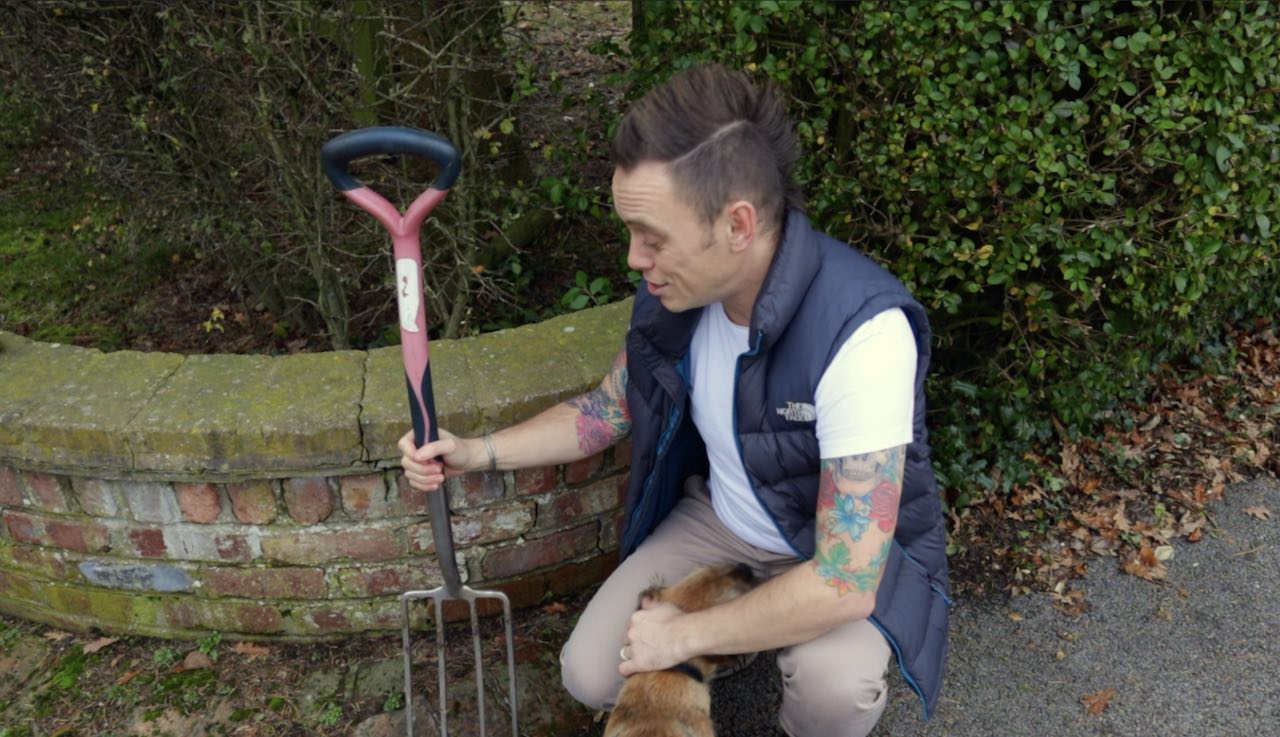
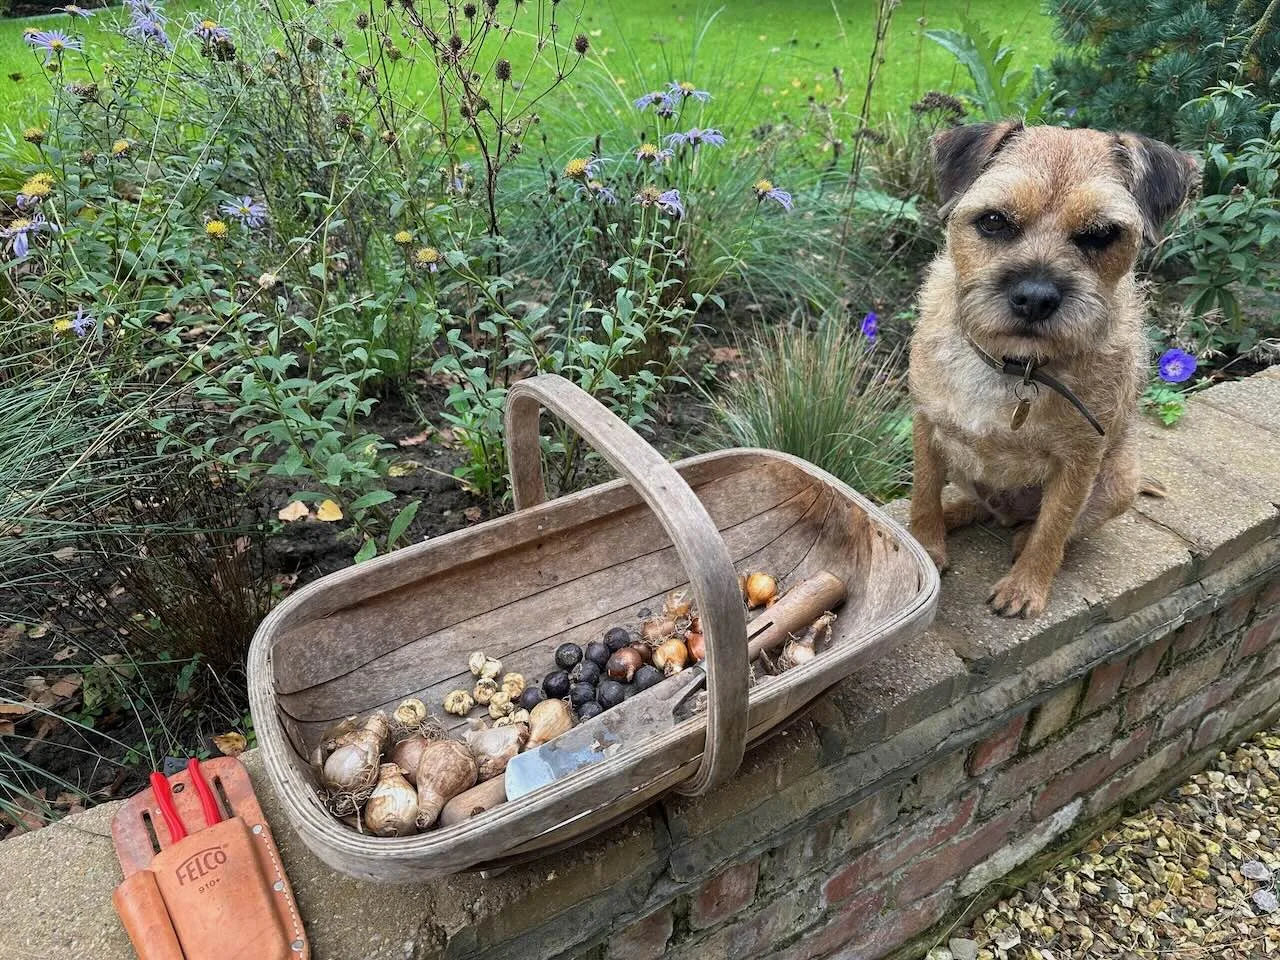
One of the worst ways to lift spring bulbs is with a garden spade, and I’ve seen many gardeners just dig with vigour to try to lift them. The problem is that you end up slicing through certain bulbs and causing more damage than good, which is why the ideal tool for lifting bulbs is a garden fork, NOT a spade.
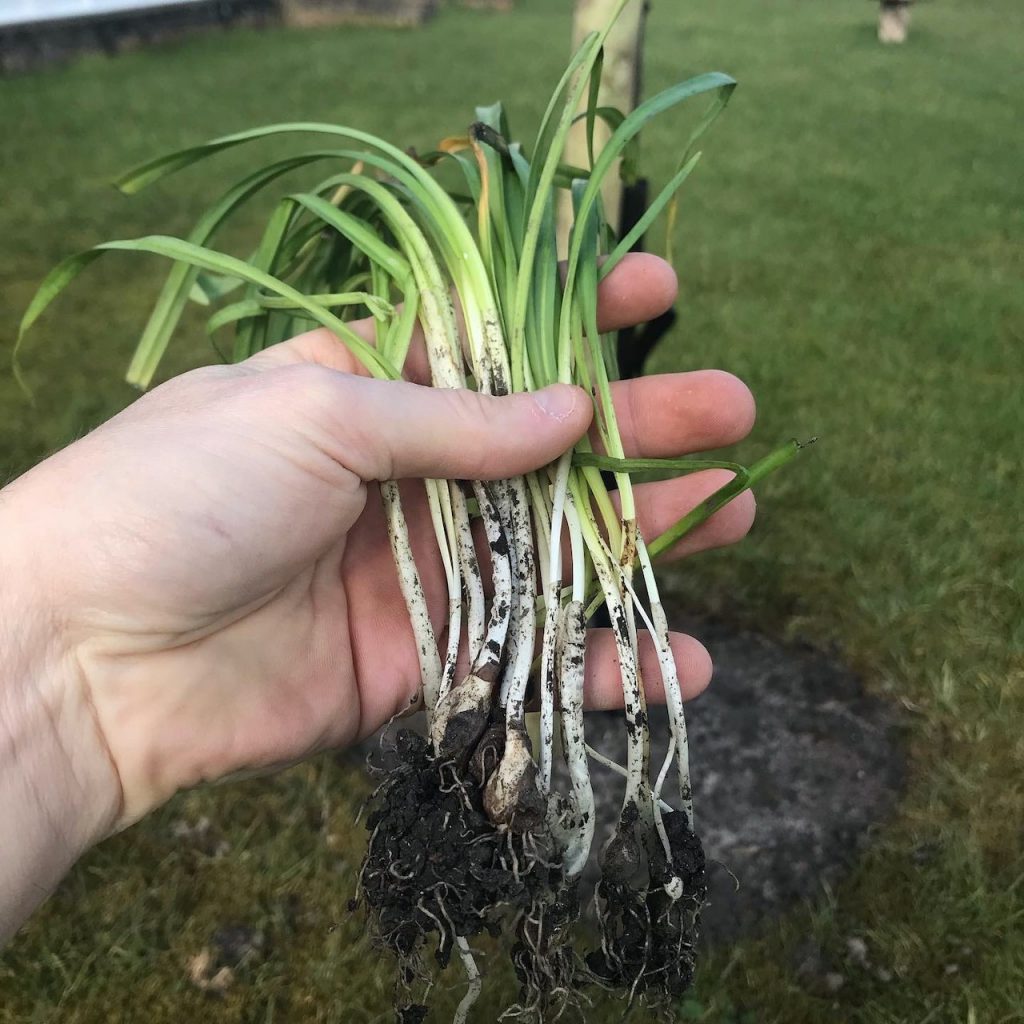
Start by gently loosening the soil around your bulb clump with a garden fork or hand fork. Avoid digging too close to the base—you want to minimise the risk of damaging the bulbs. Once the soil is loosened, carefully lift the bulbs. It’s better to take your time and go super slowly until you’re more experienced, so you don’t damage the bulb’s roots or split them. Once lifted in sections, shake off any excess soil from the bulbs to get a better view.
I like to lift bulbs onto a tarpaulin or piece of hessian, so I don’t get soil all over my garden paths or lawn. Also, afterwards, I can shake that precious soil back into the flower beds.
Inspect them closely. Healthy bulbs should be firm, plump, and free from signs of mould, rot, or damage. Any shrivelled or soft bulbs should be discarded. You’ll often find many small offsets or bulblets—these are your bonus plants. Separate them by hand if they come away easily, or use a clean gardening knife if needed.
4. How to Store Bulbs (If You’re Not Replanting Straight Away)
If you’re not replanting immediately, store your bulbs in a cool, dry, well-ventilated place. An open seed tray or paper bag in a shed or garage works well. Avoid plastic bags or airtight containers as they trap moisture and can encourage rot or mould. A word of warning about storing bulbs in sheds: mice, rats, or other overwintering mammals may eat or damage them by biting chunks out of them. So often, placing them on a shelf, never on the floor of the shed or garage, is best.
Label your bulbs by type and variety, especially if you’ve lifted multiple kinds. Trust me, they all look suspiciously similar once they’ve dried out!
However, my advice is to replant straight away once you’ve lifted them. This gives you the highest chance of success with flowers next year. Although you can store them, most gardeners forget about them, and then they just rot away to dust, making all the effort pointless! Just make sure you’ve picked a spot where they’ll get plenty of sun and decent drainage. No bulb likes wet feet, especially over winter.
5. Replanting for Better Spring Displays
Whether replanting immediately or in autumn, this is your chance to improve things. Not by adding grit or compost, your bulbs don’t need this, and often online gardeners advise all sorts of plant food additives, which are just unnecessary.
Let me repeat, your newly planted bulbs don’t need feed, compost, grit, mulch or any other fuss. They have all the energy they need stored inside their bulbs, so save your money and effort.
The best advice is to spend a few minutes choosing the best location for your bulbs. Ideally, they should be somewhere that doesn’t get waterlogged over winter and isn’t in full shade, i.e., under an evergreen shrub. Planting bulbs under deciduous trees is fine, as they lose their leaves over winter, allowing enough light in early spring for the bulbs to photosynthesise. However, avoid planting bulbs under heavy evergreen conifers, as they will struggle and die.
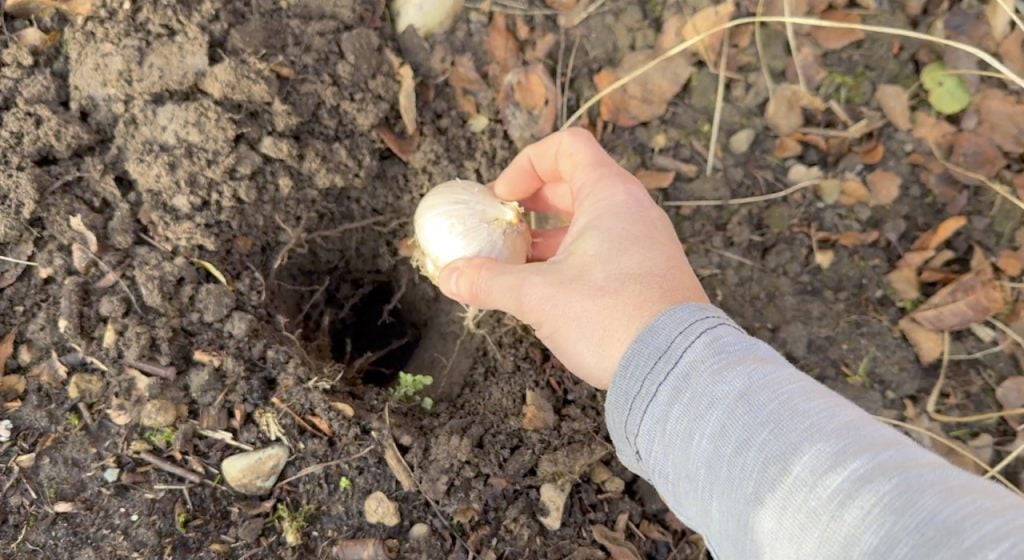
Plant bulbs at a depth roughly 2–3 times the bulb’s height.
Planting in odd numbers (3, 5, or 7) or irregular groups is a good idea for a more naturalistic display in your flower beds, rather than in formal rows of 1. Water them in well, even if the soil is damp, and label the area if you’re prone to forgetting what’s where! Using a simple garden cane with a bit of ribbon on it is a good idea!
Over time, these newly spaced bulbs will bulk up and return to their full flowering glory. It’s a simple task that makes a big difference, and once you’ve done it a few times, it becomes a satisfying seasonal rhythm in the gardening calendar that you can repeat every 3 to 5 years.
6. How Long Before Daffodils Start to Multiply?
One of the most common questions I get asked about naturalising spring bulbs is how long it takes before you start seeing them increase and spread. The good news is that daffodils are relatively quick to multiply compared to many other bulbs, though you do need a bit of patience in those early years.
In ideal conditions, healthy daffodil bulbs will start producing offsets (baby bulbs) from their second year onwards. However, you won’t typically notice a significant visible increase in your display until year three or four, when those offsets have grown large enough to flower. By year five or six, you should see a noticeably fuller, more generous display, with clumps doubling or even trebling in size depending on the variety and growing conditions.
Some varieties multiply faster than others. Miniature daffodils like ‘Tête-à-Tête’ are absolute champions at bulking up quickly, often doubling their numbers within three years. Larger trumpet varieties like ‘Carlton’ are also vigorous multipliers, which is why they’re so brilliant for naturalising. In contrast, some of the more delicate, highly bred varieties can be slower to increase, taking five or six years to form substantial clumps.
The key to encouraging rapid multiplication is keeping those bulbs healthy and well-fed. This means allowing the foliage to die back naturally every year (I can’t stress this enough), giving them a spring feed, and ensuring they’re planted in well-drained soil with decent light levels. Bulbs in soggy, shaded conditions or those with leaves cut off prematurely will struggle to build up energy reserves, resulting in slow or nonexistent multiplication.
7. How Long Before Bluebells and Snowdrops Multiply?
Whilst daffodils are relatively quick to establish, bluebells and snowdrops require considerably more patience but ultimately reward you with some of the most magical naturalised displays in British gardens. Both are slower starters than daffodils but become utterly unstoppable once they get going.
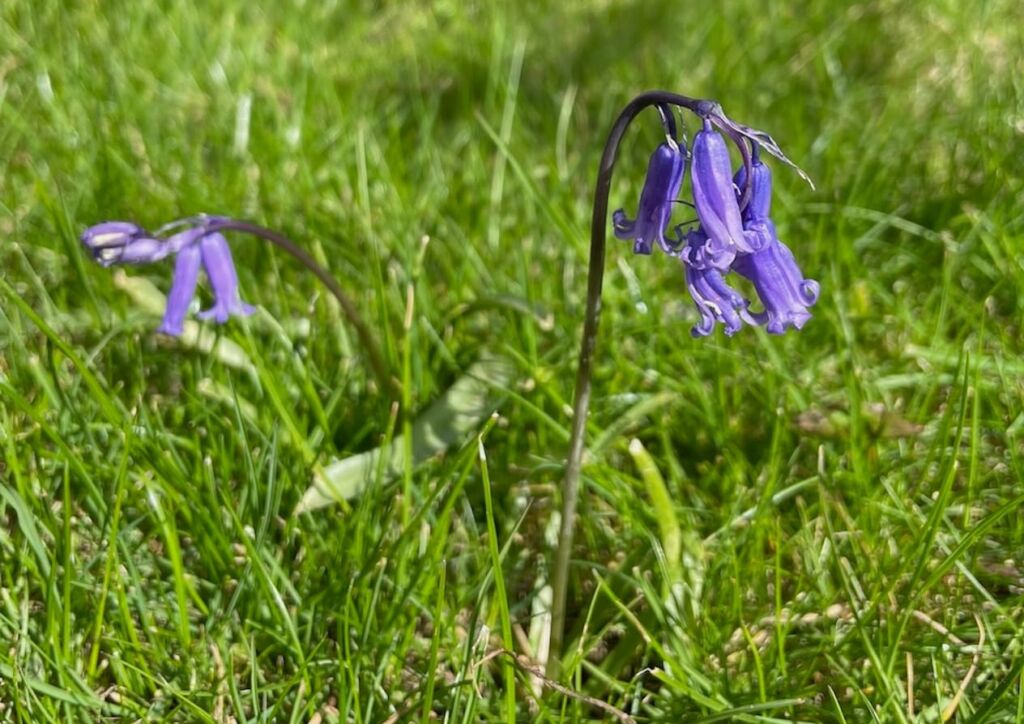
Bluebells (Hyacinthoides non-scripta, our native species) are slower to multiply than daffodils but absolutely worth the wait for those dreamy carpets of blue that epitomise British woodlands in late spring. From bulbs, you’re looking at roughly four to five years before you see noticeable spreading, though they will flower from year one.
The clever thing about bluebells is that they multiply in two ways: by producing offset bulbs like daffodils, and by self-seeding prolifically. The seeds take several years to reach flowering size, typically four to five years from germination, but once established, bluebells create self-sustaining colonies that increase exponentially over time. In my own garden, a patch of 50 bluebells planted 12 years ago has now spread to several hundred, creating that classic woodland-floor effect under my ornamental cherry tree.
Native bluebells are slower to establish than Spanish bluebells (Hyacinthoides hispanica), which are more vigorous but lack the delicate nodding habit and intense fragrance of our native species. If you’re planting for naturalising and can wait a few extra years, always choose native bluebells. They’re better for wildlife, more elegant, and once established, they’re utterly foolproofNinja!
The secret to successful bluebell naturalising is mimicking their natural habitat. They thrive under deciduous trees and shrubs, where they get spring sunshine before the canopy leafs out, then summer shade.
Plant them in decent numbers (at least 50 to 100 bulbs) in autumn, ideally in September or October,r whilst they’re dormant, and then simply leave them alone. Don’t deadhead them as you want those seeds to scatter and germinate.
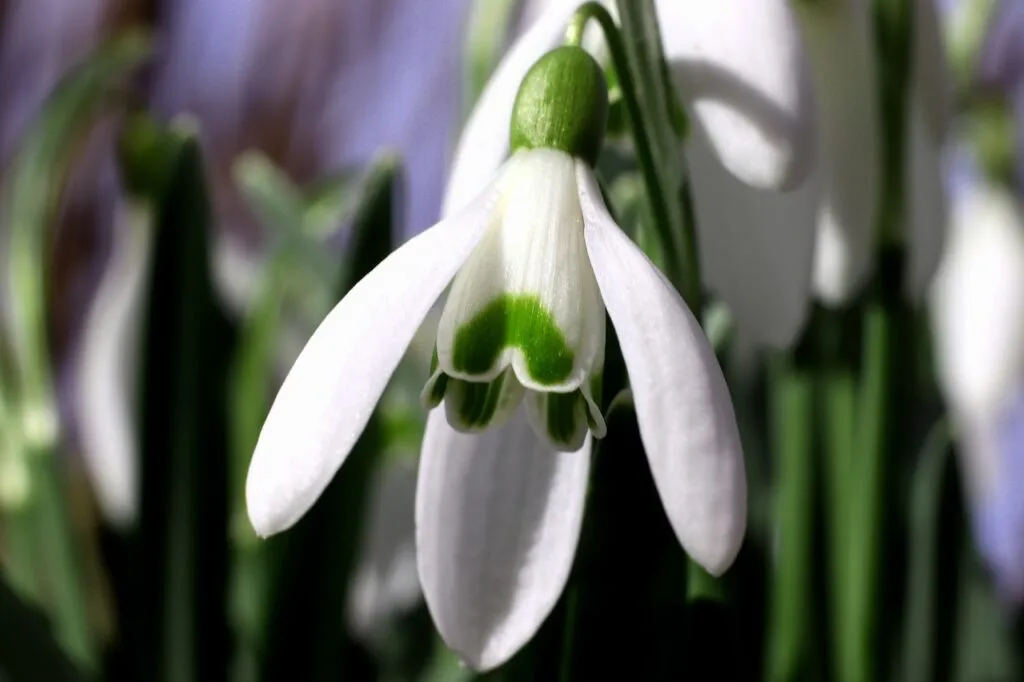
Snowdrops (Galanthus nivalis) are even slower than bluebells when it comes to initial multiplication, the tortoise of the spring bulb world. From dry bulbs planted in autumn, expect a very slow initial increase, perhaps taking five to seven years before you notice significant clump bulking.
What makes a real difference is planting snowdrops “in the green” (whilst actively growing with leaves) immediately after flowering in late winter or early spring. Bulbs planted in the green settle in much faster and start multiplying within 2 to 3 years rather than 5+ years. Yes, buying snowdrops in the green costs more than dry bulbs, but the success rate and speed of establishment make it worthwhile, especially for choice varieties.
Once snowdrops get going, they become incredibly generous self-seeders, much like bluebells. A single clump can scatter seeds that germinate into hundreds of baby bulbs over the years, though these seedlings take four to five years to reach flowering size. In old established gardens, you often see snowdrops forming vast white rivers through borders and under trees, the result of decades of steady multiplication through both division and self-seeding.
The beauty of snowdrops is their absolute indestructibility once settled. They’ll grow in the heaviest clay, the deepest shade, even bone-dry conditions under conifers where little else survives. They’re completely unbothered by pests, diseases, or our increasingly erratic weather.
For all three of these spring bulbs, the moral of the story is the same: plant generously from the start, give them the right conditions, and then exercise patience. Within a decade, you’ll have bluebell woods and snowdrop drifts that look like they’ve been there forever, increasing year on year with zero intervention alongside your naturalised daffodil displays. That’s proper sustainable gardening right there.
Become a Master in Garden Design
Why not consider expanding your growing and garden design knowledge with one of my online gardening courses? My Garden Design for Beginners Course is here to help you transform your garden with an affordable online course, no matter how little your experience with plants.
This course offers step-by-step guidance from me, Lee Burkhill—the Garden Ninja, award-winning garden designer, and presenter on BBC1’s Garden Rescue. In this course, you’ll go from a garden design novice to a confident designer equipped to tackle any green space.
Planting Techniques – Select and arrange plants like a pro.
Design Styles & Layout Options – Explore a range of styles to suit every garden.
Course Features:
20 Hours of Study Time
Flexible Online Learning
Engaging Video Lessons & Quizzes
Real-World Case Studies
Certification upon Completion
Taught by Award-Winning Designer Lee Burkhill
Enrol now for just £199 and start your journey toward garden design mastery!
29
Garden Design Examples for Small Gardens: 30 Design Templates & Planting Plans
Garden Design Examples for Small Gardens: 30 Design Templates & Planting Plans: In this online gardening course, I’ll walk you through 30 fantastic garden designs, explaining the logic behind the layout, the plant choices, and take-home tips for applying them in your own garden.
Weekend Garden Makeover: A Crash Course in Design for Beginners
Learn how to transform and design your own garden with Lee Burkhills crash course in garden design. Over 5 hours Lee will teach you how to design your own dream garden. Featuring practical design examples, planting ideas and video guides. Learn how to design your garden in one weekend!
Garden Design for Beginners: Create Your Dream Garden in Just 4 Weeks
Garden Design for Beginners Online Course: If you want to make the career jump to becoming a garden designer or to learn how to design your own garden, this is the beginner course for you. Join me, Lee Burkhill, an award-winning garden designer, as I train you in the art of beautiful garden design.
Lifting, dividing and replanting spring bulbs is a great way to increase your garden plant stock for free. It also helps you, as gardeners, develop your gardening skill set and see how these incredible little bulbs propagate themselves. The more you understand your plants, like spring bulbs, the better a gardener you will become!
I’d love to hear from you, Ninjas, about your shrub-moving success stories and garden design ideas in the comments below or on Social media. You can Tweet, Facebook or Instagram me. You can also check out the other guides and vlogs on my YouTube channel.
If you have a gardening question, then why not use the Garden Ninja Gardening Forum, where hundreds of Garden Ninja members can help you!
Your subscription could not be saved. Please try again.
Your subscription has been successful.
Lee Burkhill
Lee Burkhill, known as the Garden Ninja, is an award-winning garden designer and horticulturist with over 30 years of gardening experience and 15 years as a professional garden designer. A qualified RHS (Royal Horticultural Society) professional, Lee specialises in sustainable garden design and practical horticultural advice. He designs and presents on BBC1’s Garden Rescue and in leading gardening publications. Lee combines three decades of hands-on gardening knowledge with professional design qualifications to help gardeners create beautiful, functional outdoor spaces.