How to sow seeds – beginners guide to growing plants
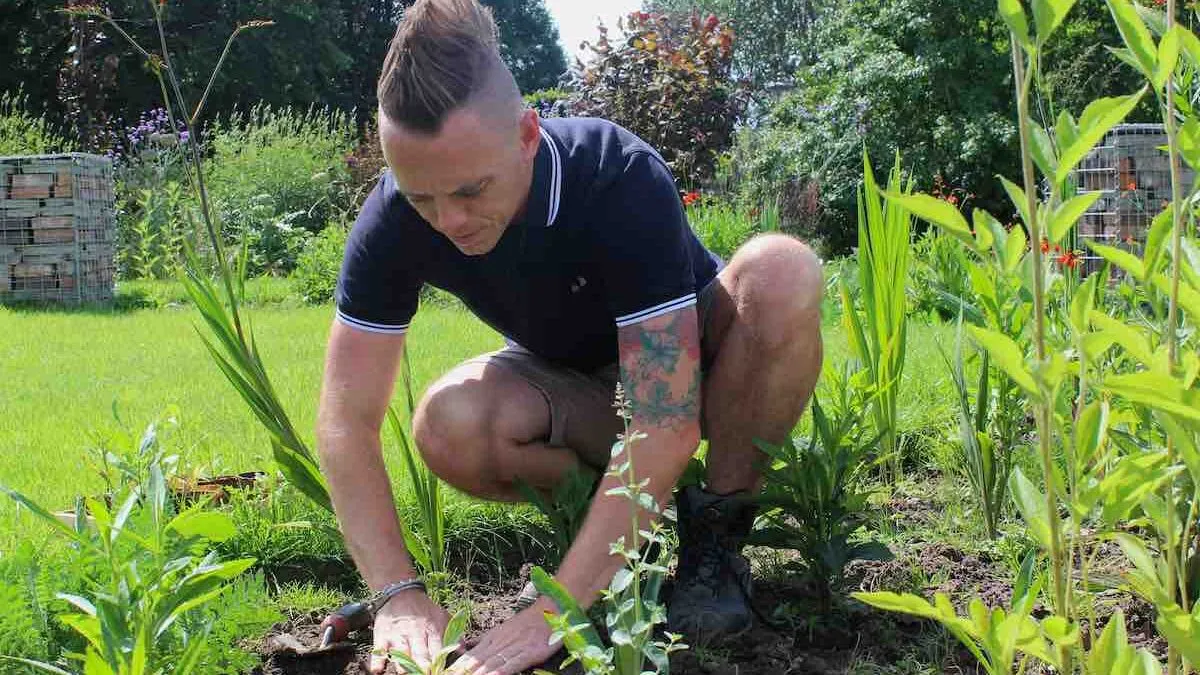
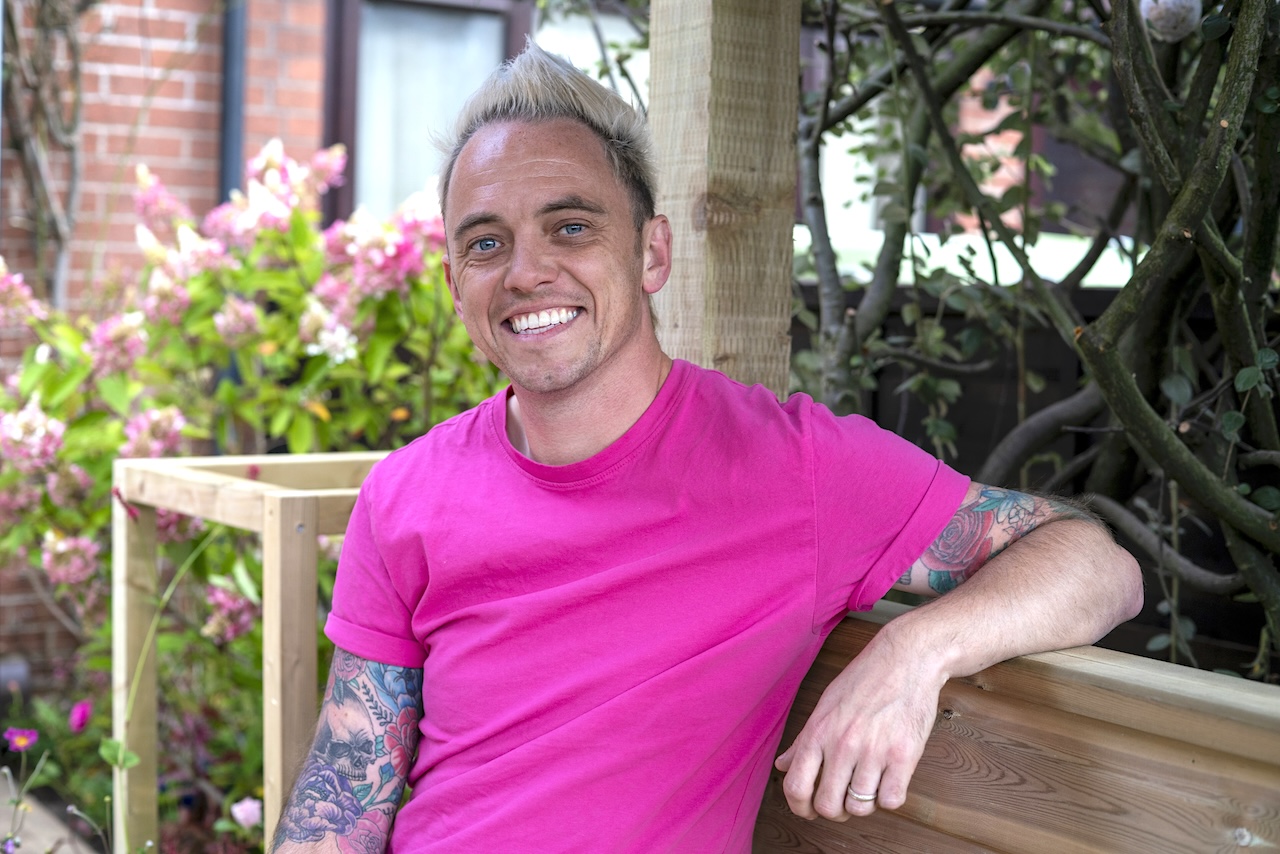
Lee Burkhill: Award Winning Designer & BBC 1's Garden Rescue Presenters Official Blog
Beginner level
Sowing seeds is an activity that brings joy and smiles all round to all gardeners. Each year gardeners and allotment holders around the country eagerly sow seeds of both flowers and vegetables to grow on in their gardeners. Sowing seeds are really cost-effective and offer gardeners an unbelieveable variety of plants that you simply can't buy from garden centres. If you are new to sowing seeds and want to get cracking with growing your own then this how to sow seeds guide is for you!
Learning how to grow plants from seed is one of the most exciting gardening skills you can learn. This guide will show you just how easy it is to grow almost anything in your garden from seed.
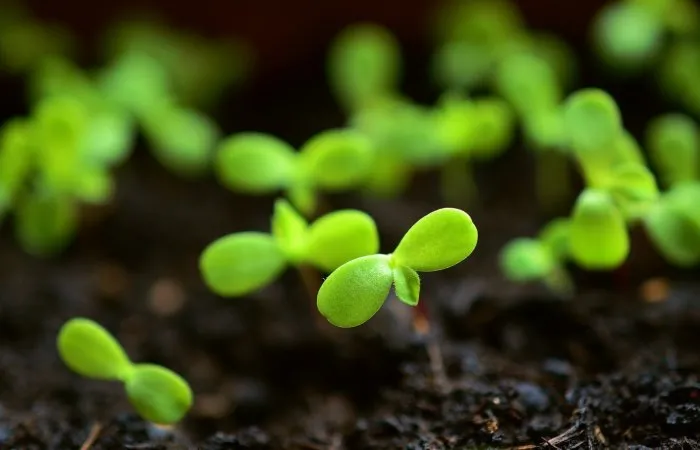
It's incredible to think that most plants in your garden can be grown from tiny, unassuming seeds. These little seeds of life allow plants to propagate themselves and spread joy with us gardeners wanting to grow our own. You can grow anything you want in your garden, from vegetables to herbaceous perennials like flowers and even trees!
Seed sowing is a simple science, but many new gardeners get it wrong. The excitement seed sowing brings can also bring a slapdash or misinformed activity that leads to plants failing to succeed.
This beginner gardening guide on how to sow seeds will show you how to sow, grow and succeed with seeds. (There's a tongue twister!) Whether growing plants to eat or just for their beauty, this guide shows you everything you need to know to start growing your own plants.
How to Sow Seeds
If you want to jump in sowing seeds then the steps below show you what you need to do to grow from seed. Then further on in this seed sowing master class you can find out more about each of the steps.
1) Choose the Right Seeds Select seeds that suit your climate, season, and space—indoors or outdoors, container or ground.
2) Prepare Your Containers or Trays Use clean seed trays, pots, or recycled containers with drainage holes. Wash old containers to avoid disease.
3)Fill with Seed Compost Use a fine, free-draining seed compost. Fill your containers loosely and level the surface without compacting the soil.
4) Moisten the Compost& Sow Seeds Lightly water the compost before sowing. It should be damp but not soaking wet. Follow the packet instructions for depth and spacing. Sow thinly to avoid overcrowding. Some seeds are surface-sown, while others need covering.
5)Cover the Seeds (if needed) Use a fine layer of compost, vermiculite, or sand to cover seeds that require it. Check the seed packet for guidance.
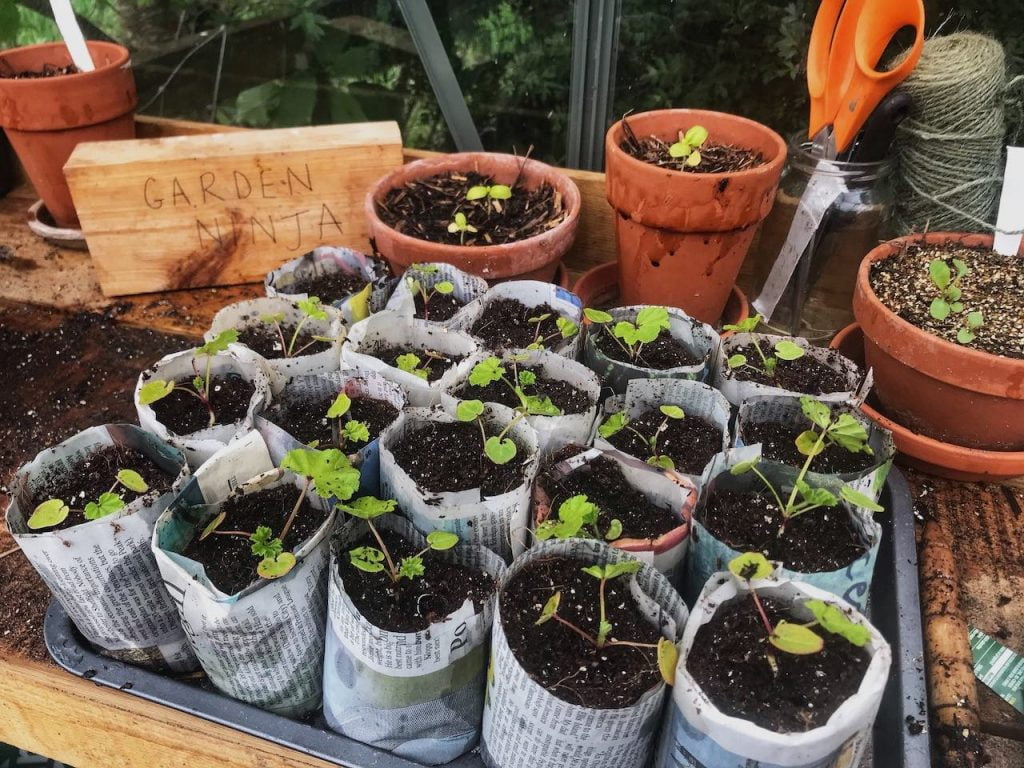
6)Label Your Seeds Clearly label each tray or pot with the plant name and sowing date using a waterproof marker.
7)Provide Warmth and Light Place trays in a warm, bright location. Use a propagator or cover with a clear lid or plastic wrap to retain moisture if needed.
8)Keep Compost Moist Mist or water gently when the surface begins to dry. Avoid overwatering, which can cause damping off.
9)Remove Cover After Germination As soon as seedlings appear, remove any plastic cover and move to a well-lit spot to prevent them becoming leggy.
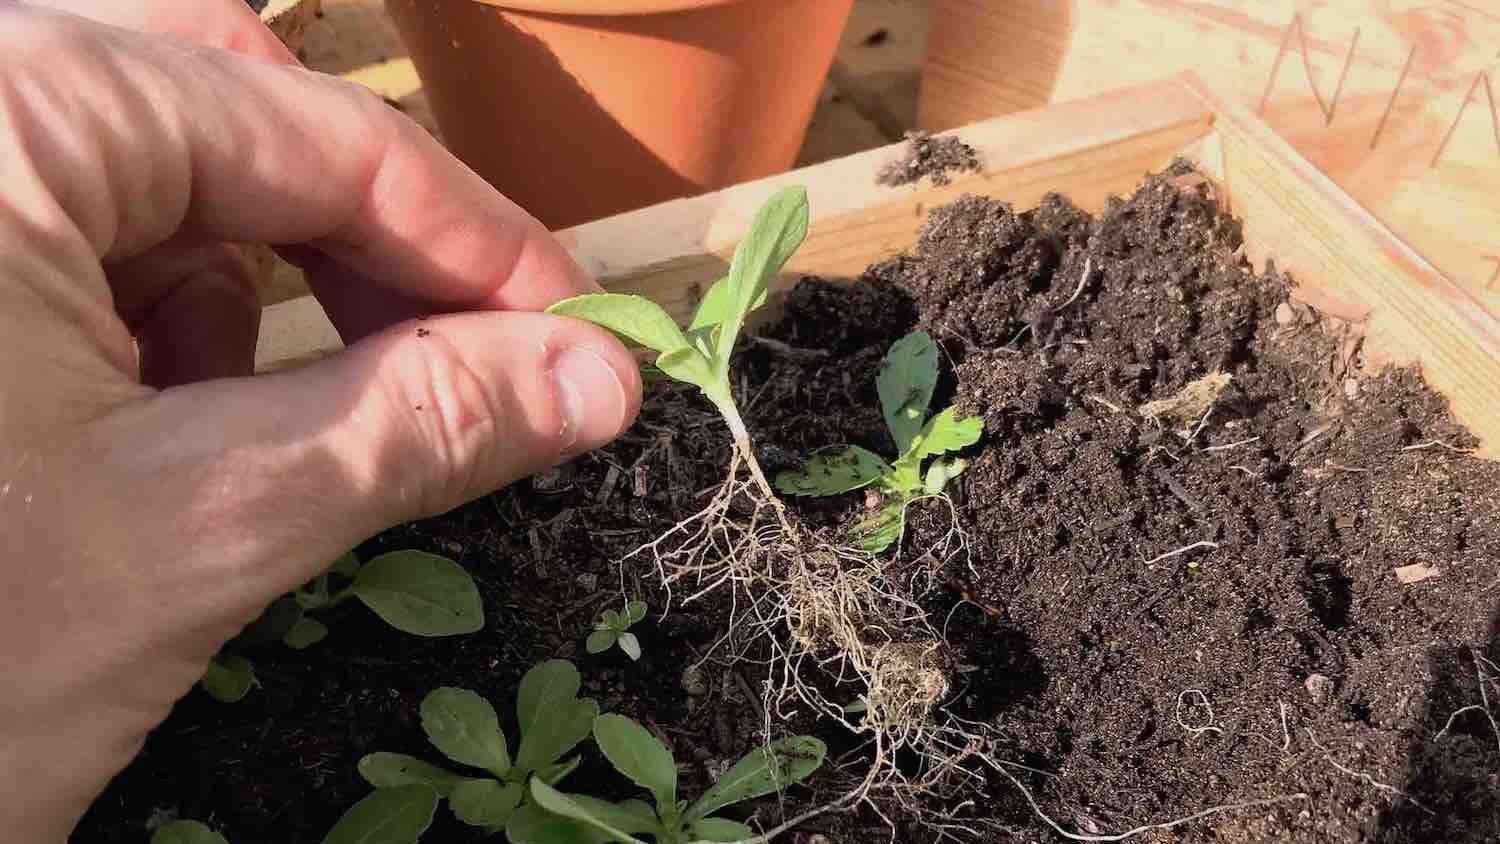
10) Thin Out Seedlings Once seedlings have a few true leaves, thin them out by removing weaker ones to give others space to grow.
11) Pot On or Harden Off When seedlings are large enough to handle, transplant them into larger pots. Harden off outdoor plants gradually before planting out.
Let's take a quick look at the benefits of growing your own plants from seed.
i) Cost-effectiveness of sowing seed
Growing plants from seeds can be much cheaper than buying established plants from a nursery. Seeds are relatively inexpensive and can produce a large number of plants for a fraction of the cost.
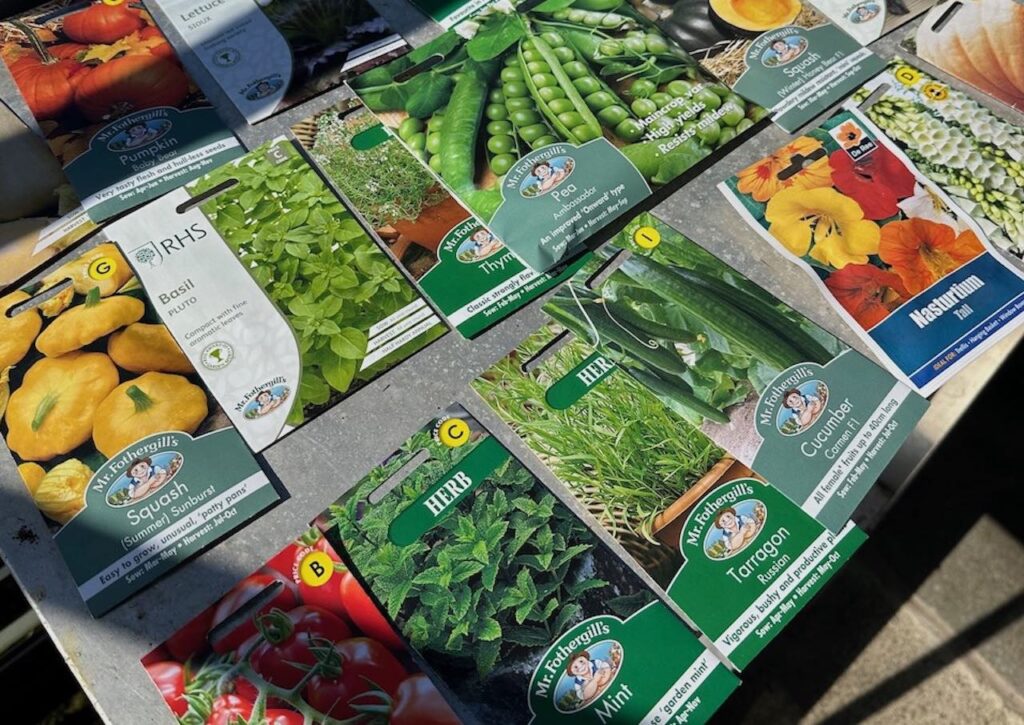
ii) Variety of plants
Growing plants from seed allows you to access a wider variety of plant species and cultivars than you might find at your local nursery or garden centre. This gives you the opportunity to experiment with different types of plants and find the ones that work best for your garden.
iii) Personal satisfaction with seed sowing
Watching a plant grow from a tiny seed into a fully grown plant can be incredibly rewarding and satisfying. It's a great way to connect with nature, experience the wonder of the plant world, and become an advanced gardener!
iv) Control of plants by growing them yourself
When you grow plants from seed, you have complete control over the growing conditions, from the soil and nutrients to the amount of light and water. This can result in healthier plants and better yields. You can tweak all the conditions to either grow things earlier in the season or to grow bigger plants by feeding them more.
v) Eco-friendliness of seed sowing
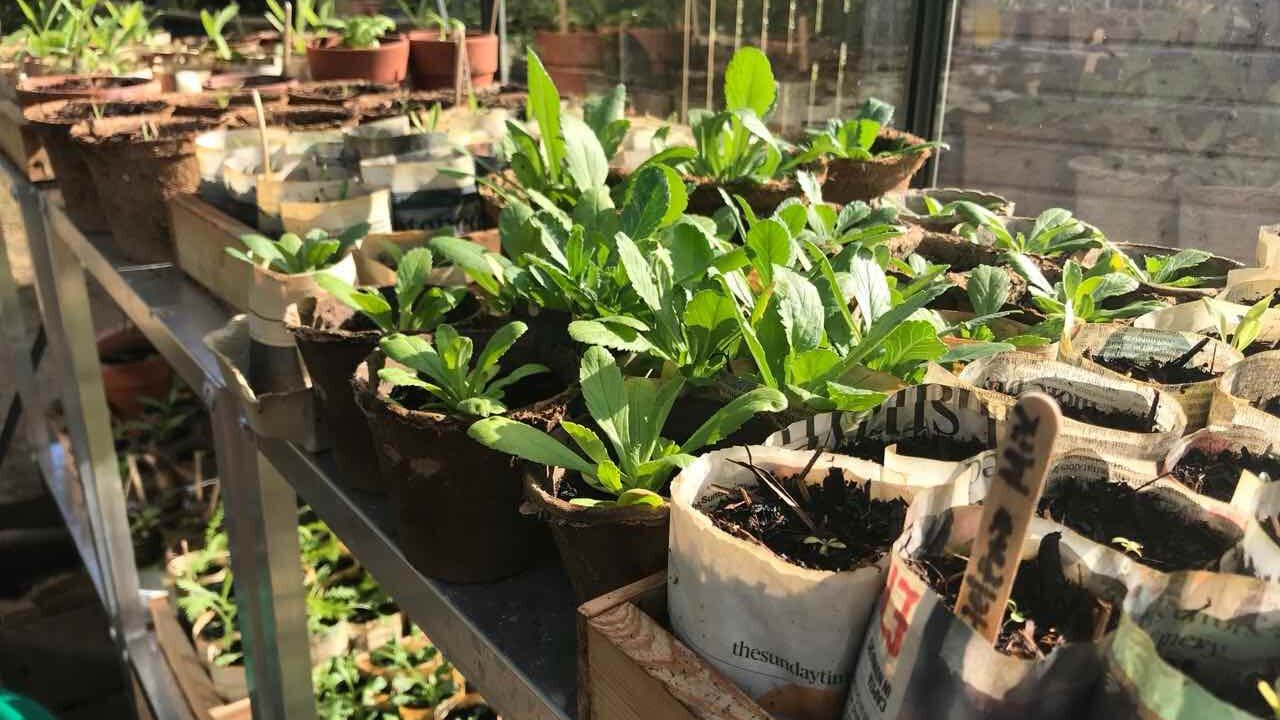
Growing plants from seed can be a more sustainable and eco-friendly option than buying established plants, which often come with plastic pots and packaging. Using biodegradable seed starting materials can reduce waste and minimize your environmental impact.
2. Choosing the right seed-sowing compost
The first step before you rip open your seed packets is to select the right growing medium. Choosing seed compost which is lower in nutrients is vital. High-nutrient feed can inhibit germination and is a waste of good compost.
I would urge you to think twice about using really old, dusty compost you've dragged out from behind the shed. If you're taking the time to sow, nurture and then pot on your seeds, the right seed compost mix is the essential first step. Old compost can be full of fungi and pathogens, which will kill off your seedlings.
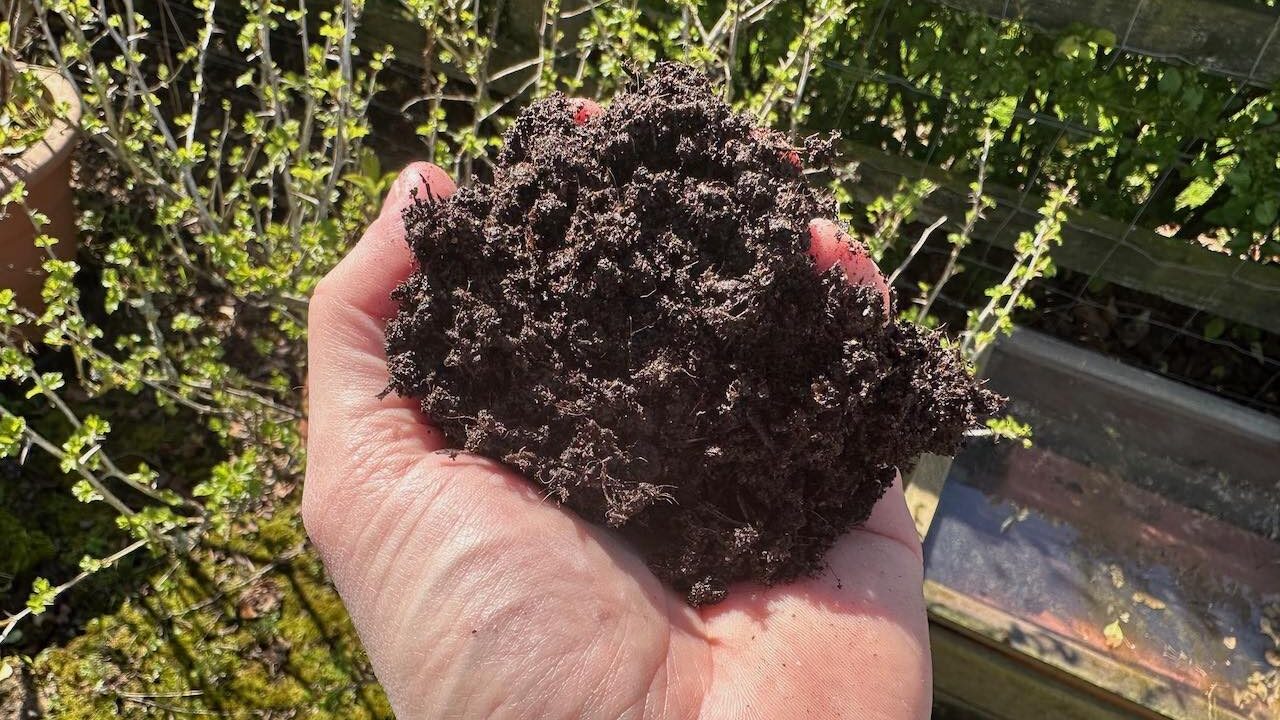
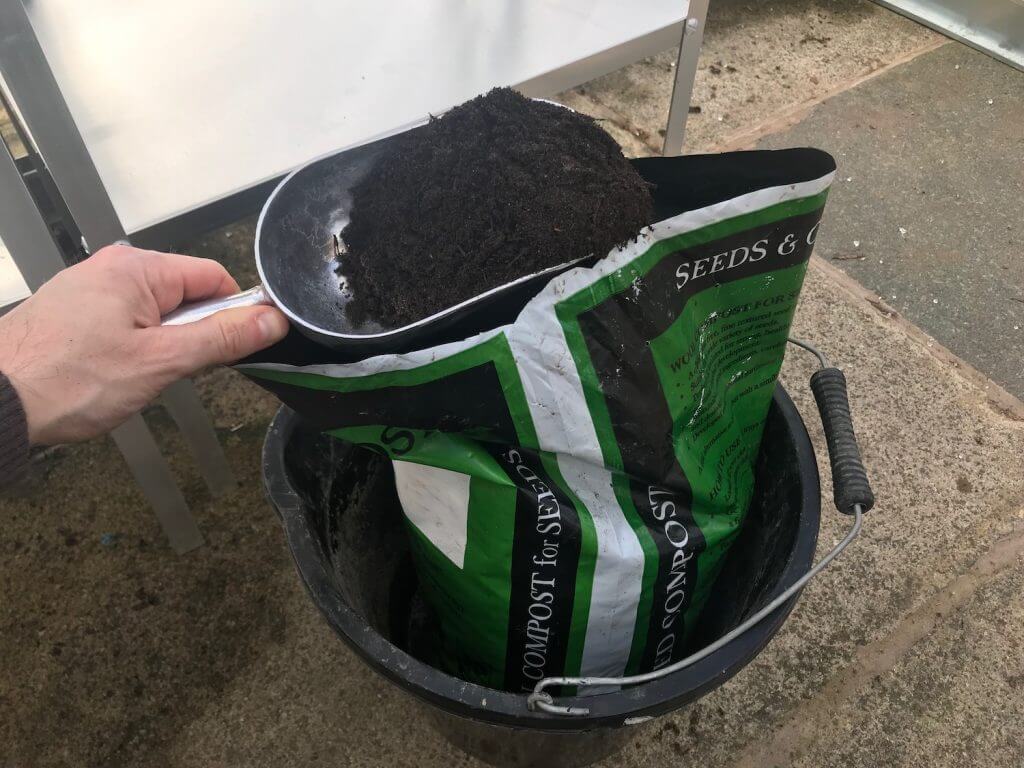
Choosing the right seed compost can also help you dodge some issues when using the wrong growing media. Dampening off, mildew, disease or funky smells from your seed trays can all be avoided. I'm using Dalefoot Seed compost, which is completely natural and a mix of sheep's wool and bracken.
I'm using Dalefoot Seed Compost, 100% natural and made of bracken and wool.
3. How to choose seed trays & pot selection
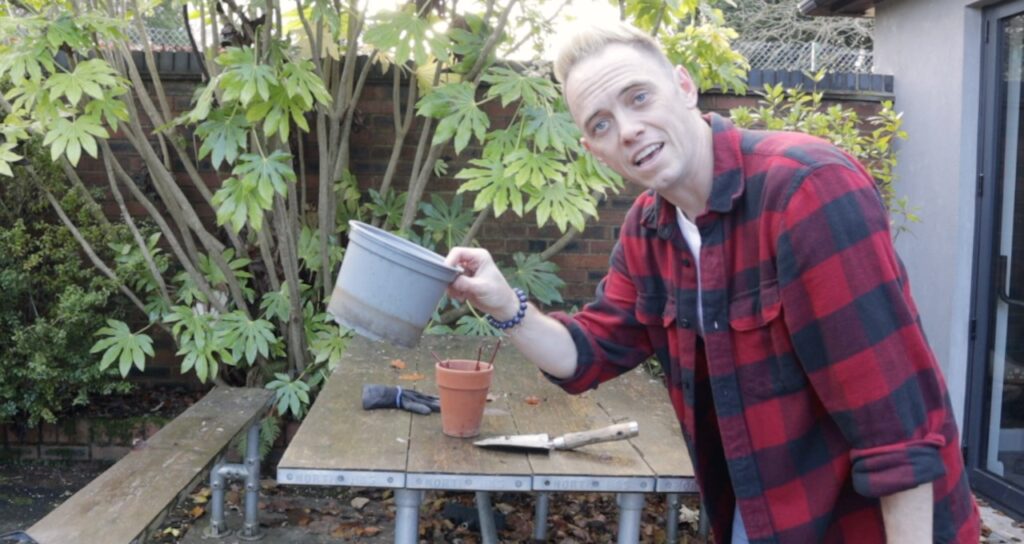
Many new gardeners tend to use the wrong pots when sowing seeds by using far larger pots than they need. New gardeners think planting seedlings in large, deep pots with extra room and compost is beneficial to the seed. However, it is not. Whilst your intentions are noble, all you will waste compost and take up vast amounts of precious greenhouse or windowsill space.
Seedling modules (or trays of individual cells to plant in)
Seed trays are relatively shallow trays where seeds can be sown efficiently over a larger surface area. The majority of commercially available seeds need the following to germinate.
What seeds need to germinate:
Moisture
Warmth (some need extreme spells of warmth and cold)
Light (some seeds need the absence of light)
Airflow (both for roots and to prevent disease during germination)
That is all a seed needs to germinate. They don't need huge amounts of nutrients as the seed itself has everything inside that it needs to send out those first seed leaves and start photosynthesising!
Plastic trays are probably the cheapest and most widely used form of the seed tray. However, if you've been following my #plasticfree gardening series, you will know that there are plenty of other alternatives when sowing seeds. You can also check my blog on Episode Two of my vlog series, which covers the other seed tray options.
You have a plethora of seed tray and pot options. Choose wisely between biodegradable and recyclable options when possible..
Once the seeds have a set of true leaves, you can prick them out into larger pots. So the seed tray is just the catalyst for germination. Save all that compost and our fancy pots for a bit later on!
Fill your seed trays with quality seed compost using your hands, a bucket, a sweet shop scoop or an empty pot. Whatever floats your boat, the same goes for whether you want to wear gloves to protect your gel acrylics or get all Mother Earth and go hands-free!
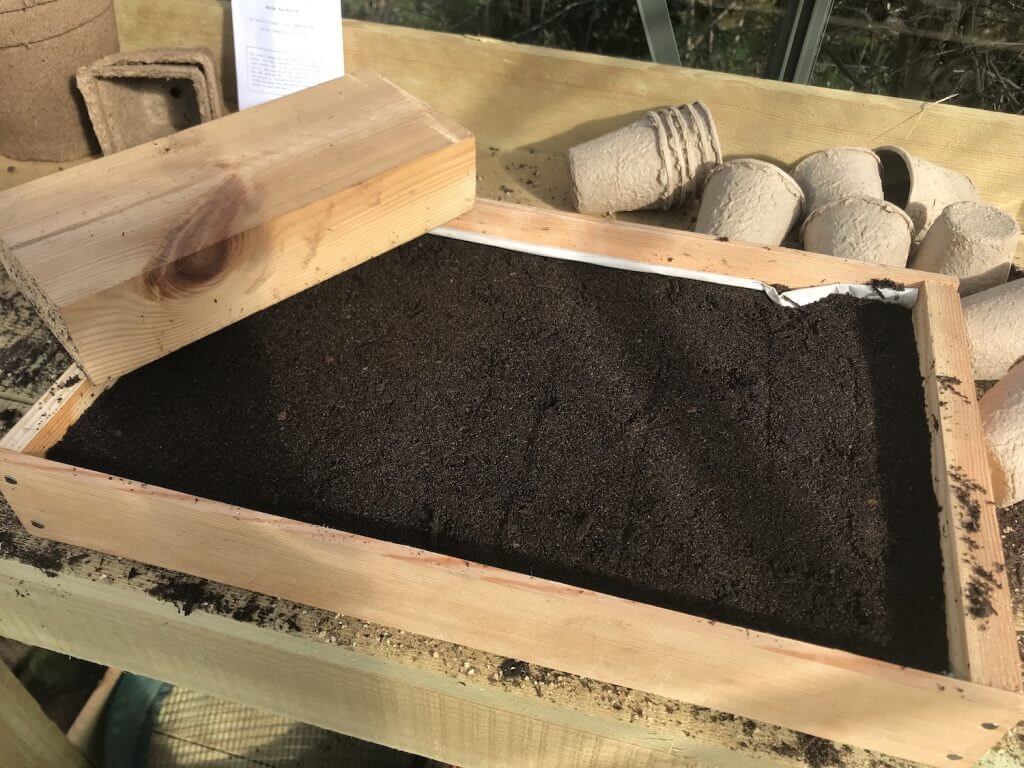
Fill the seed tray 2cm or 1 inch from the top of the tray or pot.
Then, you need to tamp it down, essentially compressing the compost to remove air gaps and create a level surface for the seeds. If you don't do this when watering the tray, the soil will bubble and then settle unevenly. This isn't ideal for seeds, as they tend to fall into these gaps and germinate at potentially different rates.
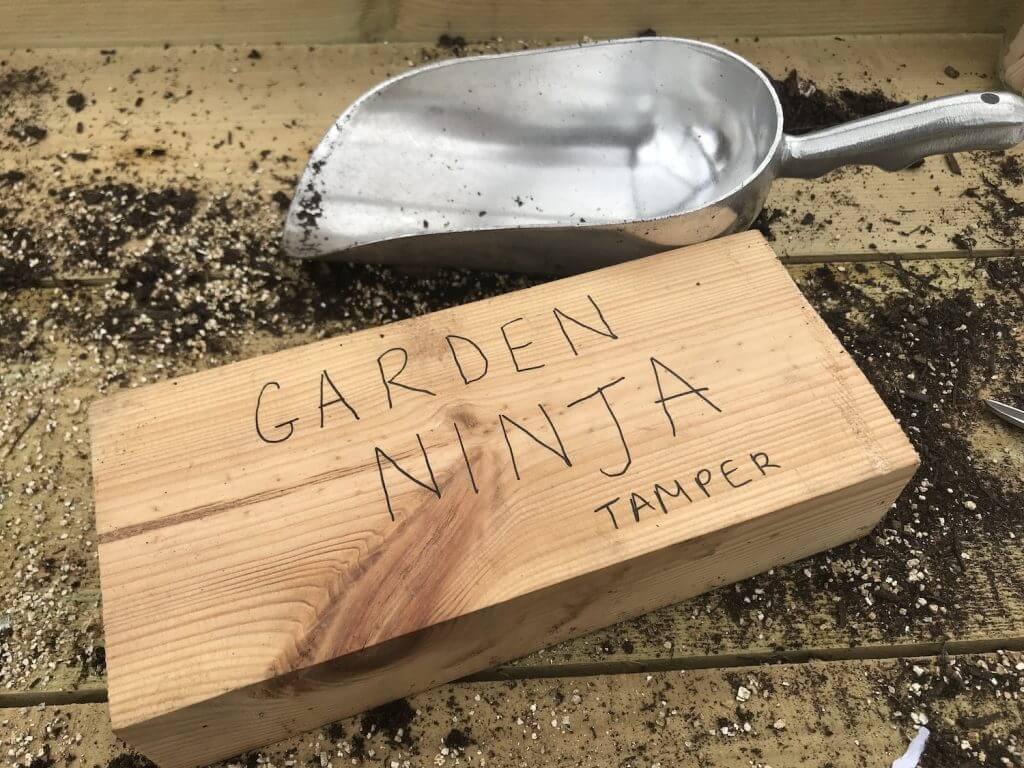
You can buy special wooden tampers or make your own, like me, with a piece of wood. Don't get too hung up on the material. As long as it's level and you can pick it up and down quickly, then it will be fine.
Fill your seed trays, and then tamp them down to ensure an even surface with no pesky lumps and bumps.
5. What is a seed tamper?
A seed tamper is a piece of wood or stone that is used to compress and even out the surface of the soil or compost in a seed tray or seed bed.
The reasons we use a seed tamper before sowing our seeds are:
Provides an even surface for seed scattering
Stops all your seeds from rolling into holes or lower points in the compost
Gives each seed the same consistent access to light and moisture
Removes large air pockets, which may prohibit seeds from germinating.
You always water the seed tray or pot before sowing seeds.
You may think that watering should be done after sowing. Well, in most cases, this simply disturbs the seed, causes the soil to flow out and makes for very messy potting benches.
Save yourself the drama and water after tamping.
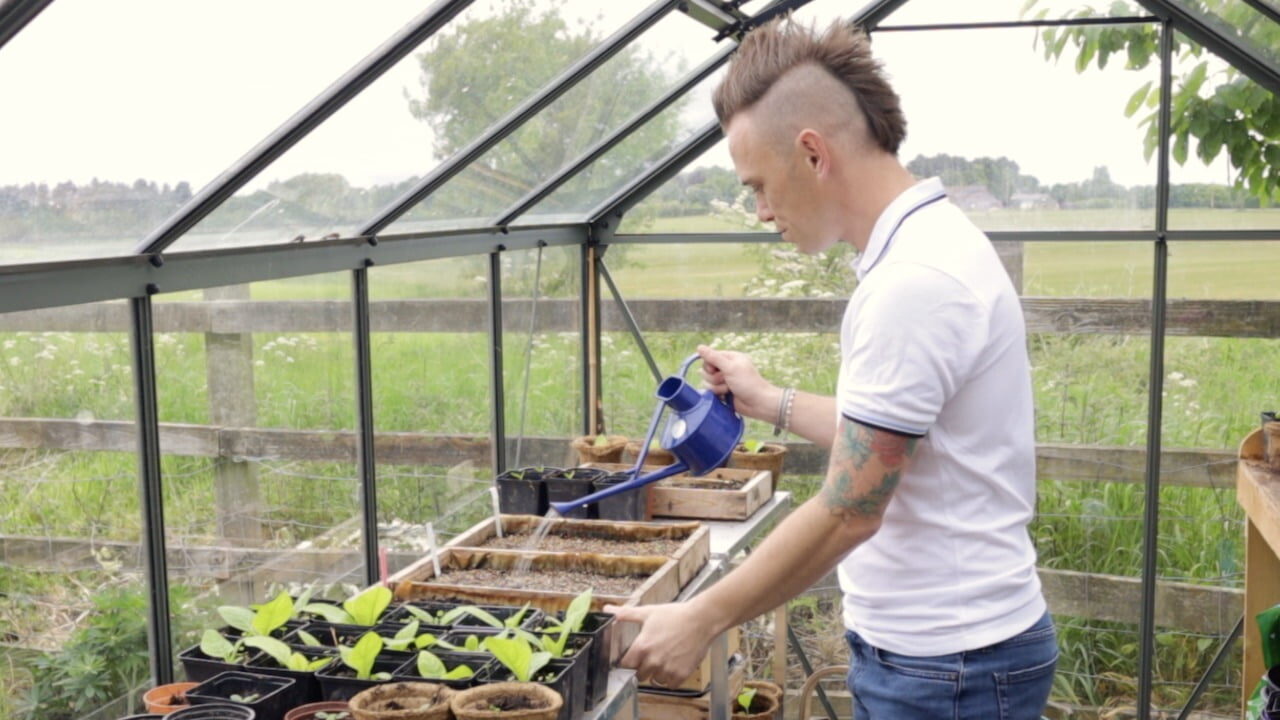
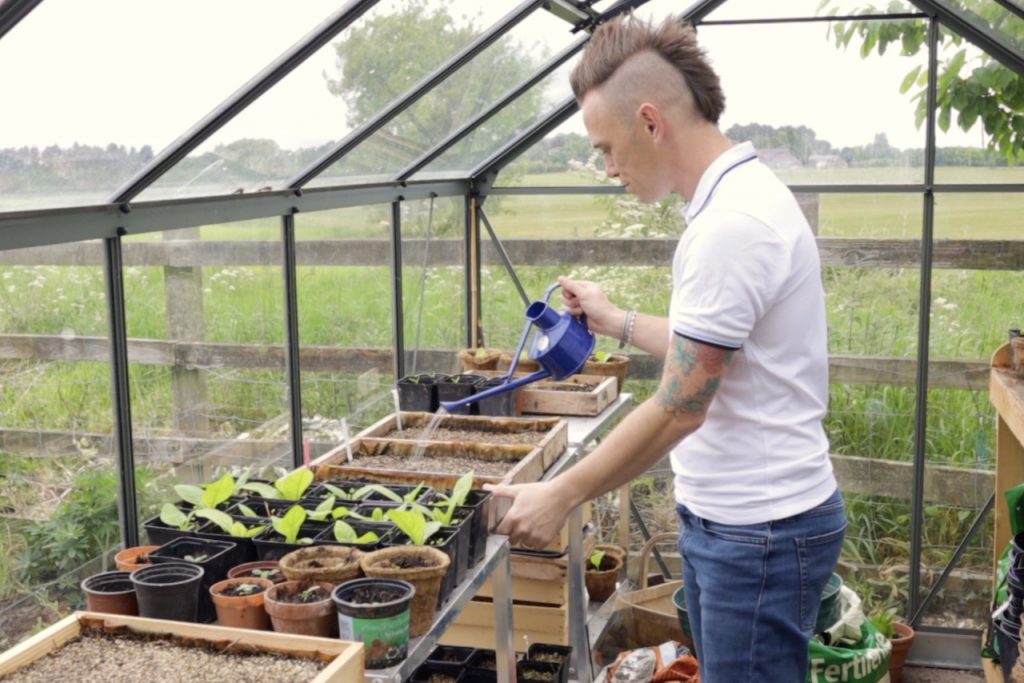
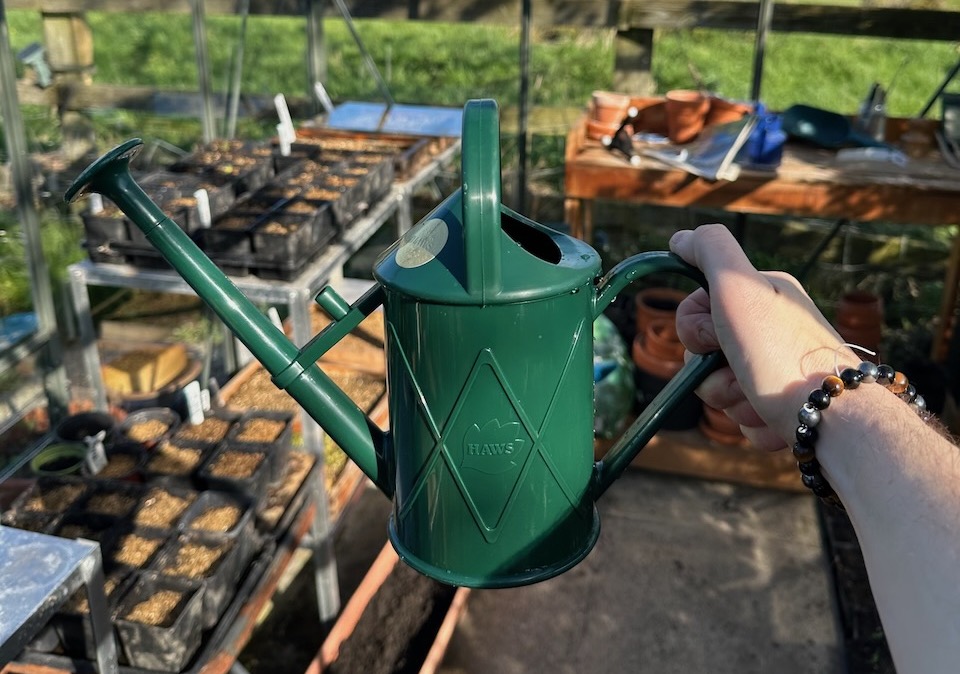
Give your seed trays either a soak in a sink or a good splash with a watering can. Ensure your watering can is fitted with a fine rose, so it doesn't ruin your neatly tampered seed tray. Let them drain for a minute, and then you're ready for sowing.
If you notice the soil is now unlevel at this stage, add some more seed compost, re-tamp and water again. (This may also alert you to the need for a better tamping method!)
7. Sowing fine Seeds vs large seeds
I tend to classify seeds into two sizes, which dictate the potting method: fine seeds or large seeds. Each type of seed size has a different method for successfully sowing and growing from seed. With smaller seeds, you can germinate far more plants in a limited space, but they need potting on quickly.
With large seeds, it takes more space to sow fewer plants, but they require less potting and management.
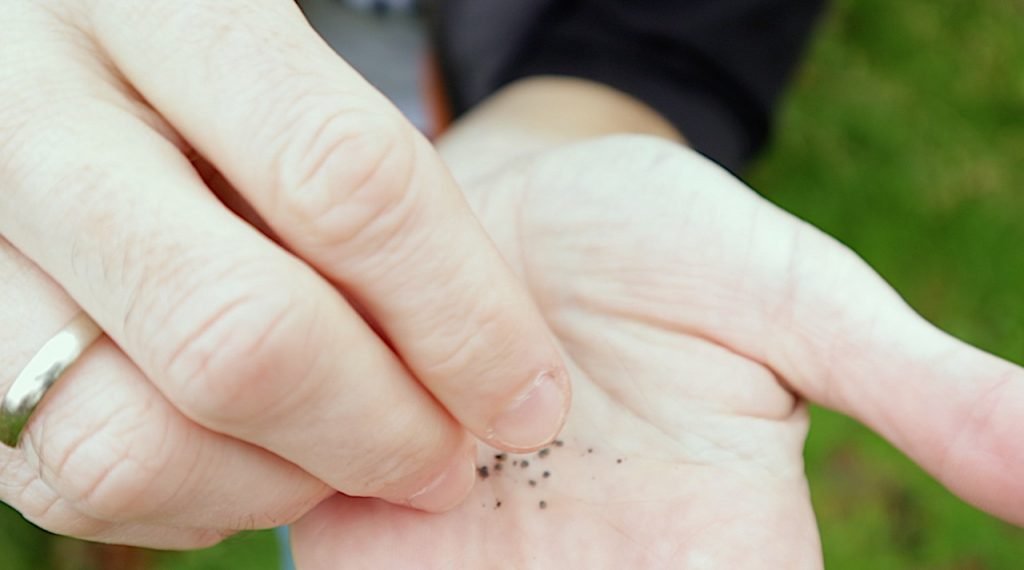
A) Fine seeds sowing guide
Fine seeds are better sown on a seed tray and scattered lightly and evenly. If seeds are really tiny, like Begonias, then sometimes mixing them in fine sand can help distribute them evenly. Delicately tapping the packet to spread them is sometimes easier to get them out as they often stick to your hands.
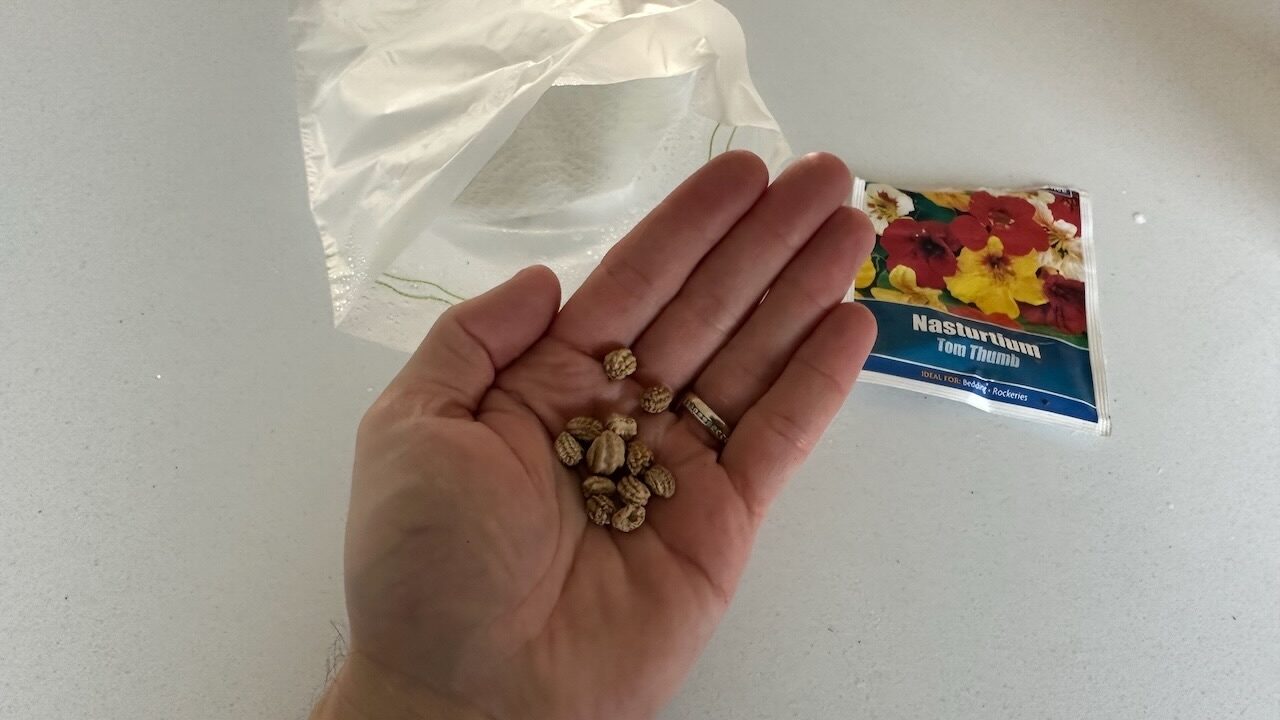
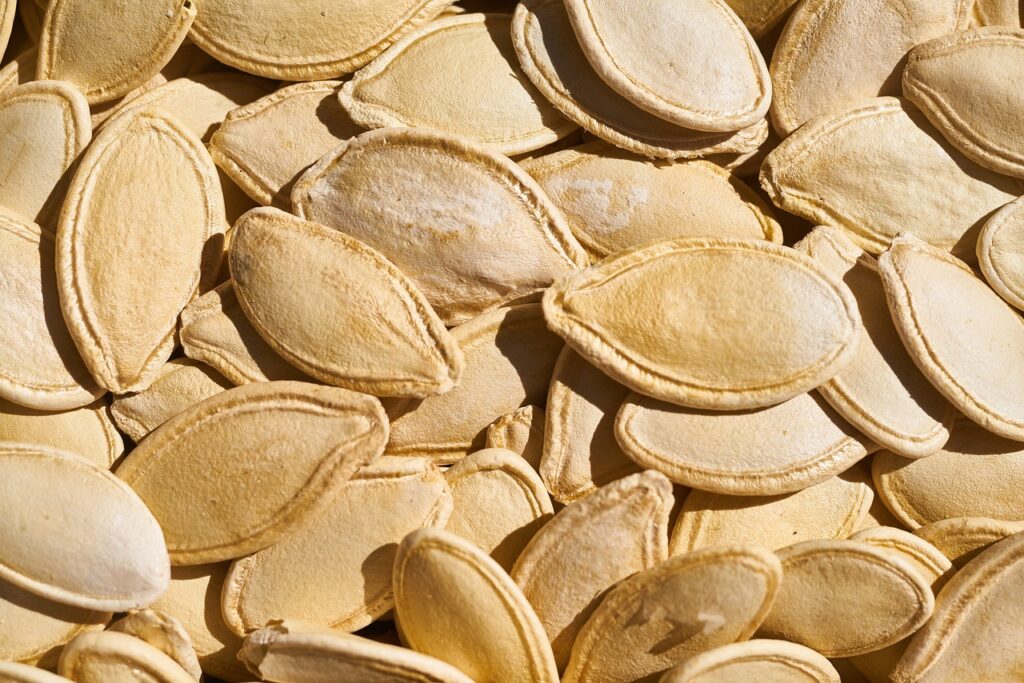
B) Larger seeds sowing guide
Large seeds like sunflower, pumpkin and borage seeds can go individually into their own pots or modules. Choose the smallest pot possible, as you just want to get them to germinate. You can pot on all seedlings into larger pots as they progress. Don't plant large seeds in huge pots it is a waste of compost and space.
8. How to Sow Fine Seeds
When it comes to sowing fine seeds in a greenhouse, here are my top tips for germination.
Prepare your seed trays with compost and tamp.
Water the trays well with a watering can and rose.
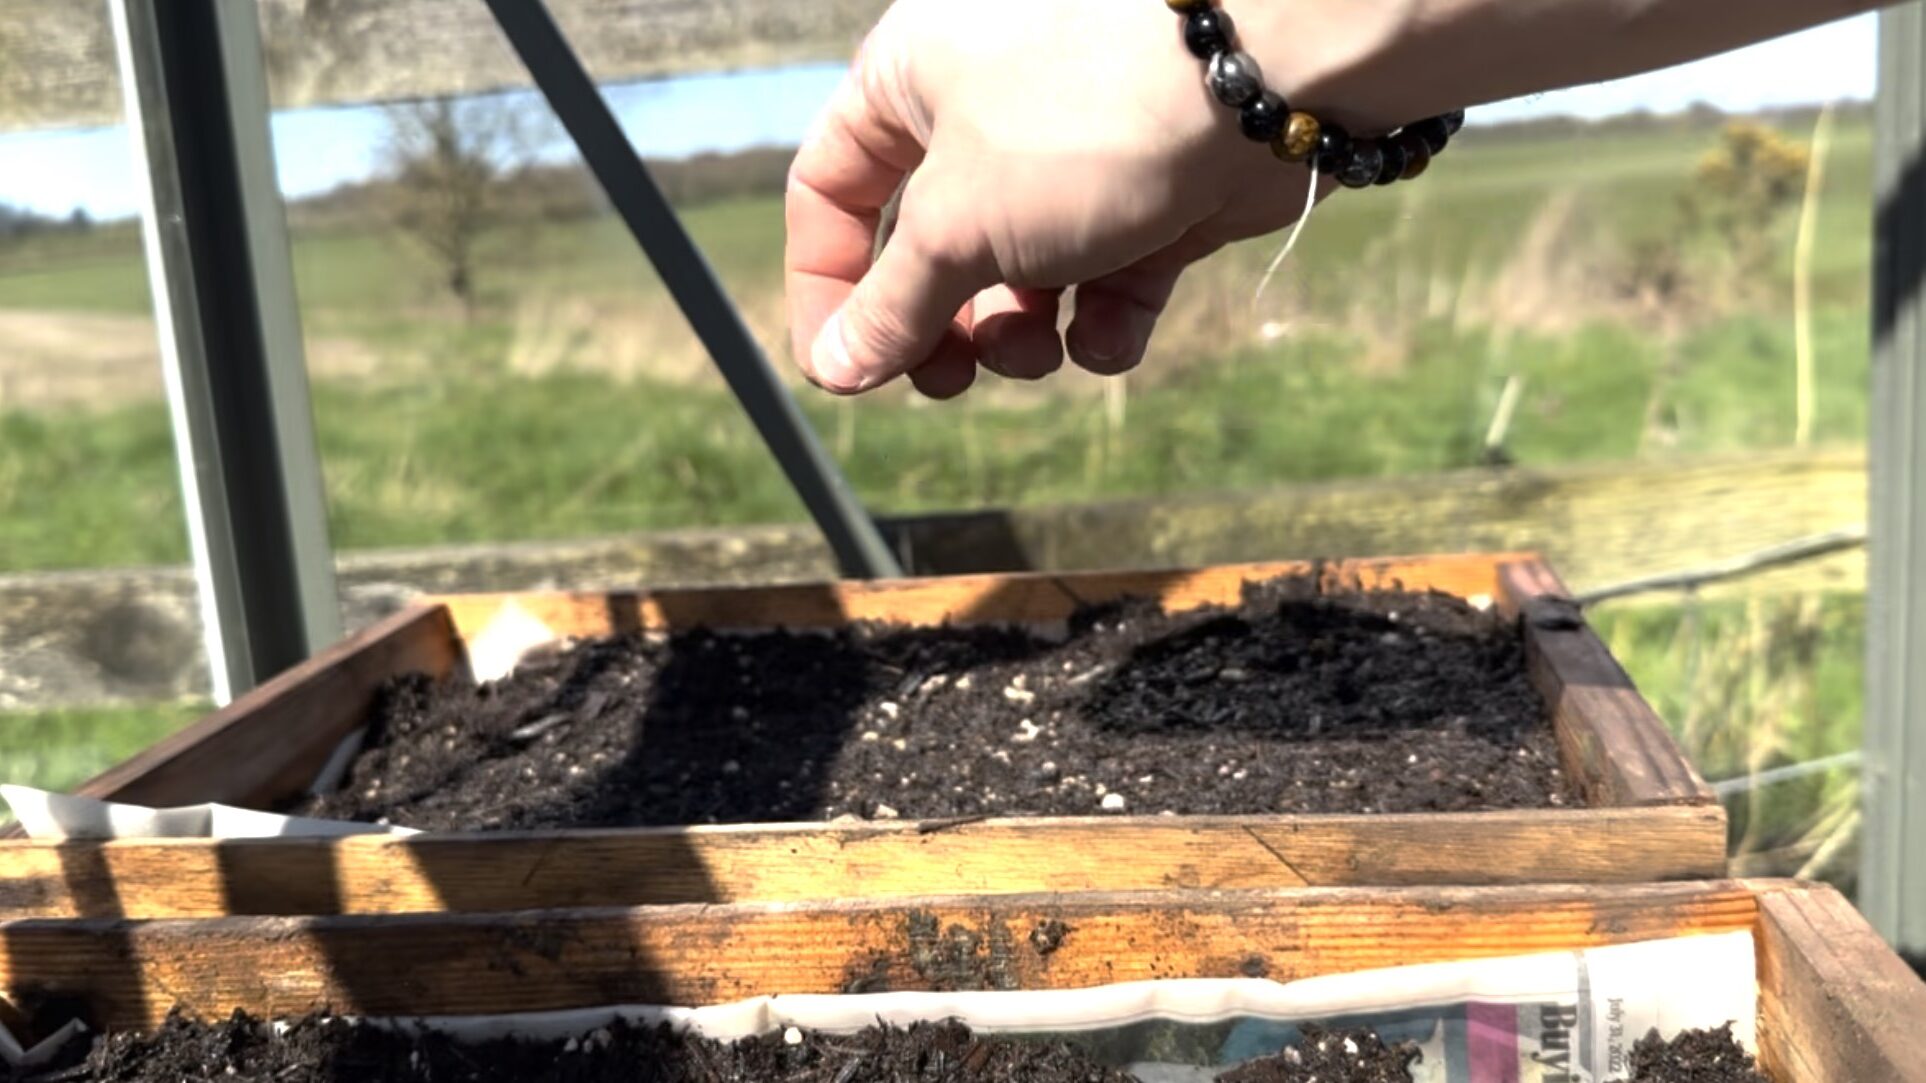
Scatter fine seeds evenly and sparingly across your seed tray.
Scatter perlite or sieved compost over the seedlings, which helps keep them in place
Lightly water using a fine small watering can with a rose.
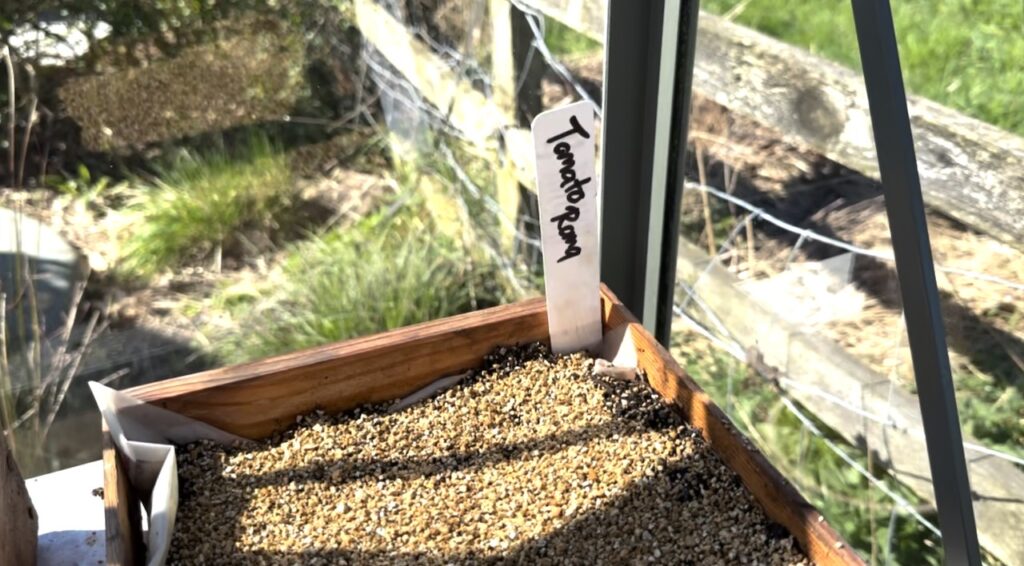
Label your seeds and date if you are growing a lot of plants at different times.
Another tip when sowing fine seeds is to take a look at the number of seeds in that packet. Sometimes there will be hundreds. Most seed packets give an average quantity, so you can plan.
Many new gardeners think one packet should fit in one tray, but you need to plan enough space incase all the seeds germinate. Sow no more than 50 seeds in any one seed tray.
If you need to split the packet amongst 2 or 3 trays instead to give them all room to breathe or save the remaining seeds for next year's growing.
Lightly scatter your seeds; use multiple trays rather than cram them all in
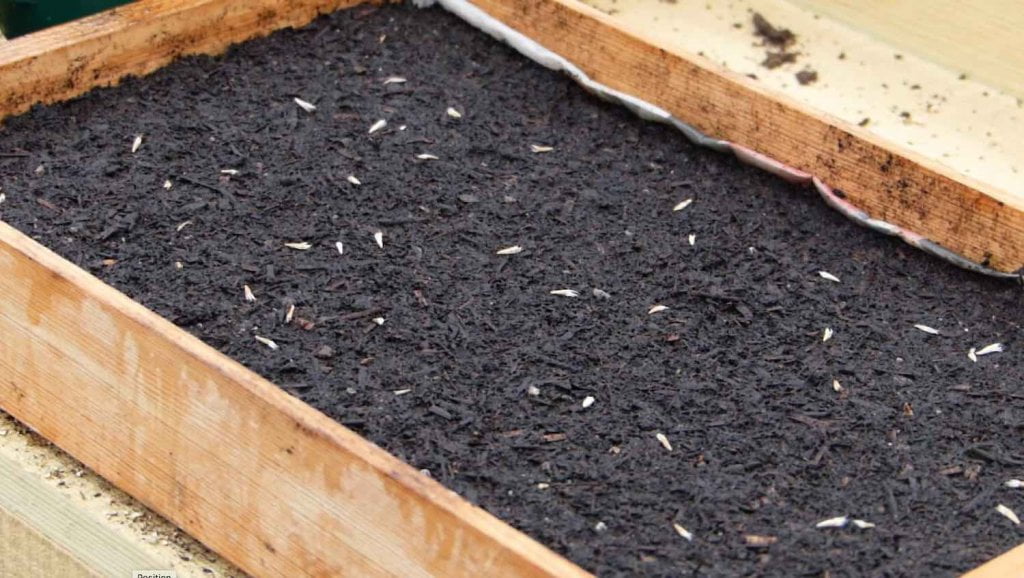
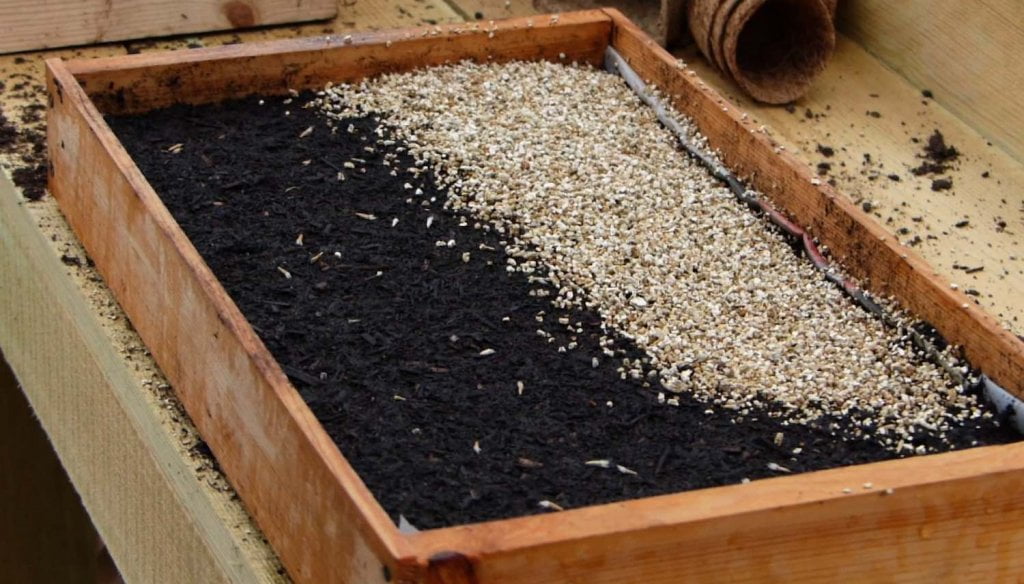
Once you have sown the seeds, most will need a light covering of either sieved seed compost or vermiculite. This helps the seeds contact the damp soil to start the fantastic biological growth process. This process sees the seed taking on water and bursting to life over the next week. It also means you can carefully water from above from now on, as the covering will protect the seeds from washing away.
Covering seeds with Vermiculite helps keep moisture in. It's also super light, making seed germination easier. This tray is only half covered for a demonstration of the light covering. Then, always label your seedlings so you know what you have grown and date them.
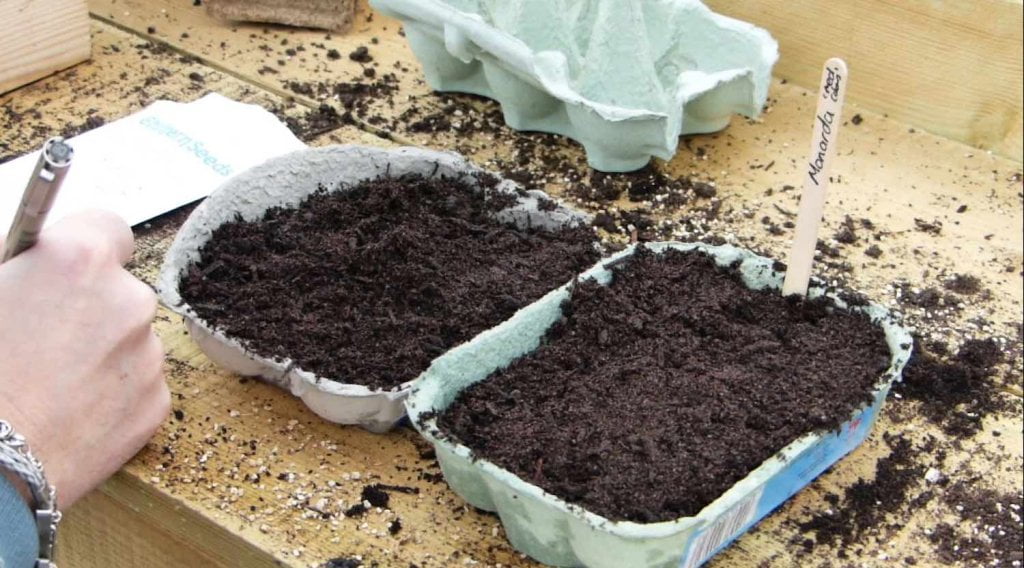
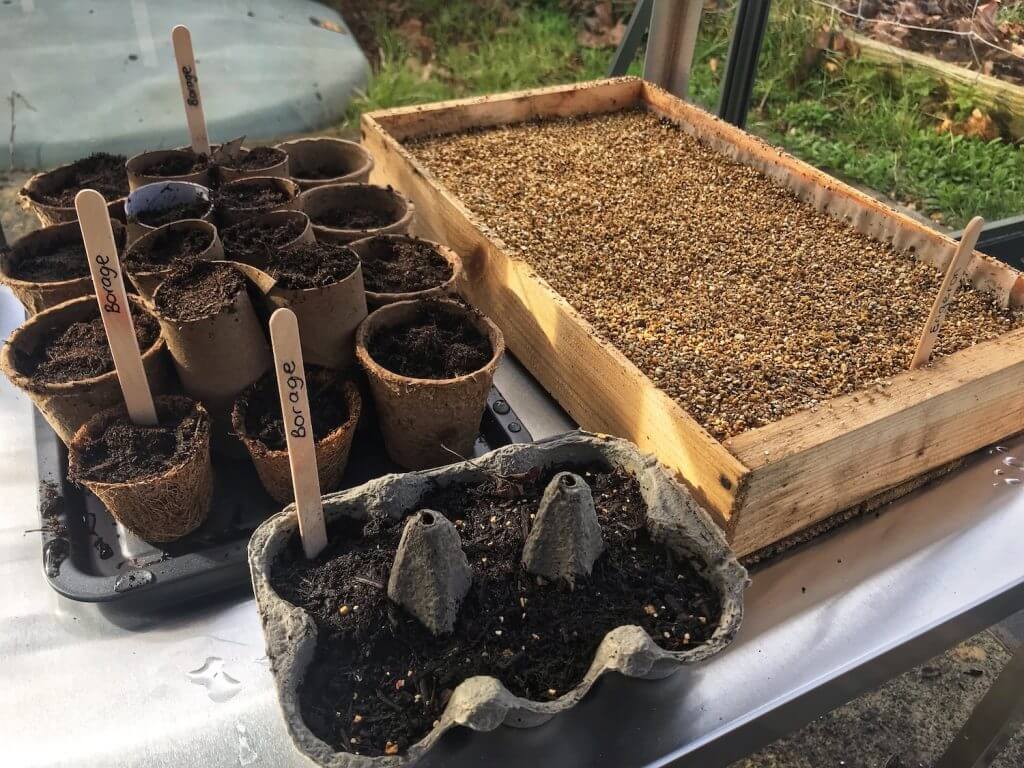
Egg boxes are a great recyclable seed tray alternative for new gardeners. They are smaller than normal seed trays, but the depth is ideal for new seeds. You also can use the other side, where the eggs have sat, as mini modules for when the seedlings are pricked out! Two for one!
Egg boxes are excellent, cheap and cheerful seed trays; though they will require more watering due to the smaller volume of compost and the fact that the sides absorb moisture.
9. Sowing larger seeds in individual pots
Larger seeds, such as sunflower seeds or peas, are classic examples, and they benefit from being in their own pots. Most large seeds require a deeper burial than fine seeds, but always check the seed's instructions for exceptions to this rule.
Here are my top tips and steps for sowing larger seeds:
Choose small P9 or seedling pots - you can even use toilet rolls, yoghurt pots or similar.
Fill with seedling compost & water well.
Using a pencil or dibber make one hole in the middle of each pot.
Pop one seed per pot.
Cover with compost
Top with perilite or vermiculite
Water again
Label and place in a greenhouse or on a tray on a window sill.
Larger seeds usually spend longer in their initial pot before being transplanted out. The less disturbance to a new seedling, the better, as it allows the roots to grow out and help the plant put on rapid growth.
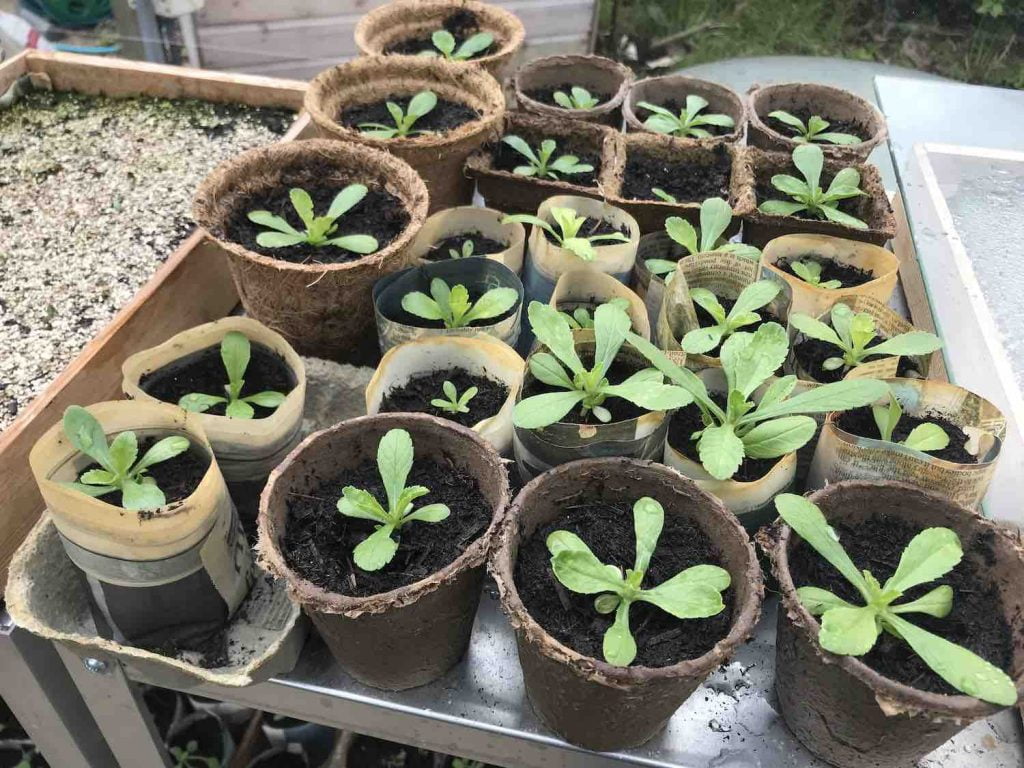
You still want to use smaller pots or modules, though, to save compost and space and reduce watering requirements. You can use plastic, as many gardeners do, but I plant in recycled containers where possible. This can also help you save considerable money if reusing household objects such as toilet rolls and egg boxes.
The process is similar to seed tray sowing. You still need to use decent seed compost, fill the pot, and tamp down. Water before you add your seed, as always, and then cover the seed in either sieved seed compost (so it is superfine) or vermiculite—label and place on your shelf or window sill.
Place your mini pots on an oven tray so you can help retain moisture and make moving them easier
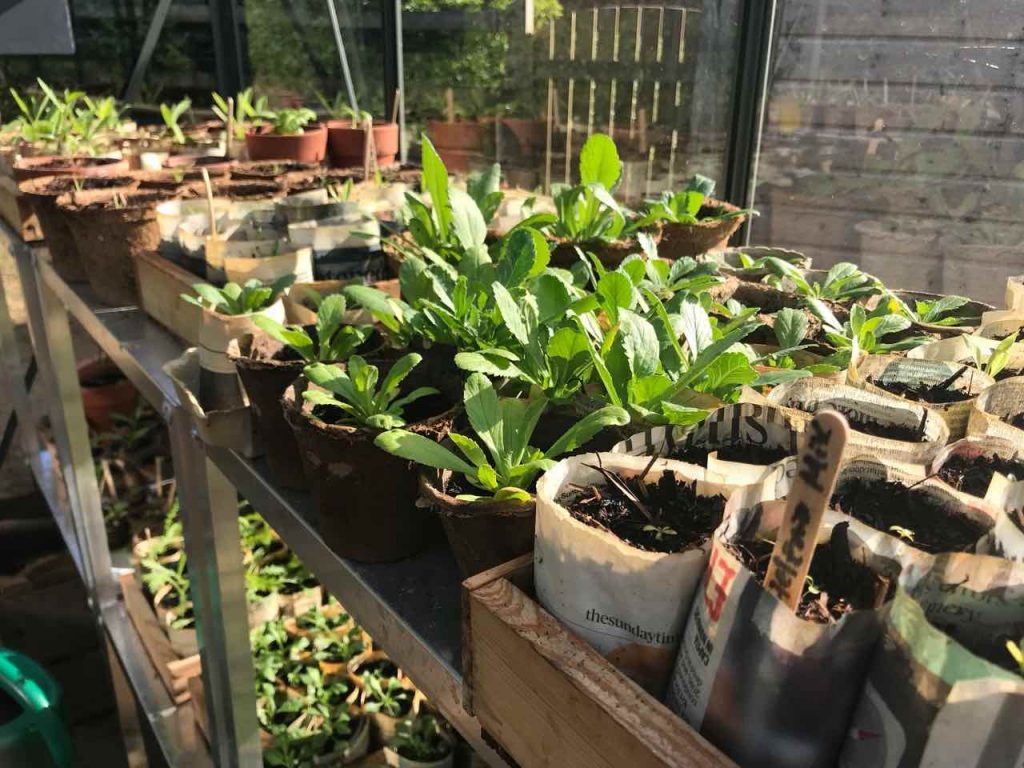
Toilet Roll Pots for Seeds
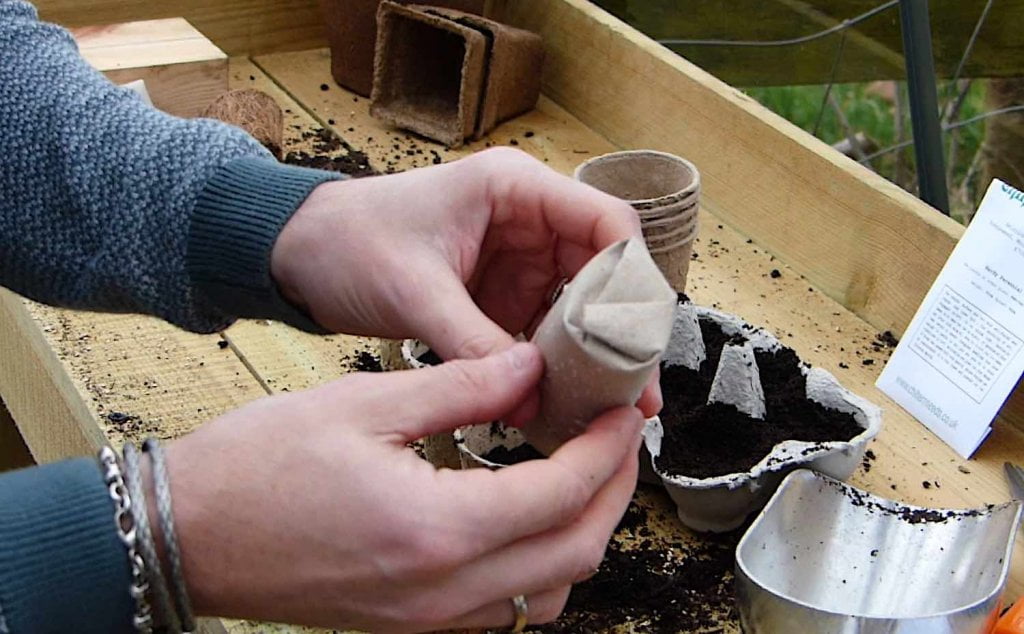
Toilet rolls are a cheap way to either individually sow seeds or pot on seedlings from trays. Now, you may be looking at them saying, 'There is no bottom?'. Well, dear gardener, there is with a small amount of jiggery-pokery from you intrepid recycler. Simply fold one end in to create a bottom, as shown below. Then, you have your very own mini-seed plant pot.
Fold the bottoms in until you have a small pot. These toilet roll pots are ideal if you're on a budget or growing peas that can be transplanted out in their pots to biodegrade.
10. How long does it take for seeds to germinate?
Now, this is the million-dollar question. People often contact me, panicking about their seeds after a week or so.
The time it takes for seeds to germinate can vary widely depending on the type of seed and the conditions in which it is planted. In general, seeds can take anywhere from a few days to several weeks to germinate.
Some fast-germinating seeds like lettuce, radishes, and beans can sprout within a week, while others like carrots, parsley, and peppers can take up to three weeks or more.
Seed germination depends on a number of things:
Temperature
Moisture levels
Humidity
Seed / Plant Species
Pot Luck
Germination can take anything from a couple of days to even months with some seeds.
Refer to the seed-sowing instructions and plant species guides you can easily find online.
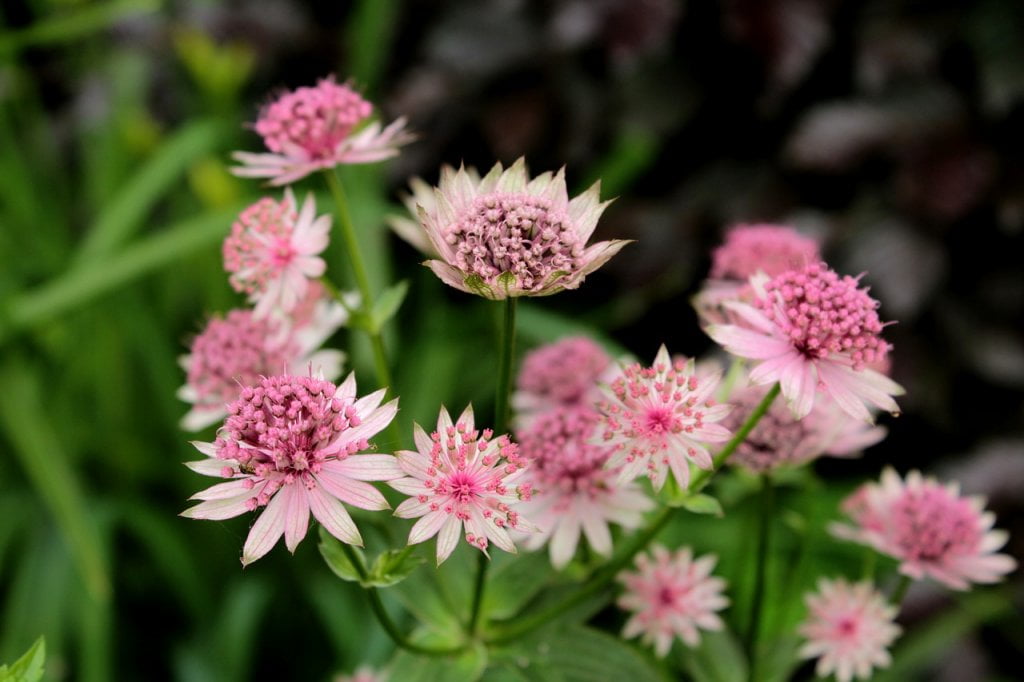
Seeds in an unheated greenhouse will take longer to germinate than seeds inside on a window ledge, for example. Some seeds can take up to 80 days to germinate, like Astrantia major!
Some plants, like this beautiful Astrantia above, take their time to germinate.
Covering the seed trays and pots with a clear plastic bag will germinate quicker than without. However, you're introducing all sorts of non-recyclable plastic into your growing regime, which I'm not a fan of.
By sowing various species, you're bound to get some germinating before others. If you have followed the instructions for the seed species, please be patient. The worst thing you can do is start poking your fingers into the trays and pots.
Overwatering is also a big problem in seeds not germinating. Water when they start to dry out, don't keep flooding them with water.
11. Clean your pots & trays
As a matter of housekeeping, it's essential to mention the subject of garden hygiene. Keeping your pots clean and pathogen-free is essential when sowing seeds; all it takes is washing in clean, soapy water.
When growing plants or sowing seeds, the plant's health is determined in part by the environment in which it grows.
I advocate the heavy reuse of plastic trays or the use of more environmentally friendly trays such as wood or cardboard. Please give them a wash and dust them off before planting in them again. This quick bit of housekeeping will help ensure you're set for success.
If you wouldn't eat off it, giving it a clean is a good rule of thumb!
Once you've sown your seeds, place them somewhere warm and light. Then water them sparingly so they don't dry out, but do not flood them. You'll get the knack, don't worry!
12. When is it too early to grow seeds?
This is a frequently asked question by beginners and new gardeners eager to get seed sowing each year. New gardeners often see people on Social Media sowing seeds at random times of the year, and then all of a sudden, everyone gets a bit carried away with trying to follow suit.
While you can sow seeds at any time of year, the chances of the plants surviving if sown too early are slim. So, it is a waste of time sowing your vegetable seeds in December or January for the most part. It is simply too early, and they will struggle and need life support until spring when they can be planted out.
Most seed sowing starts in March when the weather starts to warm up, daylight is longer, and the garden is getting ready for new plants.
13. What Is Damping Off?
Damping off is not a single disease but rather a set of symptoms caused by various soil-borne fungi and water moulds, including Pythium, Rhizoctonia, Botrytis, and Fusarium. These pathogens attack seedlings just before or after they emerge from the soil.
Infected seedlings may germinate normally but soon wilt, collapse, or rot at the base of the stem. Others may never emerge at all, with the seed rotting before sprouting. Damping off is especially common in warm, humid, or poorly ventilated environments, making greenhouses, propagators, and windowsills prime trouble spots.
How to Identify Damping Off
The first sign of damping off is usually a healthy-looking seedling suddenly wilting and toppling over. On closer inspection, you may notice:
A water-soaked, translucent stem at soil level
A pinched, thin section of the stem where it has rotted through
Sudden disappearance of entire trays of seedlings overnight
Seeds that rot in the compost without sprouting
The damage typically occurs rapidly, often within a day or two of emergence. It most commonly affects seedlings of vegetables, herbs, and flowers grown in trays or small pots.
Causes of Damping Off
Several conditions contribute to the development of damping off:
Overwatering or consistently wet compost
Poor air circulation or high humidity
Crowded seedlings with little space between them
Contaminated pots, trays, or compost
Using unsterilised tools or containers
The combination of moisture, warmth, and fungal spores creates the perfect environment for pathogens to spread and attack vulnerable seedlings.
How to Prevent Damping Off
Prevention is the only reliable strategy, as there is no cure once a seedling is affected. With a few precautions, you can minimise the risk of damping off in your seed-starting setup.
Start by using clean, sterile containers and seed trays. Wash old pots with hot soapy water and, if possible, disinfect them using a diluted household disinfectant or horticultural steriliser. Avoid reusing compost or growing media, as it may already harbour pathogens.
Use fresh, sterile seed compost with good drainage. Avoid using garden soil or old potting mix, which may be contaminated. When sowing seeds, follow spacing recommendations to avoid overcrowding. Dense sowing increases humidity and reduces airflow between seedlings.
Water only when necessary and from below if possible, using a tray or saucer. Overhead watering can splash spores around and soak the delicate stems. Always allow the surface of the compost to dry slightly between waterings to prevent excess moisture.
Good ventilation is key to reducing humidity. If using a propagator or covering trays with a lid or plastic wrap, remove the cover as soon as seeds germinate. Place seedlings in a well-lit, airy space and avoid trapping warm, moist air around them.
Finally, some gardeners use a light dusting of fine horticultural sand or vermiculite over the surface of seed trays to keep the stem base drier. Others water with a weak solution of organic chamomile tea or cinnamon, both of which have natural antifungal properties, though these are not substitutes for good hygiene.
What to Do if Damping Off Occurs
If you spot signs of damping off, act quickly. Remove and discard any affected seedlings and the surrounding compost to stop the spread. Improve ventilation immediately and allow the compost to dry slightly before watering again. If the problem is widespread, it may be best to start over with a new batch using sterile materials and adjusted growing conditions.
Learn Garden Design with Lee Burkhill
What if you are on a budget and would like to design your own garden? My Garden Design for Beginners course is the ideal starting point! With online courses ranging from £29 to £199, there’s something for every aspiring garden designer.
Join me, Lee Burkhill—award-winning garden designer and BBC1’s Garden Rescue presenter—in my most comprehensive course. I’ll guide you step-by-step from a complete beginner to a confident garden designer prepared to create stunning outdoor spaces.
What You’ll Learn:
Design Principles: Understand the key elements that form the foundation of exceptional garden design.
Planting Techniques: Discover how to choose and arrange plants for beautiful, sustainable gardens.
Design Styles & Layouts: Explore a variety of garden styles to suit every outdoor space and personal taste.
Course Features:
20 hours of in-depth study
Flexible online learning at your own pace
Engaging video lessons and interactive quizzes
Real-world case studies to apply your knowledge
Certification upon course completion
This comprehensive course is available now for just £199. Begin your garden design journey today and gain the skills to confidently create breathtaking gardens!
Why not level up your gardening skills with my Garden Design for Beginners course is the perfect place to begin! I offer several courses from £29 to £199 to help you learn the basics of garden design.
29
Garden Design Examples for Small Gardens: 30 Design Templates & Planting Plans
Garden Design Examples for Small Gardens: 30 Design Templates & Planting Plans: In this online gardening course, I'll walk you through 30 fantastic garden designs, explaining the logic behind the layout, the plant choices, and take-home tips for applying them in your own garden.
Weekend Garden Makeover: A Crash Course in Design for Beginners
Learn how to transform and design your own garden with Lee Burkhills crash course in garden design. Over 5 hours Lee will teach you how to design your own dream garden. Featuring practical design examples, planting ideas and video guides. Learn how to design your garden in one weekend!
Garden Design for Beginners: Create Your Dream Garden in Just 4 Weeks
Garden Design for Beginners Online Course: If you want to make the career jump to becoming a garden designer or to learn how to design your own garden, this is the beginner course for you. Join me, Lee Burkhill, an award-winning garden designer, as I train you in the art of beautiful garden design.
Other than that, you're good to now get cracking with growing your own from seed. Welcome, brave gardener, to a whole new obsession of growing from seed. I assure you that you are in for a delightful ride of unexpected developments and achievements.
I'd love to hear from you if you're sowing your own; send me your germination pictures on social media and ask any questions you may have.
Don't forget you can always visit my YouTube channel, where I’m happy to help. You can also check out my Tweet, Facebook or Instagram for more garden guides and tips.
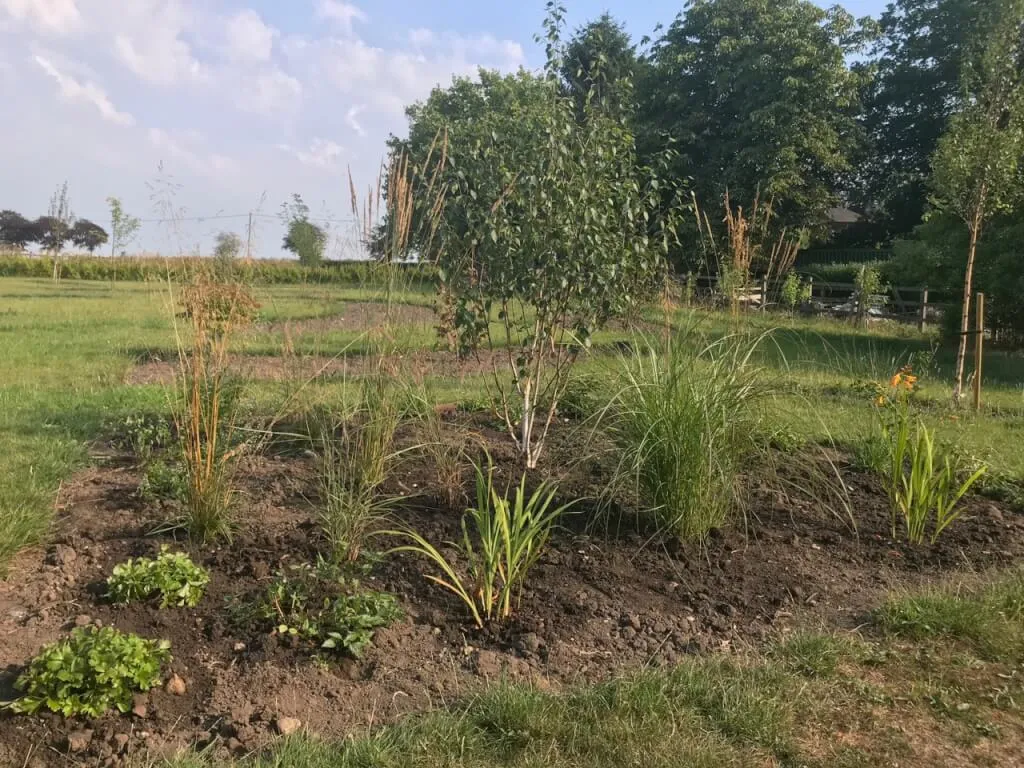
There’s nothing more rewarding than filling borders with plants, grown from little tiny seeds. As a beginner gardener, I’m amazed every time they germinate! I cant seem to grow echinacea though, any tips? Thanks! x


 To my YouTube channel
There’s nothing more rewarding than filling borders with plants, grown from little tiny seeds. As a beginner gardener, I’m amazed every time they germinate! I cant seem to grow echinacea though, any tips? Thanks! x