For the garden you’ve already got, not the one you’re starting from scratch. Seven checklists and video lessons from BBC Garden Rescue’s Lee Burkhill, designed to help you decide what’s worth keeping before you spend a penny.
69


Quick Answer
A bulb planter tool is a simple hand tool that removes a plug of soil so you can drop a bulb straight in at the right depth, then replace the plug on top. Handheld planters suit small quantities and containers, long-handled planters let you work standing up for borders and lawns, and drill-powered augers speed up planting hundreds of bulbs in one afternoon. As a rule of thumb, plant bulbs at three times their own height, water in if the soil is dry, and mark the spot so you do not disturb them later in the year.
When it comes to planting hundreds of spring bulbs, any gardener will tell you it can be back-breaking work. I am talking about one of the most useful tools in any gardener’s kit: the humble bulb planter tool. If you are not sure about timing or depth, my when to plant bulbs calendar and depth chart covers every spring bulb.
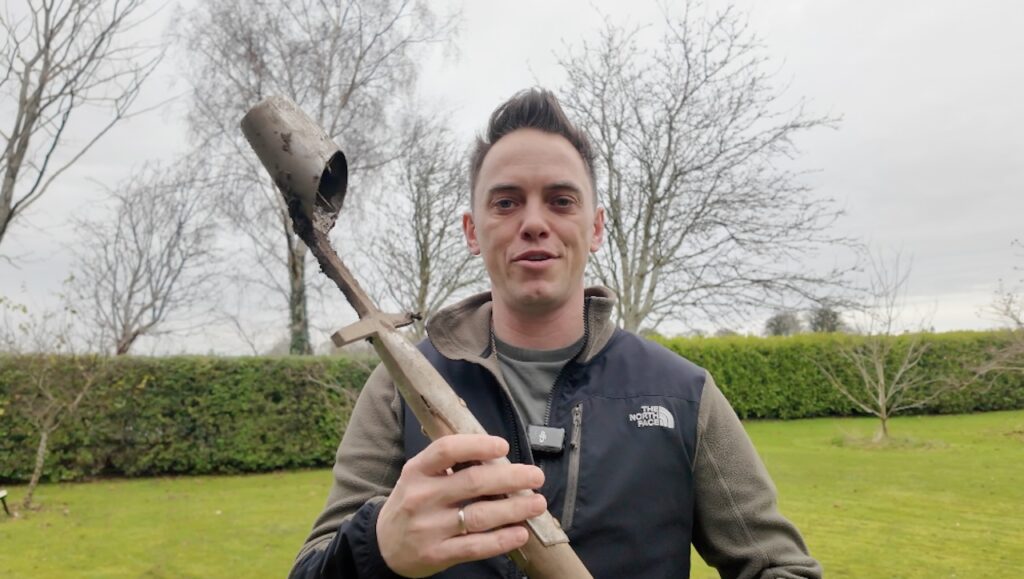
Do you really need a specific tool just for planting bulbs? You could use a trowel or dig a hole with your hands. But if you have dozens, or hundreds, of bulbs to get in the ground, a bulb planter saves your back, your knees, and your time.
I have been gardening for over 35 years now, and I have planted more bulbs than I care to count. I have done it the hard way, crawling around on my knees with a trowel, digging individual holes that are never quite the right depth. I have also done it the smart way, with a proper bulb planter that lets me stand upright and plant bulbs at speed. Once you have used a decent bulb planter, you will not go back.
Jump To
This page contains affiliate links for products I use and love. If you take action (i.e. subscribe, make a purchase) after clicking a link, I may earn some gardening commission, which helps me keep the Garden Ninja Blog free for all.
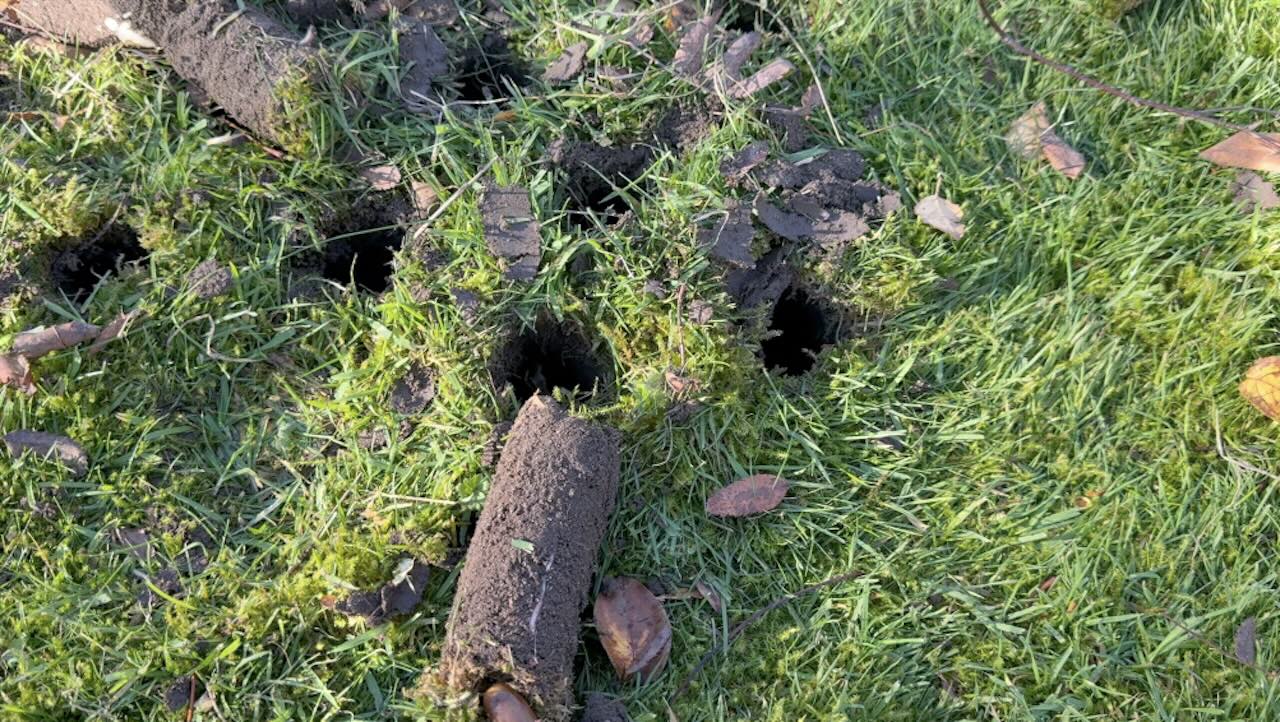
A bulb planter is a cylindrical tool that removes a plug of soil, creating the right sized hole for your bulbs. It does three things at once: it creates a hole at the exact depth you need, it removes the soil in one go, and it lets you drop that plug of soil back on top of your bulb once it is planted.
The main advantage is speed.
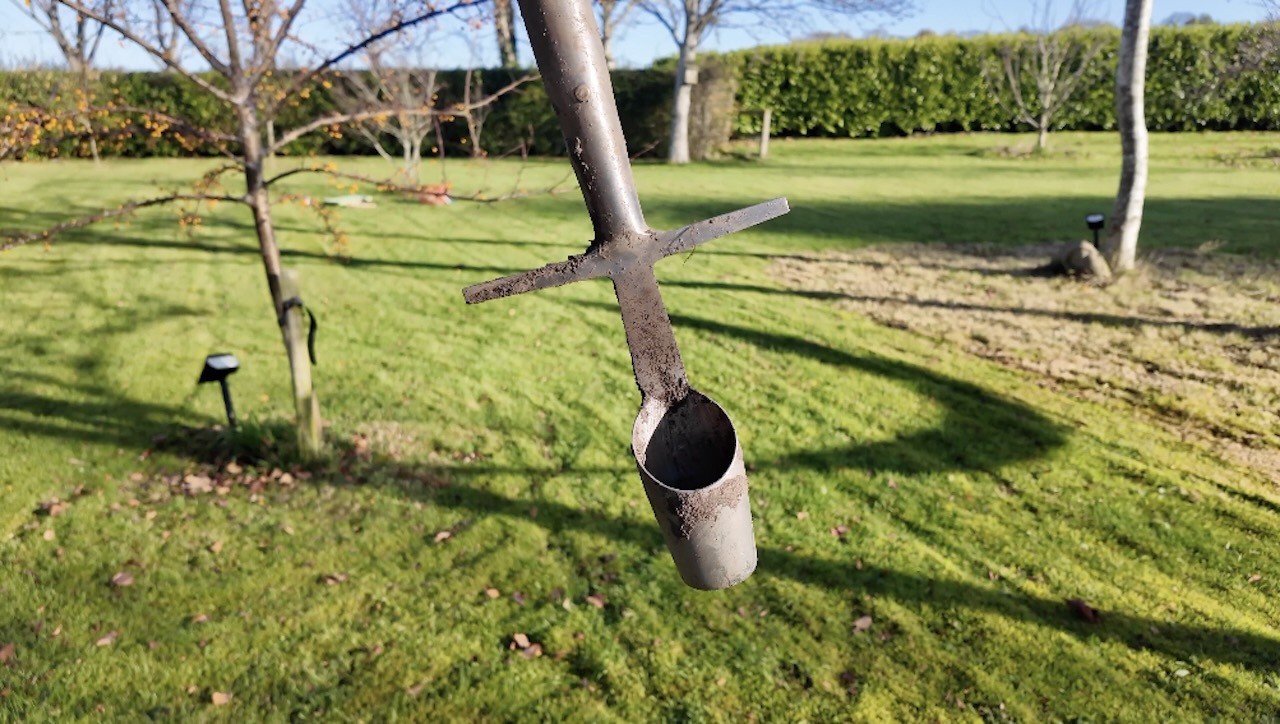
When you are planting spring bulbs in autumn, you want to get the job done before the weather turns properly miserable. A long-handled bulb planter means you can work standing up, moving quickly across your borders without constantly getting up and down. Your knees will thank you, especially if you are planting in heavy clay soil like we have got here in the north.
The other benefit is consistency. Every bulb goes in at the same depth, which means they will all flower at roughly the same time. Planting daffodils at random depths ends in a staggered, messy display. With a bulb planter, you get uniform planting depth every time. I use this fantastic Sneeboer bulb planter, which is super tough. It’s not the cheapest, but when planting hundreds of bulbs each year, it’s resilient! However, you can find more budget-friendly ones for smaller, less frequent planting, which I’ll discuss below.
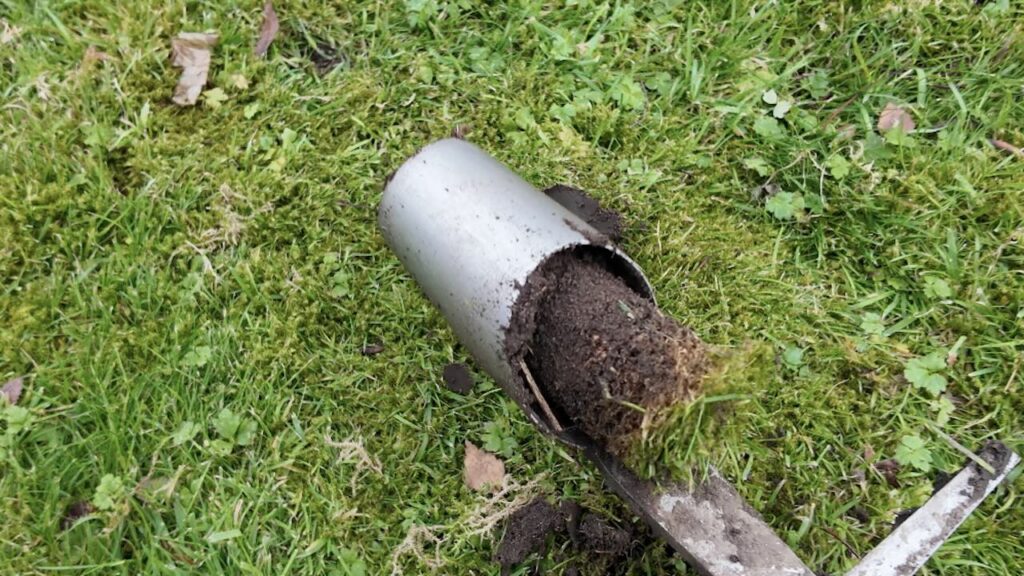
There are four main types worth knowing about: handheld models, long-handled versions, multi-plug planting tools, and drill-powered augers for the toughest jobs. The handheld ones look like a metal cup with a handle and a T-bar grip. They are cheap, usually around a fiver, and work well for smaller bulbs like crocuses or grape hyacinths. You kneel down, press the planter into the soil, twist it slightly, and pull out a plug of earth.
Here is where you can save some money and some backache. If you are serious about planting bulbs, invest in a long-handled bulb planter. They cost more, usually between twenty and forty pounds, but they are worth the difference. This is the bulb planter I recommend, from Kent and Stowe, since it is tough and sits at a good price point for most gardeners.
🛒 Buy the Kent and Stowe Long Handled Bulb Planter on Amazon UK
You stand on the footplate at the base, push it into the soil with your body weight, and pull out a perfect plug without bending over once. I can plant a hundred daffodil bulbs in less than an hour with a long-handled planter. Try doing that on your knees with a trowel, and you will be aching like you have run a marathon.
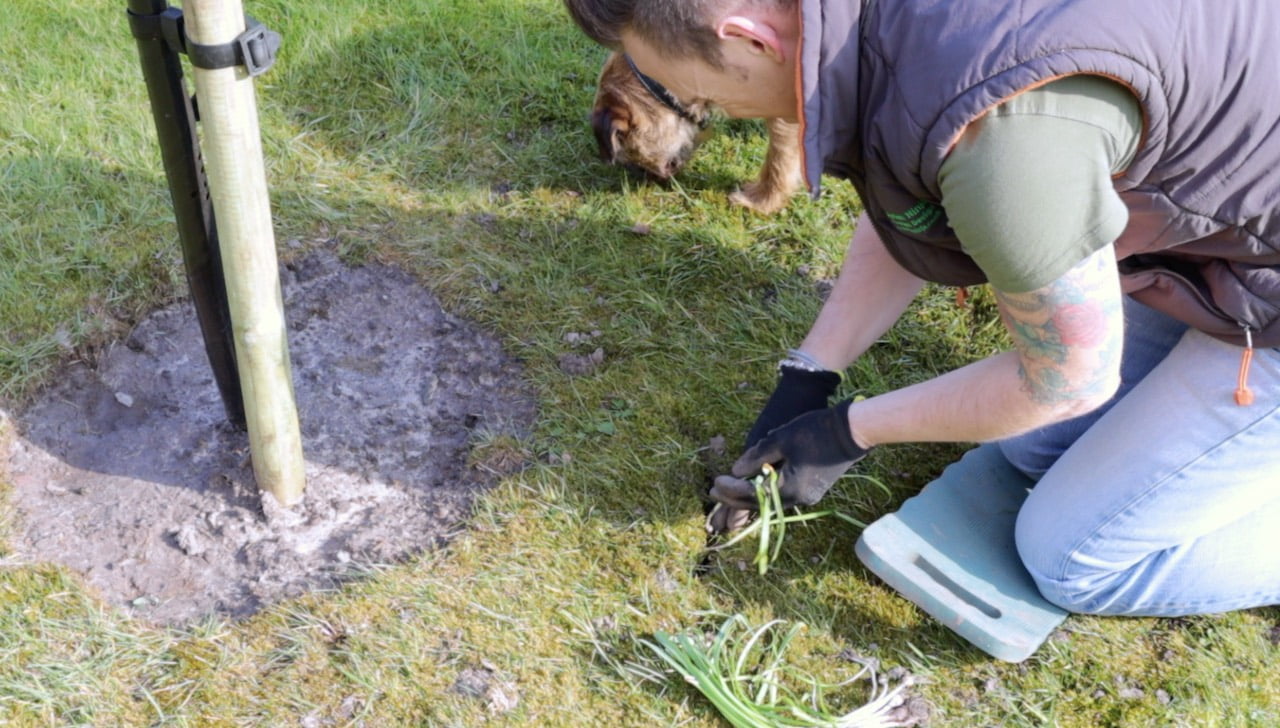
Sitting between a long-handled planter and an auger is a smaller category of multi-plug planting tools, the best known being the ProPlugger 5-in-1. Rather than lifting one plug of soil per push, it is designed to collect several plugs inside the tube as you work, so you can push, twist and move on to the next spot without emptying it every time, then tip the whole lot out once the tube is full. Like a standard long-handled planter, it works from a standing position with a footplate for your boot, so there is no bending or kneeling involved.
The adjustable depth rings are a genuine advantage over a planter with fixed measurement marks, since you can lock in 5cm, 10cm or 15cm holes and get the same depth every time without checking the side of the tool. It is heavier than a standard long-handled planter, and the extra weight only pays off once you are planting in real volume, a few hundred bulbs across a border or naturalising through a lawn, rather than a modest autumn top-up of a dozen or so.
🛒 Buy the ProPlugger 5-in-1 Planting Tool on Amazon UK
There is a third option worth knowing about if you are planting bulbs in genuine bulk or working through heavy, compacted ground: the drill-powered bulb auger. These are oversized drill bits that fit into an ordinary cordless drill and corkscrew their way into the soil, pulling up a neat plug in seconds rather than requiring any body weight or pushing at all.
They come into their own on very hard or stony ground where even a long-handled planter struggles, and for anyone planting several hundred bulbs across a lawn or meadow area in one session. The trade-off is that they need a reasonably powerful drill to run for any length of time, and they are less precise on depth than a planter with marked measurements. I keep a hand planter or long-handled model as my main tool, and treat an auger as a specialist add-on for the toughest jobs rather than an everyday planter.
🛒 Buy a Bulb Planter Drill Auger on Amazon UK
Look for one with a comfortable grip, sturdy construction, stainless steel, and depth markers on the side. Those markers matter because different bulbs need different planting depths. As a rule of thumb, plant bulbs at about three times their height, but having those measurements on your tool means no guesswork.
Serrated teeth around the base of the cylinder are another feature worth checking for. They help the planter bite into tougher or stony soil more easily than a smooth edge, giving you one clean push into the ground rather than several attempts. Weight matters too. Bulb planters are generally light tools, but if you are planting a large number of bulbs in one session, a slightly heavier stainless steel head with a lighter handle often feels more comfortable over a long afternoon than an all-metal design.
The release mechanism is another thing to consider. Some hand planters have a metal plate on the side that you press with your thumb to eject the soil plug. Others require you to turn them upside down and shake. The thumb release versions are easier to use and speed things up when you are planting dozens of bulbs, though the mechanism tends to wear out faster in heavy soil than a simple long-handled design, which is why I reach for the long-handled planter for anything beyond a small container job.
If you want a straight recommendation rather than trawling through every option yourself, these are the models I use and point clients toward, one for each budget and situation, from a top-end long-handled planter down to a budget option for occasional use.
One of the best uses for a bulb planter is naturalising bulbs directly into grass, sometimes called planting bulbs in the green or naturalising in turf. This is how you get that classic drift of daffodils or crocuses appearing through a lawn each spring, without digging up the whole area. Bluebells prefer dappled shade to open grass, so if you are planting some at the edge of a lawn beneath trees, check you have the English kind first, which my guide to English vs Spanish bluebells explains.
Scatter your bulbs randomly across the grass as you would in a border, then use the bulb planter to remove a plug of turf and soil at each spot where a bulb has landed. Drop the bulb in pointy end up, and replace the turf plug on top, pressing it down firmly with your foot so the grass knits back together. Within a couple of weeks you will barely be able to see where you have worked, and by spring you will have a natural-looking drift rather than obvious rows.
Choose a spot where you can leave the grass uncut for six weeks after flowering, since mowing too early removes the leaves before they have fed the bulb for next year.
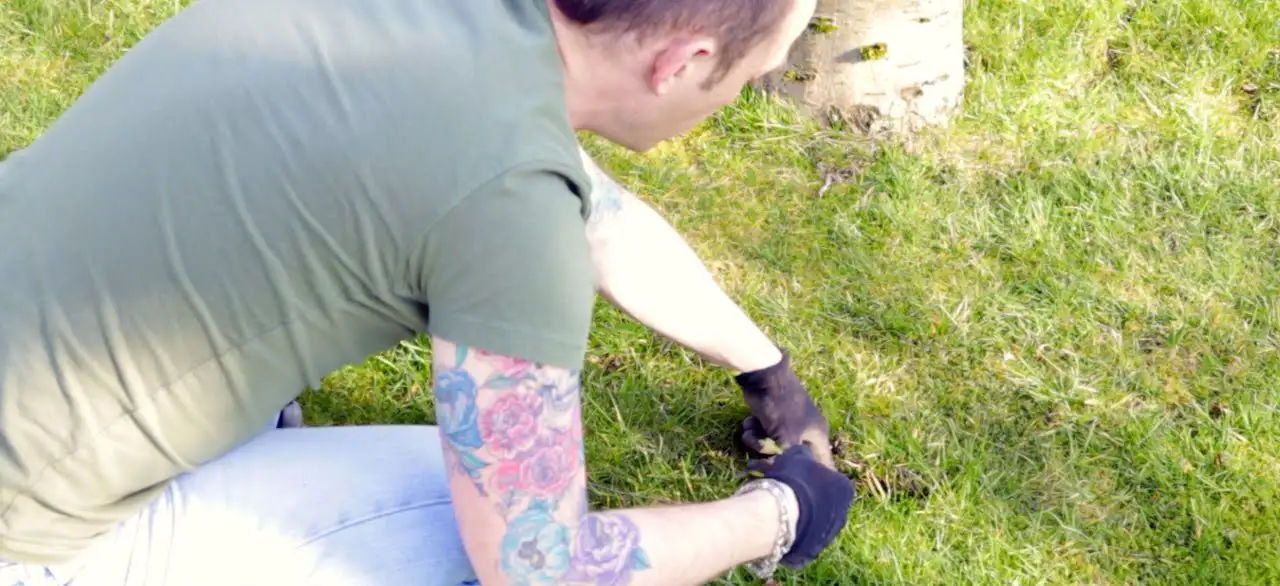
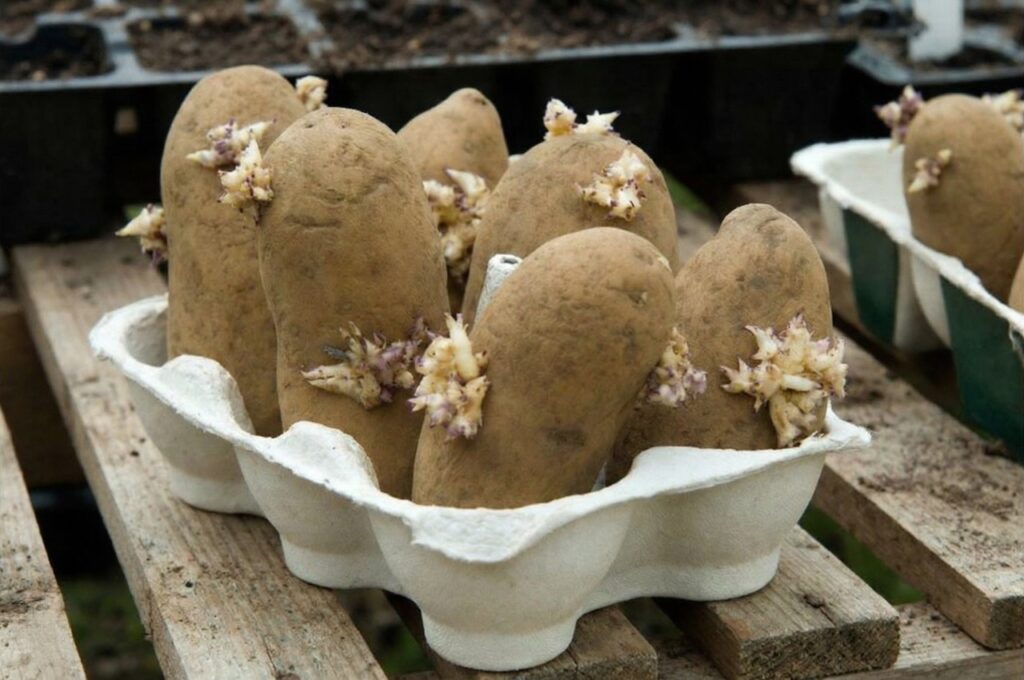
A bulb planter is not just for spring bulbs. The same tool that lifts a neat plug of soil for a daffodil does exactly the same job for seed potatoes, onion and shallot sets, and leek transplants, so it is worth keeping to hand well beyond the autumn bulb season.
Seed potatoes want a hole roughly 10 to 12cm deep, which sits within reach of most standard planters, and a long-handled model saves the same bending over a long row of chitted potatoes that it saves over a border of daffodils. Onion and shallot sets need a shallower hole, closer to the depth you would use for a crocus, just enough to cover the set with its tip showing at soil level, while leeks are typically planted into a dibbed hole around 15cm deep and simply watered in rather than backfilled, so a planter with deeper depth markings earns its keep here too.
The one thing to watch is soil suction. Heavy, moisture-retentive vegetable beds can grip a planter more than a well-drained border, so give the area a light watering beforehand if it has dried out, in the same way you would before bulb planting, and clean the tool between vegetable and ornamental beds if you have had any disease issues in either.
Before you start planting, think about your soil. Bulb planters work best in soil that has been loosened up a bit. If you are working with compacted clay or rock-hard summer soil, you will struggle. Give the area a good watering the day before if it is dry, and consider loosening the top few inches with a fork.
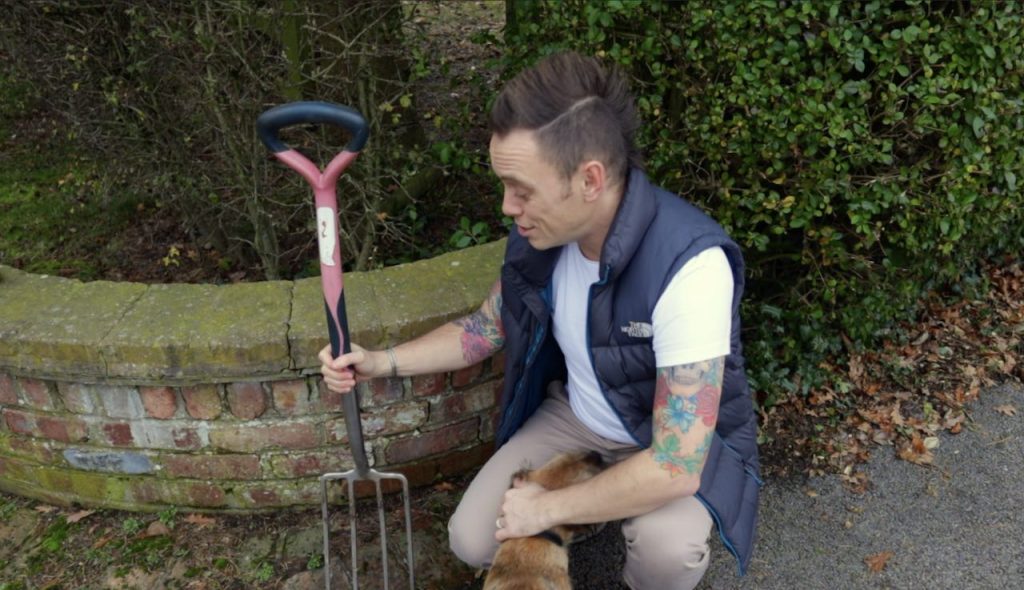
🛒 Buy a Garden Fork for Soil Prep on Amazon UK
Bulbs hate sitting in waterlogged soil over winter and rot quickly if they do. If your soil is heavy clay, mix in some horticultural grit or sharp sand to improve drainage. You can add this directly into each planting hole as you go, or work it into the whole border beforehand.
The better approach is to plant bulbs only where your soil will not be waterlogged for long periods, since grit will only get you so far.
Here is the planting technique itself, which works whether you are using a handheld or long-handled planter.
First, work out your spacing. For daffodils and tulips, I plant them about six inches apart. Smaller bulbs like crocuses can go closer, about three inches.
Avoid planting in rigid rows unless you are going for a formal look. Natural drifts look far better, so I scatter handfuls of bulbs gently across the border and plant them where they fall for a naturalistic look rather than regimented lines.
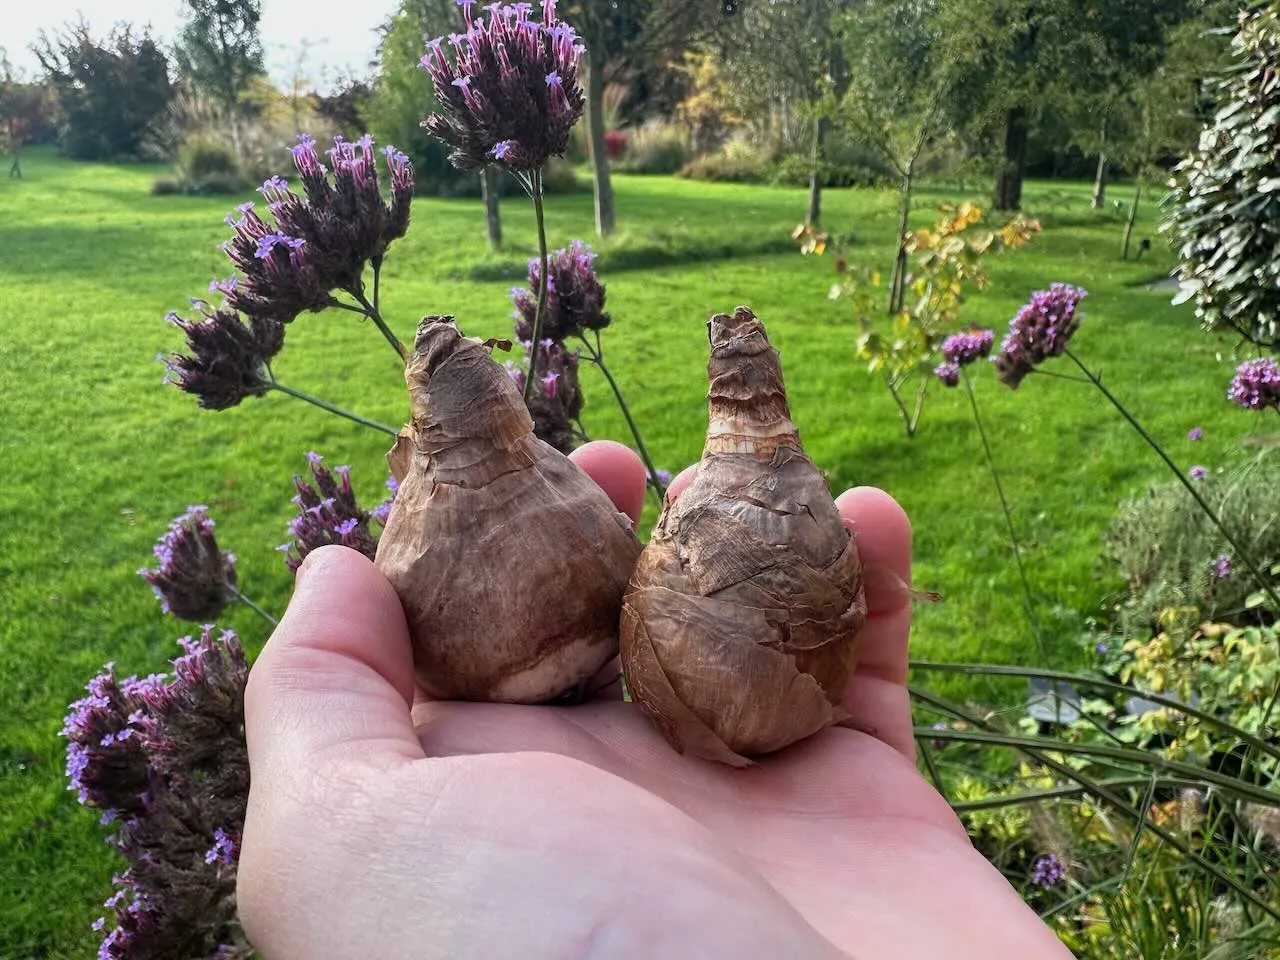
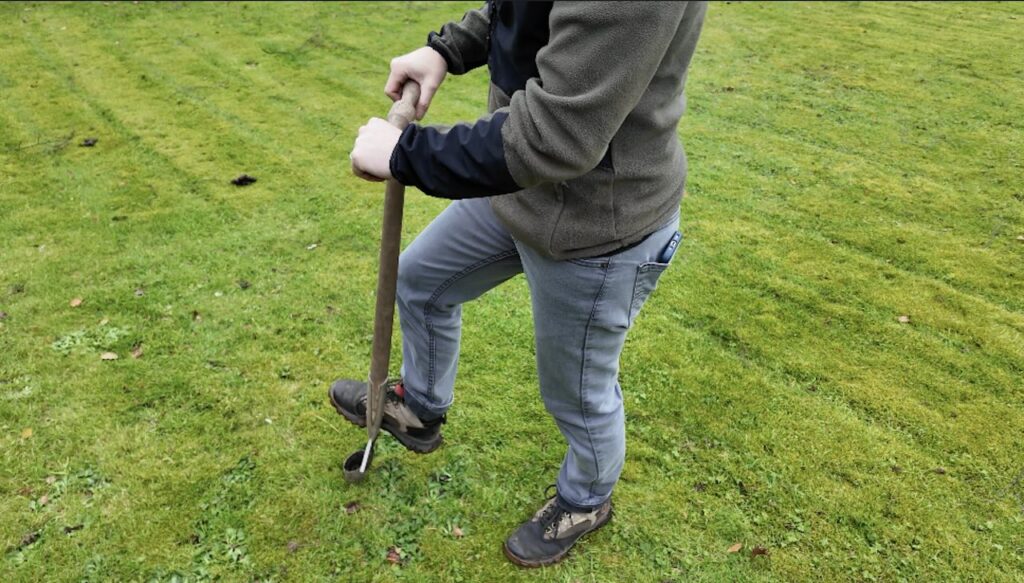
Position your bulb planter over where you want to plant. If you are using a long-handled version, place your foot on the footplate and push down firmly. The planter slices through the soil, and you will feel it stop when it reaches the right depth.
Most planters have measurement marks on the sides, so aim for about 6 inches (15cm) for large bulbs like daffodils, 4 to 5 inches for tulips, and 3 inches for smaller bulbs like crocuses.
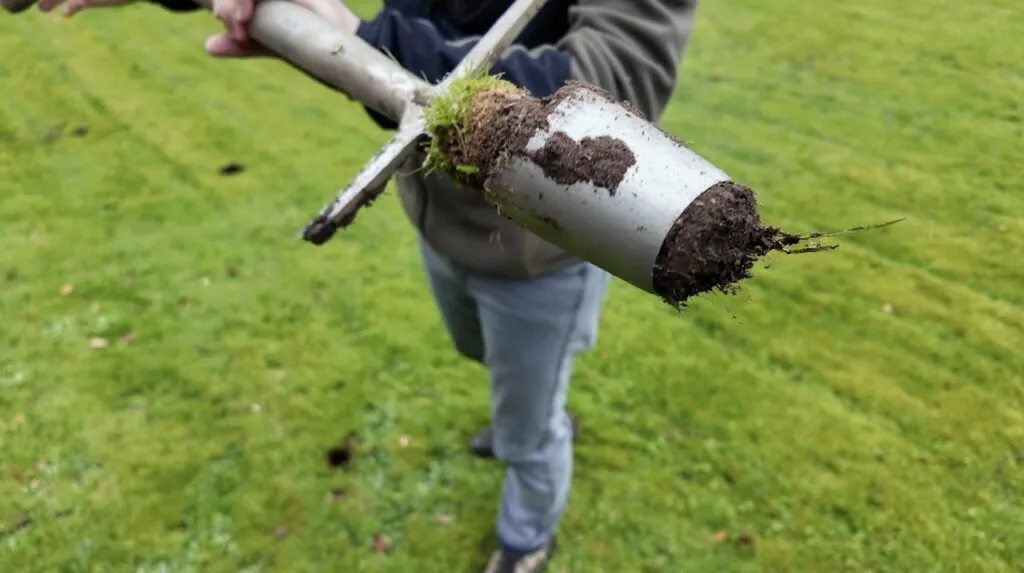
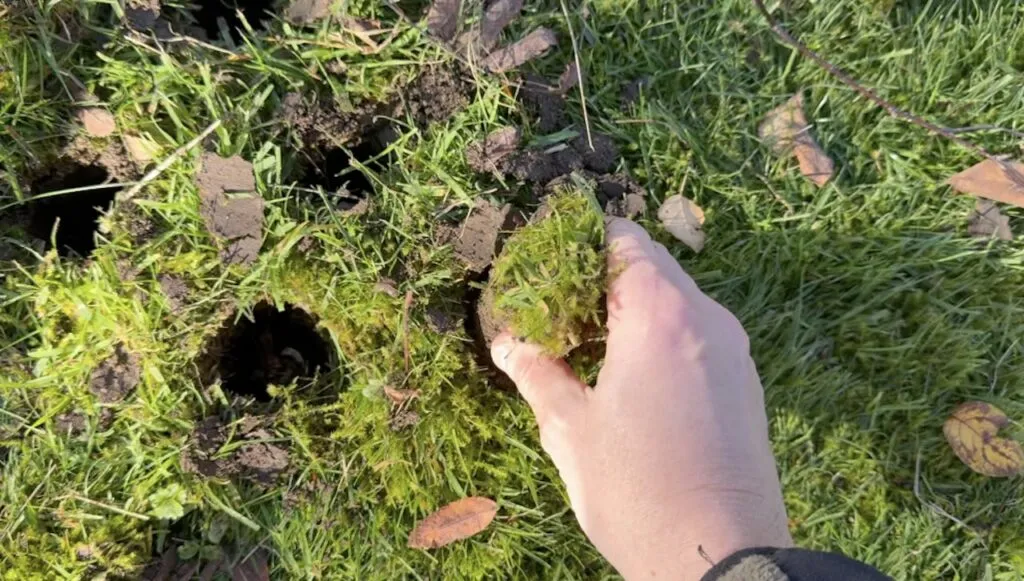
Give the planter a slight twist to cut through any roots, then pull it straight back up. The plug of soil should come up inside the planter.
If it does not, your soil might be too dry or too compacted. Some planters have a release mechanism, usually a metal plate on the side that you press with your thumb, which drops the soil plug out cleanly. Others require you to turn them upside down and give them a shake.
Drop your bulb into the hole, pointy end up. The pointy end is where the shoot emerges, and bulbs planted upside down waste energy trying to right themselves.
If you are not sure which end is which, plant them on their side and they will find their own way up, though this slows down emergence slightly.
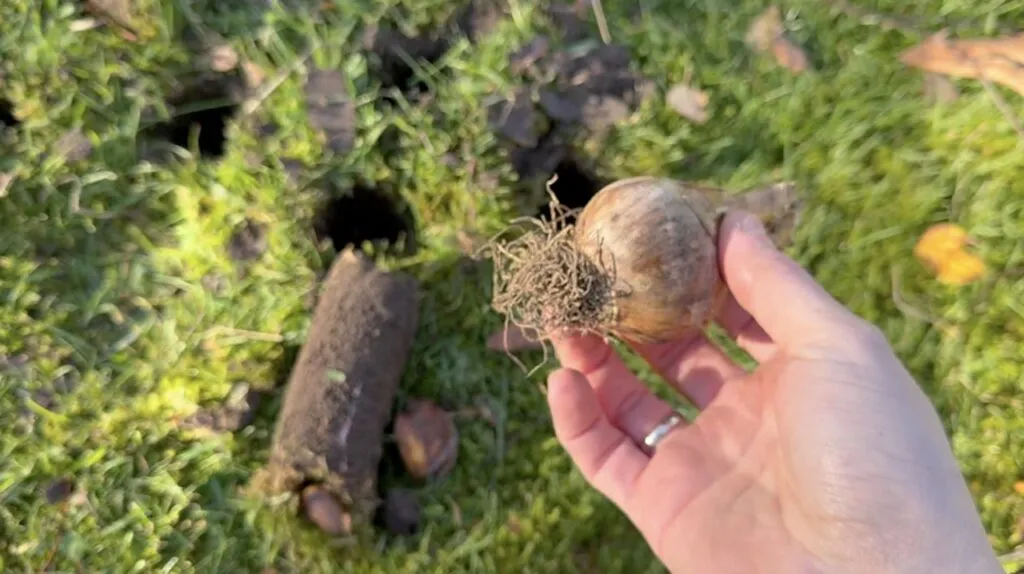
Once the bulb is in, drop the soil plug back into the hole on top of it.
Press down gently with your foot to firm it in and eliminate air pockets. Move on to the next one. You will get into a rhythm: push, twist, pull, drop bulb, replace plug, firm.
Here are a few things I have learned over three decades of bulb planting that will make your life easier.
Plant in groups of five bulbs minimum, preferably more. A single daffodil looks lost against a border, while a drift of twenty makes a real display. Layer your bulbs too: plant larger bulbs like daffodils deeper, then come back and plant crocuses or other small bulbs in the same area at a shallower depth. You get waves of colour as the smaller bulbs flower first, followed by the bigger ones.
Water bulbs in after planting if the soil is dry. This settles the soil around the bulbs and starts root development, which needs to happen before winter sets in. Keep it to moist soil rather than a bog garden.
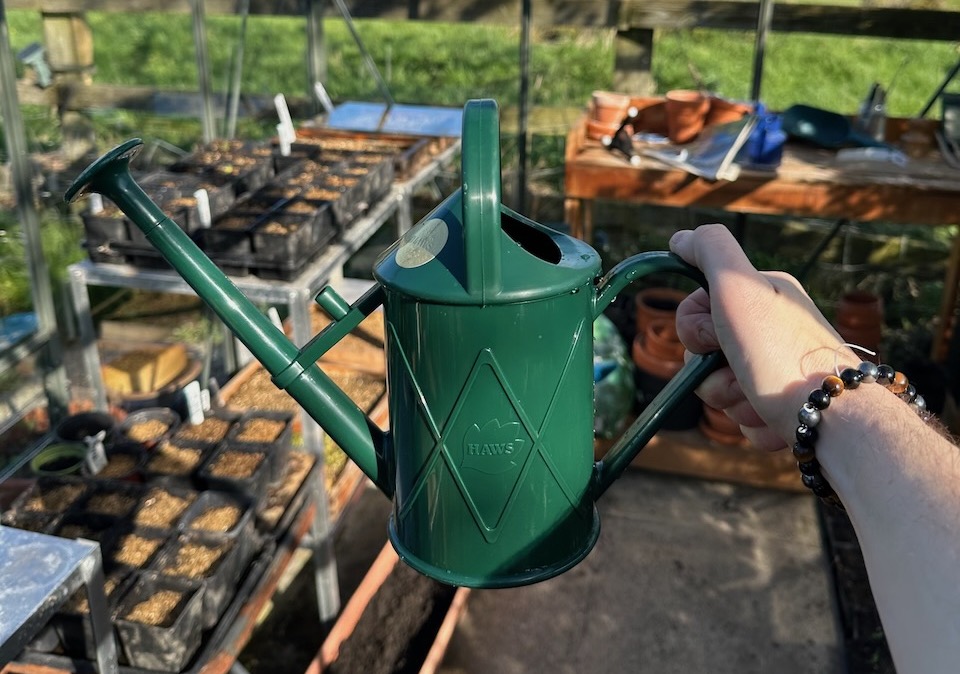
Mark where you have planted with short bamboo canes or labels. Come spring, it is easy to forget exactly where everything went, and you might accidentally dig bulbs up when tidying borders. A simple marker now saves disappointment later.
🛒 Buy Garden Plant Markers on Amazon UK
The biggest mistake is trying to use a bulb planter in bone-dry or heavily compacted soil. The planter will not penetrate properly, and you will end up with shallow holes and frustrated shoulders. Always water the area 24 hours before if the soil is dry.
Another common error is forcing the bulb planter in at an angle. Keep it vertical; otherwise, you get wonky holes, and your bulbs may not sit properly at the base. The bulb needs good contact with the soil below to develop roots effectively.
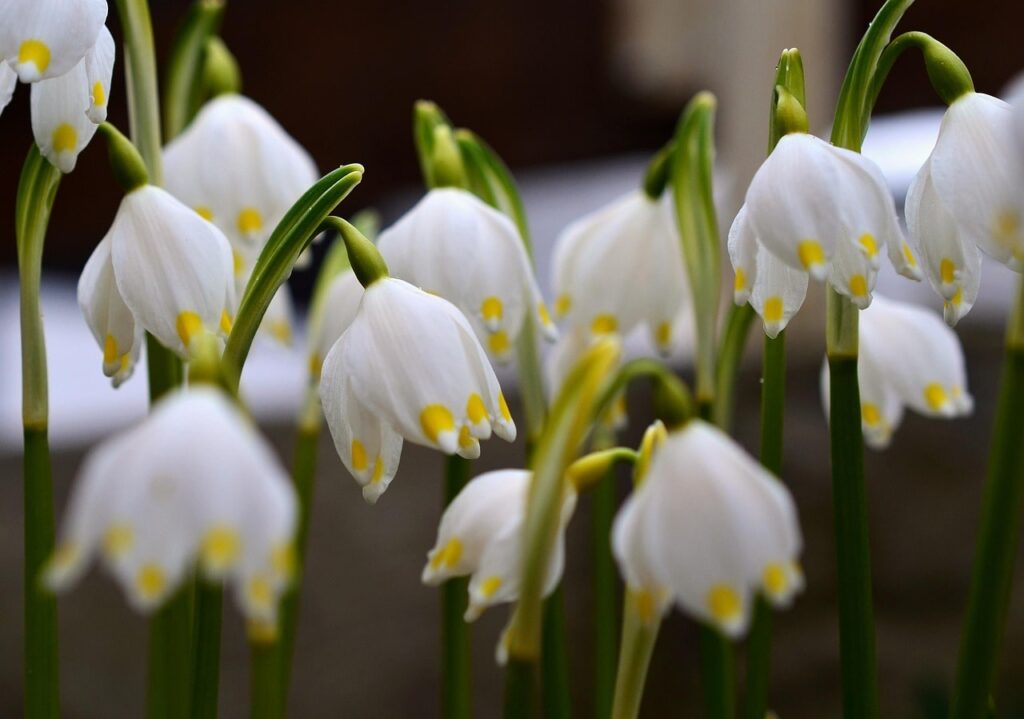
Do not forget to adjust your depth for different bulb sizes. Those measurement markers are not decorative. A crocus planted at daffodil depth takes far longer to emerge, if it makes it at all. Use the three times the bulb height rule every time.
Timing matters as much as technique. Spring-flowering bulbs like daffodils, tulips, and crocuses need to be planted in autumn, ideally between September and November. Plant before the first hard frost to give them time to establish roots. If daffodils are your priority, our guide on when to plant daffodil bulbs covers the exact timing and depth for the best spring display.
Summer-flowering bulbs like alliums and lilies are planted in spring, usually March to May, once the soil has warmed up and the risk of hard frosts has passed. Your bulb planter works exactly the same way regardless of the season.
Clean your bulb planter after use. Soil left on it will rust the metal and make it harder to use next time. A quick rinse with the hose and a wipe with an oily rag will keep it in good condition for years. Store it somewhere dry over winter.
If you have a wooden-handled version, check the handle annually for splinters or cracks. A bit of linseed oil rubbed into the wood keeps it in good condition. The metal parts benefit from a spray with WD40 or similar before winter storage to prevent rust.
🛒 Buy Linseed Oil for Tool Handles on Amazon UK
🛒 Buy WD40 for Rust Prevention on Amazon UK
Plant bulbs at three times their own height. This works out at around 10cm for large bulbs like daffodils, 4 to 5 inches for tulips, and about 3 inches for smaller bulbs like crocuses. Most bulb planters have depth markings on the side so you do not need to measure each one individually.
Yes, and it is one of the best tools for the job. Scatter bulbs across the grass, remove a plug of turf at each spot with the planter, drop the bulb in, and replace the plug on top. This is the classic method for naturalising daffodils and crocuses through a lawn.
A handheld planter is used kneeling down and suits small quantities, containers, and tight spaces. A long-handled planter has a footplate so you can push it into the ground standing up, which is quicker and kinder on your back and knees when planting large numbers of bulbs across a border or lawn. If you are planting into containers, my guide on how to plant bulbs in pots covers depths and compost.
A trowel works fine for a handful of bulbs. Once you are planting more than a couple of dozen, a bulb planter is significantly faster, gives consistent depth every time, and saves a lot of kneeling and digging. If you plant bulbs every autumn, it is one of the best value tools you can own.
Yes, but heavy clay makes the job harder on any tool. Loosen the top few inches with a fork first, and water the area the day before if it is dry and hard. A long-handled planter with a serrated base copes with clay far better than a lightweight handheld model.
Rinse off any soil after use and dry it before storing. A wipe with an oily rag or a light spray of WD40 on the metal parts before winter storage prevents rust. Wooden handles benefit from an annual rub of linseed oil to stop them splitting or cracking.

Join over 100,000 gardeners on YouTube
Free gardening videos from the Garden Ninja, with 8 million views and counting.
Subscribe on YouTube, it’s freeGetting your bulbs in the ground with the right tool is only half the story. Knowing where to put them, which drifts and colour combinations actually work together, and how to build a border that carries interest well beyond the spring display, is where my online courses pick up.
With courses starting from just £29, you gain access to the same award-winning design thinking I use on client gardens, so this autumn’s planting becomes the start of a proper design rather than just a scattering of colour.
For the garden you’ve already got, not the one you’re starting from scratch. Seven checklists and video lessons from BBC Garden Rescue’s Lee Burkhill, designed to help you decide what’s worth keeping before you spend a penny.
Garden Design Examples for Small Gardens: 30 Design Templates & Planting Plans: In this online gardening course, I’ll walk you through 30 fantastic garden designs, explaining the logic behind the layout and plant choices, plus take-home tips for applying them in your own garden.
Learn how to transform and design your garden with Lee Burkhill’s crash course in garden design. In over 5 hours, Lee will teach you how to design your dream garden. Featuring practical design examples, planting ideas and video guides. Learn how to design your garden in one weekend!
Garden Design for Beginners Online Course: Want to become a garden designer or design your own garden? This beginner course is for you. Join me, Lee Burkhill, an award-winning garden designer, as I train you in the art of beautiful garden design. Enjoy 20 hours of online study and video lessons, along with quizzes and a completion certificate.
A bulb planter makes one of autumn’s most important jobs faster and easier. Whether you go for a handheld model or a long-handled version, you will plant more bulbs, plant them better, and look forward to bulb-planting time rather than dreading knee aches.
Get those bulbs in the ground before the first frosts, and come spring, you will have a garden full of colour.
Happy Gardening!

Lee Burkhill, known as the Garden Ninja, is an award-winning garden designer and horticulturist with over 30 years of gardening experience and 15 years as a professional garden designer. A qualified RHS (Royal Horticultural Society) professional, Lee specialises in sustainable garden design and practical horticultural advice. He designs and presents on BBC1’s Garden Rescue and in leading gardening publications. Lee combines three decades of hands-on gardening knowledge with professional design qualifications to help gardeners create beautiful, functional outdoor spaces.
View all posts by Lee Burkhill





JOIN THE NINJAS

Be the first in line for new Guides, Discount codes and Offers