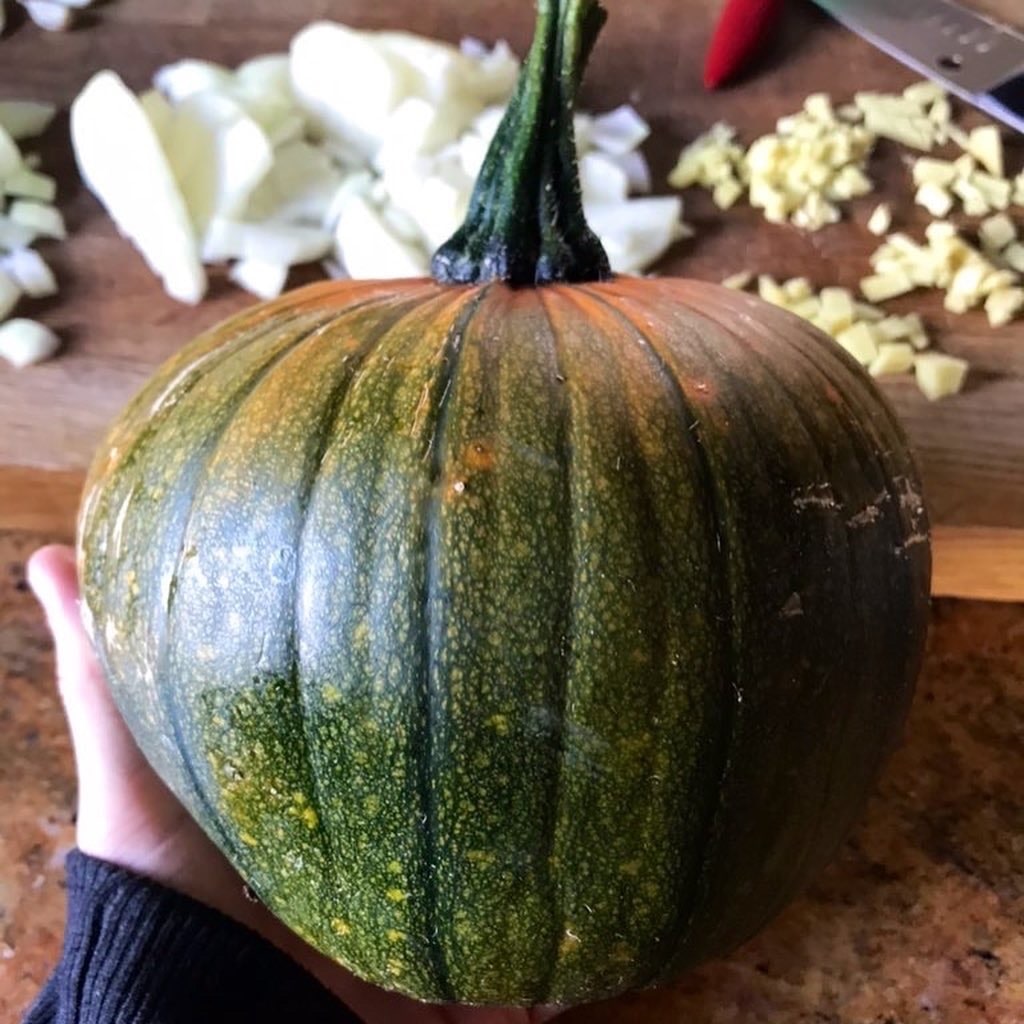
How to Grow Pumpkins: Even in Small Gardens – Your Complete UK Growing Guide
Lee Burkhill: Award Winning Designer & BBC 1's Garden Rescue Presenters Official Blog
Beginner level
Transform your tiny garden patch into a pumpkin paradise with my expert growing techniques no matter how small your garden! Whether you're dreaming of Halloween jack-o'-lanterns, autumn soups, or simply want to amaze the neighbours I'm going to show you how to grow pumpkins for small gardens, balconies, containers or courtyard gardens with ease!
Staring at your modest garden, wondering if there’s room for those magnificent trailing vines you see sprawling across allotments? Perhaps you’ve been put off by tales of pumpkins requiring acres of space, which only the hugest of pumpkins actually need. You might be concerned about whether the British weather will provide enough warmth for these American giants.
Maybe you’ve attempted pumpkin growing before, only to end up with disappointing gold ball-sized fruits that wouldn’t carve a smile on a pixie, let alone create the Halloween centrepiece of your dreams. The good news is you can grow pumpkins in tiny gardens; you just need to pick the right cultivar and follow some specific growing tips. This guide will show you how to grow pumpkins in small gardens for a brilliant autumn harvest!
This comprehensive guide reveals exactly how to grow magnificent pumpkins in any space, combining my award-winning horticultural expertise as an expert gardener from BBC1’s Garden Rescue with practical solutions that work in real British gardens. I’ve been growing pumpkins for years and want to share my top tips. Whether you’re working with a balcony, small border, or compact vegetable plot, you’ll discover the techniques that professional growers like me use to maximise yields whilst minimising space requirements.
Understanding Pumpkins: Your Foundation for Success
Before we dive into space-saving techniques, understanding what you’re actually growing makes a significant difference in whether your pumpkin harvest will be a success or not. Pumpkins are slow-growing fruits that need a lot of water and patience, which is where so many new gardeners go wrong. You can’t grow a pumpkin quickly, so the seed variety and the time you sow them are key!
Successful pumpkin cultivation has absolutely nothing to do with garden size and everything to do with understanding the actual needs of these vigorous plants. With the right varieties, planning and space-maximising techniques, you can grow pumpkins anywhere. Even the tiniest urban courtyard can produce prize-winning pumpkins that will have your neighbours looking green with envy!
It’s important to understand the pumpkin family before grabbing your seed pots and compost. Pumpkins belong to the Cucurbitaceae family alongside cucumbers, courgettes, and melons, sharing similar growing requirements but with their own specific quirks that savvy gardeners learn to work with rather than against. They tend to grow off vines or long lateral stems that grow from the main lead stem. Knowing this helps us to plan for growing them in smaller spaces.
Choosing the right Pumpkin Cultivar
Your seed variety or cultivar choice for pumpkinsdetermines everything from space requirements to harvest timing, making this decision crucial for successful pumpkin growth. Most gardeners who contact me on my online gardening forum, who fail to grow pumpkins, are trying to grow the wrong cultivars in the wrong spaces or are rushing by planting pumpkins too late in the season.
Most gardeners picture pumpkins as requiring vast expanses of space because they associate them with commercial growing fields or massive allotment displays. The reality is quite different when you understand plant behaviour and choose appropriate varieties. A single pumpkin plant in optimal conditions can produce 3-8 fruits, depending on variety and care, making them remarkably productive for the space they actually require. It’s about choosing the right pumpkin cultivar for your space.
Let me walk you through my favourite pumpkin seed varieties and cultivars for smaller-sized gardens.
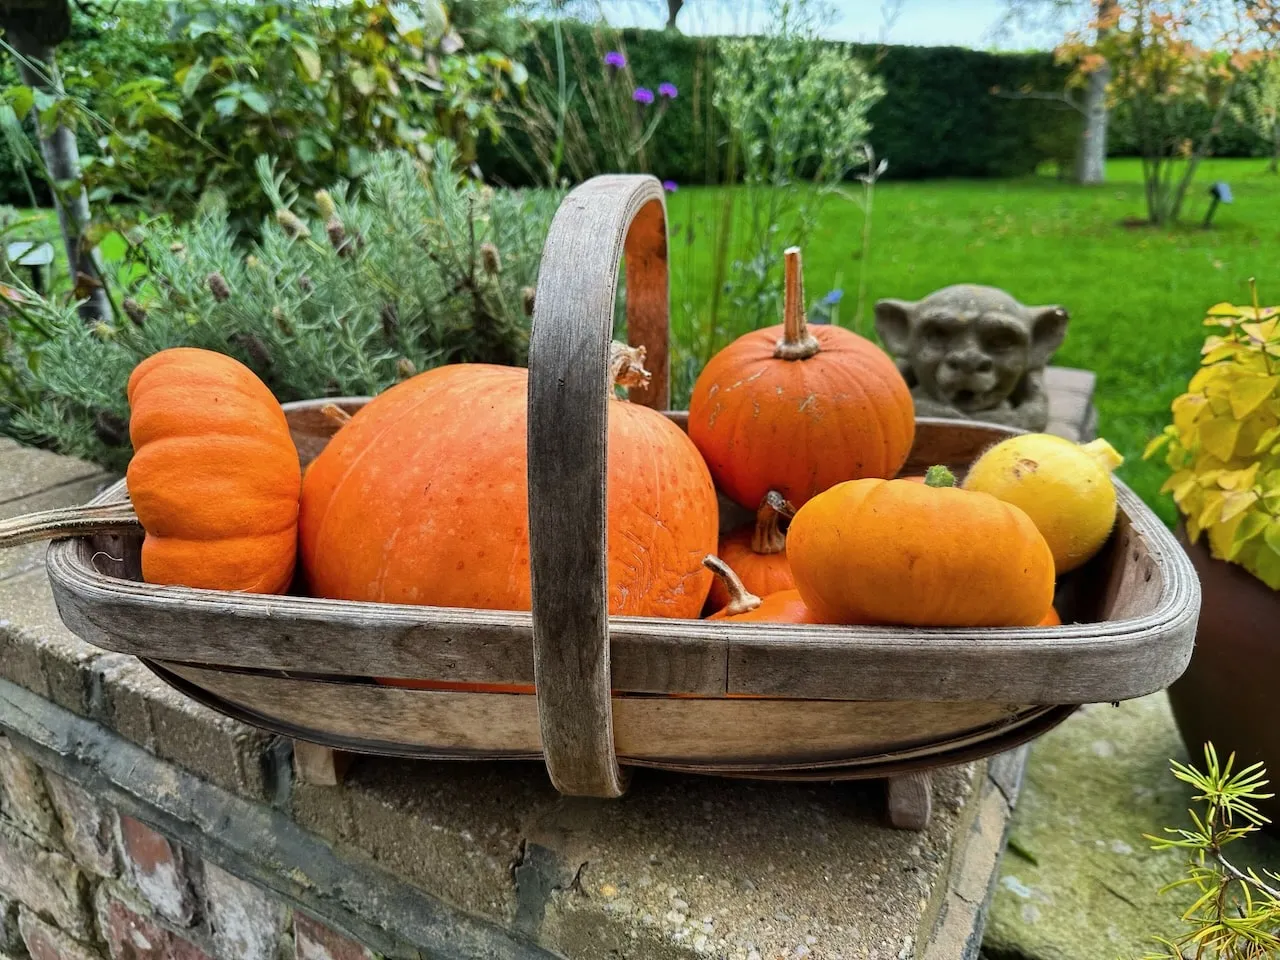
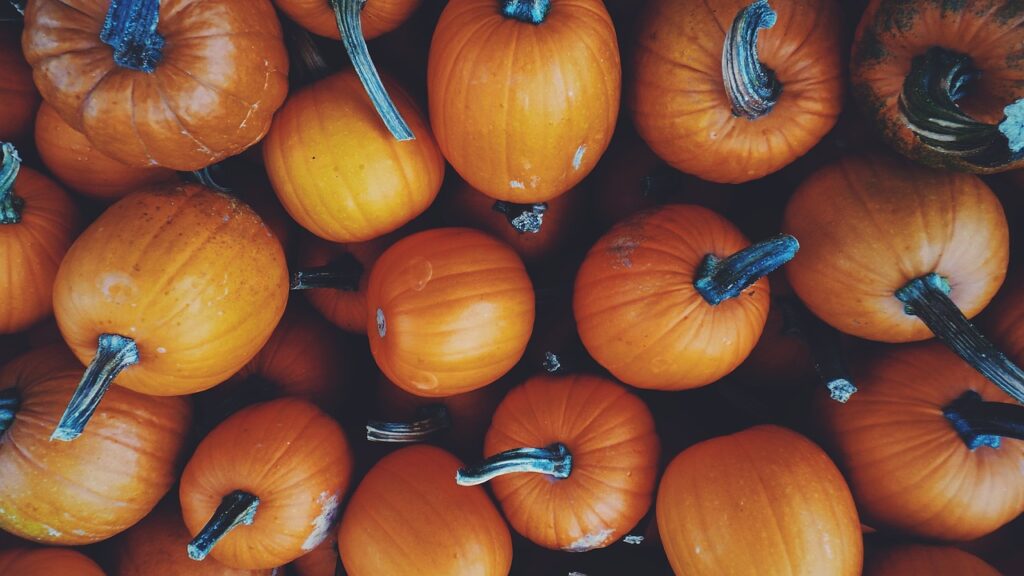
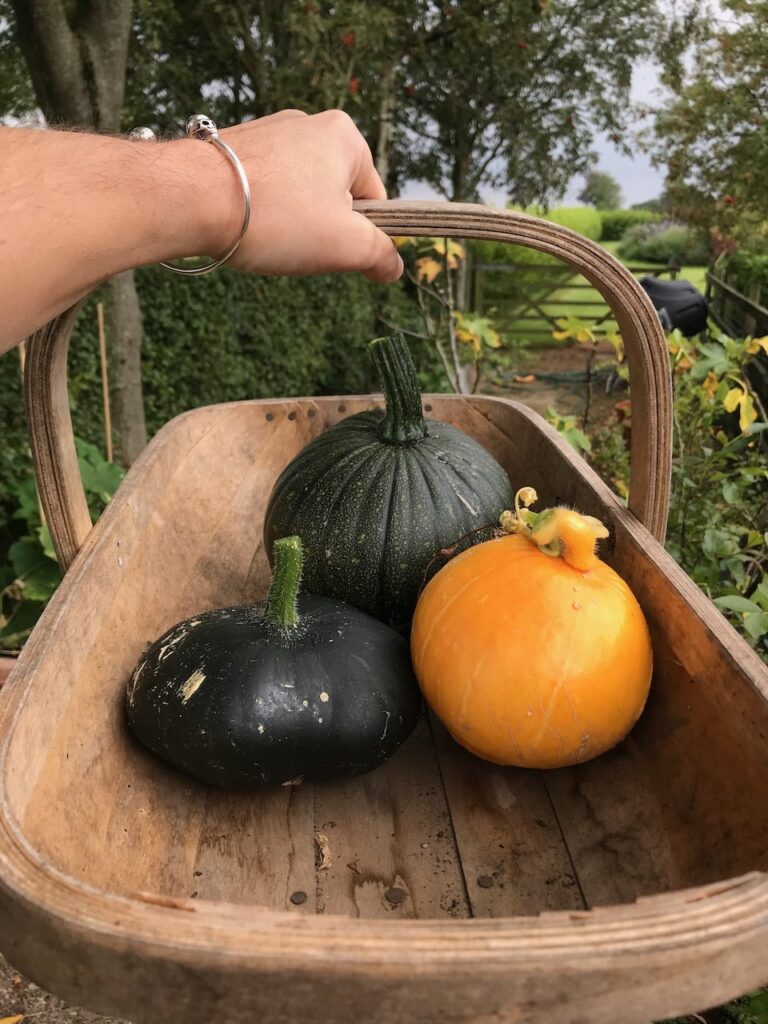
Pumpkin Cultivars for Small Gardens, Container Gardens or Balconies
Adorable miniature pumpkins perfect for decoration and children’s projects. Semi-vining plants require only 1.5 square metres. Produces 8-12 fruits per plant. Excellent for table displays and autumn arrangements.
Baby Bear
12-15cm diameter 1-2kg Classic Orange
Perfect Halloween pumpkins with thick, sweet flesh ideal for pies. Compact bush habit makes them perfect for raised beds or large containers. Produces ‘naked’ hull-free seeds perfect for roasting. Semi-bush plants stay manageable.
Baby Boo
7-8cm diameter Pure White
Stunning miniature white pumpkins with slight ribbing. Vigorous vines grow 2-2.5 metres and train beautifully on vertical supports. Produces bumper crops of 10-15 fruits per plant. Perfect for painting and decorating.
Jill Be Little
7-8cm diameter Bright Orange
Orange companion to Baby Boo with identical growing habits. Produces abundant crops of perfectly miniature pumpkins ideal for children’s decorating. Strong vines suitable for vertical growing. Excellent keeper lasting months in storage.
Black Kat
9-11cm diameter 0.5-1kg Dark Green to Black
Dramatic showstopper with captivating dark green transitioning to near-black skin. Bright orange flesh is both ornamental and edible with sweet flavour. Semi-bush habit resists powdery mildew. Matures early at 75-80 days.
Casperita
12-15cm diameter Pure White
Attractive white pumpkin combining ornamental appeal with delicious flavour similar to acorn squash. Compact vines make them manageable in small gardens. Perfect for Halloween decorating and autumn cooking. Stores exceptionally well.
Munchkin
7-12cm diameter Bright Orange
Classic miniature pumpkins with perfect shape and proportions. Semi-bush vining habit ideal for small gardens and container growing. Produces 8-12 fruits per plant. Excellent for both decoration and cooking with sweet, dense flesh.
Hooligan
7-10cm diameter Orange & White Mottled
Uniquely attractive small pumpkin with interesting orange and white mottled appearance. Compact vines won’t take over your garden. One of the most striking small pumpkins for Halloween and autumn displays. Highly productive plants.
Wee Be Little
7-10cm diameter Deep Orange
Perfectly proportioned miniature pumpkins with deep orange colour and classic ribbing. Semi-bush plants produce abundant crops in limited space. Ideal for place settings, centrepieces, and small children’s projects. Stores well.
Golden Nugget
12-15cm diameter Golden Orange
Compact bush pumpkin growing like a courgette plant with no trailing vines. Perfect for balconies and courtyard gardens. Highly decorative orange-skinned fruits ideal for individual servings and stuffing. Sweet, dense flesh perfect for roasting.
Bumpkin
10-12cm diameter Bright Orange
Charming small pumpkins with sturdy green handles perfect for carrying. Semi-bush plant shape makes them manageable in compact gardens. Resistant to powdery mildew. Slightly larger than the tiniest varieties but still perfectly sized for small spaces.
Spark
9cm diameter Orange & Yellow Striped
Eye-catching bi-coloured pumpkin with fiery orange and yellow vertical stripes. Long vines highly resistant to powdery mildew yield approximately 15 pumpkins per plant. Creates spectacular autumn displays with unique colouring.
Medium Pumpkin Cultivars
‘Connecticut Field’ represents the classic Halloween pumpkin that responds beautifully to space-saving training techniques. Whilst naturally vigorous, these can be successfully grown vertically or in containers with proper support systems.
‘Sugar Pie’ produces excellent cooking pumpkins with naturally compact growth habits, making them ideal for gardeners who seek both ornamental and culinary value from their limited growing space.
‘Ghost Rider’ produces stunning white pumpkins that create spectacular autumn displays whilst maintaining reasonable space demands. These unique specimens command attention in any garden setting.
Fast-Growing Pumpkin Types
‘Autumn Gold’ offers early maturity in just 100 days from sowing, perfect for British gardeners concerned about insufficient growing season length. The bright orange fruits reach medium size without excessive space requirements.
Starting Strong: Seeds, Sowing, and Early Care
Pumpkin success begins with proper sowing technique and timing that maximise British growing conditions whilst avoiding common pitfalls such as planting too late in the season or failing to water the plants enough. Understanding when and how to start your pumpkins properly sets the foundation for everything that follows.
Growing pumpkins begins very early in the season and continues to require your attention right up to the time of pumpkin harvesting in October. They are not a fast or low-maintenance plant, as you will need to keep monitoring and watering them for months!
Indoor Sowing Schedule for Pumpkins
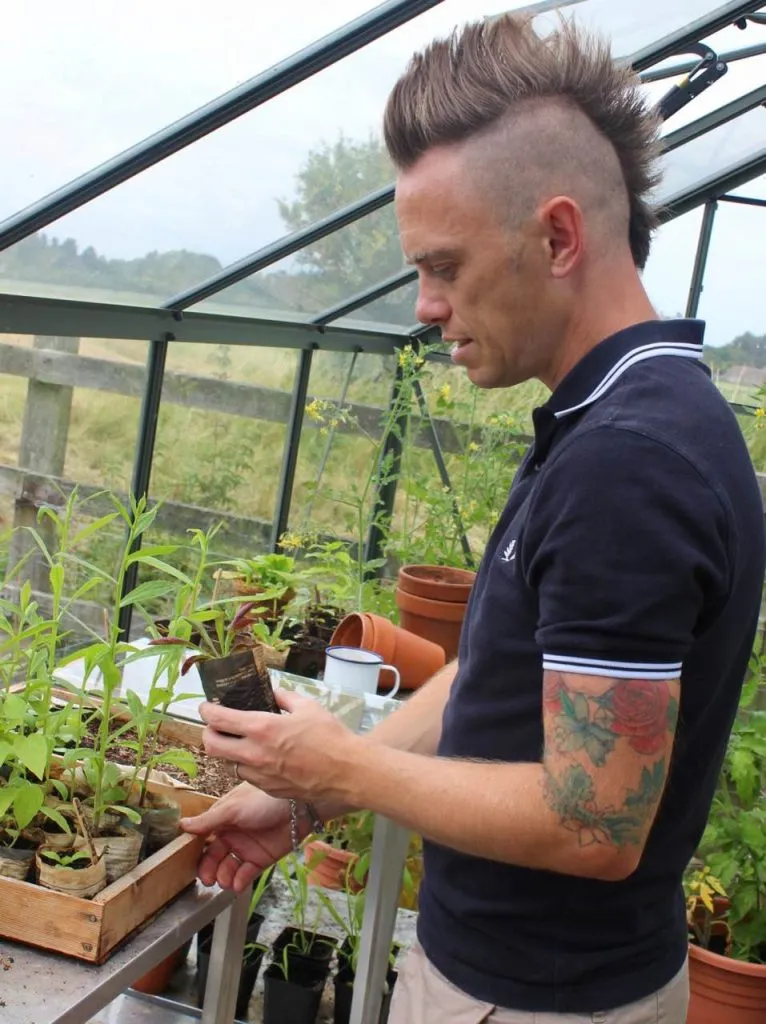
Start seeds indoors during late April to early May, providing the warmth these heat-loving plants require for reliable germination whilst avoiding the risk of late frosts devastating young plants. British weather patterns make outdoor sowing risky until soil temperatures consistently exceed 15°C. If you want to sow them earlier in March, do so indoors, where you can control the temperature. My video guide on how to sow seeds, available below, shows you all the necessary steps for growing pumpkins or any other plant from seed.
The Right Germination Temperature
Pumpkin seeds absolutely require soil temperatures of 18-21°C for reliable germination. Use a heated propagator or position seed trays above radiators to maintain optimal conditions. Seeds sown in cold soil often rot rather than germinate, explaining many early-season failures. They are similar to tomatoes, which also require very exacting germination temperatures. This is why it’s usually easier to sow the seeds indoors until they germinate or in a greenhouse.
Germination Secretsby Soaking
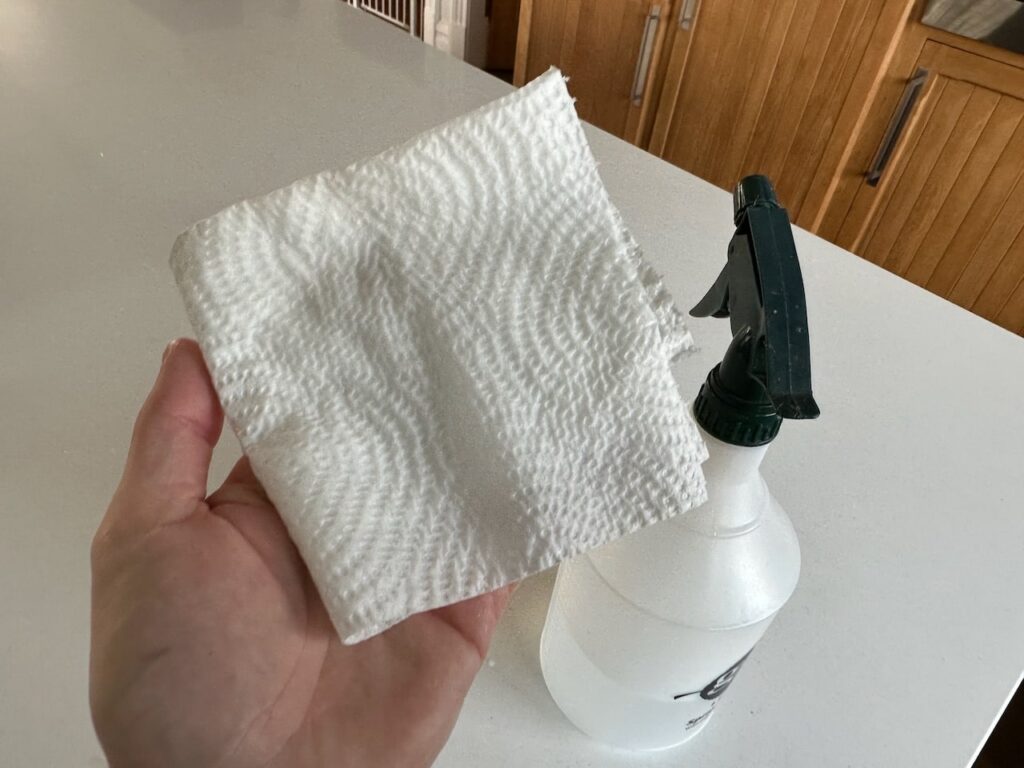
There’s a trick all professional gardeners use with pumpkins, squash, and cucumbers, and thats the pre-soaking of the seeds. Soak pumpkin seeds overnight in lukewarm water before sowing to accelerate germination and improve success rates. Alternatively, place them on a soaked piece of kitchen paper and place them in a sealed plastic food bag overnight. These simple techniques can reduce germination time from 10-14 days to just 5-7 days whilst improving germination percentages. It also eliminates the need for large spaces for pots of soil, as you can increase the success rate with these two methods.
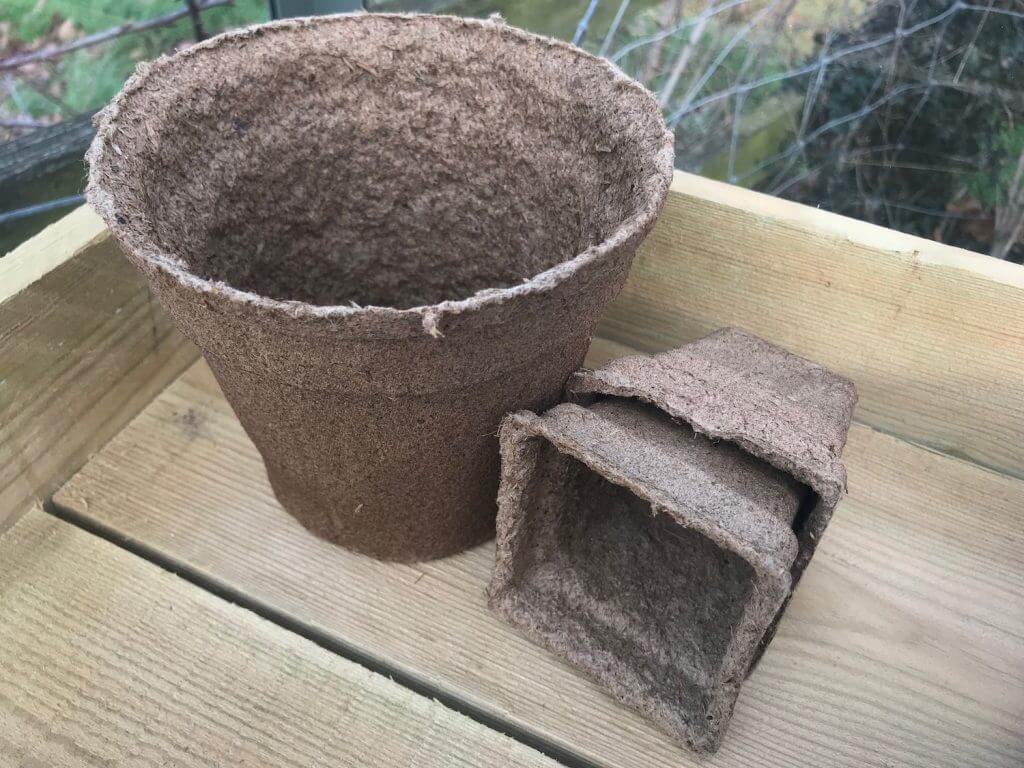
Choosing the Right Pot Size for Pumpkins
Pumpkins are going to put on some fantastic growth over the journey of their lifecycle from small, flat seeds to huge fruits by October, which never fails to surprise new gardeners. Which is why choosing the right pot for seed sowing and transplanting is key. You don’t want to keep disturbing your pumpkin as it runs out of space or dries out in a pot that’s too small. So pick the right size for germination, through to the first true leaves and then the final pot when hardening off.
What Size Pots for Pumpkin Seeds
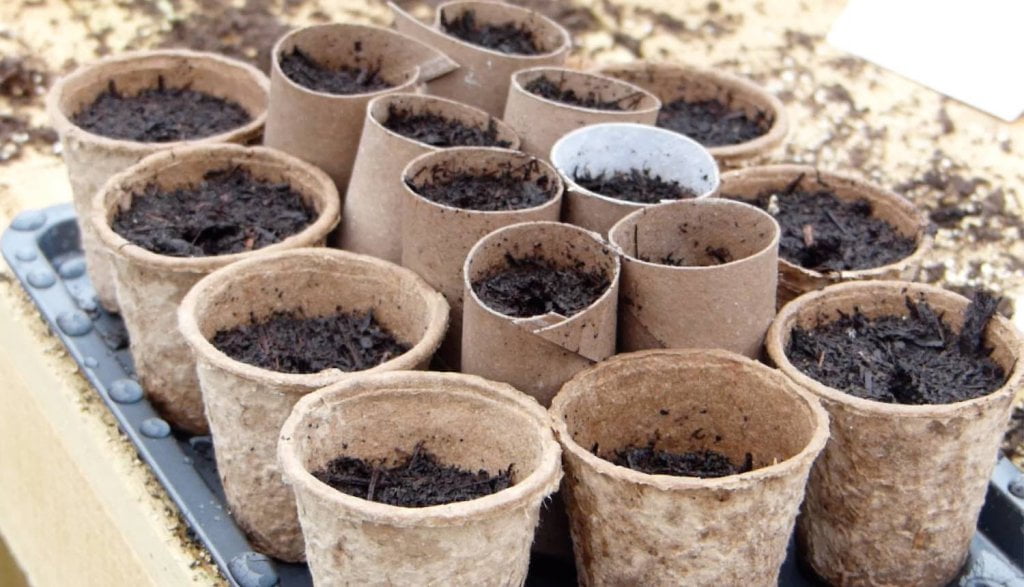
Use large individual plant pots (with a minimum diameter of 12cm) rather than seed trays, as pumpkins develop extensive root systems remarkably quickly. Biodegradable pots allow direct transplanting without root disturbance, significantly improving establishment success. I usually sow two seeds per pot and then remove the weaker of the two if both germinate. However, if you only have 9cm pots, or yoghurt pots or loo rolls, you can still use them, but they will need to be potted on sooner than larger containers.
Sowing Depth and Position
With normal small seed sowing, you can scatter the seeds over a seed tray and then cover them with compost or perlite. However, larger pumpkin seed planting is quite different. You plant pumpkins individually or in pairs in individual pots, not seed trays.
Plant seeds on their edge rather than flat, approximately 2.5cm deep in quality seed compost. Edge planting of the seeds prevents water from collecting on the seed surface, reducing the risk of rot while encouraging proper root emergence.
Optimal Growing Conditions
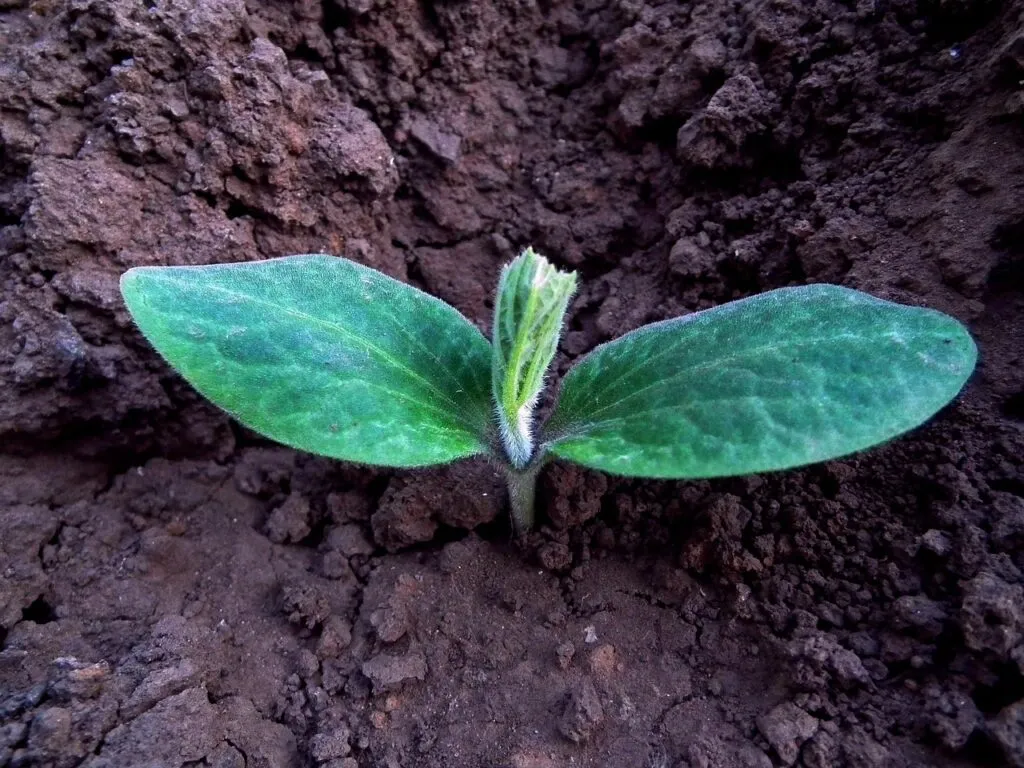
Maintain temperatures between 20 °C and 25 °C until germination occurs, then reduce them to 18 °C to 20 °C to prevent leggy growth. Provide maximum light immediately after germination to encourage stocky, vigorous seedlings rather than weak, stretched plants. Again, starting pumpkins indoors or in a temperature-controlled environment is far easier than direct sowing in the ground or trying to grow them in cold frames.
When to Harden Off & Plant Out Pumpkins
The hardening-off process is where you start to take out pumpkin seedlings and acclimate them to the temperatures they will experience outside as they begin their growth for the season. If we plop them outside after being indoors for weeks, it can shock them and cause them to die. So gradually increasing off slowly allows them to get used to the temperature difference, especially nighttime temperatures.
Begin hardening off seedlings 2-3 weeks before the intended planting date by gradually exposing them to outdoor conditions. Start with 2-3 hours of daily exposure in sheltered positions, gradually extending the time while monitoring weather forecasts carefully. Cold frames are excellent for hardening off or porches or the back door step!
What temperature is best for planting out pumpkin seedlings?
A common question I’m asked is when to finally transplant the seedlings into their final positions —whether in raised beds, ground planting, or main containers—only transplant when soil temperatures consistently exceed 15°C at a 10cm depth. Cold soil shock can set plants back weeks or kill them entirely, making patience absolutely essential for success.
What depth to plant pumpkin seedlings?
Dig planting holes twice the width of the root balls of your pumpkin seedlings and incorporate generous amounts of well-rotted peat-free compost or manure. Pumpkins are hungry feeders requiring rich, moisture-retentive soil for optimal performance. You ideally want to put them in large pots, at least 20 litres, to save you from needing to water them constantly and to provide them with enough rich organic matter for plant feed.
If you don’t have the space for that, use smaller pots but add saucers underneath to conserve water. Also, be sure to apply a liquid feed as soon as they start producing flowers, once a week. Comfrey tea is an excellent pumpkin food as it’s high in potassium, or tomato plant liquid feed.
Space-Maximising Techniques for Pumpkins
The secret to growing pumpkins in small spaces lies in understanding their natural growth patterns and then working with this using canes, obelisks, and other training systems to support their vines and fruits as they grow upward. These proven techniques allow pumpkin growing in spaces you never thought possible, Ninjas!
Vertical Growing: Up Not Out
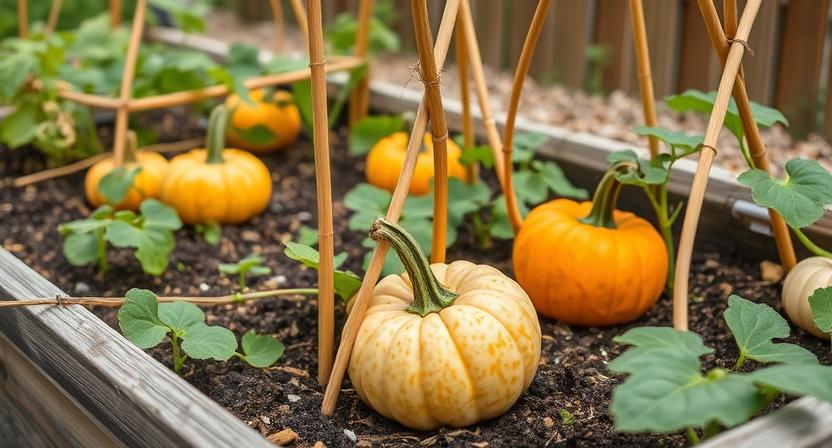
You can grow pumpkins on wooden supports or obelisks in pots, which helps you tie in their vines and shoots for smaller, compact pumpkins. However, if you’re growing the larger varieties, you will need to install robust frameworks using treated timber posts and heavy-duty wire or strong twine. Pumpkin fruits can weigh 5-15kg each, requiring support systems capable of handling significant loads without failure. For larger pumpkins, I avoid training them and plant them in the ground instead, allowing them to creep; it’s less work and stress.
Train main vines up supports using soft ties, pinching out side shoots to concentrate energy into main stems. This technique essentially creates pumpkin ‘trees‘ rather than sprawling ground cover, dramatically increasing space efficiency. It is particularly suitable for smaller, compact varieties of pumpkins, especially for balcony growing or container planting in small garden spaces.
Don’t forget to support developing fruits using old tights, mesh bags, or purpose-made fruit hammocks attached to your framework. Proper support prevents stem breakage whilst allowing fruits to develop naturally without ground contact issues. If the pumpkins sit on wet soil or compost, they can rot and spoil; therefore, they need to be lifted or placed on a bed of straw.
Container Growing Pumpkins
For full-sized pumpkins, use containers with a minimum capacity of 20 litres for bush varieties and 50 litres or more for vining types. Drainage becomes critical in containers, so ensure adequate holes while maintaining moisture retention by selecting high-quality compost that allows for proper drainage. If you don’t have the space for large containers, choose smaller varieties and cultivars of pumpkins and use smaller 10-litre pots with saucers underneath them, or direct plant them into the ground if possible.
Fill containers with premium multipurpose peat-free compost mixed with slow-release fertiliser and, if possible, water-retaining gel. Container-grown pumpkins require consistent nutrition and moisture that quality growing media provides. If you can plant them in the ground or a raised bed, they will be far easier to look after, especially if you don’t have irrigation or anyone to help water them when you go away for your summer holiday!
Containers enable plants to be repositioned to follow the sun’s patterns throughout the season, while providing protection options during adverse weather conditions. Castors on heavy containers enable easy movement despite substantial weight.
Ground-Level Pumpkin Planting Tips
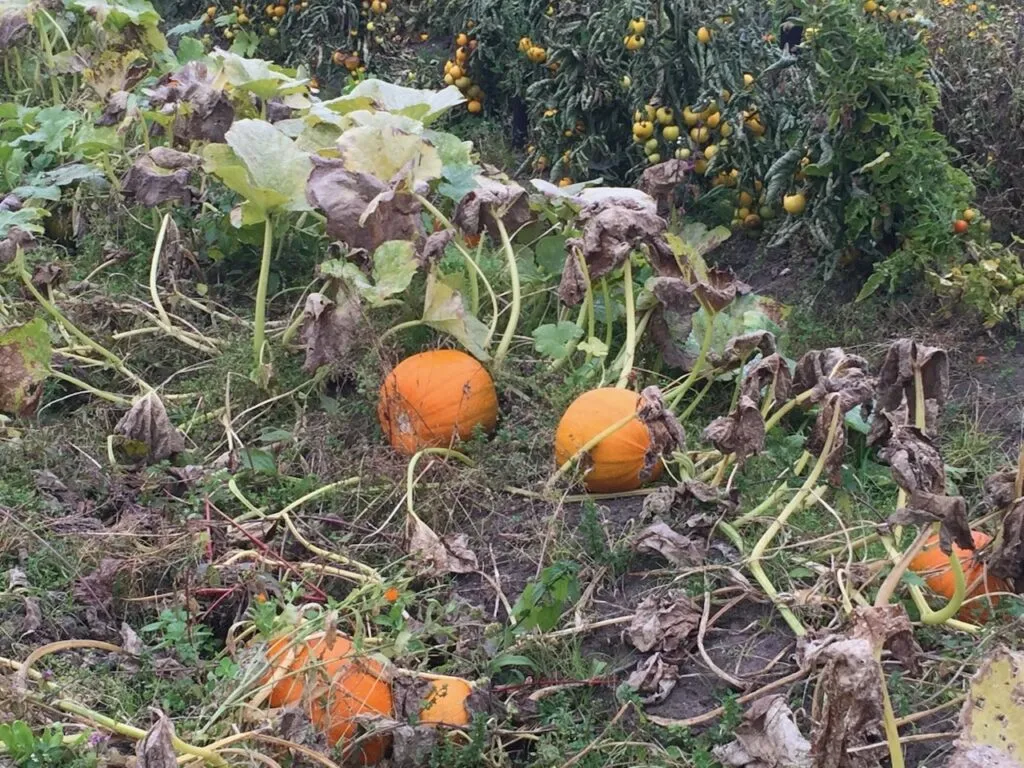
Position Pumpkin plants at border edges, allowing vines to trail into lawn areas during the growing season. This technique provides growing space without sacrificing permanent garden features, whilst creating dramatic displays. If you’re using raised beds, plant at the edge, but place straw on the ground where the pumpkin fruits will rest. This is a great pumpkin hack of mine, as you can grow companion or quick crops in the same space as your pumpkins.
Interplant with shallow-rooted crops, such as lettuce or radishes, that mature before the pumpkin vines have fully spread. This maximises space utilisation whilst providing additional harvests from the same growing area.
Apply thick, organic mulch around plants to conserve moisture, suppress weeds, and provide a gradual release of nutrients. Straw works exceptionally well, creating an attractive appearance whilst improving growing conditions.
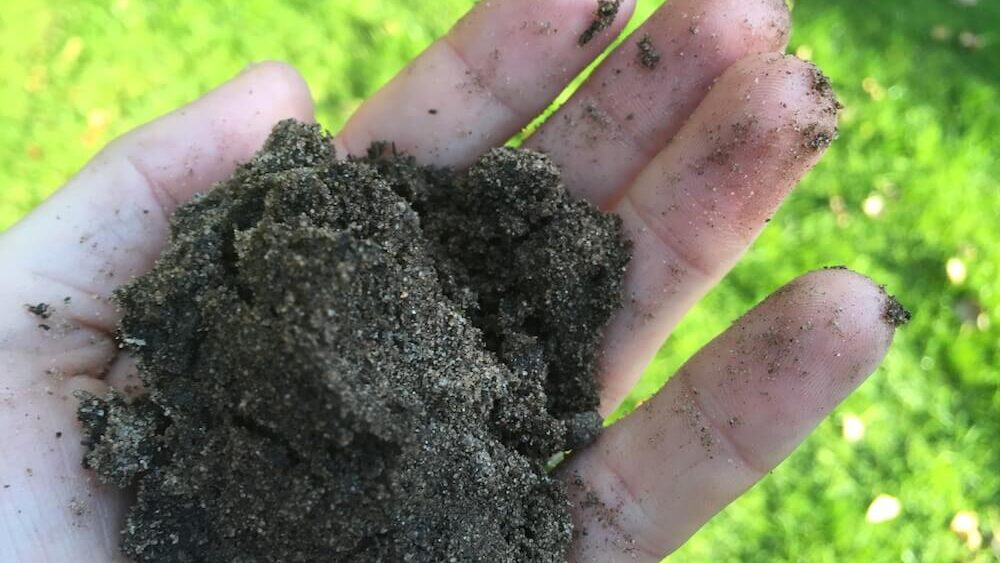
Soil Preparation & Nutrition: Feeding Pumpkins
Pumpkins are notoriously hungry plants requiring rich, well-prepared soil to achieve their spectacular potential. Understanding their nutritional needs and providing appropriate growing conditions makes the difference between disappointing results and prize-winning specimens.
Drainage for Pumpkins
Pumpkins require well-draining soil that retains moisture without becoming waterlogged. Heavy clay soils benefit from raised beds or the incorporation of organic matter, while sandy soils require moisture-retaining amendments. In fact, for super heavy clay, I tend to cut the bottom off a large pot, place this on top of the clay and plant the pumpkin into the container full of compost. That way the roots can still penetrate the clay soil when the pumpkin reaches maturity, but it stops the roots getting waterlogged and rotting, clever, eh!
pH Preferences
Optimal soil pH ranges from 6.0 to 6.8, slightly acidic to neutral conditions that maximise nutrient availability. While some gardeners advise testing soil pH using digital meters or test strips and adjusting with lime or sulphur as necessary, I’ve never found this to be true. Pumpkins are pretty tolerant of most soils, so unless you want to enter the annual pumpkin growing competition, use multi-purpose compost and save yourself the soil testing drama!
When to Feed Pumpkins: Timetable of Fertiliser
Incorporate substantial amounts of well-rotted manure, compost, or leaf mould into planting areas. Pumpkins respond dramatically to organic matter, often doubling production in properly prepared soils compared to unimproved ground. Again, feed every two weeks, once in fruit, with a high-potassium feed. Below provides more specifics on the type of plant feed to give your pumpkins, from sowing the seeds through to harvest.
i) Initial Soil Preparation
If planting directly outside, then apply a general-purpose fertiliser at 100g per square metre during soil preparation, working it into the top 15-20cm of the growing medium. This provides baseline nutrition that plants can access immediately after transplanting. If using containers, replace this with high-quality,peat-free compost as your growing medium.
ii) Establishment Feeding
Apply liquid fertiliser every 2 weeks during the first month after transplanting, using balanced formulations that encourage root development and vegetative growth without promoting excessive leaf production at the expense of flowering. These are known as high-potassium plant fertilisers, such as tomato feed or comfrey tea.
iii) Feed when Flowering & Fruiting
When your pumpkin is in flower and/or fruit, it’s time to feed it a high-potassium liquid feed every 2 weeks until harvest to ensure it has enough nutrition to grow to its full size. It’s also vital that during this phase, they don’t completely dry out or experience any water stress, which can lead to the fruit cracking or even collapsing in on itself.
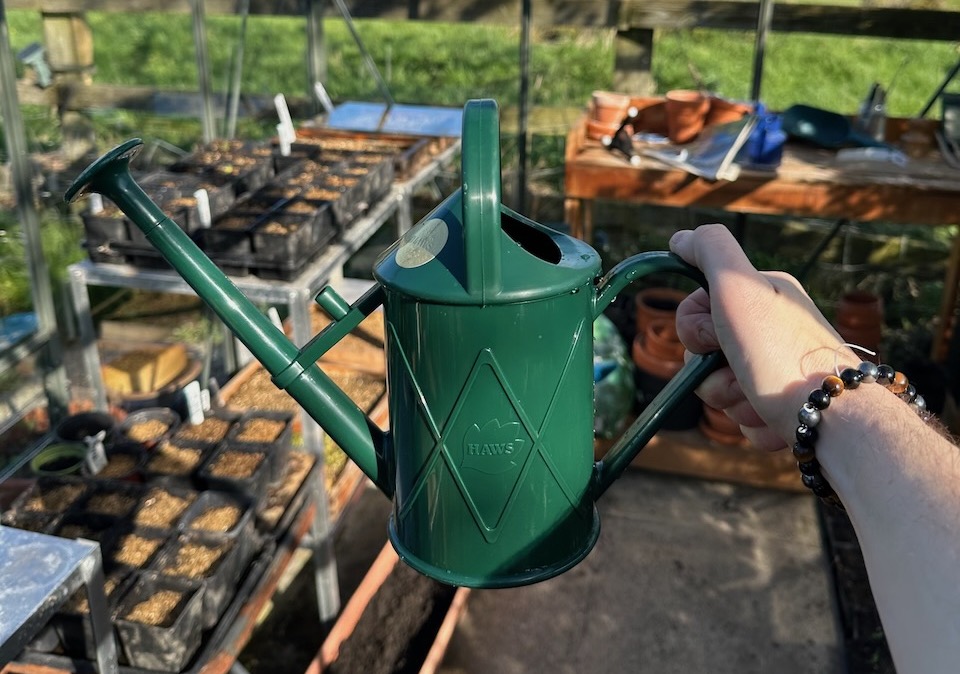
How & When to Water Pumpkins
Water deeply but less frequently to encourage extensive root development rather than shallow, drought-susceptible root systems. Apply 25-30 litres per plant weekly during active growth, adjusting for rainfall and temperature conditions.
Water early in the morning to minimise evaporation while allowing foliage to dry before evening, which significantly reduces disease risk. Avoid watering during the hottest parts of the day when water stress on leaves can cause damage.
Maintain thick mulch layers around plants to reduce water requirements by up to 40% whilst moderating soil temperatures. Organic mulches provide additional nutrition as they decompose throughout the growing season.
Training, Pruning, and Maintenance
Proper plant management throughout the growing season determines final harvest quality and quantity. These professional techniques ensure your pumpkins develop to their full potential whilst maintaining manageable proportions suitable for smaller growing spaces.
Main Stem Development
Allow the strongest 2-3 main stems to develop fully whilst removing weaker side shoots that drain energy without contributing significantly to fruit production. This concentration of growth energy results in larger, better-quality fruits and also frees up space in smaller gardens, where leaf pruning (see below) comes in handy to make the most out of your space.
Pinching out Pumpkin Tips to Curb Growth
Pinch out growing tips once the vines reach the desired length, typically 2-3 metres, for space-constrained situations. This encourages the plant to concentrate energy into fruit development rather than continued vegetative growth. It’s the same process we use when growing tomatoes to ensure we get more fruit than just leafy growth.
Leaf Pruning
Remove older leaves that show signs of disease or damage to maintain good air circulation around developing fruits. You can identify older leaves by their yellowing, browning, or shrivelling. Remove these when you see them. However, retain healthy leaves, as these provide essential support for photosynthesis, which in turn supports fruit development. This helps free up much-needed space in small gardens. You can also compost the leaves, so nothing goes to waste!
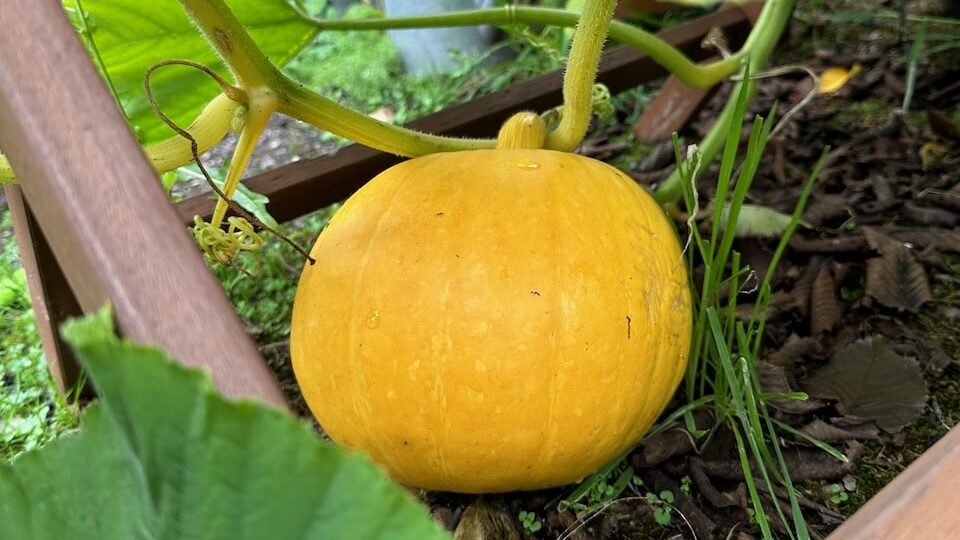
Understanding Pumpkin Flowers, Pollination & Fruit Development
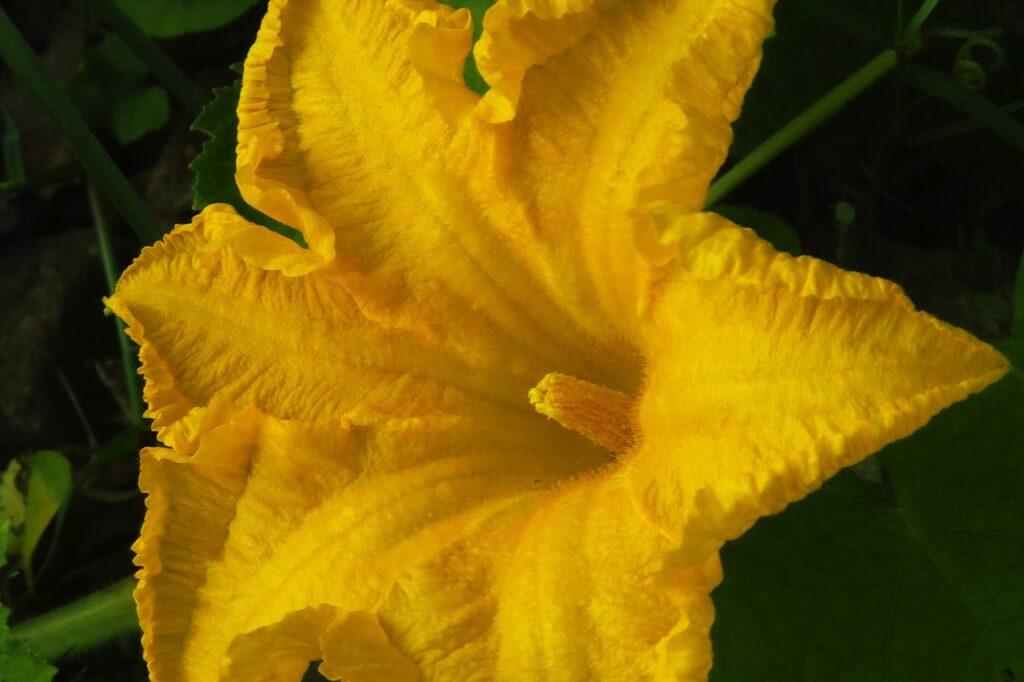
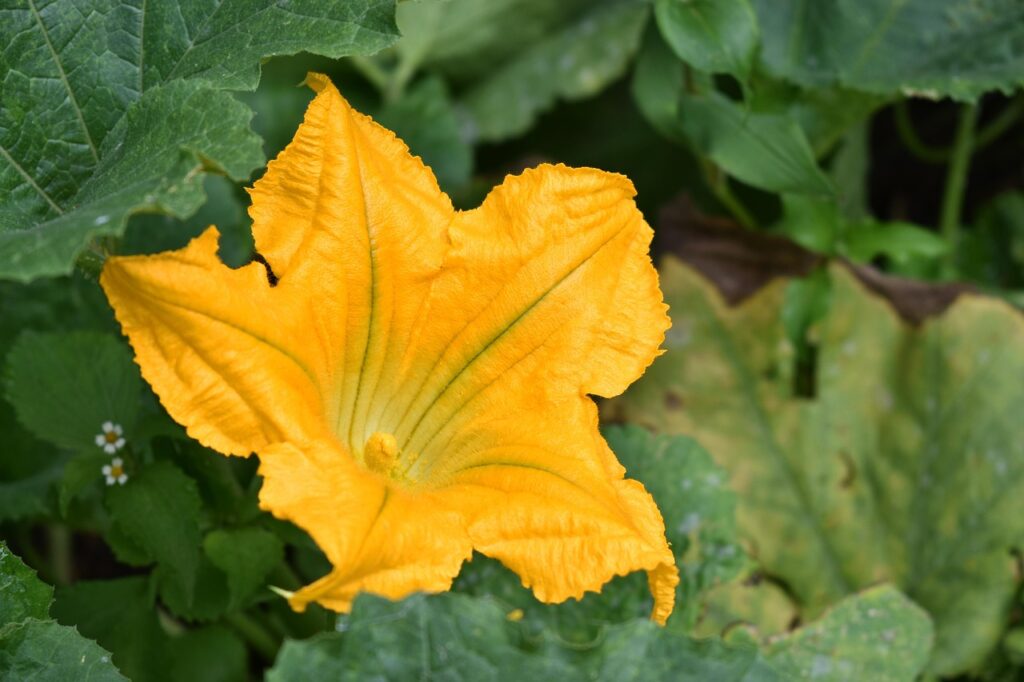
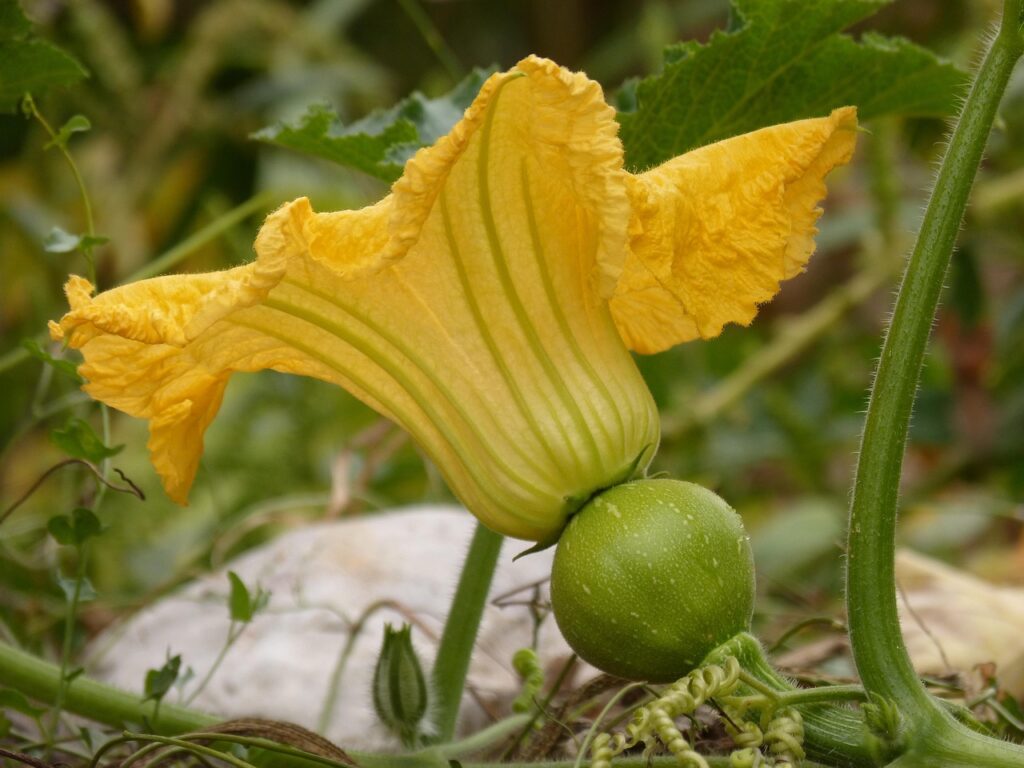
Pumpkins produce separate male and female flowers on the same plant. Male flowers appear first and in greater numbers, whilst female flowers (identifiable by the small fruit behind the petals) develop later and require pollination for fruit set.
Stage 1: Male Flower Emergence (6-8 weeks after planting)
The first flowers to appear are typically male flowers, which typically begin 6-8 weeks after transplanting, when plants have developed substantial leaf systems. These bright yellow, trumpet-shaped blooms appear on long, thin stems and contain only pollen-producing stamens in their centres. Don’t worry if you see only male flowers for 1-2 weeks – this is completely normal and essential preparation for the female flowers that follow.
Male flowers serve several important purposes: they attract pollinators to your garden, provide pollen for eventual fruit production, and indicate that your plant is healthy and developing properly. A vigorous pumpkin plant can produce dozens of male flowers throughout the season.
Stage 2: Female Flower Development (8-10 weeks after planting)
Female flowers appear 1-2 weeks after the first males, looking distinctly different with their most obvious feature being the small, round swelling behind the petals – this is the baby pumpkin that will develop into your harvest if pollination occurs successfully. Female flowers typically open early morning and remain receptive for just 6-8 hours, making timing crucial for successful pollination.
The female flower’s centre contains the stigma (the female reproductive part) that must receive pollen to trigger fruit development. You’ll notice female flowers are less numerous than males – typically producing 2-6 female flowers per vine, depending on variety and growing conditions.
Stage 3: Pollination Window (Daily throughout flowering season)
Each female flower opens for just one day, creating a critical window for successful pollination. In nature, bees and other pollinators transfer pollen from male to female flowers during morning hours when both are open and pollen is most viable.
The pollination process: Bees visit male flowers first, collecting pollen on their bodies, then transfer this pollen to female flowers as they forage. For fruit development to occur, sufficient pollen must reach the female flower’s stigma within that single day of opening.
Hand Pollination Techniques
In areas with low natural pollinator activity, hand pollinate female flowers using male flowers picked early morning when pollen is most viable. Remove male flower petals and dust pollen directly onto female flower centres. One male flower can pollinate multiple female flowers. You can also use a soft paintbrush to collect pollen and then brush it over the female flowers.
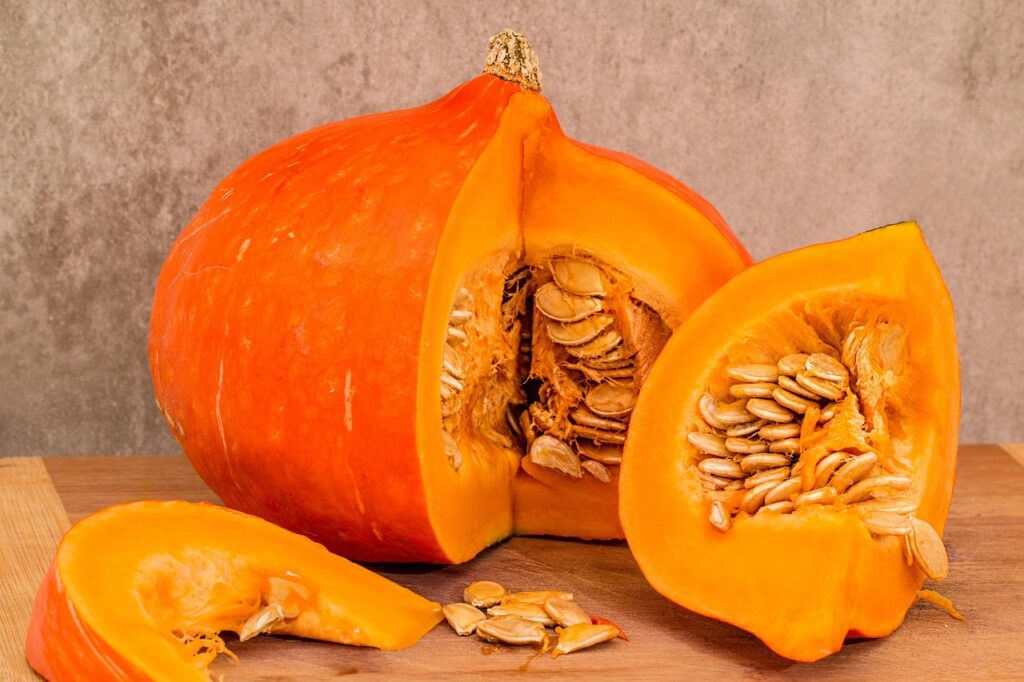
Fruit Culling to Improve the Size of Pumpkins
Whilst it can be tempting to try to grow as many pumpkins as possible, there is a golden ratio between quality and quantity. Allow 2-4 fruits per pumpkin plant for optimal size development, removing excess fruits while they are small to concentrate the plant’s energy. It may feel counterproductive to remove fruits, but trust me, it’s for the best!
More fruits mean smaller individual specimens with less taste, whilst fewer fruits result in larger, more impressive pumpkins. Having too many pumpkins on a plant can risk damage or the fruits tearing off stems as they develop.
Problem Prevention & Solutions for Pumpkins
There are three main pests and problems when growing pumpkins that newbie gardeners need to watch out for. These are the main issues that people frequently bring to me on the forum and via email.
1) Disease Prevention Measures
Ensure adequate spacing between plants for air circulation, water at the soil level rather than on foliage, and remove affected plant material immediately. Powdery mildew and downy mildew are common issues preventable through good cultural practices. If you notice mildew, immediately adjust your watering habits and remove any severely infected, white powder-coated leaves.
2) Pest Management Strategies
Watch for cucumber beetles, squash bugs, and vine borers, as they can cause severe damage to plants. Regular inspection and early intervention prevent minor issues from becoming major problems that threaten entire crops. Any unusual features, such as mottled leaves or wavy yellow veins, are telltale signs.
3) Weather Protection Methods
Protect plants from strong winds using temporary screens or barriers, as large leaves and developing fruits create significant wind resistance. Support heavy fruits to prevent stem damage during storms. Most problems from the weather are either heat stress, such as fruits cracking as they have dried out too much, or waterlogged roots leading to plant shrivelling and dying.
Harvesting and Storage Success
Knowing when and how to harvest pumpkins properly ensures maximum storage life and quality, allowing you to enjoy your home-grown produce for months after harvest, whilst avoiding common mistakes that lead to premature spoilage. If you haven’t already read my detailed guide on pumpkin harvesting, you can do so here, but there’s a condensed version below, too!
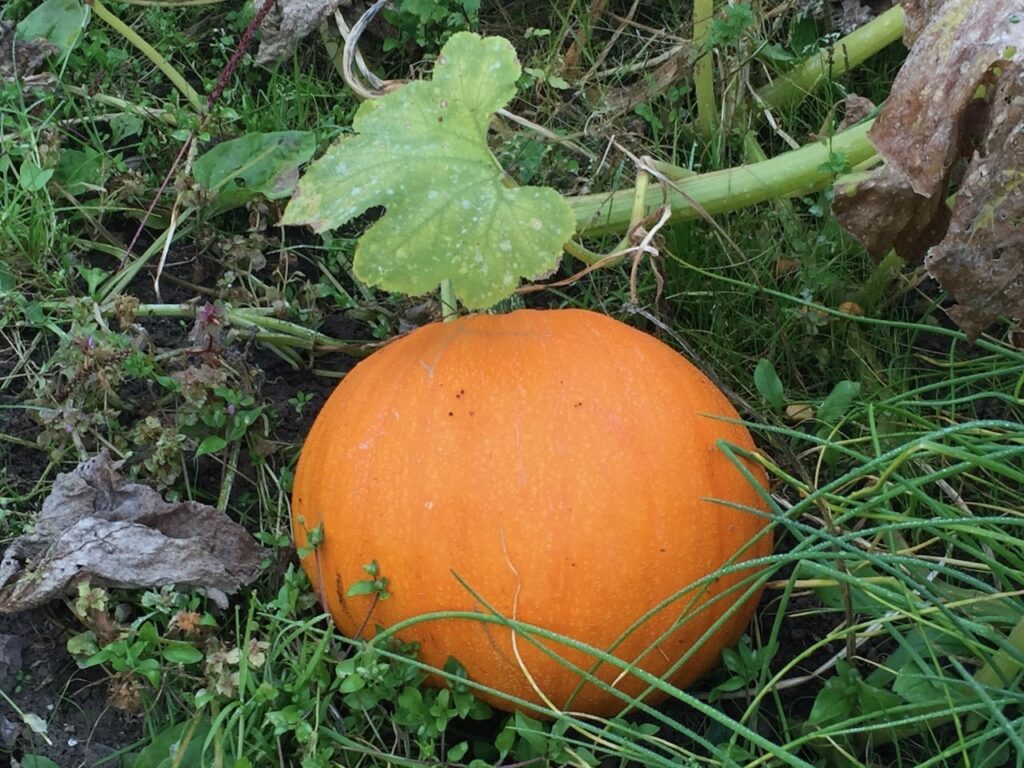
Perfect Harvest Timing
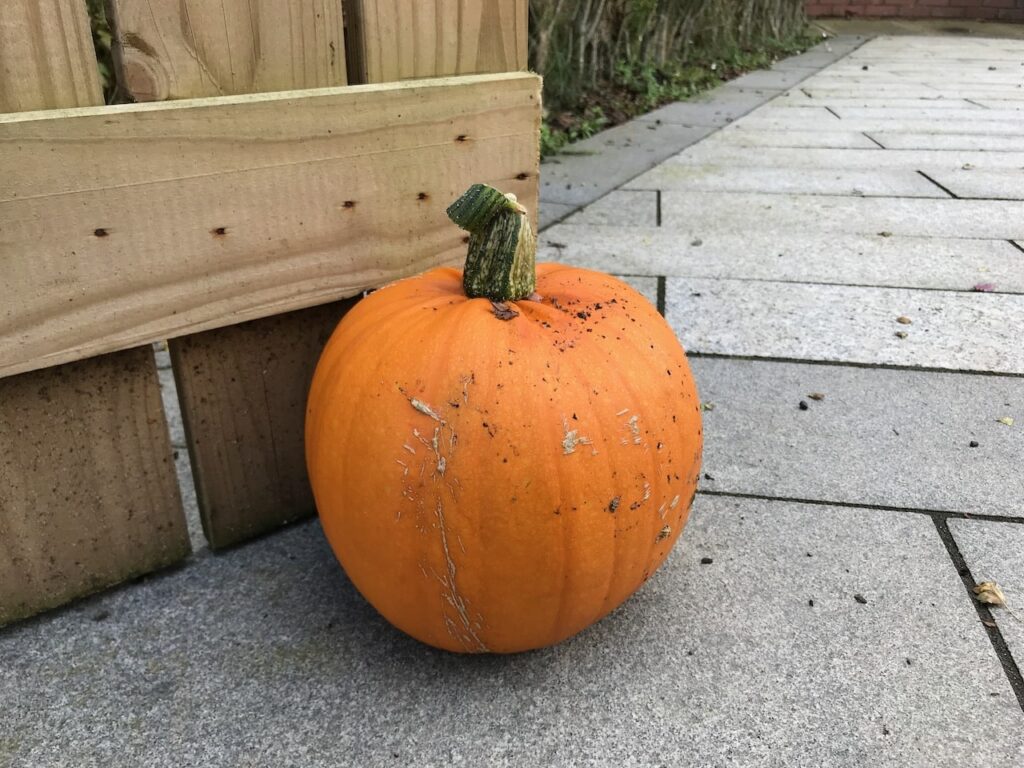
Harvest pumpkins when they reach full colour intensity and the stem begins to dry and shrivel. The skin should resist fingernail pressure, indicating proper maturity and thickness development. Ripe pumpkins produce a hollow sound when tapped, similar to watermelons. This acoustic test provides a reliable maturity indication, particularly useful for varieties where colour change is subtle. Look for naturally drying stems that begin separating from fruits. Never pull pumpkins from vines, but cut stems, leaving 5-8cm attached to fruits, as longer stems improve storage life significantly.
Troubleshooting Common Pumpkin Problems
Even experienced gardeners encounter challenges when growing pumpkins, but understanding common issues and their solutions prevents minor problems from becoming major disappointments. These are the most common obstacles to pumpkin growing and their solutions!
i) Poor Germination and Establishment
Problem: Seeds fail to germinate or seedlings die shortly after emergence.
Solutions: Ensure soil temperatures reach minimum 18°C before sowing, improve drainage in waterlogged conditions, and protect young plants from slug and snail damage using appropriate barriers or treatments.
ii) Flowering Without Fruit Set
Problem: Plants produce abundant flowers, but no fruits develop.
Causes and Solutions: Early-season flowering often results in the production of only male flowers, so patience is essential. Poor pollination can be addressed through hand-pollination techniques, while excessive nitrogen feeding encourages leaf growth at the expense of flowering.
iii) Small or Poorly Developed Fruits
Problem: Pumpkins remain small or fail to develop correctly.
Solutions: Reduce fruit numbers per plant to concentrate energy, ensure consistent moisture supply throughout development, and increase feeding frequency during fruit development phases using high-potash fertilisers.
iv) Disease and Pest Issues
Powdery Mildew Prevention: Enhance air circulation, refrain from overhead watering, and apply preventive fungicide treatments during periods of high humidity.
Pest Management: Regular inspections identify problems early, when intervention is most effective. Physical barriers, companion planting, and targeted treatments address specific pest issues without compromising plant health.
Month-by-Month Pumpkin Growing Calendar
Early March: Prepare growing areas, order seeds, set up propagation equipment
April- May:Sow seeds indoors, prepare containers and support systems
June: Transplant hardened seedlings, implement watering systems
July-August: Maintain regular feeding and watering schedules, manage growth
September: Support developing fruits, prepare for harvest
Why not consider expanding your plant and garden design knowledge with one of my online gardening courses? My Garden Design for Beginners Course is here to help you transform your garden from average to amazing with an affordable online course, no matter how little your experience with plants.
My courses offer step-by-step guidance from me, Lee Burkhill, award-winning garden designer and presenter on BBC1’s Garden Rescue. In this course, you’ll go from a garden design novice to a confident designer equipped to tackle any green space.
Planting Techniques – Select and arrange plants like a pro.
Design Styles & Layout Options – Explore different styles to suit every garden.
Course Features:
Hours of Online Study Time
Flexible Online Learning
Engaging Video Lessons & Quizzes
Real-World Case Studies
Certification upon Completion
Taught by Award-Winning Designer Lee Burkhill
Enrol now from just £29 and start your journey toward garden design mastery!
29
Garden Design Examples for Small Gardens: 30 Design Templates & Planting Plans
Garden Design Examples for Small Gardens: 30 Design Templates & Planting Plans: In this online gardening course, I’ll walk you through 30 fantastic garden designs, explaining the logic behind the layout, the plant choices, and take-home tips for applying them in your own garden.
Weekend Garden Makeover: A Crash Course in Design for Beginners
Learn how to transform and design your own garden with Lee Burkhills crash course in garden design. Over 5 hours Lee will teach you how to design your own dream garden. Featuring practical design examples, planting ideas and video guides. Learn how to design your garden in one weekend!
Garden Design for Beginners: Create Your Dream Garden in Just 4 Weeks
Garden Design for Beginners Online Course: If you want to make the career jump to becoming a garden designer or to learn how to design your own garden, this is the beginner course for you. Join me, Lee Burkhill, an award-winning garden designer, as I train you in the art of beautiful garden design.
Your neighbours will wonder how you’ve managed to grow such impressive pumpkins in such a modest space. Still, you’ll know the secret lies in choosing smaller cultivars and working with their long planting timelines. By using the right-sized containers, smaller seed varieties and feeding at the right time, you can grow pumpkins even on the smallest balcony or courtyard garden!
After all, there’s something deeply satisfying about harvesting home-grown pumpkins that puts shop-bought specimens to shame whilst proving that garden size need never limit growing ambitions.
Get out there, Ninjas, and show everyone that spectacular pumpkin growing is absolutely achievable regardless of space constraints!
Lee Burkhill, known as the Garden Ninja, is an award-winning garden designer and horticulturist with over 30 years of gardening experience and 15 years as a professional garden designer. A qualified RHS (Royal Horticultural Society) professional, Lee specialises in sustainable garden design and practical horticultural advice. He designs and presents on BBC1’s Garden Rescue and in leading gardening publications. Lee combines three decades of hands-on gardening knowledge with professional design qualifications to help gardeners create beautiful, functional outdoor spaces.