For the garden you’ve already got, not the one you’re starting from scratch. Seven checklists and video lessons from BBC Garden Rescue’s Lee Burkhill, built to help you work out what’s worth keeping before you spend a penny.
69


Quick Answer
Pumpkins and squashes are ready to harvest once the skin resists a firm thumbnail press, the colour has fully changed for that variety, and the stem has dried out and gone woody. In the UK this usually falls in the last two weeks of September through to the first week of October, ideally before the first hard frost.
After months of watching your pumpkins and squashes swell from tiny green marbles into impressive specimens, that crucial question looms large: are they actually ready to harvest, or will premature picking leave you with disappointing, watery disappointments? The difference between a perfectly ripe specimen and a disappointing watery mess often comes down to timing, and after years of growing everything from tiny Jack Be Littles to mammoth Atlantic Giants, I’m here to share the secrets of perfect pumpkin and squash harvesting.
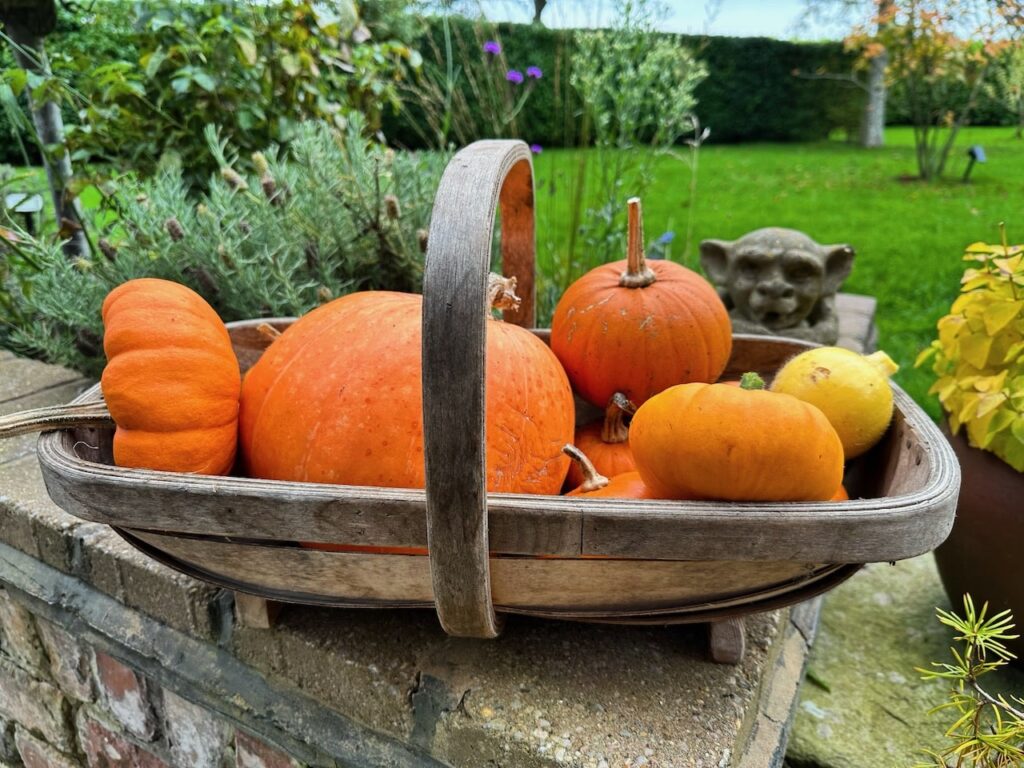
The truth is, most gardeners harvest their pumpkins and winter squashes far too early, seduced by the first hint of colour change rather than waiting for true ripeness. This eagerness costs them weeks of storage life and, more importantly, that deep, sweet flavour that makes homegrown specimens so superior to anything you can buy in the shops.
Understanding when your pumpkins and squashes have reached peak ripeness ensures you’re eating them at their best. Usually, here in the UK, I harvest my pumpkins from the last two weeks in September to the first week in October. However, I’m going to explain my five checkpoints to double-check they are ready!
Harvesting pumpkins at the right time also increases their storage potential, turning a simple harvest into months of delicious meals. Whether you’re growing compact varieties perfect for smaller gardens or sprawling giants that need serious space, the principles of ideal timing remain the same. Let me show you how to tell if your pumpkins, squashes and gourds are ready to pick.
Jump To
1. Understanding the Cucurbit Family 2. Squash, Pumpkin or Gourd? 3. The Five Signs of Perfect Ripeness 4. Regional Harvest Timing Across the UK 5. The Perfect Harvesting Technique 6. The Critical Curing Process 7. Storage Life at a Glance 8. Pumpkin Recipes 9. Pumpkin and Squash Varieties 10. Troubleshooting Common Problems 11. Frequently Asked QuestionsThis page contains affiliate links for products I use and recommend. If you take action after clicking a link, I may earn a small gardening commission, which helps keep the Garden Ninja blog free for everyone.
I’ve been growing all types of pumpkins, squash, and gourds for the last 30 years, and they are a great beginner’s vegetable/fruit to start with, given they are relatively undemanding in terms of soil and plant food. However, sometimes gardeners get confused between the different names given to these autumnal Halloween-linked plants. It’s helpful to clarify the confusion between the terms’ pumpkin,’ ‘squash,’ and ‘gourd.’
So let me give you Ninjas a quick botany lesson. All gourds, pumpkins, and squashes belong to the Cucurbitaceae family (also called the cucurbit or gourd family), which also includes cucumbers, melons, and courgettes.
A squash is the broad term that encompasses all varieties within the Cucurbita genus. They’re divided into:
Pumpkins are technically a type of winter squash, specifically varieties that are typically round, orange, and used for both eating and decoration. All pumpkins are squashes, but not all squashes are pumpkins.
Gourds are ornamental members of the cucurbit family grown primarily for decoration rather than eating. They have minimal flesh and hard shells, though some varieties are edible when young.

Regardless of variety, five universal indicators signal peak ripeness when it comes to pumpkins, squashes and gourds. While your fruits may look ready, applying these five signs will help you determine whether to harvest them or leave them for a few more weeks. Master these pumpkin signs, and you’ll never harvest too early again!
This is the most reliable single test for ripeness. Press your thumbnail firmly into the skin of your pumpkin or squash. If the skin is truly ripe, it should be very difficult to pierce through and might only leave a dent (or no dent at all!). The rind should offer firm resistance rather than yielding easily. Immature fruits will puncture easily, whilst properly ripened specimens resist your nail completely.
The skin must have FULLY changed colour depending on the variety. You can expect Uchiki Kuri, Jack O’Lantern and Hundredweight to turn to their deep orange. Queensland Blue will take on a blue-green tint, and whiter varieties may start to develop green streaks. Don’t be fooled by partial colour changes, and wait for complete, uniform colouration that matches your variety’s mature appearance.
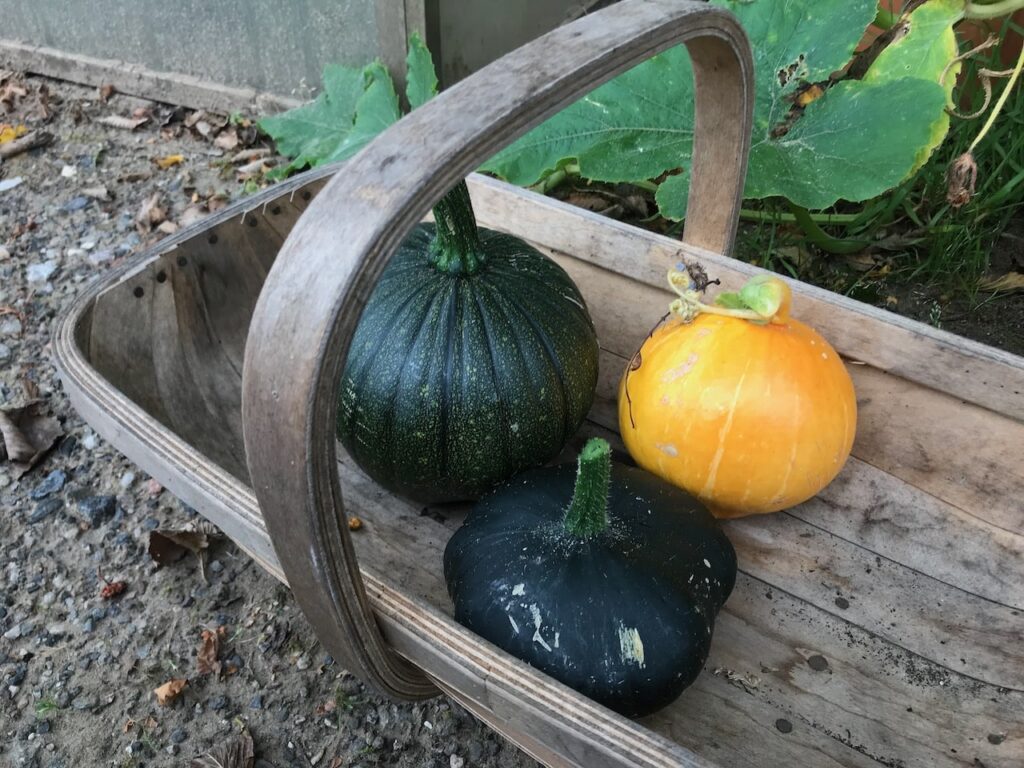
The stalk has dried out and hardened, and this is a good indicator that they are ready to harvest. The stalk at the top of the squash/pumpkin will look woody rather than green. As winter squash and pumpkins ripen, most varieties’ stems will also turn from green to a brownish tan colour. The stem will also become increasingly dry and hard, and mature winter squash stems usually develop “corking”, where dry cracks and brown lines appear along the stem. This natural process signals that the plant is sealing the fruit for long-term storage.
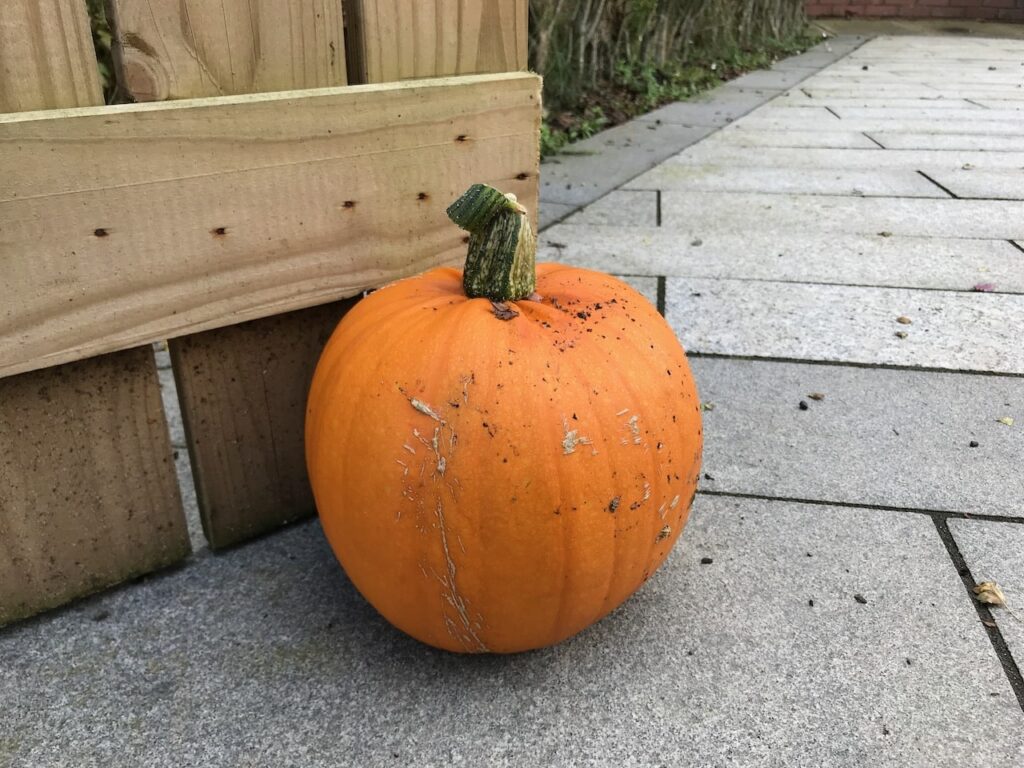
Immature pumpkins and squashes often have a glossy, shiny appearance, whilst properly ripened fruits develop a more matte, dull finish to their skin. This subtle change indicates that the protective waxy coating has fully developed, a crucial step for achieving long-term storage success.
When you tap a ripe pumpkin or large squash with your knuckles, it should produce a deep, hollow sound rather than the higher-pitched thud of an immature fruit. This test works particularly well with larger varieties where the other signs might be subtle.
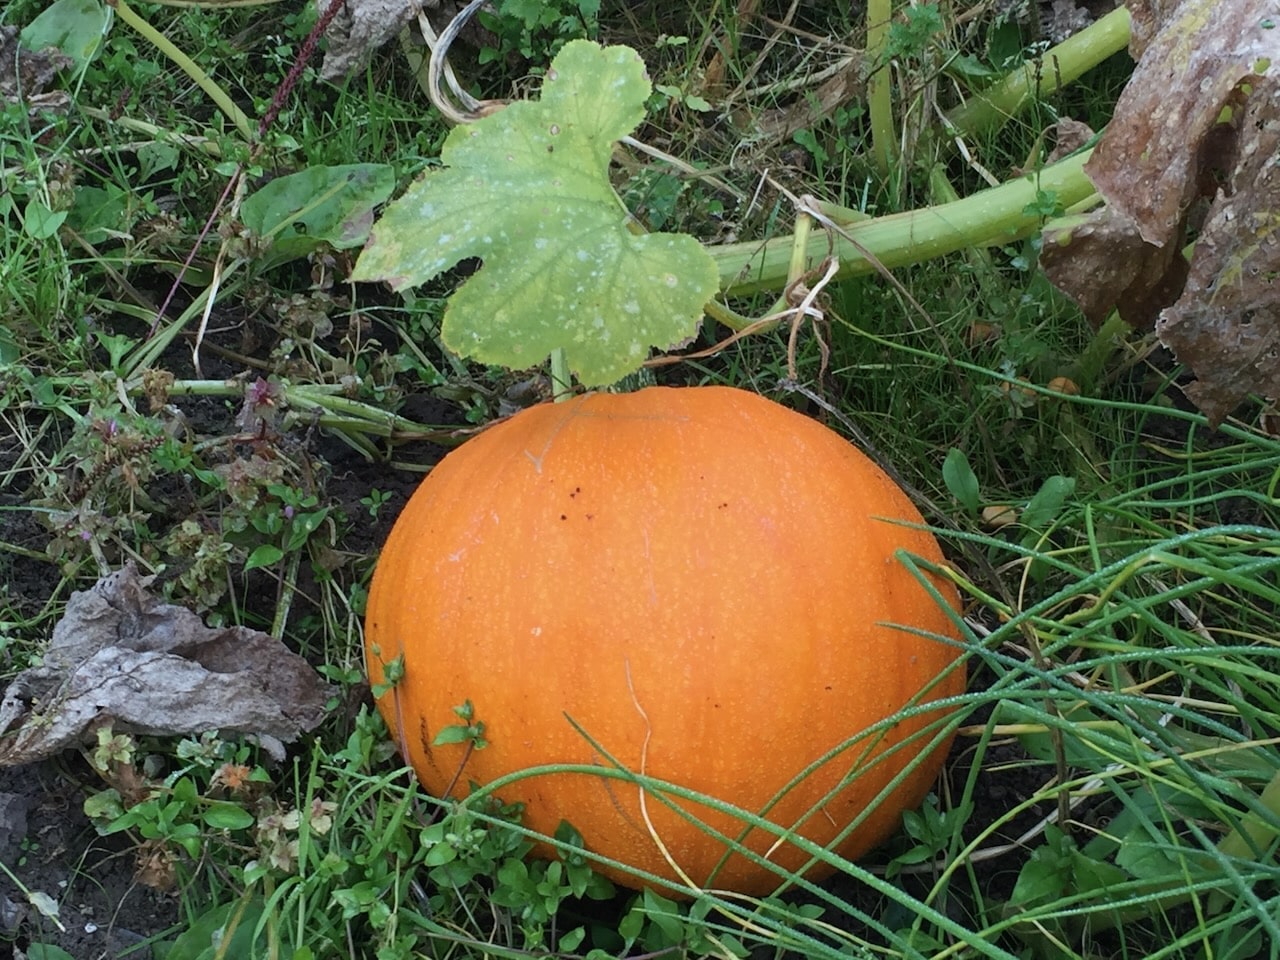
British growing conditions vary dramatically from the Highlands of Scotland to the mild Southwest, and your harvesting timing needs to reflect these regional differences.
In colder northern areas, the harvesting window typically runs from late September to mid-October, with the first frost often arriving earlier than anticipated. Despite the name “winter squash”, butternuts, pumpkins, and other hard squash are NOT frost-tolerant. The vines are susceptible to frost injury, as is the fruit itself. If winter squash are exposed to frost, the protective rind becomes damaged, which compromises their long-term storage ability.
Keep a close eye on weather forecasts from mid-September onwards, and be prepared to harvest slightly under-ripe fruits if heavy frost threatens. Even fruits that haven’t fully ripened can continue to ripen indoors in a warm, dry location.
The Midlands typically offer a more forgiving harvest window, with reliable growing weather often extending into early November. This extra time allows for perfect ripening, but don’t become complacent, because unexpected early frosts can still catch you off guard.
Southern gardeners often enjoy the luxury of extended growing seasons, with harvests sometimes possible as late as November. However, this longer season can lead to overconfidence, and leaving fruits on the vine too long after they are perfectly ripe can actually reduce their storage life and eating quality.
How you harvest your pumpkins and squashes affects not only their immediate appearance but also their long-term storage success. Poor harvesting technique can introduce diseases and dramatically shorten storage life, especially if you’re using blunt kitchen scissors or, worse still, trying to twist off your pumpkin. If you’ve taken the effort to grow pumpkins, be sure to take your time with the cutting and harvesting process.
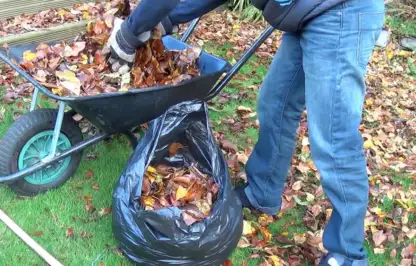
Sharp secateurs or a clean knife are essential. Never attempt to twist or pull pumpkins from their vines. A wheelbarrow or sturdy basket prevents damage during transport, while soft padding (such as old towels) cushions valuable specimens during collection. Straw is also helpful to line your wheelbarrow or trug with to prevent damage.
I use a pair of Felco 2 secateurs for every stem I cut at harvest time, since a clean, angled cut heals far better than anything torn or twisted off by hand, and a grippy pair of gardening gloves makes handling large, dew-slicked pumpkins far safer, since a dropped giant pumpkin can crack a rind you have spent months growing. This is the kit I actually reach for every harvest.
| Item | Why You Need It | Where to Buy |
|---|---|---|
| Felco 2 Secateurs | A clean, angled cut through the stem heals better and helps the fruit store for longer | Shop on Amazon |
| Gold Leaf DRY TOUCH Gloves | A confident grip on large, dew-slicked pumpkins so you never drop and crack one | Shop on Amazon |
| Willow Garden Trug | A sturdy, padded carrier for smaller pumpkins and squashes that stops them knocking together | Shop on Amazon |
| Galvanised Steel Wheelbarrow | The safest way to move heavier pumpkins without straining your back or bruising the fruit | Shop on Amazon |
Using a knife, pruners, sharp secateurs or loppers, cut the stem, leaving 2 inches to increase storage time and deter rotting. Never lift a pumpkin by its stem. Always cut stems rather than breaking them, as clean cuts heal better and are less prone to rot. Leave at least 5cm of stem attached to each fruit, as this acts as a natural cork, sealing the fruit for storage.
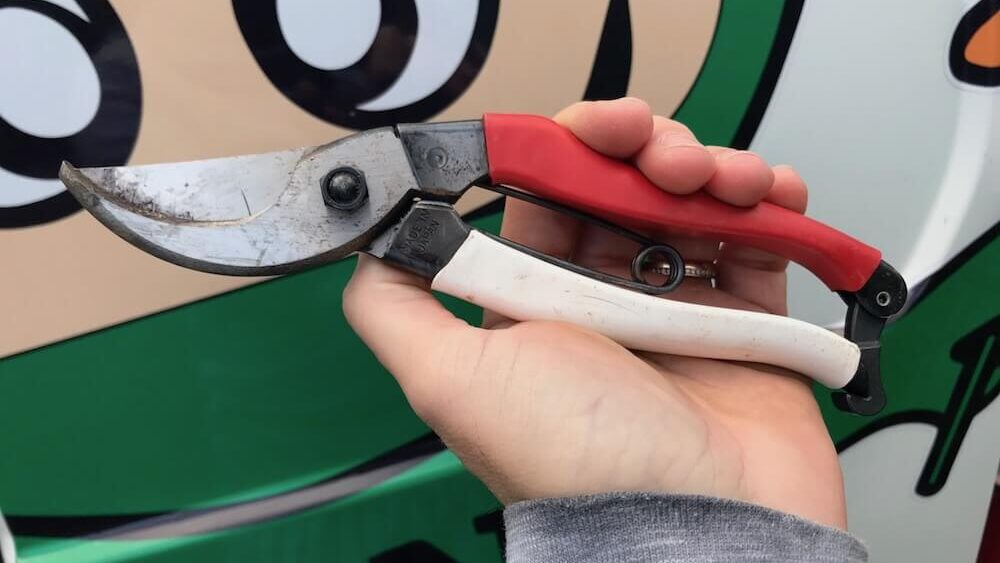
Treat your harvest like precious cargo. Even small bruises or scrapes can provide entry points for diseases that will ruin months of storage. Never roll pumpkins or allow them to knock against each other during transport. It’s better to make more trips and have perfect pumpkins than ram your entire harvest into a trug and damage them all to save 10 minutes.
Once you’ve picked your pumpkins, they need to be cured, much like fine wine. Curing squash means placing them in a warm, dry, and bright location for a period to allow their skins to harden and dry out, and for excess water to leave their flesh. This curing process increases the storage time of your squash and also concentrates the natural sugars in the fruit, which can enhance its flavour.
The ideal conditions for curing most winter squash are to place them in a sunny location with 21-27 °C (70-80°F) weather and high humidity. Leave them outdoors for 1 to 2 weeks. In the UK’s often unpredictable autumn weather, this might mean bringing them indoors during cold snaps or wet spells. Cold frames can be really useful for this curing process or unheated greenhouses.
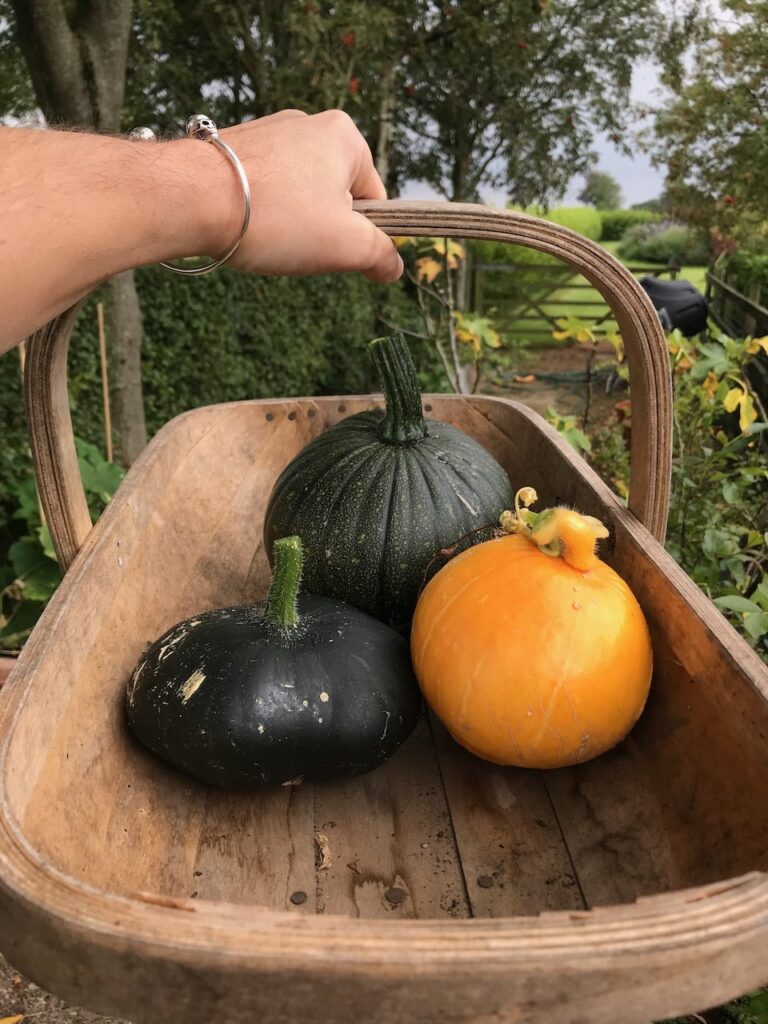
When outdoor conditions aren’t suitable, a sunny conservatory, greenhouse, or even a warm windowsill can work wonderfully. The key is consistent warmth (15-25°C) and good air circulation. Turn your curing fruits daily to ensure even drying.
Properly cured pumpkins and squashes develop an almost chalky appearance to their skin, and the surface becomes notably harder than when freshly harvested. The stem area should be completely dry and woody. That’s when you know they are ready to eat or continue storing them indoors.
Once cured, how long a pumpkin or squash keeps depends on the variety as much as the storage conditions. Here is what I typically get from each type, stored somewhere cool, dark and frost-free.
| Variety | Colour When Ripe | Key Ripeness Sign | Storage Life |
|---|---|---|---|
| Butternut Squash | Tan, having turned from green | Skin fully tan and hard to the thumbnail | 3 to 6 months |
| Acorn Squash | Stays dark green | Ground spot turns from pale yellow to bright orange | 1 to 3 months |
| Delicata Squash | Cream with dark green stripes | Stripes pronounced, skin has a slight sheen | 4 to 6 weeks |
| Pumpkins (Jack O’Lantern type) | Deep, uniform orange | Thumbnail-resistant skin, corked stem | 2 to 4 months |
| Crown Prince | Uniform blue-grey | Distinctive chalky skin appearance | 3 to 6 months |
The real reward for perfect harvesting and storage comes in the kitchen, where properly ripened pumpkins and squashes transform into an incredible array of delicious meals. Here are my tried-and-tested recipes that make the most of your homegrown harvest.
Serves 4-6 generously
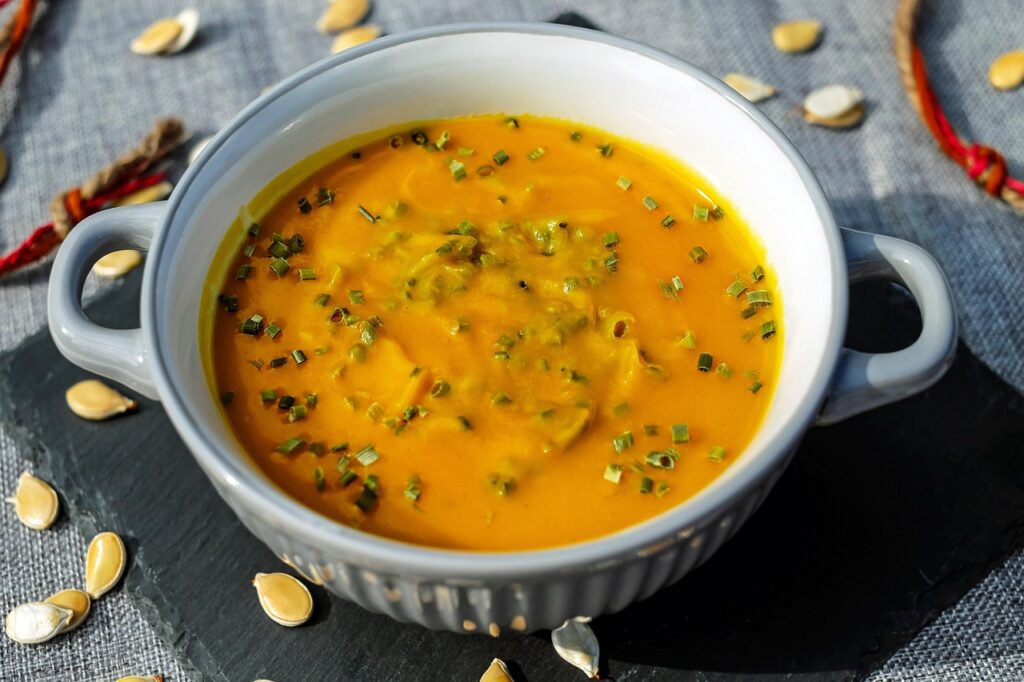
Nothing captures the essence of autumn like a bowl of velvety pumpkin soup. The secret lies in roasting your pumpkin first, which concentrates the flavours beautifully and creates that deep, caramelised sweetness that gives this soup real depth.
Ingredients:
Method:
Storage: This soup freezes beautifully for up to 3 months. Cool completely before freezing in portion-sized containers, and don’t forget to label Ninjas!
Serves 4 as a main course
This is probably my favourite way to showcase butternut squash. The natural creaminess of well-ripened butternut means your risotto achieves that perfect texture without excessive dairy, whilst the crispy sage adds an aromatic, savoury finish.
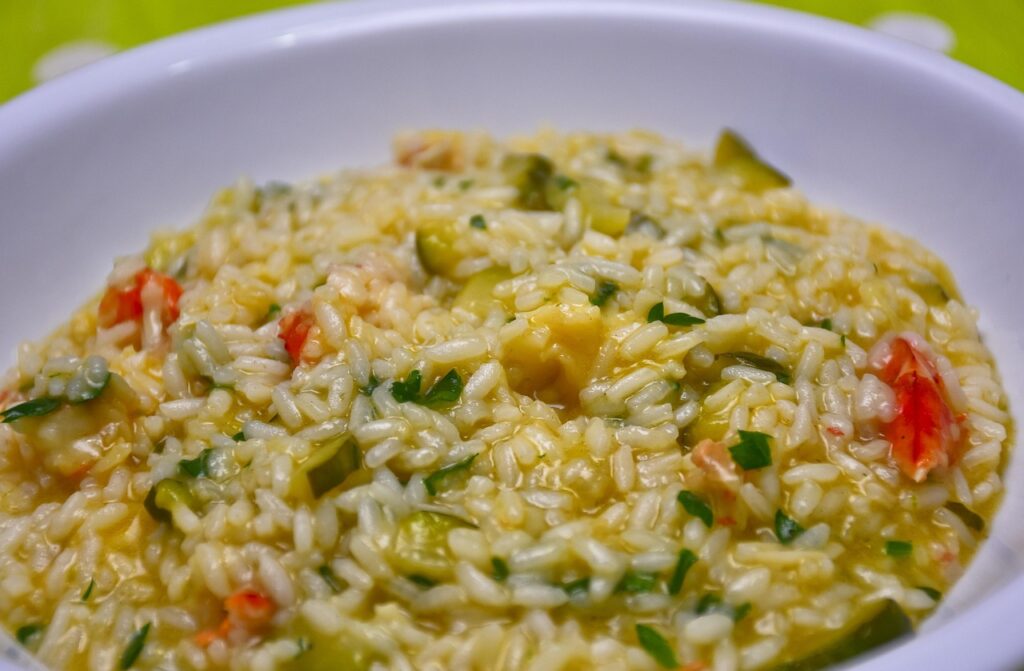
Ingredients:
Method:
Serves 4-6 as a side dish
Perhaps the simplest preparation is often the best. This method works brilliantly with any winter squash and can be transformed into countless variations depending on your spice selection.
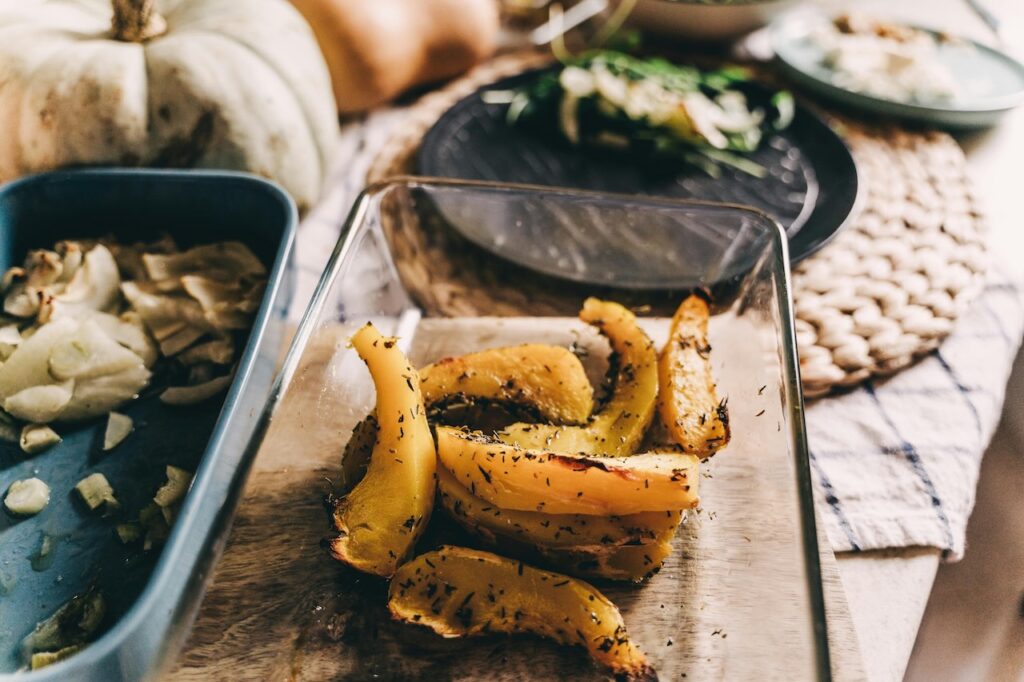
Ingredients:
Method:
Variations: Try Middle Eastern spices (sumac, za’atar), Indian spices (garam masala, turmeric), or simply rosemary and garlic for a Mediterranean twist.
Serves 8-10
Properly ripened pumpkins make exceptional desserts. This classic benefits enormously from homegrown fruit, because the natural sweetness means you can reduce added sugars whilst achieving superior flavour. Whilst this recipe is probably the most time-consuming of the lot, it’s worth the while. I love making pastry and spending the day cooking up these pies for autumnal treats. The smell of warm pumpkin and spices is delicious and fills my kitchen here at Garden Ninja HQ each October!
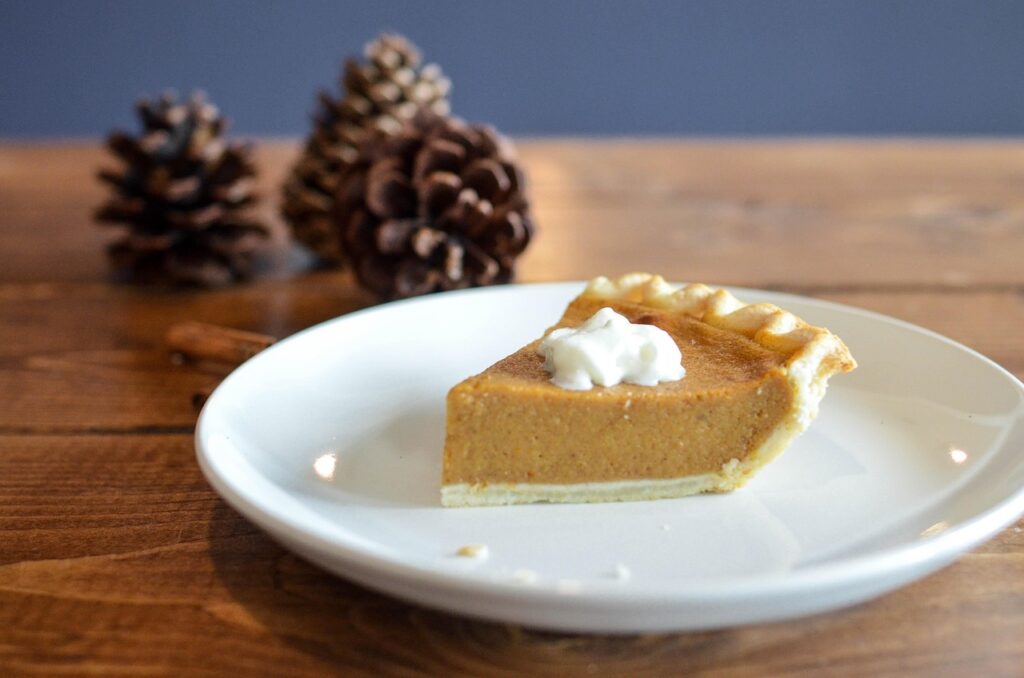
For the pastry:
For the filling:
Method:
Makes about 1.5kg
When you have more ripe pumpkins than you can use fresh, this chutney transforms your harvest into a preserve that pairs beautifully with robust cheeses, cold meats, and crusty bread. It’s a fast recipe to prepare and then it’s just a case of waiting by the stove as it simmers and reduces. I also have an amazing apple chutney recipe here, too!
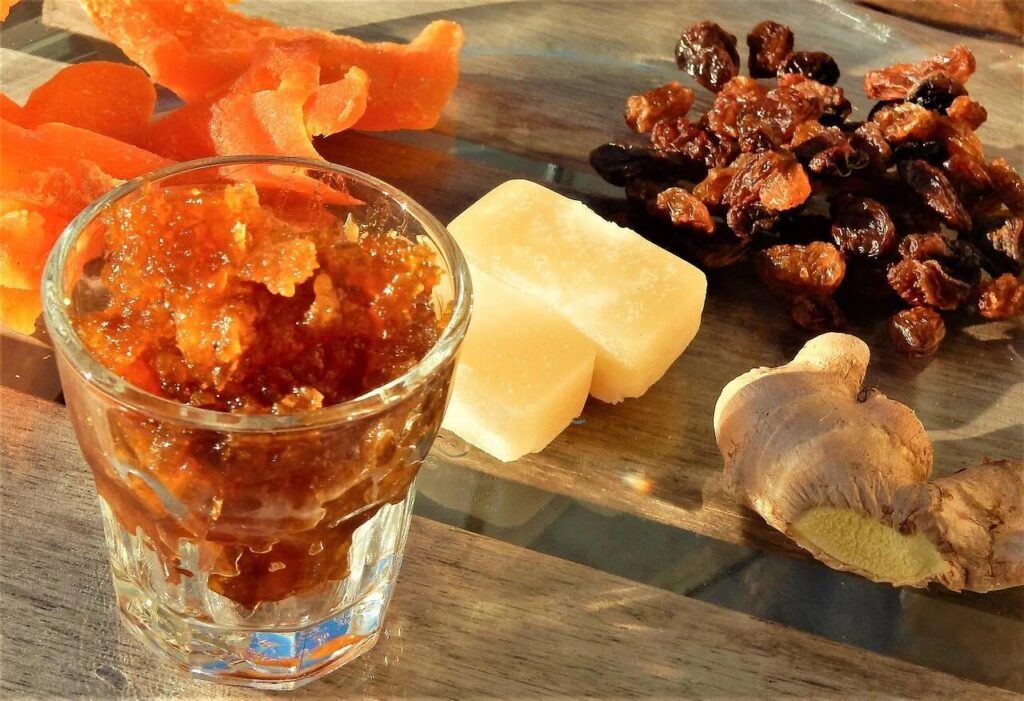
Ingredients:
Method:
Serves 4-6 as a snack
Those scooped-out seeds are culinary treasures. Don’t waste this liquid gold, since these make fantastic salad toppings or healthy snacks that showcase your entire harvest.
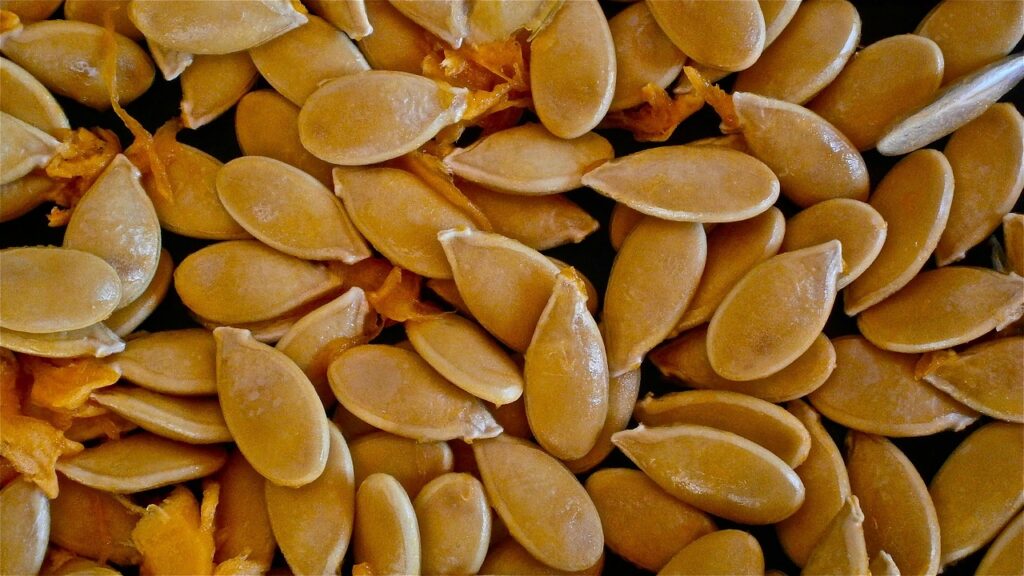
Ingredients:
Flavour variations:
Method:
Makes about 1kg puree
This is your foundation ingredient for countless recipes and can be used almost as a preserve to add pumpkin flavouring to other dishes throughout the year, from Halloween through to Christmas. Properly made puree freezes brilliantly, allowing you to enjoy your harvest year-round.
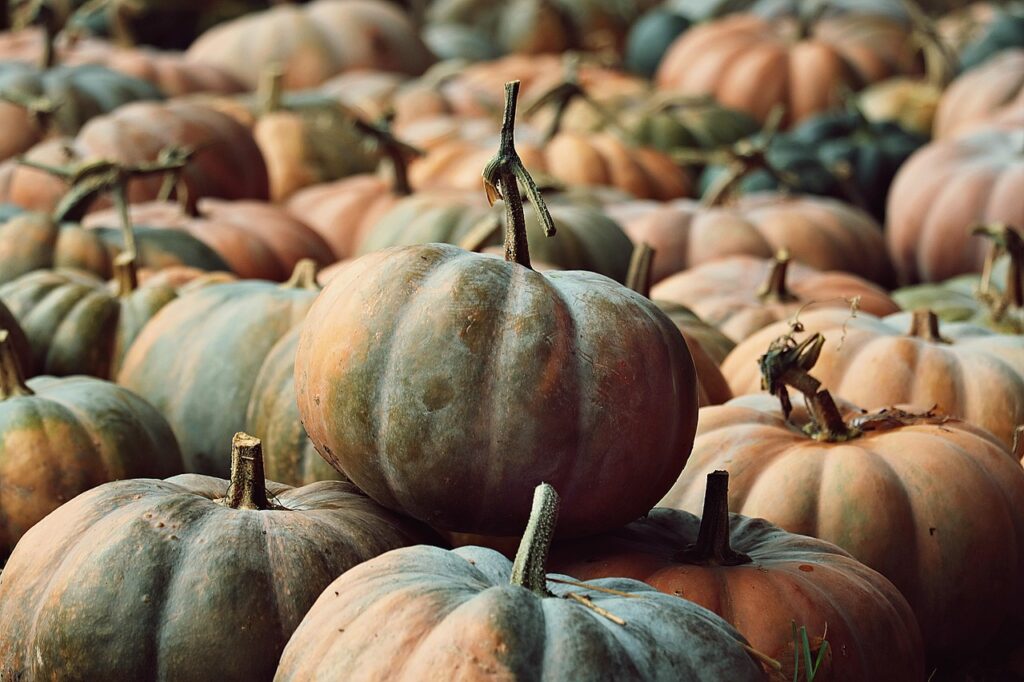
Ingredients:
Method:
Uses: Perfect for pies, soups, breads, muffins, pancakes, and smoothies. One 250g portion typically substitutes for one 400g tin of pumpkin puree in recipes.
Now you know how and when to harvest pumpkins and squashes, let’s take a look at the different cultivars and species that may suit your garden size. Whether you have a huge kitchen garden or a tiny balcony, there is a gourd for you! Also, different varieties have vastly different ripeness indicators, and getting this wrong can mean the difference between months of storage and fruit that rots within weeks.
For those of us working with limited space, compact varieties offer incredible value without the sprawling chaos of their larger cousins.
Jack Be Little produces dozens of tiny, perfect orange pumpkins that are ideal for decoration and surprisingly good roasted whole. These miniature beauties turn from green to bright orange and develop a hard shell, making them perfect for autumn displays that last for months. Buy Jack Be Little seeds on Amazon.
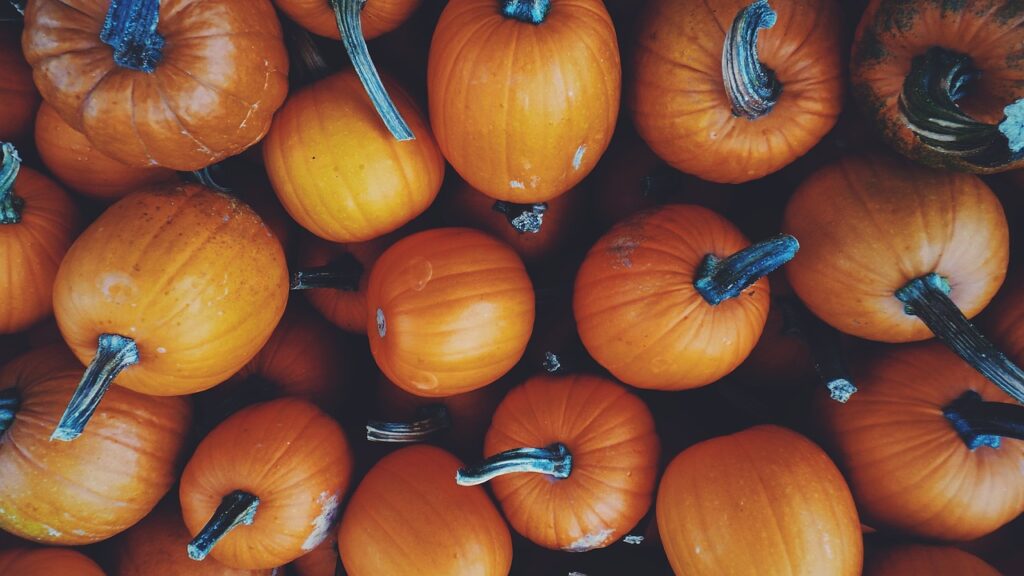
Sweet Dumpling creates small, cream-coloured fruits with dark green stripes that cure beautifully and store exceptionally well. Each one serves two people perfectly, making them ideal for modern households where giant pumpkins simply create waste. Buy Sweet Dumpling seeds on Amazon.
Patty Pan varieties might not look like traditional pumpkins, but these scalloped beauties are incredibly productive on compact plants. They’re ready when the skin becomes hard and the colour deepens to their mature shade, whether yellow, white, or green. Buy Patty Pan seeds on Amazon.
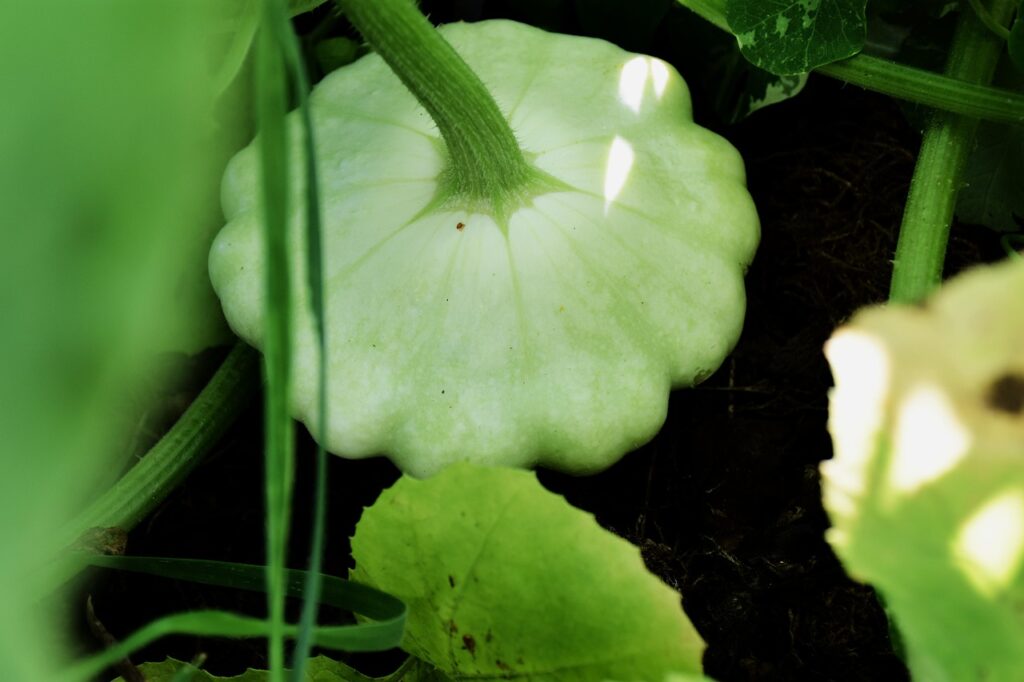
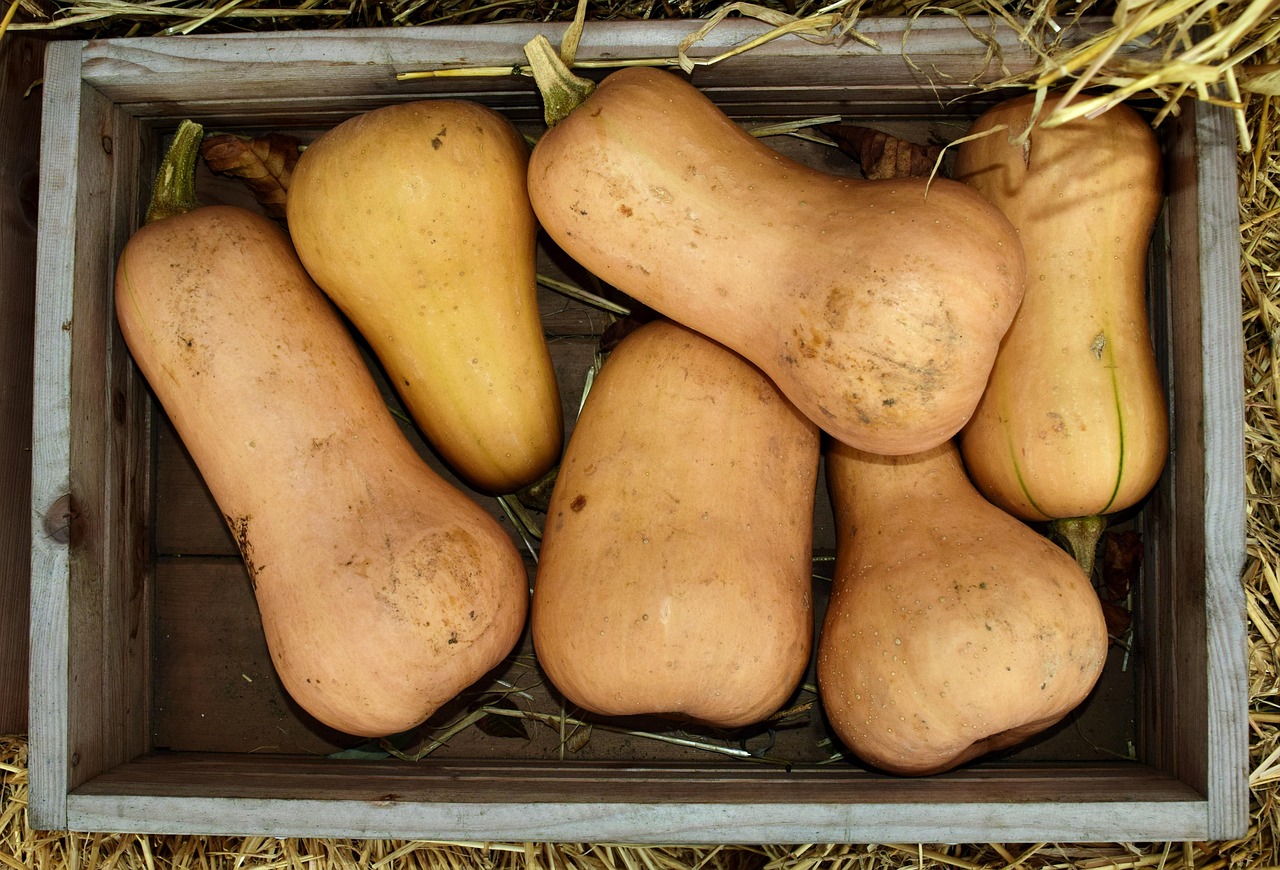
Butternut Squash remains the king of versatility, with its distinctive tan colour and sweet orange flesh. The transformation from green to tan happens gradually, but patience pays dividends as properly ripened butternuts store for up to six months. Buy Butternut Squash seeds on Amazon.
Delicata Squash offers cream-coloured skin with distinctive dark green stripes. The skin is so tender when properly ripened that it’s completely edible, making preparation wonderfully simple. They’re ready when the stripes become very pronounced and the skin develops a slight sheen. Buy Delicata Squash seeds on Amazon.
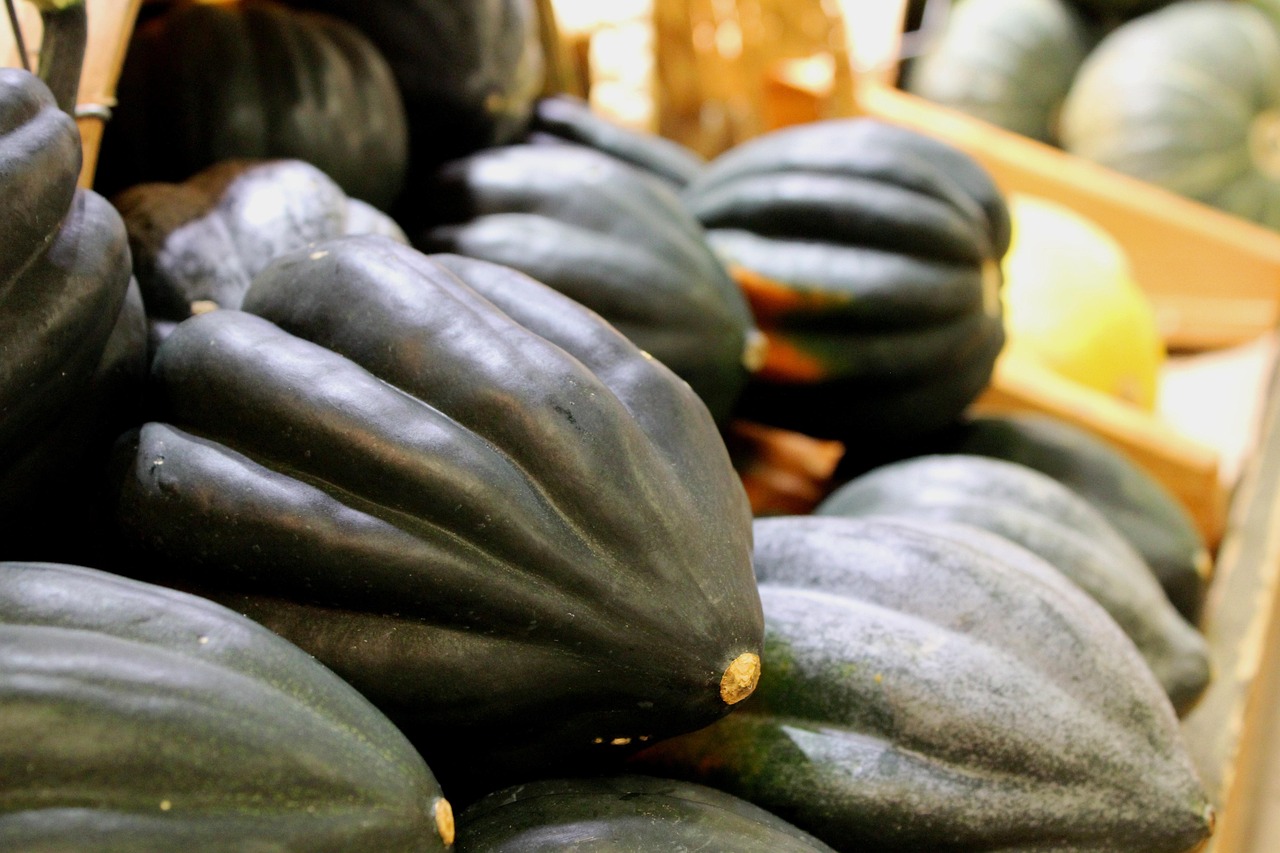
Acorn Squash can be tricky because they remains dark green throughout development. The key indicator is the ground spot where they rest on the soil, which transforms from pale yellow to bright orange when ready. Buy Acorn Squash seeds on Amazon.
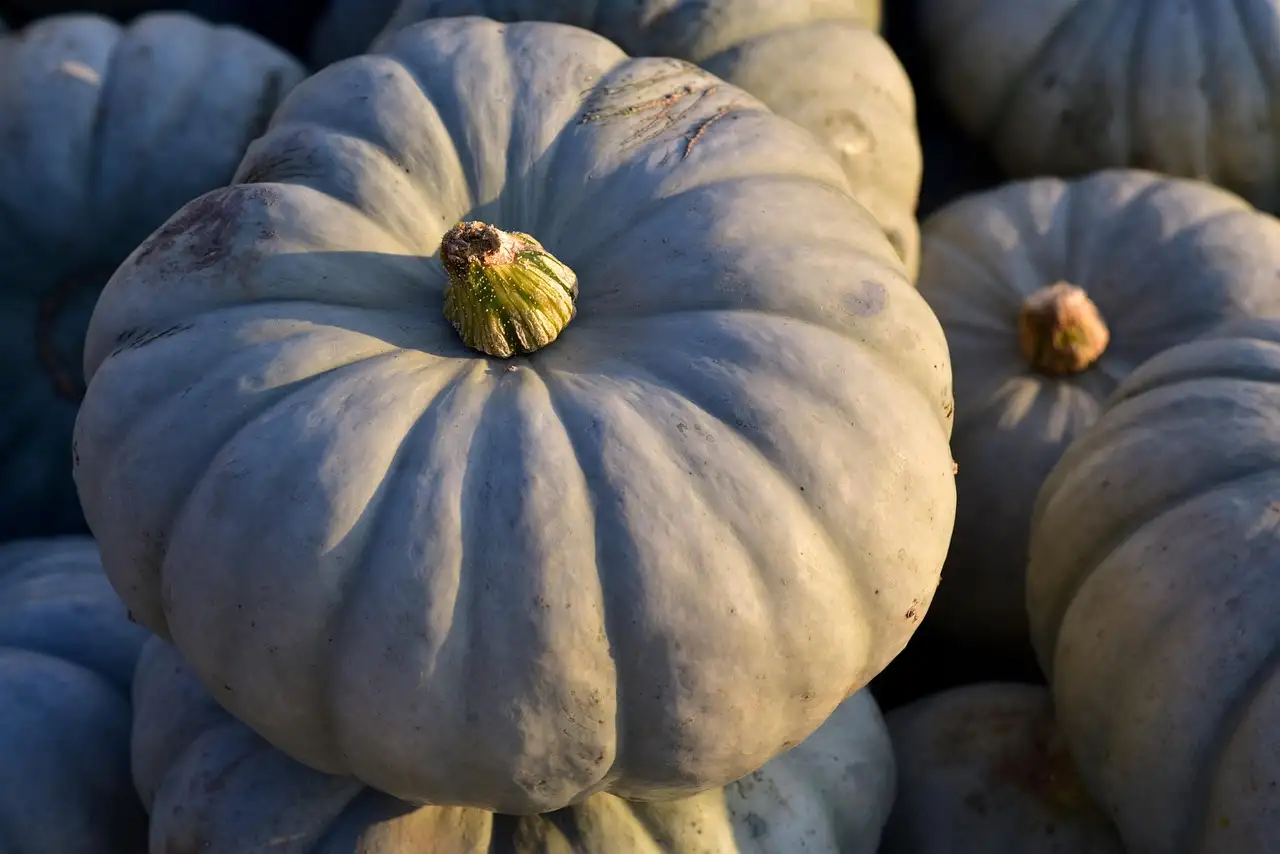
Crown Prince is technically a squash rather than a pumpkin, a cultivar of Cucurbita maxima that was bred in New Zealand and has since become one of the most popular winter squashes grown in UK gardens and allotments. It produces flattened, drum-shaped fruits with a striking blue-grey skin that can weigh anywhere from 2kg up to 7kg on a well-fed plant, and I grow it every year alongside my pumpkins because it earns its space twice over: it is one of the easiest squashes to raise from seed in our climate, and it is by far the best keeper of anything I grow.
You can grow Crown Prince successfully anywhere in the UK, since it copes well with a shorter, cooler growing season than many American squash varieties and typically needs around 100 to 110 days from planting out to harvest. It is ready when the blue-grey colour has turned completely uniform across the whole fruit and the skin has developed that distinctive chalky, almost powdery finish I mentioned earlier in the five signs of ripeness. The flesh underneath is a deep, vivid orange, dense rather than watery, and carries a sweetness that reminds me of chestnuts and toasted nuts once roasted. The skin itself is thick and hard, nothing like the tender edible skin on a Delicata, so I always peel Crown Prince before cooking rather than trying to eat the rind.
| Botanical Name | Cucurbita maxima ‘Crown Prince’ |
| Plant Type | Trailing winter squash, usually grown as an annual |
| Fruit Weight | 2kg to 7kg |
| Days to Maturity | About 100 to 110 days from planting out |
| Flavour | Dense, sweet, chestnut-like once roasted |
| Peel Before Cooking? | Yes, the skin is thick and not palatable |
| Storage Life | 3 to 6 months when properly cured |
| Buy the Seeds | Crown Prince F1 seeds on Amazon |
Because the flesh is so dense and dry compared with a butternut, Crown Prince is my first choice for the roasted squash and risotto recipes above, since it holds its shape well and roasts without turning watery. It is also the variety I reach for when I want a squash that will still be in good condition at Christmas, tucked away in a cool, dark spot in the garage.
Uchiki Kuri (Red Kuri) develops from green to bright orange-red and has a distinctive teardrop shape. These Japanese beauties are ready when the colour is deep and uniform, and they offer an incredible chestnut-like flavour that’s perfect for both sweet and savoury dishes. Buy Uchiki Kuri seeds on Amazon.
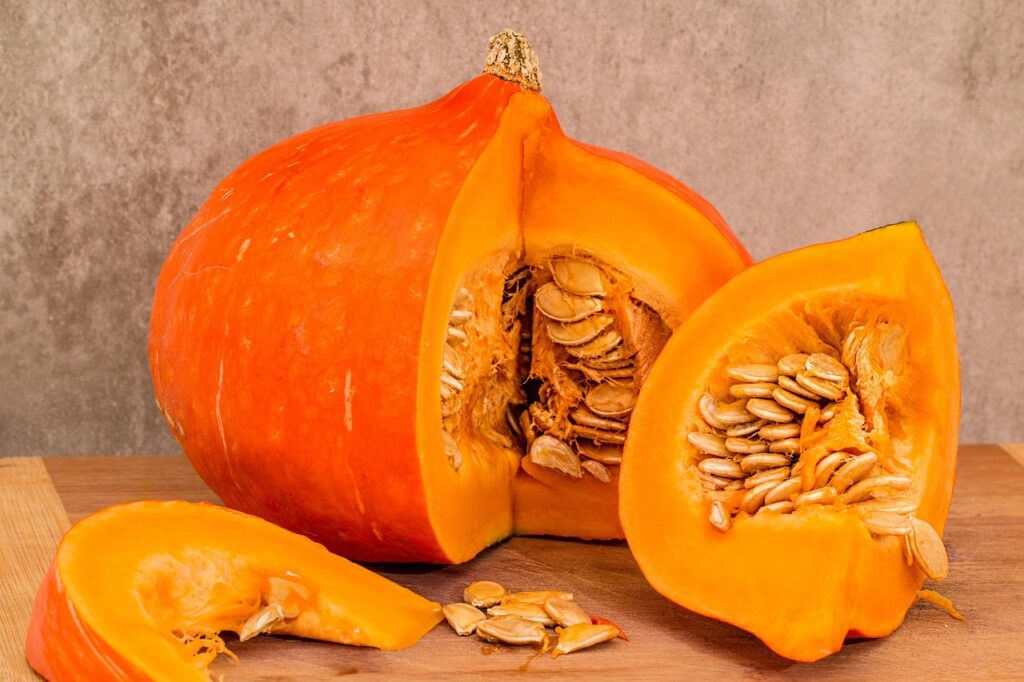
Hundredweight varieties can grow enormous but remain perfectly edible. They’re ready when the deep orange colour becomes uniform and the skin hardens sufficiently that you cannot dent it with your fingernail. Buy Hundredweight seeds on Amazon.
Even experienced gardeners occasionally encounter challenges when harvesting. Understanding common problems and their solutions helps you salvage what might otherwise be lost harvests.
If frost threatens before your fruits are fully ripe, don’t panic. If the plants start to die off before they are fully ripe, or if the pumpkin or squash breaks away from its stalk, don’t worry. You can keep the fruits in a warm, dry room in the house to continue ripening. Harvest immediately after a light frost and bring indoors to a warm location where ripening can continue.
Small soft spots don’t necessarily mean total loss. Cut away damaged areas generously, ensuring you remove all affected flesh, and use it immediately. These damaged fruits won’t store, but can still provide excellent eating if used promptly.
If stems break during handling, use these fruits first as they won’t store as long as properly stemmed specimens. The exposed area where the stem was attached becomes a potential entry point for decay organisms.
Some fruits may show patchy ripening, particularly in varieties with complex colour patterns. As long as most of the fruit exhibits mature characteristics and the flesh is firm, it will often continue to ripen during curing.
Most UK gardeners should harvest from the last two weeks of September through to the first week of October, though the exact date depends on your region and that season’s weather. Rather than working from a fixed date, check for the five signs of ripeness covered above: a thumbnail-resistant skin, full colour change, a corked stem, a dull rather than glossy finish, and a hollow sound when tapped. A pumpkin showing all five is ready, whatever the calendar says.
You can leave a pumpkin on the vine until it shows every sign of ripeness, provided frost is not forecast. Winter squash and pumpkins are not frost hardy, so once a hard frost is due, harvest even slightly under-ripe fruit and finish the ripening process indoors in a warm, dry spot rather than risk losing the whole crop to frost damage.
Yes, and it is the most common mistake I see. An underripe pumpkin has thinner flesh, a higher water content, and far less natural sugar, so it tastes watery and will not store for anywhere near as long as one left to ripen fully. If in doubt, give it another week and run the thumbnail test again.
A properly cured pumpkin or squash, cut with several centimetres of stem attached and cured in a warm, dry spot for one to two weeks, typically keeps for two to six months depending on the variety, as set out in the storage table above. An uncured pumpkin, or one that has been carved or damaged, will only last a matter of weeks before it starts to soften.
A light frost on the foliage is not necessarily fatal to the fruit. Harvest as soon as you notice frost damage, bring the pumpkins indoors to a warm, dry room, and let them finish ripening there. A hard, prolonged frost that reaches the fruit itself is more serious, since it damages the rind and shortens storage life considerably, so those fruits are best used promptly rather than stored.

Join over 100,000 gardeners on YouTube
Free gardening videos from the Garden Ninja, with 8 million views and counting.
Subscribe on YouTube, it’s freeReady to take your gardening beyond pumpkin harvesting? If you’ve mastered the art of perfect timing with your autumn harvest, imagine what you could achieve with comprehensive garden design knowledge. My award-winning online courses transform enthusiastic gardeners into confident garden creators, whether you’re designing your own space or considering a career change.
After years of helping gardeners on BBC1’s Garden Rescue and through my design practice, I’ve distilled everything you need to know into accessible, practical courses that fit around your life. No need for expensive university degrees or years of study. These courses take you from beginner to competent designer in just hours, not years.
Key Benefits:
For the garden you’ve already got, not the one you’re starting from scratch. Seven checklists and video lessons from BBC Garden Rescue’s Lee Burkhill, built to help you work out what’s worth keeping before you spend a penny.
Garden Design Examples for Small Gardens: 30 Design Templates & Planting Plans: In this online gardening course, I’ll walk you through 30 fantastic garden designs, explaining the logic behind the layout, the plant choices, and take-home tips for applying them in your own garden.
Learn how to transform and design your own garden with Lee Burkhills crash course in garden design. Over 5 hours Lee will teach you how to design your own dream garden. Featuring practical design examples, planting ideas and video guides. Learn how to design your garden in one weekend!
Garden Design for Beginners Online Course: If you want to make the career jump to becoming a garden designer or to learn how to design your own garden, this is the beginner course for you. Join me, Lee Burkhill, an award-winning garden designer, as I train you in the art of beautiful garden design.
Unlike expensive face-to-face courses that can take years and cost thousands, my online approach gives you:

Whether you want to transform your own outdoor space or start a rewarding new career in garden design, these courses provide the perfect foundation. Just as you’ve learned to perfect your pumpkin harvest timing, you can master the art of creating beautiful, functional gardens that provide year-round enjoyment.
The difference between a hastily harvested, under-ripe specimen and a perfectly timed harvest is the difference between disappointment and the taste of autumn Ninjas. With these techniques and timing guidelines, your pumpkins and squashes will reward months of careful cultivation with delicious eating experiences that continue well into winter!
Whether you’re carving jack-o’-lanterns, creating warming soups, or other pumpkin recipes, the principles remain the same: patience in harvesting, care in handling, proper curing, and thoughtful storage. Master these elements, and your autumn harvest becomes a source of satisfaction and delicious eating that lasts for months.
Now get out there and start testing those thumbnail-resistant skins. Your patience will be rewarded with the finest pumpkins and squashes your garden has ever produced.


Lee Burkhill, known as the Garden Ninja, is an award-winning garden designer and horticulturist with over 30 years of gardening experience and 15 years as a professional garden designer. A qualified RHS (Royal Horticultural Society) professional, Lee specialises in sustainable garden design and practical horticultural advice. He designs and presents on BBC1’s Garden Rescue and in leading gardening publications. Lee combines three decades of hands-on gardening knowledge with professional design qualifications to help gardeners create beautiful, functional outdoor spaces.
View all posts by Lee Burkhill






JOIN THE NINJAS

Be the first in line for new Guides, Discount codes and Offers