-
Clematis Ultimate Growing & Pruning Guide
 Lee Burkhill: Award Winning Designer & BBC 1's Garden Rescue Presenters Official Blog
Clematis are a fabulous plant if you want to reach for the stars and start incorporating climbing plants into your garden. They flower throughout the summer and come in three different groups. When you know how they are super easy to grow as a beginner, this guide will dispel any myths and concerns while explaining when to prune your Clematis. Let's grow upwards!
Quick Answer
Clematis are the most rewarding climbing plants in the UK garden, but success depends on three things: planting them 8 to 10cm deeper than the pot, giving them at least six hours of sun with shaded roots, and pruning them according to their group. Get those right and a clematis will thrive for decades with very little fuss.
Of all the climbing plants I’ve worked with over the past 20 years as a professional garden designer, clematis remains the one I come back to most often. They cover fences and pergolas with extraordinary speed, flower in almost every colour imaginable, and with the right selection you can have a clematis in bloom from late winter right through to November. I’ve planted hundreds of them in gardens up and down the country, from tiny courtyard terraces in Manchester to sprawling rural plots, and when they’re happy, few plants match them for sheer impact on a vertical surface.
That said, clematis do have a reputation for being fussy. I’d push back on that slightly. They’re not fussy; they’re specific. There are a handful of non-negotiable things they need, and when you give them those things, they reward you with decades of growth and flowers. The most common reasons people struggle with clematis come down to planting at the wrong depth, ignoring the three pruning groups, or planting in a position where the roots bake in dry soil. Work through this guide and you’ll have the confidence to grow clematis well from the very first year.
Jump To
Clematis Groups: The One Thing You Must Understand First
Before you plant a single clematis, you need to know which of the three pruning groups it belongs to. This isn’t just about pruning; it tells you when the plant flowers, what kind of wood it blooms on, and ultimately how to care for it through the season. Miss this step and you risk either cutting off all this year’s flowers or, in the opposite direction, letting the plant turn into an ungovernable tangle at the top of a fence with bare stems at the bottom.
The good news is that every clematis sold in the UK should carry its group on the plant label, so if you’re buying from a garden centre or reputable nursery, it’s right there for you. If you’ve inherited a clematis and have no idea which group it belongs to, I’ll cover how to work that out further down.
Group 1: Early-Flowering Clematis (March to May)
Group 1 clematis flower on old wood, meaning on growth produced during the previous season. They bloom in late winter or early spring, typically from March to May depending on the variety and your location in the UK. Because all the flowering potential is locked into last year’s stems, you should never prune them hard in winter. The only pruning Group 1 needs is a light tidy-up immediately after flowering, removing dead or weak stems and cutting back any sections that have genuinely outgrown their space.
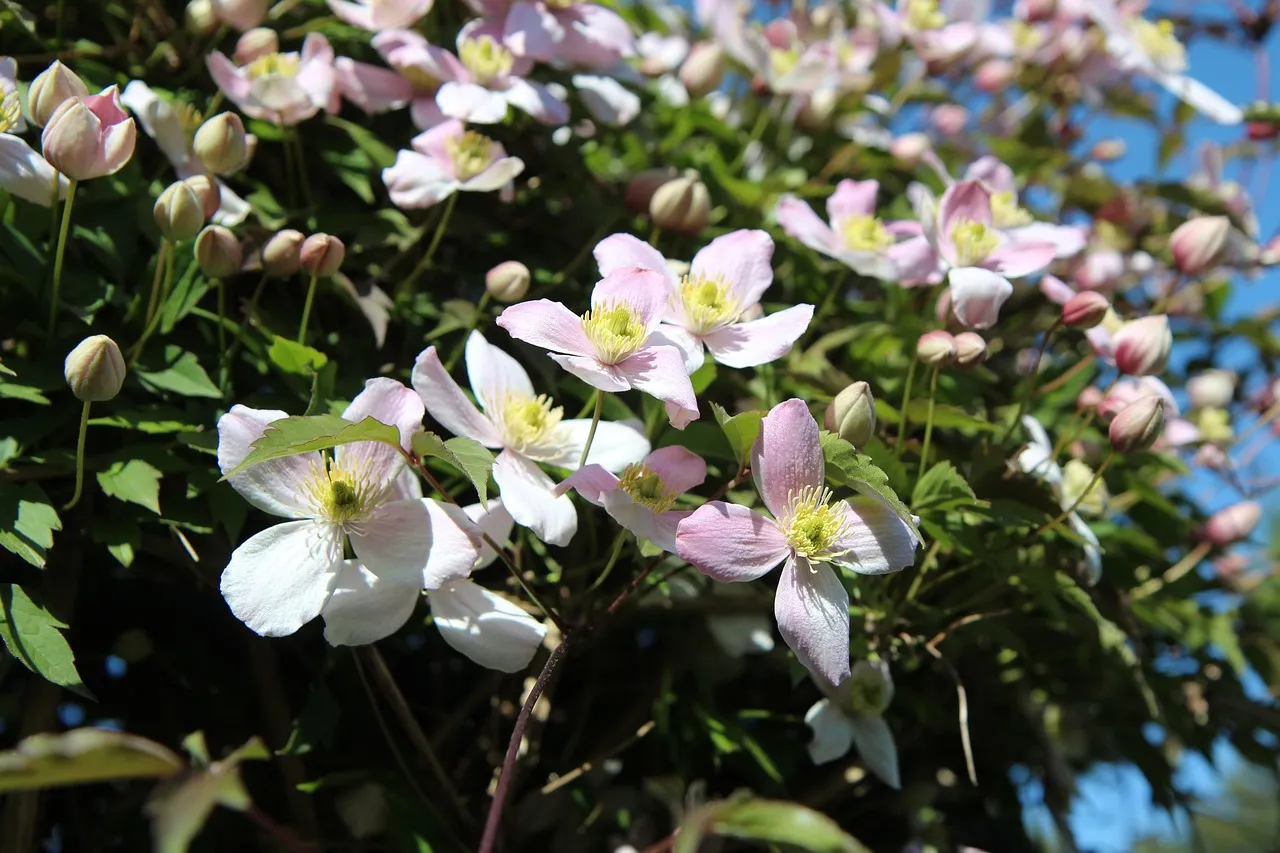
Group 1 varieties include: Clematis montana, Clematis armandii (evergreen), Clematis alpina, Clematis macropetala, and Clematis cirrhosa. These are generally the most vigorous of the three groups. Clematis montana in particular can reach 10 metres or more, which makes it brilliant for covering large structures quickly but less suitable for small gardens where space is tight.
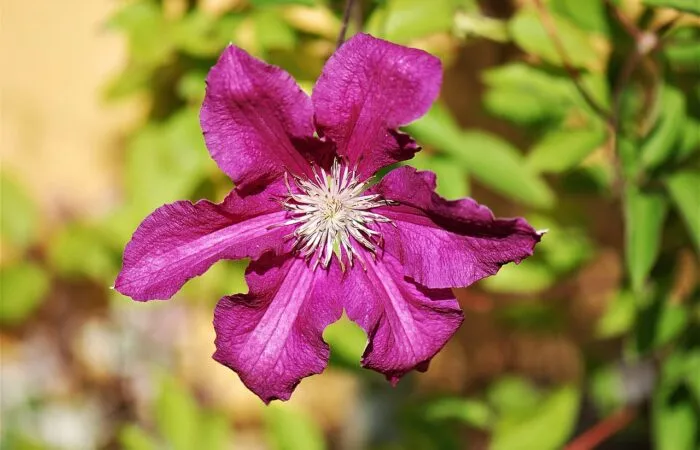
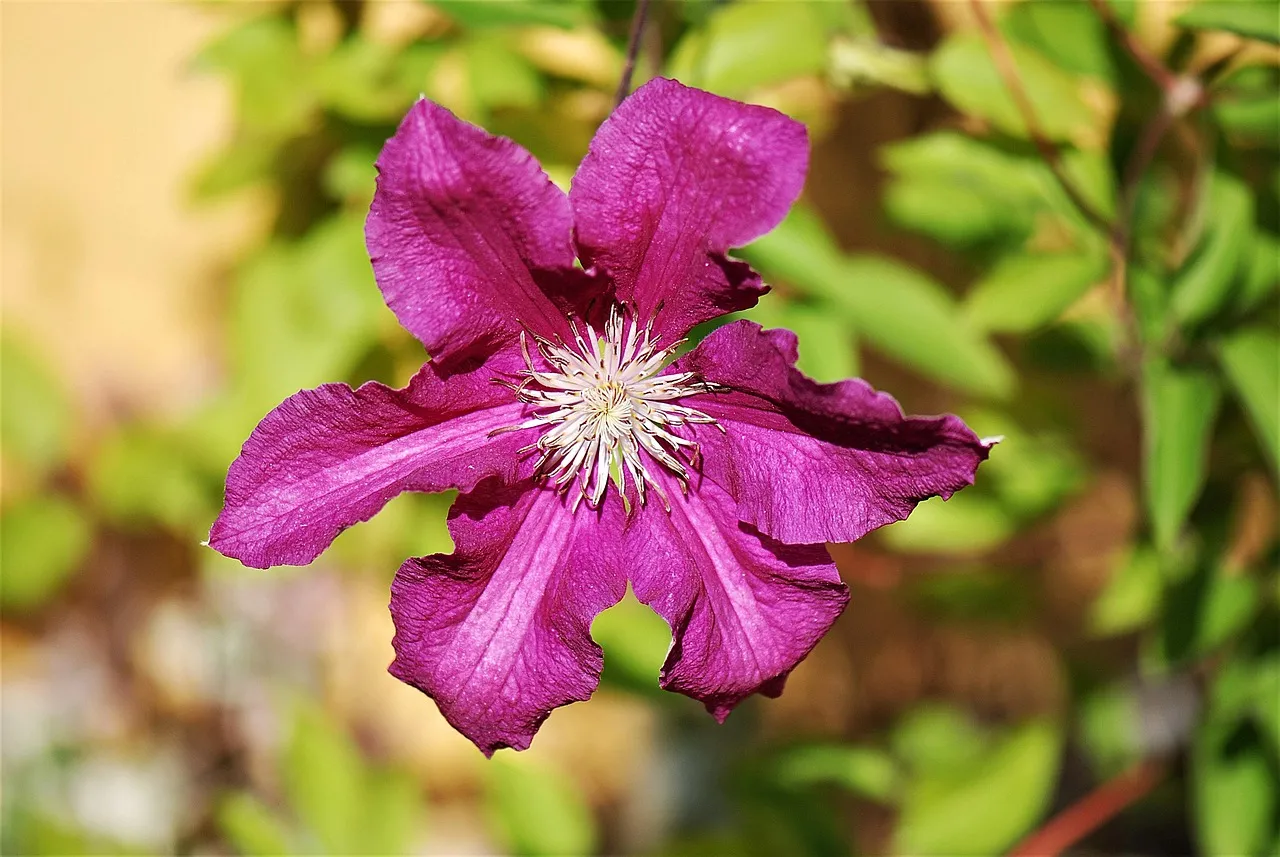
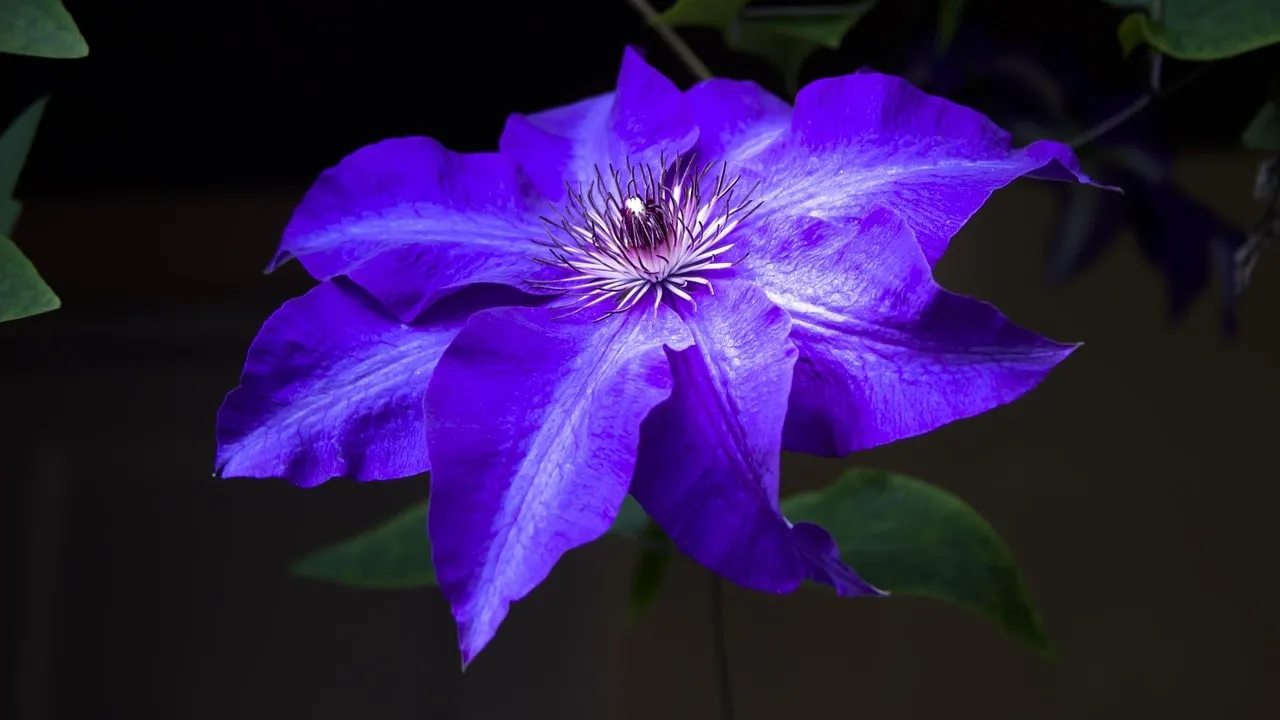
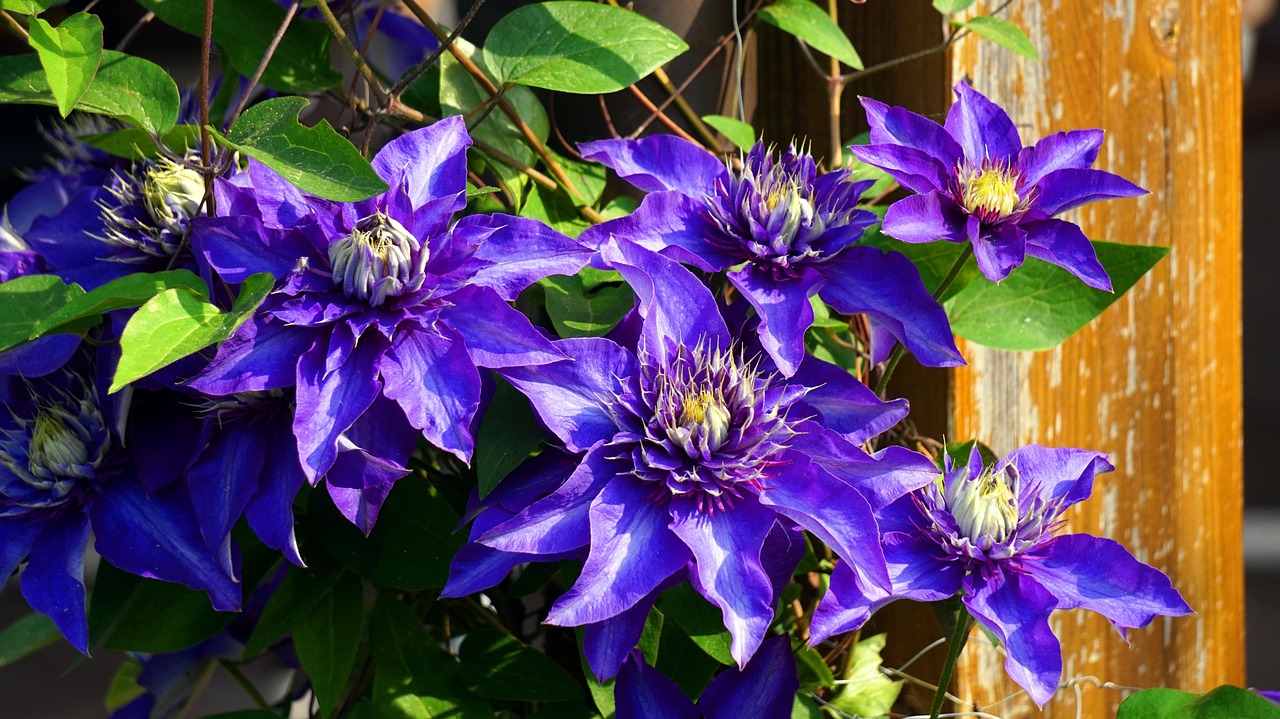
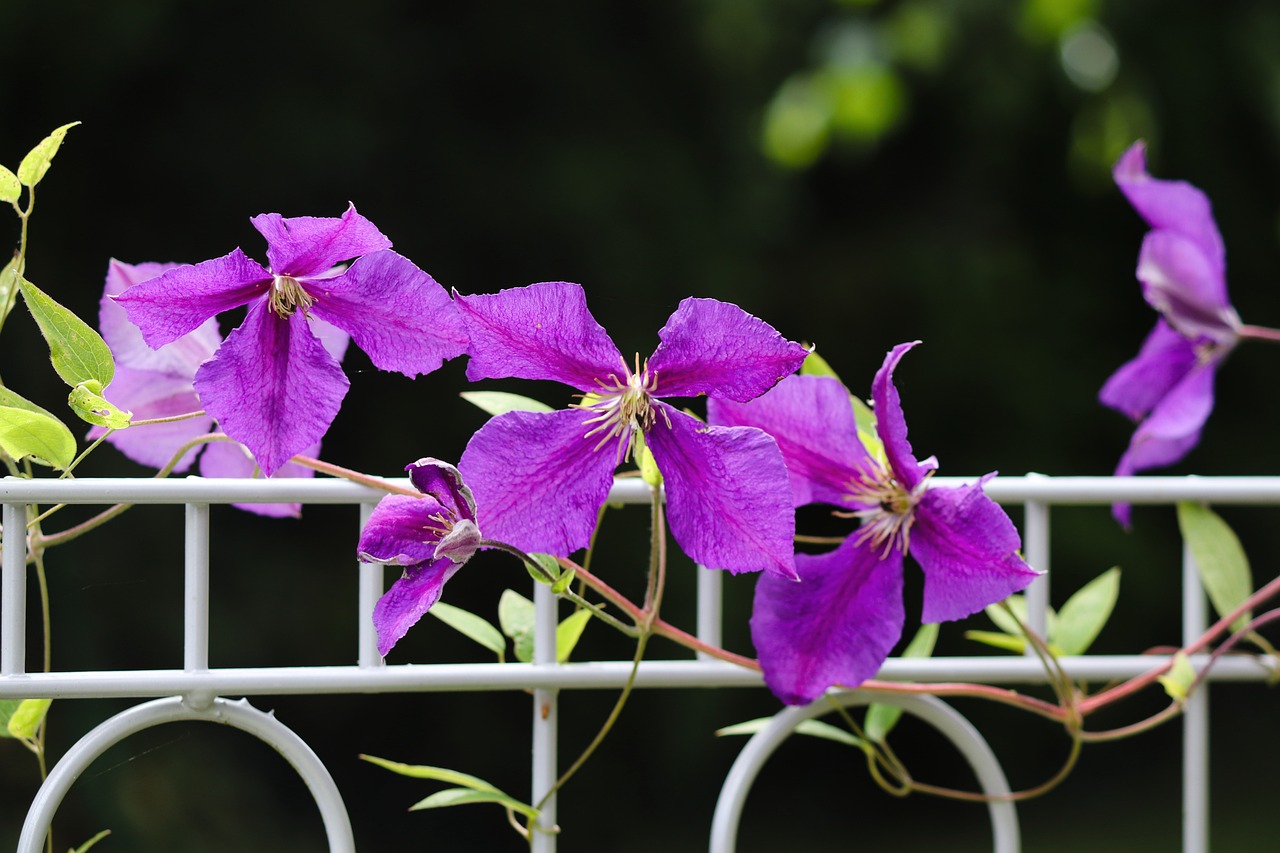
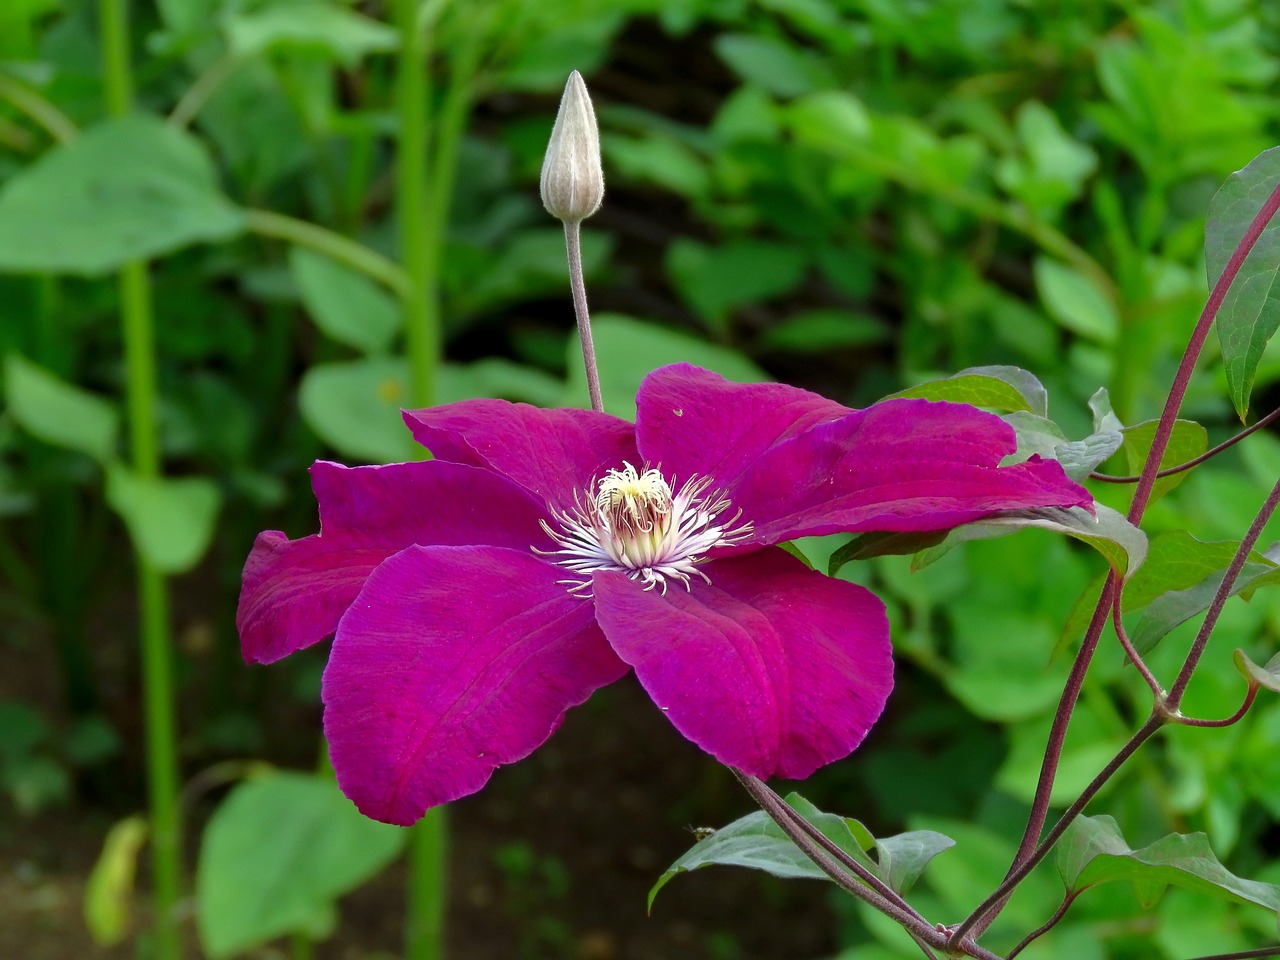
Group 2: Large-Flowered Hybrids (May to June, then August to September)
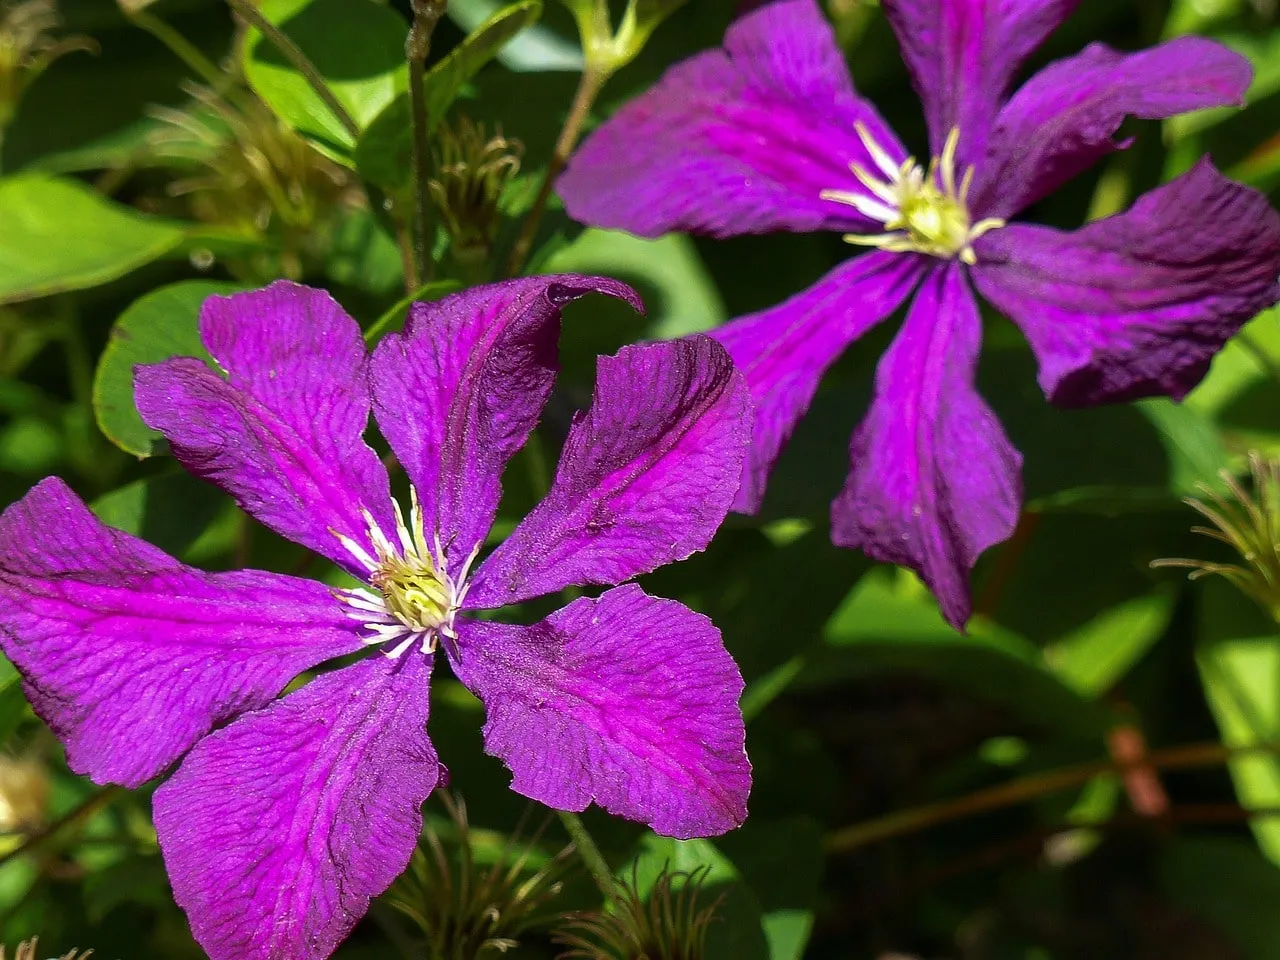
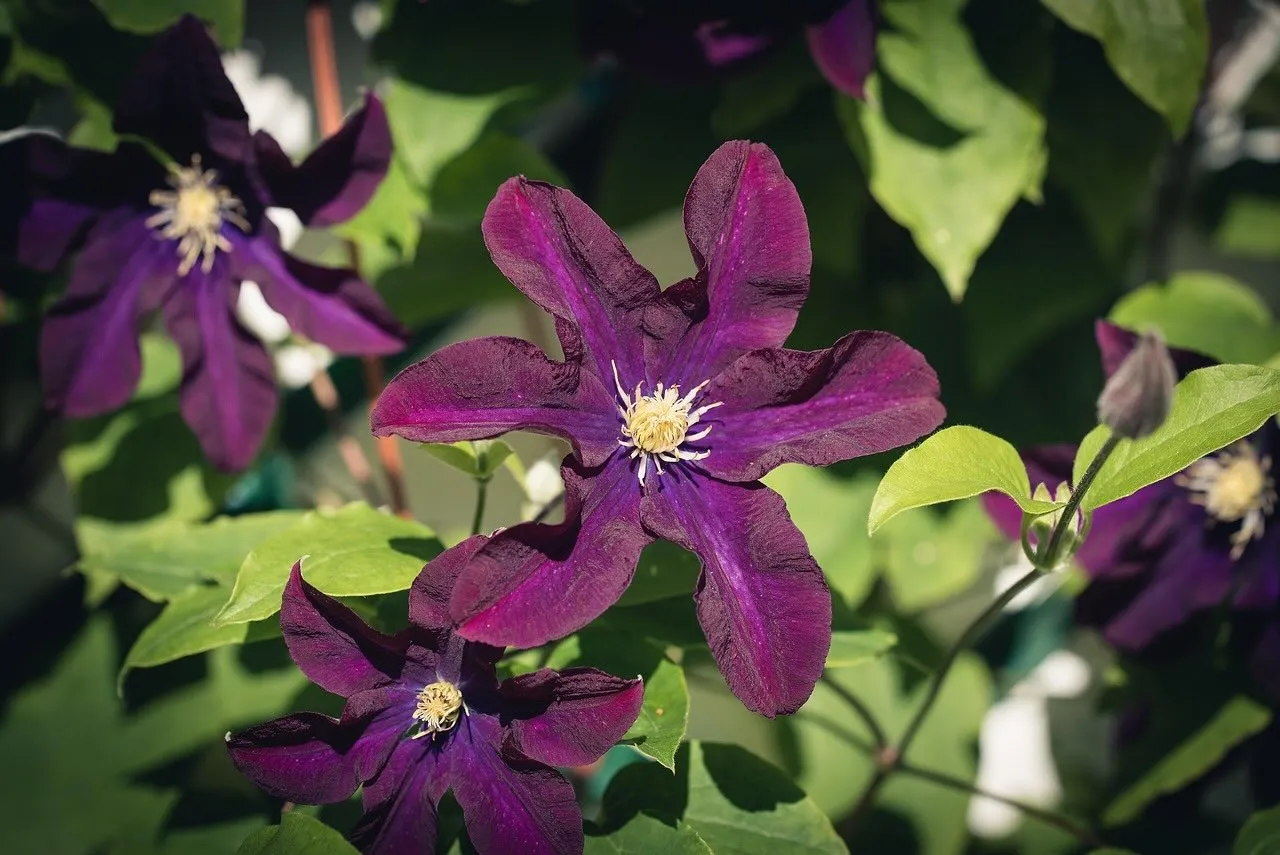
Group 2 clematis are the ones that produce those dinner-plate sized blooms in breathtaking shades of violet, pink, and white that stop people in their tracks when they walk past a garden gate. They flower on both old and new wood, which gives them the ability to produce two flushes of flowers in a single season. The first flush appears in May and June on last year’s growth, and a second lighter flush follows in August to September on new growth produced that summer.
Prune Group 2 lightly in late February or early March, cutting back to a pair of healthy buds but avoiding hard cutting that would remove the old wood. After the first flush fades, you can tidy them up again to encourage the second round of flowers. Group 2 varieties include: Clematis ‘Nelly Moser’, ‘The President’, ‘Bee’s Jubilee’, ‘Henryi’, ‘Josephine’, and ‘Will Goodwin’.
Group 3: Late-Flowering Clematis (July to September)
Group 3 are the summer and early autumn showstoppers. They produce all their flowers on new wood grown during the current season, which means you can cut them back hard every winter and they will simply produce a fresh framework of flowering stems the following summer. This is actually the most low-maintenance group in terms of pruning: every February, cut them back to around 30cm above ground level, just above a pair of healthy buds. It feels brutal the first time you do it, but trust me, they bounce back vigorously and the flowers appear exactly where you want them, at eye level rather than disappearing over the top of a fence.
Group 3 varieties include: Clematis viticella, Clematis texensis, ‘Jackmanii’, ‘Ernest Markham’, ‘Polish Spirit’, ‘Étoile Violette’, and the beautiful Clematis tangutica ‘Bill MacKenzie’ with its nodding yellow lantern flowers and fluffy seedheads.
💡 Top Tip: Finding Your Clematis Group Without a Label
If you’ve inherited a clematis with no label, wait and watch. If it flowers before June, it’s almost certainly Group 1 or 2. If it starts flowering in July or later, it’s Group 3. You can also look at when it pushes new growth. Group 3 plants are cut to the ground, so all growth in spring is coming from those low basal buds. Groups 1 and 2 push new growth from existing stems.
Most Popular Clematis Varieties for UK Gardens
With hundreds of species and thousands of cultivars available, choosing a clematis can feel genuinely overwhelming. Over the years I’ve designed with and planted dozens of different varieties, and I keep returning to a core group that I know will perform reliably in the UK climate. Here are the ones I’d pick first.
Best Clematis for Beginners
Clematis montana is the one I recommend to almost every beginner who wants impact quickly. It’s extraordinarily vigorous, smothers fences and walls in pale pink or white flowers every May, and it forgives a lot of planting mistakes because the roots go searching for moisture and nutrition with real determination. The only caveat is scale: don’t put a montana where you want something controllable. It will cover a 3-metre fence panel in a single season.
Clematis viticella is my go-to Group 3 recommendation for beginners. The flowers are smaller and more bell-like than the large-flowered hybrids, but they come in extraordinary abundance from July to September. More importantly, viticella cultivars are largely resistant to clematis wilt, which means even if you make some early mistakes, the plant will survive. Cut it back hard to 30cm every February and it will reward you without fail.
Clematis ‘The President’ is the classic large-flowered Group 2 variety and for good reason. Deep violet-blue blooms, reliable two-flush flowering, and a manageable size make it the perfect choice if you want one of those spectacular showpiece plants without the plant taking over your entire fence.
🛒 Buy Clematis Plants from Amazon UK
Best Clematis for Small Gardens
For smaller spaces, I always steer people towards the compact patio clematis varieties and the smaller viticella types. Clematis ‘Niobe’ produces deep velvety red blooms and stays compact enough for a large pot. Clematis alpina is another excellent choice for tight spaces: it flowers early in April and May, reaches only two to three metres, and has delicate nodding blue or purple flowers that are quite different from the big bold clematis types. It’s also wonderfully tolerant of north or east-facing walls where other clematis would struggle.
Best Evergreen Clematis
Clematis armandii is the only clematis I regularly use when a client needs something evergreen. It holds its large, glossy, slightly tropical-looking leaves year-round and flowers in March with clusters of small white blooms that have an extraordinary vanilla fragrance. Plant it on a sheltered south or west-facing fence in particular, as it is slightly less frost-hardy than most other clematis. In mild winters it’s a genuinely stunning plant and the scent on a still spring day is remarkable.
🛒 Buy Clematis armandii from Amazon UK
How to Plant Clematis Correctly
Planting depth is the single most important thing to get right with clematis, and it’s also where most people go wrong. The rule is simple but the reason behind it matters: plant clematis with the crown of the root ball 8 to 10cm below the soil surface, deeper than almost any other plant you’d put in a border. For larger specimens in 3-litre pots or bigger, you can go as deep as 15cm. This seems counterintuitive because we’re told never to bury the crown of a plant, but clematis are an exception because of how they deal with their one major enemy: clematis wilt.
When clematis wilt strikes (I’ll cover this in detail in the pests and diseases section), it kills the above-ground growth quickly. A plant buried at the standard shallow level would likely be finished. A plant buried deep has multiple buds below the soil line that are completely unaffected by the fungal infection above ground. Those buried buds push new growth within weeks and the plant regrows from the base as if nothing happened. I’ve seen this happen many times in my own garden and client gardens: what looked like a dead plant in May was shooting strongly from the base by July.
💡 Top Tip: The Important Group 1 Exception
The deep planting rule applies firmly to Group 2 and 3 clematis. For Group 1 types including Clematis armandii and Clematis cirrhosa, plant with the root ball crown at, or only just below, soil level. Burying armandii too deep risks crown rot, which is one of the few reliable ways to kill it. Clematis montana is a partial exception and can tolerate a few centimetres of extra depth without problems.
Step-by-Step Planting Guide
Start by choosing a position at least 30cm away from the base of a wall or fence. The soil directly against a wall is almost always dry and compacted, and this is one of the fastest ways to stress a newly planted clematis. Dig a hole around 45cm wide and 45cm deep. Mix the excavated soil generously with a bucket of well-rotted compost or composted bark. This improves drainage on clay soils and moisture retention on sandy or free-draining soils.
Place the plant in the hole so the root ball crown sits 8 to 10cm below the soil surface (remembering the Group 1 exception above). Backfill with your improved soil mix, firm gently to remove air pockets, and water thoroughly. Apply a 5cm layer of mulch around the base, keeping a small gap immediately around the main stem to prevent rot. The mulch does two things: it keeps the roots cool in summer and helps retain moisture during dry spells.
After planting, there’s one more important step that most beginners skip. Cut the plant back hard to 30cm above the soil level, regardless of group. This initial pruning forces the plant to produce strong new growth from low down rather than simply extending the existing single stem. Without it, you’ll often end up with a clematis that has one long bare stem rising to a puff of flowers at the top. Give it this hard first cut and you’ll have a well-branched plant with flowers all the way down.
⚠️ Clematis Wilt Warning
Large-flowered Group 2 hybrids are most vulnerable to clematis wilt, particularly in their first three years. Deep planting is your best insurance policy. Also avoid planting in waterlogged ground and ensure the main stem isn’t accidentally damaged by careless hoeing or strimmer contact during those early vulnerable years.
Soil, Watering and Feeding Clematis
What Soil Do Clematis Like?
Clematis thrive in fertile, moisture-retentive but well-drained soil. They genuinely do well on chalky or slightly alkaline soils because these tend to hold moisture without becoming waterlogged. What they struggle with most is persistent waterlogging, which causes root rot and clematis wilt. Heavy clay soil is manageable if you plant on a slight mound to improve drainage, adding plenty of compost to open up the texture and help the roots establish before they reach the natural clay layer below.
Very free-draining sandy soils at the other extreme need generous compost additions to hold moisture. If you have sandy soil, dig in two or three buckets of well-rotted compost and allow it to settle for at least a couple of weeks before planting. Soil pH should ideally sit between 6.0 and 7.5. Strongly acidic soils below pH 5.5 will limit nutrient availability and slow establishment.
Watering Clematis
The classic clematis phrase is “cool feet, hot heads” and it captures the watering philosophy perfectly. Clematis want their flowering growth up in the sun, but the roots need to stay cool and consistently moist. During the growing season from May to July, keep the soil consistently moist but never waterlogged. If you press a finger into the soil by the base and it comes out clean rather than with soil sticking to it, the plant needs water.
In hot dry spells, a newly planted clematis may need watering every other day for the first season. Once established after two to three years, clematis become much more drought-tolerant, but they will always benefit from watering during prolonged dry spells in summer. Always water at the base of the plant rather than over the foliage, particularly if powdery mildew is a concern in your garden.
Feeding Clematis
Clematis are hungry plants and regular feeding makes a significant difference to flowering performance. In early spring as the plant begins to push new growth, apply a balanced slow-release fertiliser granules or a peat-free compost mulch around the base. Once the plant comes into bud and starts flowering, switch to a high-potash liquid feed such as tomato fertiliser or homemade comfrey tea, applied weekly through the growing season. Potassium promotes flower production, which is exactly what you want at this stage.
🛒 Buy High-Potash Tomato Fertiliser from Amazon UK
How to Prune Clematis: Group by Group
Pruning is the topic that puts more people off growing clematis than anything else, and I understand why. Three groups, different timings, different techniques. It sounds complicated. But once you understand the underlying logic, the whole thing becomes straightforward: you’re simply pruning each plant at the time when it has finished making the stems it will flower on next. That’s it.
Group 1 Pruning: Light Tidy After Flowering
Group 1 clematis need very little pruning and actively resent being cut back hard. Because they flower on old wood from the previous year, any significant pruning in late winter or early spring removes the flower buds that are already developing on those stems. The correct approach is a light tidy-up immediately after flowering finishes, typically in late spring or early summer. Remove dead and weak stems, cut back any sections that are visibly overcrowded, and if the plant has genuinely outgrown its space, you can take back up to a third of the overall growth. Do not cut into thick old woody stems if you can avoid it.
If you have an older, overgrown Group 1 clematis that has become a hopeless tangle with very few flowers, there is a more drastic renovation option. After flowering, cut the whole plant back hard. You will lose flowering the following spring, but the plant will regenerate strongly and produce a much better framework over the next two years. I’ve done this successfully with a montana that had been neglected for about six years and it came back beautifully.
Group 2 Pruning: Light Prune in Late Winter, Tidy After First Flush
Group 2 is the most nuanced of the three groups to prune, but it’s not as difficult as it can sound. In late February or early March, go through the plant with clean sharp secateurs and cut back to the first pair of plump, healthy buds on each stem. You’re tidying rather than hard cutting: remove dead, weak, or crossing stems and reduce overall bulk slightly to keep the plant in shape. Don’t cut back to the ground or you’ll remove all the old wood that carries the first flush of flowers.
After the first flush of flowers fades in early to midsummer, you can tidy the plant again, removing spent flowers and cutting back flowered stems to encourage the second flush from new growth in August and September. Many gardeners skip this step and are then puzzled when the second flush is poor. The two-flush performance Group 2 is famous for depends on this mid-season tidy.
Group 3 Pruning: Hard Prune Every February
Group 3 is the simplest group to prune, by a long way. In late January or February, cut every stem back to approximately 30cm above ground level, just above a pair of healthy outward-facing buds. The entire previous season’s framework is removed. The plant then produces a fresh set of vigorous new stems from those low buds and flowers on the top section of this new growth from July onwards.
If you don’t prune Group 3 clematis, the flowers move further and further up the plant year on year as the stems get longer. After three or four years without pruning, you’ll have flowers only at 4 or 5 metres high and a mass of brown tangled woody stems at the bottom that the plant is increasingly struggling to push sap through. The hard annual prune prevents exactly this. It keeps the plant flowering where you can see and enjoy it and maintains a clean, vigorous framework.
💡 Top Tip: Any Pruning Is Better Than None
The most common outcome of confusing the pruning groups is that gardeners don’t prune at all for fear of killing the plant. This is always the wrong call. An incorrectly pruned clematis may miss one season of flowering, but it will recover. An unpruned clematis just gets worse each year. If you genuinely don’t know the group, prune lightly in late winter and watch what happens. You’ll learn more about which group it is from a season of observation than from any label.
Step-by-Step Clematis Pruning Technique
Whether you’re pruning Group 1, 2, or 3, the physical technique is essentially the same. What changes is how much you take off and when you do it. Before you start, ensure your secateurs are clean, sharp, and have been wiped with a disinfectant solution to prevent spreading any disease between plants.
🛒 Buy Bypass Secateurs from Amazon UK
Step 1: Remove Dead, Diseased and Damaged Stems
Begin every pruning session by working through the plant and identifying anything dead, diseased, or clearly damaged. Snap each stem gently: a healthy stem will flex without snapping; a dead stem will snap cleanly and feel hollow or brittle. Dead stems come out entirely back to the base or back to a living junction. Anything showing signs of disease should be removed and put in the bin rather than the compost heap.
Step 2: Remove Spent Flowers and Weak Growth
Work around the plant removing all spent flowers. Don’t just nip off the flower head directly; take the entire flowered shoot back to the next set of strong leaves or a woody lateral stem. Weak, spindly growth that hasn’t flowered and is unlikely to flower next season can also come out at this stage. You’re not just tidying appearance; you’re directing the plant’s energy into the stems most likely to produce flowers.
Step 3: Cut Just Above a Healthy Bud
Every cut should be made just above a visible, healthy bud or pair of buds, angling slightly away from the bud so rain runs off rather than sitting against it. Cutting in the middle of a stem between two buds leaves a section of stem that will simply die back to the nearest bud below, so you’re creating unnecessary dead wood. The cut should sit about 5mm above the bud, not so close that you risk damaging it but not so far above that you leave a long snag.
Step 4: Reduce and Shape
Once dead material is removed, step back and assess the overall shape. For Group 3 plants this step is simple because you’re cutting everything back hard. For Groups 1 and 2, you’re making judgements about which stems to retain and which to remove to create an open, well-spaced framework. Crossing stems that will rub against each other can come out. Stems heading in completely the wrong direction for your support structure can be redirected or removed. Aim for even coverage of whatever structure the plant is growing on.
Step 5: Renovation Pruning for Neglected Clematis
If you inherit a neglected clematis or your own plant has been left unpruned for several years, renovation pruning can transform it. For Group 3 plants, simply return to the hard annual prune of 30cm above ground and the plant will reset itself in one season. For Groups 1 and 2, a phased approach over two seasons works better: remove roughly half the old woody framework in year one, allowing the plant to keep producing flowers from remaining stems while regenerating, then take out the remaining old framework the following year. You’ll have flowers throughout the process rather than losing a whole season to a single hard cut.
Growing Clematis in Pots and Containers
Clematis grow well in containers and this is something I recommend regularly to gardeners with small patios or balconies where in-ground planting isn’t possible. The key is getting the container size right. You need a pot at least 45cm in both diameter and depth to give the roots enough room to establish without drying out too rapidly. I’ve seen people try to grow Group 2 large-flowered hybrids in small decorative pots and wonder why the plant performs poorly. Roots need space and insulation from summer heat.
Use a good quality, loam-based compost such as John Innes No. 3, mixed with around 20 per cent horticultural grit to improve drainage. The loam-based compost holds moisture better than peat-free alternatives during hot weather and also provides a more stable nutrient reserve for a permanent planting. Add a slow-release fertiliser granule at planting, then switch to weekly liquid tomato feed once the plant is in bud.
The most important difference with container growing is watering frequency. Pots dry out much faster than open ground, particularly in summer, and a clematis in a pot on a south-facing terrace can need watering every day in July and August. Position the pot so the container itself is in partial shade even if the top growth is in sun. This mimics the “cool feet” condition that clematis naturally prefer and significantly reduces watering demands. Repot or top dress with fresh compost every two years to maintain fertility.
🛒 Buy Large Garden Containers from Amazon UK
💡 Top Tip: Best Clematis for Pots
For containers, choose compact varieties specifically. ‘Niobe’ (deep red, Group 3), ‘Piilu’ (pale pink, Group 2), ‘Angelique’ (pale blue, Group 2), and the Boulevard and Patio series are all bred with smaller pots in mind. Avoid montana and other vigorous Group 1 varieties entirely for container growing as their root systems quickly become constrained and performance drops sharply.
How to Propagate Clematis
Propagating clematis from cuttings is a very satisfying way to multiply named varieties you already grow, and it’s more straightforward than most gardening guides suggest. The best method is softwood or semi-ripe internodal cuttings taken from healthy stems in late spring or early summer, typically May to July. This is when the stems have enough substance to root well but haven’t yet become too woody.
Taking Internodal Cuttings
Select a healthy, non-flowering shoot from the current season’s growth. Select from the middle section of the stem: the very tip is too soft and the base is already becoming too woody. Cut the stem into sections roughly 5 to 8cm long. Each cutting should include one pair of leaves and be cut midway between two nodes (this is what “internodal” means, as opposed to the nodal cuttings used for most other plants).
Prepare small pots of 50/50 cutting compost and horticultural grit, and firm the mix gently. Make planting holes around the edge of the pot with a dibber, insert each cutting at an angle with the leaf pair sitting just above the compost surface, and firm in. Water gently, allow to drain fully, and then cover the pot with a clear polythene bag or place in a propagator. Keep in a bright position but out of direct sun. Rooting takes four to six weeks at around 18 to 20°C. You can check progress by giving a cutting a very gentle tug: if it resists, it has rooted.
Once rooted, pot each cutting individually into 9cm pots and grow on in a cold frame or sheltered spot through the autumn. They’ll be ready to plant out the following spring after a year of development in the pot. Clematis propagated this way will be identical to the parent plant, which matters with named cultivars where you want to preserve flower colour and form.
🛒 Buy Rooting Hormone Powder from Amazon UK
Layering Clematis
Layering is the other reliable propagation method and requires almost no equipment at all. In spring or early summer, select a long, flexible stem that can be bent to the ground. Wound the stem slightly where it will contact the soil by making a small nick or scraping the bark with a knife. Peg the wounded section into the soil with a bent piece of wire or a tent peg, burying it about 5cm deep and leaving the growing tip exposed above the surface. Keep the area moist. By autumn the layered section will have produced its own roots and can be severed from the parent plant and dug up for transplanting the following spring.
Supporting Your Clematis
Clematis climb by wrapping their leaf stalks (petioles) around a support, rather than by tendrils like sweet peas or the aerial roots of ivy. This means they need something relatively slender to grip: thin wires, trellis battens, or obelisk posts. They cannot grip a smooth brick wall or a wide wooden post directly.
The best supports for wall-mounted clematis are horizontal wires at 30cm intervals, fixed to vine eyes or rawlbolt fixings that hold the wires at least 3 to 4cm away from the wall surface. This gap is essential: it allows air to circulate behind the plant, reduces moisture problems, and makes training much easier. Once the growing season starts, new stems need guiding into the wire system every week or two until they find their own grip. Use soft garden twine rather than plastic ties, which can cut into the stems.
For freestanding clematis in a border, obelisks are my first choice. They’re ornamental in their own right during winter when the clematis is bare, and they provide exactly the right structure for the plant to grip and climb. Make sure any obelisk is anchored firmly: a fully grown clematis in full summer growth carries significant weight and catches the wind like a sail. I’ve seen cheap wicker obelisks pulled clean out of the ground by a mature montana. Invest in something robust and it will last decades.
🛒 Buy Garden Obelisks from Amazon UK
Clematis Pests and Diseases
Clematis Wilt
Clematis wilt is caused by the fungus Ascochyta clematidina and it’s the one disease that puts genuine fear into clematis growers. The plant looks perfectly healthy one day and within a matter of days the stems have turned black and collapsed entirely, with flowers hanging limp and shrivelled. It’s a disturbing sight, particularly when it happens to a large Group 2 hybrid that you’ve been nurturing for several seasons.
The most important thing to know is that clematis wilt doesn’t usually kill a correctly planted clematis. It kills the above-ground growth, but the root system survives, and if the plant was planted deeply with buried nodes below the soil surface, new shoots will emerge from those basal buds within weeks. If wilt strikes, cut all affected stems back to ground level or back to healthy tissue, discard in the bin rather than composting, and clean your secateurs thoroughly with disinfectant before using them on other plants. Do not be tempted to leave wilted stems: the fungal spores will continue spreading from dead and dying tissue.
Group 3 viticella hybrids and most species clematis are largely resistant to wilt. If you’re in an area where clematis wilt is a persistent problem, choosing Group 3 viticella varieties significantly reduces the risk.
Slugs and Snails
Young clematis shoots in spring are extremely vulnerable to slug and snail damage, particularly in wet seasons. A single night of feeding can destroy several weeks of growth on a newly planted clematis. Protect newly emerging spring growth with organic slug pellets applied around the base, or use copper tape around container clematis. The damage window is generally the first four to six weeks of spring growth. Once the stems have hardened off slightly, slugs tend to move on to softer targets.
Powdery Mildew
Powdery mildew appears as a white, floury coating on leaves and stems, typically in late summer when conditions are warm and dry with high humidity at night. It rarely kills a clematis but weakens growth and looks unsightly. Good air circulation around the plant is the best prevention: avoid planting clematis in tight corners where air doesn’t move freely. Water consistently at the base to prevent the plant stress that makes it vulnerable, and clear affected leaves promptly when you spot them. Organic fungicide sprays containing sulphur can be used if the infection is persistent.
Aphids and Spider Mites
Aphids cluster on soft new growth in spring and early summer, producing sticky honeydew and attracting ants. A strong jet of water knocks them off effectively for minor infestations, and encouraging beneficial insects like ladybirds provides ongoing natural control. Spider mites become a problem in hot, dry summers, showing as a fine speckling and bronzing of the leaves with fine webbing in severe cases. Increase humidity around the plant by misting the leaves in the morning and ensure consistent watering at the root. Insecticidal soap or horticultural oil sprays are effective treatments for both if natural methods aren’t sufficient.
Root Rot
Root rot is caused by persistently waterlogged soil and is usually a planting position problem rather than a disease problem. The first signs are yellowing leaves, slow growth, and eventual collapse. If you dig carefully around the base and the roots are mushy and dark rather than firm and pale, root rot is the likely culprit. Improving drainage around the plant and allowing the soil to dry out slightly can save a mildly affected plant, but severe cases usually mean starting again with a new plant in a better-draining position. Prevention is always more effective than treatment with root rot.
Rust
Rust appears as orange or reddish-brown powdery spots on the undersides of leaves, usually in warm, humid conditions in late spring or summer. Remove and dispose of affected leaves promptly, improve air circulation by thinning crowded growth, and apply a fungicide formulated for rust if the infection is spreading rapidly. As with most fungal diseases, stressed plants in poor conditions are far more vulnerable than healthy, well-fed clematis growing in appropriate positions.
Frequently Asked Questions About Growing Clematis
Why is my clematis not flowering?
The most common causes are pruning at the wrong time (particularly cutting a Group 1 or 2 plant back hard in winter), insufficient sunlight (clematis need at least 6 hours of direct sun), poor feeding, or the plant still establishing in its first or second year. Young clematis invest heavily in root development before committing to flowering, so don’t be disheartened if a newly planted clematis produces few flowers in its first season. Feed regularly with high-potash fertiliser through the growing season and ensure the plant receives adequate sun.
When should I plant clematis in the UK?
Spring (March to May) and early autumn (September to October) are the best planting times. Spring planting allows the roots to establish through the growing season before their first winter. Autumn planting also works well as the soil is still warm, roots establish quickly, and the plant is ready to grow strongly the following spring. Avoid planting during hot dry spells in summer or hard frosts in winter.
How fast does clematis grow?
This varies enormously by variety. Clematis montana is one of the fastest growing climbers in the UK garden, putting on 3 to 4 metres of new growth in a single growing season once established. Group 3 viticella types grow about 2 to 3 metres of new growth each year from the hard annual prune. Large-flowered Group 2 hybrids are generally more moderate, adding 1 to 2 metres of new growth per season. All clematis grow much more slowly in their first year as they prioritise root establishment over top growth.
Can clematis grow in shade?
Most clematis need at least 6 hours of sun per day for good flowering performance. However, a few species tolerate significantly shadier positions. Clematis alpina and Clematis macropetala both perform well on north or east-facing walls that receive limited direct sun. Clematis ‘Nelly Moser’ is probably the best known of the large-flowered hybrids for partial shade, though its flower colour is richer and more vivid in a position with some morning or afternoon sun. Clematis montana will tolerate a slightly shadier position than most but will flower less freely than in full sun.
How do I know which group my clematis is?
Check the plant label if you still have it. If not, observe the plant through the season. Group 1 clematis flower from March to May on old wood and are usually very vigorous. Group 2 produce large flowers in May and June with a possible second flush in August. Group 3 are the last to flower, from July through September, and produce their flowers entirely on new growth made that season. If in doubt and you have to prune, prune very lightly in late winter. You may reduce flowering slightly if it turns out to be Group 1 or 2, but the plant will not be harmed.
Why are my clematis leaves turning yellow?
Yellowing leaves can indicate several different problems. Overwatering or waterlogged soil is the most common cause, particularly on heavy clay or in containers that lack drainage holes. Nitrogen deficiency causes pale yellowing across the whole leaf. Iron deficiency (chlorosis) produces yellowing between the veins with the veins remaining green, usually in alkaline soils above pH 7.5. Clematis wilt causes yellowing and blackening concentrated on individual stems rather than across the whole plant. Check soil moisture first: if the soil is consistently wet, drainage improvement is the priority.
Can I grow clematis through another plant?
Absolutely, and this is one of my favourite ways to use them in garden design. Growing a Group 3 clematis through a spring-flowering shrub like forsythia or a climbing rose extends the season of interest from that single piece of structure for months. The clematis uses the shrub as its support and flowers when the host plant is past its best. The combination of a Group 2 large-flowered hybrid with a rose is particularly classic and works beautifully in cottage and informal garden styles. Choose clematis and host plants with broadly similar vigour so one doesn’t overwhelm the other.
Summary: The Clematis Growing Guide
Clematis are some of the most rewarding plants you can grow in the UK garden. Give them the right position, plant them at the correct depth, get the pruning group established early and feed them through the growing season, and they’ll repay you with extraordinary colour and coverage year after year. Once you’ve had a successful clematis, you’ll want more of them, and there’s no shortage of beautiful varieties to explore.
🌿 Key Points to Remember
Know your group. The three pruning groups are the foundation of clematis growing. Group 1 flowers early on old wood and needs minimal pruning. Group 2 flowers twice on old and new wood and needs a light late winter prune. Group 3 flowers on new wood in summer and is cut hard to 30cm every February.
Plant deeply. For Groups 2 and 3, plant with the crown 8 to 10cm below soil level to protect against clematis wilt and encourage basal growth. Plant Group 1 at or just below pot level.
Cool feet, hot heads. Clematis want their foliage and flowers in the sun but their roots cool and consistently moist. Mulch the base and plant at least 30cm from walls to achieve this.
Feed through the season. Balanced fertiliser in spring, high-potash liquid feed weekly once in bud. Don’t skip this step if you want a genuinely spectacular display.
Happy gardening!


Lee Burkhill
Lee Burkhill, known as the Garden Ninja, is an award-winning garden designer and horticulturist with over 30 years of gardening experience and 15 years as a professional garden designer. A qualified RHS (Royal Horticultural Society) professional, Lee specialises in sustainable garden design and practical horticultural advice. He designs and presents on BBC1’s Garden Rescue and in leading gardening publications. Lee combines three decades of hands-on gardening knowledge with professional design qualifications to help gardeners create beautiful, functional outdoor spaces.
View all posts by Lee Burkhill


Other posts
-

Start here: to begin your gardening journey! Read more
-
How to Prune Photinia Red Robin: UK Timing & Technique Guide Read more
-
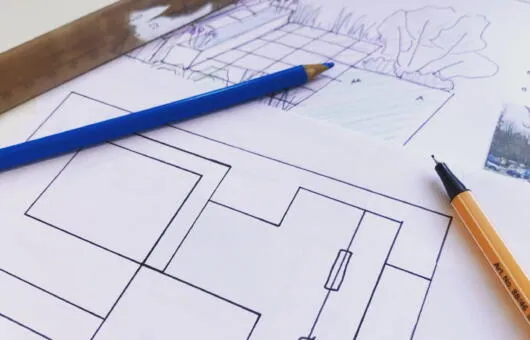
Garden Design Drawing Equipment UK: Complete Beginner’s Guide Read more
-
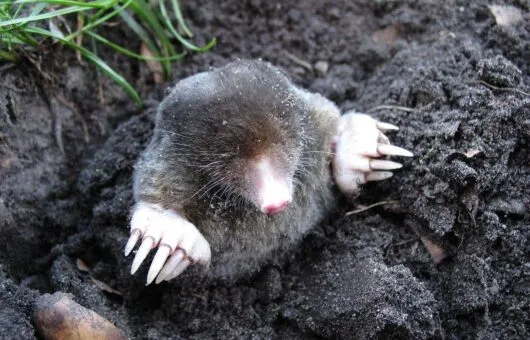
How to Get Rid of Moles: Organic Methods That Actually Work Read more
-
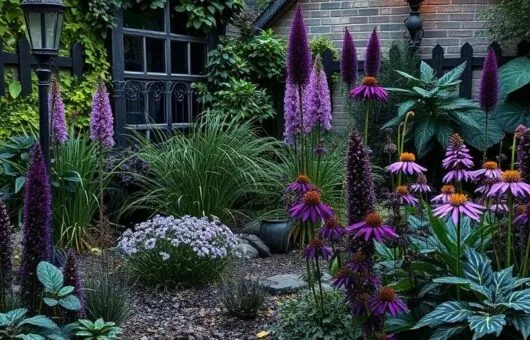
Dark Drama: Purple & Black Plants for Gothic Garden Design Ideas Read more
-
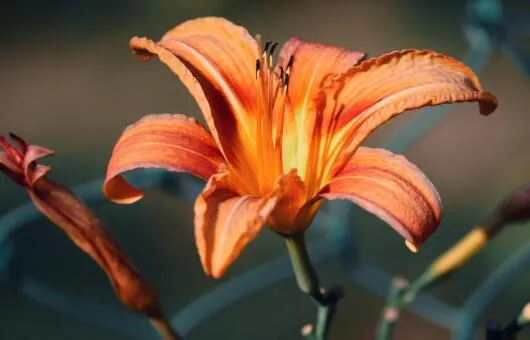
35 Best Orange Flowers for UK Gardens: Stunning Plants for Borders, Beds and Bright Gardens Read more