Why Is My Camellia Dying? The Complete UK Diagnostic Guide
Lee Burkhill: Award Winning Designer & BBC 1's Garden Rescue Presenters Official Blog
Beginner level
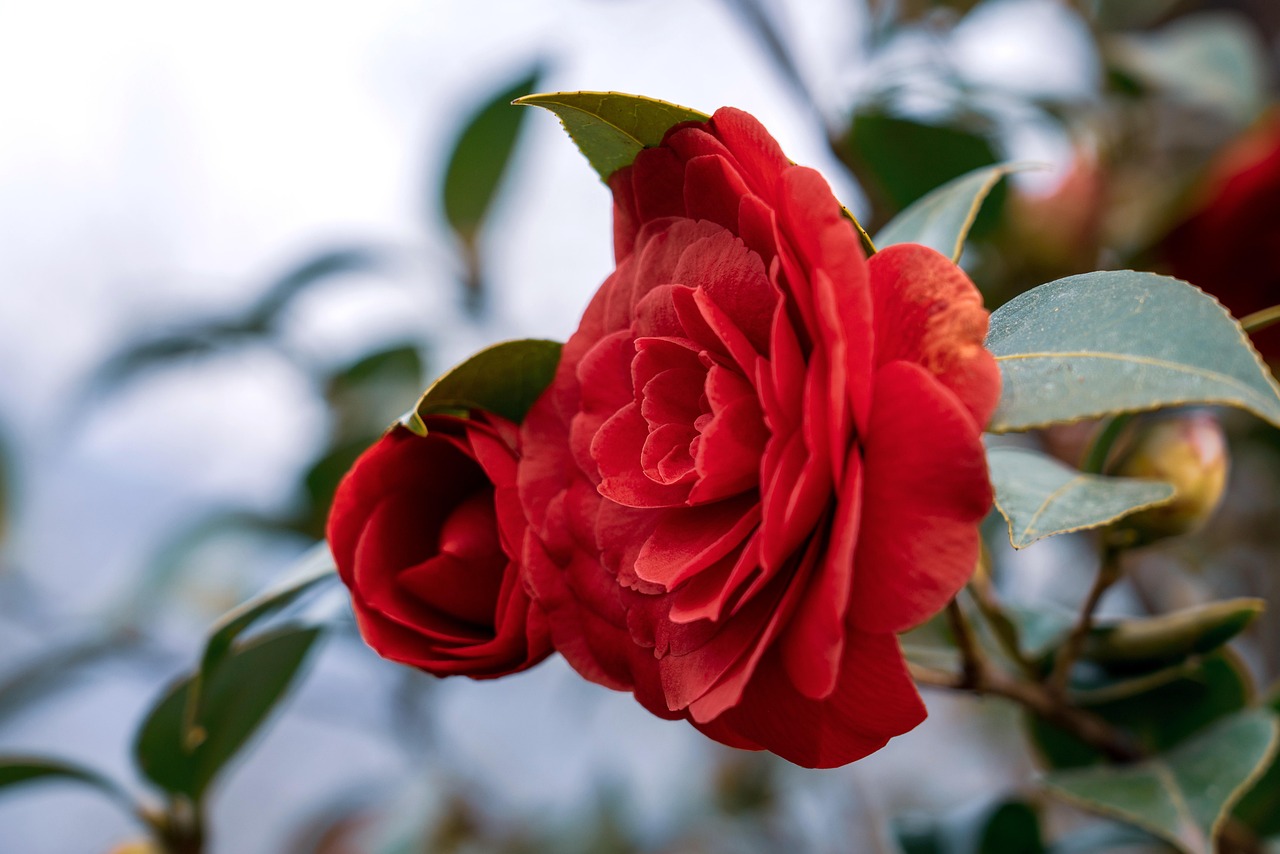
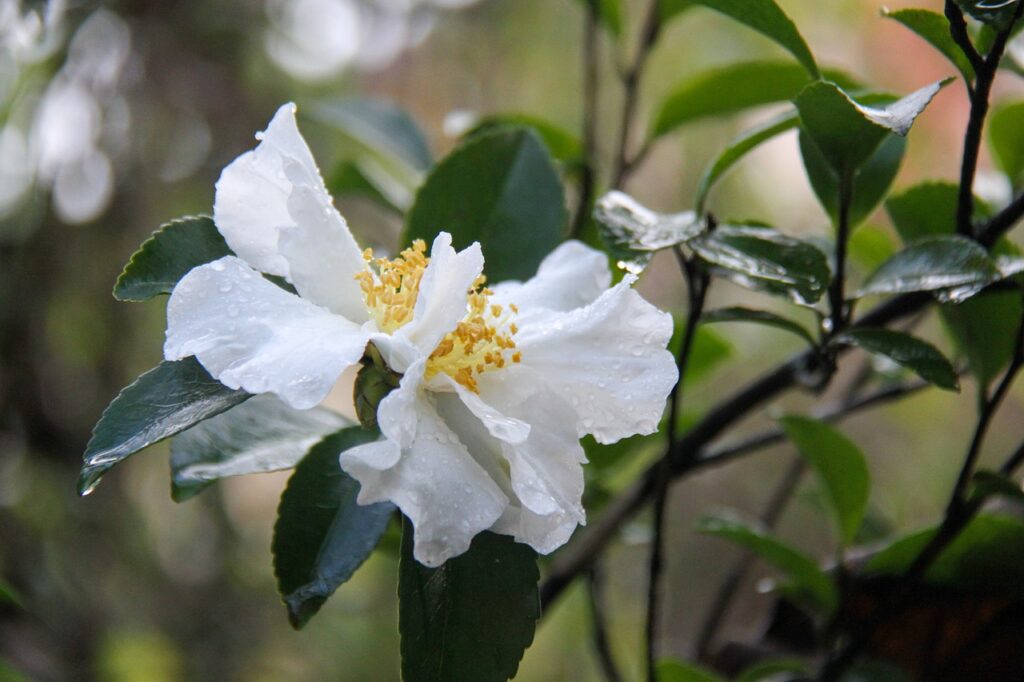
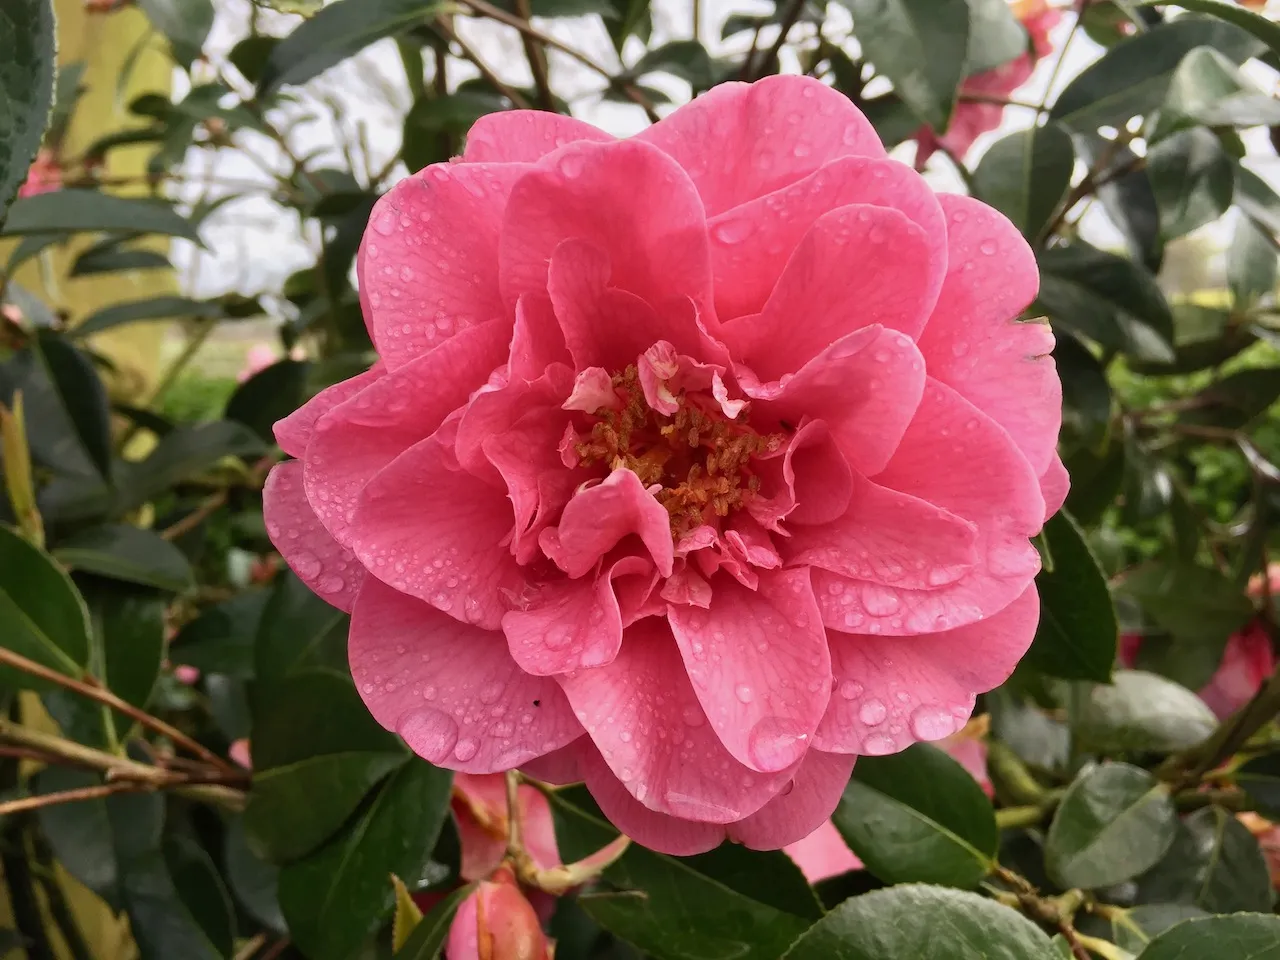
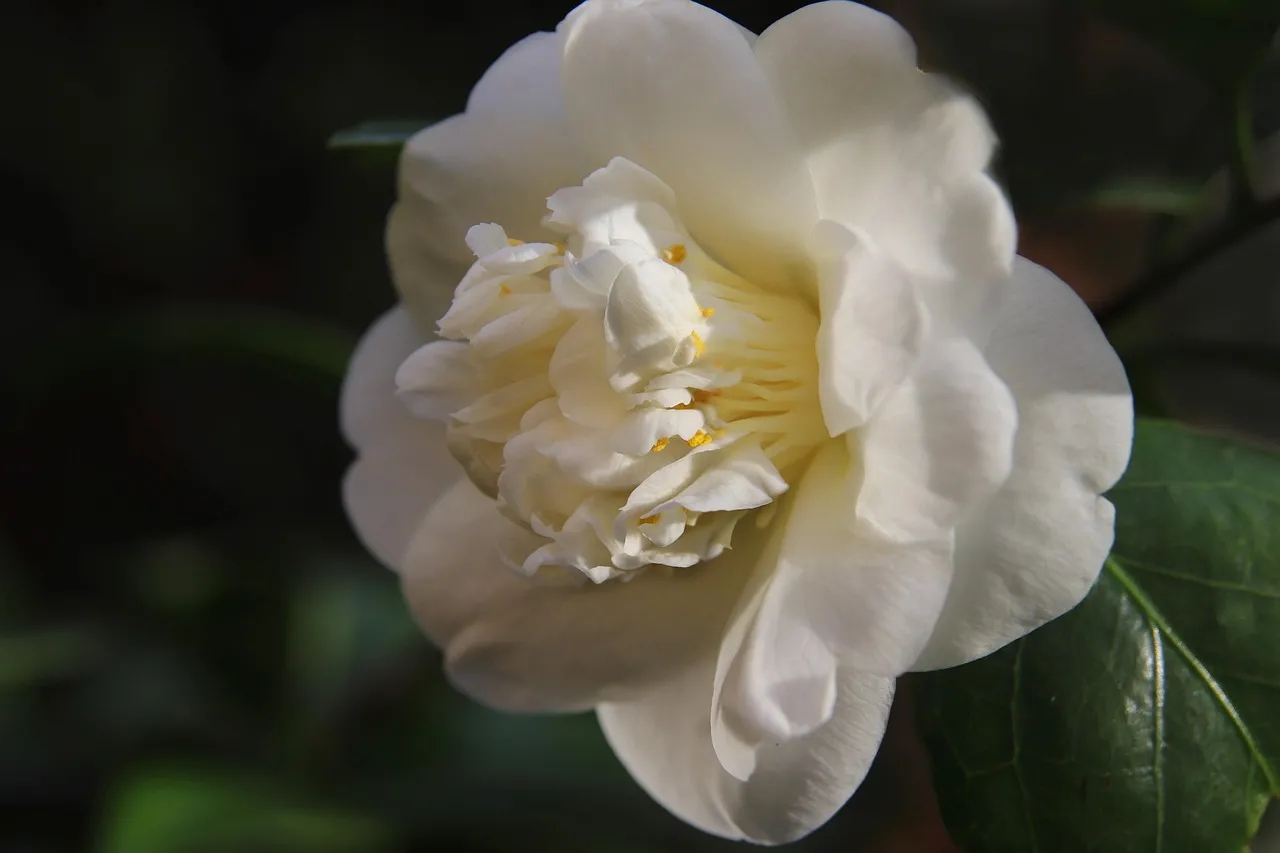
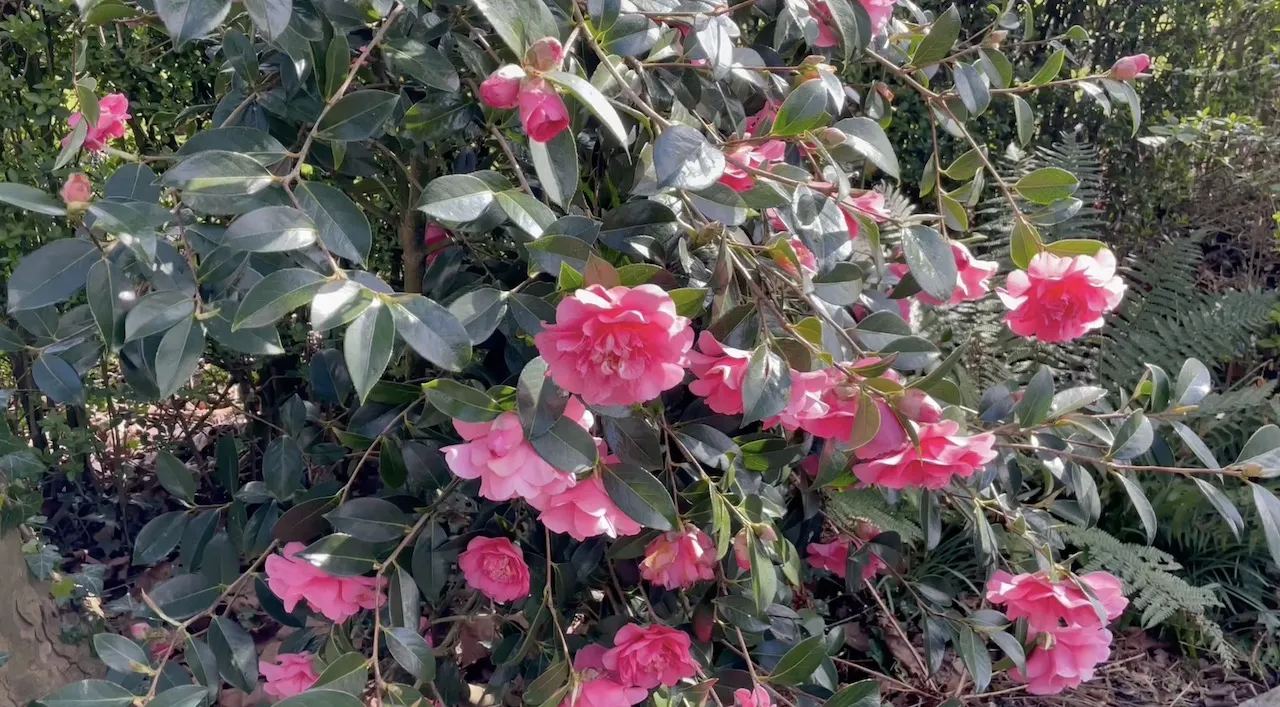
Camellias are among the most rewarding shrubs in a UK garden. When they are happy, they produce spectacular flowers from November right through to May depending on the variety, at a time of year when most of the garden is bare and colourless. When they are unhappy, they tell you loudly: brown leaves, dropping buds, yellowing foliage, wilting growth, or simply an absence of flowers where you expected a glorious display. If any of those symptoms sound familiar, this guide is for you.
I have grown camellias in my gardens for decades and have answered hundreds of camellia problems on this forum and on BBC Garden Rescue. The good news is that most camellia problems are completely fixable once you identify the correct cause. The bad news is that several different problems produce identical-looking symptoms, which is why reaching for a general-purpose fix rarely works. This guide walks you through every cause of a struggling or dying camellia, lists the specific symptoms to look for, and provides the right solution for each.
Quick Answer
Camellias most commonly fail in the UK because of waterlogged or alkaline soil, wrong position (too much sun or east-facing exposure to early morning frost), drought stress during late summer when buds are forming, bud drop from cold snaps, or fungal disease. They need acid soil, dappled shade or a sheltered west or north-west facing aspect, consistent moisture through summer, and an ericaceous feed in spring.
C. sasanqua: November to January. C. japonica: February to April. C. x williamsii: January to May
Best Conditions
Acid soil pH 5.5 to 6.5, dappled or partial shade, shelter from east-facing morning sun, consistent moisture
Soil
Humus-rich, free-draining but moisture-retentive acid soil. Ericaceous compost in containers
The most important thing to understand about camellias is that they are woodland plants from the mountains of East Asia, where they grow in dappled light beneath taller trees, in humus-rich, acidic, leafy soil that is consistently moist but never waterlogged. Every problem a camellia experiences in a UK garden ultimately traces back to how far its actual conditions are from those it evolved for. Too much direct sun, too little water in summer, alkaline or compacted soil, or an east-facing position that exposes emerging flowers to early morning frost after cold nights are the four most common culprits behind the 4,396 forum threads about dying camellias that brought many of you here.
2. How to diagnose what is wrong with your camellia
Take five minutes to observe the plant before doing anything. The pattern, location, and nature of the symptoms narrow down the cause considerably. Are the leaves uniformly yellowing, or browning at the tips and edges? Are the flower buds dropping before they open, or are the open flowers turning brown? Is the plant wilting overall, or are specific branches dying while others look healthy? Each of these points to a different cause with a different solution.
🌿 Camellia Diagnosis at a Glance
What you see
Most likely cause
Jump to
Uniform yellowing across many leaves, poor growth, in non-acid soil
Soil is the foundation of camellia success or failure, and it is where most gardeners go wrong without realising it. Camellias are acid-loving plants that require a soil pH between 5.5 and 6.5 to thrive. In alkaline soil, typically anything above pH 7, the plant cannot absorb iron and other trace elements even when they are present in the soil. The result is chlorosis, a progressive yellowing of the leaves that gradually weakens the plant and, over years, kills it. If your garden has chalk, limestone, or very hard tap water, alkaline conditions are your most likely culprit.
Testing your soil pH before planting or if problems arise costs very little and provides immediate clarity. Simple test kits are available at garden centres and give you a result within minutes. For container camellias, always use ericaceous compost rather than general multipurpose. Watering container camellias with hard tap water gradually raises the compost pH over time and triggers chlorosis even when the plant was correctly potted in ericaceous compost. In hard water areas, use rainwater for camellias in containers wherever possible.
The second soil problem is waterlogging. Camellias need consistent moisture but cannot tolerate standing water around their roots. In heavy clay soil or poorly drained borders, roots become oxygen-starved, then rot, and the plant wilts and declines even though the soil is wet. If you push a finger into the soil and it feels cold, wet, and squelchy well below the surface, or if you can see water sitting on the surface after rain rather than draining away, drainage is your problem.
💡 Top Tip
If you are in a hard water or alkaline soil area and want to grow camellias, containers are by far the most reliable approach. Use ericaceous compost, water with collected rainwater, feed with an ericaceous liquid feed in spring and early summer, and repot into fresh ericaceous compost every two to three years. This gives you complete control over the one factor that most determines camellia success.
4. Bud drop: why camellia buds fall before opening
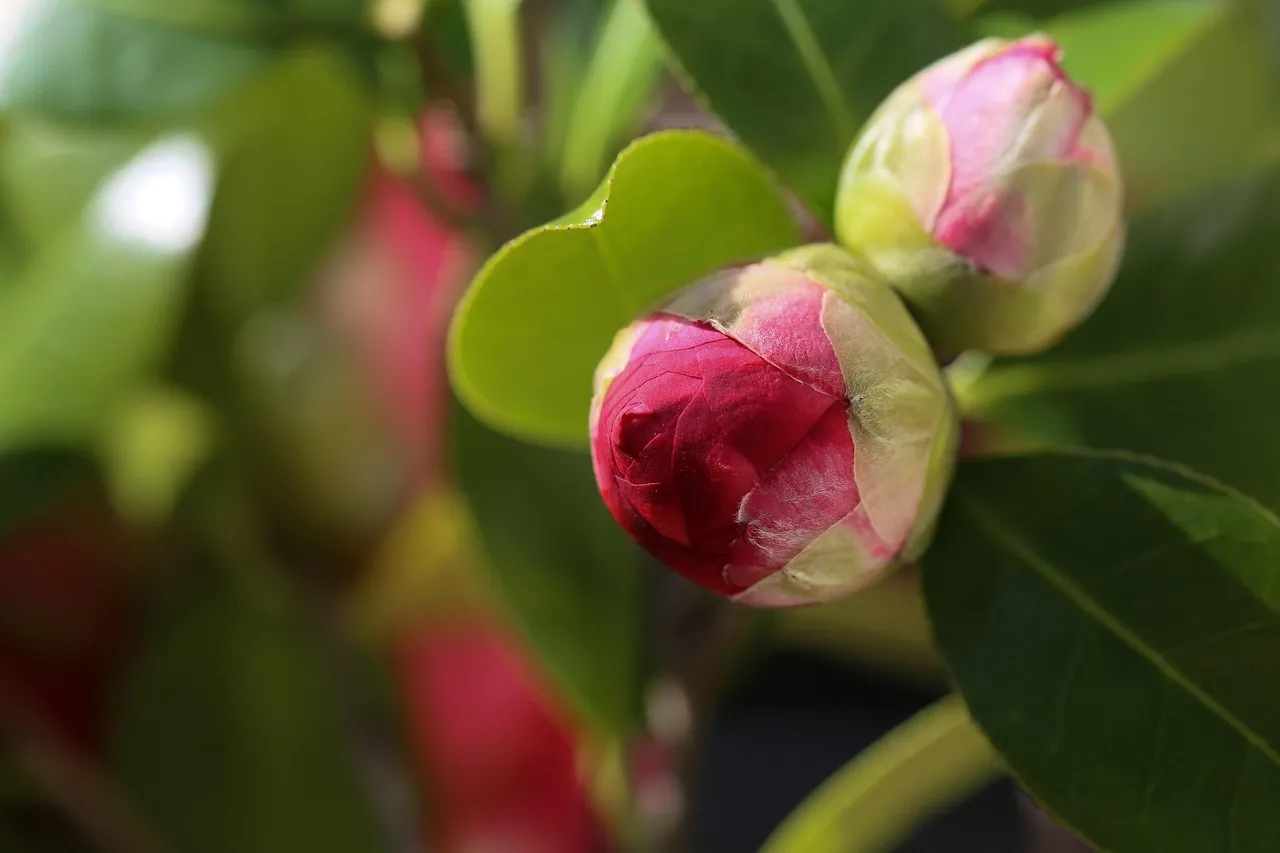
Bud drop is one of the most heartbreaking camellia problems, because the plant clearly had the potential to flower and then something went wrong before the moment arrived. Understanding why requires knowing when camellia buds actually form. Camellias begin developing the following year’s flower buds in late summer, between July and September. Any stress the plant experiences during this period, or during the subsequent winter before buds open, can trigger bud abortion or browning before the flowers open.
The most common UK cause of bud drop is drought in late summer, when buds are forming. If August and September were dry and the plant did not receive consistent moisture during that critical period, the developing buds may abort. You will not see the result until late winter or spring, when they should be opening and either fall off or open poorly. This is why watering camellias during dry late-summer spells is super important, even if the plant doesn’t look stressed at the time.
The second major cause is frost damage to the developing buds in late winter or early spring. This is particularly damaging in east-facing positions where the morning sun thaws frozen buds too rapidly after a cold night, destroying the cells. The buds go brown and fail to open. Planting camellias in a west- or north-west-facing position, where the sun does not hit frost-damaged buds first thing in the morning, significantly reduces this problem. A west-facing wall is often the very best position for a spring-flowering camellia in the UK, for this reason.
Late feeding is the third cause. Feeding camellias any fertiliser after the end of July promotes new vegetative growth rather than supporting bud development and can trigger bud drop. Never feed camellias after July.
💡 Top Tip
For camellias in exposed positions prone to late frosts, a double layer of horticultural fleece draped over the plant on forecast frost nights in February, March, and April protects the delicate developing buds from the freeze-thaw damage that causes browning and drop. Remove it each morning. This single intervention can transform a consistently disappointing camellia into a reliably spectacular one.
5. Wrong position: too much sun or east-facing exposure
Position is perhaps the single most important decision you make for a camellia and the one that causes the most long-term suffering when it is wrong. Camellias need light, but not the direct afternoon sun of a south-facing border. What they want is morning light or dappled shade through the day, with shelter from the most intense afternoon sun in summer and from the early morning sun in winter and spring when buds are forming.
An east-facing position is particularly problematic for flowering camellias. The morning sun hits frost-covered buds as temperatures rise, causing rapid thawing that ruptures plant cells. The flowers go brown seemingly overnight after a frosty night. This is not the frost itself killing the flowers; it is the rapid temperature change from frozen to thawed that does the damage. Many gardeners assume their camellia is tender or diseased when it is simply in the wrong position.
Full south-facing positions cause a different problem: sun scorch on the leaves during hot summers, showing as large brown or bleached patches on the leaf surface. The surrounding leaf tissue remains green while the affected area turns pale brown or papery. This is not fatal but significantly disfigures the plant and indicates it needs more shade.
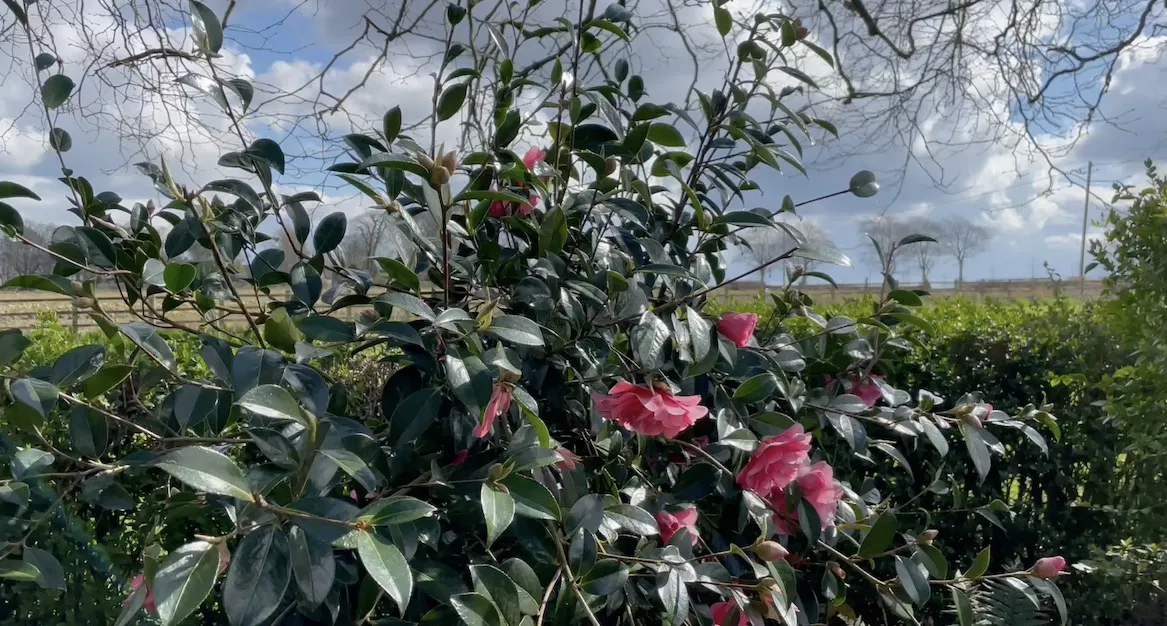
The ideal camellia positions in a UK garden are west-facing walls and borders, north-west facing spots with some indirect light, and beneath the dappled canopy of deciduous trees. If your camellia is in the wrong position and can be moved, autumn is the best time to transplant it. Dig up as much root ball as possible, transplant to the new location, water in thoroughly, and mulch the base. Most camellias transplant well in autumn and settle into flowering at the new position within a season.
6. Drought and summer water stress
Camellias are not drought-tolerant plants. They come from humid mountain woodlands with consistent rainfall, and summer drought in the UK increasingly creates serious problems for them. The critical window is late July through September when the flower buds for the following spring are forming. A camellia that dries out during this period may look perfectly healthy in summer but produce few flowers or drop its buds the following spring.
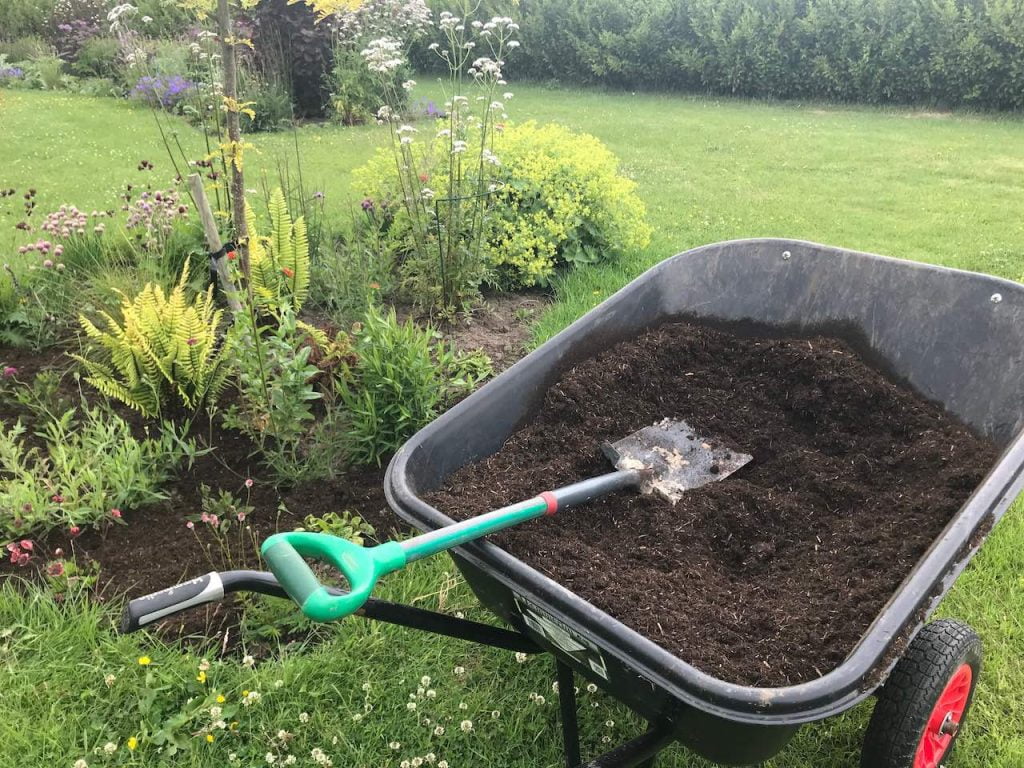
For garden-planted camellias, a deep mulch of leaf mould, composted bark, or peat-free compost around the base is the most effective intervention. Apply it 5 to 8 centimetres deep over the root zone, keeping it clear of the main stems. This retains soil moisture significantly longer during dry spells and regulates soil temperature during summer heat. Combined with deep watering every two weeks during prolonged dry periods from July to September, it makes a very significant difference to bud development and the following year’s flower display.
Container camellias are much more vulnerable to drought than garden-planted ones because the limited compost volume dries out very quickly. In summer, a large container camellia may need watering twice a week. Check by pushing your finger into the compost to a depth of 5 centimetres. If it feels dry at that depth, water thoroughly until water runs freely from the drainage holes.
7. Yellow leaves: iron chlorosis and nutrient deficiency
Yellow leaves on a camellia are not all the same, and the distinction matters for diagnosis. If the whole leaf turns yellow, including the veins, the cause is usually waterlogging or root damage. If the leaf turns yellow but the veins remain visibly green (this is called interveinal chlorosis), the cause is almost certainly iron deficiency, often due to alkaline soil or alkaline water that prevents iron uptake.
Iron chlorosis is extremely common in container camellias that have been watered with hard tap water for several years. Even if the original compost was perfectly ericaceous, repeated watering with alkaline tap water gradually raises the pH until the plant can no longer access iron. The leaves begin to yellow progressively, newer leaves yellowing first while older leaves remain greener. The plant looks increasingly anaemic and sick, with no obvious cause.
The fix is to address the pH and apply a sequestered iron treatment. Switch to rainwater for watering immediately. Apply a sequestered iron product (also labelled as chelated iron or Sequestrene) to the compost or soil. This provides iron in a form the plant can absorb regardless of pH. Results are visible within two to three weeks. Feed with a liquid ericaceous fertiliser in early spring and again in early summer to support recovery.
8. Brown leaves: frost, scorch, drought, and seasonal shedding
Brown leaves on a camellia have several distinct causes that require different responses, so identifying the pattern is critical before doing anything.
Frost damage: browning at the leaf tips or leaf edges, usually developing rapidly after a cold night. Particularly common in late winter or early spring on young or freshly emerged leaves. Remove the affected leaves, protect the plant from further frost with fleece, and new growth will emerge. This is generally not life-threatening.
Sun scorch: large bleached or pale brown patches in the centre or upper surface of leaves, most common in summer on plants in too much direct sun. The surrounding tissue remains green. Remove affected leaves, provide some shade or move the plant, and the new growth will be unaffected.
Drought browning: leaves turning brown and dropping, often starting at the edges and tips, combined with dry soil. The plant may wilt slightly in the heat of the day. Water the plant deeply and mulch the base. Recovery is usually good once moisture is restored.
Normal seasonal leaf shed: camellias are evergreen but do shed older inner leaves, particularly in spring. If you notice yellowing and leaf fall confined to the oldest leaves at the base and interior of the plant during late spring or early summer, this is entirely natural. It requires no action. Many gardeners mistake this annual renewal for a problem when the plant is in perfect health.
Brown spotting with yellow halos: this points to leaf blight rather than environmental stress and is covered in the next section.
9. Fungal disease and camellia blight
Fungal disease in camellias is less common than the environmental problems above but considerably more serious when it occurs. The two most important diseases to know are camellia leaf blight and camellia petal blight.
Camellia leaf blight causes irregular brown or grey spots on the leaves, sometimes with darker borders or yellow halos around the affected areas. In severe cases the infection progresses into the branches causing dieback. It is most common in young or recently propagated plants and in very wet conditions. Remove and bin (never compost) all affected leaves and branches. Improve air circulation around the plant by thinning congested growth. In severe cases, a copper-based fungicide can help limit spread.
Camellia petal blight causes the flowers to turn brown rapidly, often within a day or two of opening. The browning starts in the centre of the flower and spreads outward, and affected petals may show dark brown veins. Petal blight is caused by a soil-borne fungus and is unfortunately very persistent. Remove all affected flowers immediately and collect any that have fallen. A deep layer of fresh mulch over the soil prevents the fungal spores from being splashed up onto opening flowers. Do not overhead water a camellia suspected of having petal blight.
Camellia blight, the most serious fungal disease, causes widespread, rapid browning of leaves and stems, with branches dying back progressively. I have answered this question many times on the forum: if the whole plant is showing this pattern and you have other camellias nearby, the honest answer is to remove and dispose of the affected plant immediately rather than attempting to treat it. The disease is infectious, and the risk of it spreading to other camellias is real. Remove the plant, bin it or put it in garden waste, do not compost it, and leave the area empty for at least a year before planting anything in its place.
10. Pests: scale insect and vine weevil
Two pests cause the most significant damage to camellias in UK gardens. Scale insects are the more common of the two and are often missed until the infestation is well established. They attach themselves to the undersides of leaves and stems, looking like small brown, cream, or yellowish bumps or discs. You may notice a black sticky coating on the upper leaf surfaces, which is sooty mould growing on the honeydew that scale insects excrete. The plant weakens progressively and may drop leaves.
Scale insects are best controlled by wiping affected areas with a cloth dipped in warm soapy water to physically remove the insects, then following up with a horticultural oil spray which smothers eggs and any remaining scale. Repeat every two to three weeks through the growing season until the problem clears. Improving air circulation around the plant reduces the conditions scale insects prefer.
Vine weevil larvae are a more serious threat to container camellias in particular. The adult vine weevil, a small grey-black beetle, lays eggs in the compost in summer. The larvae hatch and spend winter and early spring eating the plant’s roots from below. The first sign is often a sudden collapse of the plant with no obvious above-ground cause: the camellia wilts, then dies, and when you inspect the root ball you find it largely eaten away with the characteristic fat, C-shaped cream grubs present in the compost.
Biological control using nematodes applied to moist compost in late summer is the most effective preventive treatment for vine weevil. The nematodes seek out and kill the young larvae before they can do significant damage. This needs to be done while soil temperatures are above 12°C, so late August through September is the ideal window in most UK regions. For established infestations, remove all compost from the root ball, wash the roots clean, remove all grubs by hand, and repot into fresh ericaceous compost.
If your camellia is struggling but still has living stems and some green foliage, work through this sequence systematically before giving up on it.
Step 1: test the soil pH. This costs very little and provides immediate clarity on the most common cause of long-term camellia decline. If the pH is above 6.5, address this first with ericaceous compost for containers, or sequestered iron for garden-planted specimens.
Step 2: check the position. Is the plant in an east-facing spot that gets early morning sun on frost-covered buds? Is it in full afternoon sun during summer? If yes to either, moving it is likely to be the most transformative action you can take.
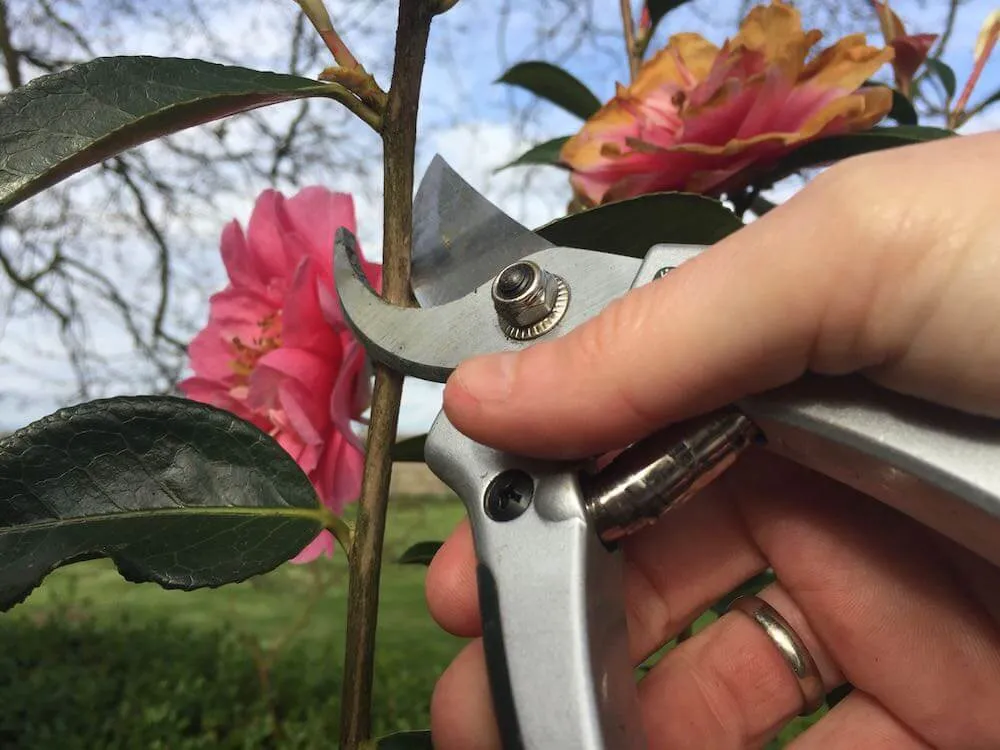
Step 3: remove all dead and affected material. Use clean sharp secateurs to cut back any branches that are brown and snap rather than bending, removing them to the point where you can see healthy green tissue beneath the bark. Dispose of all removed material carefully, particularly if disease is suspected.
Step 4: check the roots. For a container plant, tip it out and inspect the root ball. Healthy roots are white or cream and firm. Rotten roots are dark and mushy. Vine weevil damage shows as roots absent with grubs present. Each of these has a different solution as described above.
Step 5: mulch generously. Apply 5 to 8 centimetres of bark or composted leaves over the root zone, keeping clear of the main stems. This is one of the best things you can do for a struggling camellia regardless of the specific cause.
Step 6: feed with ericaceous fertiliser in spring. Once the plant is showing new growth, a liquid ericaceous feed applied monthly from March through July supports recovery. Do not feed in autumn or winter. For my full guide on camellia pruning and aftercare, visit my camellia pruning guide.
Your subscription could not be saved. Please try again.
Your subscription has been successful.
12. Frequently asked questions
Why are my camellia buds turning brown and falling off?
Bud drop in camellias is most commonly caused by drought during late summer when the buds were forming, frost damage to developing buds in late winter or early spring (particularly in east-facing positions), or feeding too late in the season after July. Ensure the plant receives consistent moisture from July to September, protect developing buds with fleece during late frost events, and stop feeding by the end of July each year.
Why are my camellia leaves turning yellow?
If leaves are uniformly yellow including the veins, root damage, waterlogging, or nutrient deficiency is likely. If leaves show yellowing between green veins (interveinal chlorosis), the plant is iron-deficient due to alkaline soil or hard tap water. Test your soil pH and switch to rainwater for container camellias. Apply sequestered iron and feed with ericaceous fertiliser in spring.
Why are my camellia flowers turning brown quickly after opening?
Flowers opening and turning brown rapidly is usually caused by frost damage during the opening period, or by camellia petal blight fungal disease. Frost damage typically shows as browning of the outer petals after cold nights, while petal blight starts in the centre of the flower and spreads outward with visible brown veining. For petal blight, remove all affected flowers immediately and apply a thick mulch to prevent soil-borne spores from splashing up.
Can I grow a camellia in alkaline soil?
Growing a camellia in alkaline garden soil long-term is very difficult and ultimately leads to chlorosis and decline regardless of how much ericaceous feed you apply. The most practical solution in alkaline gardens is to grow camellias in large containers using ericaceous compost, watered with rainwater rather than hard tap water. This gives you complete control over the pH and produces excellent results even in the chalkiest gardens.
What is the best position for a camellia in a UK garden?
West or north-west facing walls and borders are the best positions for spring-flowering camellias in the UK. These aspects provide shelter from early morning sun that causes freeze-thaw damage to developing buds in late winter, protection from the drying east winds that can desiccate buds, and the dappled or indirect light that camellias prefer over full afternoon sun. Autumn-flowering C. sasanqua varieties are more tolerant of direct sun and can do well in a sunnier south-facing spot.
Why did my camellia not flower this year?
A camellia that failed to flower usually had its buds either drop before opening or never properly form. The most common causes in order of frequency are: drought during late summer the previous year preventing good bud formation, frost damage to developing buds in late winter or early spring (particularly in east-facing positions), feeding after July the previous year, or waterlogged or alkaline soil preventing the plant from being in good enough health to support flowering. Work through the diagnosis table at the top of this guide to identify which applies.
Improve Your Garden Design Skills Online
Now you know how to keep your camellia happy, why not start shaping a garden that truly works for you? Level up your skills with one of my online gardening courses!
My Garden Design for Beginners course is the perfect next step. Whether you’re completely new to garden design or just need a more structured approach, this affordable online course guides you through the full process from blank canvas to brilliant layout.
I’m Lee Burkhill, award-winning garden designer and presenter on BBC1’s Garden Rescue, and I’ve packed this course with practical advice, insider tips, and easy-to-follow steps to help you design a garden that works in harmony with nature, and keeps ground elder firmly in its place!
Planting Techniques: Select and arrange plants like a professional.
Design Styles and Layout Options: Explore different styles to suit every garden.
Course Features:
20 Hours of Study Time
Flexible Online Learning
Engaging Video Lessons and Quizzes
Real-World Case Studies
Certification upon Completion
Taught by Award-Winning Designer Lee Burkhill
Enrol now for just £199 and start your journey toward garden design mastery!
29
Garden Design Examples for Small Gardens: 30 Design Templates & Planting Plans
Garden Design Examples for Small Gardens: 30 Design Templates & Planting Plans: In this online gardening course, I’ll walk you through 30 fantastic garden designs, explaining the logic behind the layout, the plant choices, and take-home tips for applying them in your own garden.
Weekend Garden Makeover: A Crash Course in Design for Beginners
Learn how to transform and design your own garden with Lee Burkhills crash course in garden design. Over 5 hours Lee will teach you how to design your own dream garden. Featuring practical design examples, planting ideas and video guides. Learn how to design your garden in one weekend!
Garden Design for Beginners: Create Your Dream Garden in Just 4 Weeks
Garden Design for Beginners Online Course: If you want to make the career jump to becoming a garden designer or to learn how to design your own garden, this is the beginner course for you. Join me, Lee Burkhill, an award-winning garden designer, as I train you in the art of beautiful garden design.
Camellias reward good positioning and consistent care with some of the most spectacular flowers in the winter and spring garden. The great majority of problems trace back to four things: alkaline or waterlogged soil, an east-facing position that exposes buds to freeze-thaw damage, drought in late summer when buds are forming, and feeding too late in the season. Get those four things right, and a camellia will give you years of reliable, jaw-dropping colour. Get the soil pH right first. Everything else follows from that.
For the complete guide to pruning and caring for your camellia year-round, visit my camellia pruning guide.
Your subscription could not be saved. Please try again.
Your subscription has been successful.
Lee Burkhill
Lee Burkhill, known as the Garden Ninja, is an award-winning garden designer and horticulturist with over 30 years of gardening experience and 15 years as a professional garden designer. A qualified RHS (Royal Horticultural Society) professional, Lee specialises in sustainable garden design and practical horticultural advice. He designs and presents on BBC1’s Garden Rescue and in leading gardening publications. Lee combines three decades of hands-on gardening knowledge with professional design qualifications to help gardeners create beautiful, functional outdoor spaces.