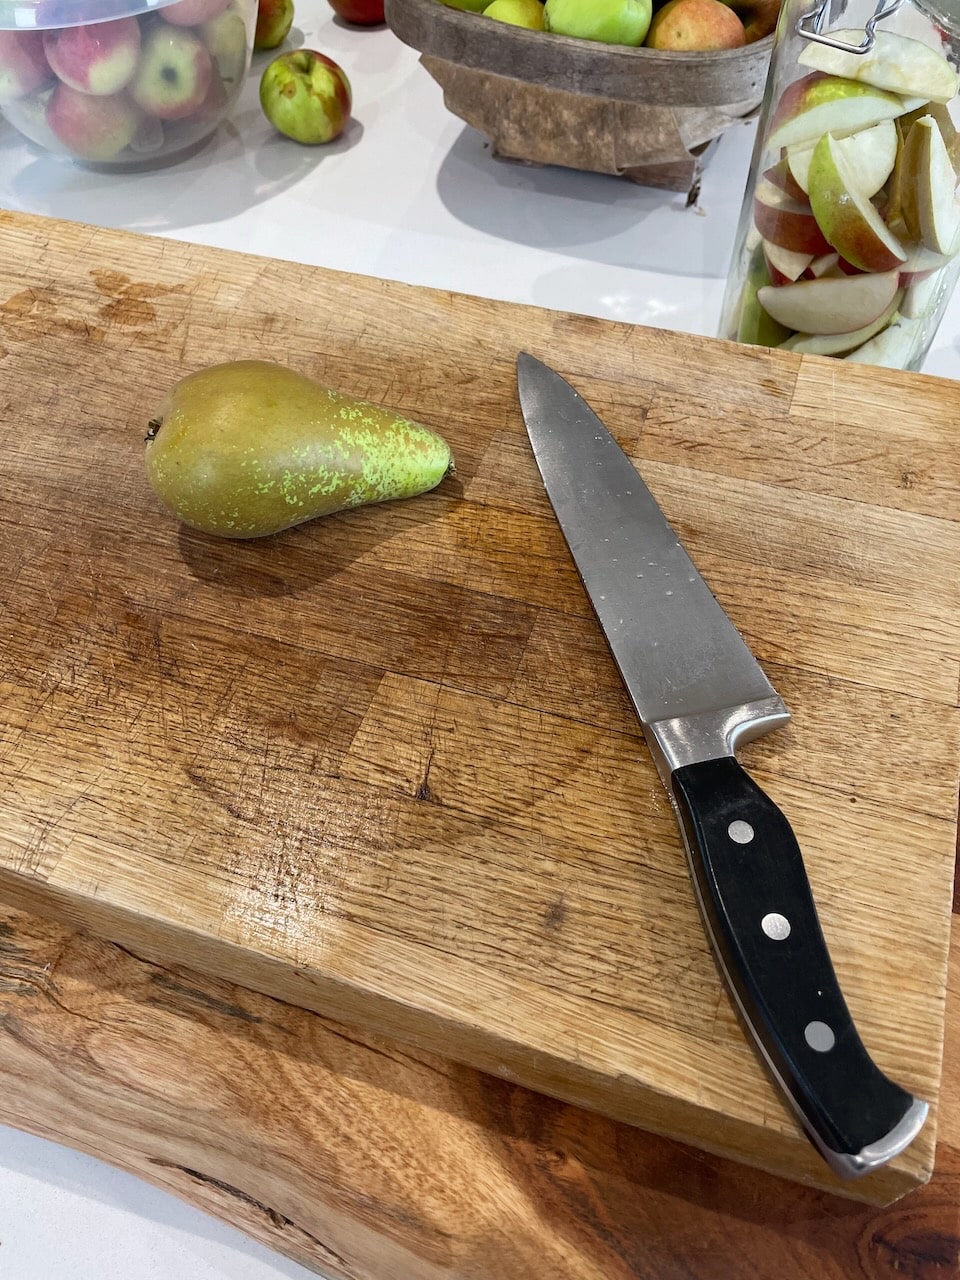
What to do with Harvested Pears: Recipes & Ideas for Gluts
Lee Burkhill: Award Winning Designer & BBC 1's Garden Rescue Presenters Official Blog
If you’ve been following my apple harvest adventures, you’ll know that autumn’s fruit bonanza doesn’t stop there, just as you’re getting to grips with your apple glut, along come the pears with their own delicious demands! After years of helping clients make the most of their orchard bounty, I can tell you that pears are actually easier to manage than apples in many ways, but they do have their own quirky timing and storage secrets that’ll make all the difference between perfect puddings and disappointing disappointments.
Whether you’ve got your own Conference pear tree that’s finally living up to its name, you’ve inherited a mystery variety that’s dropping fruit faster than you can catch it, or you’ve simply gone completely overboard at the pick your own, this guide will transform your pear abundance from overwhelming burden into culinary treasure.
We’ll cover the crucial timing differences between pears and apples, share storage secrets that’ll keep your fruit perfect for months, and dive into my favourite tested recipes that genuinely use up serious quantities without requiring a degree in patisserie.
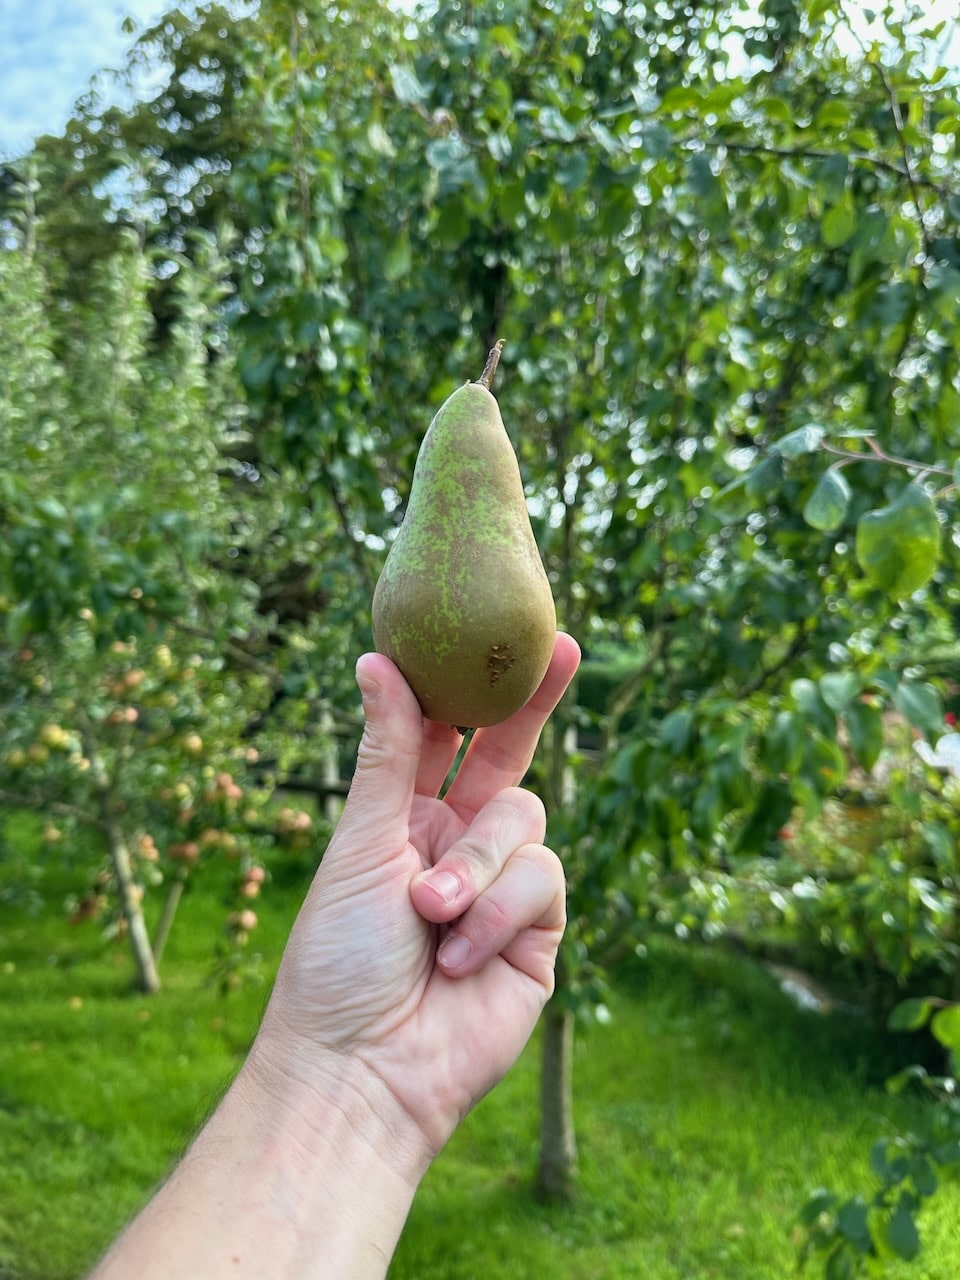
Here’s the thing about pears that catches most gardeners completely off guard: they’re the rebels of the fruit world. Whilst apples politely ripen on the tree and give you clear visual cues, pears are absolute masters of disguise. Pick them too late and they’ll be brown and mushy at the core whilst still looking perfect on the outside. Pick them too early and they’ll never develop that buttery sweetness that makes pears so special.
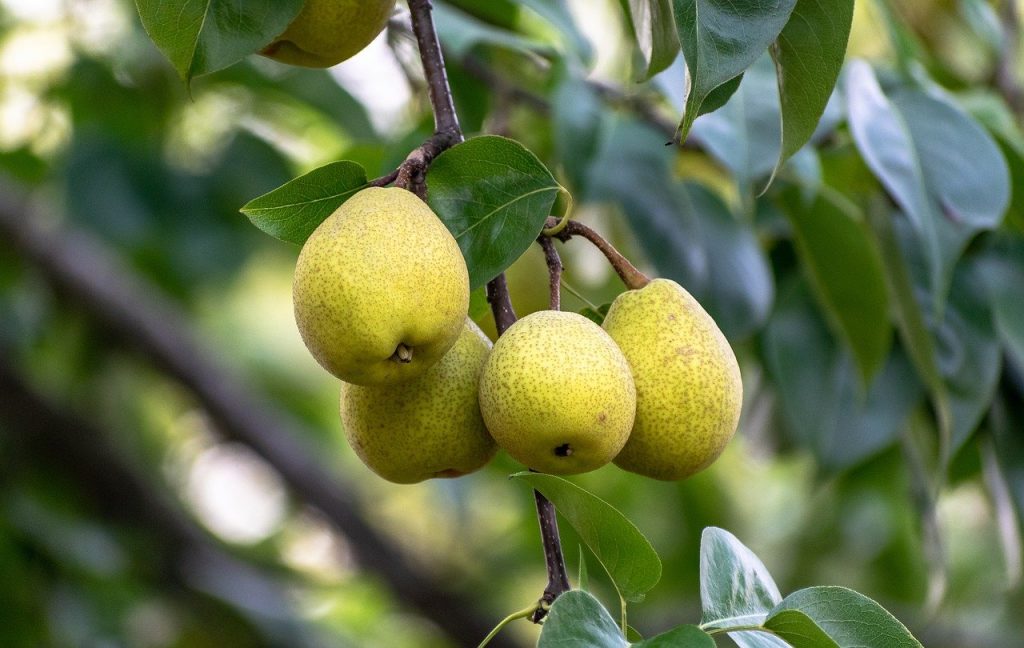
When Pears are Ready: The Garden Ninja Test
1) The Lift and Twist Method
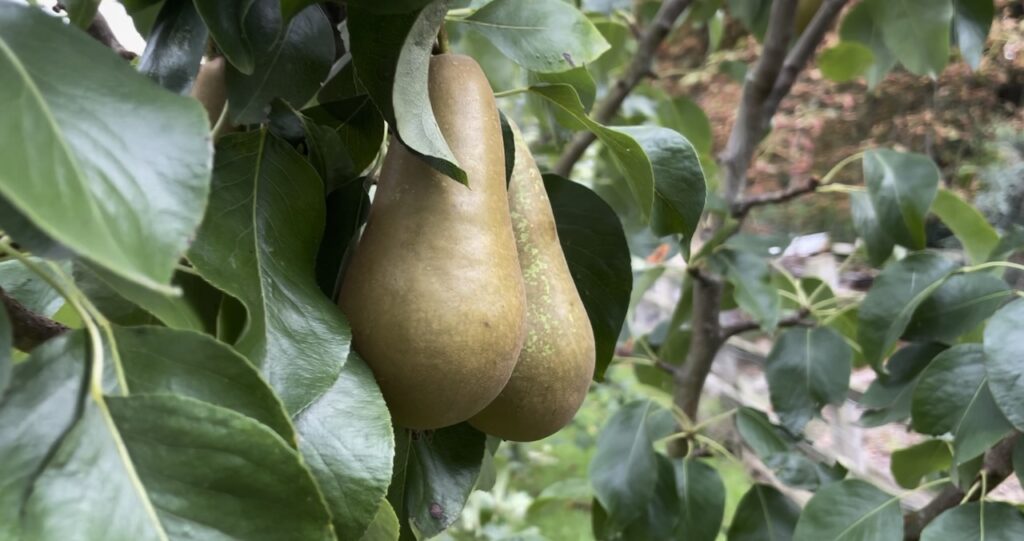
This is absolutely crucial for pears, even more so than apples. Cup the pear gently and lift it straight up whilst giving it a quarter turn. A ripe pear should separate from the branch cleanly with the stem attached. If you’re having to tug or pull, wait another week and try again.
2) The Colour Change Clue
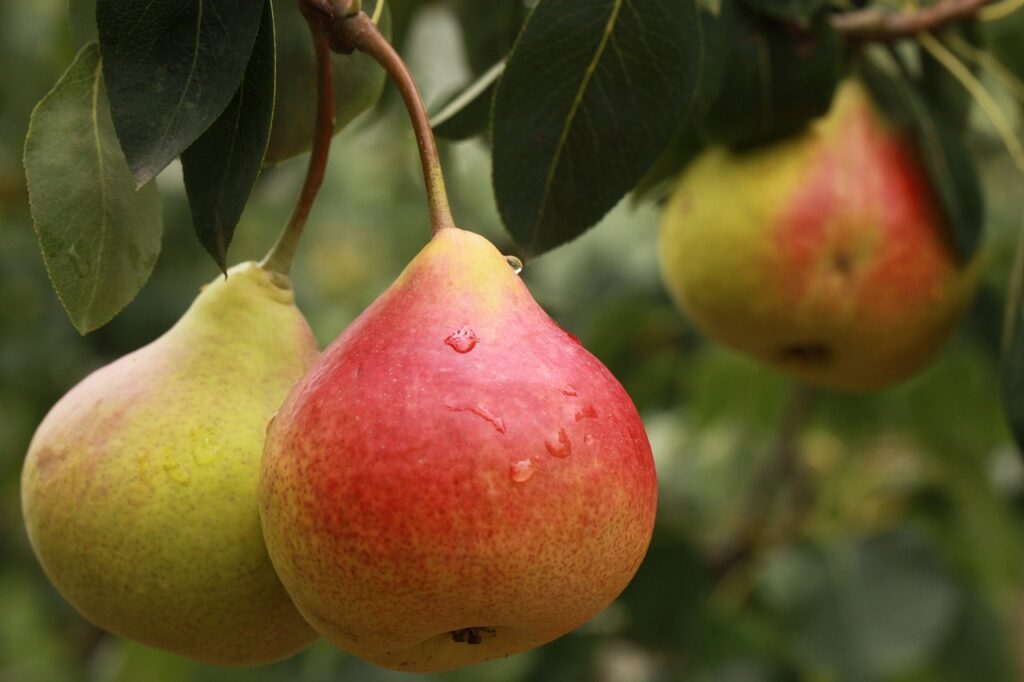
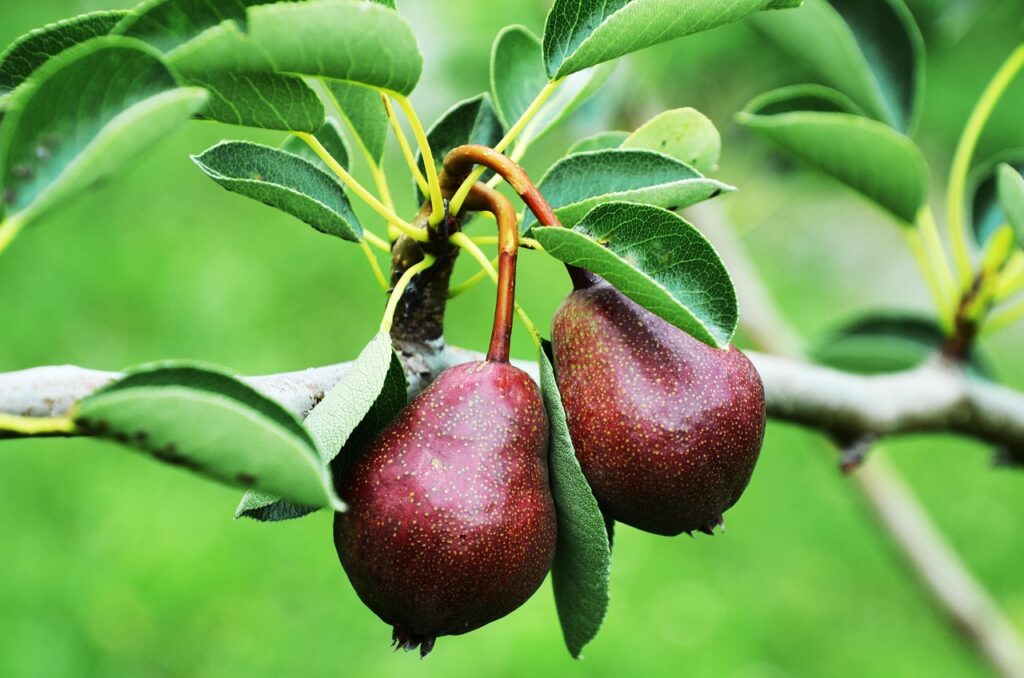
Unlike apples, pear colour changes are subtle but important. ‘Conference’ pears shift from deep green to a slightly lighter green with hints of yellow. ‘Williams’ varieties develop a more obvious yellow tinge, whilst ‘Comice’ pears may show slight pink blushing on the sunny side.
3) The Feel Test
This is where pears get tricky. A ready-to-harvest pear should still feel quite firm, almost hard. This goes against every instinct you have about fruit ripeness, but trust me on this. Pears that feel soft on the tree are already past their best internally.
UK Pear Harvest Calendar: Timing by Variety
Pear harvest in the UK typically runs from late August through October, coming after most apple varieties and extending your fresh fruit season beautifully. This is why I love growing pears here at Garden Ninja HQ, they allow you to spread oiut your harvest from August to October. I also find pear trees far better for smaller spaces as they tend to grow tall and skinny rather than wide like apple trees.
Early Season Pears (Late August to Early September): ‘Williams’ (Bartlett): Usually the first to be ready, these develop a beautiful yellow colour and that distinctive pear fragrance. Perfect for eating fresh and making preserves.
‘Clapp’s Favourite’: An early variety that requires careful timing. Pick when still firm as it goes from perfect to overripe very quickly.
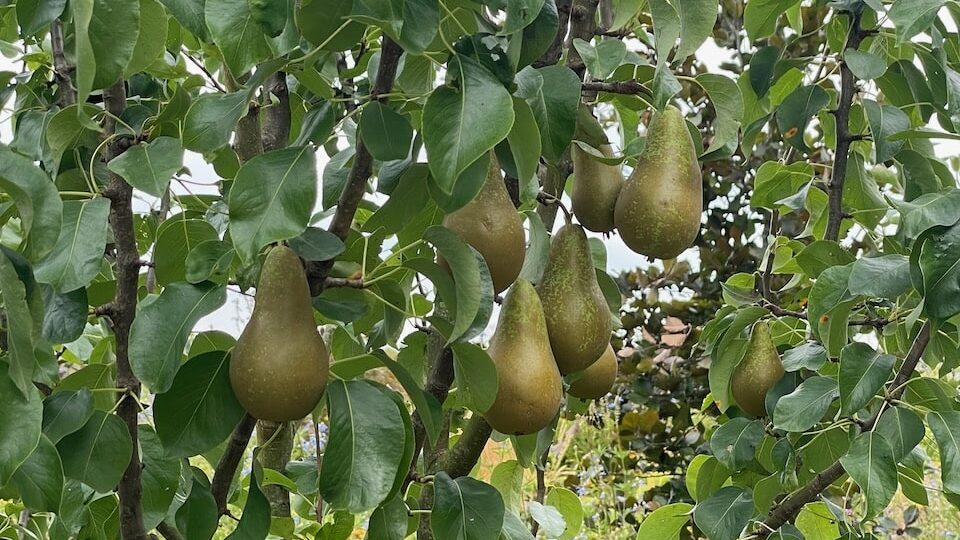
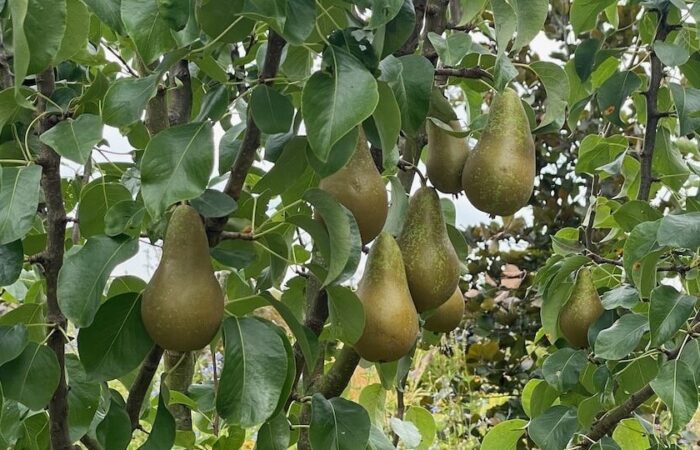
Mid Season Varieties (September): ‘Conference’: The reliable British favourite. These elongated pears are ready when they lift easily from the tree and have developed a slight yellow tinge to their green skin.
‘Beurré Hardy’: A French variety that’s become popular in UK gardens. Look for slight russeting around the stalk end when ready.
Late Season Champions (October): ‘Comice’: Often considered the finest flavoured pear, worth waiting for. These large, rounded fruits are ready when they separate easily and may show slight pink blushing.
‘Concorde’: A modern variety that combines the best of Conference and Comice. Usually ready in early October and stores exceptionally well.
The Storage Secret: Pears Ripen Off the Tree
This is the game-changer that most gardeners miss completely. Unlike apples, which can ripen beautifully on the branch, pears must be harvested before they’re ready to eat and taken off the tree or they start to brown and turn pulpy.
Here’s why this matters and how to do it right:
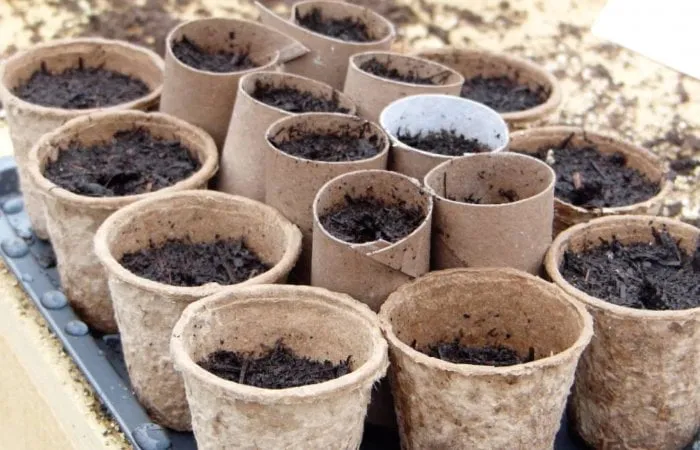
Immediate Storage: Freshly harvested pears should go straight into cool storage at 1 to 4°C. Your fridge crisper drawer is perfect, or an unheated garage or shed if temperatures are stable.
The Ripening Process: When you want to eat them, bring pears to room temperature. They’ll ripen from the inside out over 3 to 7 days depending on variety. You’ll know they’re perfect when they give slightly to gentle pressure at the neck end.
Professional Storage: For large quantities, layer pears in shallow boxes with newspaper between layers, all at the same temperature. Check weekly and remove any showing signs of deterioration and obviously keep them away from mice or any other pests! Under the stairs or dark storage in a porch somewhere can be useful.
What to do with Your Pear Harvest: My Top 12 Pear Recipes
Having dealt with everything from single-tree gluts to small orchard harvests, these recipes are specifically designed to handle substantial quantities while creating dishes you’ll actually want to eat and share. You don’t want all of your beautiful pears to go to waste or become food for late season wasps so using as many as possible is the aim of the game. I do try and leave on 1/5 for
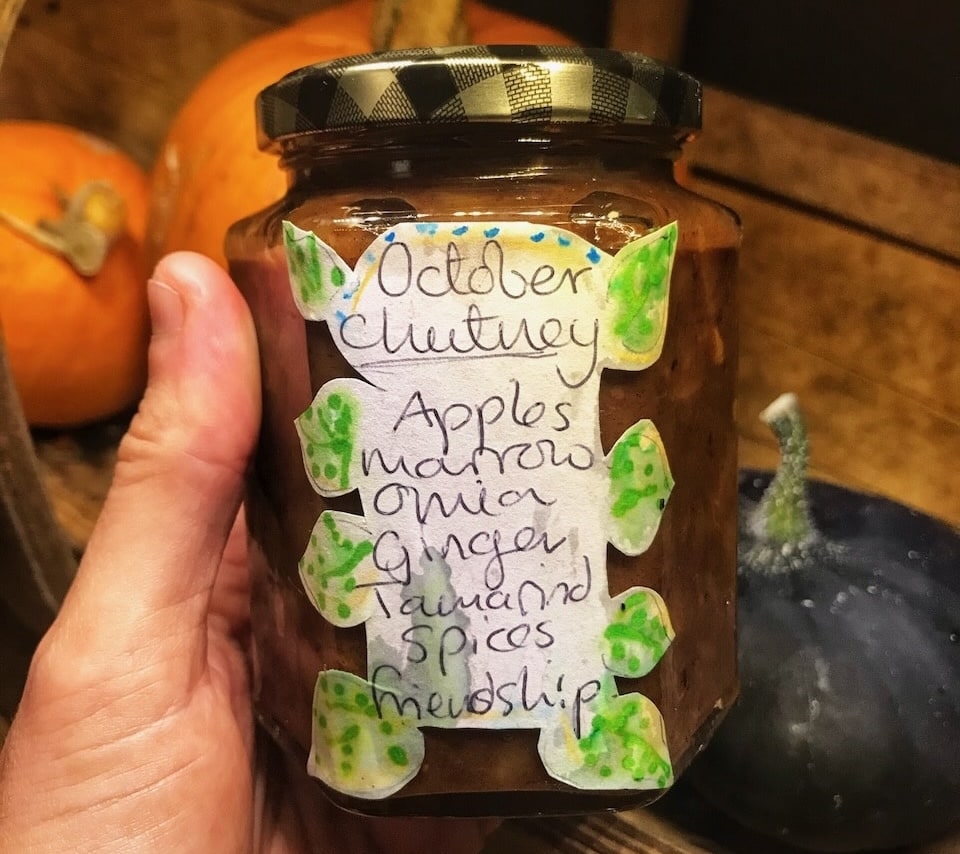
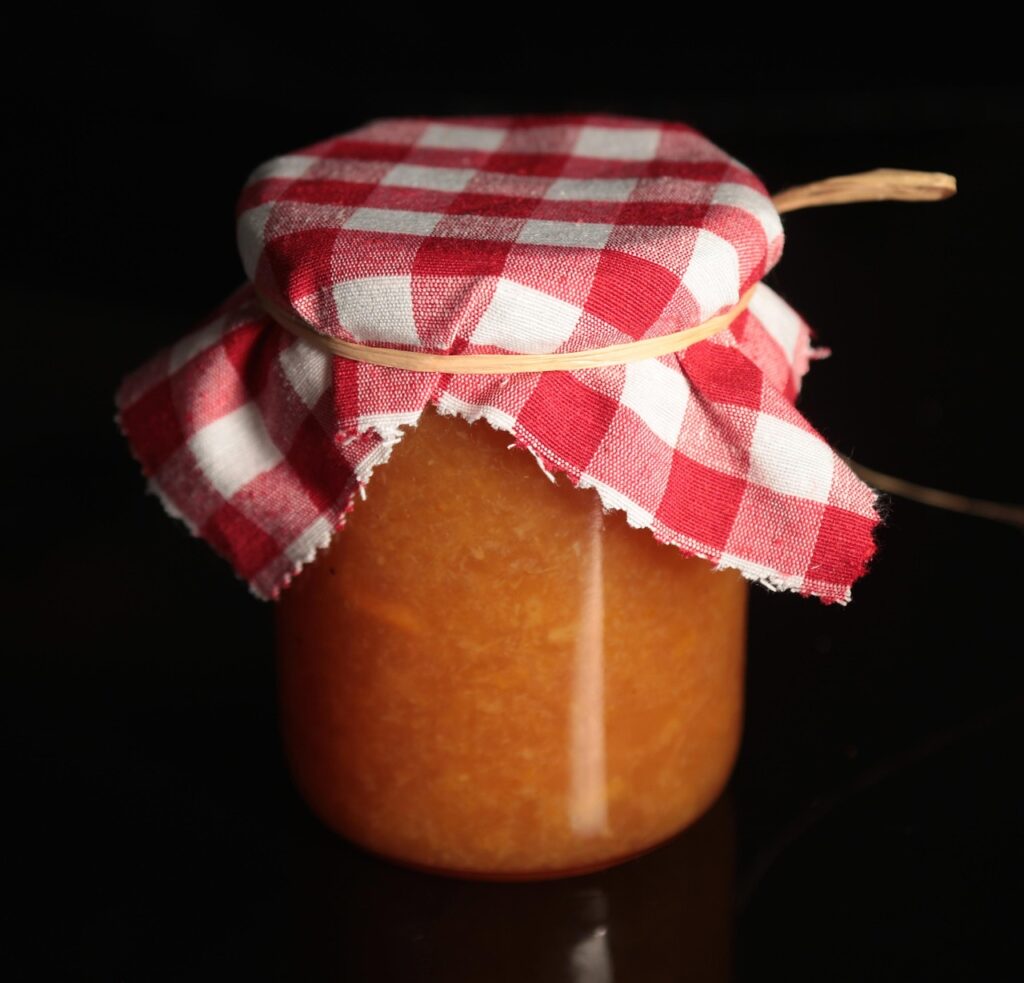
1. Garden Ninja’s Simple Pear Preserve
Why this works for gluts: Uses 3kg of pears in one batch and creates the most versatile preserve imaginable.
Ingredients:
3kg pears (any variety, mixed is brilliant)
2kg granulated sugar or ideally jam sugar with added pectin
Juice of 2 lemons
Powdered Pectin (mix up according to instructions for the weight of pears)
300ml water
Method:
Prep Your Pears: Peel, core and cut pears into chunks. Don’t worry about perfect pieces; rustic works beautifully for preserves.
Combine Everything: Add all ingredients to your largest heavy-bottomed jam pan. The mixture will look dry initially but trust the process.
The Long Cook: Bring to the boil, then reduce to a steady simmer. Cook uncovered for 1.5 to 2 hours, stirring regularly, until thick and glossy.
Jar and Store: Pour into sterilised jars whilst hot. This preserve keeps for years and actually improves with age.
This preserve works brilliantly with cheese boards, as a glaze for pork, stirred into porridge, or simply on toast. The long cooking develops an incredible depth of flavour and you can also add spices like cinamon, nutmeg opr all spice to help lift your pear preserve!
2. Lightning Pear and Ginger Chutney
Perfect for: Using up 2.5kg of pears and creating the ultimate cheese companion.
Ingredients:
2.5kg pears, cored and roughly chopped
500g onions, chopped
400ml cider vinegar
300g brown sugar
75g fresh ginger, grated
2 teaspoons ground cinnamon
1 teaspoon ground cloves
1 teaspoon salt
Method:
Everything Together: Combine all ingredients in a large pan. The beauty of chutney is that precision isn’t crucial.
Slow Bubble: Bring to the boil, then simmer gently for 45 to 60 minutes until thick and sticky.
Perfect Consistency Test: Draw a wooden spoon across the surface. If it leaves a clear line for a few seconds, it’s ready.
This chutney is absolutely magical with strong cheeses, brilliant with cold meats, and transforms a simple pork chop into something restaurant worthy.
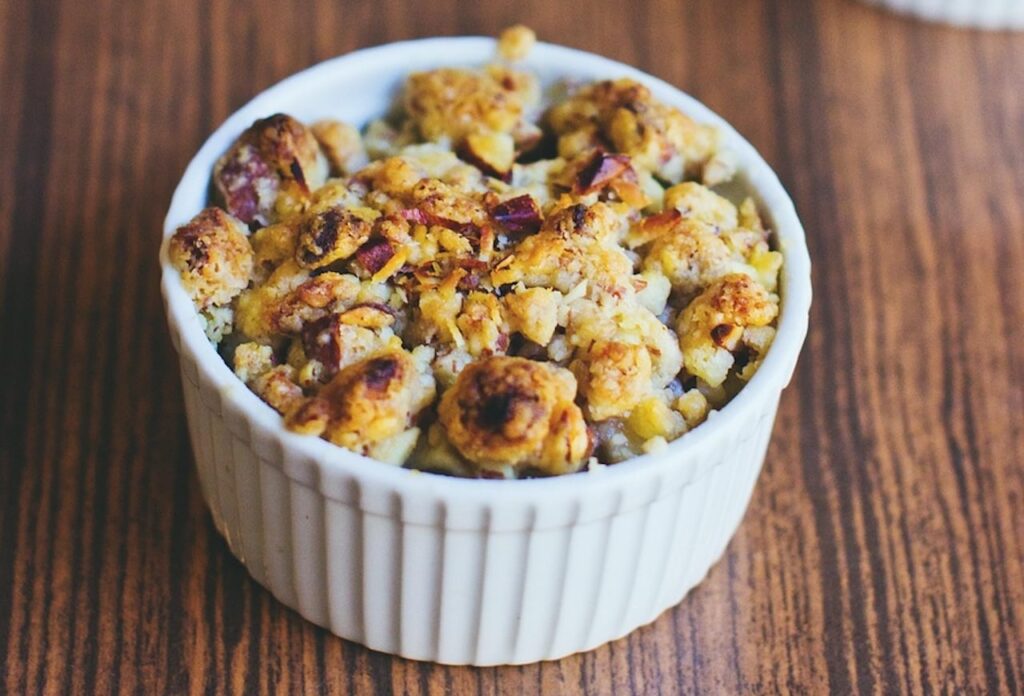
3. Pear and Cinnamon Crumble
Serves: 12 to 15 people generously and uses 2kg of pears.
Ingredients: For the filling:
2kg pears, peeled and sliced
150g caster sugar
2 teaspoons ground cinnamon
1 tablespoon plain flour
For the crumble:
300g plain flour
200g cold butter, cubed
150g brown sugar
100g rolled oats
50g chopped hazelnuts (optional)
Method:
Prepare the Base: Toss sliced pears with sugar, cinnamon, and flour. Spread in a large roasting dish.
Make the Crumble: Rub flour and butter until it resembles breadcrumbs. Stir in sugar, oats, and nuts if using.
Bake Big: Top fruit with crumble mixture and bake at 180°C for 40 to 45 minutes until golden and bubbling.
Garden Ninja’s Touch: The addition of hazelnuts adds gorgeous texture, but it’s equally delicious without. Serve with custard, cream, or ice cream.
4. Spiced Pear Butter
Uses: 4kg of pears to create the ultimate spread.
Ingredients:
4kg pears, peeled and quartered
600ml apple juice or pear juice
400g brown sugar
2 teaspoons ground cinnamon
1 teaspoon ground ginger
1/2 teaspoon ground cloves
1/2 teaspoon freshly grated nutmeg
Method:
Cook the Pears: Simmer pears with juice until completely soft, about 30 minutes.
Blend Smooth: Use a stick blender to create a smooth purée, or pass through a food mill.
The Long Reduction: Add sugar and spices, then cook on the lowest heat for 2 to 4 hours, stirring regularly. It’s ready when a spoon drawn across leaves a clear trail.
This keeps for months in the fridge and makes incredible gifts. Use as a spread, stir into yogurt, or serve with roast pork.
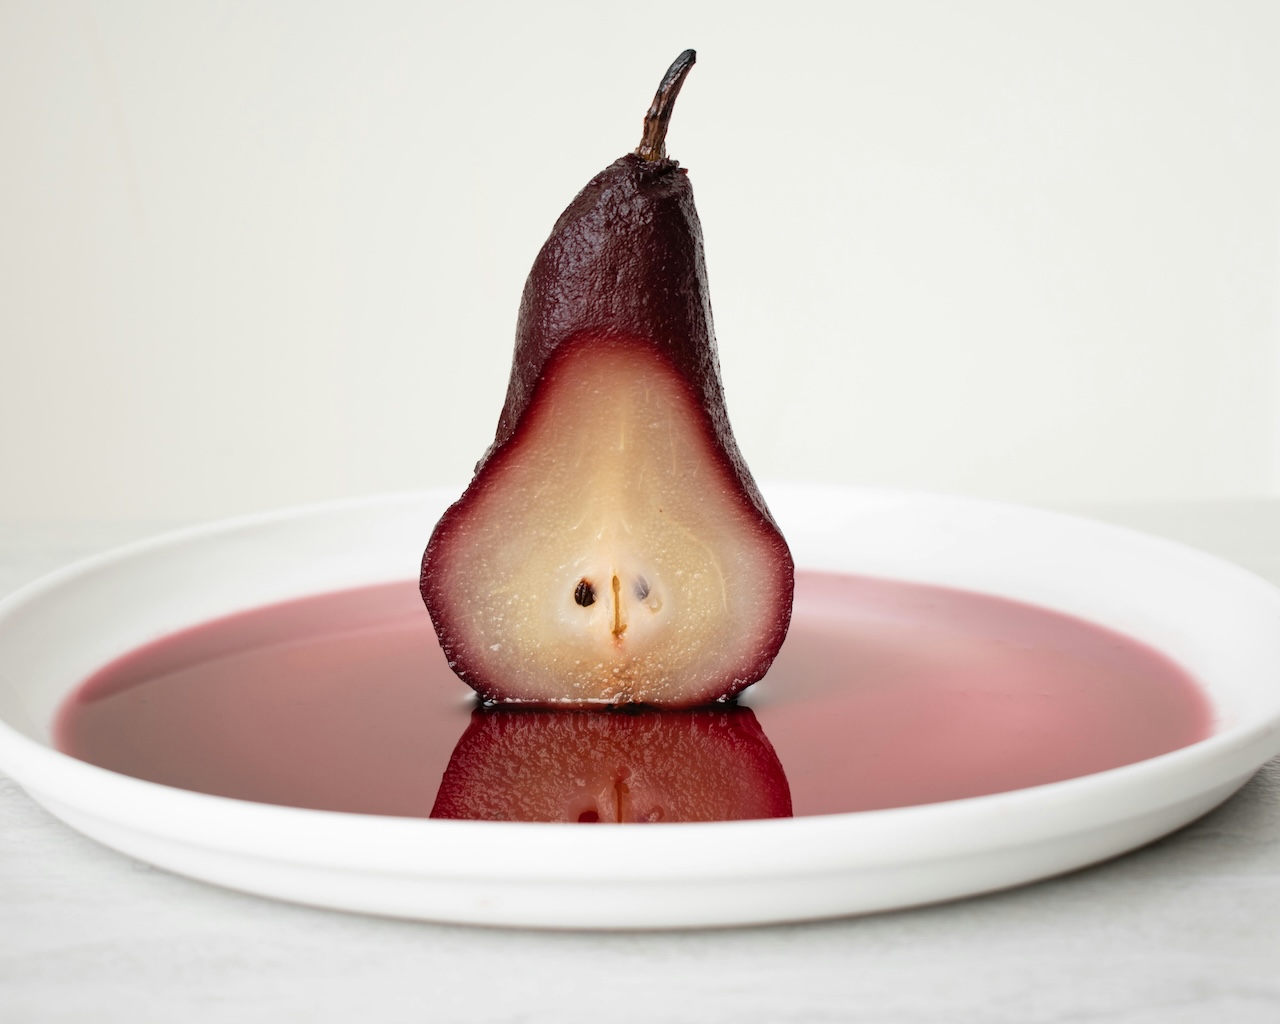
5. Classic Poached Pears in Wine
Elegant solution for: 8 to 10 pears that creates an impressive dessert.
Ingredients:
8 to 10 firm pears, peeled but left whole
750ml red wine
200g sugar
1 cinnamon stick
4 whole cloves
2 star anise
Zest of 1 orange
Method:
Create the Poaching Liquid: Combine wine, sugar, and spices in a large pan. Heat until sugar dissolves.
Poach Gently: Add pears and simmer very gently for 25 to 35 minutes until tender when pierced with a knife.
Concentrate the Syrup: Remove pears and boil the liquid rapidly until reduced by half and syrupy.
Serve pears with the reduced syrup and a dollop of cream or crème fraîche. This looks incredibly sophisticated but is actually quite simple and if you pair it up with some Damson Gin (recipe here) you can wow your guests with a truly autumnal treat!
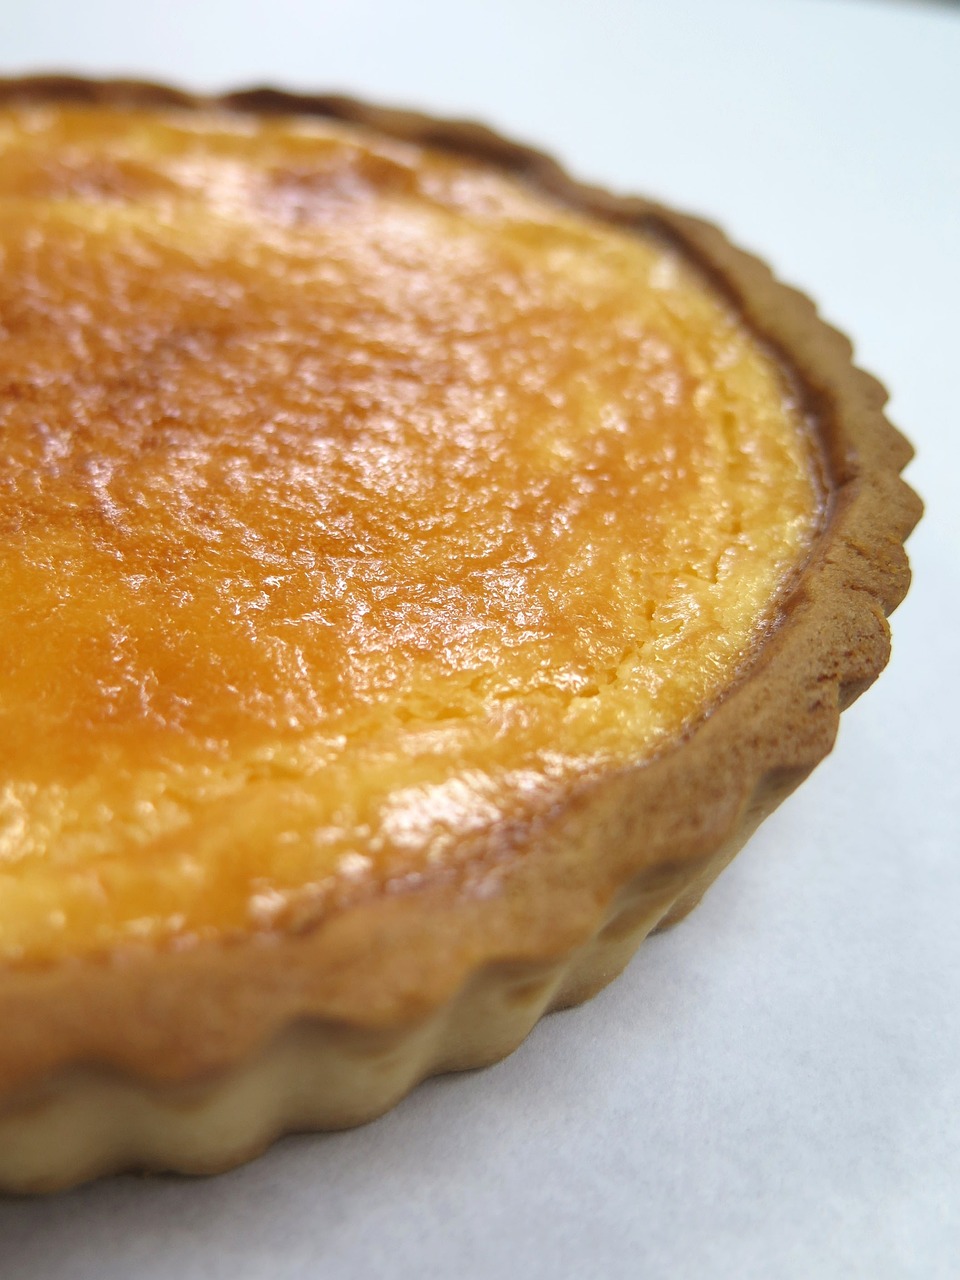
6. Pear and Blue Cheese Tart
Perfect for: Using 6 to 8 pears in an impressive savoury dish.
Ingredients:
Ready madeshort cruts pastry sheet
6 to 8 pears, peeled and sliced
200g blue cheese, crumbled
3 eggs
300ml double cream
2 tablespoons fresh thyme leaves
Black pepper to taste
Method:
Prepare the Base: Line a tart tin with pastry and blind bake at 200°C for 15 minutes.
Layer the Filling: Arrange pear slices and blue cheese in the pastry case.
Add the Custard: Whisk eggs, cream, thyme, and pepper together. Pour over the pears.
Bake to Perfection: Cook at 180°C for 30 to 35 minutes until set and golden.
his works brilliantly as a main course with salad, or cut into small squares as elegant canapés. My guests ahve always been surprised when I make this as they always consider pears to just be a desert food but you can uise them for al;sorts of savory dishes Ninjas!
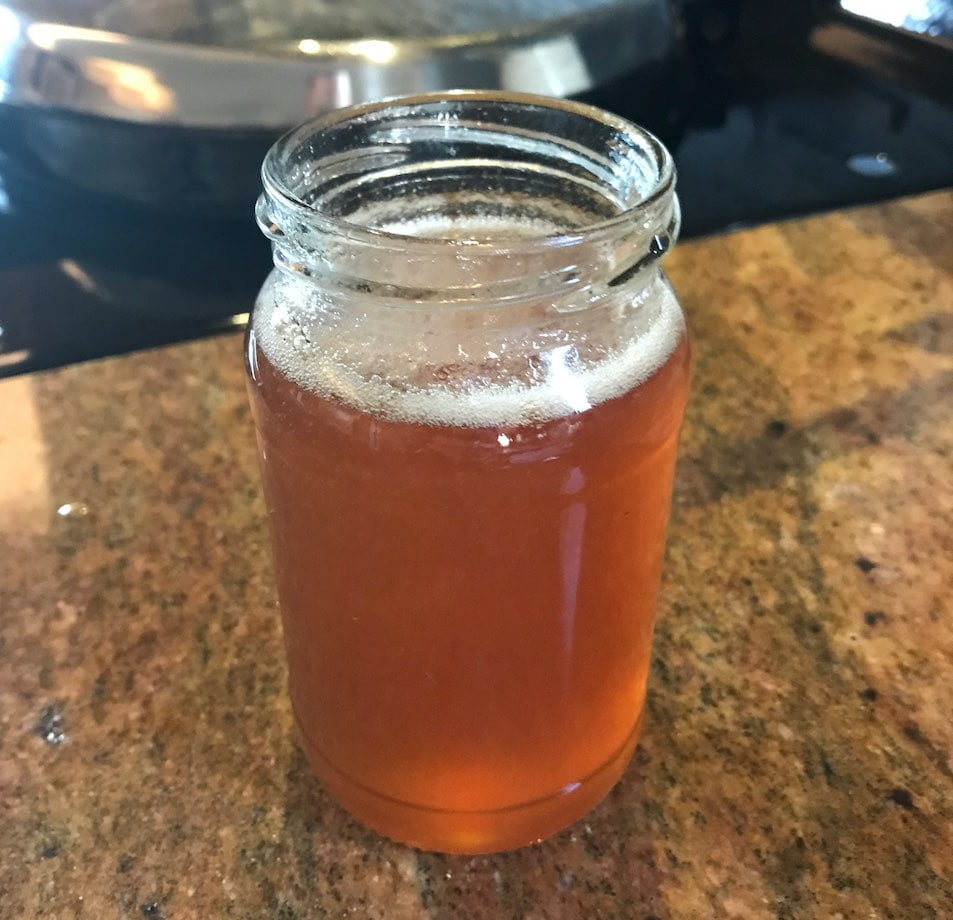
7. Pear Gin: The Winter Warmer
Uses: 1.5kg pears to create liquid gold.
Ingredients:
1.5kg pears, chopped roughly
400g caster sugar
750ml gin
Large sterilised jar
Method:
Freeze First: Chop pears and freeze overnight. This breaks down the cell walls for better flavour extraction.
Combine Everything: Add defrosted pears, sugar, and gin to your jar. Shake well.
Patient Waiting: Store in a dark cupboard for 2 to 3 months, shaking weekly.
Strain and Enjoy: Filter through muslin and bottle. This improves with age and makes perfect Christmas gifts.
Delicious neat over ice, mixed with prosecco for elegant cocktails, or added to warm apple juice for winter comfort.
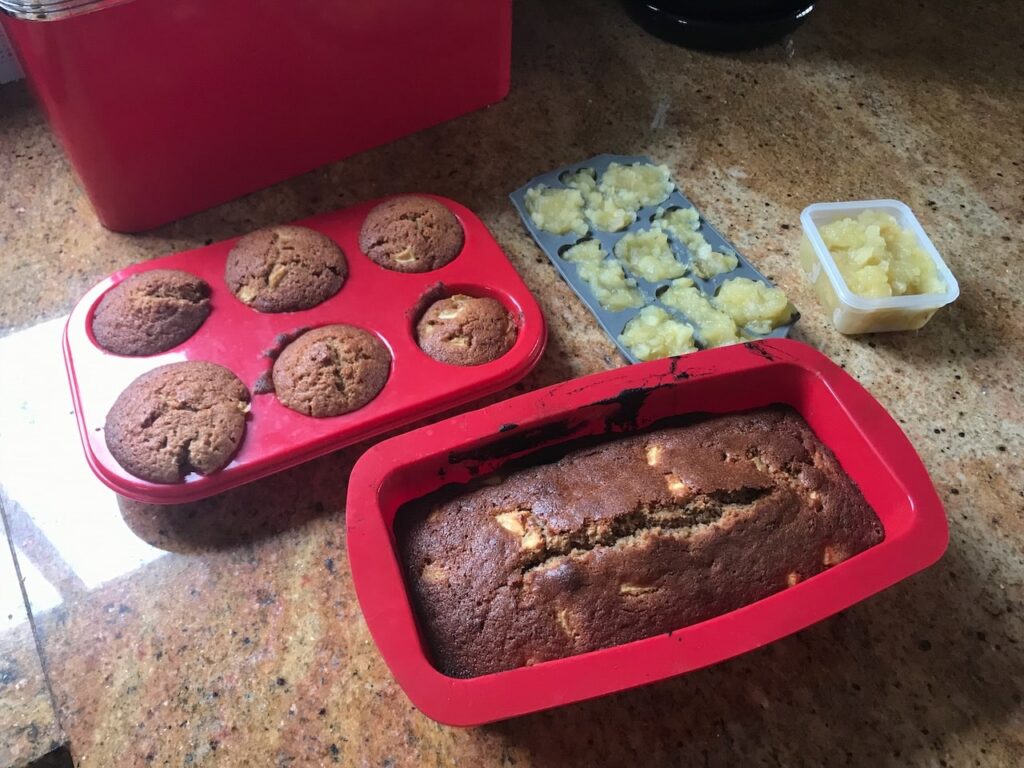
8. Quick Pear and Almond Cake
Uses: 4 to 5 large pears in a foolproof cake.
Ingredients:
4 to 5 pears, peeled and sliced
200g butter, softened
200g caster sugar
4 eggs
200g self raising flour
50g ground almonds
1 teaspoon almond extract
Method:
Cream and Mix: Beat butter and sugar until fluffy. Add eggs one at a time, then fold in flour, ground almonds, and extract.
Add the Pears: Gently fold in sliced pears, saving some for the top.
Bake Beautifully: Pour into a lined tin, arrange remaining pears on top, and bake at 180°C for 45 to 50 minutes.
You can also use muffin tins to make smaller individual portions which I do. This then enables you make loads of them and they freesze really well! This cake is incredibly moist thanks to the pears and keeps well for several days.
9. Pear and Walnut Salad
Fresh approach for: 4 to 6 pears in a sophisticated side dish.
Ingredients:
4 to 6 ripe pears, sliced thinly
200g mixed salad leaves
100g walnuts, roughly chopped
150g goat’s cheese, crumbled
3 tablespoons olive oil
1 tablespoon balsamic vinegar
1 tablespoon honey
Salt and pepper
Method:
Prepare Components: Arrange salad leaves on a large platter. Top with pear slices, walnuts, and goat’s cheese.
Make Dressing: Whisk oil, vinegar, honey, salt, and pepper together.
Dress and Serve: Drizzle dressing over salad just before serving.
Garden Ninja’s Tip: This salad works brilliantly as a starter for dinner parties or as a light lunch with crusty bread.
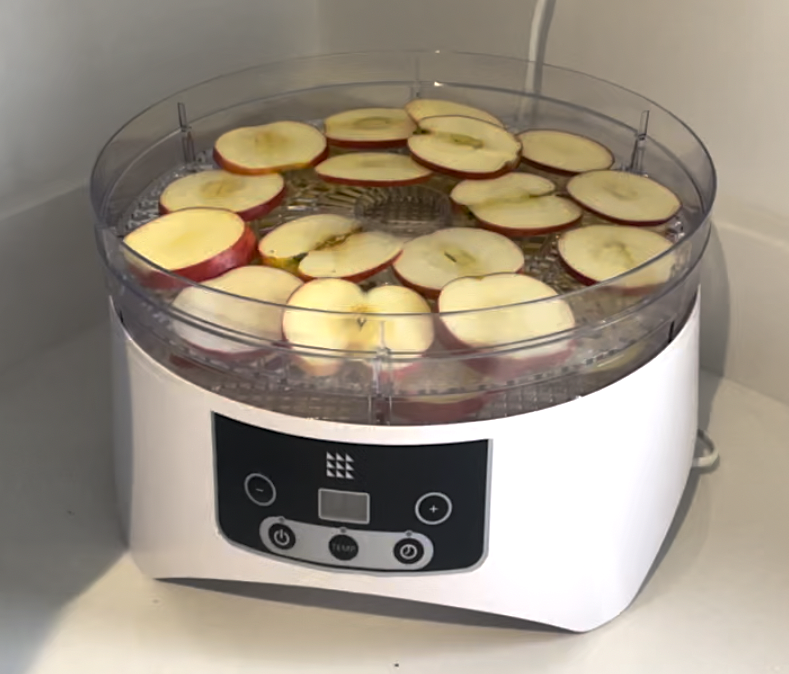
10. Pear Crisps: The Healthy Snack
Preserves: Unlimited quantities as dried fruit.
Method:
Slice Thinly: Core pears and slice into 3mm rounds. No need to peel.
Dehydrate Options:
Oven Method: Arrange on baking trays, set oven to lowest temperature (50 to 60°C), and dry for 6 to 8 hours
Dehydrator: Follow manufacturer’s instructions
Air Drying: Thread onto string and hang in warm, dry conditions
Properly dried pear crisps keep for months in airtight containers. Perfect for lunchboxes, hiking snacks, or stirring into morning porridge.
11. Pear and Cardamom Jam
Traditional preserve for: 2kg pears with exotic flavour.
Ingredients:
2kg pears, peeled and chopped
1.5kg sugar
Juice of 2 lemons
1 teaspoon ground cardamom
Seeds from 6 cardamom pods, crushed
Method:
Combine Ingredients: Mix pears, sugar, lemon juice, and cardamom in a large pan. Leave for 30 minutes to draw out juices.
Cook to Set: Bring to a rolling boil and cook rapidly for 15 to 20 minutes until setting point is reached.
Test for Set: Drop a small amount onto a cold plate. If it wrinkles when pushed with your finger, it’s ready.
The cardamom adds sophisticated warmth that transforms ordinary pear jam into something special. Perfect with cheese or as a cake filling.
12. Freezer Pear Portions
Preserves: Unlimited quantities for future baking.
Method:
Prepare for Purpose:
For Crumbles: Peel, core and slice, then toss with a little sugar and lemon juice
For Cakes: Peel and dice, then freeze in recipe sized portions
For Smoothies: Chop roughly and freeze in individual portions
Freeze Flat: Spread prepared pears on trays, freeze solid, then bag up in clearly labelled portions.
Frozen pears actually break down faster when cooking, making them perfect for quick weeknight puddings and last minute baking.
Storage Mastery: Making Your Pears Last
i) The Newspaper Technique
Wrap perfect, unblemished pears individually in newspaper and store in wooden crates in a cool, dry place (ideal temperature 1 to 4°C). Check weekly and remove any showing signs of ripening or deterioration.
ii) Controlled Ripening
Store pears in the fridge crisper drawer. When you want to eat them, bring to room temperature where they’ll ripen in 3 to 7 days. This gives you complete control over when they’re ready.
iii) Refrigerator Management
Modern fridges with humidity control can store pears for 2 to 4 months. Keep them in perforated plastic bags in the crisper drawer.
Sliced for Pies: Peel, core, slice, and freeze with a little lemon juice
Puréed for Sauces: Cook until soft, purée, then freeze in ice cube trays for easy portioning
Pear Varieties: Choosing the Right Fruit for the Job
Best for Eating Fresh
‘Williams’ (Bartlett): The classic pear flavour with buttery texture and floral aroma. Perfect for fresh eating when properly ripened.
‘Comice’: Often called the finest flavoured pear, with incredibly sweet, juicy flesh. Worth waiting for if you want the ultimate eating experience.
‘Conference’: Reliable and versatile, with good flavour and texture. The backbone of British pear growing.
Perfect for Cooking
‘Conference’: Holds its shape well in cooking, making it ideal for poaching and tarts where you want distinct pear pieces.
‘Concorde’: Combines the best qualities of Conference and Comice, excellent for both eating and cooking.
Any Slightly Overripe Pears: Perfect for chutneys, jams, and purées where texture isn’t crucial.
Storage Champions
‘Comice’: Can store for 3 to 4 months in proper conditions.
‘Conference’: Good storage life of 2 to 3 months.
‘Concorde’: Excellent storage qualities, often lasting until Christmas when harvested in October.
Common Pear Problems and Solutions
Below is a Q&A of the most common pear problems that gardeners email me about or use my online gardening forum to troubleshoot.
Q- Hard Pears That Won’t Ripen
A- Pears picked too early or stored too cold may never ripen properly. Solution: Try the paper bag method – place pears in a paper bag with a ripe apple or banana. The ethylene gas will trigger ripening.
Q – Pears Going Brown Inside
A- This usually means they were left on the tree too long or stored at the wrong temperatures. Solution: Prevention is key. Pick when they lift easily but are still firm, and store immediately at the correct temperatures.
Q – Overwhelming Quantities
A – Large trees can produce 100+ kg of fruit in good years. Solution: Focus on preservation methods that handle large quantities: chutneys, preserves, and community sharing.
Community Sharing: When Recipes Aren’t Enough
Sometimes you genuinely have more pears than any household can process:
Local Networks: Post in community Facebook groups – someone always wants free pears for jam making or juicing
Schools and Care Homes: Many welcome fresh fruit donations for cooking activities
Food Banks: Check if your local food bank accepts fresh produce
Pear Swaps: Trade pears for other garden produce with neighbours
Unlock Your Garden Potential with Garden Ninja’s Expert Online Training
Ready to transform your gardening skills beyond just harvesting pear trees? Garden Ninja’s expertly crafted online courses will fast-track your development from keen amateur to skilled garden designer in months rather than years. Starting at just £29, you’ll gain access to professional garden design expertise from BBC Garden Rescue’s Lee Burkhill, delivered at a fraction of traditional horticultural education costs.
29
Garden Design Examples for Small Gardens: 30 Design Templates & Planting Plans
Garden Design Examples for Small Gardens: 30 Design Templates & Planting Plans: In this online gardening course, I’ll walk you through 30 fantastic garden designs, explaining the logic behind the layout, the plant choices, and take-home tips for applying them in your own garden.
Weekend Garden Makeover: A Crash Course in Design for Beginners
Learn how to transform and design your own garden with Lee Burkhills crash course in garden design. Over 5 hours Lee will teach you how to design your own dream garden. Featuring practical design examples, planting ideas and video guides. Learn how to design your garden in one weekend!
Garden Design for Beginners: Create Your Dream Garden in Just 4 Weeks
Garden Design for Beginners Online Course: If you want to make the career jump to becoming a garden designer or to learn how to design your own garden, this is the beginner course for you. Join me, Lee Burkhill, an award-winning garden designer, as I train you in the art of beautiful garden design.
Self-paced learning – Study whenever suits you best, with no fixed timetables or classroom restrictions
Professional video tutorials from a qualified designer with extensive hands-on project experience
Engaging activities and real-world examples that strengthen understanding and boost your confidence
Unlimited access forever to course content, so you can return to lessons whenever needed
Professional certification – earn recognised qualifications that validate your garden design skills
Real-world application – put your new knowledge into practice immediately on your own outdoor spaces
Exceptional value – Premium education at a small percentage of conventional course fees
Conclusion: Embracing Your Pear Abundance
The secret to successful pear management lies in understanding their unique timing and storage needs. Unlike apples, which announce their readiness clearly, pears require a more nuanced approach and reward patience with incredible flavour development.
Start with simple preservation methods like the basic preserve and chutney, then expand into more adventurous territory as your confidence grows. Remember, pears are actually more forgiving than apples in many ways – they don’t bruise as easily during processing, and their natural sweetness means you often need less sugar in recipes.
Whether you’re dealing with a single productive tree or managing a small orchard, these techniques will help you transform your pear glut from seasonal stress into year-round pleasure. After all, there’s nothing quite like opening a jar of homemade pear preserve on a winter morning and tasting autumn sunshine all over again.