Hi @eoinkmcc
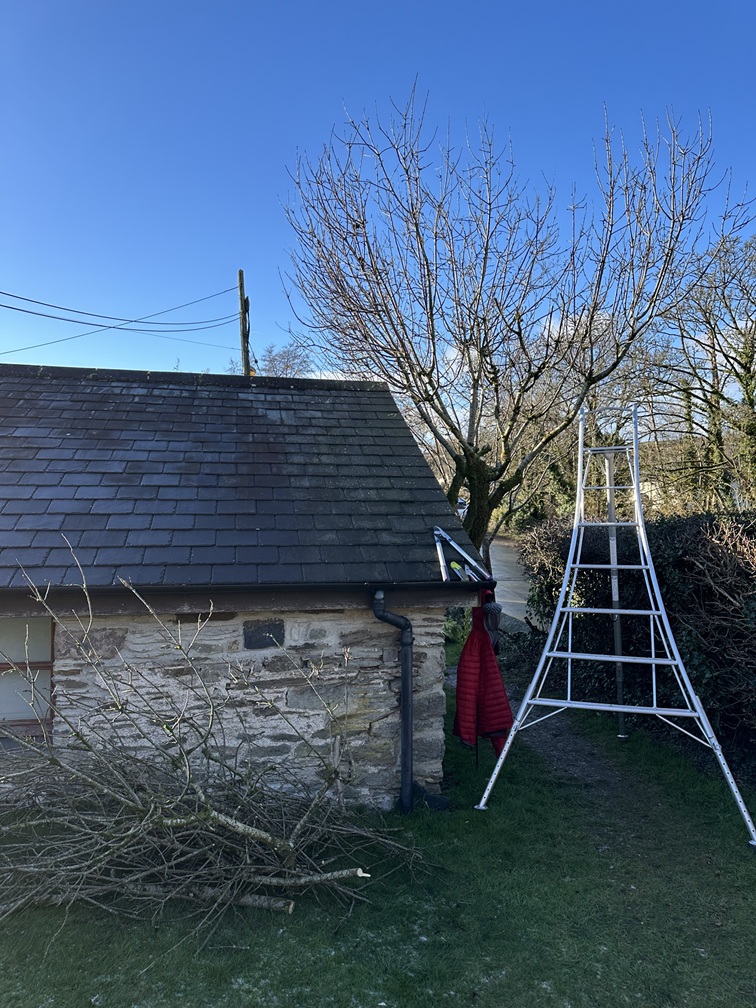
First up, don't panic about taking this apple tree in hand.
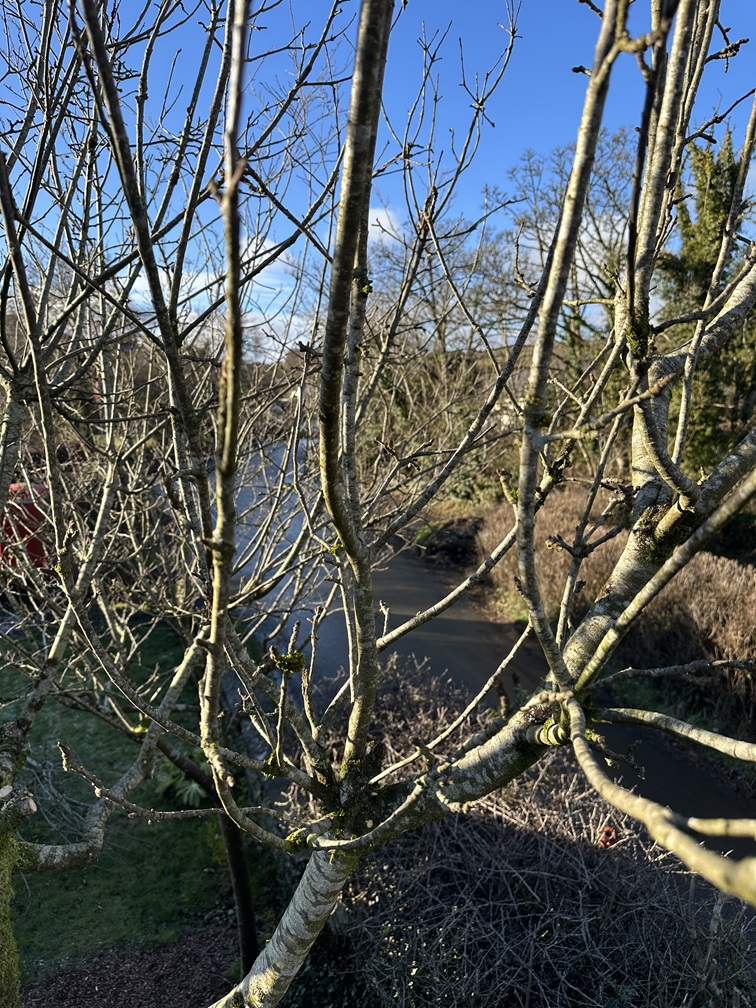
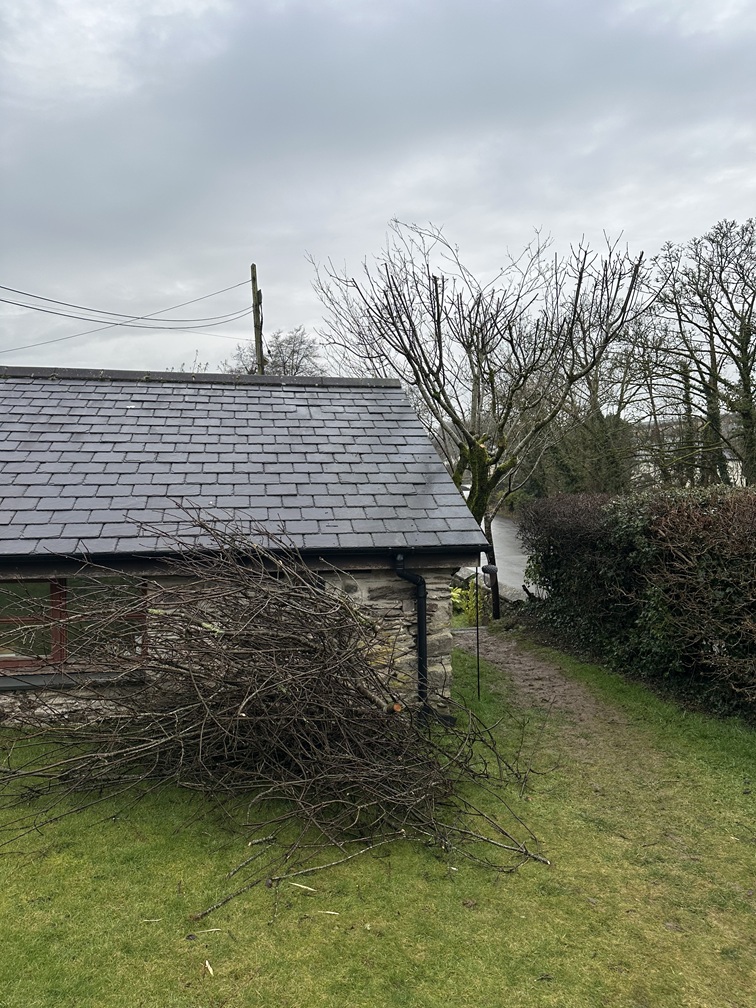
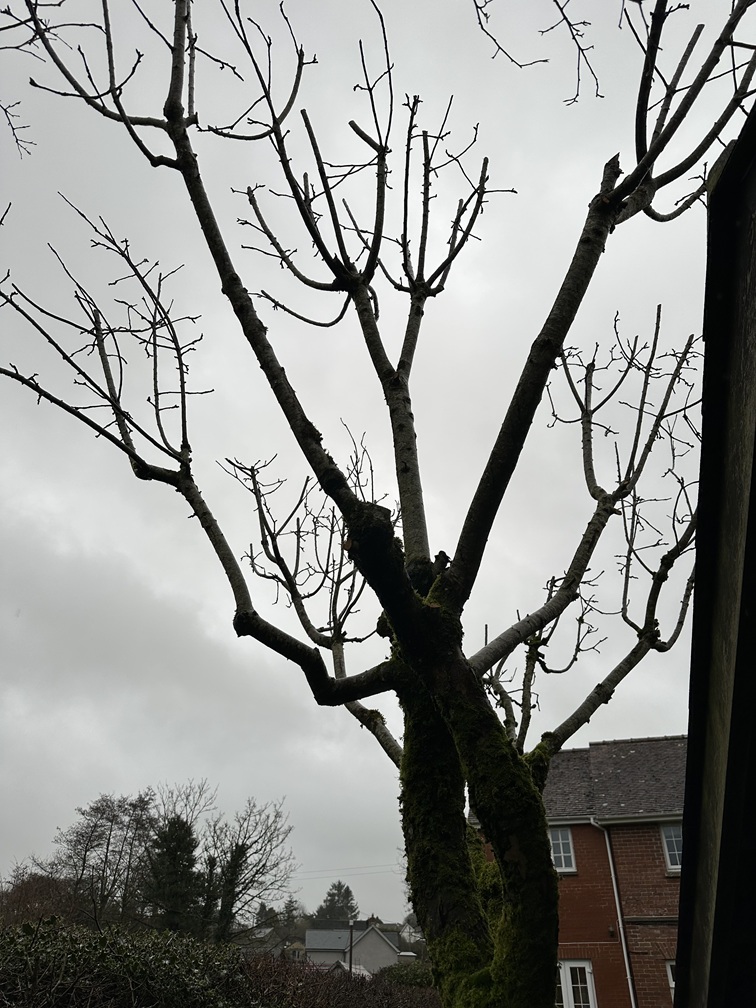
What you're describing is absolutely classic for a neglected fruit tree, and the good news is that apple trees are bombproof when it comes to renovation pruning. The black apples and rotting fruit you've experienced are indeed likely down to overcrowding and lack of airflow rather than disease.
When a tree's canopy becomes congested, it creates the perfect humid conditions for fungal problems, and the fruits just don't get enough light or air circulation to ripen properly. The tree's putting all its energy into masses of branches rather than quality fruit, which is why you're getting quantity over quality.
Now, I know this is going to sound brutal, but you need to be brave here. That apple tree needs a proper renovation prune, and that means you're looking at removing about 50% of what's there. I can hear you gasping from here, but trust me on this.
Old fruit trees respond incredibly well to hard pruning. You're not going to kill it. What you're actually doing is giving it a new lease of life and redirecting all that energy into productive growth rather than maintaining a tangled mess of unproductive branches.
https://youtu.be/jQUHwhhOPKM
The renovation approach
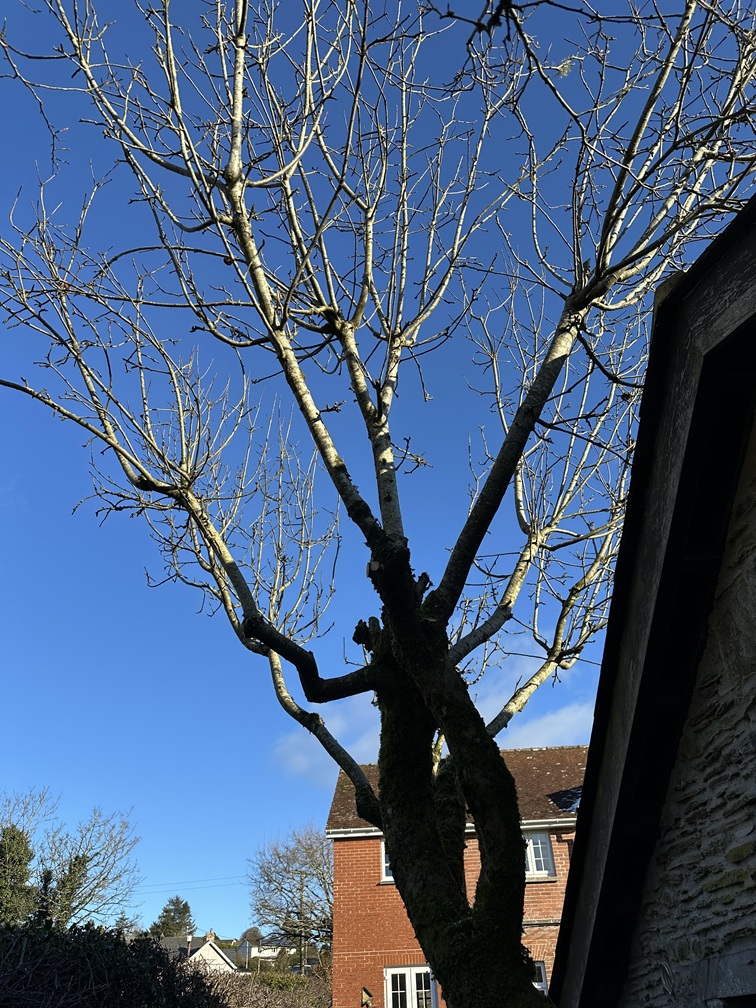
The best time to tackle this is right now through to late February, whilst the tree is dormant and you can see exactly what you're dealing with without leaves getting in the way. You want to aim for an open goblet shape, which is the gold standard for fruit tree pruning. Think of an open palm with your fingers spread out. That's the shape we're after, allowing maximum airflow, sunlight penetration, and making future pruning far easier.
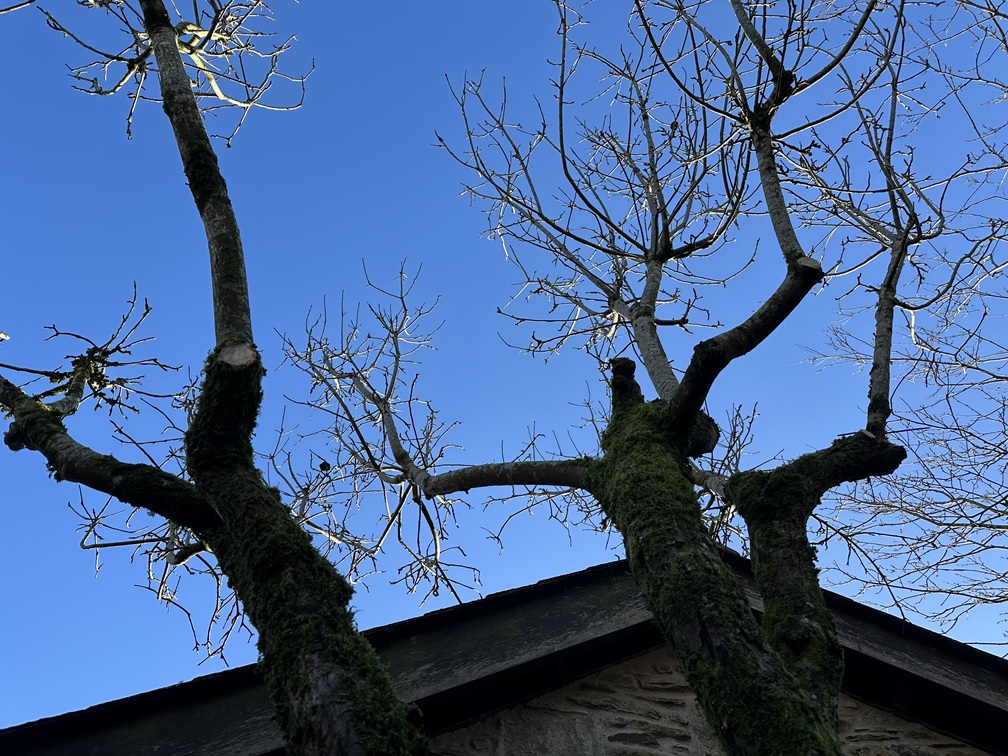
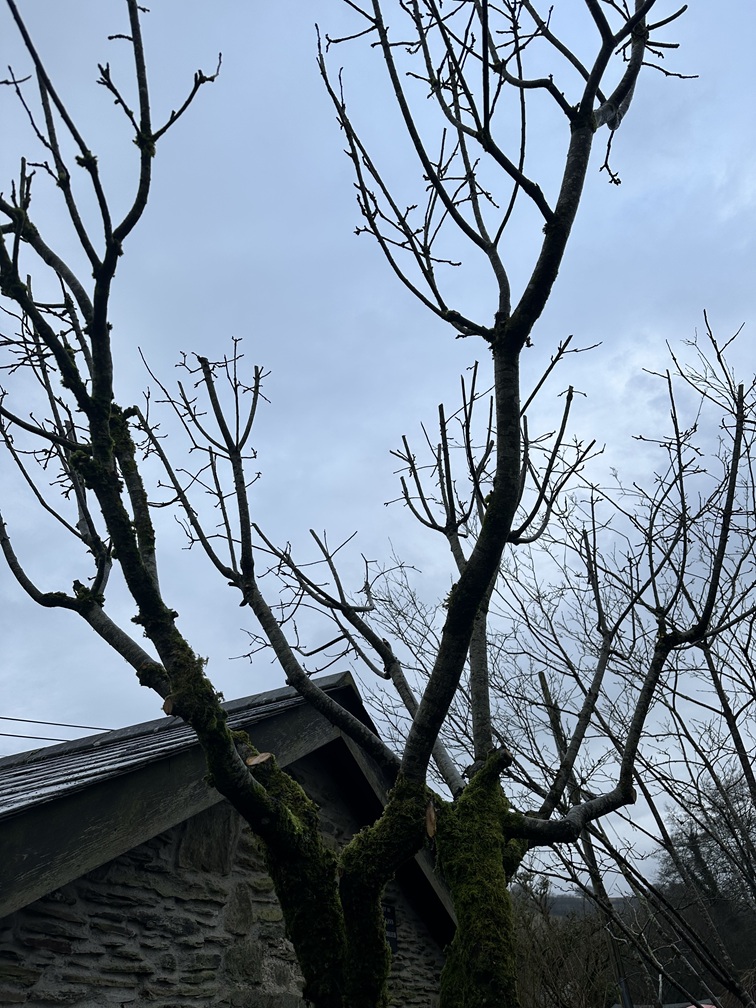
Start by identifying your 4 to 5 strongest main branches that are well spaced around the tree. These are going to be your framework, your keepers. You want branches that are growing outwards, not inwards towards the centre, and ideally they should be evenly distributed around the tree like the spokes of a wheel.
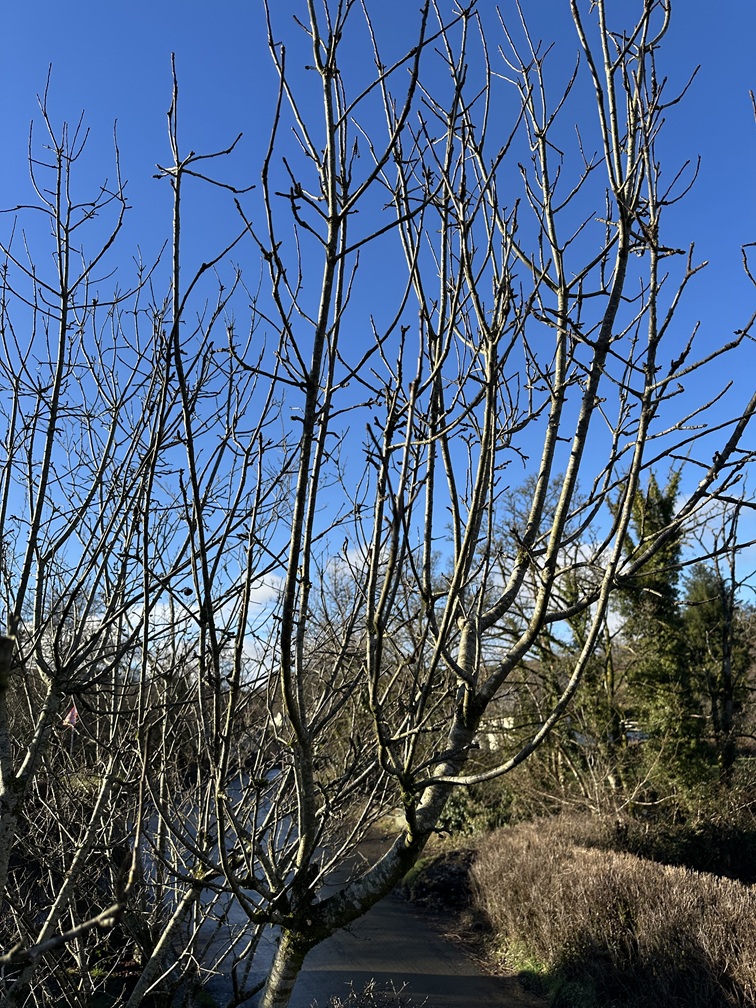
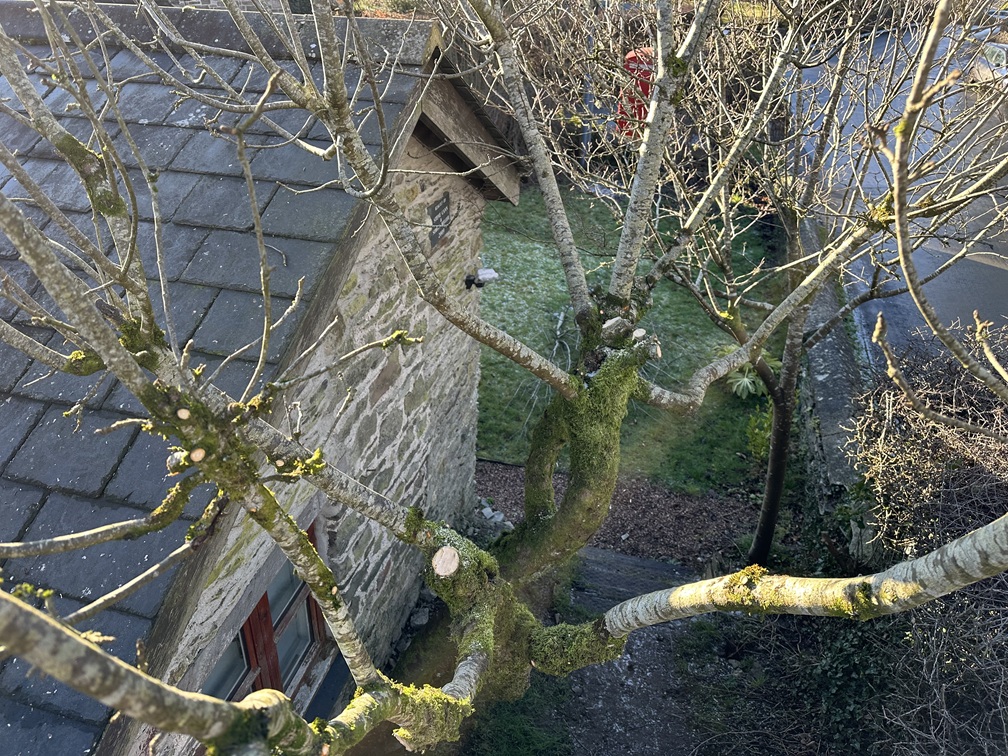
Once you've mentally marked these, everything else is fair game for removal. Any branches growing back into the centre of the tree need to go completely, right back to the next main stem. These internal shoots just create congestion and will never produce good fruit. They're energy vampires, basically.
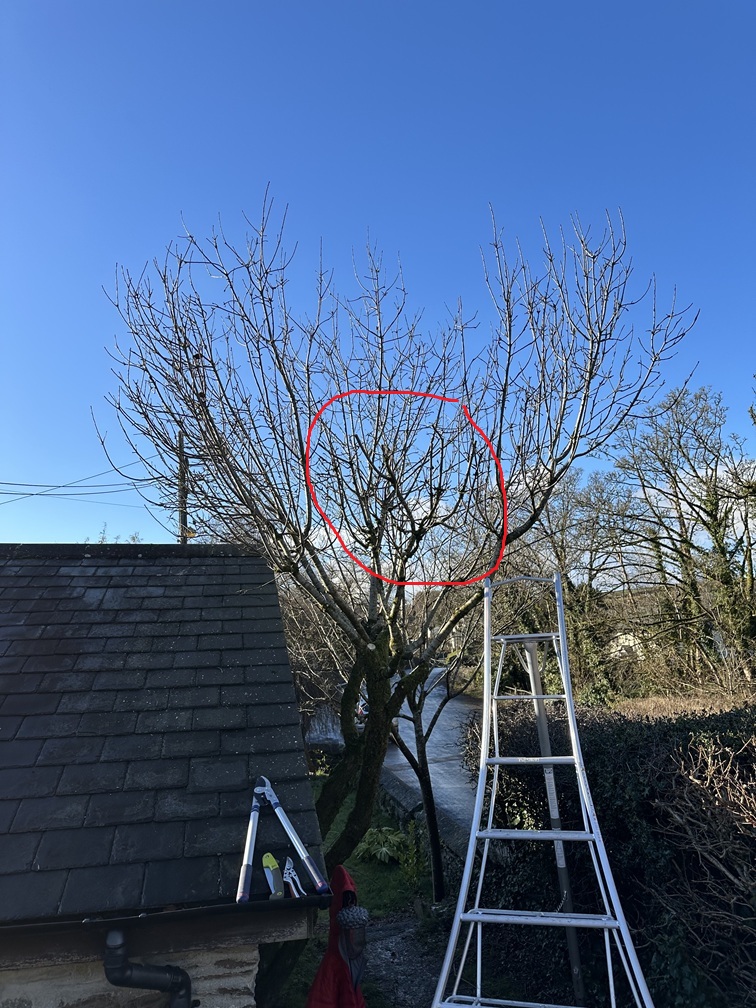
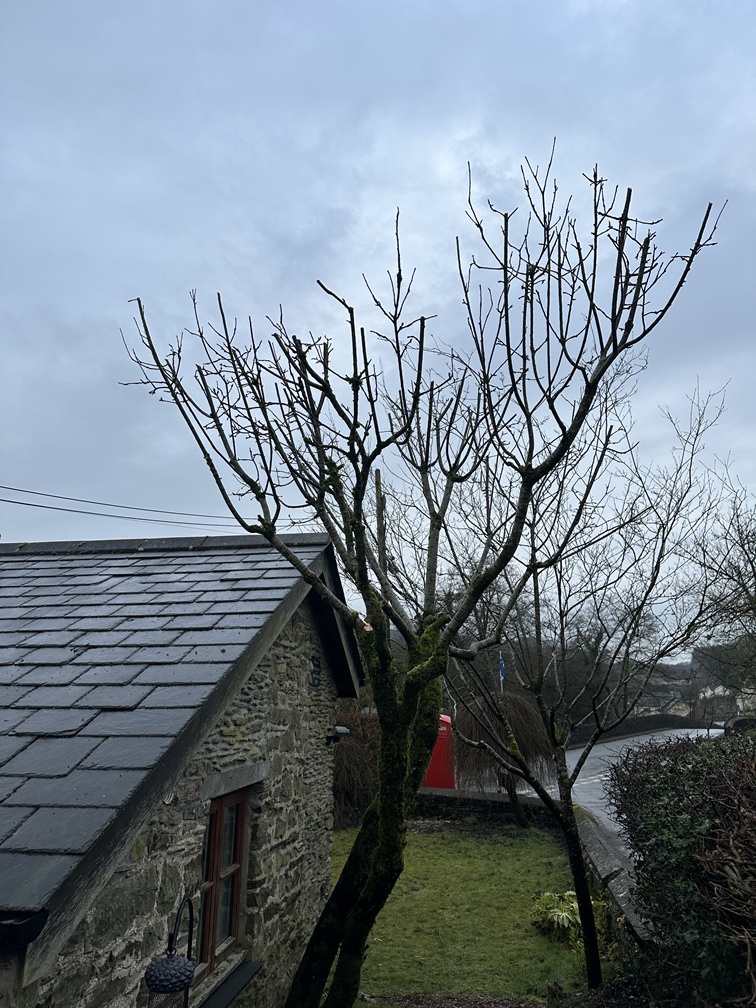
I've made some annotations to show you what to remove and where to cut back to. Vertical lines are branches to take back to the trunk completely, horizontal lines are where to prune others back to.
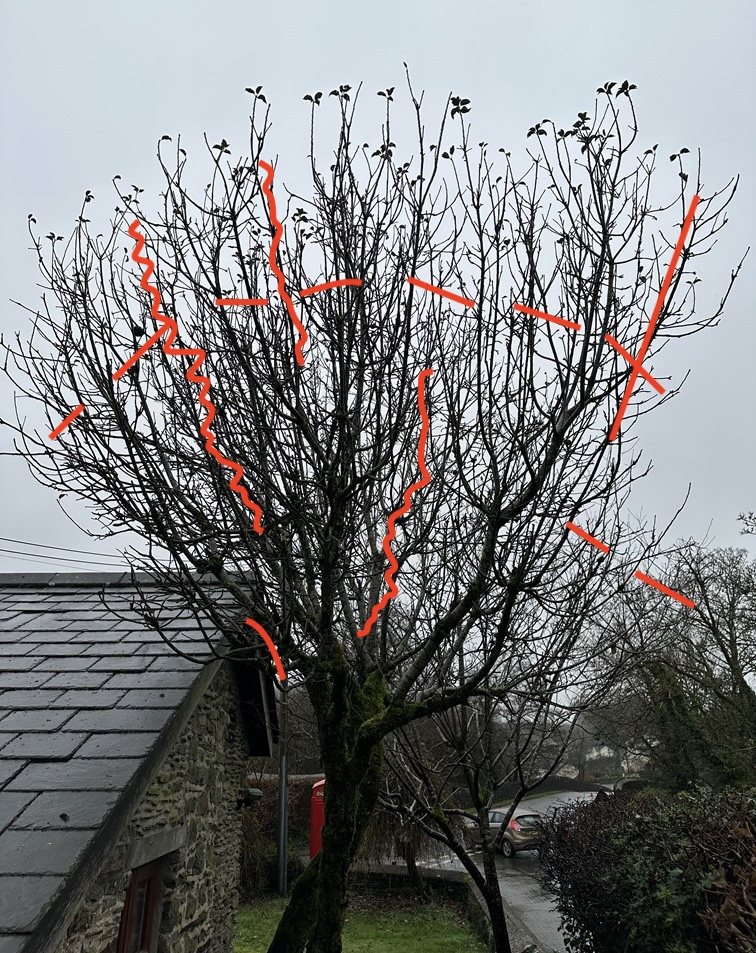
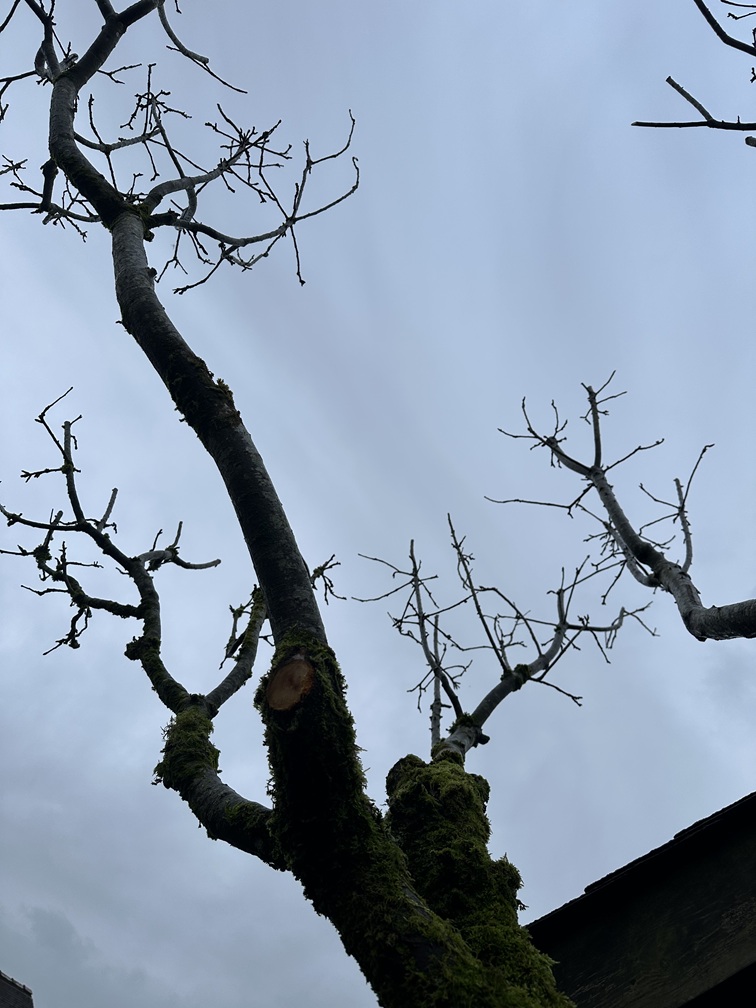
Look for crossing branches, too, where one branch is rubbing against another. These need removing as they'll eventually damage each other and create entry points for disease.
Always keep the strongest of the two and remove the weaker or more awkwardly placed one. Any dead, damaged or diseased wood should come off first. You'll spot deadwood easily as it'll be brittle, brown and lifeless rather than having that slight flexibility and green tinge under the bark that living wood has.
The practical bit
You're going to need some decent kit for this. A sharp pair of secateurs for the smaller stuff, a pair of loppers for branches up to about 2 inches thick, and ideally a folding pruning saw for anything thicker.
I always use a Japanese folding saw that cuts on the reverse stroke. They're absolute weapons for tree work and make light work of thicker branches. Before you start, give your tools a good clean with a wire scourer and a drop of oil to keep them cutting cleanly. Sharp tools make clean cuts, which heal faster and reduce infection risk.
https://youtu.be/zsdpzrxxOj8
When you're making your cuts, always cut at an angle just above an outward-facing bud. This encourages growth to head away from the centre of the tree rather than back into it. Avoid horizontal cuts as these can collect moisture and lead to rot. For larger branches, cut them back to the next main stem or branch junction, keeping the cut as close as possible without damaging the collar where the branch joins. That collar is where all the healing happens, so we want to preserve it.
What happens next
Once you've finished, your apple tree is going to look somewhat naked, and you might have a moment of absolute horror thinking you've butchered it. This is completely normal. What you've actually done is given the tree the space to put on quality growth rather than maintaining quantity. Come spring, you'll see vigorous new shoots emerging, and you'll need to keep an eye on these to select the ones you want to keep and remove any that are heading in the wrong direction.
The tree might not fruit heavily next year as it recovers, but the year after, you should see a marked improvement in both the quantity and quality of your apples. They'll be bigger, healthier, and actually ripen properly because they're getting light and air to them. You'll also find that future maintenance pruning becomes far easier once you've got this initial renovation done.
I've got loads more detail on apple tree pruning in my ultimate beginner pruning guide, which walks through formative pruning and the science behind why we prune. There's also a really helpful thread on the forum about dealing with competing leaders and V-shaped growth which might be useful if you spot any of those issues. For summer maintenance pruning after you've done this winter renovation, check out my summer fruit tree pruning guide.
The key thing to remember is that pruning isn't about removing growth potential. It's about choosing where you want that growth to go. You're helping Mother Nature out by directing the tree's energy into productive, well-placed branches rather than letting it waste effort on congested, unproductive wood.
Take your time, step back regularly to assess your progress, and remember you can always take more off but you can't put it back on.
Do upload some pictures when you're done!
Lee Garden Ninja
Hi @eoinkmcc
First up, don't panic about taking this apple tree in hand.
What you're describing is absolutely classic for a neglected fruit tree, and the good news is that apple trees are bombproof when it comes to renovation pruning. The black apples and rotting fruit you've experienced are indeed likely down to overcrowding and lack of airflow rather than disease.
When a tree's canopy becomes congested, it creates the perfect humid conditions for fungal problems, and the fruits just don't get enough light or air circulation to ripen properly. The tree's putting all its energy into masses of branches rather than quality fruit, which is why you're getting quantity over quality.
Now, I know this is going to sound brutal, but you need to be brave here. That apple tree needs a proper renovation prune, and that means you're looking at removing about 50% of what's there. I can hear you gasping from here, but trust me on this.
Old fruit trees respond incredibly well to hard pruning. You're not going to kill it. What you're actually doing is giving it a new lease of life and redirecting all that energy into productive growth rather than maintaining a tangled mess of unproductive branches.
The renovation approach
The best time to tackle this is right now through to late February, whilst the tree is dormant and you can see exactly what you're dealing with without leaves getting in the way. You want to aim for an open goblet shape, which is the gold standard for fruit tree pruning. Think of an open palm with your fingers spread out. That's the shape we're after, allowing maximum airflow, sunlight penetration, and making future pruning far easier.
Start by identifying your 4 to 5 strongest main branches that are well spaced around the tree. These are going to be your framework, your keepers. You want branches that are growing outwards, not inwards towards the centre, and ideally they should be evenly distributed around the tree like the spokes of a wheel.
Once you've mentally marked these, everything else is fair game for removal. Any branches growing back into the centre of the tree need to go completely, right back to the next main stem. These internal shoots just create congestion and will never produce good fruit. They're energy vampires, basically.
I've made some annotations to show you what to remove and where to cut back to. Vertical lines are branches to take back to the trunk completely, horizontal lines are where to prune others back to.
Look for crossing branches, too, where one branch is rubbing against another. These need removing as they'll eventually damage each other and create entry points for disease.
Always keep the strongest of the two and remove the weaker or more awkwardly placed one. Any dead, damaged or diseased wood should come off first. You'll spot deadwood easily as it'll be brittle, brown and lifeless rather than having that slight flexibility and green tinge under the bark that living wood has.
The practical bit
You're going to need some decent kit for this. A sharp pair of secateurs for the smaller stuff, a pair of loppers for branches up to about 2 inches thick, and ideally a folding pruning saw for anything thicker.
I always use a Japanese folding saw that cuts on the reverse stroke. They're absolute weapons for tree work and make light work of thicker branches. Before you start, give your tools a good clean with a wire scourer and a drop of oil to keep them cutting cleanly. Sharp tools make clean cuts, which heal faster and reduce infection risk.
When you're making your cuts, always cut at an angle just above an outward-facing bud. This encourages growth to head away from the centre of the tree rather than back into it. Avoid horizontal cuts as these can collect moisture and lead to rot. For larger branches, cut them back to the next main stem or branch junction, keeping the cut as close as possible without damaging the collar where the branch joins. That collar is where all the healing happens, so we want to preserve it.
What happens next
Once you've finished, your apple tree is going to look somewhat naked, and you might have a moment of absolute horror thinking you've butchered it. This is completely normal. What you've actually done is given the tree the space to put on quality growth rather than maintaining quantity. Come spring, you'll see vigorous new shoots emerging, and you'll need to keep an eye on these to select the ones you want to keep and remove any that are heading in the wrong direction.
The tree might not fruit heavily next year as it recovers, but the year after, you should see a marked improvement in both the quantity and quality of your apples. They'll be bigger, healthier, and actually ripen properly because they're getting light and air to them. You'll also find that future maintenance pruning becomes far easier once you've got this initial renovation done.
I've got loads more detail on apple tree pruning in my ultimate beginner pruning guide, which walks through formative pruning and the science behind why we prune. There's also a really helpful thread on the forum about dealing with competing leaders and V-shaped growth which might be useful if you spot any of those issues. For summer maintenance pruning after you've done this winter renovation, check out my summer fruit tree pruning guide.
The key thing to remember is that pruning isn't about removing growth potential. It's about choosing where you want that growth to go. You're helping Mother Nature out by directing the tree's energy into productive, well-placed branches rather than letting it waste effort on congested, unproductive wood.
Take your time, step back regularly to assess your progress, and remember you can always take more off but you can't put it back on.
Do upload some pictures when you're done!
Lee Garden Ninja
 Lee Burkhill: Award Winning Designer & BBC 1's Garden Rescue Presenters Official Blog