Hi @hannah
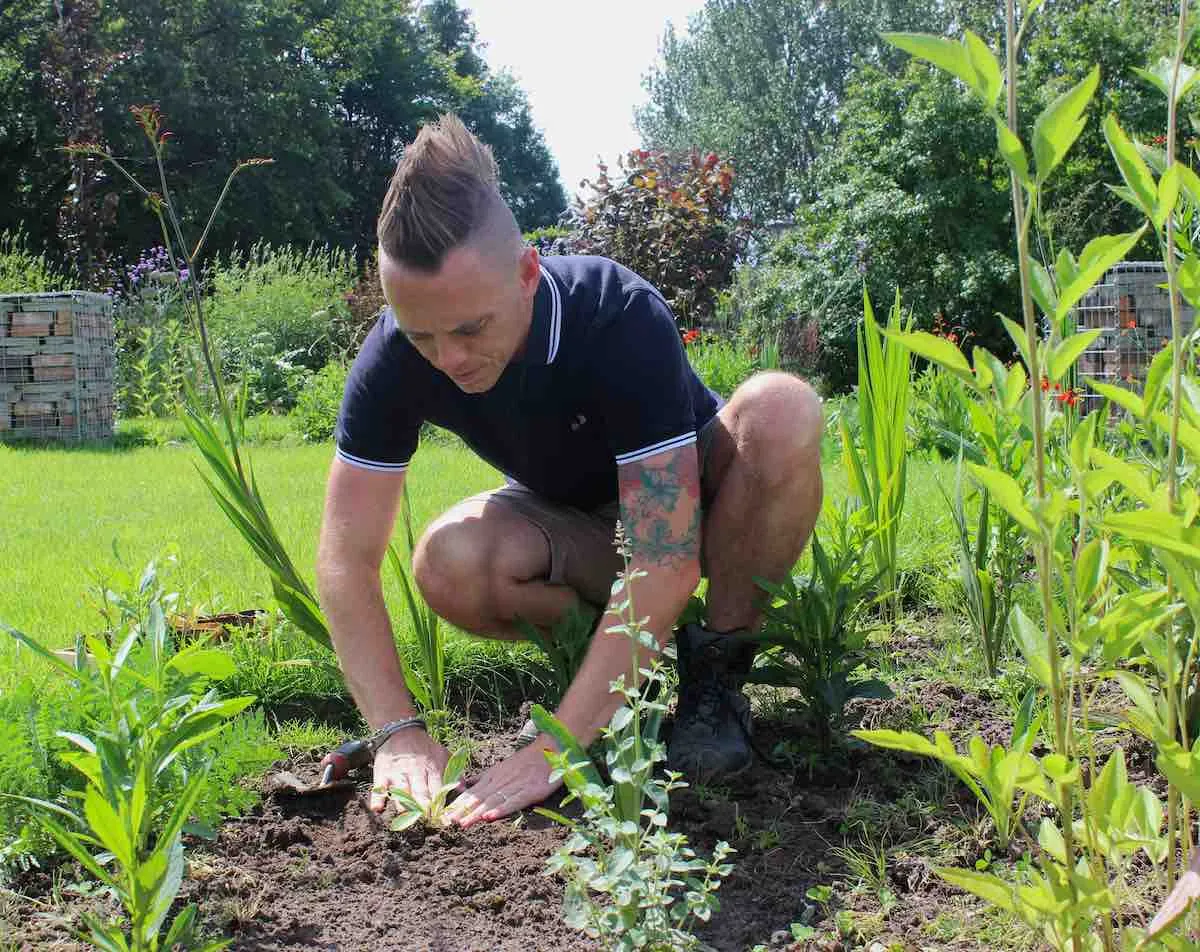
Interesting question about whether you can grow a hedge up to and around tree. The quick answer is, I don't see why not. In my experience, keeping mature existing plants is far better in 95% of cases than just ripping them out and replacing them.
Obviously, I caveat this with 'it depends on the plant and placement', but if the Viburnum tinus is healthy and beautiful, then I would leave it in situ. Here are some top tips for planting a hedge, and my hedge planting guides are a good place to get all the knowledge you need to succeed.
https://youtu.be/1TNhzMjco2c
Step by Step Hedge Planting Guide
Preparation is everything, Hannah, when it comes to planting successful hedges, especially working out the spacing so your hedge will knit up nicely against the Viburnum trunk to fully integrate with it.
1. Mark Out the Planting Line
Use a straight line of string or a hosepipe (for curves) to mark where the hedge will go. This ensures even spacing and helps avoid an uneven final shape.
2. Prepare the Ground Thoroughly
Dig a trench about twice as wide as the rootballs of your plants and roughly one spade deep. Break up the soil in the base of the trench to aid drainage and root penetration.
Mix in organic matter such as well-rotted compost or manure. Remove all weeds and grass to reduce competition.
3. Space the Plants Correctly
-
For bare-root whips: Space 30–45 cm apart in a single row, or 40 cm apart in a staggered double row for a denser hedge.
-
For pot-grown shrubs: Check individual spacing recommendations, but generally 60 cm to 1 metre apart works well.
Correct spacing allows each plant room to grow while ensuring a dense final hedge.
4. Plant at the Correct Depth
Place each plant into the trench so that the soil level is the same as it was in the pot or in the field (for bare-root plants). Fill the trench back in with your improved soil and firm it gently around each plant to remove air pockets.
Water the entire line thoroughly after planting.
5. Mulch and Protect
Apply a layer of organic mulch around the base of the plants (not directly against stems) to help conserve moisture and suppress weeds.
If the area has issues with rabbits, deer, or pets, use plant guards or low fencing to protect the young plants until they are established.
6. Initial Hedge Pruning
After planting, lightly prune the tops of the young plants to encourage bushy growth from the base. For deciduous species, you can cut them back by about one-third. This may seem counterproductive, but it helps develop a dense, even hedge.
Additional Tips
-
Best planting time: Late autumn to early spring is ideal, especially for bare-root plants.
-
Watering: Keep the hedge well watered during dry spells in the first year, especially during summer.
-
Weed control: Keep the base of the hedge weed-free for the first few years to reduce competition.
-
Ongoing maintenance: Begin formative pruning in year two, and continue regular trimming depending on the species and desired shape.
Do let us know how you get on!
Lee Garden Ninja
Hi @hannah
Interesting question about whether you can grow a hedge up to and around tree. The quick answer is, I don't see why not. In my experience, keeping mature existing plants is far better in 95% of cases than just ripping them out and replacing them.
Obviously, I caveat this with 'it depends on the plant and placement', but if the Viburnum tinus is healthy and beautiful, then I would leave it in situ. Here are some top tips for planting a hedge, and my hedge planting guides are a good place to get all the knowledge you need to succeed.
Step by Step Hedge Planting Guide
Preparation is everything, Hannah, when it comes to planting successful hedges, especially working out the spacing so your hedge will knit up nicely against the Viburnum trunk to fully integrate with it.
1. Mark Out the Planting Line
Use a straight line of string or a hosepipe (for curves) to mark where the hedge will go. This ensures even spacing and helps avoid an uneven final shape.
2. Prepare the Ground Thoroughly
Dig a trench about twice as wide as the rootballs of your plants and roughly one spade deep. Break up the soil in the base of the trench to aid drainage and root penetration.
Mix in organic matter such as well-rotted compost or manure. Remove all weeds and grass to reduce competition.
3. Space the Plants Correctly
-
For bare-root whips: Space 30–45 cm apart in a single row, or 40 cm apart in a staggered double row for a denser hedge.
-
For pot-grown shrubs: Check individual spacing recommendations, but generally 60 cm to 1 metre apart works well.
Correct spacing allows each plant room to grow while ensuring a dense final hedge.
4. Plant at the Correct Depth
Place each plant into the trench so that the soil level is the same as it was in the pot or in the field (for bare-root plants). Fill the trench back in with your improved soil and firm it gently around each plant to remove air pockets.
Water the entire line thoroughly after planting.
5. Mulch and Protect
Apply a layer of organic mulch around the base of the plants (not directly against stems) to help conserve moisture and suppress weeds.
If the area has issues with rabbits, deer, or pets, use plant guards or low fencing to protect the young plants until they are established.
6. Initial Hedge Pruning
After planting, lightly prune the tops of the young plants to encourage bushy growth from the base. For deciduous species, you can cut them back by about one-third. This may seem counterproductive, but it helps develop a dense, even hedge.
Additional Tips
-
Best planting time: Late autumn to early spring is ideal, especially for bare-root plants.
-
Watering: Keep the hedge well watered during dry spells in the first year, especially during summer.
-
Weed control: Keep the base of the hedge weed-free for the first few years to reduce competition.
-
Ongoing maintenance: Begin formative pruning in year two, and continue regular trimming depending on the species and desired shape.
Do let us know how you get on!
Lee Garden Ninja
 Lee Burkhill: Award Winning Designer & BBC 1's Garden Rescue Presenters Official Blog


 To my YouTube channel