Apple Harvest Guide: What to do with Apples Once You’ve Harvested Them
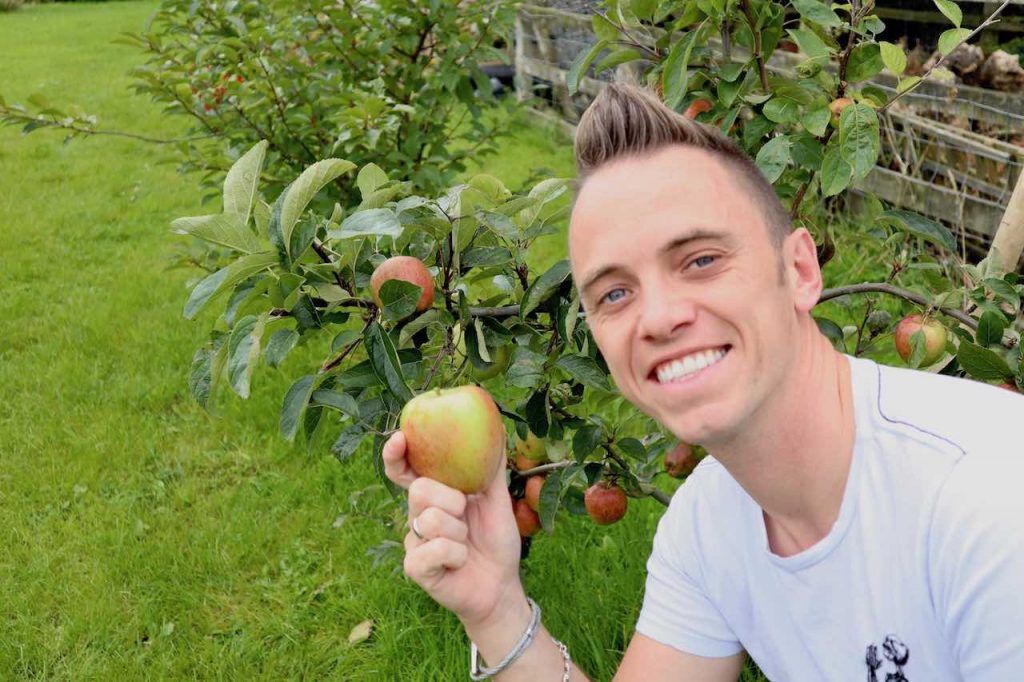
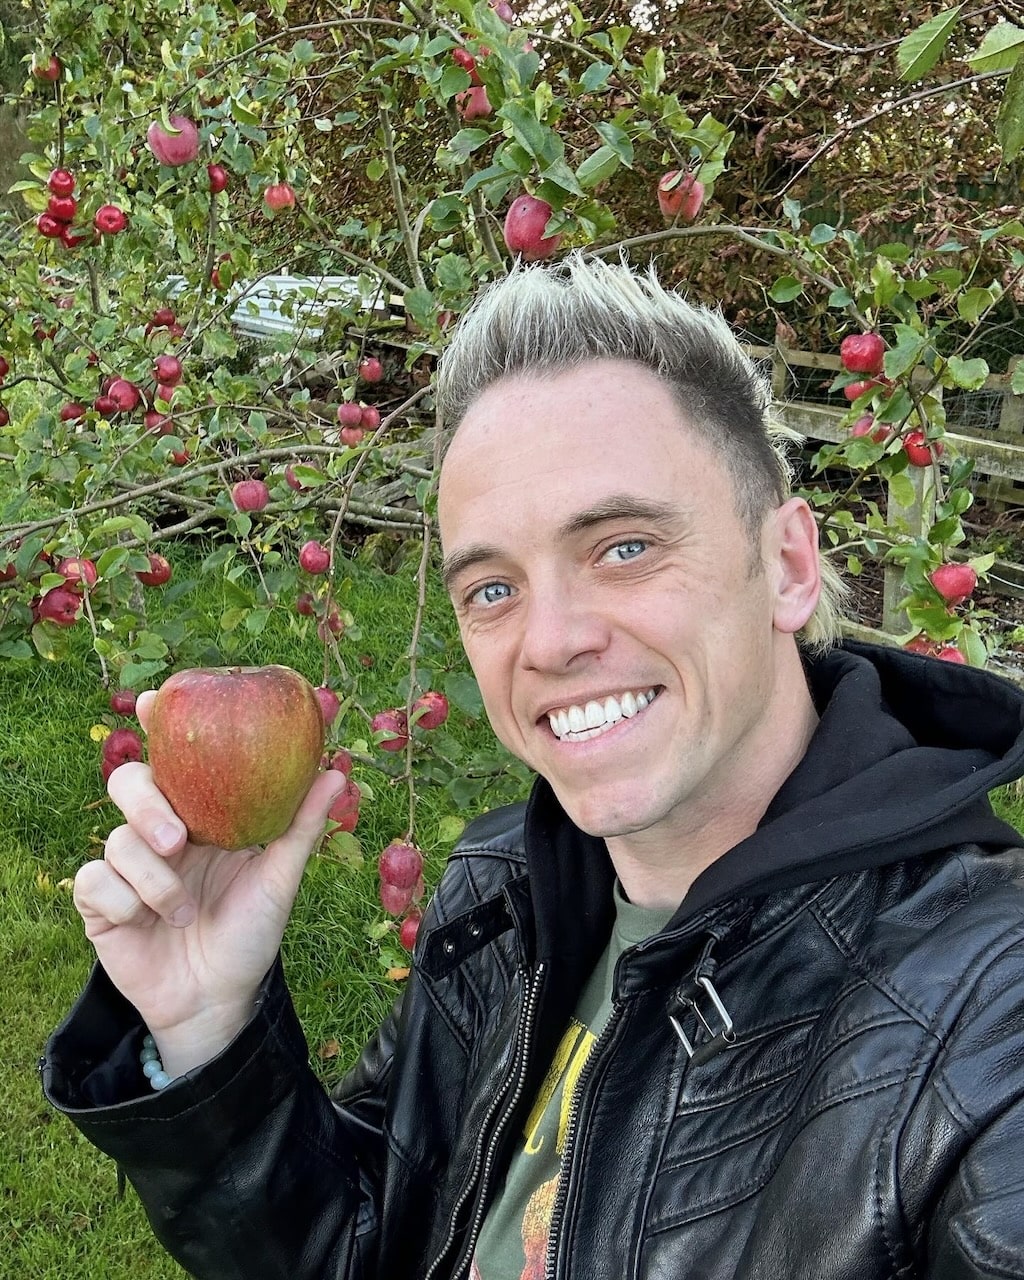
Lee Burkhill: Award Winning Designer & BBC 1's Garden Rescue Presenters Official Blog
Beginner level
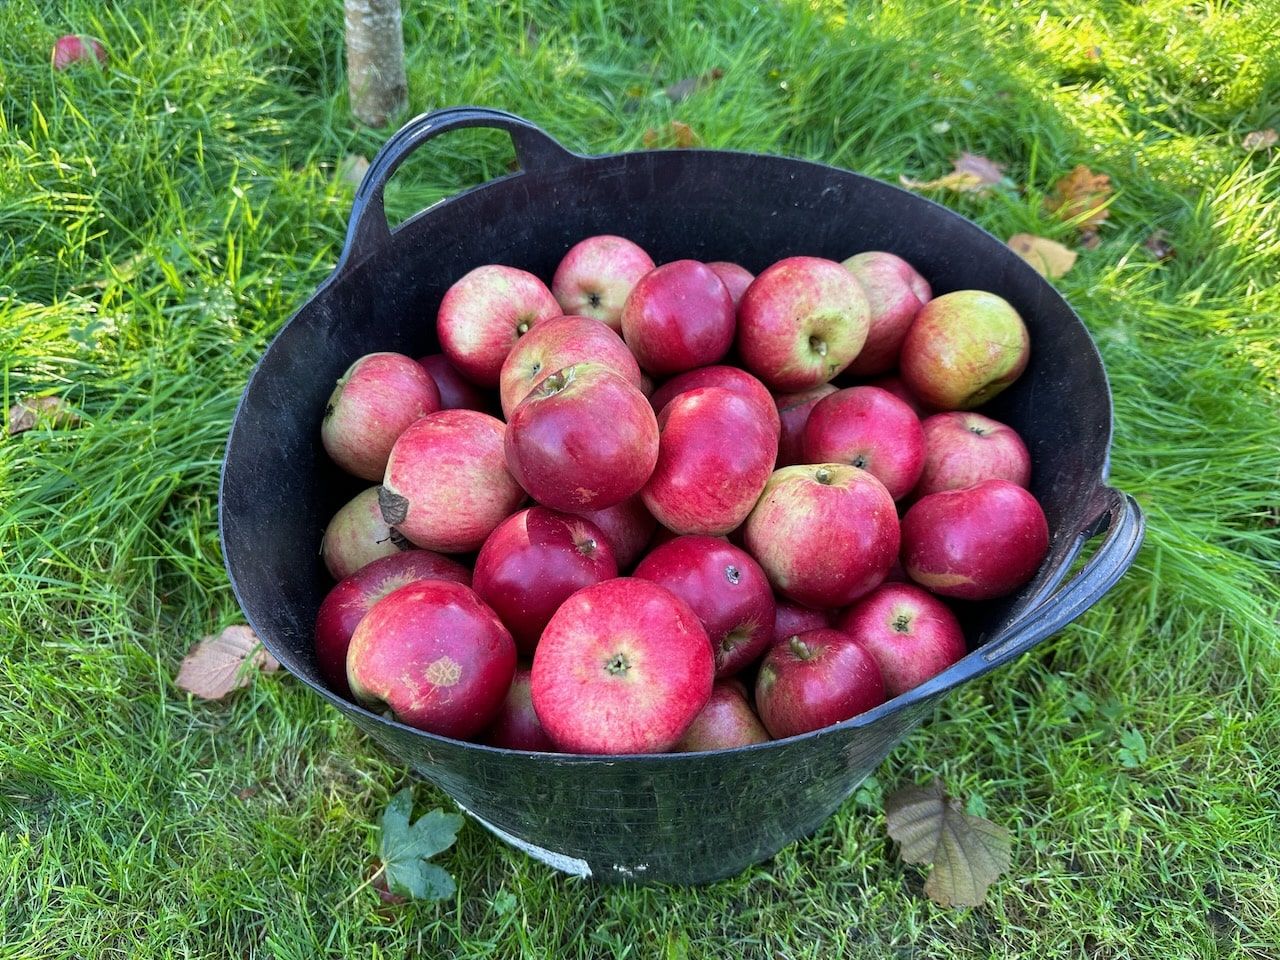
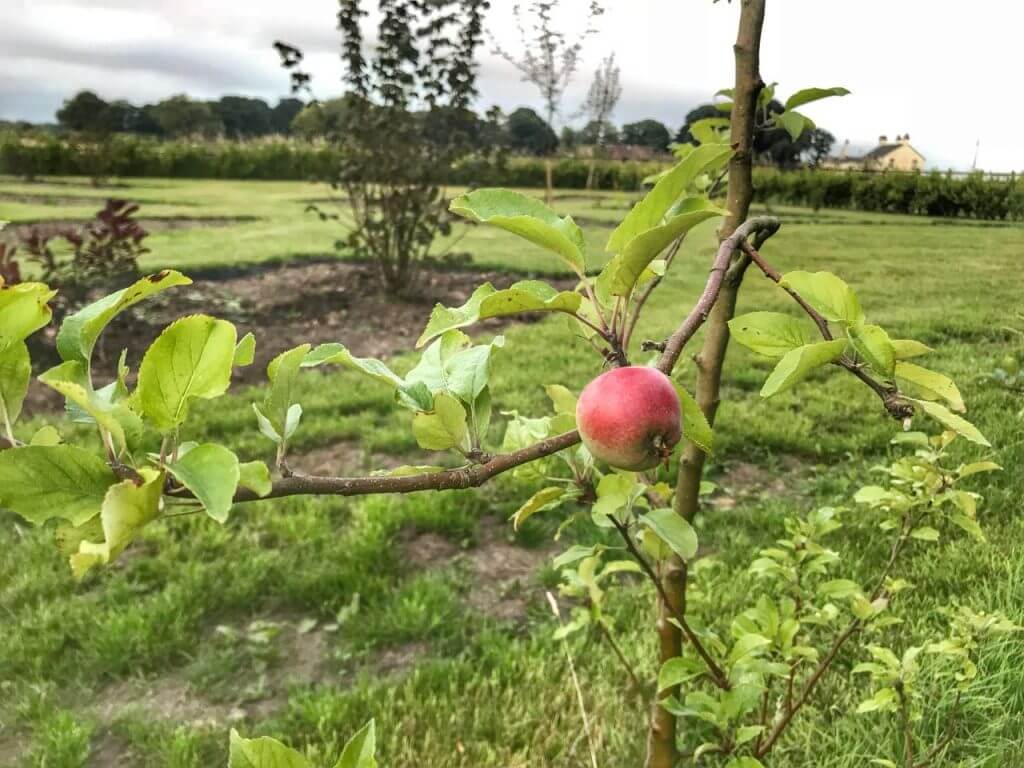
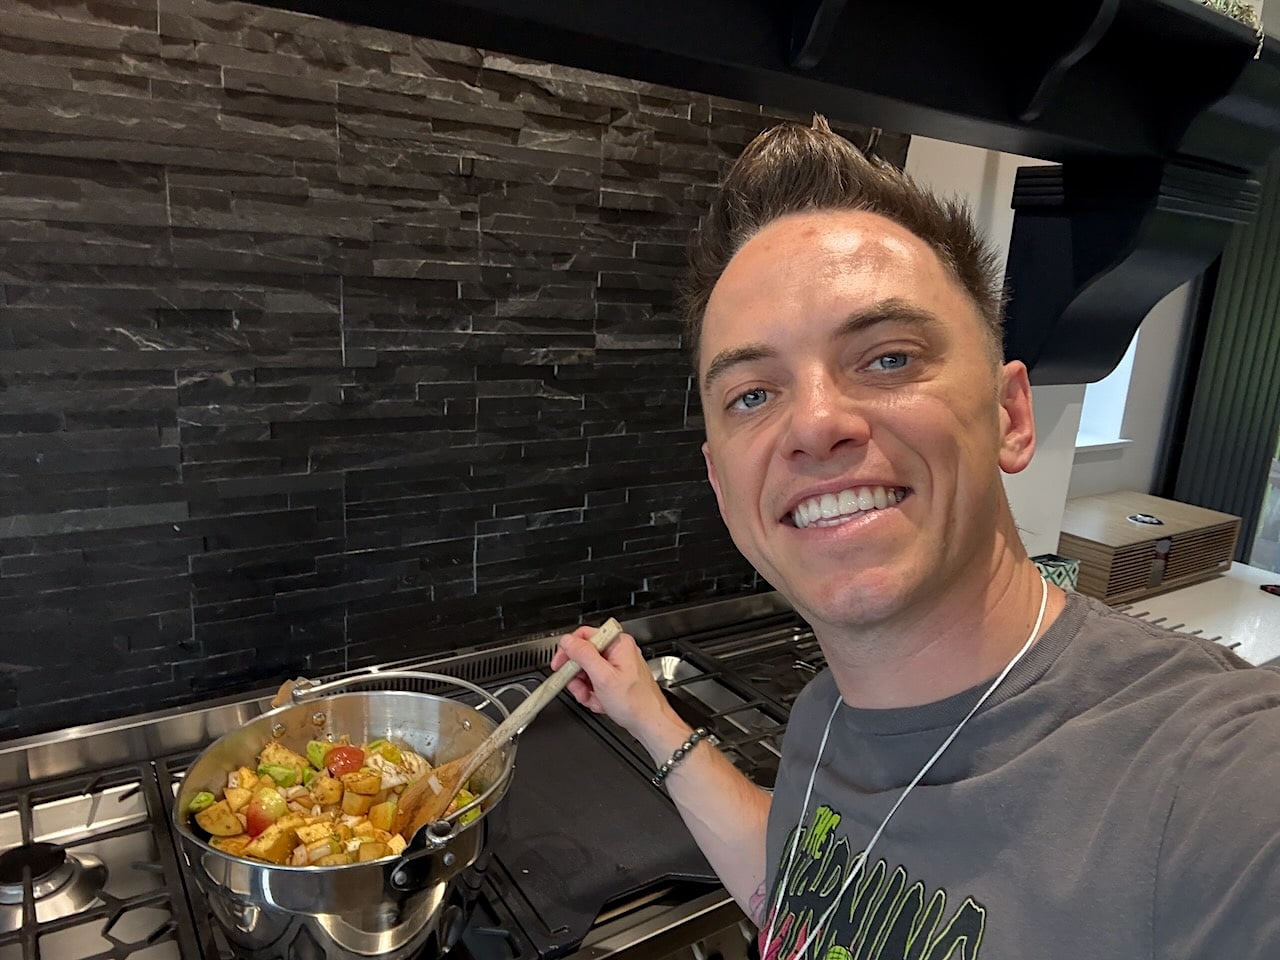
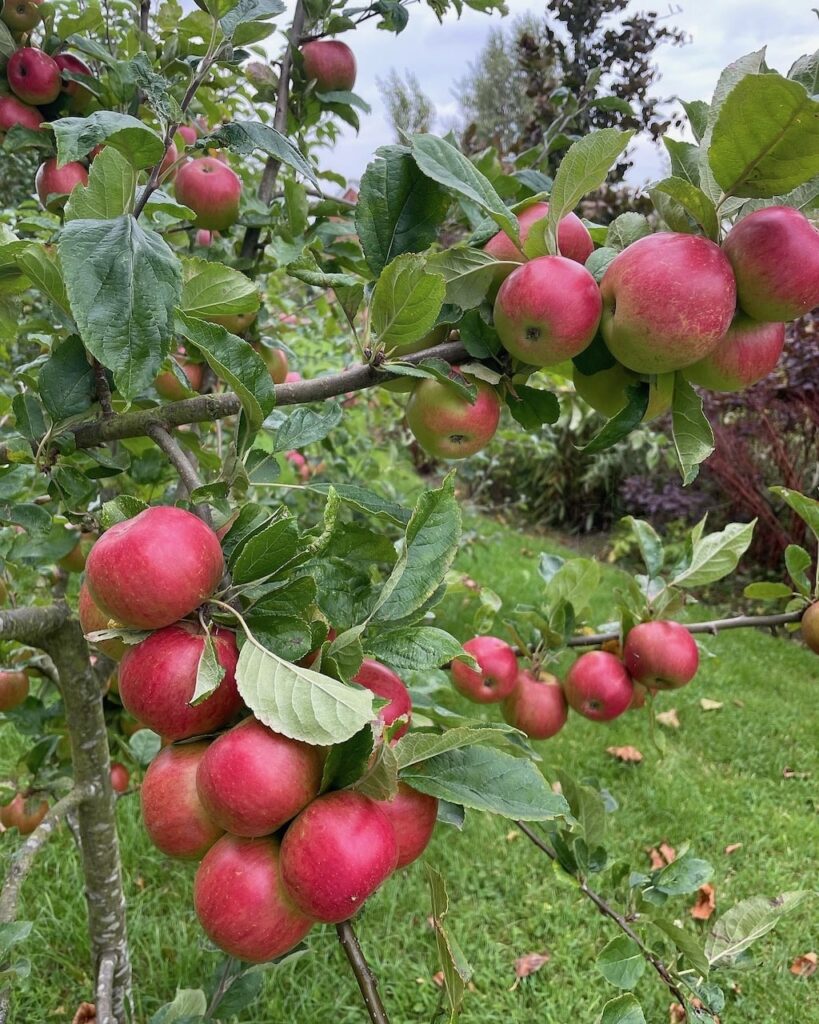
If you've followed my garden design work online and on TV, you will know I'm a massive fan of planting fruit trees in all of my gardens. However, come autumn, the beautiful fruits need harvesting, and in good years, you can suddenly find yourself wondering what to do with all of your apples! The good news is that I've learnt plenty of tricks, so none of your apples go to waste this autumn!
If you’ve ever stood beneath a laden apple tree in September, wondering whether you’re experiencing the best gardening problem ever or staring at weeks of frantic apple processing ahead, then you’re in exactly the right place. After years of helping my own clients transform their apple gluts from overwhelming burden into delicious opportunity, I’m spilling all my secrets on timing your harvest perfectly, knowing when your apples are truly ready, and turning that mountain of fruit into everything from simple weeknight puds to impressive dinner party showstoppers.
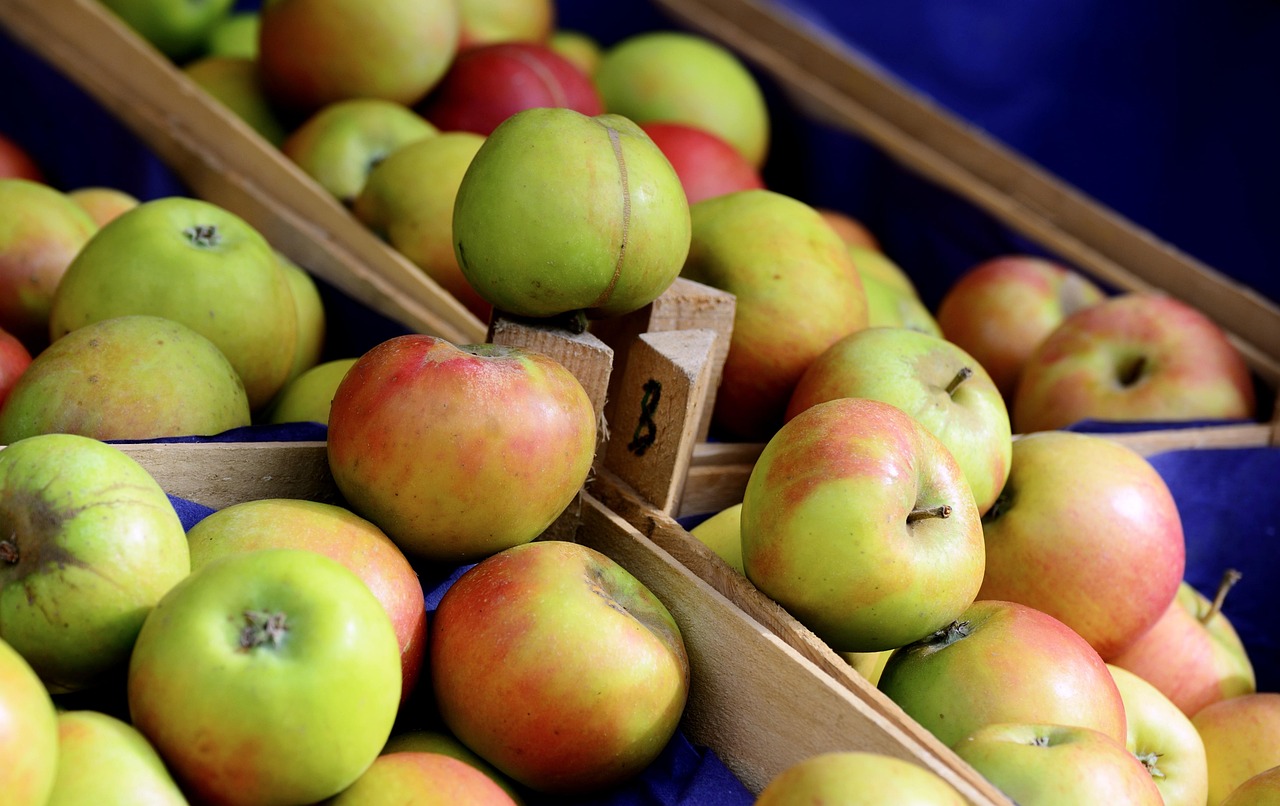
Whether you’re blessed with your own productive apple tree, you’ve gone slightly mad at the pick your own orchard, or a generous neighbour has just deposited three carrier bags of ‘Bramleys’ on your doorstep with a slightly apologetic smile, this guide will transform you from apple overwhelmed to apple confident in one afternoon.If you’re looking for what to do with pear harvests then look here!
We’ll cover the crucial timing that separates crisp, sweet apples from disappointing watery ones, share my favourite lightning-quick recipes that actually use up serious quantities of fruit, and explore preservation methods that’ll have you enjoying your harvest right through to next spring.
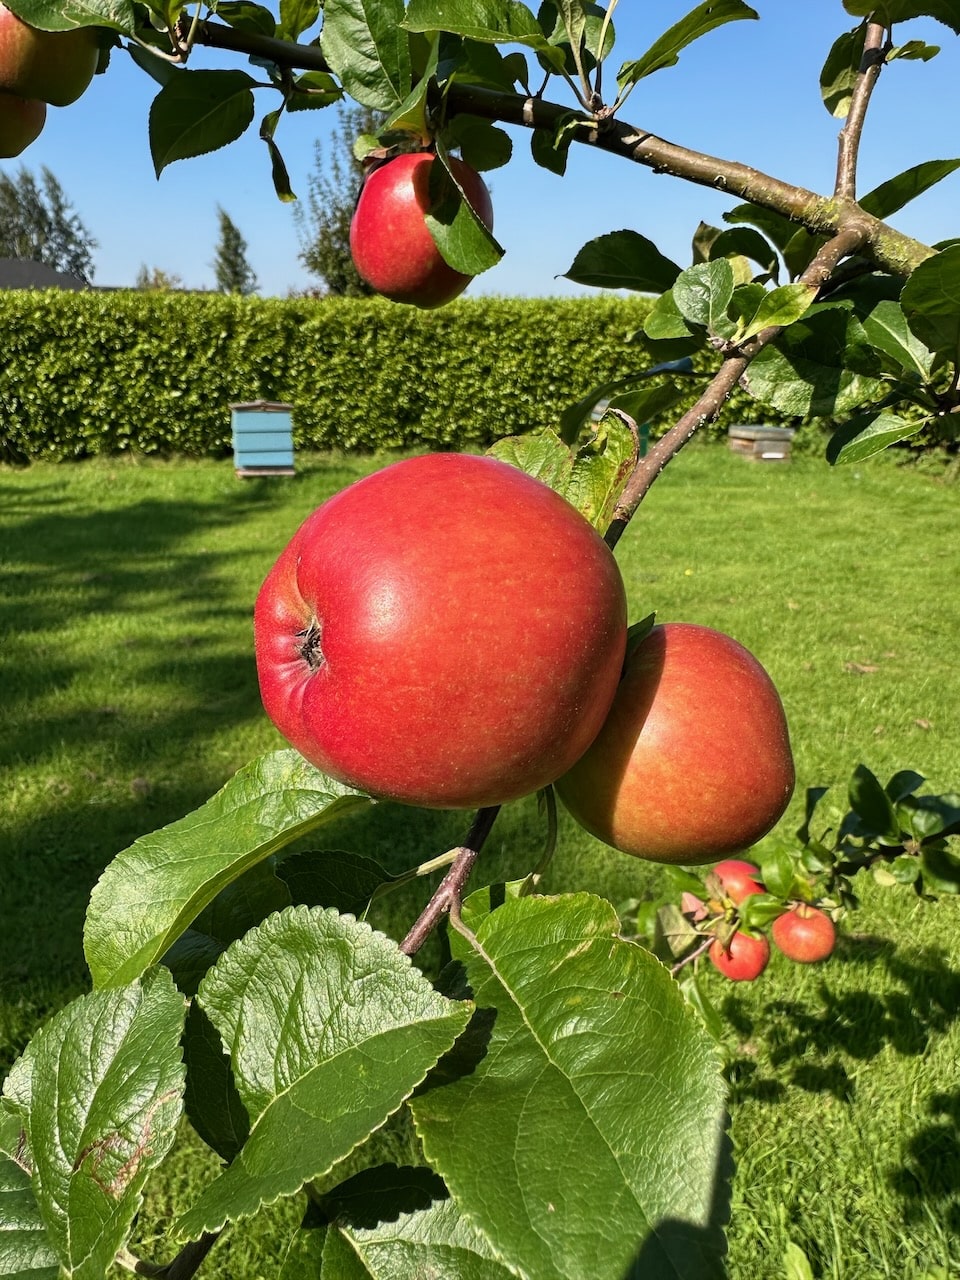
Getting your harvest timing right makes the difference between apples that store beautifully for months and fruit that goes woolly within weeks. After watching countless gardeners pick too early (hard, flavourless apples) or too late (apples that won’t store as they are damaged), I’ve developed some foolproof methods for perfect timing.
UK Apple Harvest Calendar: Variety by Variety
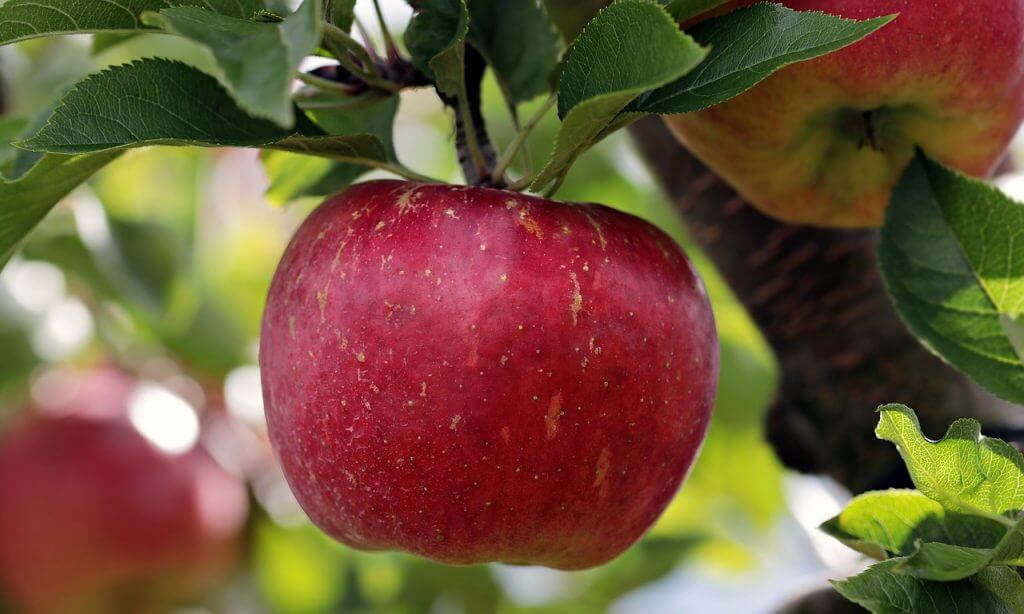
Early Season (Late August to Early September): ‘Discovery’: Usually ready by late August. Look for the distinctive red flush and that characteristic sweet strawberry aroma when you hold it close to your nose. ‘James Grieve’: Perfect for beginners as it has a long picking window. Ready from late August through early September. ‘Beauty of Bath’: One of the earliest, often ready by mid-August in good years. These don’t store well, so eat fresh or cook immediately.
Mid Season (September to Early October): ‘Cox’s Orange Pippin’: The classic English apple, usually ready mid to late September. The background colour changes from green to yellow green. ‘Egremont Russet’: Ready when the russet (rough brown patches) has developed fully across most of the skin. Lord Lambourne’: An excellent garden variety that’s ready in early September and stores reasonably well.
Late Season (October to November): ‘Bramley’s Seedling’: The king of cooking apples, usually ready in October. Harvest when they’ve reached good size but before the first hard frosts. Sunset’: Ready in October, this Cox’s offspring has better disease resistance and stores well through winter. ‘D’Arcy Spice’: One of the latest varieties, often not ready until November but stores magnificently through to spring.
UK Apple Harvest Calendar Table
Apple Variety
Harvest Time
Type
Storage Life
Discovery
Late August
Dessert
2-4 weeks
Beauty of Bath
Mid August
Dessert
1-2 weeks
James Grieve
Late Aug – Early Sep
Dual Purpose
6-8 weeks
Worcester Pearmain
Early September
Dessert
4-6 weeks
Cox’s Orange Pippin
Mid – Late September
Dessert
4-6 months
Egremont Russet
Mid September
Dessert
3-5 months
Lord Lambourne
Early September
Dessert
8-12 weeks
Spartan
Mid October
Dessert
4-5 months
Gala
Mid – Late September
Dessert
2-3 months
Bramley’s Seedling
Mid – Late October
Cooking
4-6 months
D’Arcy Spice
Late October – November
Dessert
6-8 months
Sunset
Early – Mid October
Dessert
3-4 months
Ashmead’s Kernel
Mid – Late October
Dessert
5-7 months
Laxton’s Superb
Mid October
Dessert
2-3 months
Newton Wonder
Late October
Cooking/Dual
4-5 months
Weather Considerations for Perfect Timing
British weather can shift harvest timing by weeks in either direction. A hot summer accelerates ripening, whilst a cool, wet season delays it significantly. I’ve seen ‘Discovery’ ready in early August after a blazing July, and equally seen it not ready until mid-September following a washout summer. In my experience, the best method is the twist and pull to harvest one apple, then cut it open and sample it that way; you’re not stuck with hard and fast dates! But if you have had an unpredictable weather year in your orchards, then the below may be helpful.
Heat Wave Strategy: If we’re experiencing one of those glorious (but rare!) extended hot spells, check your apples daily. High temperatures can push fruit from perfectly ready to overripe in just 2 to 3 days.
Wet Weather Timing: Extended rain near harvest time can cause apples to split or develop brown rot. If heavy rain is forecast and your apples are nearly ready, it’s often better to harvest slightly early rather than risk losing the crop.
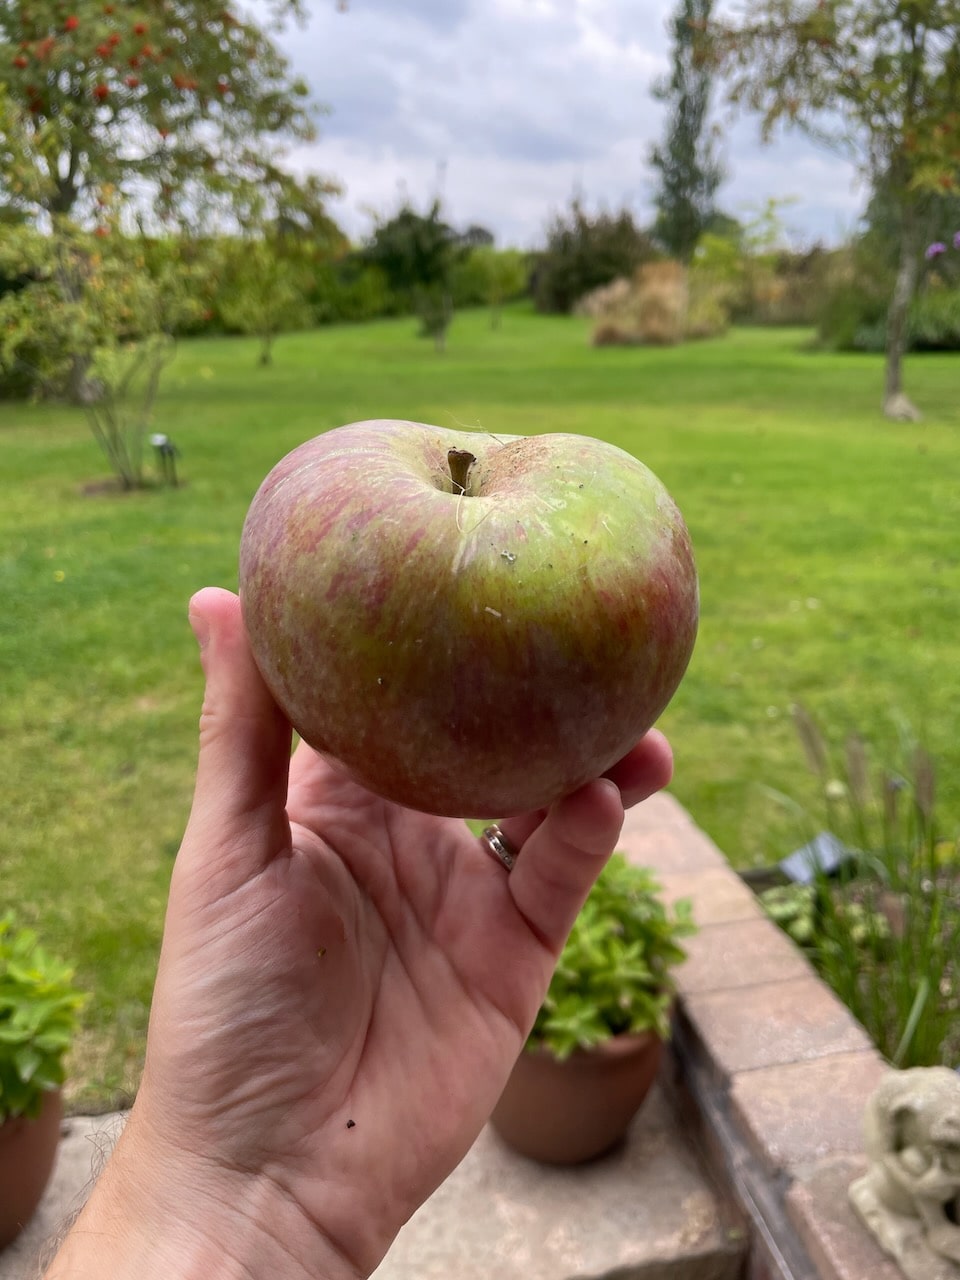
How to test when apples are ready for picking
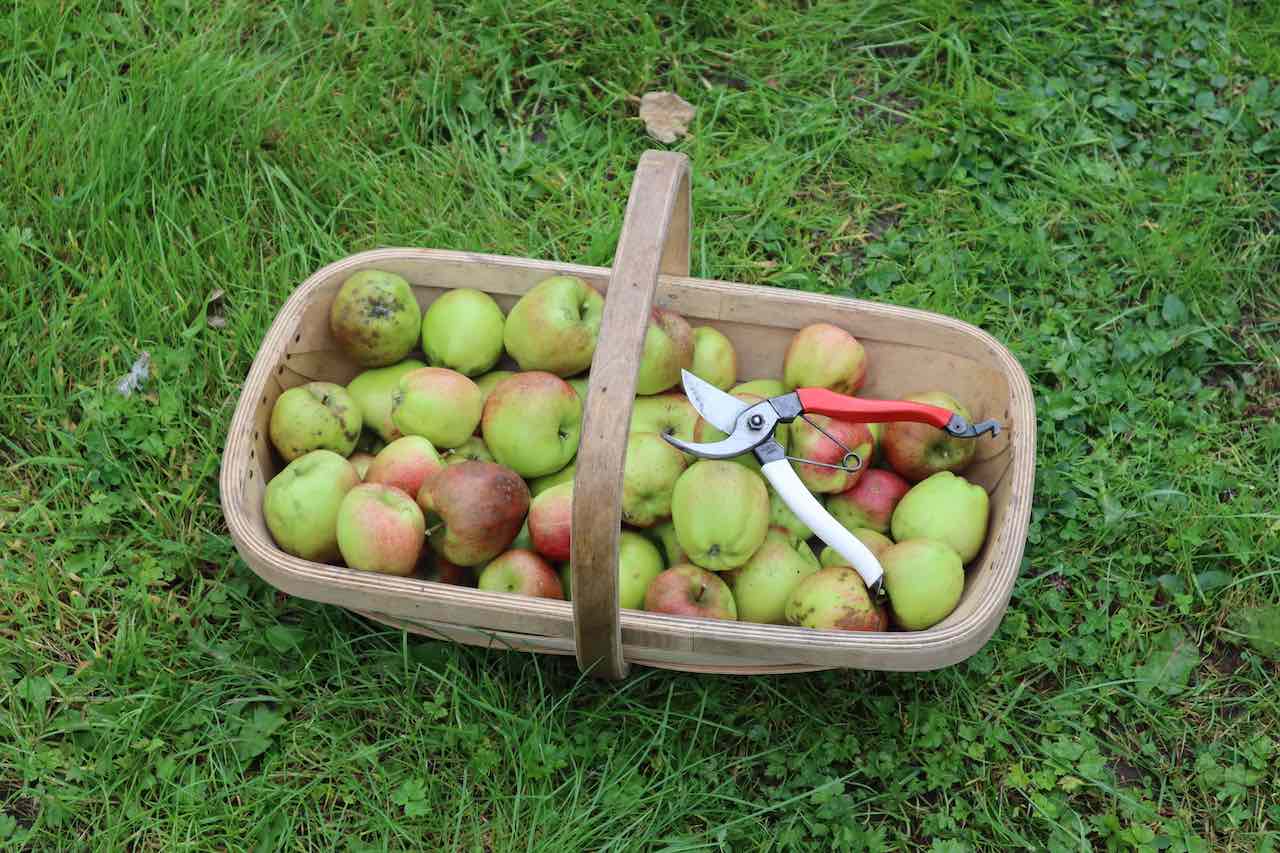
i) The Lift and Twist Method
This is my go-to test that works for virtually every apple variety. Cup the apple gently in your palm and lift it upward whilst giving it a quarter turn. If it’s ready, it should come away from the branch easily with the stalk attached. If you have to tug or pull, give it another week. The apple practically wants to fall into your hand when it’s perfectly ripe.
ii) The Seed Colour Check
Cut open a sample apple and look at the seeds. Ready apples have dark brown or black seeds, whilst unripe fruit shows white or pale brown seeds. This method is particularly reliable for cooking varieties like ‘Bramley’ where other ripeness indicators can be tricky to judge.
iii) The Taste Test
Obviously! A ripe apple should taste like the variety it’s supposed to be. ‘Discovery’ should be sweet with a hint of strawberry, ‘Cox’s Orange Pippin’ should have that distinctive aromatic complexity, and even a ‘Bramley’ should have developed beyond mouth-puckering tartness to balanced acidity.
How to Know When Apples are Ready: Beyond the Basics
Ground Check Method: Look beneath the tree for windfall apples. If you’re finding perfect, unblemished apples on the ground (not just damaged ones blown off early), it’s usually a sign that the tree is ready for harvest.
Stem Separation Test: When you perform the lift and twist test, pay attention to how the stem separates from the branch. Ready apples should detach cleanly from the branch, with no tearing or bark damage. If you’re pulling bark or wood away with the stem, wait longer.
Internal Colour Assessment: Cut a sample apple in half from top to bottom. The flesh should be creamy white or pale yellow (depending on variety) with no green tinge near the core. Green areas indicate the apple needs more time to develop full flavour and storage potential.
Variety-Specific Readiness Signs
Cooking Apples (‘Bramley’, ‘Lord Derby’): Size is crucial here. Cooking apples should be harvested when they’ve reached full size but before they become overripe and woolly. A ready ‘Bramley’ should feel dense and heavy for its size.
Dessert Apples (‘Cox’, ‘Gala’, ‘Braeburn’): Focus on flavour development over size. These varieties often taste best when they’ve developed their characteristic aroma and the background skin colour has begun to change from pure green.
Russet Varieties (‘Egremont Russet’, ‘Ashmead’s Kernel’): The russet (rough, brown patches) should have developed fully across the skin. Partial russetting indicates the apple needs more time to develop its distinctive flavour.
Storage Quality Indicators
If you’re planning to store apples rather than use them immediately, harvest timing becomes even more critical:
Perfect Storage Timing: Harvest just before peak ripeness for longest storage. The apples should pass the twist test but still feel quite firm and have vibrant skin colour.
Immediate Use Timing: For apples you plan to use within 2 to 3 weeks, you can wait until they’re at perfect eating ripeness on the tree.
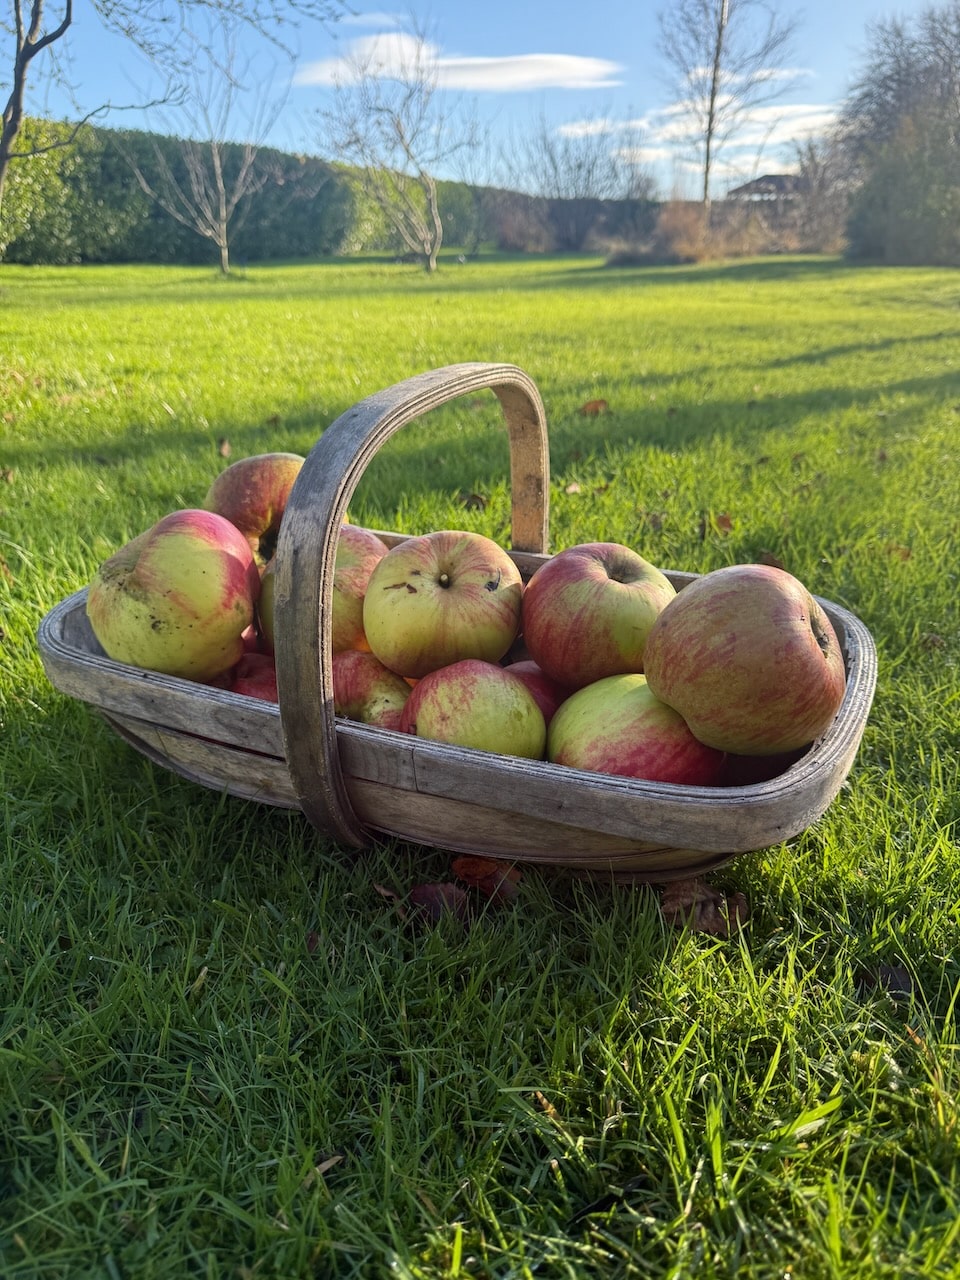
What to do with a Glut of Apples: My Top 10 Speedy Recipes
Having designed orchards and advised on apple growing for years, I’ve developed these recipes specifically for dealing with serious quantities of fruit quickly and efficiently. These aren’t dainty tea-time recipes – they’re proper glut-busters that’ll make a real dent in your harvest.
1. Garden Ninja’s Lightning Apple Sauce
Why this works for gluts: One batch uses 2kg of apples and takes just 20 minutes. Unlike shop-bought versions, this sauce is thick, flavourful, and freezes beautifully.
Ingredients:
2kg apples (any variety, mixed is fine)
4 tablespoons water
Sugar to taste (start with 200g, adjust upwards in 10g incremenets until thick)
Juice of 1 lemon
Method:
Skip the Peeling: Roughly chop apples, leaving skins on. The skins add colour, nutrients, and save masses of time. You can always pass through a sieve later if you want it smoother.
Fast Cook Method: Add everything to your largest pan, bring to a rapid boil, then reduce heat and cook covered for 15 minutes, stirring occasionally.
Taste and Adjust: Add sugar gradually – cooking apples need more, dessert apples often need very little. The lemon juice prevents browning and adds brightness.
Storage Magic: This sauce keeps in the fridge for 2 weeks or freezes for up to a year. Pour into old yogurt pots for perfect single-serving portions.
Mix different apple varieties in one batch. The cooking apples break down to create body, whilst dessert varieties add sweetness and complexity.
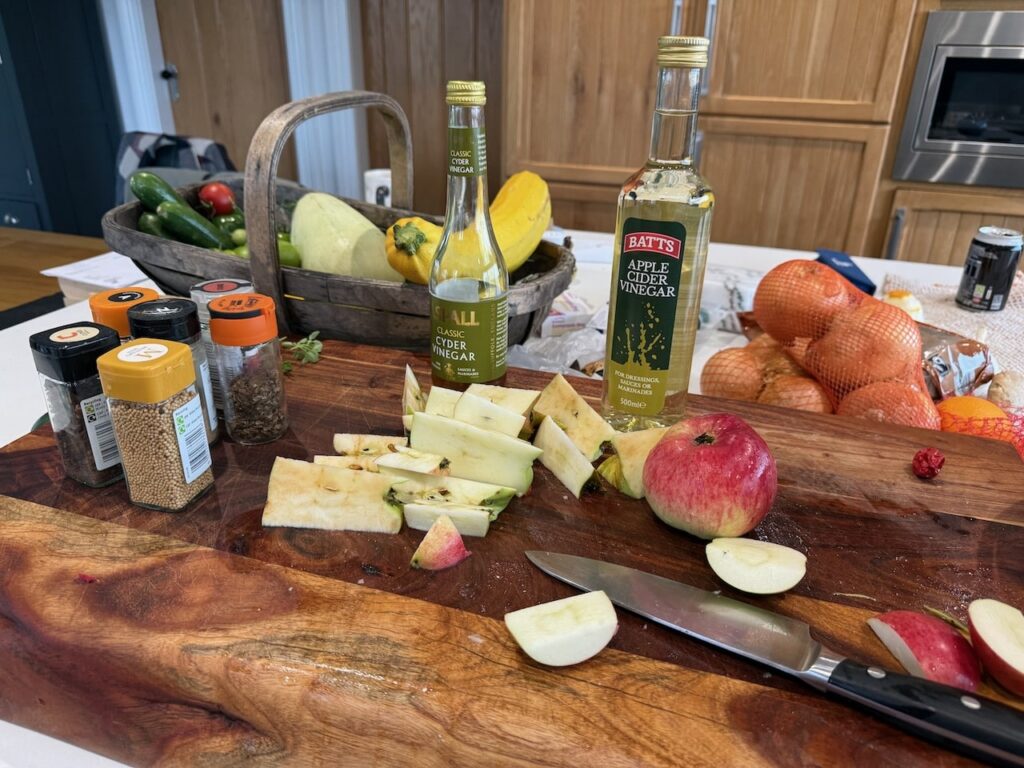
2. Rapid Apple and Ginger Chutney Recipe
Why this works: This recipe deliberately uses large quantities (3kg apples), and the beauty is that you can make it as mild or as fiery as you like. I love to change the spice mix each year, depending on the sweetness of the apples I’m using or how I want the chutney to taste. Some autumns I want my chutney to be fiery and spicy, others sweet and fragrant!
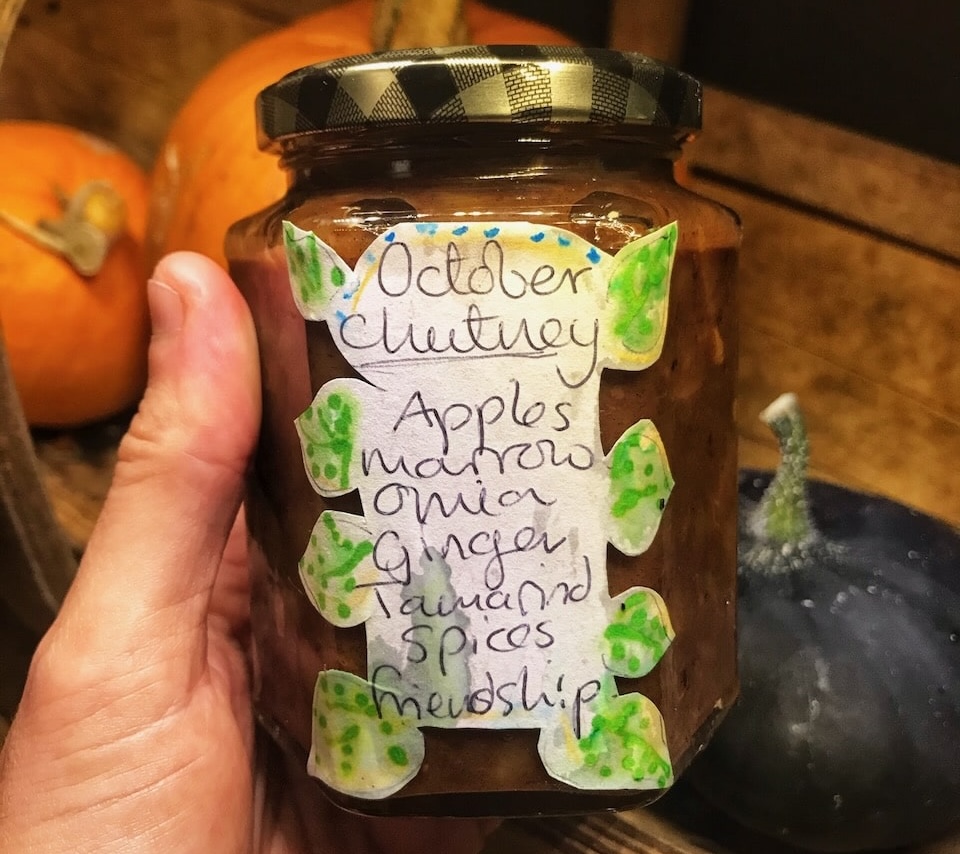
The great thing is that once it is heating on the stove, you can taste-test it as it goes along to tweak the spice, sugar, and vinegar ratio. If you find yourself with too many apples, making chutney is a quick way to use them up, and it also makes great gifts for dinner parties or turning up unannounced at friends’ houses!
The sugar and vinegar will act as a preservative and thickener for the chutney, so don’t reduce the amount of these two ingredients, or your chutney won’t last nearly as long in the larder. You can scale this chutney recipe up or down, so if you only have 1kg of apples, then use 1/3 of the sugar and vinegar amounts (250g sugar and 330ml cider vinegar)
Ingredients:
3kg apples, cored and chopped roughly (skins on)
500g onions, peeled and roughly chopped
1000ml cider vinegar
750g brown sugar (any type but dark soft is the best for very sticky chutney)
50g fresh ginger, grated or chopped finely.
2 teaspoons ground cinnamon
1 teaspoon ground cloves
1 tablespoon mustard seeds
4 cloves of chopped garlic
1 star anise
Optional – chillies, green tomatoes or dried fruit (tweak as you go, adding a bit more sugar and vinegar for every 100g extra of these)
Apple Chutney Method:
Everything in Together: Add all ingredients to a large, heavy-bottomed pan. Don’t worry about precise chopping – rustic is perfect for chutney. Then place on a low heat until it starts to heat, this prevents sticking or burning. Stir every few minutes to ensure everything is mixed. Put on some music and enjoy the process of watching the chutney come up to boil. This couldn’t be any easier to make apple chutney!
Slow Bubble: Bring to the boil, then reduce to a steady simmer. Cook uncovered for 45-60 minutes until thick and sticky. Your entire home will be full of the beautiful smell of apples, spice and fruit!
Jar While Hot: Pour into sterilised jars whilst still hot. This chutney improves with age and can be stored for years.
This chutney is brilliant with cheese, fantastic with cold meats, and transforms a simple pork chop into something special. Make a double batch; it’s just as easy and makes perfect Christmas gifts.
3. Apple Butter: The Ultimate Preserve
Why this works for gluts: Uses 4kg apples per batch and creates the most intensely flavoured preserve imaginable.
Ingredients:
4kg apples, cored and quartered
500ml apple juice or cider
400g brown sugar
2 teaspoons ground cinnamon
1 teaspoon ground nutmeg
Method:
Slow Start: Cook apples with juice until completely soft (about 30 minutes). Pass through a food mill or sieve if you want it smooth.
The Long Cook: Add sugar and spices, then cook on lowest heat for 2-4 hours, stirring regularly. It’s ready when a spoon drawn across the surface leaves a clear line.
Pot and Store: This keeps for months in the fridge or can be properly canned for shelf storage.
Spread on toast, swirl through porridge, use as a glaze for pork, or thin with cream for an instant dessert sauce.
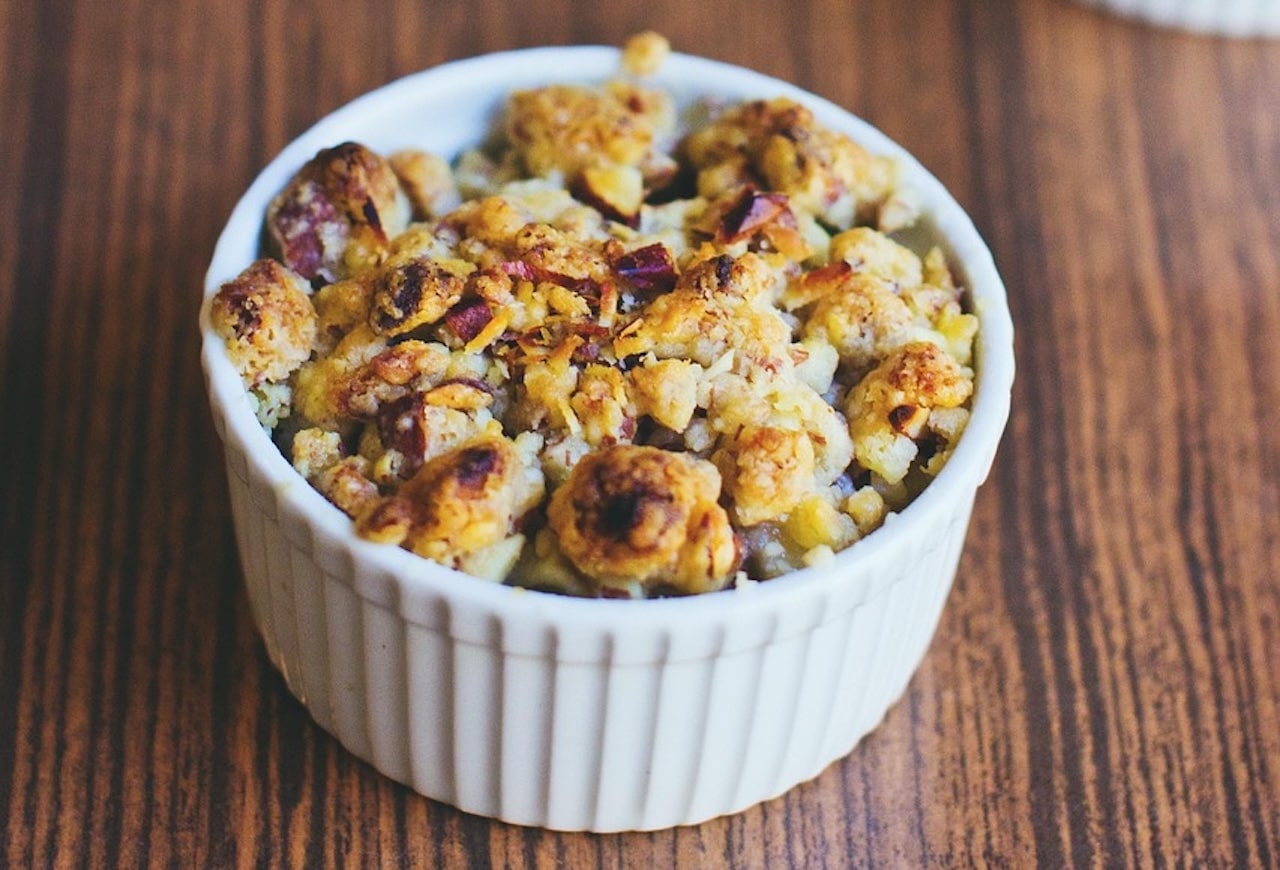
4. Classic Apple Crumble for Crowds
Serves 12-15 people and uses 2.5kg of apples
Ingredients:
2.5kg apples, peeled and sliced
200g caster sugar
2 teaspoons ground cinnamon
500g plain flour
250g cold butter, cubed
200g brown sugar
100g rolled oats
Method:
Prep the Base: Toss sliced apples with caster sugar and cinnamon. Spread in a large roasting tin.
Quick Crumble: Rub flour and butter together until they resemble breadcrumbs. Stir in brown sugar and oats.
Bake Big: Cover fruit with crumble topping and bake at 180°C for 45 minutes until golden.
Although this is a huge amount of crumble, it freezes really well, so I make a massive batch and then portion it out into takeaway containers. Consider adding a handful of blackberries, raisins, fresh plums, damsons or greengages if you’ve got them, as the tartness contrasts beautifully with the sweet apples.
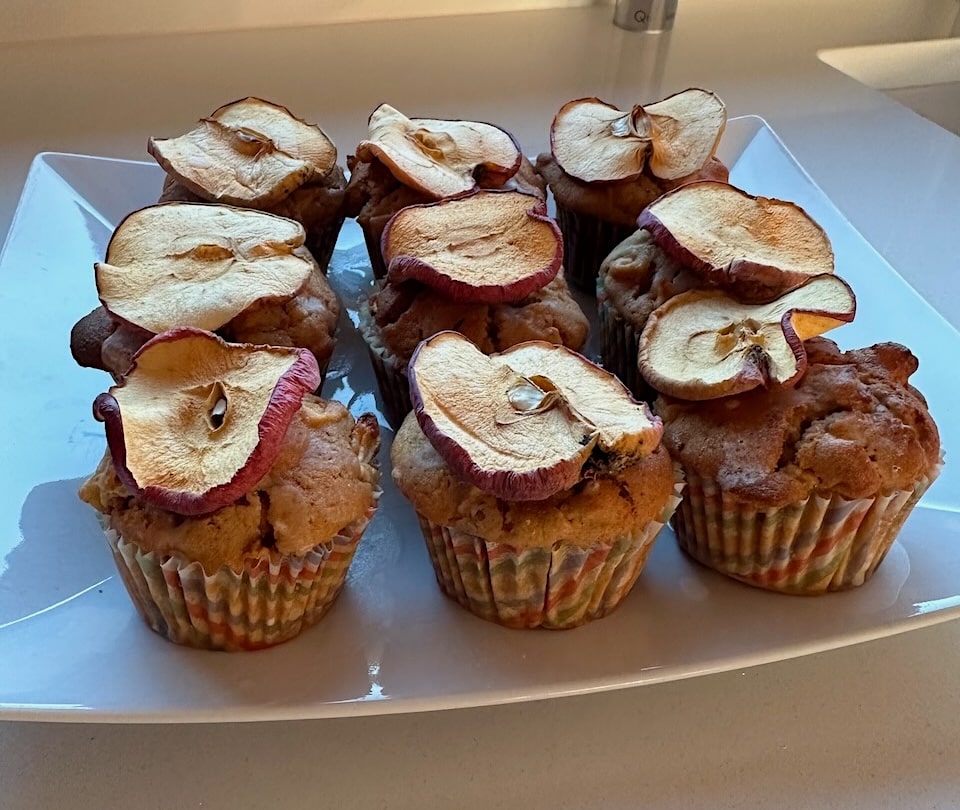
5. Apple and Cinnamon Breakfast Muffins
Makes 24 muffins, uses 1kg apples. Warning though, these are absolutely delicious, especially if paired up with dehydrated apples for the topping and some icing sugar syrup!
Ingredients:
1kg apples, grated (skins on)
500g self-raising flour
200g brown sugar
2 teaspoons ground cinnamon
2 eggs, beaten
300ml milk
100ml vegetable oil
Method:
Mix Dry Ingredients: Combine flour, sugar, and cinnamon in a large bowl.
Wet Mix: Whisk together eggs, milk, and oil, then stir in grated apple.
Combine and Bake: Fold wet ingredients into dry until just combined. Fill muffin cases and bake at 200°C for 20 minutes.
Perfect for batch cooking for breakfast throughout the week, school lunch boxes, or freezing for emergency snacks.
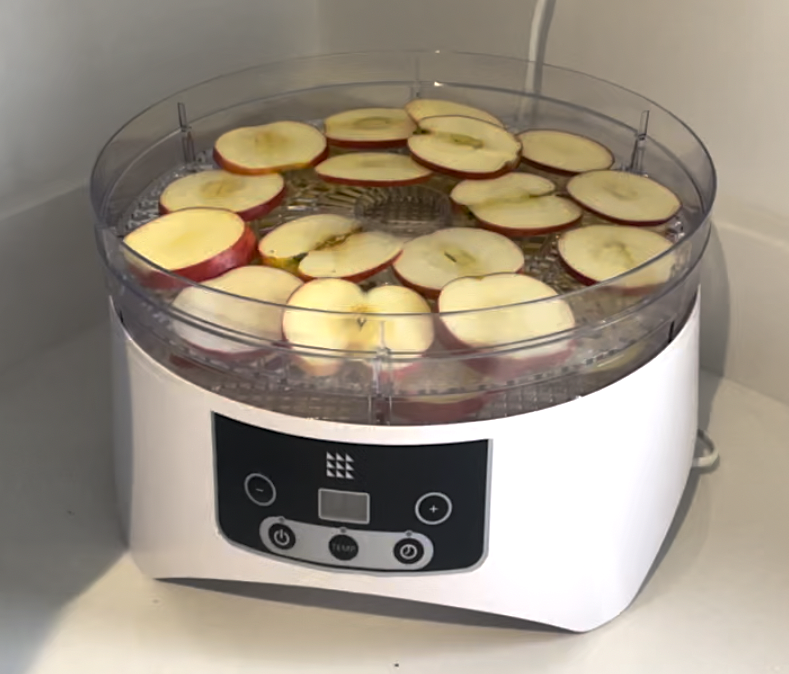
6. Dehydrated Apple Rings
Uses unlimited quantities and creates shelf-stable snacks
Method:
Core and Slice: Use an apple corer and slice into 5mm rings. No need to peel.
Dehydrate Options:
Oven Method: Arrange on baking trays, set oven to lowest setting (50-60°C) and dry for 6-8 hours
Dehydrator: Follow manufacturer’s instructions
Air Drying: In warm, dry conditions, thread onto a string and hang in a well-ventilated area
Properly dried apple rings keep for months in airtight containers and make brilliant hiking snacks or lunchbox additions.
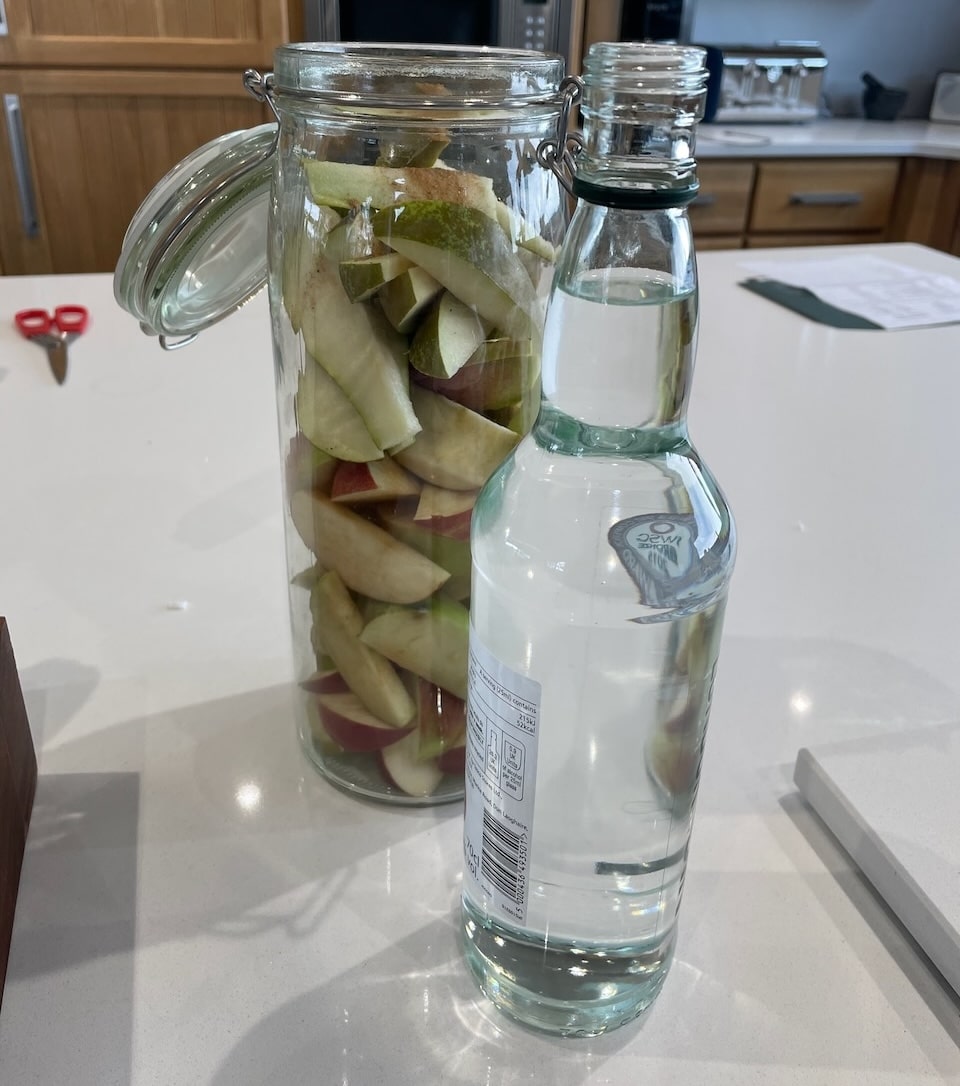
7. Apple Gin: The Festive Favourite
Uses 2kg of apples, perfect for Christmas gifts
Apple gin is probably the easiest thing to make with a glut of apples and creates the perfect winter tipple! It brings all the goodness of natural apples with a boozy kick that’ll have your guests asking for the recipe. In fact, it’s delicious neat over ice or used to perk up a glass of Prosecco when entertaining friends!
Ingredients:
2kg apples (any variety, mixed is brilliant)
500g caster sugar
1 litre good quality gin (no need for premium brands)
Large sterilised jar or container with a tight-fitting lid
Method:
Freeze Your Apples: Chop apples roughly (no need to peel or core) and freeze overnight in a bag or container. When you lift them out as they defrost, their skins break open, allowing them to infuse quickly with the alcohol.
Combine Everything: Add the defrosted apples, sugar, and gin to an airtight container like a mason jar or Kilner jar. Give it a really good shake to start dissolving the sugar.
The Waiting Game: Put it into a cupboard, somewhere out of direct sunlight, for 2 to 3 months. Give it a good shake each week to ensure the sugar has dissolved and the flavours are mixing properly.
Strain and Bottle: When ready, pass the gin through some muslin cloth or a fine sieve to remove all the apple debris. Decant into sterilised bottles and you’re done!
The apple pulp left over makes an incredible addition to apple crumble or can be stirred into porridge for a boozy breakfast treat (just remember to warn people!). This gin will keep for years and actually improves with age, making it perfect for Christmas gifts or special occasions.
8. Frozen Apple Prep for Future Baking
This quick apple harvest tip helps you process unlimited quantities of apples for year-round use, all with the help of the freezer. All you need is the time to slice and prepare the apples, ready to be frozen. You can also prepare frozen apples by adding sugar or spices to them before freezing, making it super speedy to make desserts or sauces.
Method:
Prep for Purpose:
For pies: Slice and toss with sugar and cinnamon
For sauce: Chop roughly, no additions needed
For cakes: Grate or dice finely
Freeze Flat: Spread prepared apples on trays, freeze until solid, then bag up.
Frozen apples actually break down faster when cooking, making them perfect for quick weeknight puddings. I usually have a full freezer or pre-sliced apples that I can quickly turn into crumbles, sauces or add to cakes without needing to wait.
9. Apple Cider Vinegar: The Health Enthusiast’s Choice
Uses apple scraps and cores from other recipes
Simple Method:
Collect Scraps: Save peels and cores from other apple recipes in the freezer until you have a large container full.
Ferment: Cover scraps with water, add a tablespoon of sugar, and leave at room temperature for 2 weeks.
Strain and Age: Strain out solids and leave the liquid to ferment for another 4-6 weeks until it smells and tastes like vinegar.
10. Community Sharing: The Social Solution
When recipes aren’t enough
Sometimes you genuinely have more apples than any household can reasonably process. Here’s how to share the wealth:
Neighbourhood Bags: Leave clean bags of apples outside your front door with a “Please Take” sign
Local Facebook Groups: Post about your surplus – someone always wants free apples for juicing or baking
Schools and Community Centres: Many welcome donations for cooking classes or events
Food Banks: Check if your local food bank accepts fresh produce donations
Good apples should never go to waste. There’s always someone who’d appreciate free fruit, and sharing your harvest builds lovely community connections.
Storage Solutions: Making Your Harvest Last
Apples store incredibly well, and I’ve been known to be able to keep my harvest ready to eat all the way through to January the following year! However, there are a few tricks to stop they drying out and becoming wrinkly like your old Nan’s hands!
A) The Newspaper Wrapping Technique
Wrap perfect, unblemished apples individually in newspaper and store in wooden boxes or crates in a cool, dry place (ideal temperature 0-4°C). Check monthly and remove any that are starting to deteriorate. Properly stored apples can keep for 4-6 months. A garage (free from mice) is a good place or under the stairs.
B) Refrigerator Storage
Modern refrigerators with humidity control can store apples for 2-3 months. Keep them in the crisper drawer and check regularly for deterioration.
C) Freezer Preparation
While whole apples don’t freeze well due to cellular structure breakdown, processed apples freeze beautifully:
Cooked for Sauce: Make sauce first, then freeze in portions
Sliced for Pies: Toss with lemon juice and a little sugar
Grated for Cakes: Spread on trays and freeze loose before bagging
Beyond Basic Recipes: Advanced Apple Adventures
Apple Brandy and Spirits
For those interested in serious preservation, apple brandy (Calvados-style) represents the pinnacle of apple processing. While requiring specific equipment and knowledge, it transforms large quantities of fruit into a product that improves with age and makes exceptional gifts.
Fermented Apple Products
Apple Kimchi: A modern twist on traditional fermentation, combining apples with cabbage and Korean-style seasonings for a probiotic-rich preserve that keeps for months.
Apple Kvass: A traditional Eastern European fermented drink that’s mildly alcoholic and highly refreshing. Uses apple peels and cores that would otherwise be waste.
Commercial Opportunities
Farmers Markets: If you consistently produce more apples than you can use, consider the local market route. Homemade apple sauce, chutneys, and baked goods often command premium prices.
Apple Juice Production: Small-scale juice presses are increasingly affordable and can process large quantities quickly. Fresh apple juice sells well locally and can be frozen for year-round availability.
Unlock Your Garden Potential with Garden Ninja’s Expert Online Training
Ready to transform your gardening skills beyond basic maintenance? Garden Ninja’s expertly crafted online courses will fast track your development from keen amateur to skilled garden designer in months rather than years. Starting at just £29, you’ll gain access to professional garden design expertise from BBC Garden Rescue’s Lee Burkhill, delivered at a fraction of traditional horticultural education costs.
29
Garden Design Examples for Small Gardens: 30 Design Templates & Planting Plans
Garden Design Examples for Small Gardens: 30 Design Templates & Planting Plans: In this online gardening course, I’ll walk you through 30 fantastic garden designs, explaining the logic behind the layout, the plant choices, and take-home tips for applying them in your own garden.
Weekend Garden Makeover: A Crash Course in Design for Beginners
Learn how to transform and design your own garden with Lee Burkhills crash course in garden design. Over 5 hours Lee will teach you how to design your own dream garden. Featuring practical design examples, planting ideas and video guides. Learn how to design your garden in one weekend!
Garden Design for Beginners: Create Your Dream Garden in Just 4 Weeks
Garden Design for Beginners Online Course: If you want to make the career jump to becoming a garden designer or to learn how to design your own garden, this is the beginner course for you. Join me, Lee Burkhill, an award-winning garden designer, as I train you in the art of beautiful garden design.
Self paced learning – Study whenever suits you best, with no fixed timetables or classroom restrictions
Professional video tutorials from a qualified designer with extensive hands on project experience
Engaging activities and real world examples that strengthen understanding and boost your confidence
Unlimited access forever to course content, so you can return to lessons whenever needed
Professional certification – earn recognised qualifications that validate your garden design skills
Real world application – put your new knowledge into practice immediately on your own outdoor spaces
Exceptional value – Premium education at a small percentage of conventional course fees
Summary
The key to successful apple glut management isn’t finding one perfect recipe; it’s developing a system that handles quantities efficiently while creating products you genuinely want to eat and share. Start with simple preservation methods like sauce and chutney, then expand into more adventurous territory as your confidence grows. Also, don’t beat yourself up if you don’t manage to harvest and use all your apples; the birds, wasps, and other mammals will soon make use of the windfall.
Remember, having too many apples is fundamentally a wonderful problem. It means your tree is healthy, your growing conditions are right, and you’re connected to the ancient tradition of seasonal abundance that our grandparents took for granted. Every jar of chutney, every slice of apple cake, and every glass of homemade cider represent that taste of autumn which can brighten the darkest January day!
The best apple recipe is the one you’ll actually make. Don’t let the perfect become the enemy of the good – a simple apple crumble shared with friends beats an elaborate tarte tatin that never gets made because it seems too complicated. Start simple, build confidence, and before you know it, you’ll be the person your neighbours turn to with their own apple gluts, asking for your secret recipes.
Now get out there and make the most of those apples – they won’t process themselves, and there’s nothing quite like the satisfaction of a well-stocked pantry full of homemade apple goodness!
Lee Burkhill, known as the Garden Ninja, is an award-winning garden designer and horticulturist with over 30 years of gardening experience and 15 years as a professional garden designer. A qualified RHS (Royal Horticultural Society) professional, Lee specialises in sustainable garden design and practical horticultural advice. He designs and presents on BBC1’s Garden Rescue and in leading gardening publications. Lee combines three decades of hands-on gardening knowledge with professional design qualifications to help gardeners create beautiful, functional outdoor spaces.