Robotic Lawn Mowers: Bosch Indego S+ 400 Reviewed
 Lee Burkhill: Award Winning Designer & BBC 1's Garden Rescue Presenters Official Blog

A neatly mowed lawn is a quintessential component of the British garden. The majority of my design clients ask for a lawn as an essential part of their garden layout showing just how indispensable they are to homeowners. However, with peoples busy lives it can feel like a bit of a chore needing to cut them sometimes weekly during the summer months. The BOSCH Indego S+400 is a cordless robotic lawn mower that can automatically cut your lawn even when you're not there. How's that for an impressive boast? BOSCH sent me one of these models to test out here at Garden Ninja HQ.
The main benefit of a robotic lawn mower is time saved by not having to manually mow your lawn. With the BOSCH Indego S+400, you can programme the mower to mow at set frequencies and off it will go and trim your lawn keeping it neat and tidy without your needing to drag out your mower from the garage. I've never used one before this test so have been intrigued to see the benefits and any potential drawbacks in comparison to a traditional manual lawnmower.
First things first, the technical specifications of the robotic lawn mower are pretty important.
After unpacking the robotic mower and reading the instructions I set about fitting both the docking station and the perimeter wire. The BOSCH Indego S+400 needs somewhere to dock and charge itself along with a live perimeter wire to set the boundaries of the lawn that needs to be cut.
I decided to fit the docking station in the corner of a small area of turfed garden as I think this is where most people would fit it out of the way. You need access to an external weatherproof plug socket. You then need to fit the perimeter wire using a series of pegs around the lawn area.
The docking station needs to be close to a power source and is then fitted to the turf with large plastic screws. This is where the mower will return to charge or when not in operation.
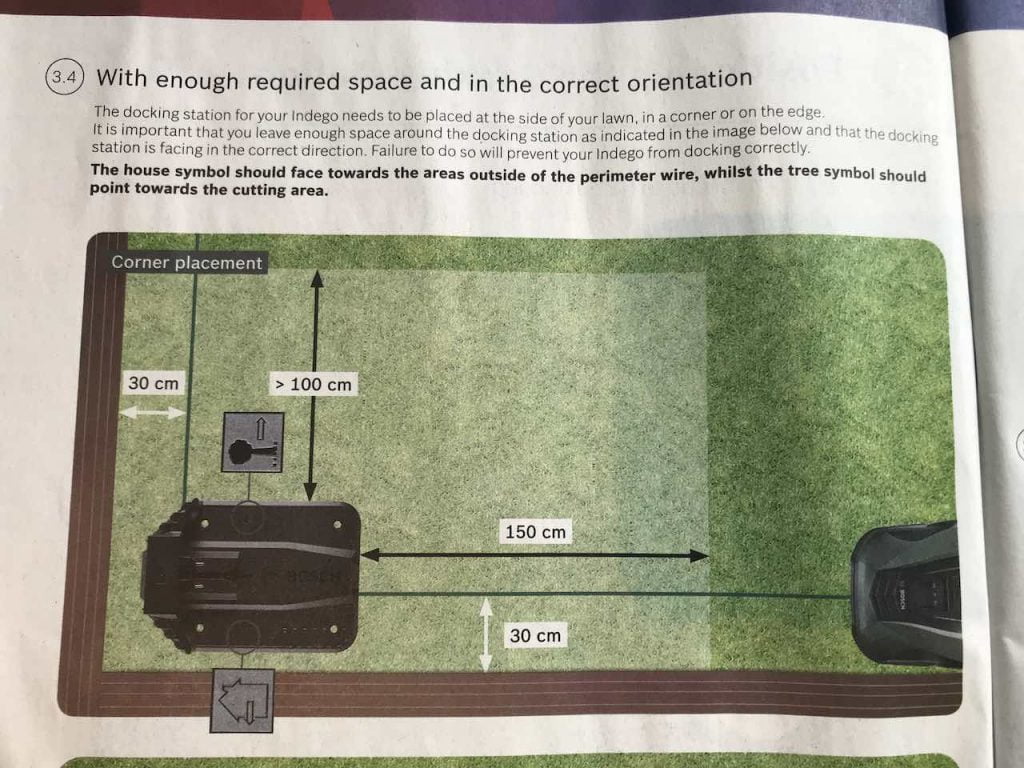
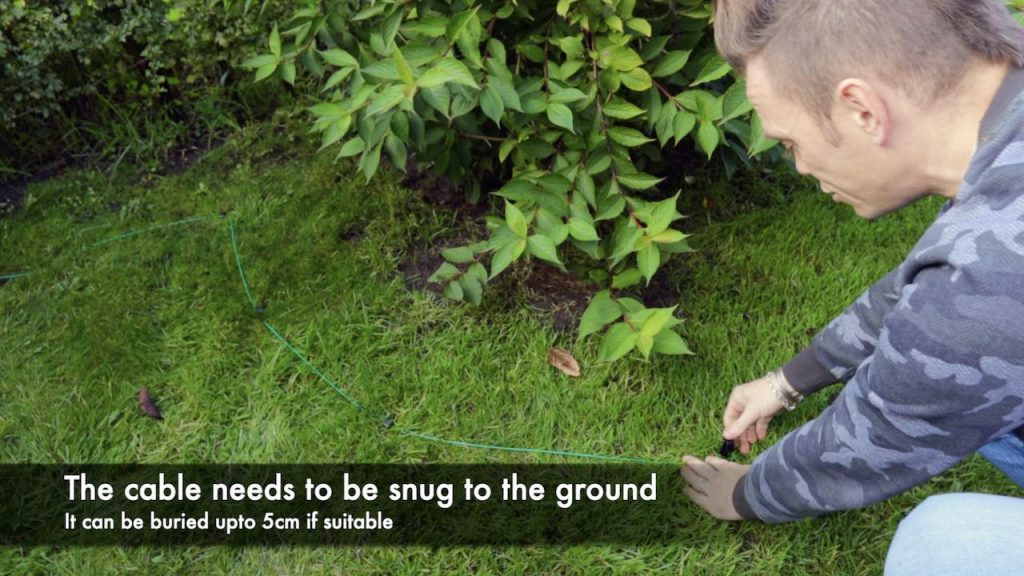
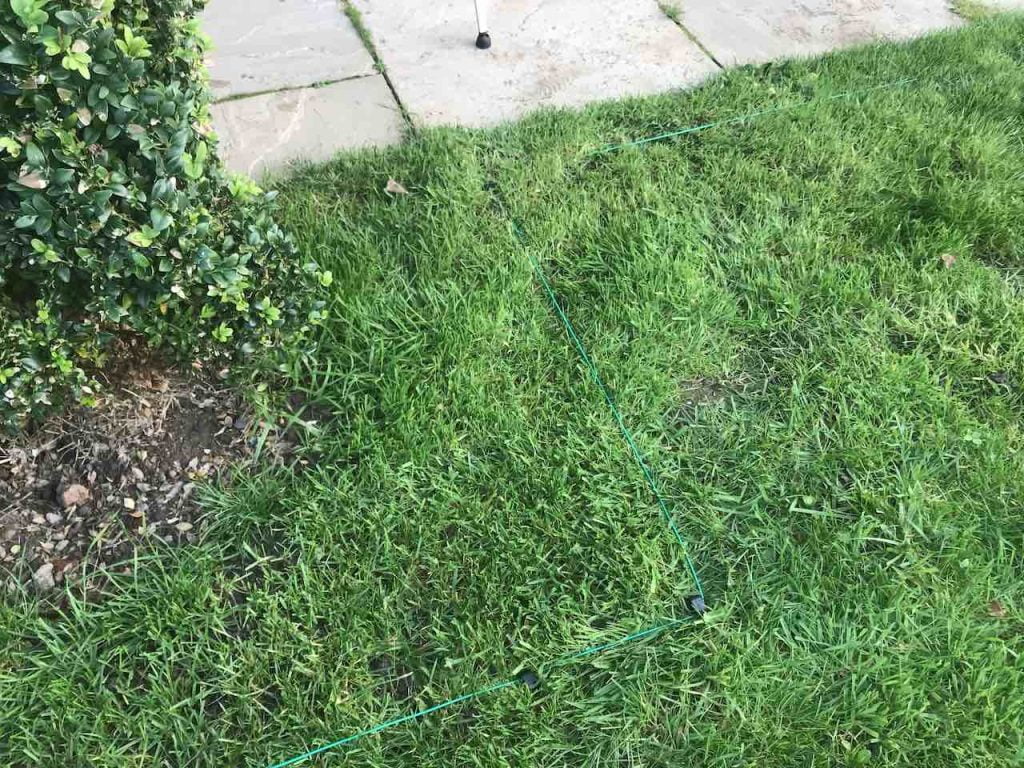
This was the most time-consuming part of using the mower, but luckily you only have to do it once. You need to run the wire around the perimeter and secure it firmly to the ground. The BOSCH Indego S+400 mower needs at least 30cm space from the edge of the lawn so it can turn. This means the wire needs to be 30cm away from the edge. There's a cardboard ruler in the box to help.
If you have a tree or obstacle that you need to navigate around I followed the instructions to run the wire again 30cm around these items.
The instructions did state that you can bury the wire up to 5cm which I think I would do if it was a permanent mower. I'm not sure I like the idea of a wire sitting on top of the lawn no matter how close. Given the fact the mower won't mow to the very edge, you're going to have to do some strimming at some point. I'm not sure a surface wire is advisable for this given you could cut through it rendering the machine inoperable. So it's worth bearing in mind the time taken if you're going to bury the wire properly instead of just pegging the wire.
Did you know that you can take my course and learn how to become a Garden Ninja yourself? Click here for details
Once you've laid the wire as per the instructions you need to cut and strip the wire to then feed it into two connectors on the back of the dock. This was the most fiddly part of the whole process. I've stripped wire before but think there could be an easier way to do this with an alternative connector type. However, I'm guessing BOSCH have to do this as they don't know how much wire you'll be using. I think it could be better developed through for anyone nervous about stripping wires.
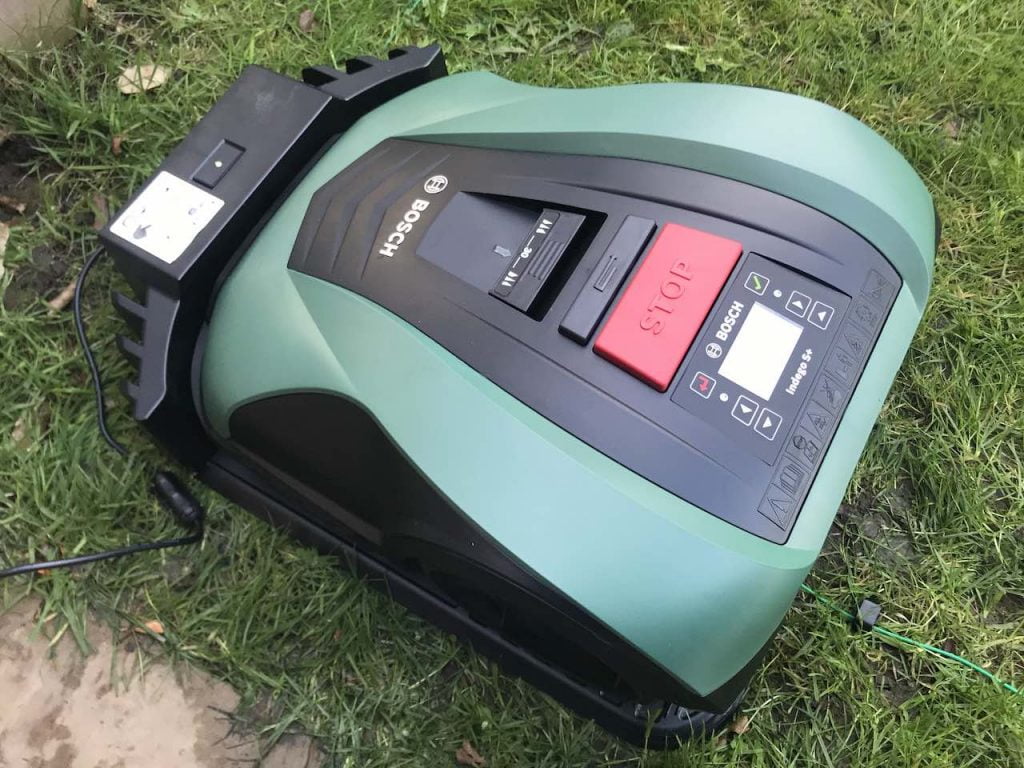
Once that's done you plug in the main socket and a light will appear on the dock. Carefully slide in the robotic mower onto the two power 'prongs' and it will start to charge. I recommend going for a brew for 45 mins whilst this happens.
Once you've enjoyed your cup of tea and want to use the mower it first needs to make a pass of the garden to map out the area using the perimeter wire. You need to set a language and PIN for the machine which is a safety feature. It will ask for this each time you need to use it. Mapping out was relatively quick in the garden I was trialling it out in. I pushed the green button once 'Map Garden' appeared and off it went!
The BOSCH Indego S+400 then learns the area allowing it to make intelligent cuts each time its in use, alternating the cutting pattern and making the most efficient use of the space. Clever eh!
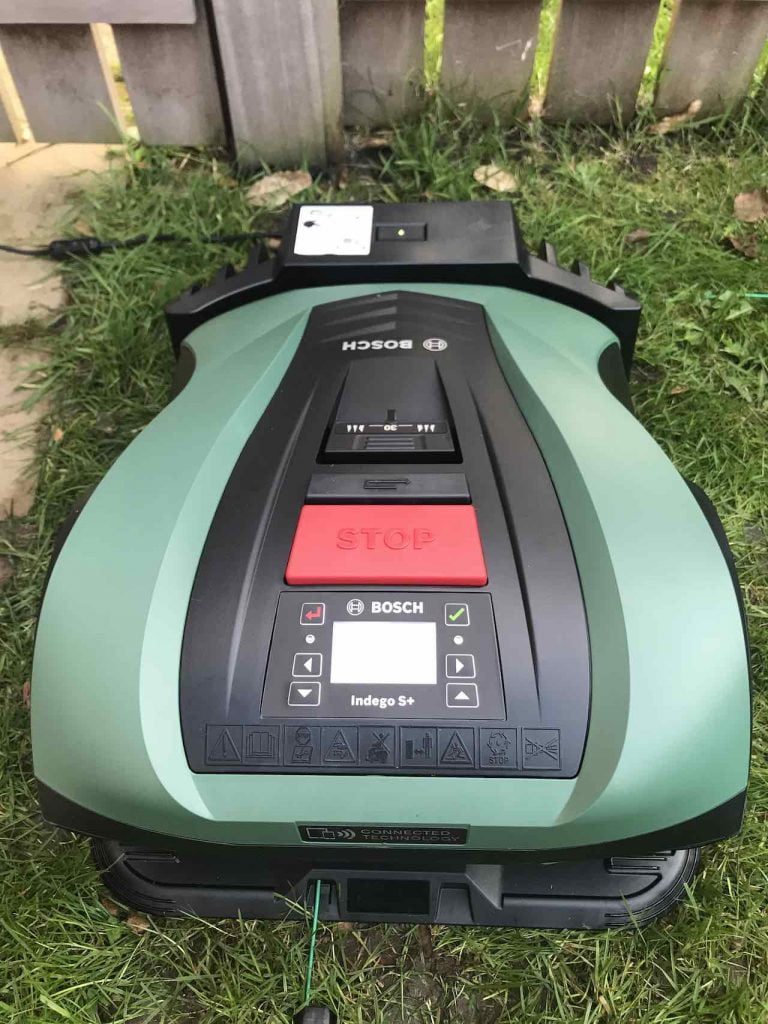
To set the cut height there's a really easy to use button on the BOSCH Robotic mower. It has three cutting heights 3cm, 4cm or 5cm. Whilst it may not go as low as traditional mowers I think the fact that its intended to keep on top of your mowing means it doesn't need to go so low as to scalp the grass. To reset it to the 5cm just press the reset button. Simple!

Now time for the good stuff, the actual mowing! The BOSCH Indego S+400 can be scheduled to come on at set times or you can press the 'Mow Now' button when you like. I pressed the button and off it went mowing the garden in an organised fashion.
One thing I noticed was how quiet it was, you could hardly hear it which I think is a great benefit if you're in a built-up urban area. It's a really considerate machine for neighbours and some quiet time! It returns to the dock either when it's done or when it needs recharging.
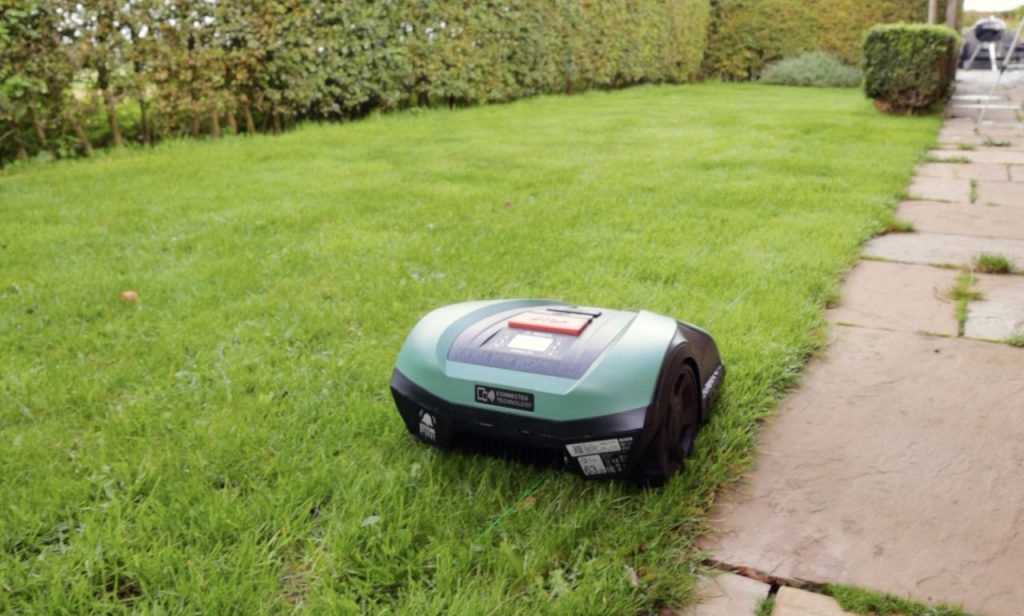
The mower took about 30 mins to do the 12m x 2m area and used a neat pattern for the first cut. For the second cut, I lowered the cutting height to 3cm and set it off again after charging. It was a bit quicker the second time around at 25 minutes and used a completely different cutting pattern. The grass is mulched back onto the lawn so there's no need to empty the Robo-mower.
There's also a neat app you can use to control and schedule the BOSCH robotic mower. I tested this out briefly with the 'Mow now' function which seemed to work well. I can't testify to the scheduling as I didn't use this feature. From the app though you can set time for the mower to work in your absence, which is one of its main benefits.
The BOSCH Indego uses 3 rotating blades to cut the grass. Upon close inspection, see below, the cut quality is acceptable. It's not as clean or precise as a full-size lawnmower. I put this down in part to the size of the blades and lack of precision sharpening that you can achieve on a larger heavier rotating blade. However, I guess you could argue that because you're cutting more frequently with the BOSCH you may not need as sharp or precise a blade as you're keeping the cutting to a far smaller amount each time.
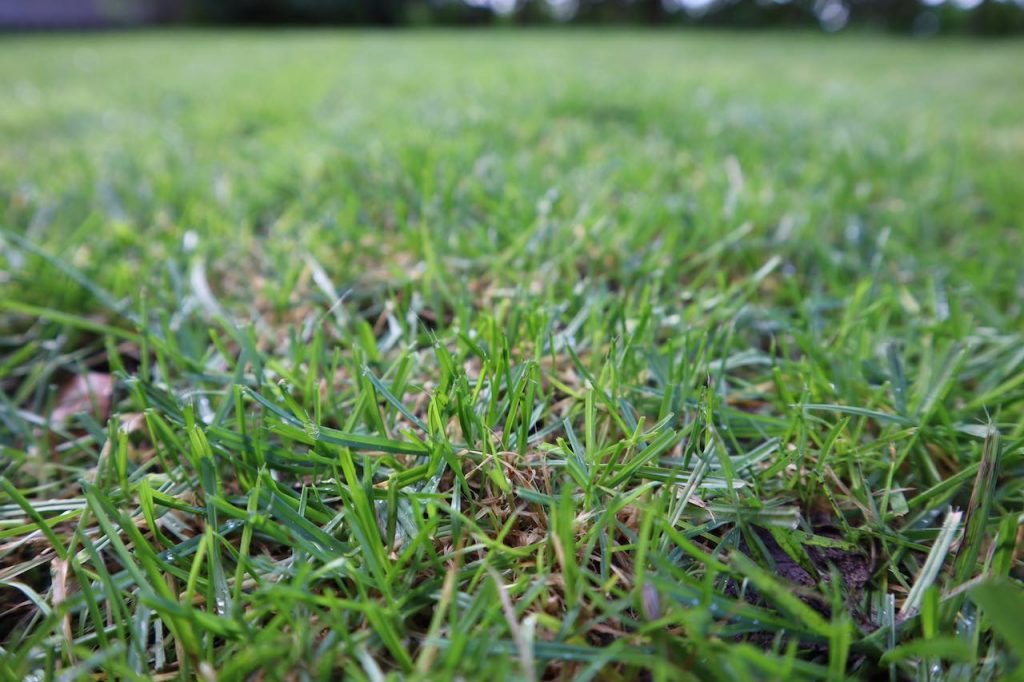
I'd be interested in seeing how the blades can be sharpened over time. I double-checked the instruction booklet for this but found no details of this. They may be a consumable that needs to be changed over time but without further enquiry, I couldn't say for sure.
I had great fun with the BOSCH Indego S+400 Robo-mower and its quirky appeal at mowing a lawn without having to manhandle a full-size mower. I think for small urban gardens with gadget-loving homeowners it will really appeal. I do find the wire perimeter a point of weakness and would like BOSCH to try and develop a wireless solution to this. It would also cut down on the time taken during the initial installation. The mower itself is super quiet and goes about its business with no fuss. Making it a time saver for busy homeowners who may want to schedule the mower to run via the app whilst they are out at work.

I think that new homeowners would benefit from fitting the wire and docking station before having their gardens landscaped as this would then make for a more seamless installation of the BOSCH Indego. All in all, it was a fun tool worth consideration for urban gardeners.
Why not get in touch on my Twitter, Facebook or Instagram for more garden guides and tips? Check out the other guides and vlogs on my Youtube channel.
Happy Gardening!


JOIN THE NINJAS
Join our Ninja community for extra guides & Discount Codes for Online Garden Courses!


 To my YouTube channel