How to scarify a lawn: fixing a neglected lawn
 Lee Burkhill: Award Winning Designer & BBC 1's Garden Rescue Presenters Official Blog

Scarification of a lawn is often used to revitalise and keep an existing lawn in check. Scarification involves using a machine, a bit like a lawnmower but much sharper, with a rotating set of blades that slice down into the topsoil. This acts to cut the grass rhizomes, drag out debris and furrow the soil.
Think of scarification as a yearly or bi-yearly step in lawn maintenance to help reduce the build-up of thatch, dead grass and help keep your lawn in top form. Watch my popular guide on how to easily scarify your lawn, and read on for more detail about each step in the lawn scarification process.
This page contains affiliate links for products I use and love. If you take action (i.e. subscribe, make a purchase) after clicking a link, I may earn some gardening commission which helps me keep the Garden Ninja Blog free for all.
Lawn scarification is the process of removing old moss, thatch and debris from a lawn. Scarification cuts through the rhizomes of your grass/turf to encourage rich, fresh new growth. Scarification can renovate even the most threadbare and patchy of lawns.
Lawn scarification is part of your essential lawn care routine if you want a lush, green, healthy lawn. Think of it as a form of lawn pruning.
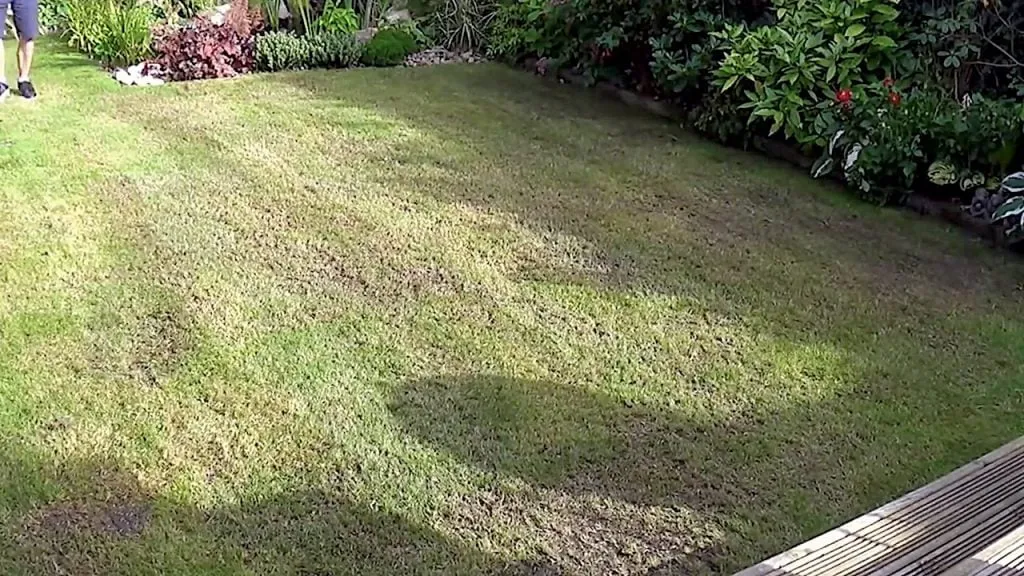
A freshly scarified lawn above.
The very best time to scarify a lawn is Autumn time i.e. Sept to late Oct in the UK.
Although you can scarify in spring, you're in a race against weed growth, whereas in autumn time, the weeds are slowing down. You can also be more vigorous in your scarification in autumn than in spring.
You want to avoid scarifying in the following circumstances:
Over time your lawn will build up what is called thatch. This is a layer of dead grass material, not dropped from mowing, but as the grass dies back, newer shoots take their place. If you think of turf as a large mat of interconnected dead rhizomes and roots, you can start to understand why it may become congested after a period.
In a perfect world, the new grass and the breakdown of this thatch can be in perfect harmony. It’s usually fungi that break down thatch, but if your grass outgrows this process, usually after a feed, then thatch can build up, causing a detrimental effect on your lawn.
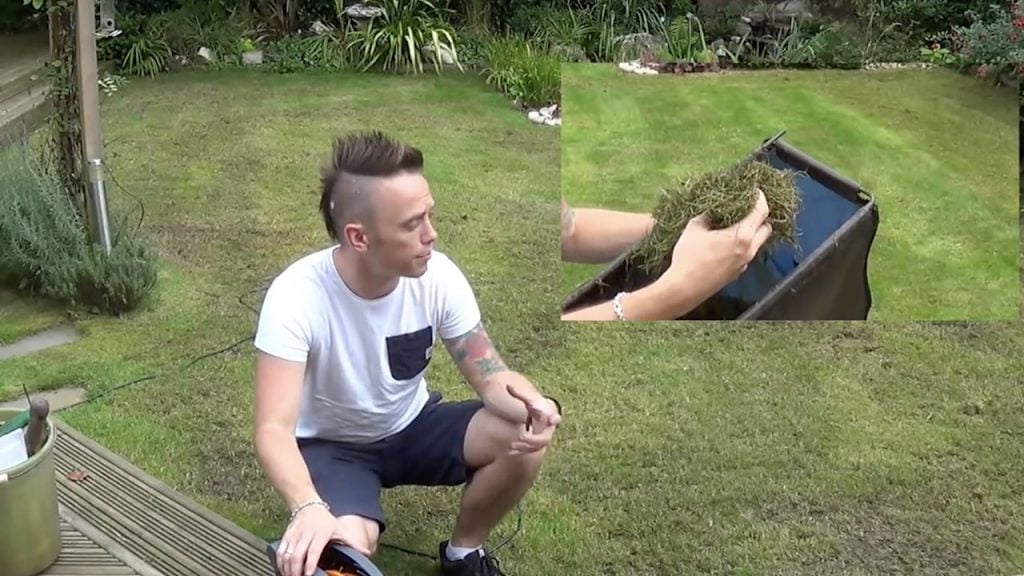
You can see above the thatch coming off an unloved old lawn.
You can tell too much thatch if you get down close; you’ll see a brown webbed layer in between the grass and feel the grass turning spongy when you walk on it.
A build-up of moss can also occur in your lawn, which feels spongy underfoot. Scarification is the best way, other than synthetic chemicals, to remove this and help keep your lawn in tip-top condition. Think of scarification as giving a muddy doormat a good shake, brush and wash to remove rubbish, and matted strands and lift the pile.
Some gardeners may put a moss killer down like Iron sulphate before scarifying. It depends on just how mossy or bouncy your lawn is! I tend not to use it and save such treatments only for the worst mossy lawn offenders.
Scarification is a great way to remove moss. Scarification lifts moss easily from a lawn, meaning it can be disposed of or composted. Helping the lawn breathe and preventing moss from outcompeting your beloved lawn seed!
Scarifying a lawn is no more complicated than using a lawnmower. What puts many people off is the fact that it feels and looks brutal. Not many people are open to slicing open their lawn, no matter how lumpy, bumpy or ugly. However, this is the process that your lawn needs to remove intruders such as moss and thatch.
Although your lawn may look awful directly after scarification, in about 3-4 weeks, it should start to look far better than it did before as new shoots emerge. It's well worth the leap of faith.
If you're looking for the best scarifier this is one that I would recommend here.
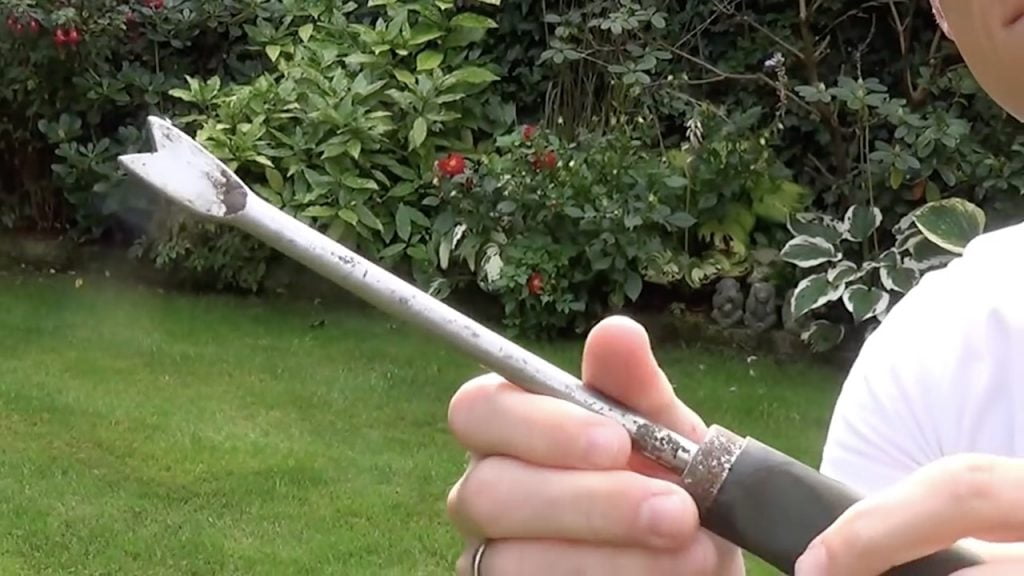
Yes, this may be a time-consuming approach, but it's really necessary. If you don't remove them, then using the scarifier will only help propagate perennial weeds meaning they come back two-fold. I prefer to hand weed smaller lawns, not because I'm a sadist, but because I'm not a fan of chemical weedkillers.
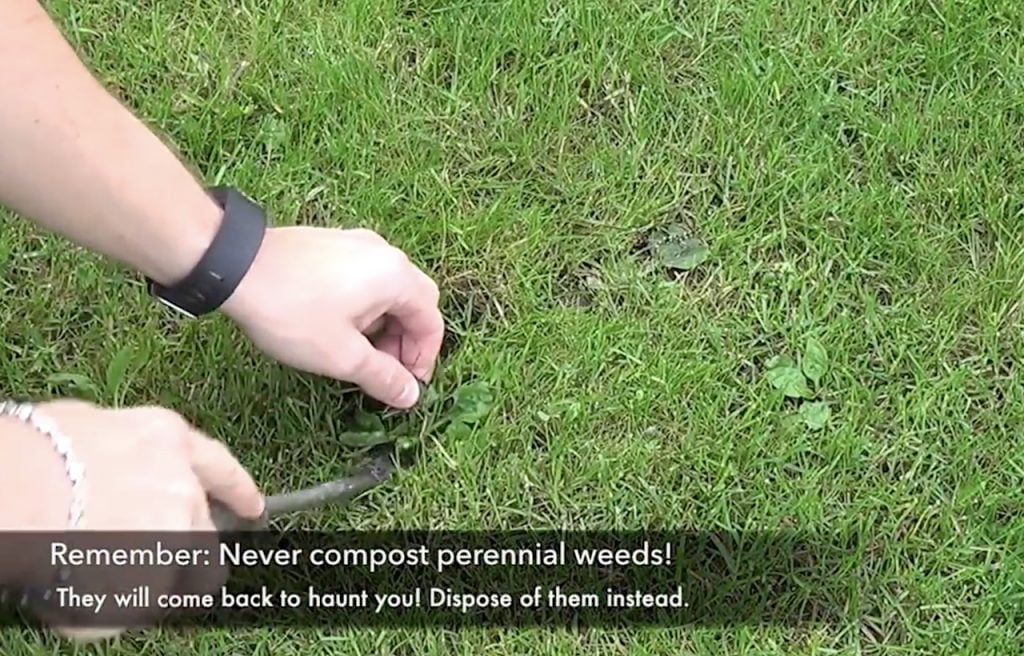
However, you may need to consider some form of selective weedkiller for larger lawns. (Always follow the instructions and use them with care).
The next step is to mow the lawn as short as possible without scalping it. Ie slicing up the top layer of soil. Scarifiers slice vertically, whereas mower scalping slices horizontally, damaging the grass. Start on a high setting and then work down until it's short.
A scarifier should have a depth setting or adjuster. A bit like a lawnmower, you can choose how deeply you scarify. For a seasonal light scarify, then a higher setting is preferable.
For a really poor lawn, then, a deeper setting is required.
Use your judgement. You can always start higher and work lower based on how much debris comes out.
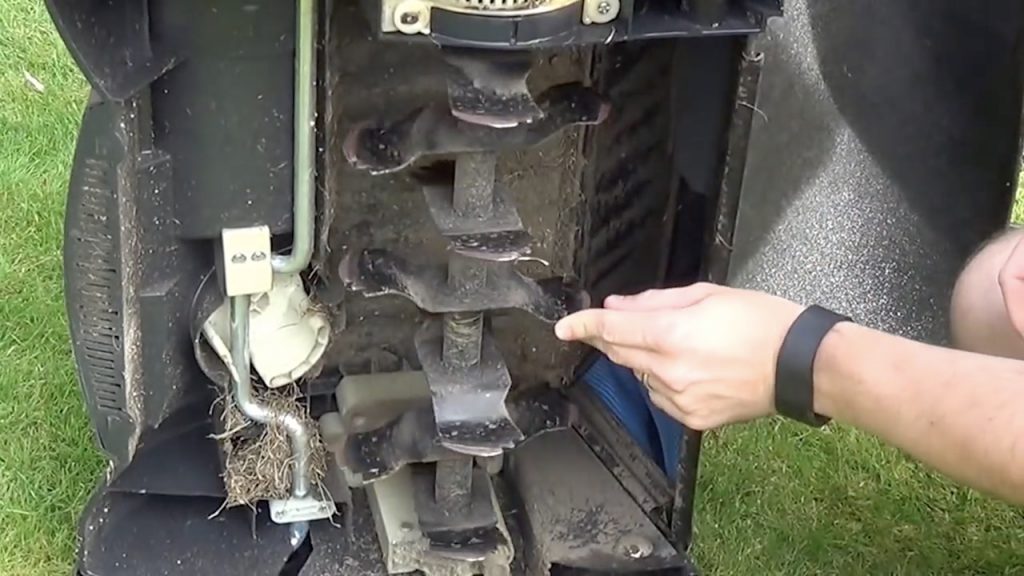
Above are the blades of a scarifier that slice through the lawn and remove debris.
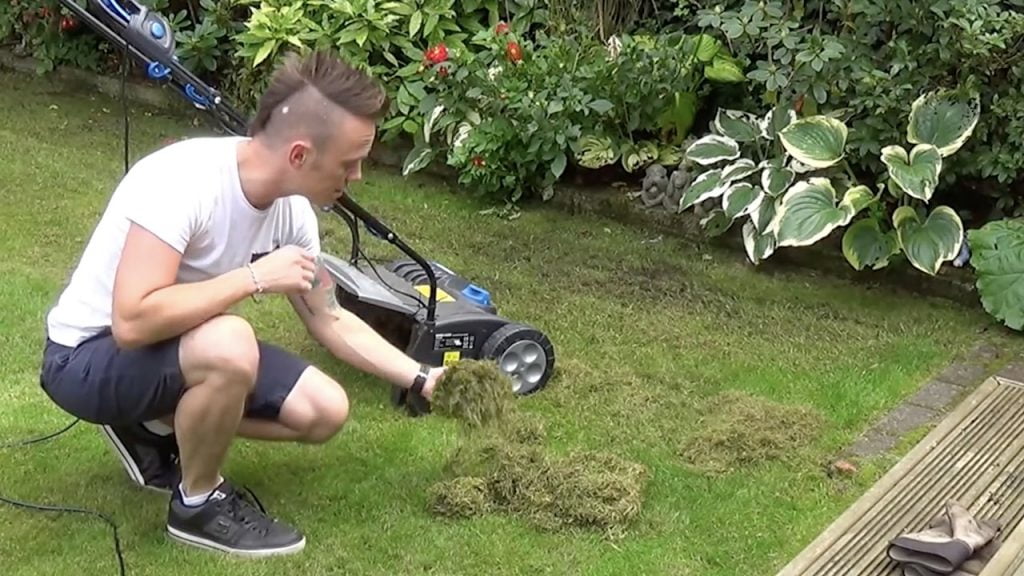
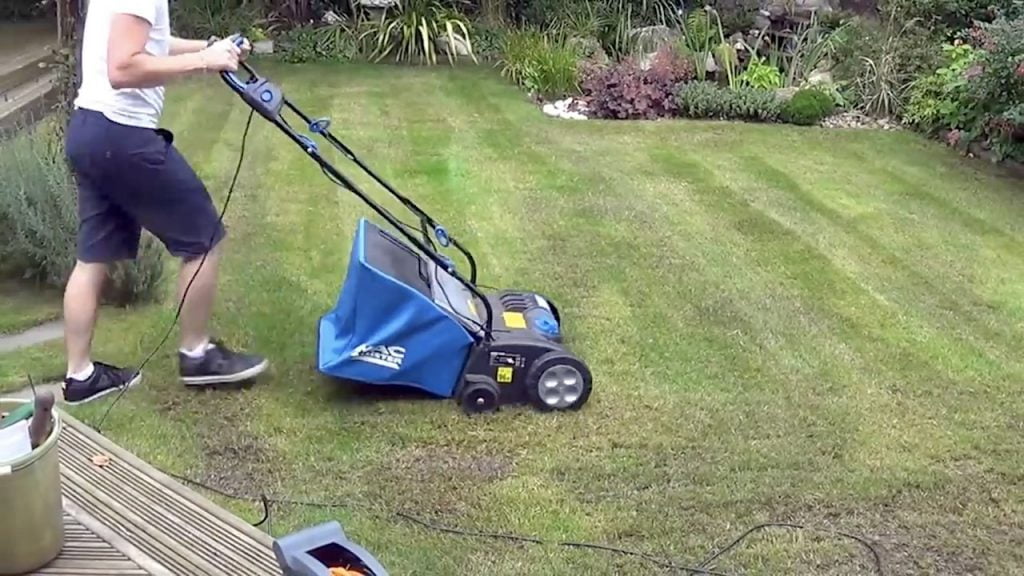
Like you would do if you were mowing the lawn. Going from edge to edge slowly. Ensuring you empty the collection bin as soon as it is full. You may be surprised by how much comes out!
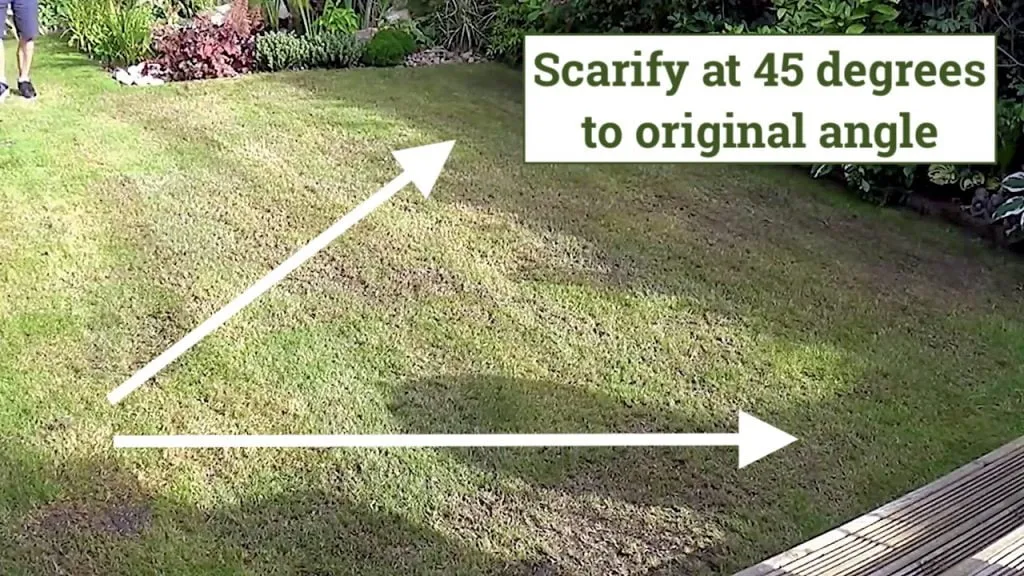
Scarify in one direction, then at 45 degrees to that original line.
This diagonal scarification ensures that the lawn is fully opened up and creates a criss-cross matrix pattern. It ensures even thick regrowth and aeration to the top layer of the turf.
If your lawns are in a bad way or you have an ornamental lawn, it's then time to overseed after scarifying. Again, this depends on how frequently you scarify and the condition of your lawn. With a poor lawn, I'd always overseed to help it along.
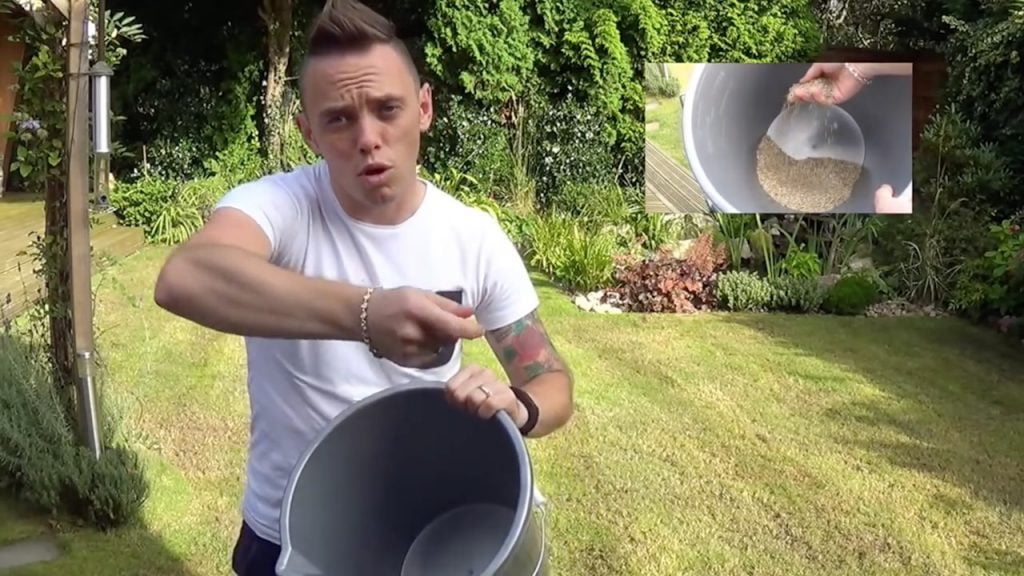
Scatter a fresh grass seed mix at 15-20 grams per square meter to help encourage additional grass growth.
The final step is to water the lawn thoroughly. Your lawn is now in fight mode as its rhizomes send out new shoots. So water it well to help it in its recovery mode. Ensuring in dry spells that you water it twice a week for the first 2 weeks or so if need be.
This is an optional step for really poor lawns or dry areas. Your new grass seed will need moisture to germinate, so sieve a layer of light compost over your lawn, not to completely cover it but lightly dress. This will help retain moisture and aid seedling germination.
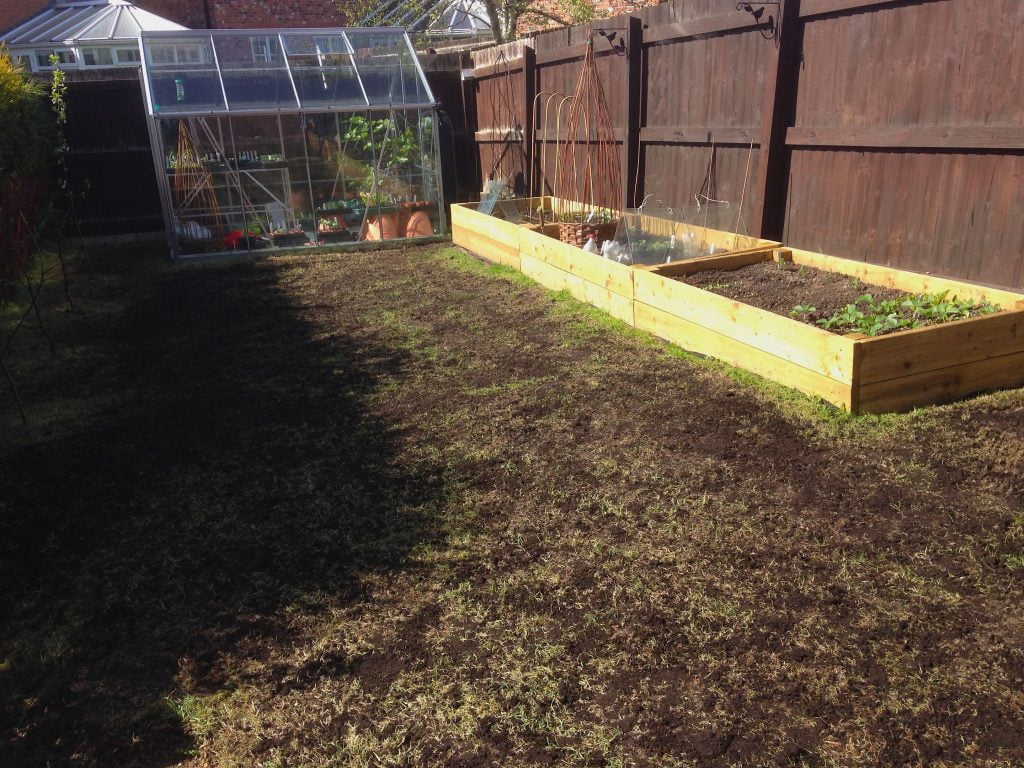
A poor neglected lawn above after scarification, overseeding and top dressing. This example was more weed than lawn, so drastic measures were required.
Leaf mould is a great lawn top dressing. Find out how to easily make it.
There's no denying that your lawn will look terrible, horrendous or ruined after scarifying. But please don't panic. It will soon bounce back. You've removed years of dead moss, thatch, grass and debris. You've also sliced through all those grass rhizomes, resulting in fresh, soft grass growth.
However, you do need to give it time. Your lawn will start recovering in 4-6 weeks, and it's definitely worth the wait. So if your newly scarified lawn looks terrible, that's normal, and it will recover.
Your freshly scarified lawn will take 4-6 weeks to show thick new growth.
You can mow the scarified lawn about 2-3 weeks after scarification. Keep the setting high to help encourage new growth.
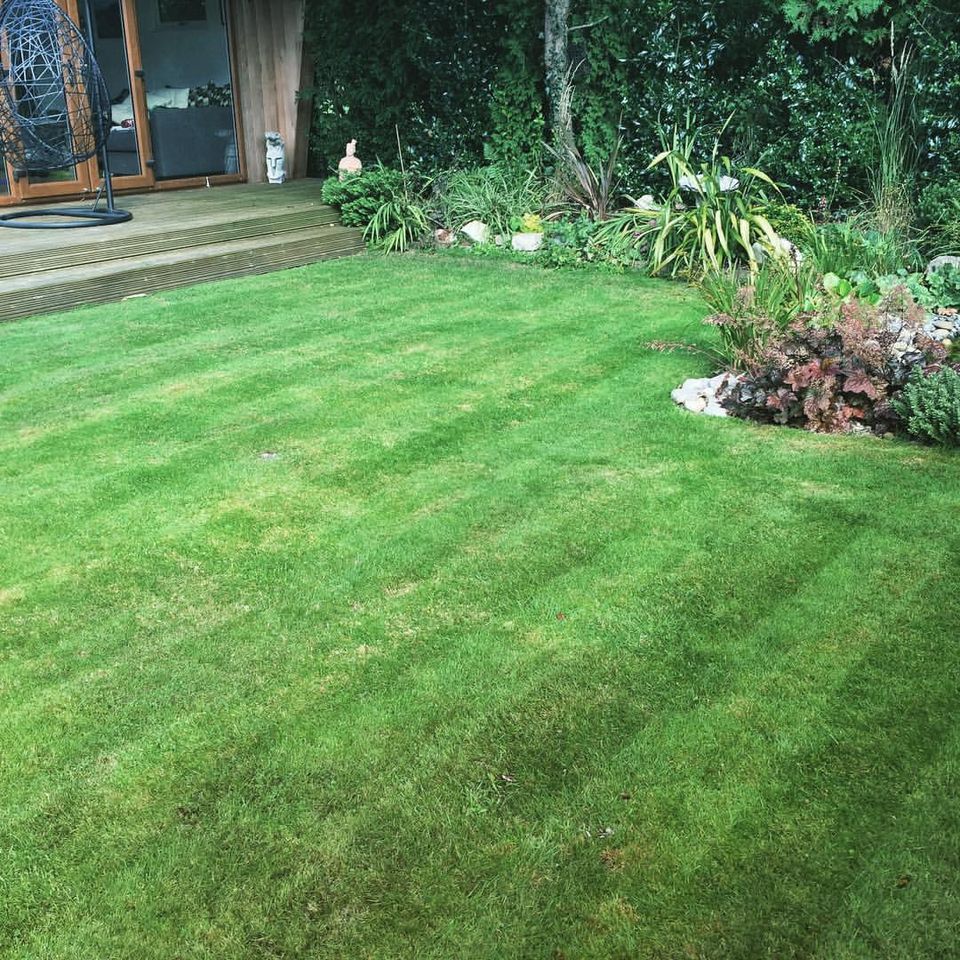
Here's the main example lawn 6 weeks later. It is still developing but far richer and greener than before. Still some patches that need more time but a vast improvement!
Scarification is a brilliant way to reinvigorate lacklustre or compacted turf. Even the worst offending lawns can be revived with a little effort. Scarification removes moss, debris, and thatch and helps open up your lawn. It's worth lawn maintenance activity once you get over the awkward and brutal aftermath. Within 4-6 weeks, your lawn will bounce back fuller than ever.
Have you scarified your lawn recently? I'd love to hear your thoughts and success stories about renovating old, tired lawns.
You can Tweet, Facebook or Instagram me with your lawn images. If you need gardening advice, why not check out my Youtube Gardening guides and subscribe if you haven’t already?
Happy Gardening!


JOIN THE NINJAS
Join our Ninja community for extra guides & Discount Codes for Online Garden Courses!

 To my YouTube channel